 Alex Rich
Attachment Brainstorm:
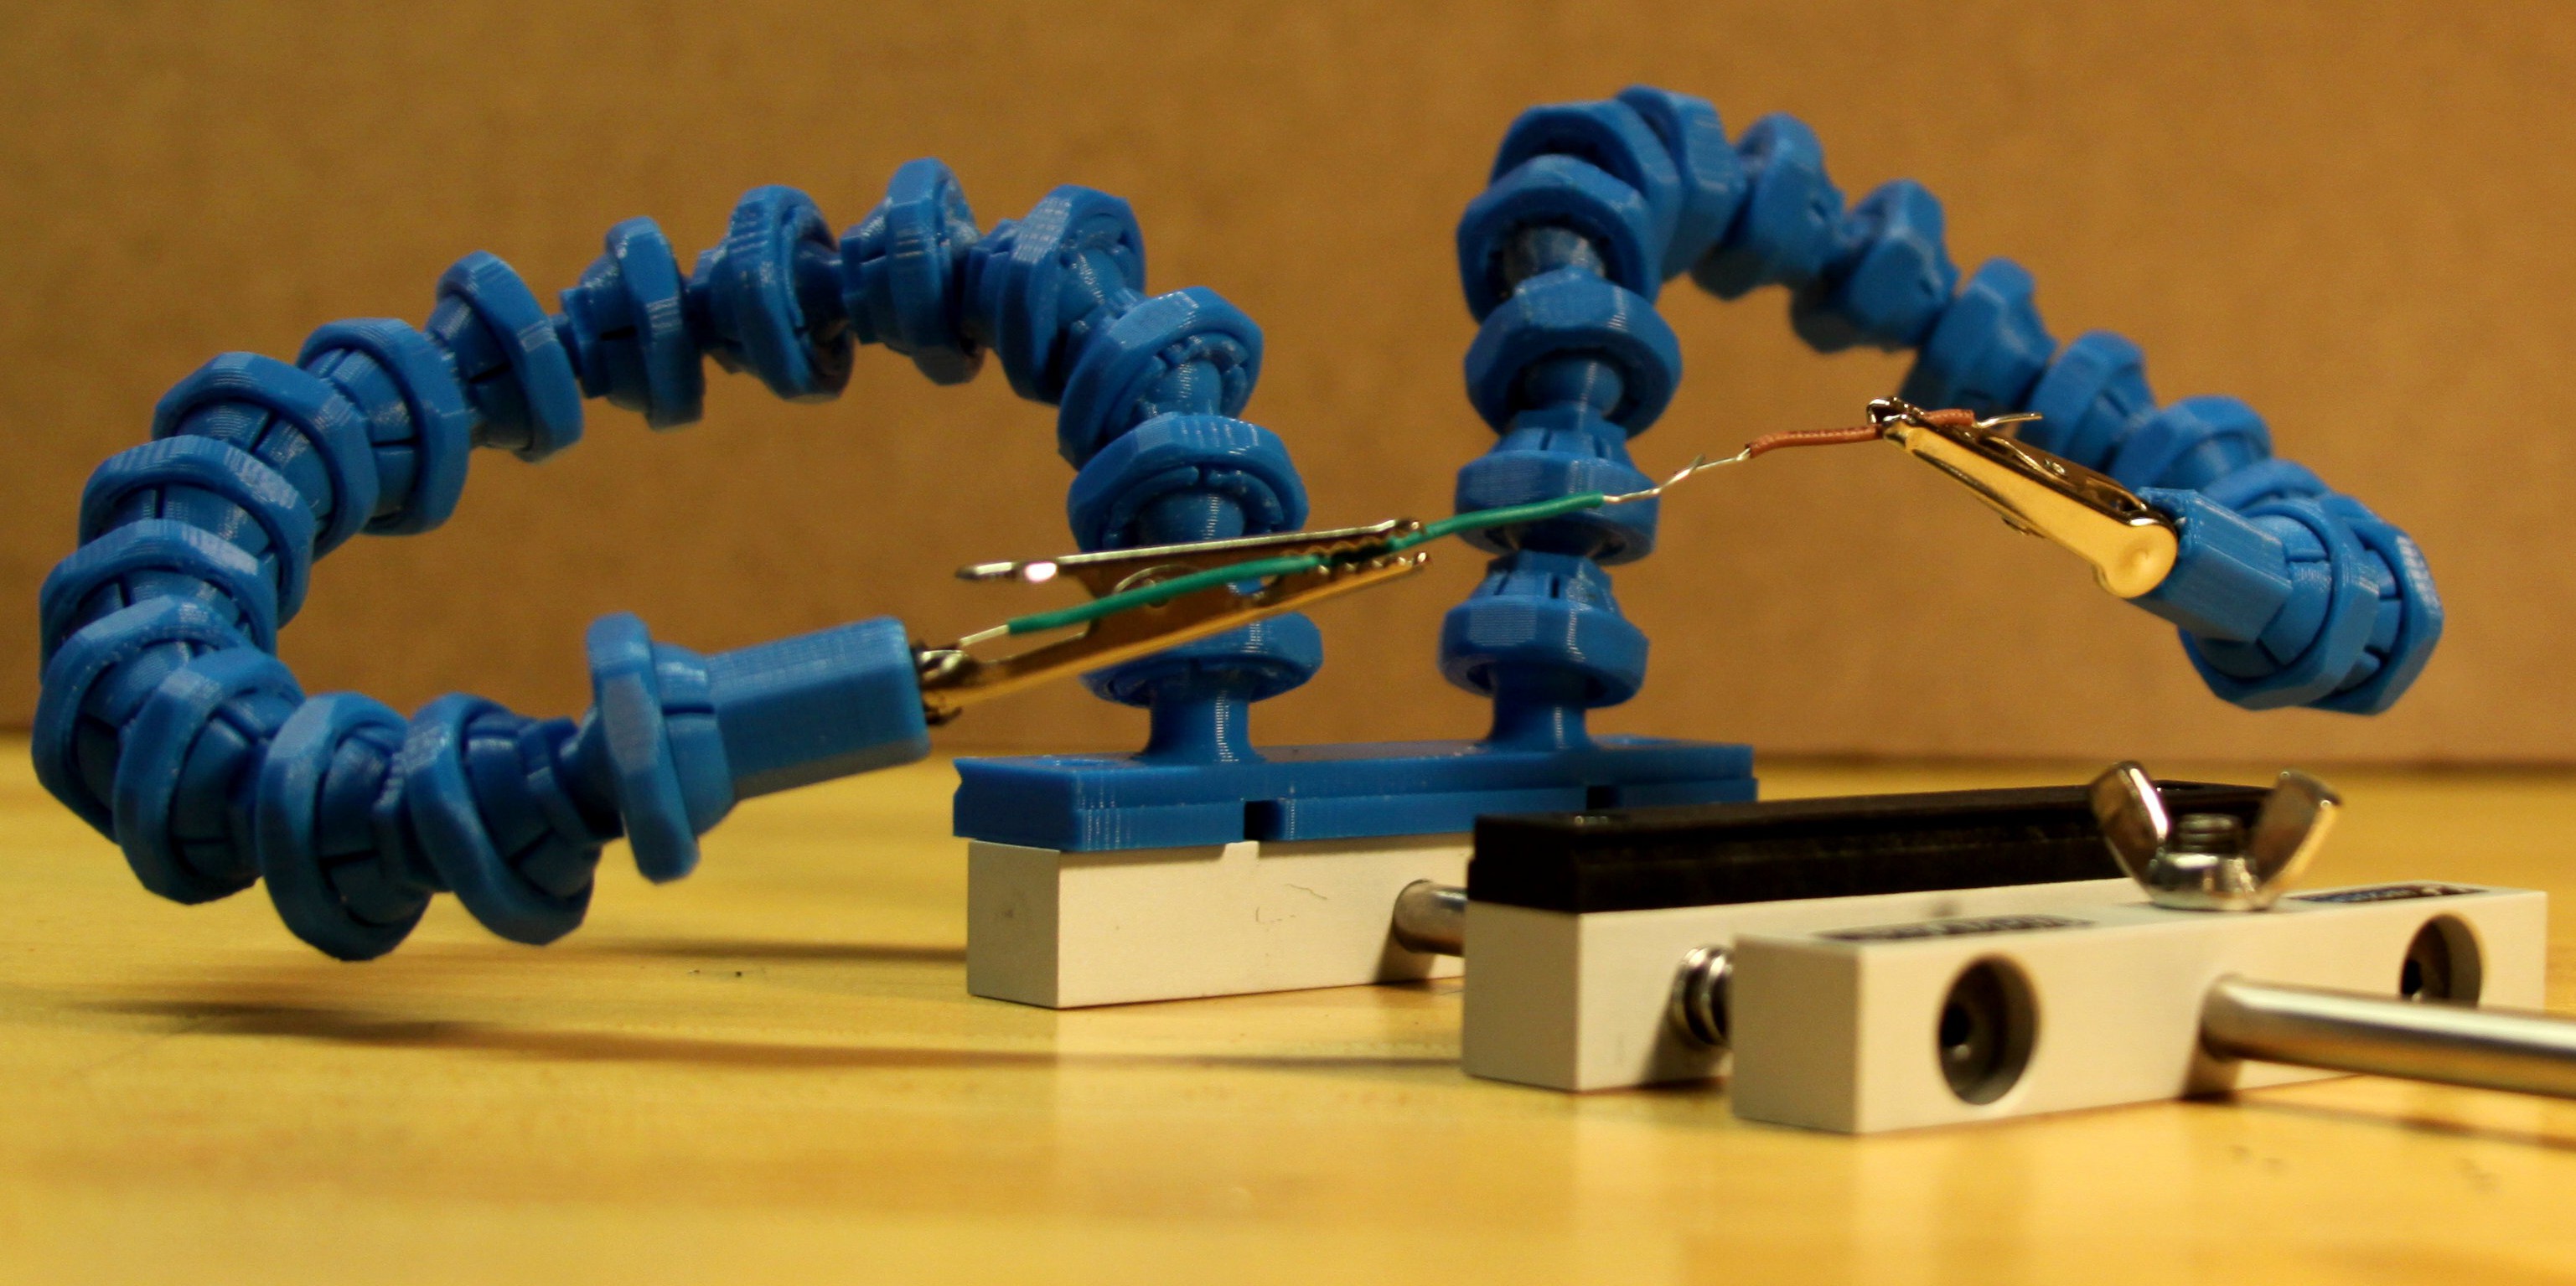
Here is a list of some ideas for attachments for the locking gooseneck system. Feel free to leave me as many ideas as you can think of in the comments and I will add them here, thanks!
| Attachment | Status | Credit |
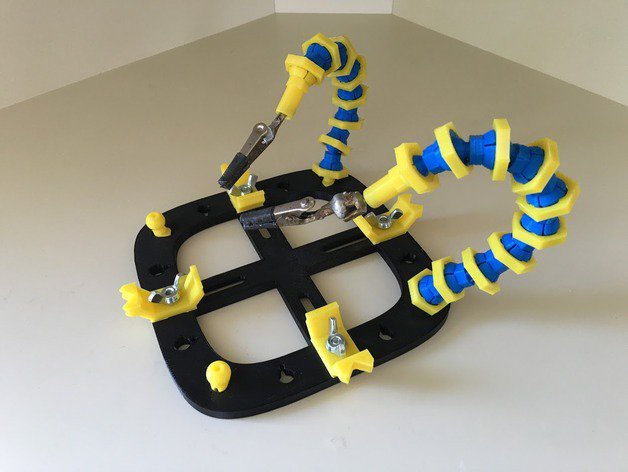
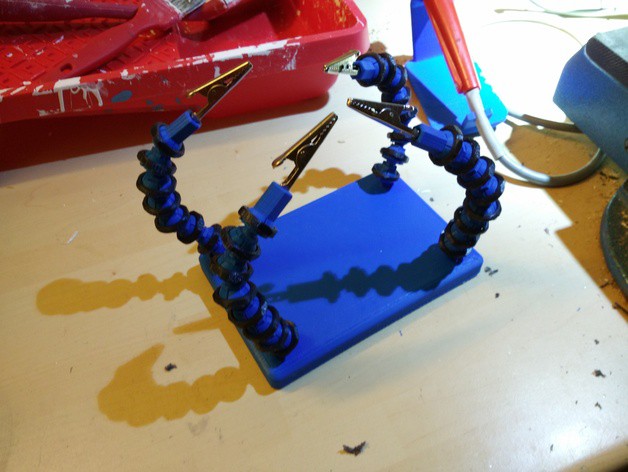
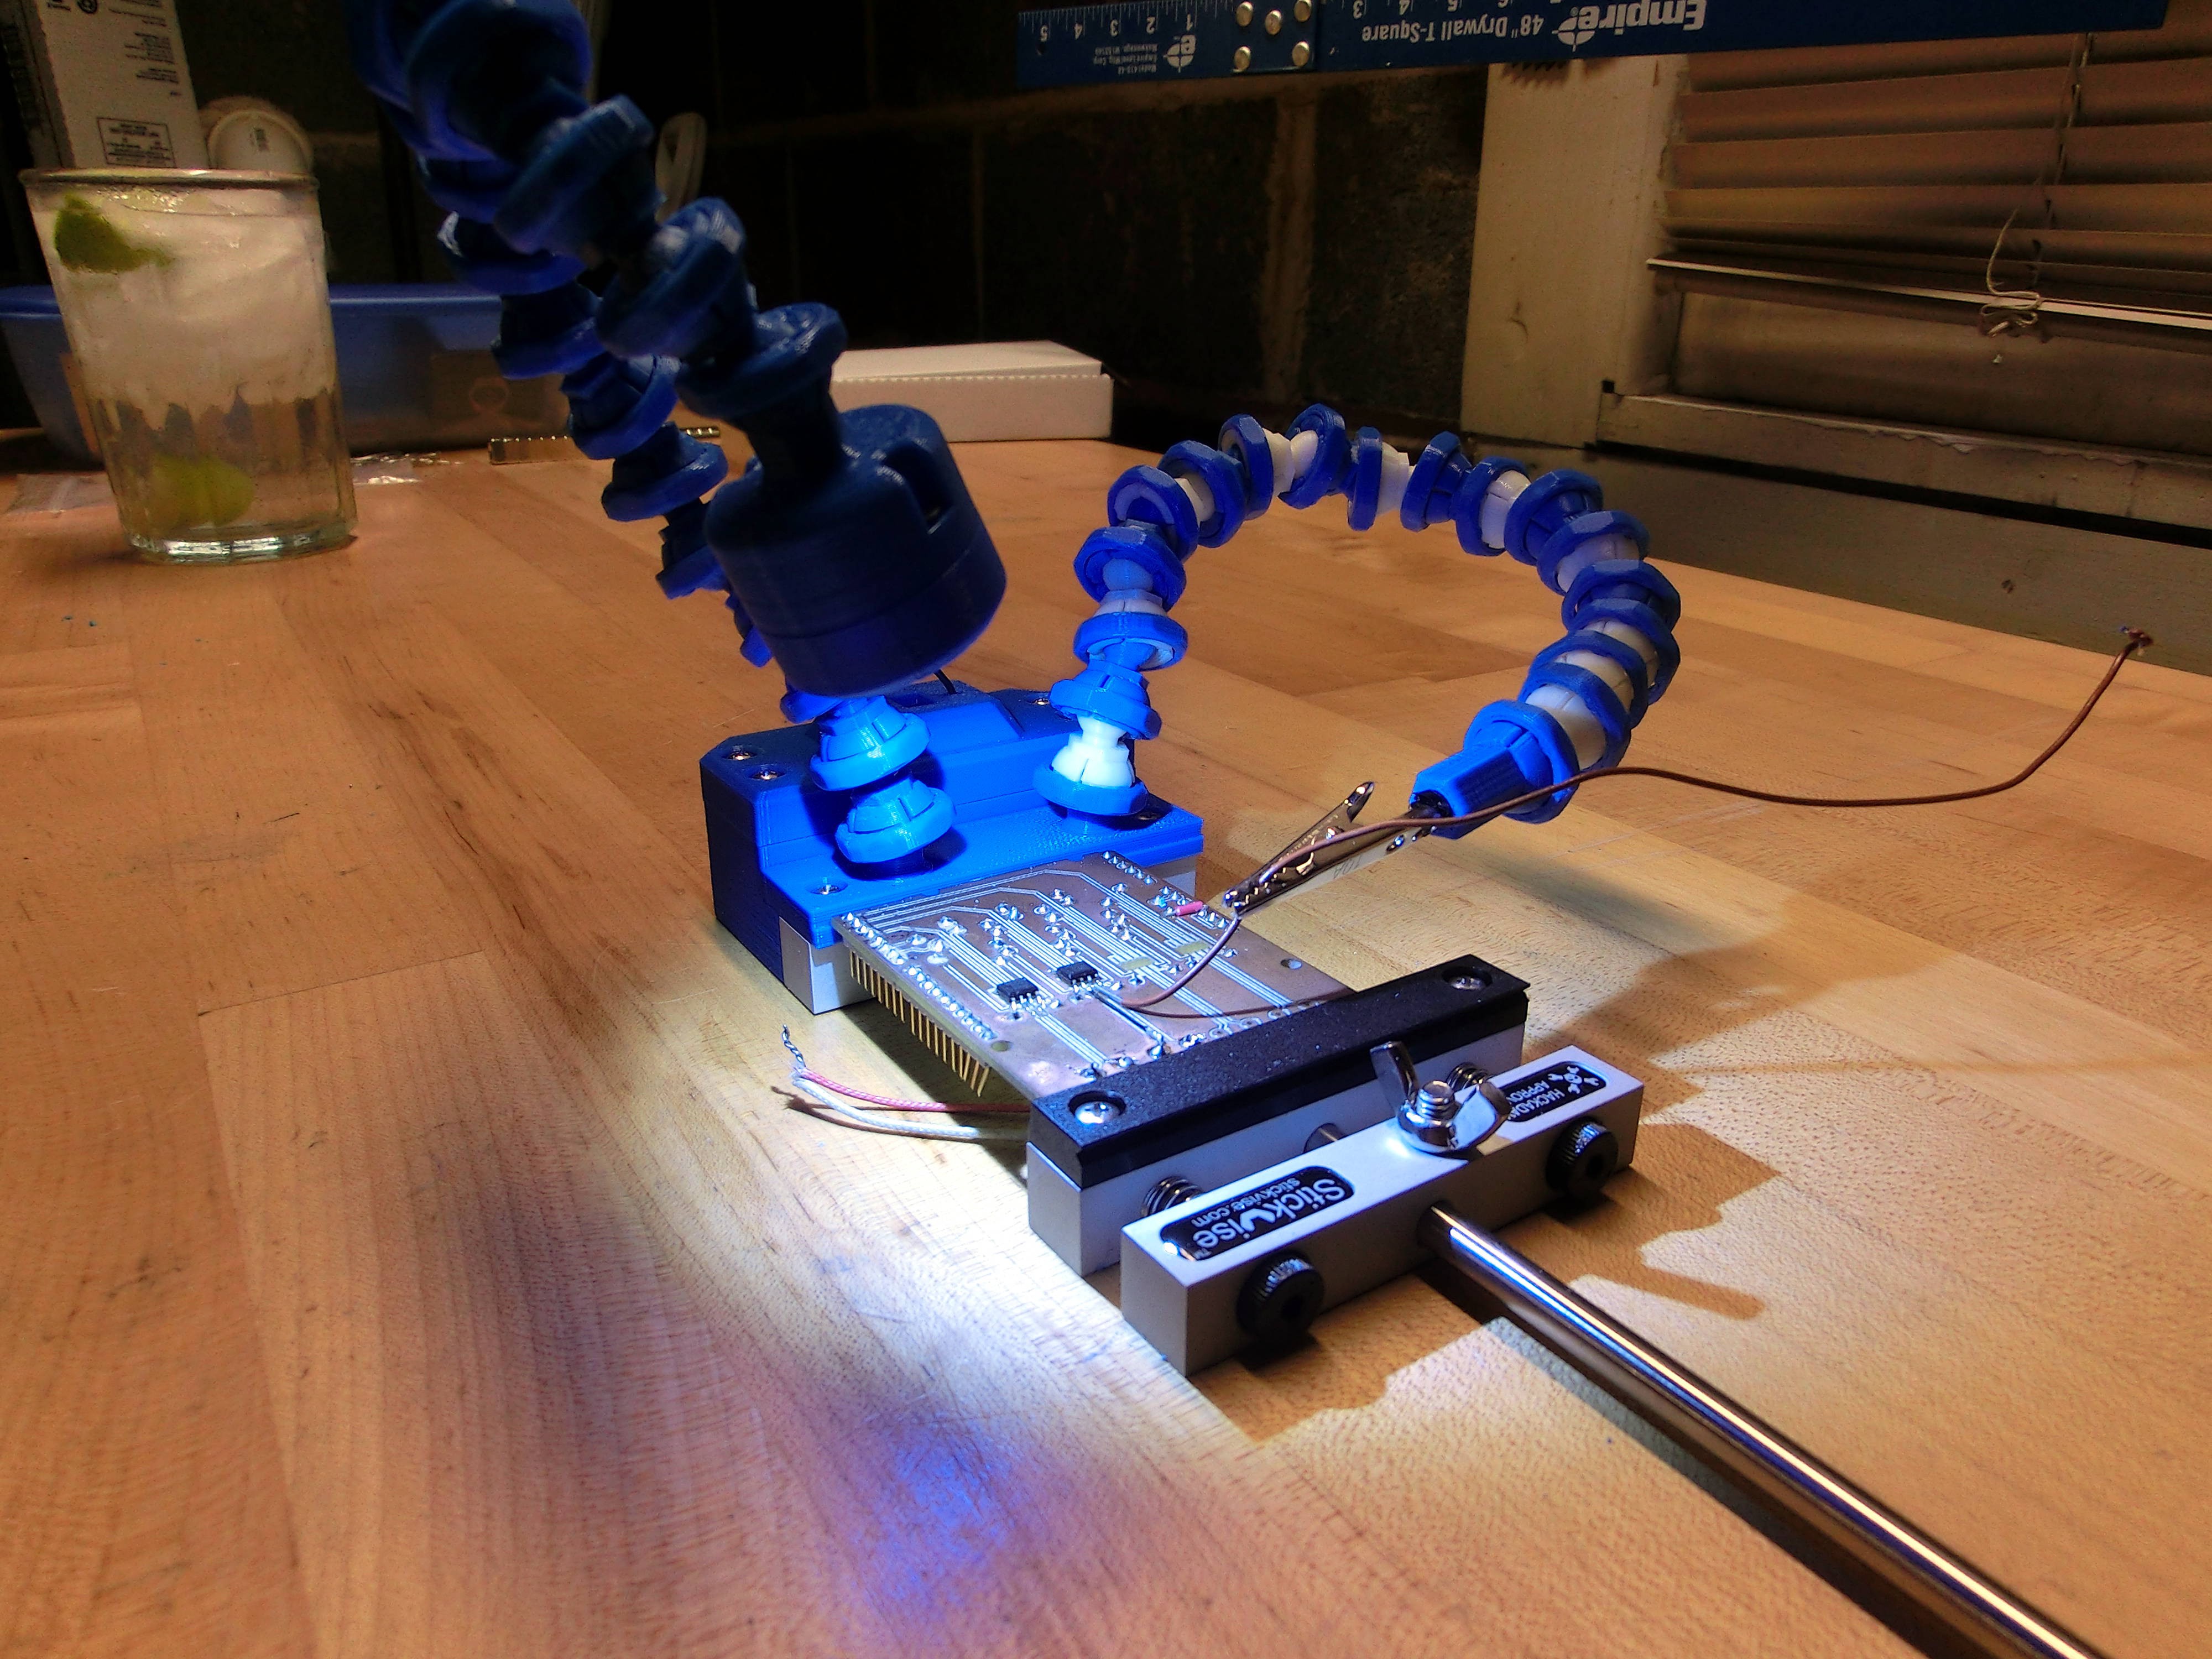
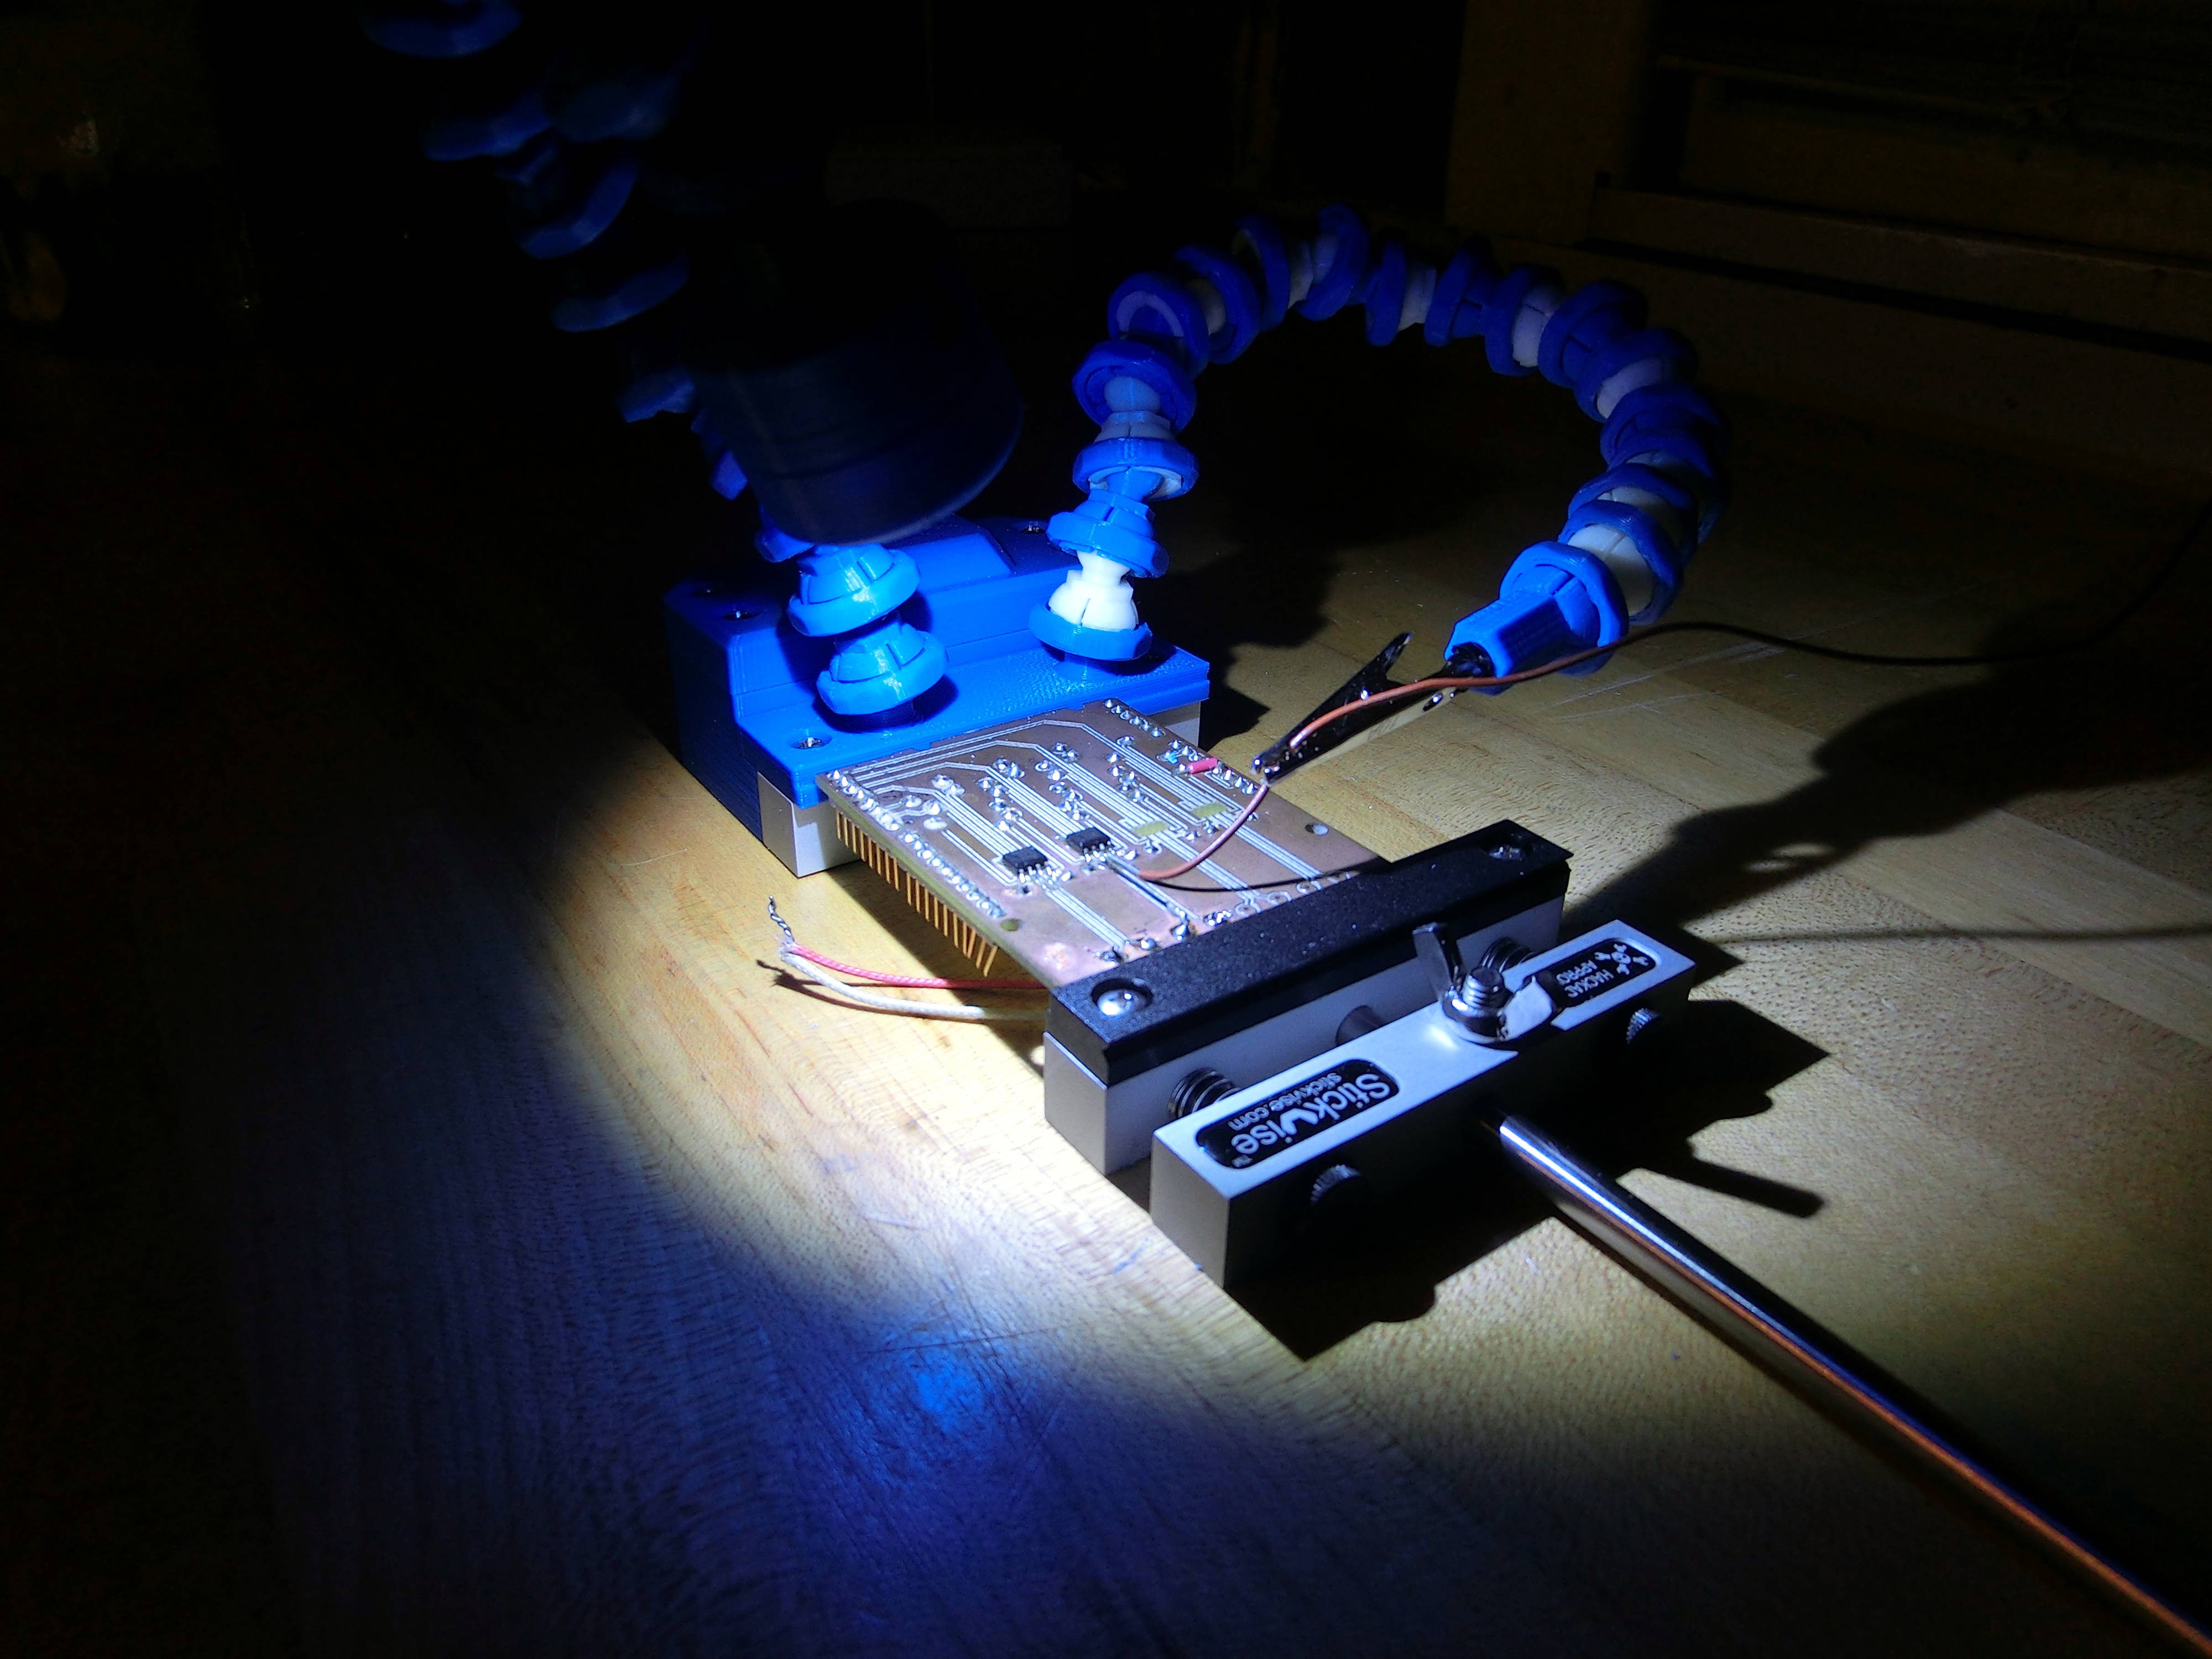
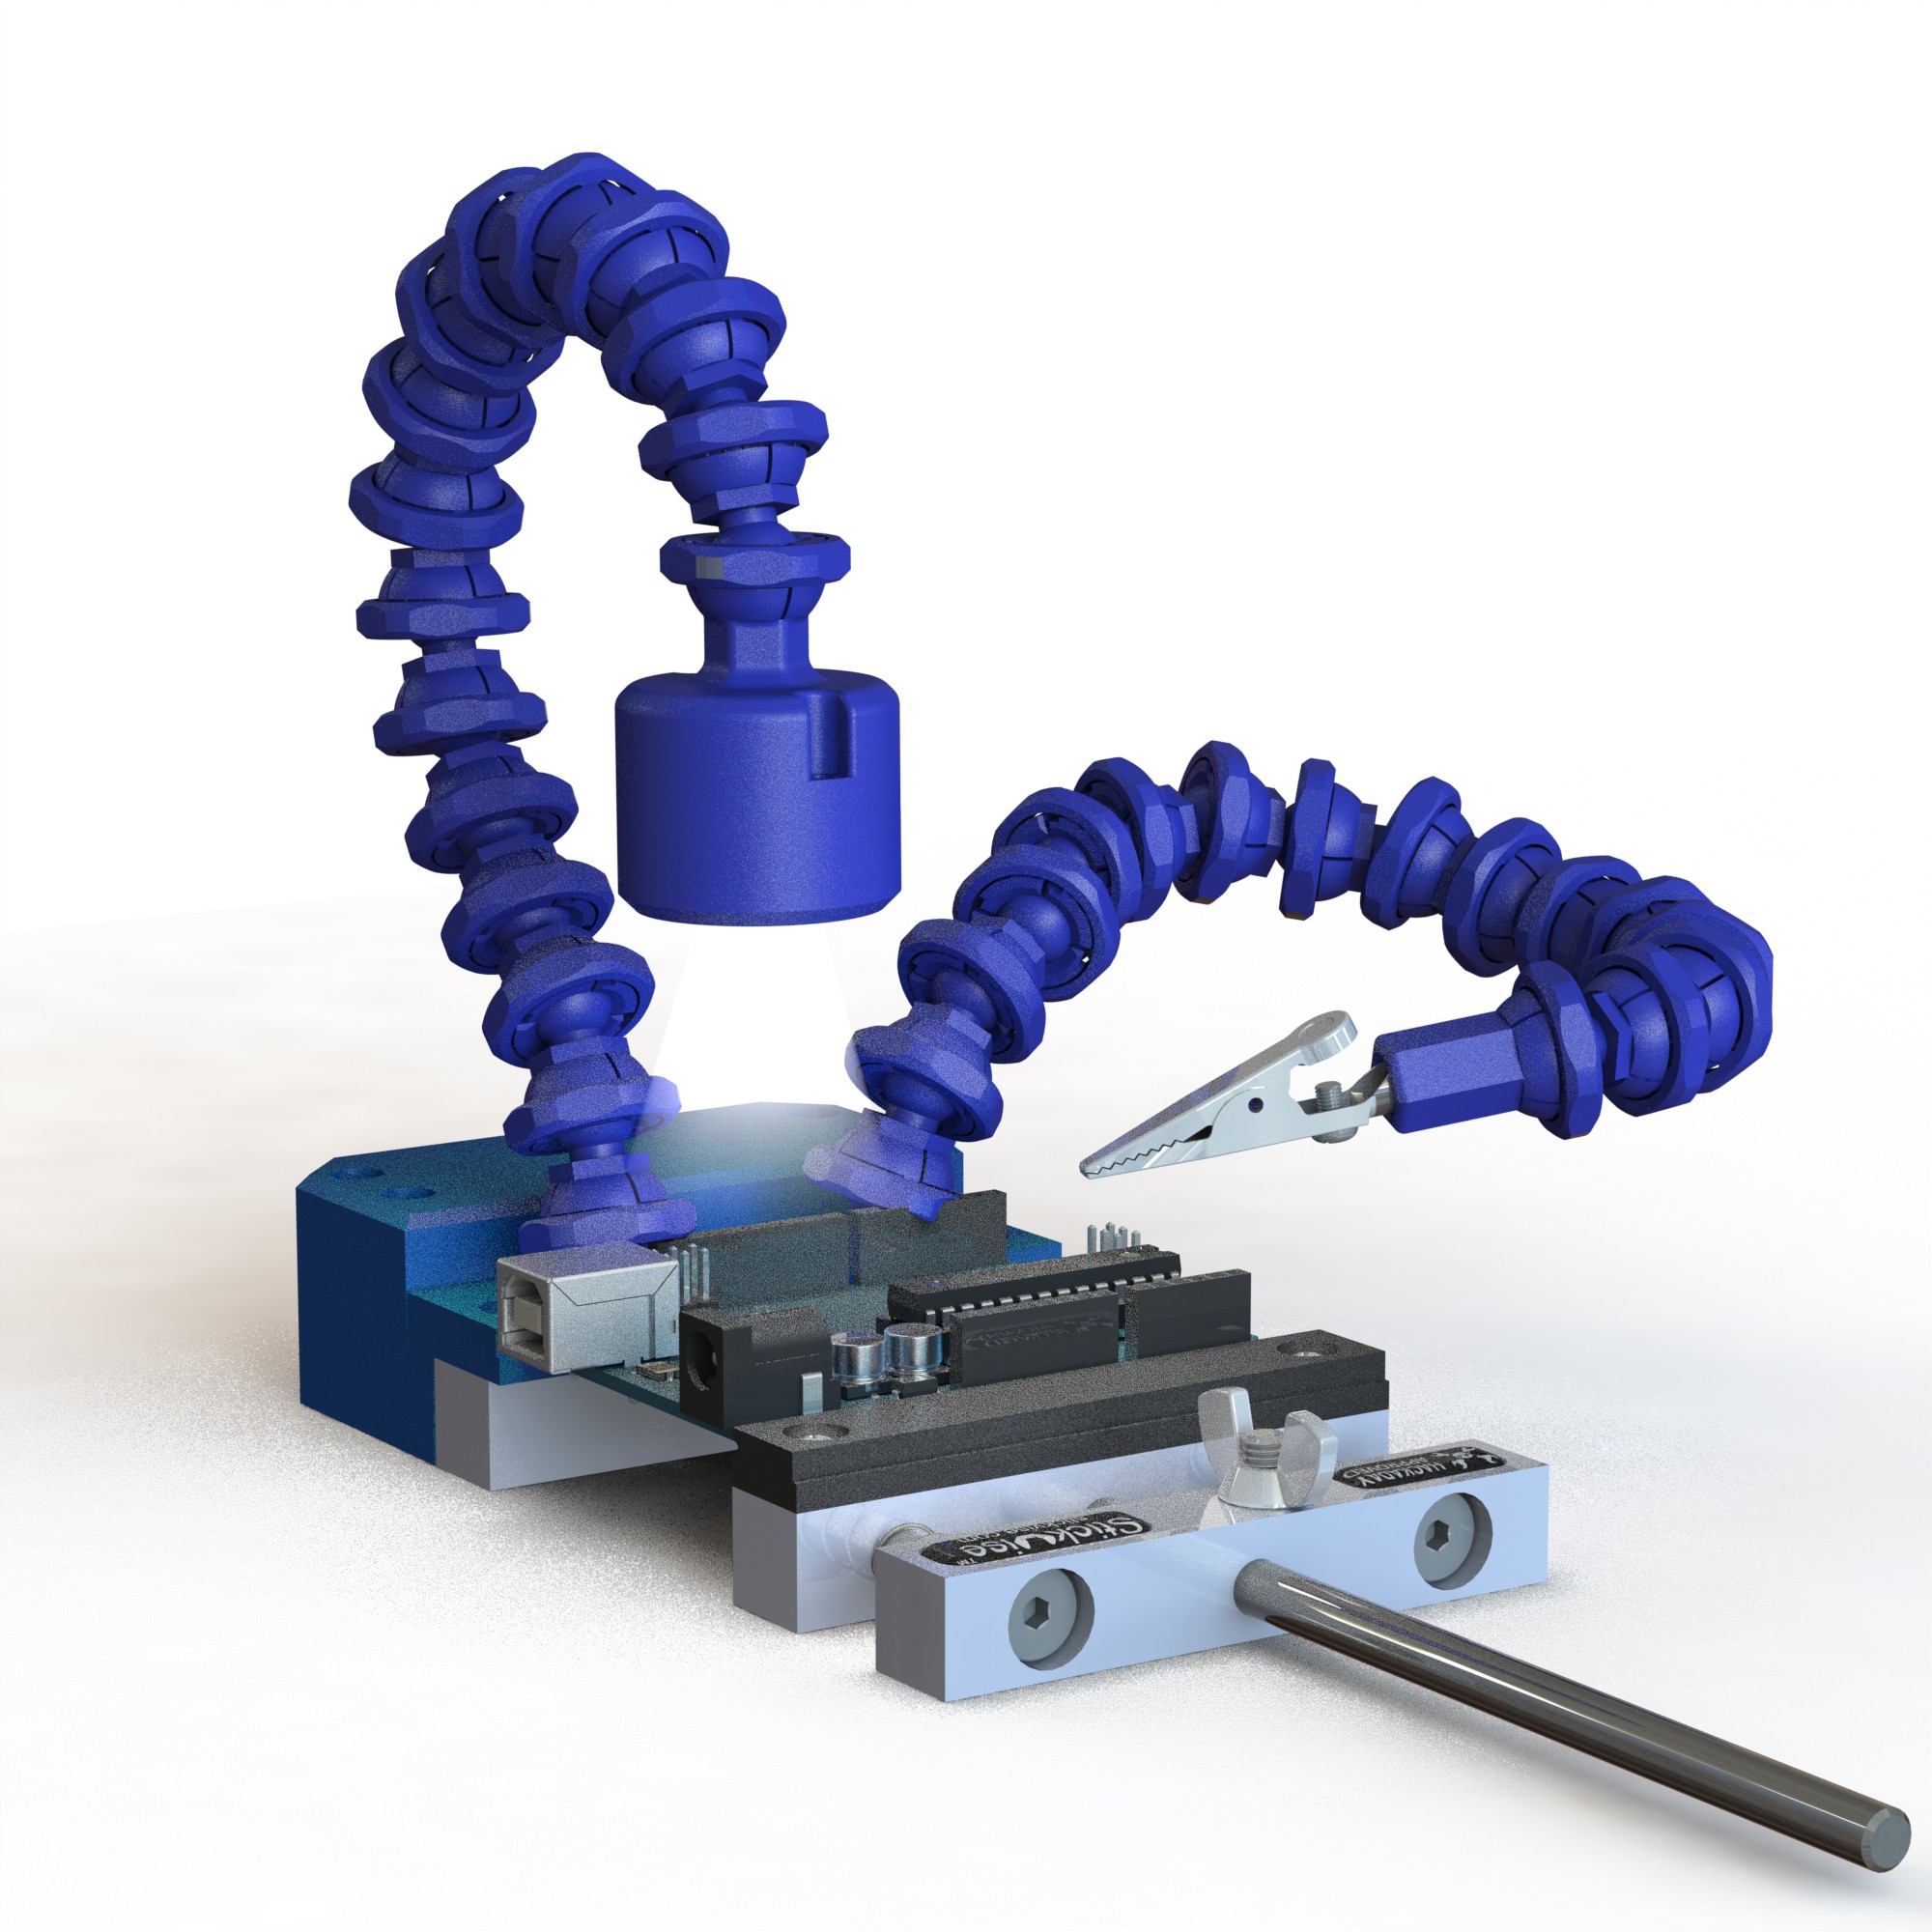
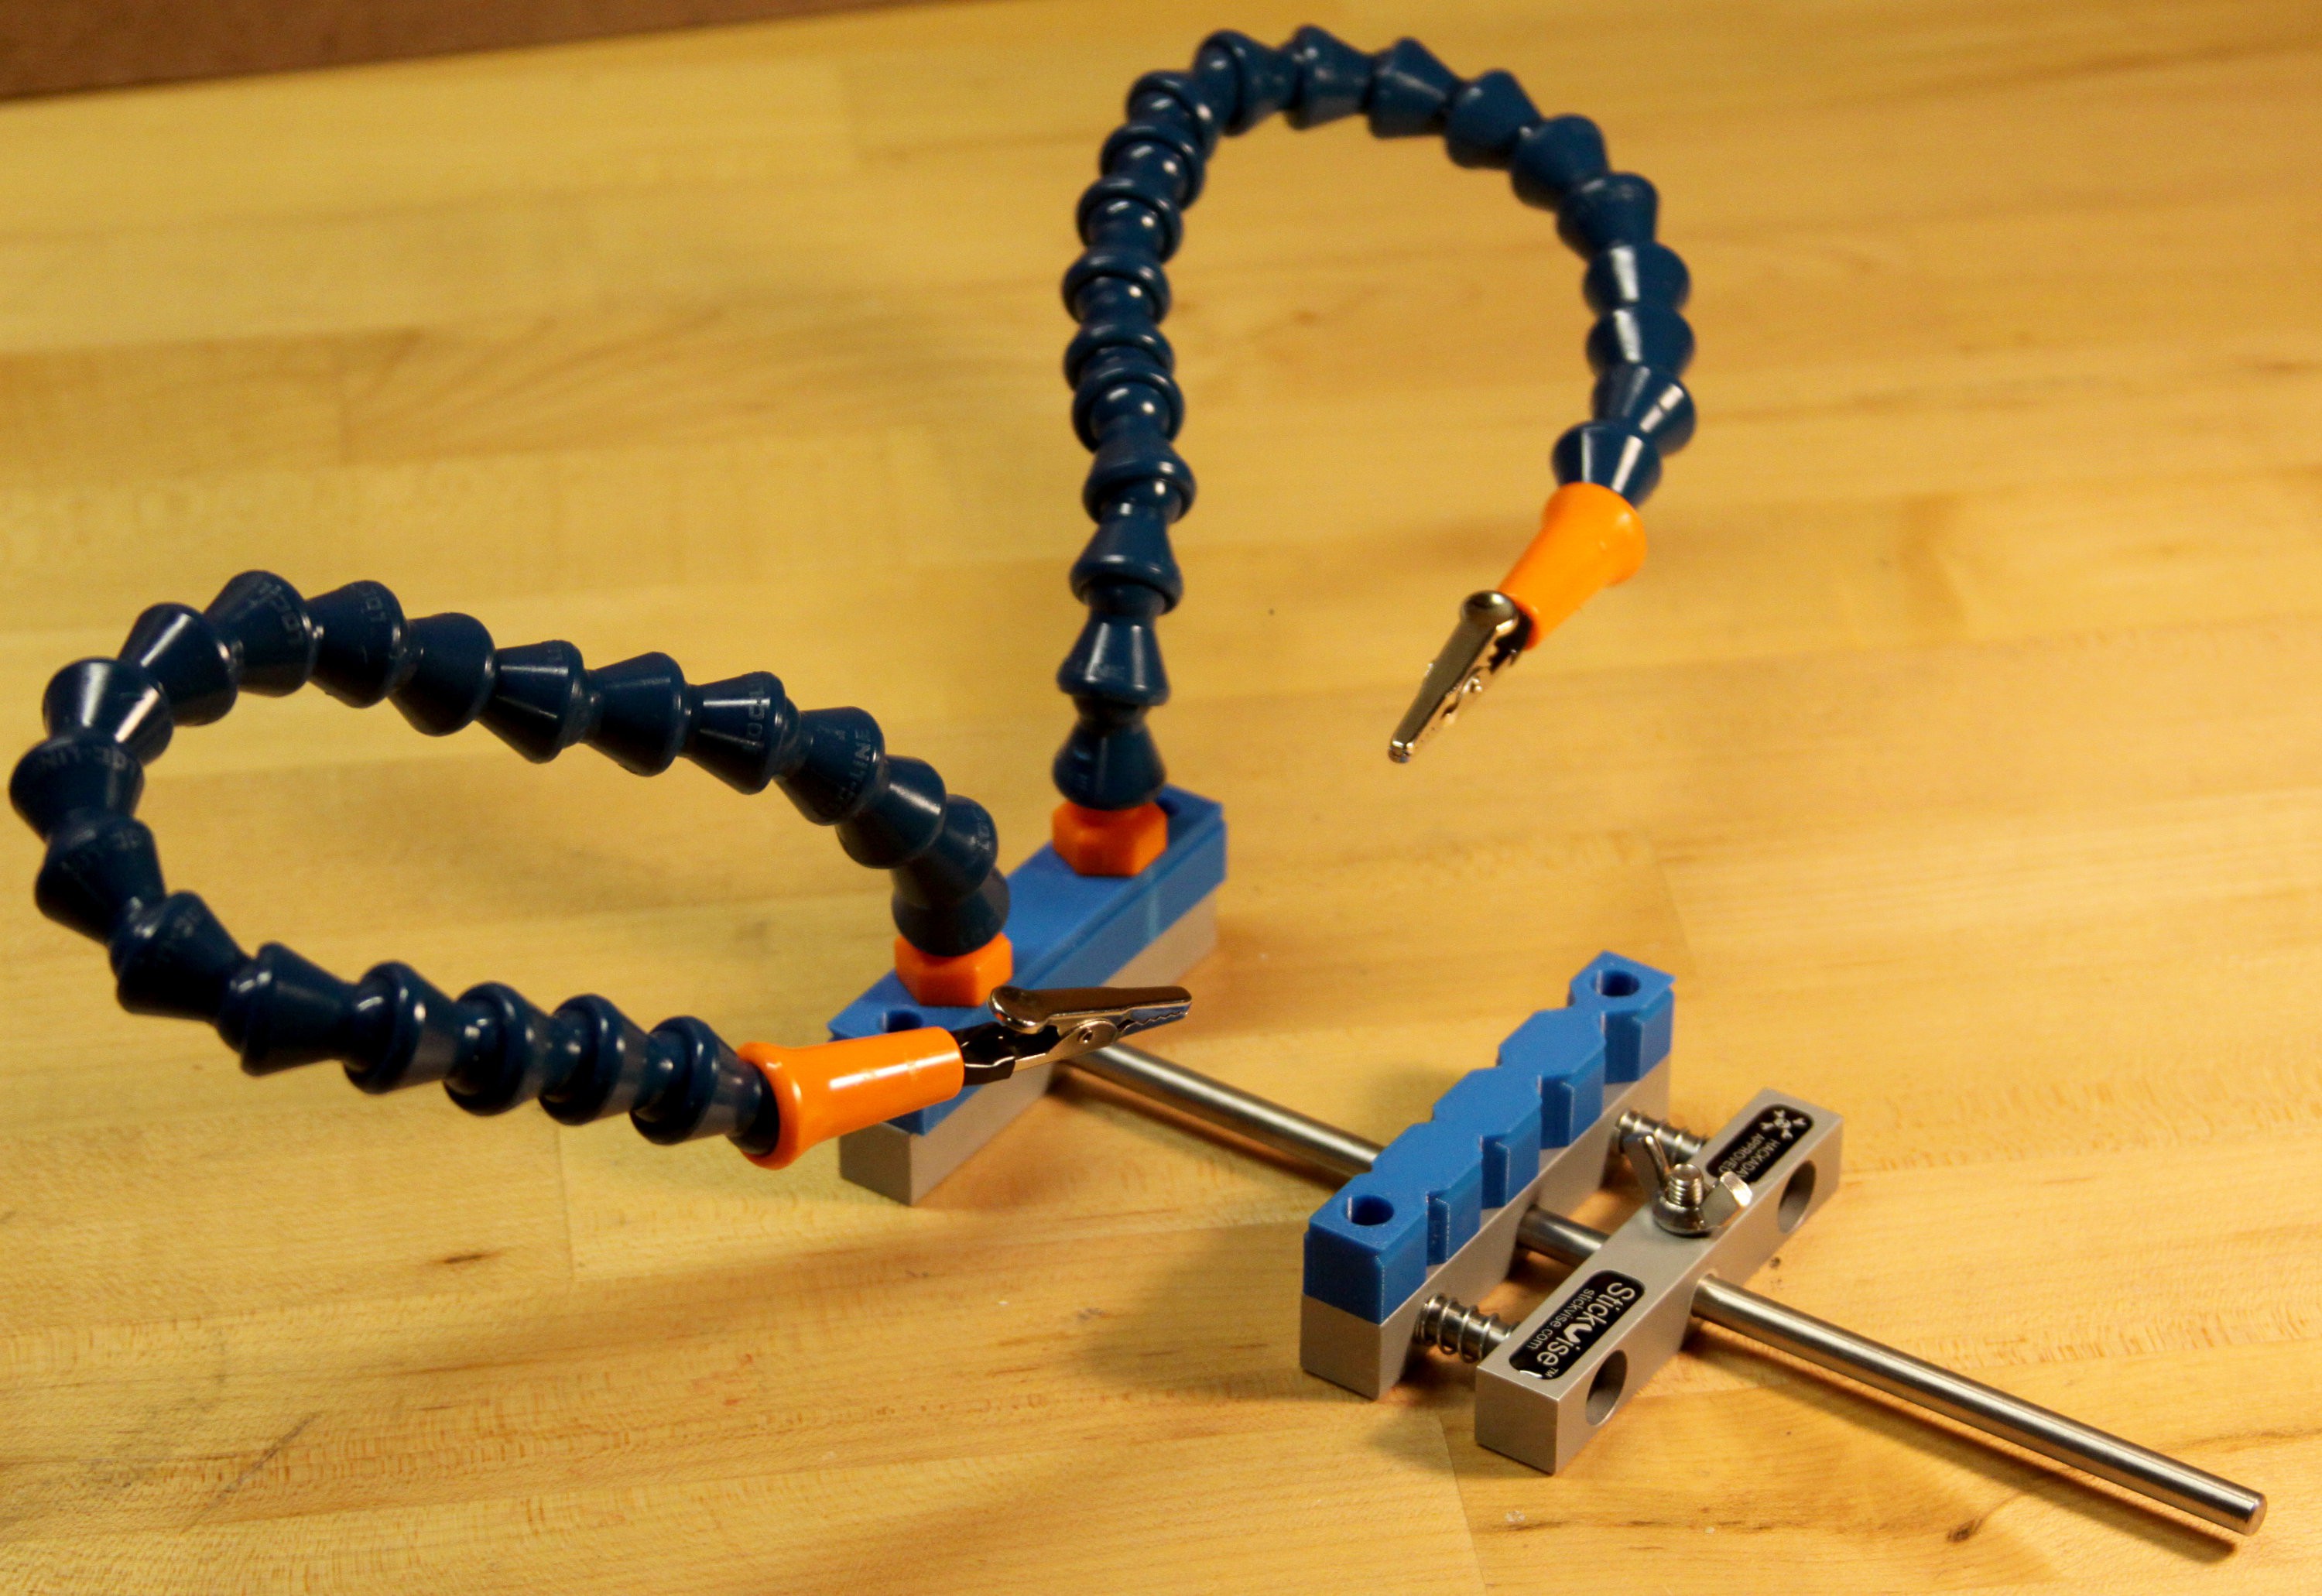
| Alligator clip (third hand / helping hand) | Done | |
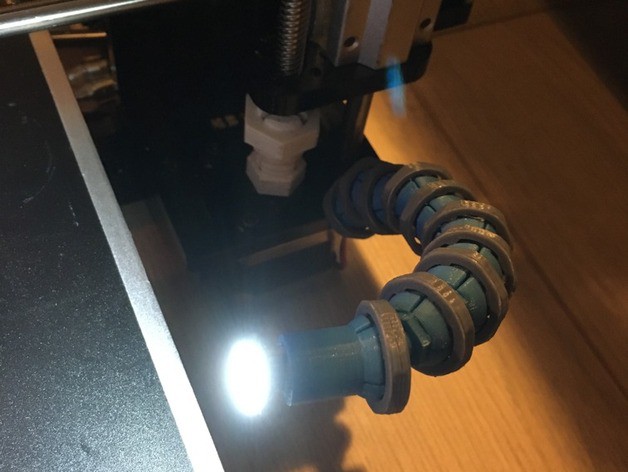
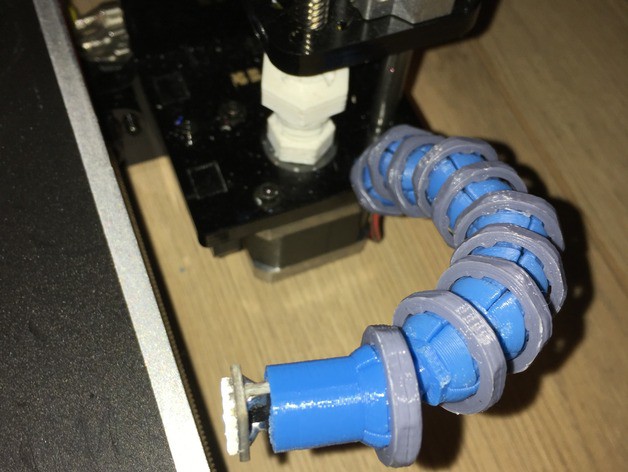
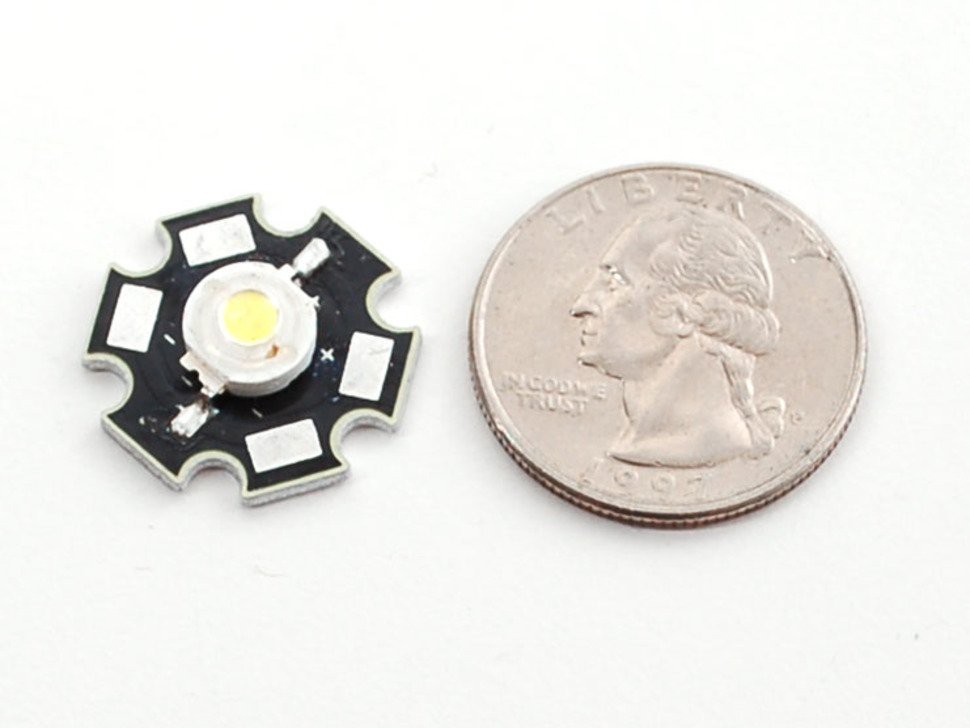
| LED lamp | In progress | |
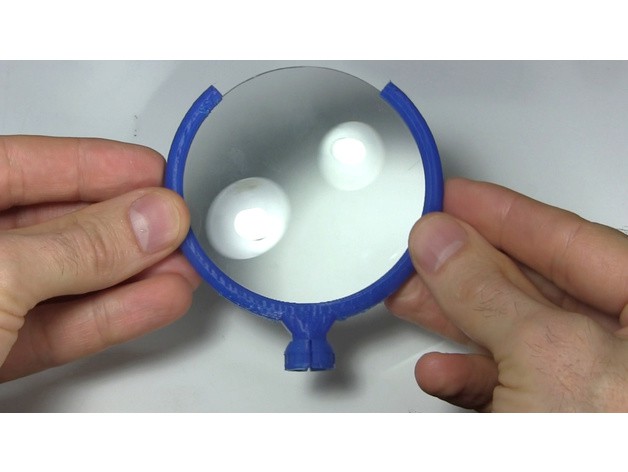
| Magnifying glass | Not started | castvee8 |
| Magnetic pickup tool | Not started | castvee8 |
| Inspection Mirror | Not started | castvee8 |
| Weighted base (with USB power or 9V battery for fans / lamps) | Not started | |
| Generic scope/multimeter probe holder | Not started | |
| "chip clip" - lighter more even clamp for gluing | Not started | castvee8 |
| T and Y adapters | Not started | castvee8 |
Accessories / Ideas developed by people on Thingiverse:
Magnetic holder: https://www.thingiverse.com/thing:2770722
Magnifying glass holder: https://www.thingiverse.com/thing:2769252
2x Extended Link: https://www.thingiverse.com/thing:2770809
Panavise Ring: https://www.thingiverse.com/thing:1673831
Screw Mount Base: https://www.thingiverse.com/thing:1900539
Table Edge Mount: https://www.thingiverse.com/thing:2480169
Wrench for tightening nuts: https://www.thingiverse.com/thing:881405
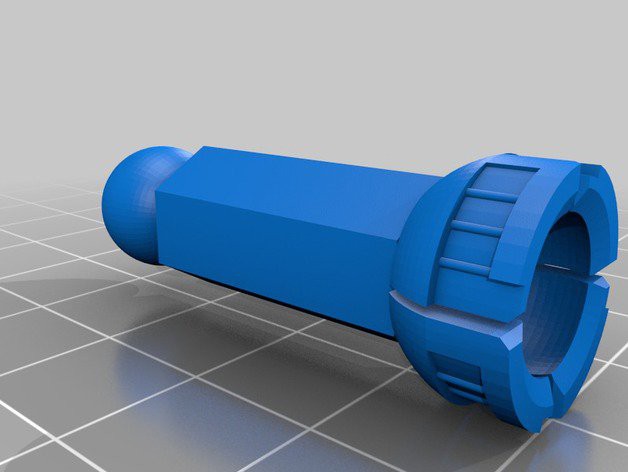
Locking Joint Version History:
V1(5/11/15): worked but was a very tight fit
V2(5/12/15): fit was improved, now nut should install easily
V3(5/12/15): added back the coaxial hole for running wires
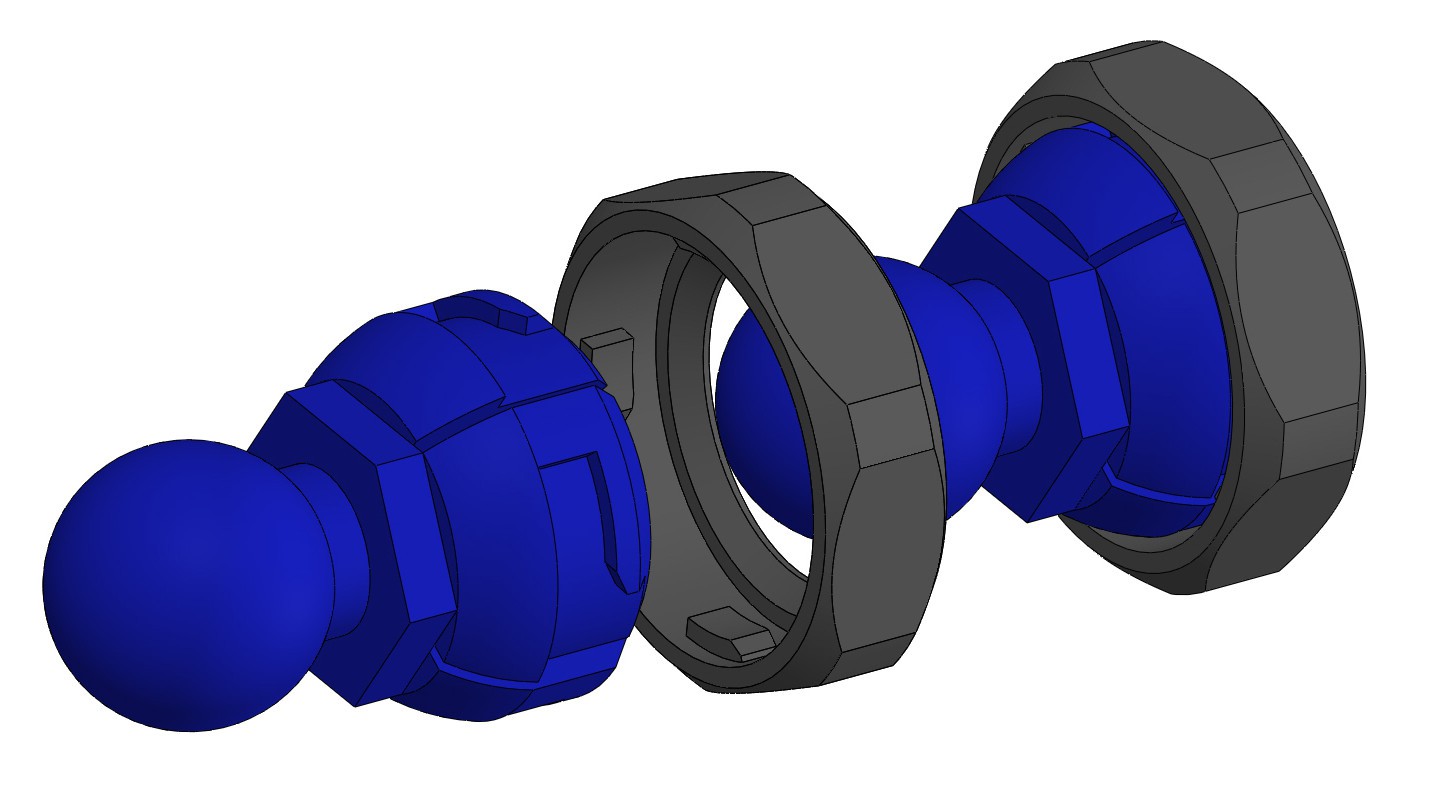
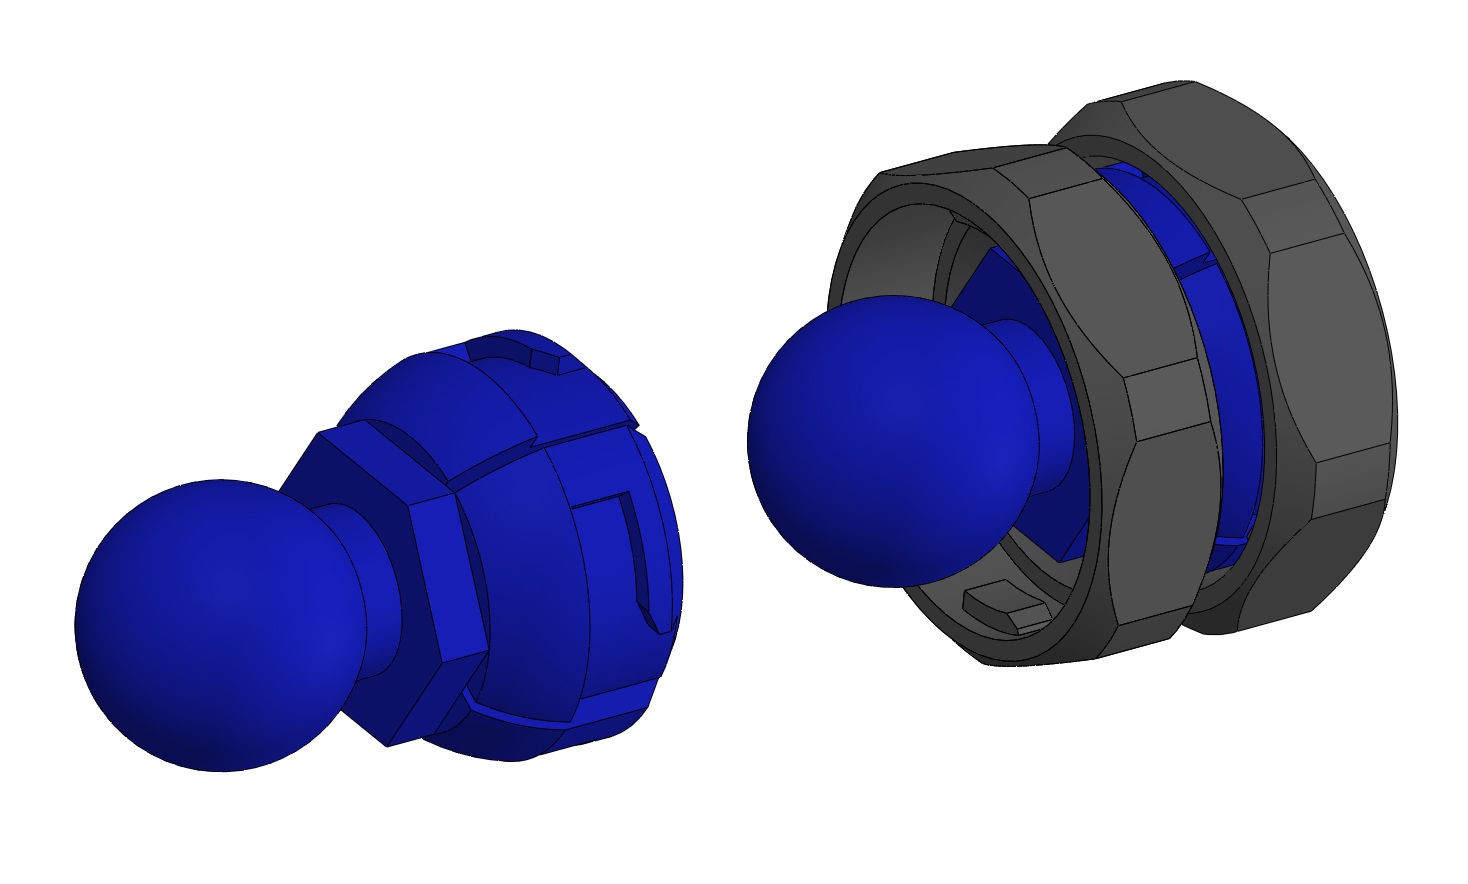
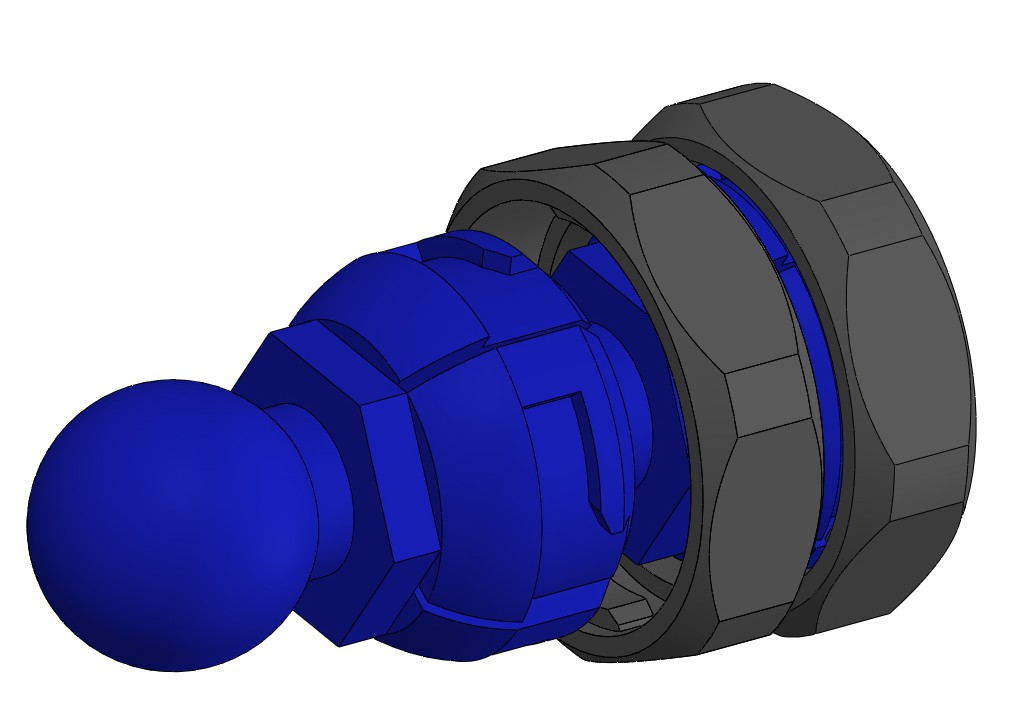
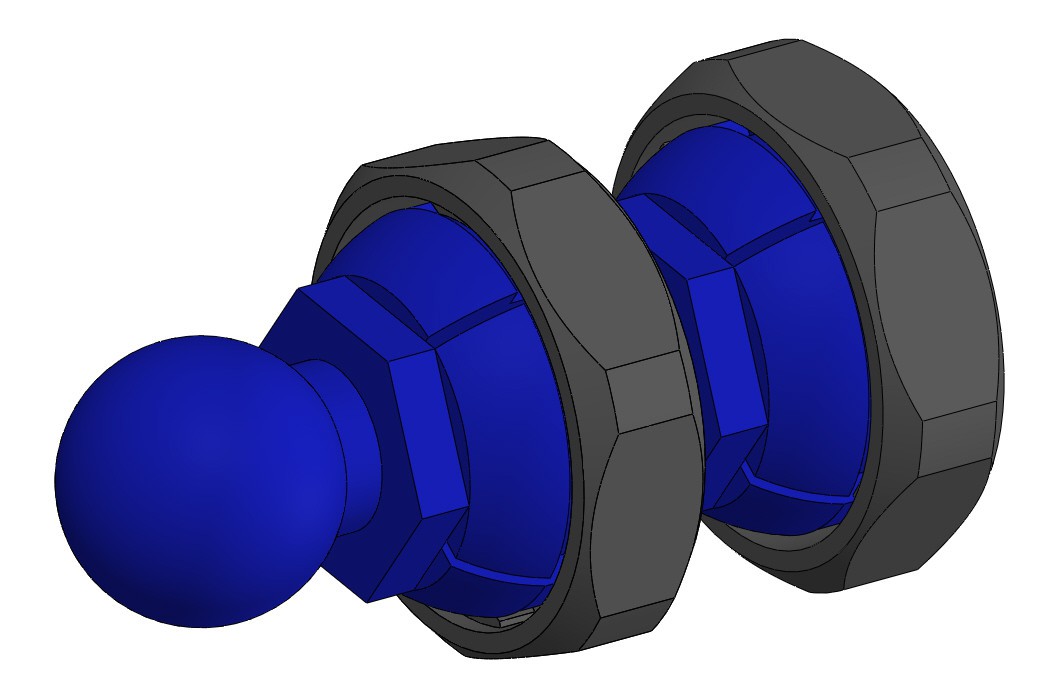
V4(5/17/15): Redesigned nut so that it fits on the socket regardless of the accuracy and layer height of the printer (within reason). See gif below illustrating the principle. Basically on a more accurate printer the ball will fit better in the socket, not expanding it as much. On less accurate printers the socket expands more. Depending on the expansion, the nut can be tightened to up to three "locked" positions. So you won't have a loose fit on a high accuracy printer but will have no problem getting the nut to turn on a low accuracy printer.
V5(5/19/15): Minor update, added chamfers between slits in the socket. For those who want to print the parts with socket down, this will help prevent the socket fingers from fusing together.


 Patrick
 Russell Hay
 Benchoff
Hey, I'm having some trouble with those models.
I've printed them in PLA, 0,2mm each layer. But the final product is too much fragile and always end up breaking. Also the Twist Lock pieces don't fit. The head of the Main Body seems to be larger than the hole to fit it. Check it out: