Jithin Sanal
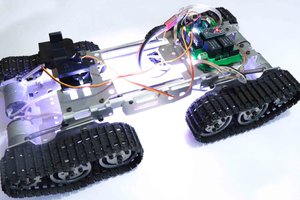
Hey guys, In this post I’ll be showing you how to make a long range Arduino remote controller on a PCB for your robot.
If you are stuck somewhere feel free to comment your doubts below and I’ll try my best to clear it.
Arduino Remote Controller PCB Introduction
Here is the PCB I designed to make remote controllers for my robots.
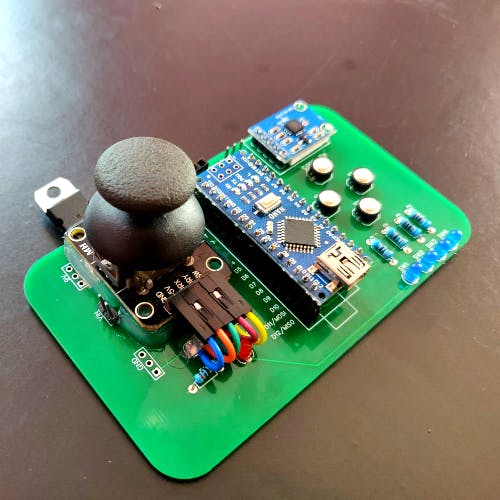
These remote controller have joystick, buttons, accelerometer and extra pins to connect other analog sensors. I got these PCBs designed using EasyEDA and got it done from JLCPCB.
EasyEDA Is an easier but powerful online PCB design tool which allows electronics engineers, hackers, educators, hobbyists, makers, and enthusiasts to design and share their projects’ schematics as well as PCB layout. This is a design tool integrated LCSC components catalog and JLCPCB service that helps users to save time to make their ideas into real products. I will get back to it in detail.
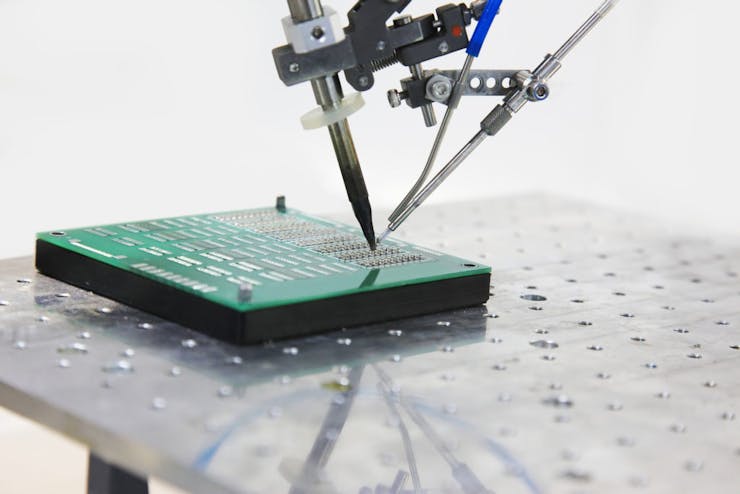
Online PCB Manufacturing Service By JLCPCB
JLCPCB Is one of the best Online PCB manufacturing company from where you can order PCBs online without any hassle. The company works 24 hours a day, 7 days a week nonstop. With their high tech machinery and automated work stream, they can manufacture huge quantities of high-class PCBs within hours.
JLC PCB can develop PCBs of various complexity. They develop Simple and cheap PCBs with Single layer board for hobbyists and enthusiasts as well as complex multi layer board for high standard industrial applications. JLC works with large product manufacturers and may be the PCB of devices you are using such as laptop or mobile phones were made at this factory.
Remote Controller PCB Video Tutorial
Making a PCB for Arduino Remote Controller
Getting Started with Robotics?
Want to learn Robotics from Scratch? Here is an awesome guide for you to get started with robotics (Free Video Tutorials Included).
Why Go for a PCB?
Here I have the joystick and an accelerometer, arduino nano and wireless module. Everything worked flawlessly. But the problem was the whole board looked really messy with all the jumper wires going here. So I decided to take you to next level. Getting my own PCB.
Steps
Arduino Remote Controller PCB – Components Needed
First we will take a look at the components needed to make your DIY Remote Controller for RC robot.
- Breadboard – Get it Now
- Arduino joystick – Get it Now
- Accelerometer – Get it Now
- Push button – Get it Now
- LED – Get it Now
- Jumper wires – Get it Now
- Arduino Nano – Get it Now
- HC12 wireless module – Get it Now
Step 1 – Designing the Circuit
Parts of the Remote Controller
We will divide our long range remote controller into 3 parts
- Input
- Processor
- Transmitter
Input is the unit using which the remote controller gets data from the user. For example Joystick, Accelerometer, buttons, potentiometer etc. For this project, we will be using Accelerometer, Joystick and push buttons.
The Processor is the part that reads the data from the input unit, process/condition them for the Transmitting unit to send. Here we will be using Arduino Nano to process input.
The Transmitter is the part that sends the data from the remote controller to the robot’s receiving unit wirelessly. For our project, we will be using the HC12 Wireless module.
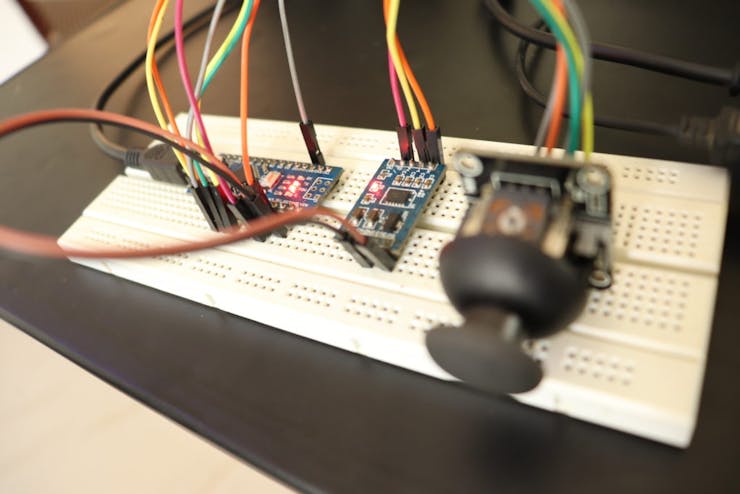
First connect all the components together on the breadboard so that I can troubleshoot easily if something goes wrong. This is how I assembled all the components on the breadboard.
Step 2 – Drawing Schematics using EasyEDA
To draw circuits and design PCBs, we have online PCB designing tools from EasyEDA, provides all the necessary capability for online PCB Design and PCB Printing of Circuit Boards with hundreds of components and multiple layers with thousands of tracks.
I drew a circuit in EasyEDA which included all the components on the breadboard – the joystick, accelerometer, Arduino Nano and HC12 module and 4 buttons...
Read more »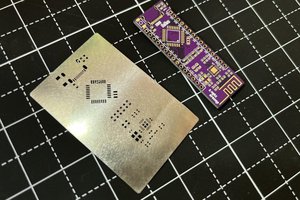
 Sagar 001
 Mrinnovative
 DIY GUY Chris