 Mark Wilson
It all started with a WAVGAT GPS board, but it didn't start well. I got nothing out of the first, no matter what I tried. It took quite a while to realize that it had been screen-printed upside down, so I was using the pins incorrectly.
The lower board is the one I was using, only when I took the second one out of it's anti-static bag, did I see the problem:

Once I got past that, it was a matter of a serial connection to the GPS board, turn off unnecessary NMEA sentences, parse the others to pull out the time. Send that to an eight digit seven-segment display. A couple of push-buttons and an LDR to auto-dim at night.
Because the software/hardware side was relatively simple I devoted extra time to the laser cut enclosure. Also, much of this was done during New Zealand’s covid-19 Level 4 lock-down, where I was working from home and many businesses (including ponoko.com) were unavailable. So I had time to obsess about the design details. The interlocking pieces form a facsimile of the original's casting and end-caps. The design is created using custom Python code running as an Extension in Inkscape.

To achieve the iconic black-on-yellow livery, I applied enamel modelling paint to the cut acrylic pieces, using the protective paper as a mask. I also sourced some black m3 screws.


The Nano is on a small piece of perfboard, with connectors going to the GPS, display and buttons. The only screws hold the entire assembly together, I didn’t want extra screws on the front face to secure the 8 digit 7-segment display, so instead it is effectively clamped in place.

As always, a fairly tight squeeze:

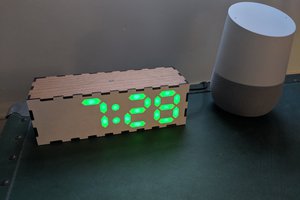
It sits quite happily on a window sill. Not the best Satellite visibility of course, but good enough.

Some notes:
PINS.h in the sketch zip file includes a schematic.
Generally kerf is my friend, it gives me that little bit of slack, but I did find I needed a little bit of filing to get things to fit, possibly due to variations in thickness.
The yellow acrylic is actually "25% translucent". In hindsight, leaving the inner protective paper on (with some trimming) might've been a good idea.
 Michael Furtak
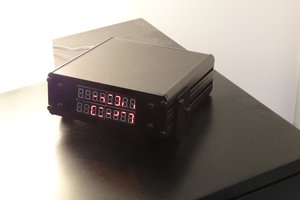
 Adam
Adam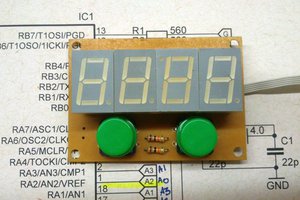
 danjovic