So I'm very into samplers. I create sample based music, if you're curious about that you can check that out on Spotify: https://open.spotify.com/album/5rpGsYSNGsEcHBqkMMOj1d?si=EucBjNHOT3ikMJifgUlW0w.
I absolutely love samplers since I was a kid, but couldn't afford one. Specifically, I was in love with the ones from Akai for some reason. I remember gazing upon an image of an Akai s6000 in a sales magazine for a large music shop, dreaming about all the crazy things this thing could do, even though I did not really have a good understanding of what a sampler actually was back then. It just looked like an interesting futuristic huge machine with a gameboy like removable device.
Skip to 2019. I finally acquired one when they were breaking down the old audio postproduction studio at the television network where I worked back then.
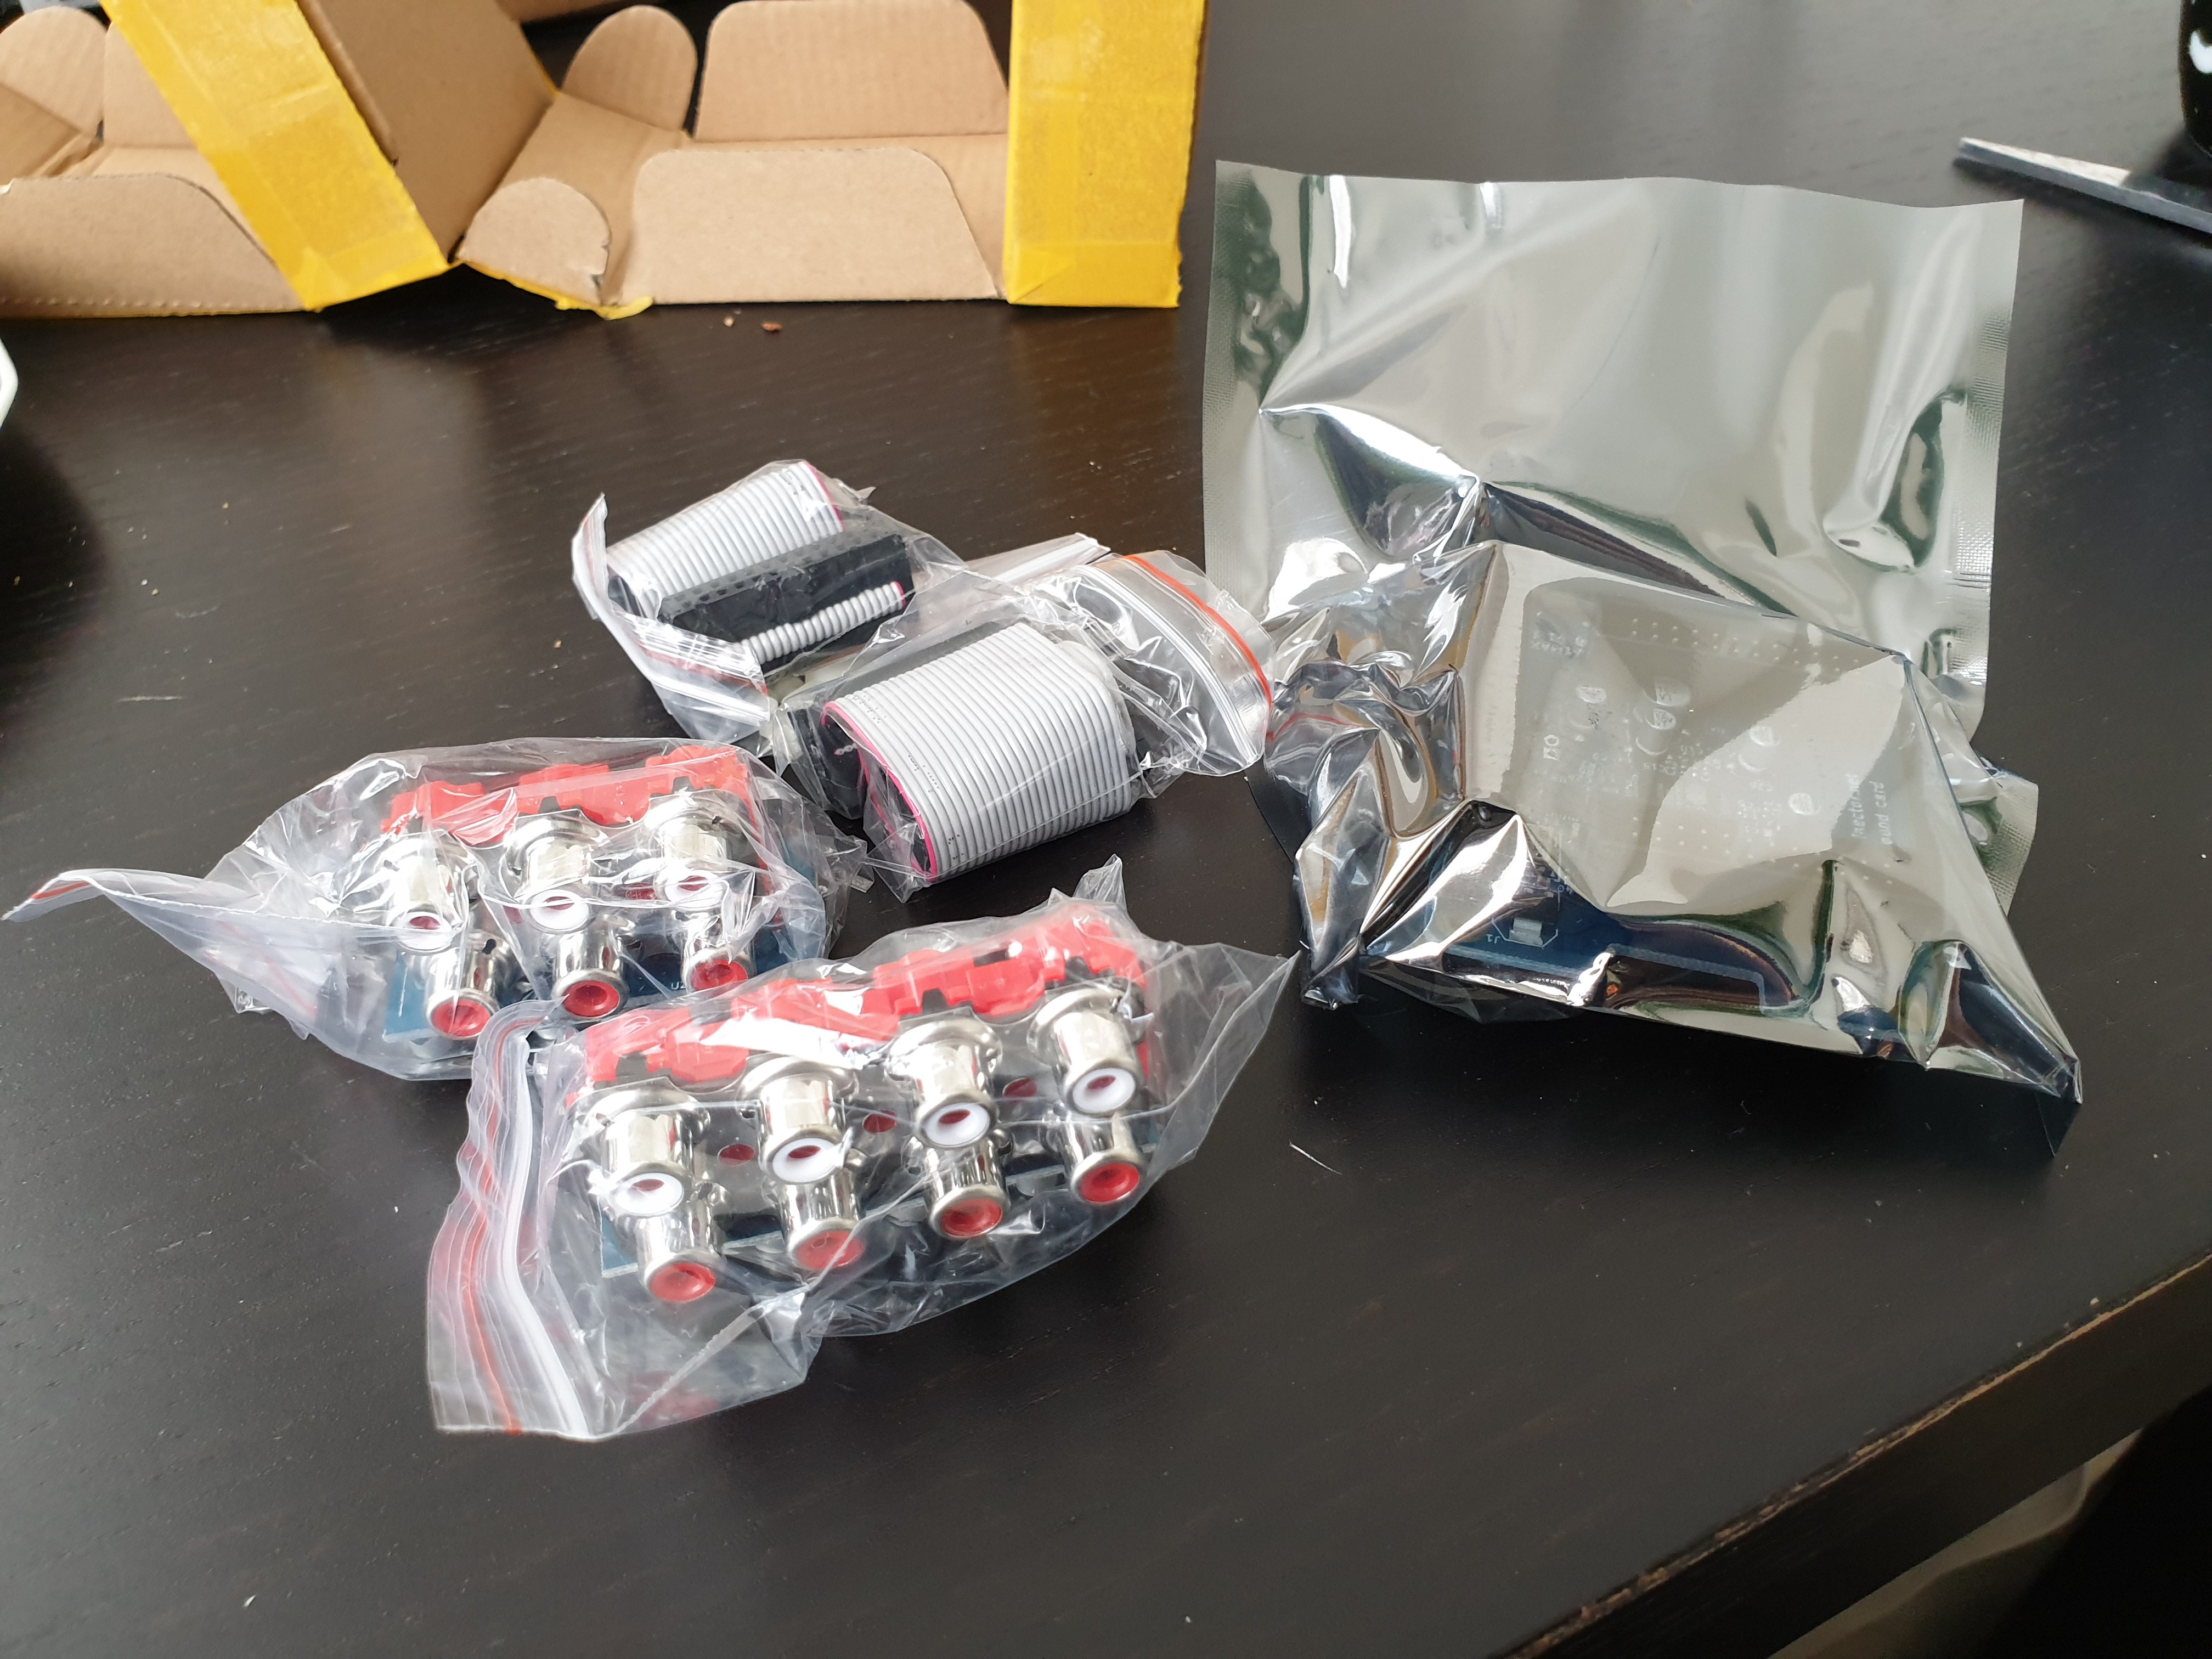
It was in fairly good condition, it just needed some external cleaning. Checking the contents on the internal harddrive, I found the remnants of sounds used by the "Who Wants To Be A Millionaire" show. It's been a long time since the last time that has aired in my country, so it must have been just sitting there for a while. I ordered a SCSI2SD kit, removed the internal scsi harddrive and installed the SCSI2SD kit instead leaving the original floppy drive intact. Great, I now have a fully working future proofed Akai s6000 to play with. It's great and all, but I just wish the firmware source code was leaked somewhere so I could start to make some changes to it.
My main sampler is an Akai MPC1000. It just checks all the boxes I want from a sampler, is easy to operate, and has a very raw processing feel to it. When pitching samples, there seems to be no low pass filter (which is something I actually like a lot). I even own two of them, just in case one breaks down. But it's not completely perfect. While JJOS is famous for adding a lot of features to the existing firmware, it also adds stuff I don't really need, and makes the UI more complex in my opinion.
In Utopia, there would be a sampler that combines the best of the s6000's friendly UI and feature set, with all the strengths of the MPC1000.
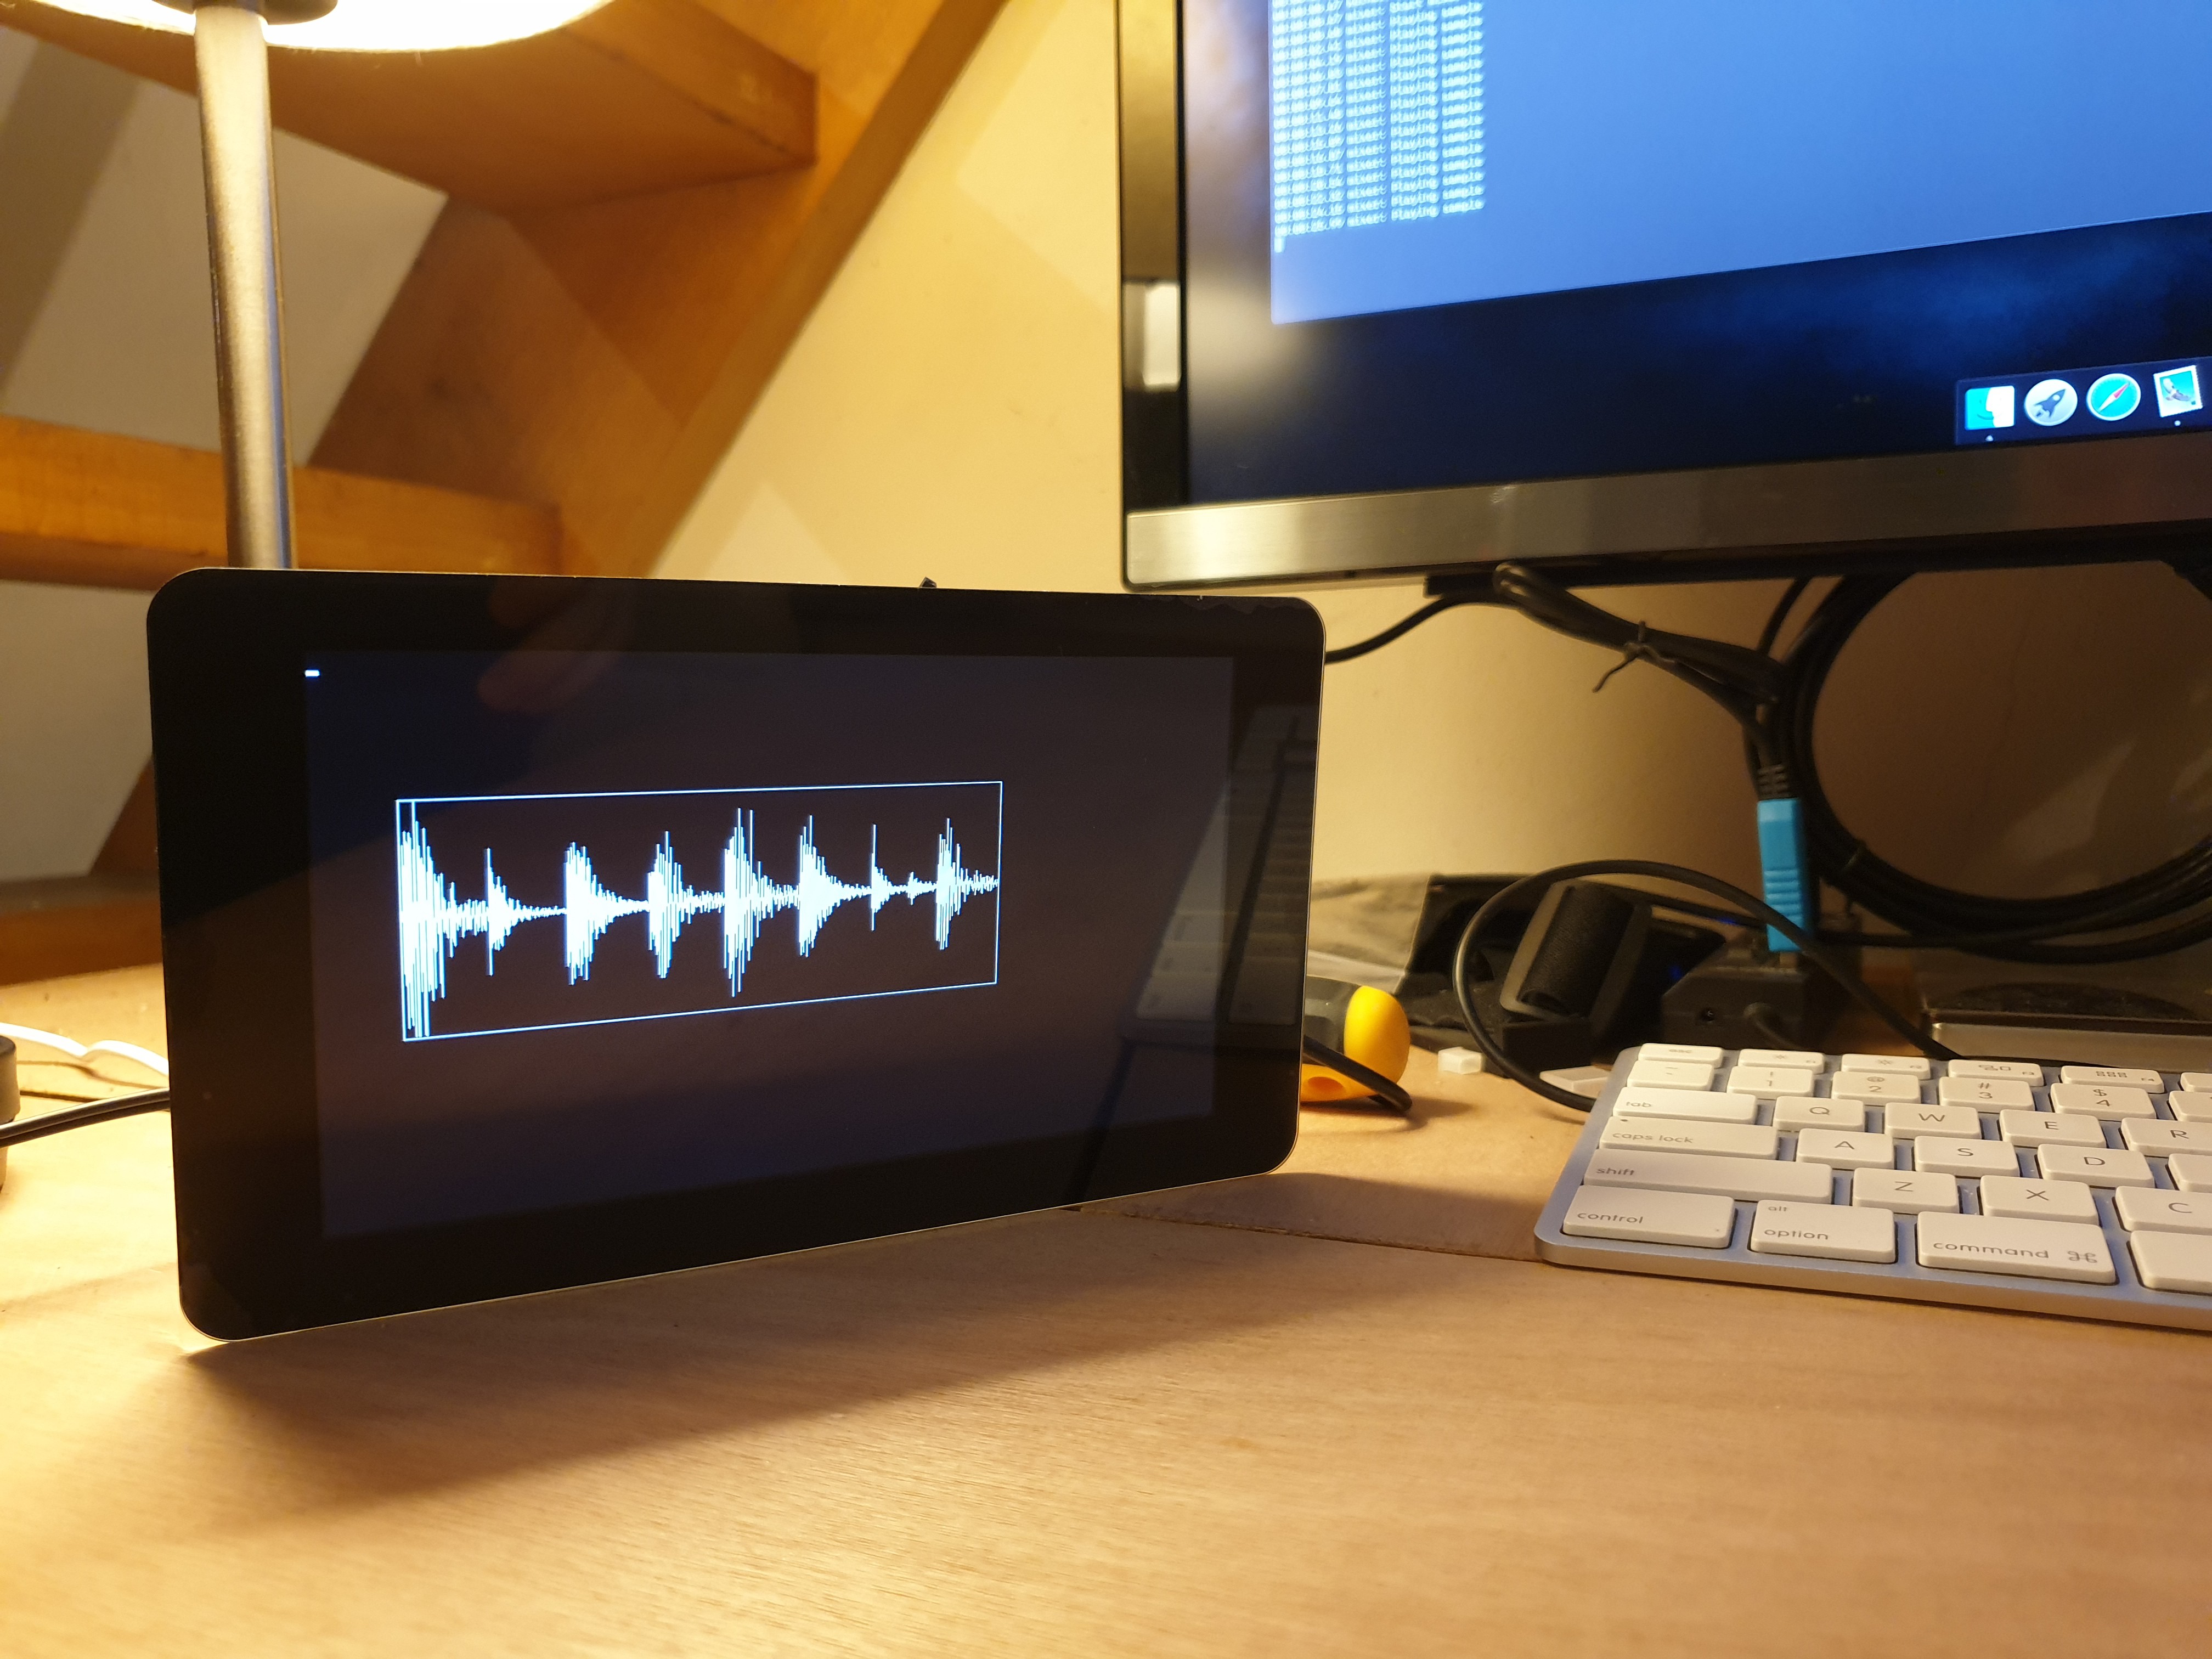
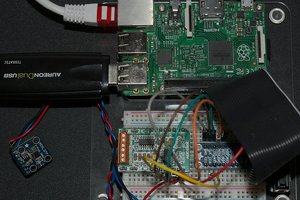
That's when I started thinking, as a programmer, if I really would put my mind to it I could make one myself these days with all the information out there. So I got started researching hardware. First I was looking at DSPs. Full disclosure, I suck at maths. Don't even understand simple concepts. But I'm a good handyman, and can puzzle things together. Ideally I would find a base to work with, and puzzle my way through. So I read some more, and finally found someone who said that the Raspberry Pi's arm is probably powerful enough to blow these old DSP's out of the water. A while back I was experimenting with programming a bare metal midi processor on the Pi 3 from scratch using David Welch's tutorials in C, so already gained some knowledge on how to do it. It also has a ton of working memory, unlike MCUs such as the Arduino, AVR, PIC or even ESP32. When researching I also came across Circle, which is a bare metal framework for the Raspberry Pi series that has got a lot of awesome work already put into it and figured this would be the right choice for my project. I'm not really familiar with C++, but have got a lot of experience with object oriented languages such as C# and Java, so the object concept should not be an obstacle.
We're going to take things slow, step by step. This has to potential to be one of those huge-mountain-of-work projects that never gets finished, so I need to take things slow and simple if I don't want to discourage myself.
I imagine the steps would be like this:
1. Setup bare metal compiler environment workflow with Circle on macOS
2. Create a simple program that plays a sample through the headphone jack
3. Find out how to mix samples for playing back multiple overlapping voices.
4. Implement classes for voices and mixing.
5. ...
Like I said, I suck at maths, so I'm going the...
Read more »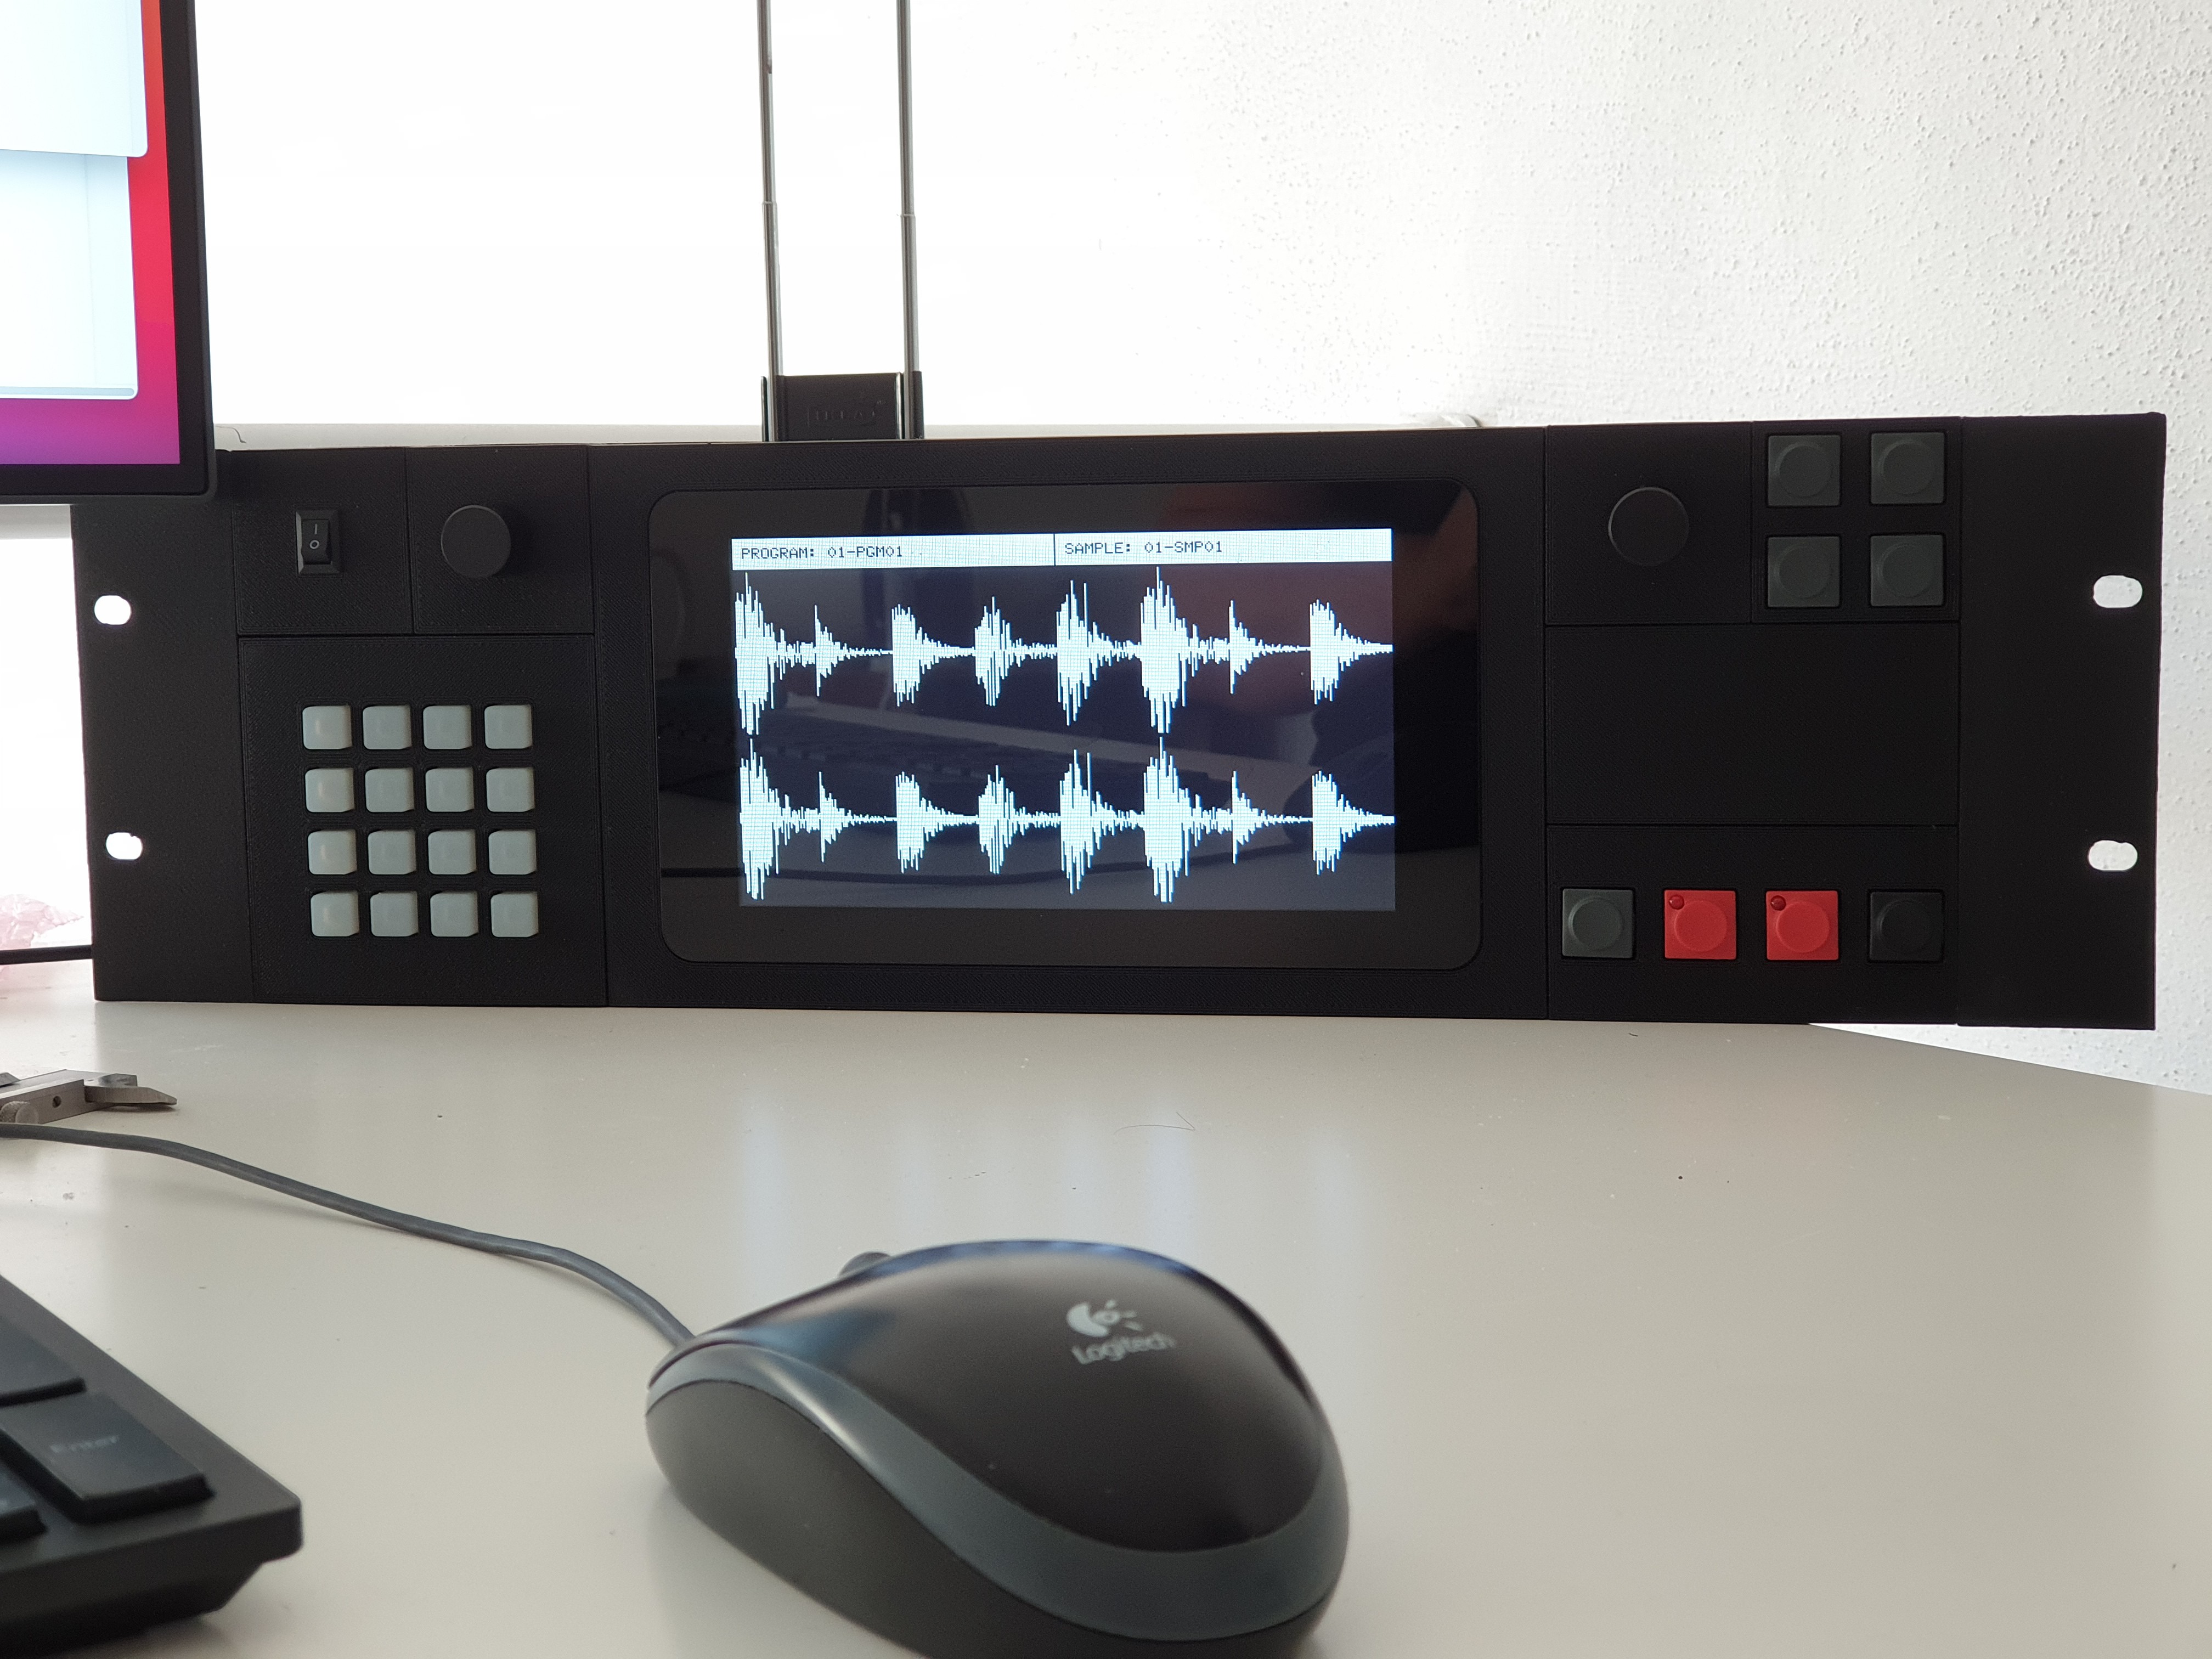
 Xasin
Xasin
 Jeremy
 Timo Birnschein