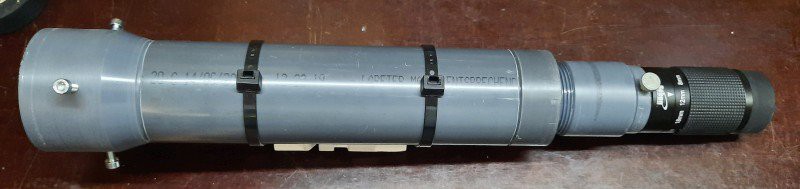
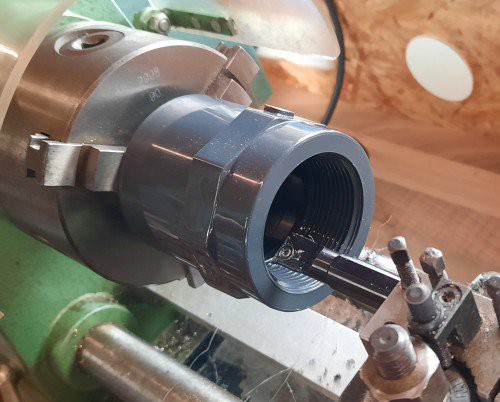
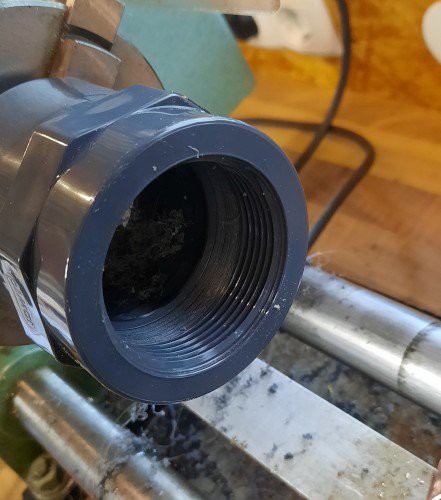
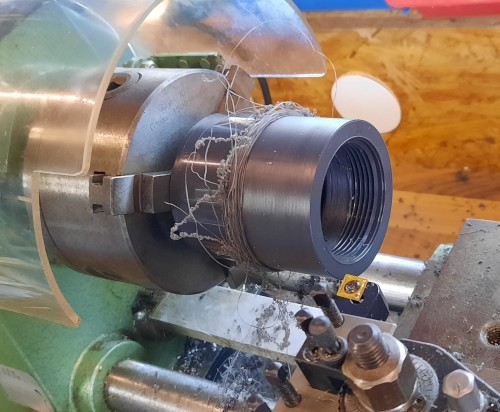
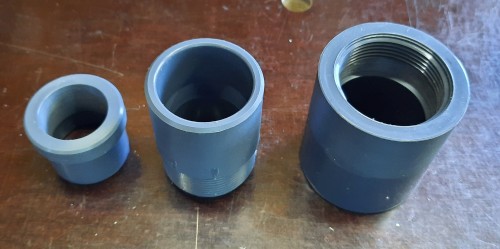
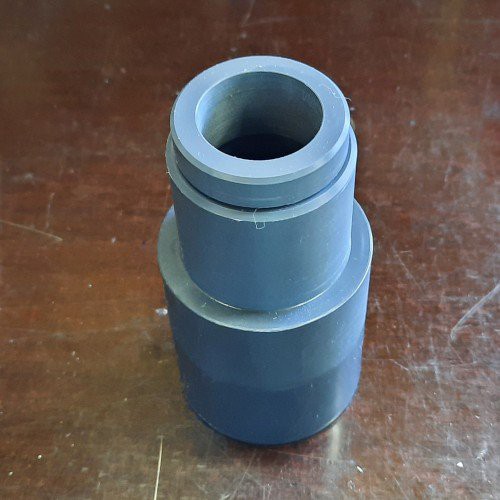
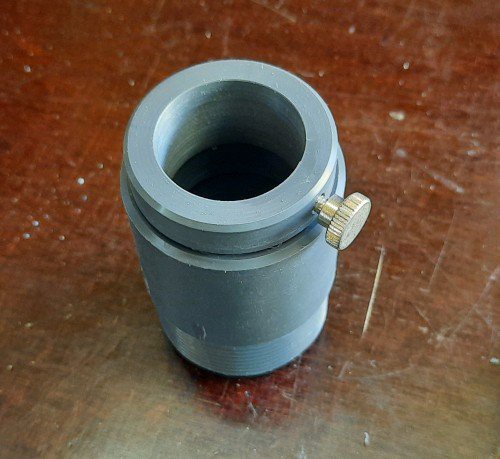
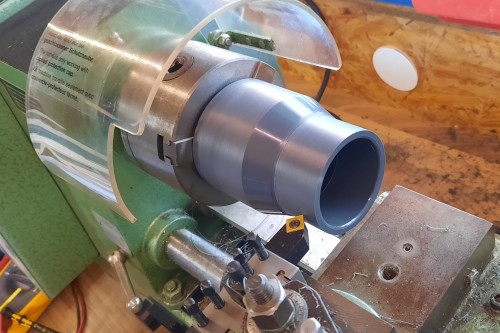
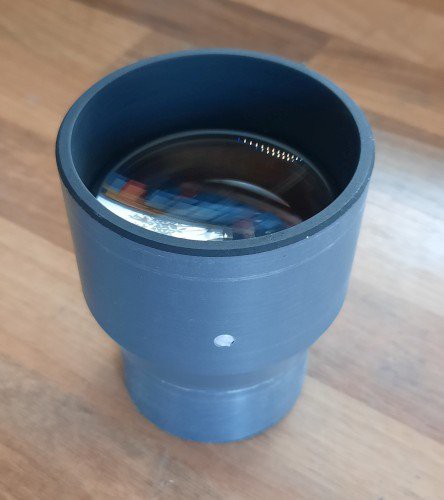
In the Internet you can find a whole range of DIY telescopes based on HT tubes. Since this does not satisfy me optically, I decided to build a variant based on PVC pipes. In comparison to the HT pipes there is a large selection of adapters which can be used for building.
Unfortunately there are only a few suppliers of cheap lenses that you can use for your own telescopes. In China there are a lot of suppliers, but the offer is very confusing and you do not know which quality you will get.
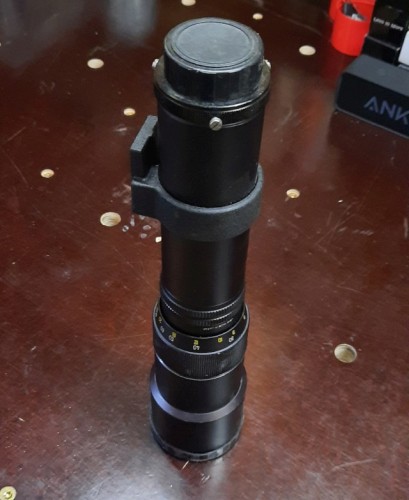
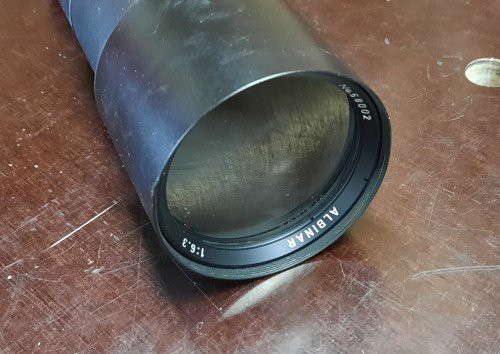
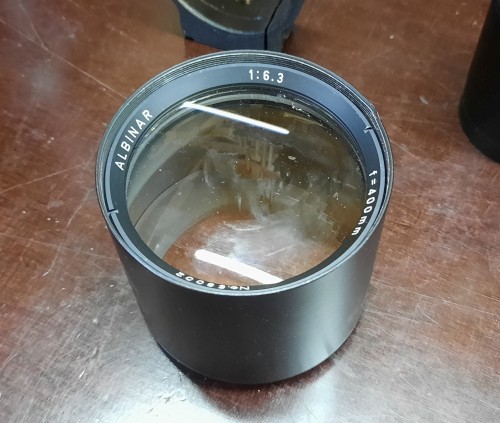
In the photo sector the Beroflex f8 500mm telephoto lens is a cheap and good alternative to the lenses of the big manufacturers. Because the Beroflex is similar to a normal telescope I decided to try to build a DIY telescope based on it.
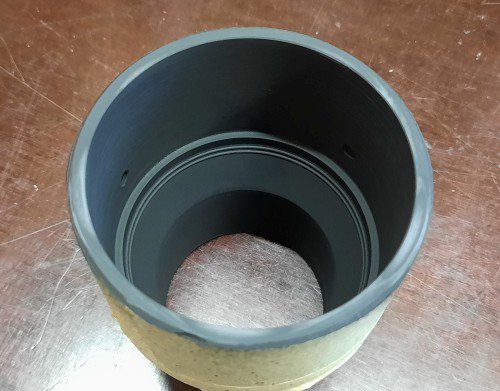
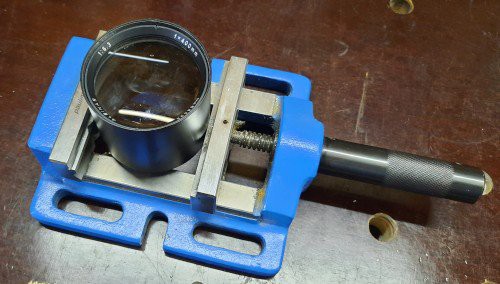
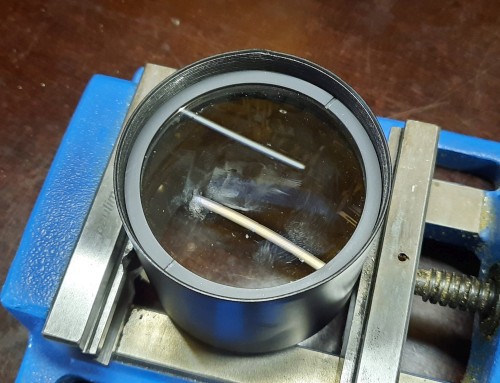
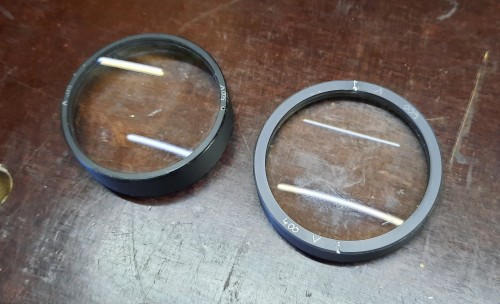
Besides the front lens there is a correction lens inside which I will not use. I suppose that the lens is a kind of Barlow lens because the focal length does not fit to the length of the telescope. Without this additional lens the focal length seems to be about 335mm.
 N. Christopher Perry
 Tinkers Projects
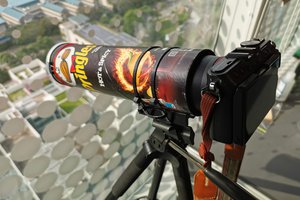
 Steve Dearden