 Alex Mous
Using Tree-Pi
The website is accessible over the network at the Raspberry Pi's IP address and at https://treepi.home if you set up DNS host mapping on your router if it is supported. On any web browser, navigate to https://IP_ADDRESS. Note that the connection might take some time to connect, so please be patient. Also, this website is using a self-signed certificate. To disable the security warnings, download the certificate and install it on your computer (this will only work if you setup the domain name treepi.home).
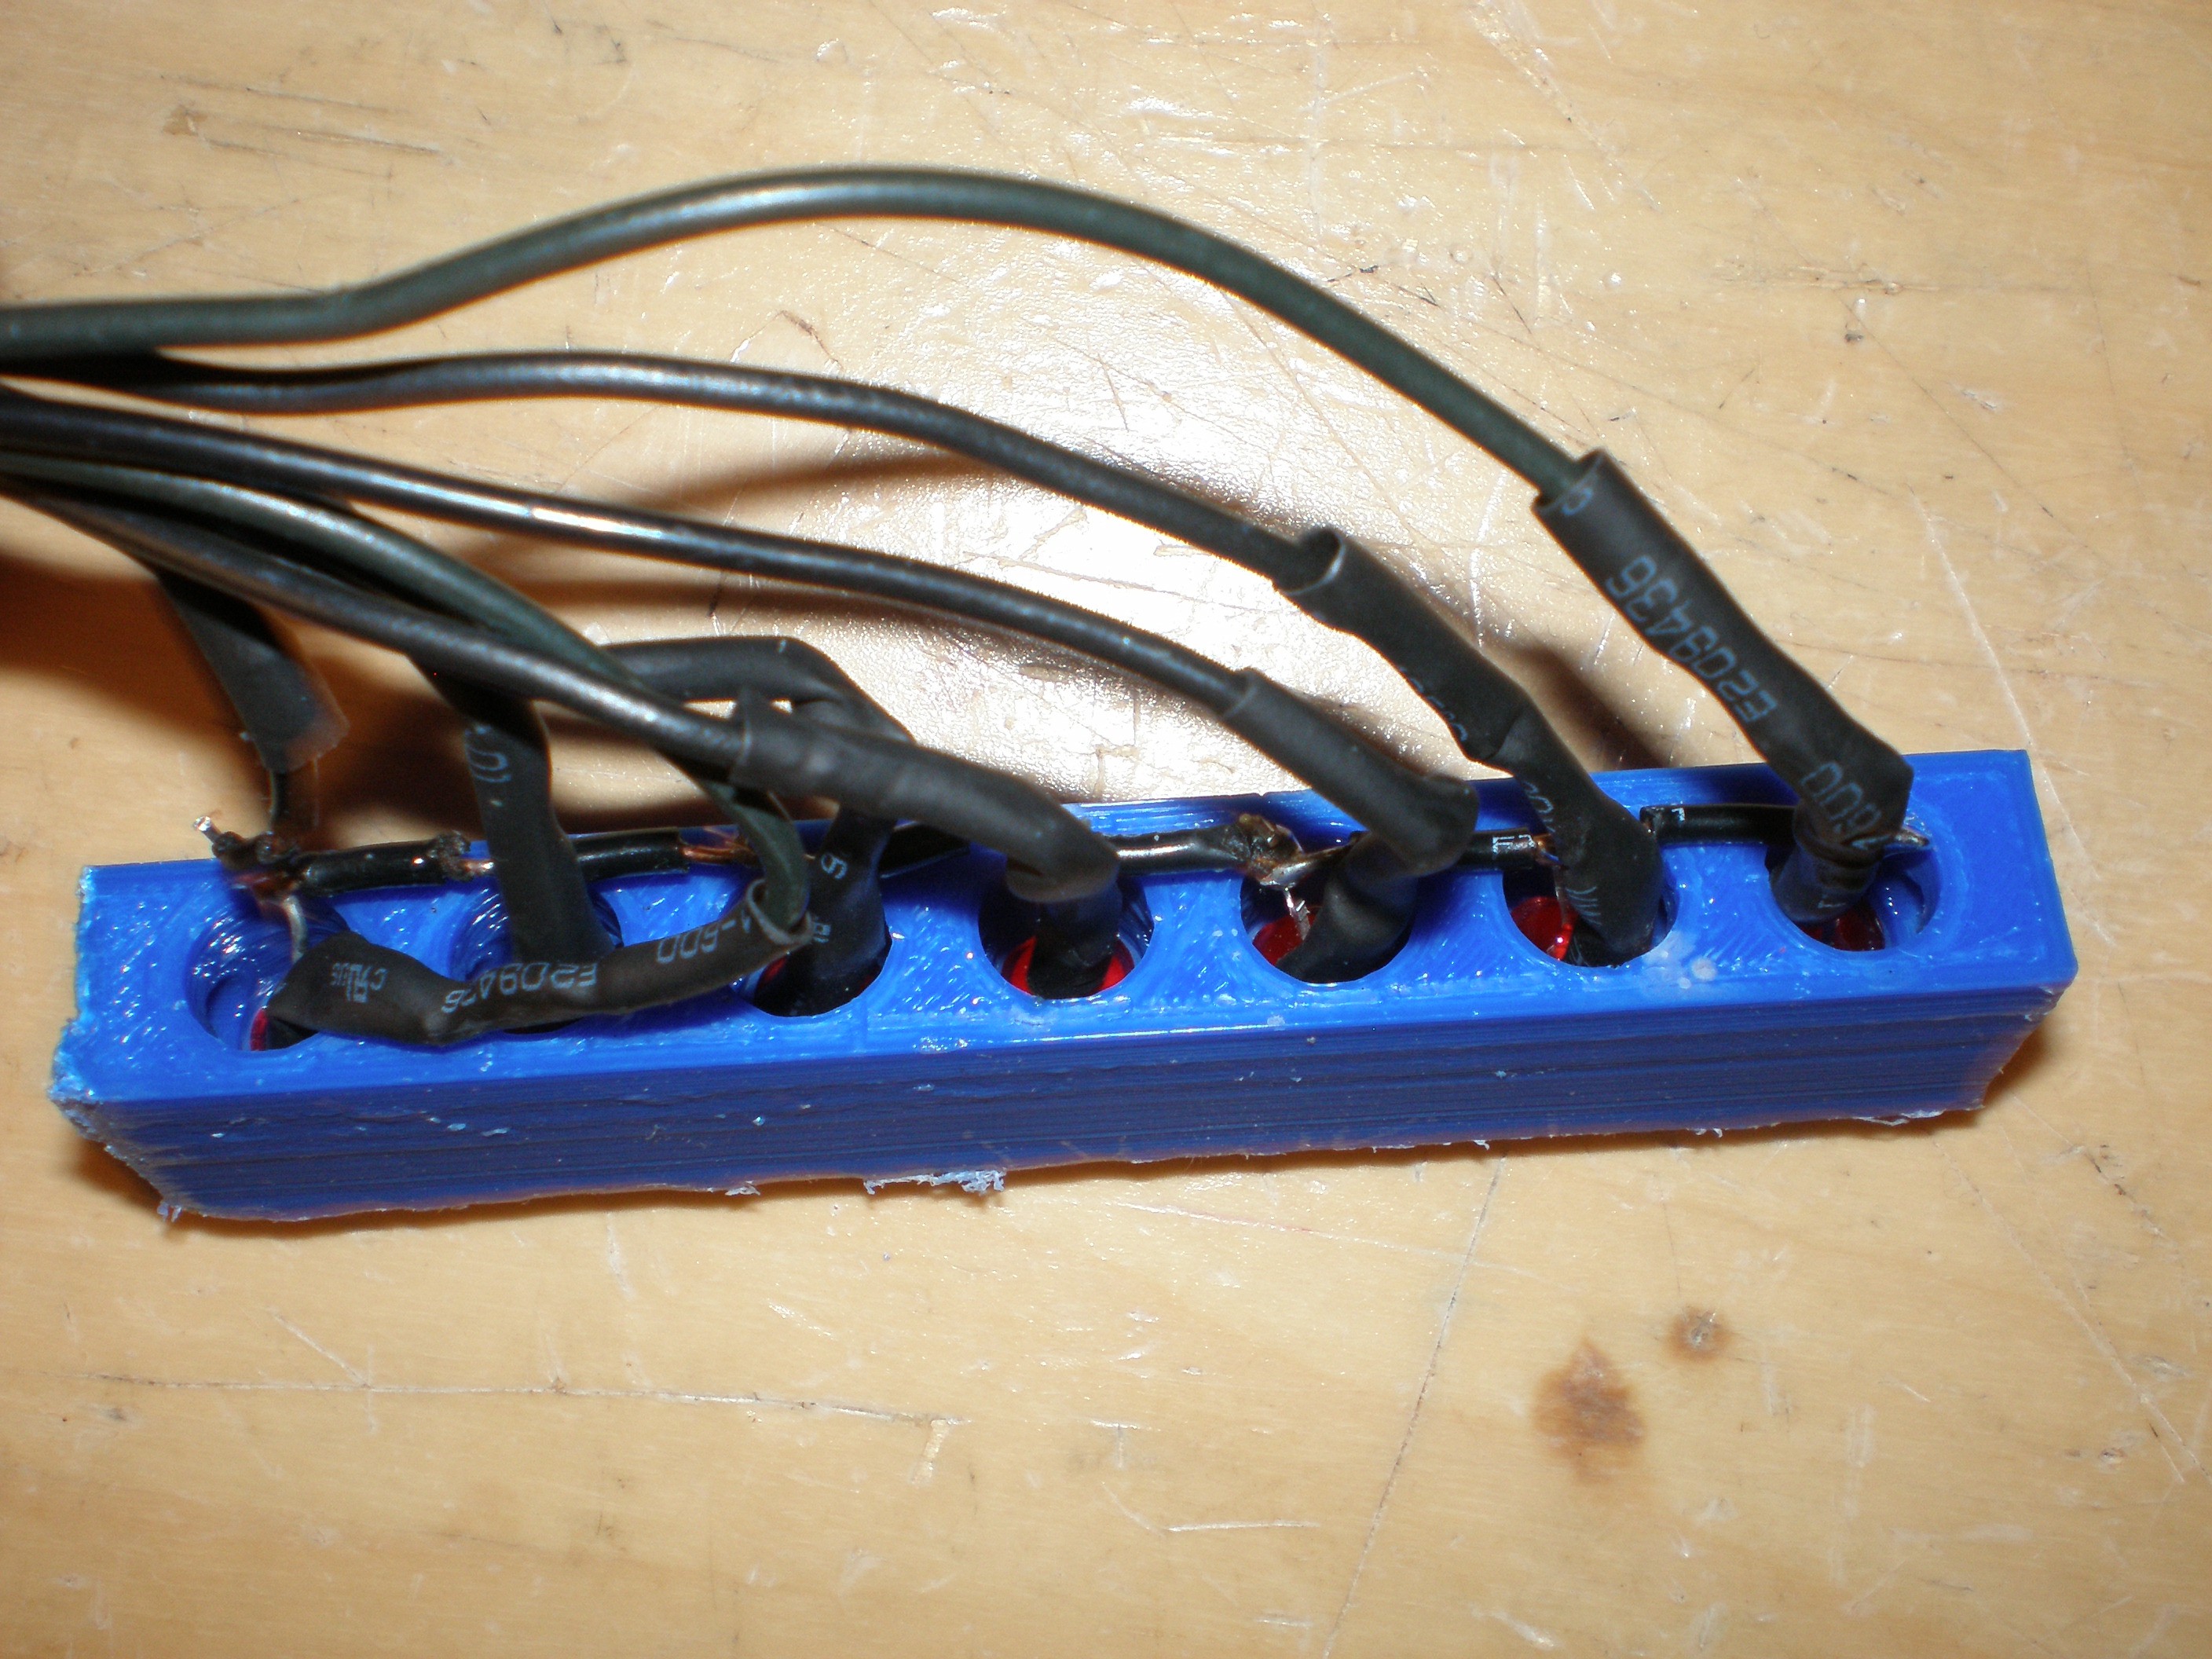
The website is designed to be intuitive to use, with the a home page to display the water level and alerts, a graph page to view the log of readings (taken every 15 minutes), a settings page to adjust the minimum and maximum water levels and shutdown the Raspberry Pi, as well as a page to start/stop the filling mode (where the current water level is displayed in real time on the LEDs).
Before using the system, you will need to configure the maximum and minimum levels on the Settings page. To do this, start with min at 1 and max at 14, see how the level changes when the tree's base is empty and full, and adjust accordingly.

 J
J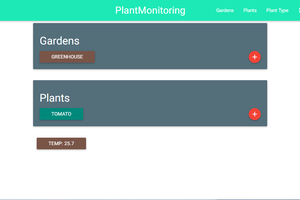
 klhutchins
 Scott Feldman
Have you used non-contact ultrasonics with a WiFi NodeMCU?
https://hackaday.io/project/165664-zero-municipal-water-toilet