David Scholten
-
Peltiers and Initial Load Tests
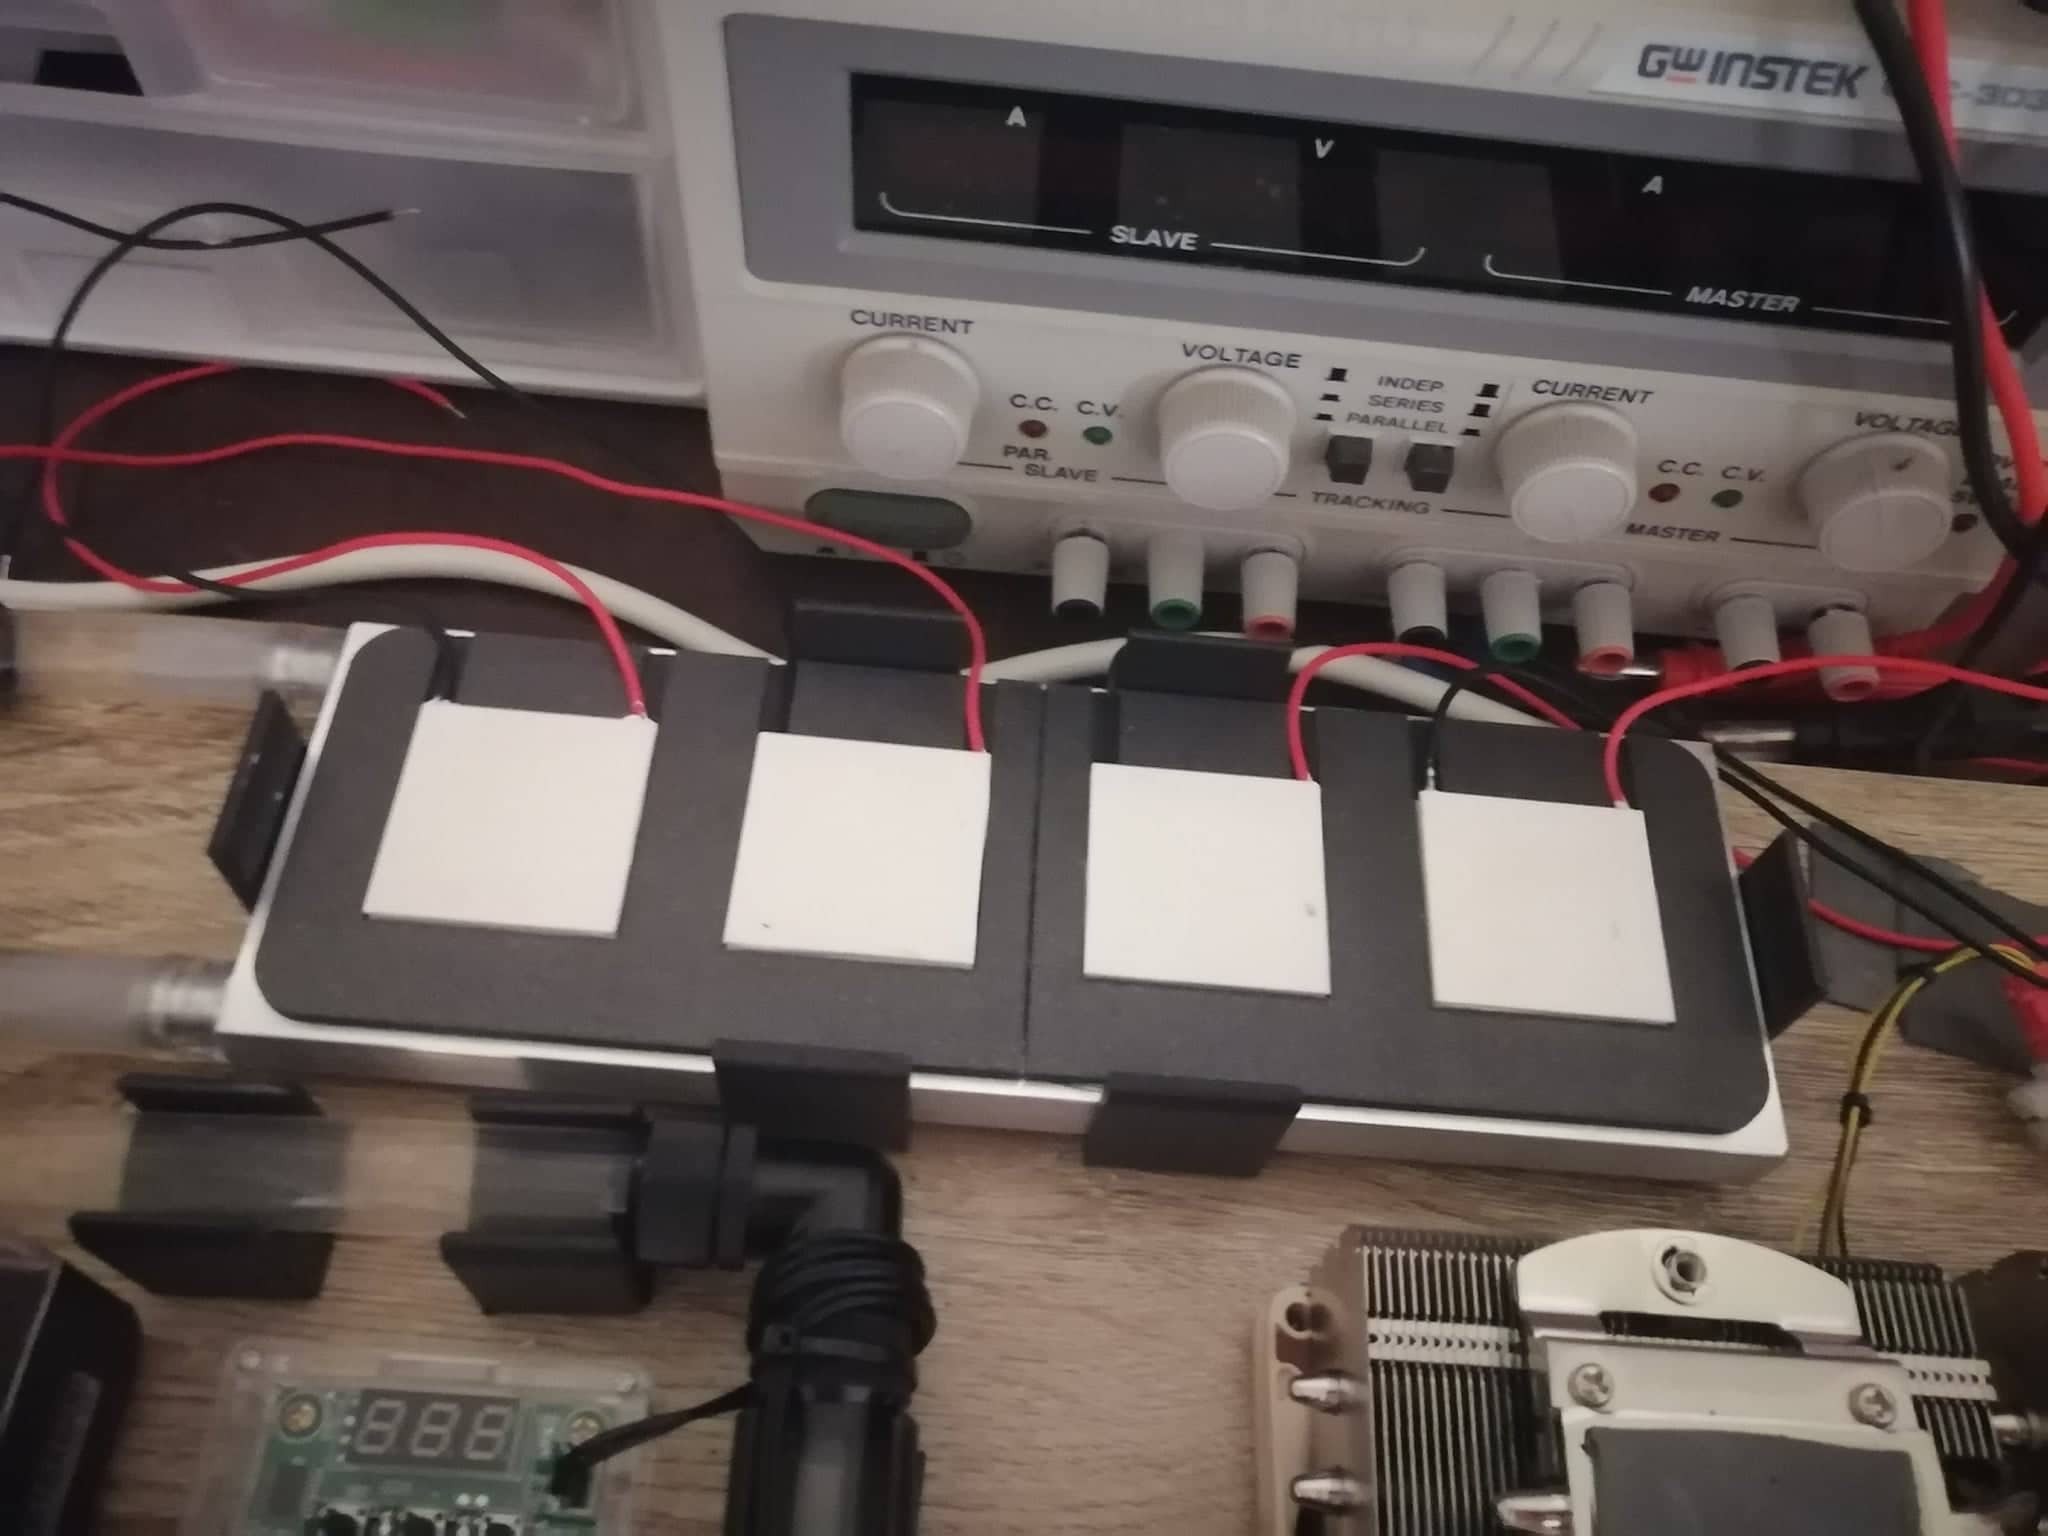
02/14/2022 at 06:33 • 0 commentsSo I've received a bunch of Peltiers, but the rating labelled is different from the actual performance. I've been flim-flammed.
I also received fans - That's always nice:
(The 12x fake peltiers are just sandwiched in between the heat blocks)
![]()
And a triplet of power supplies! One for loop 1, loop 2 and then the fans:
![]()
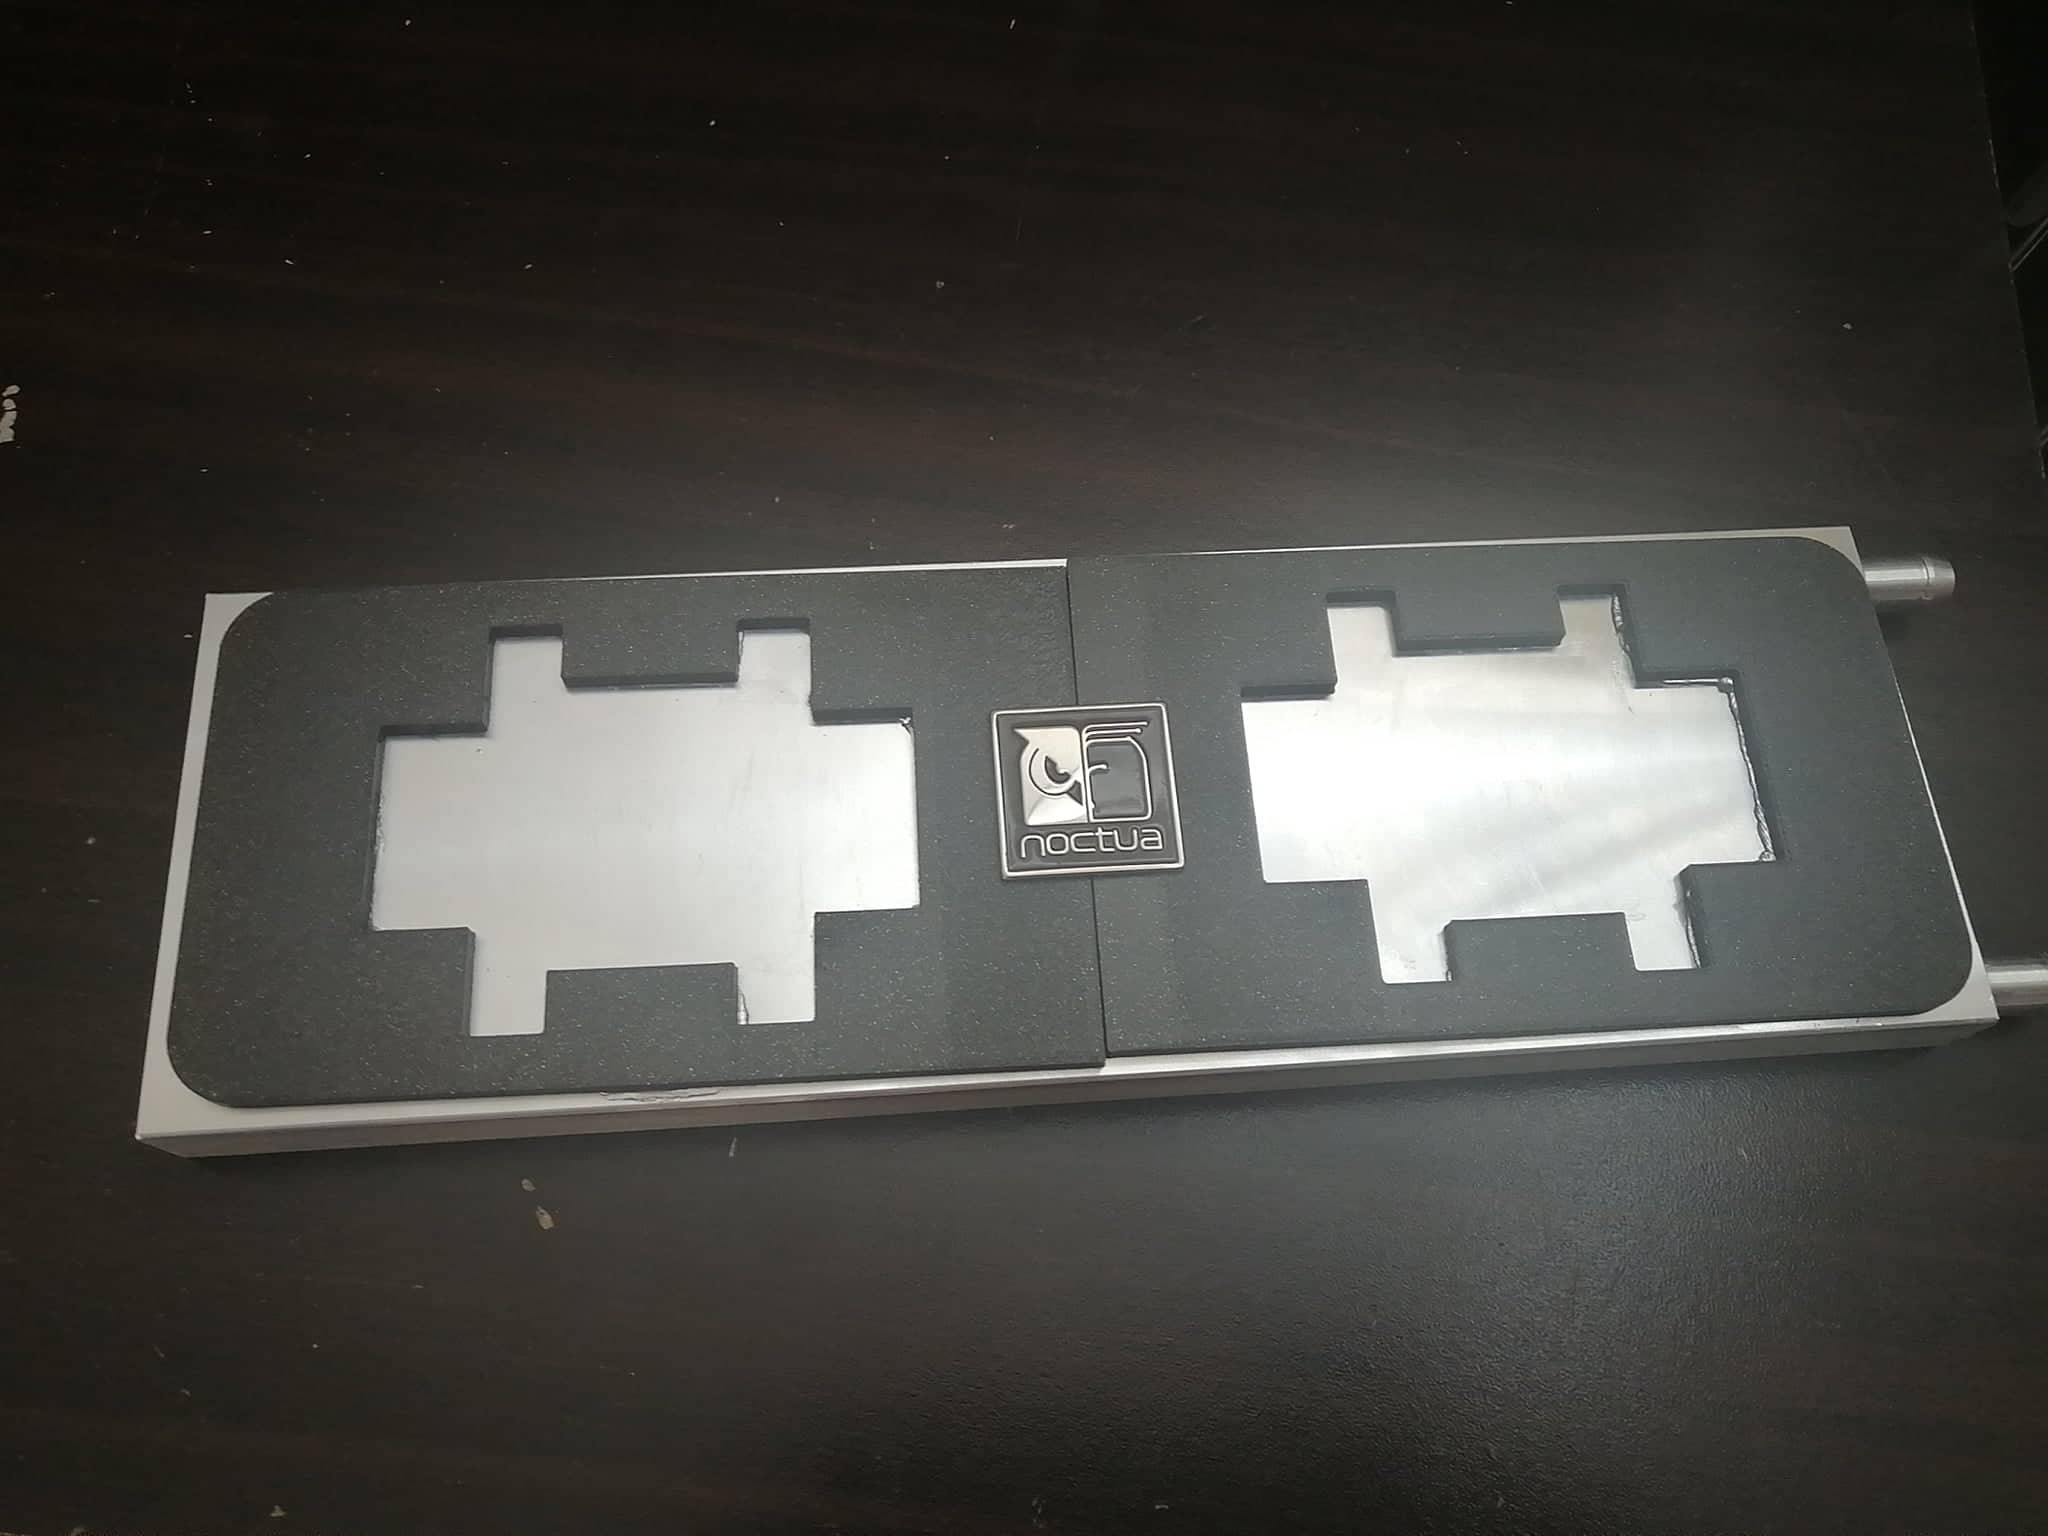
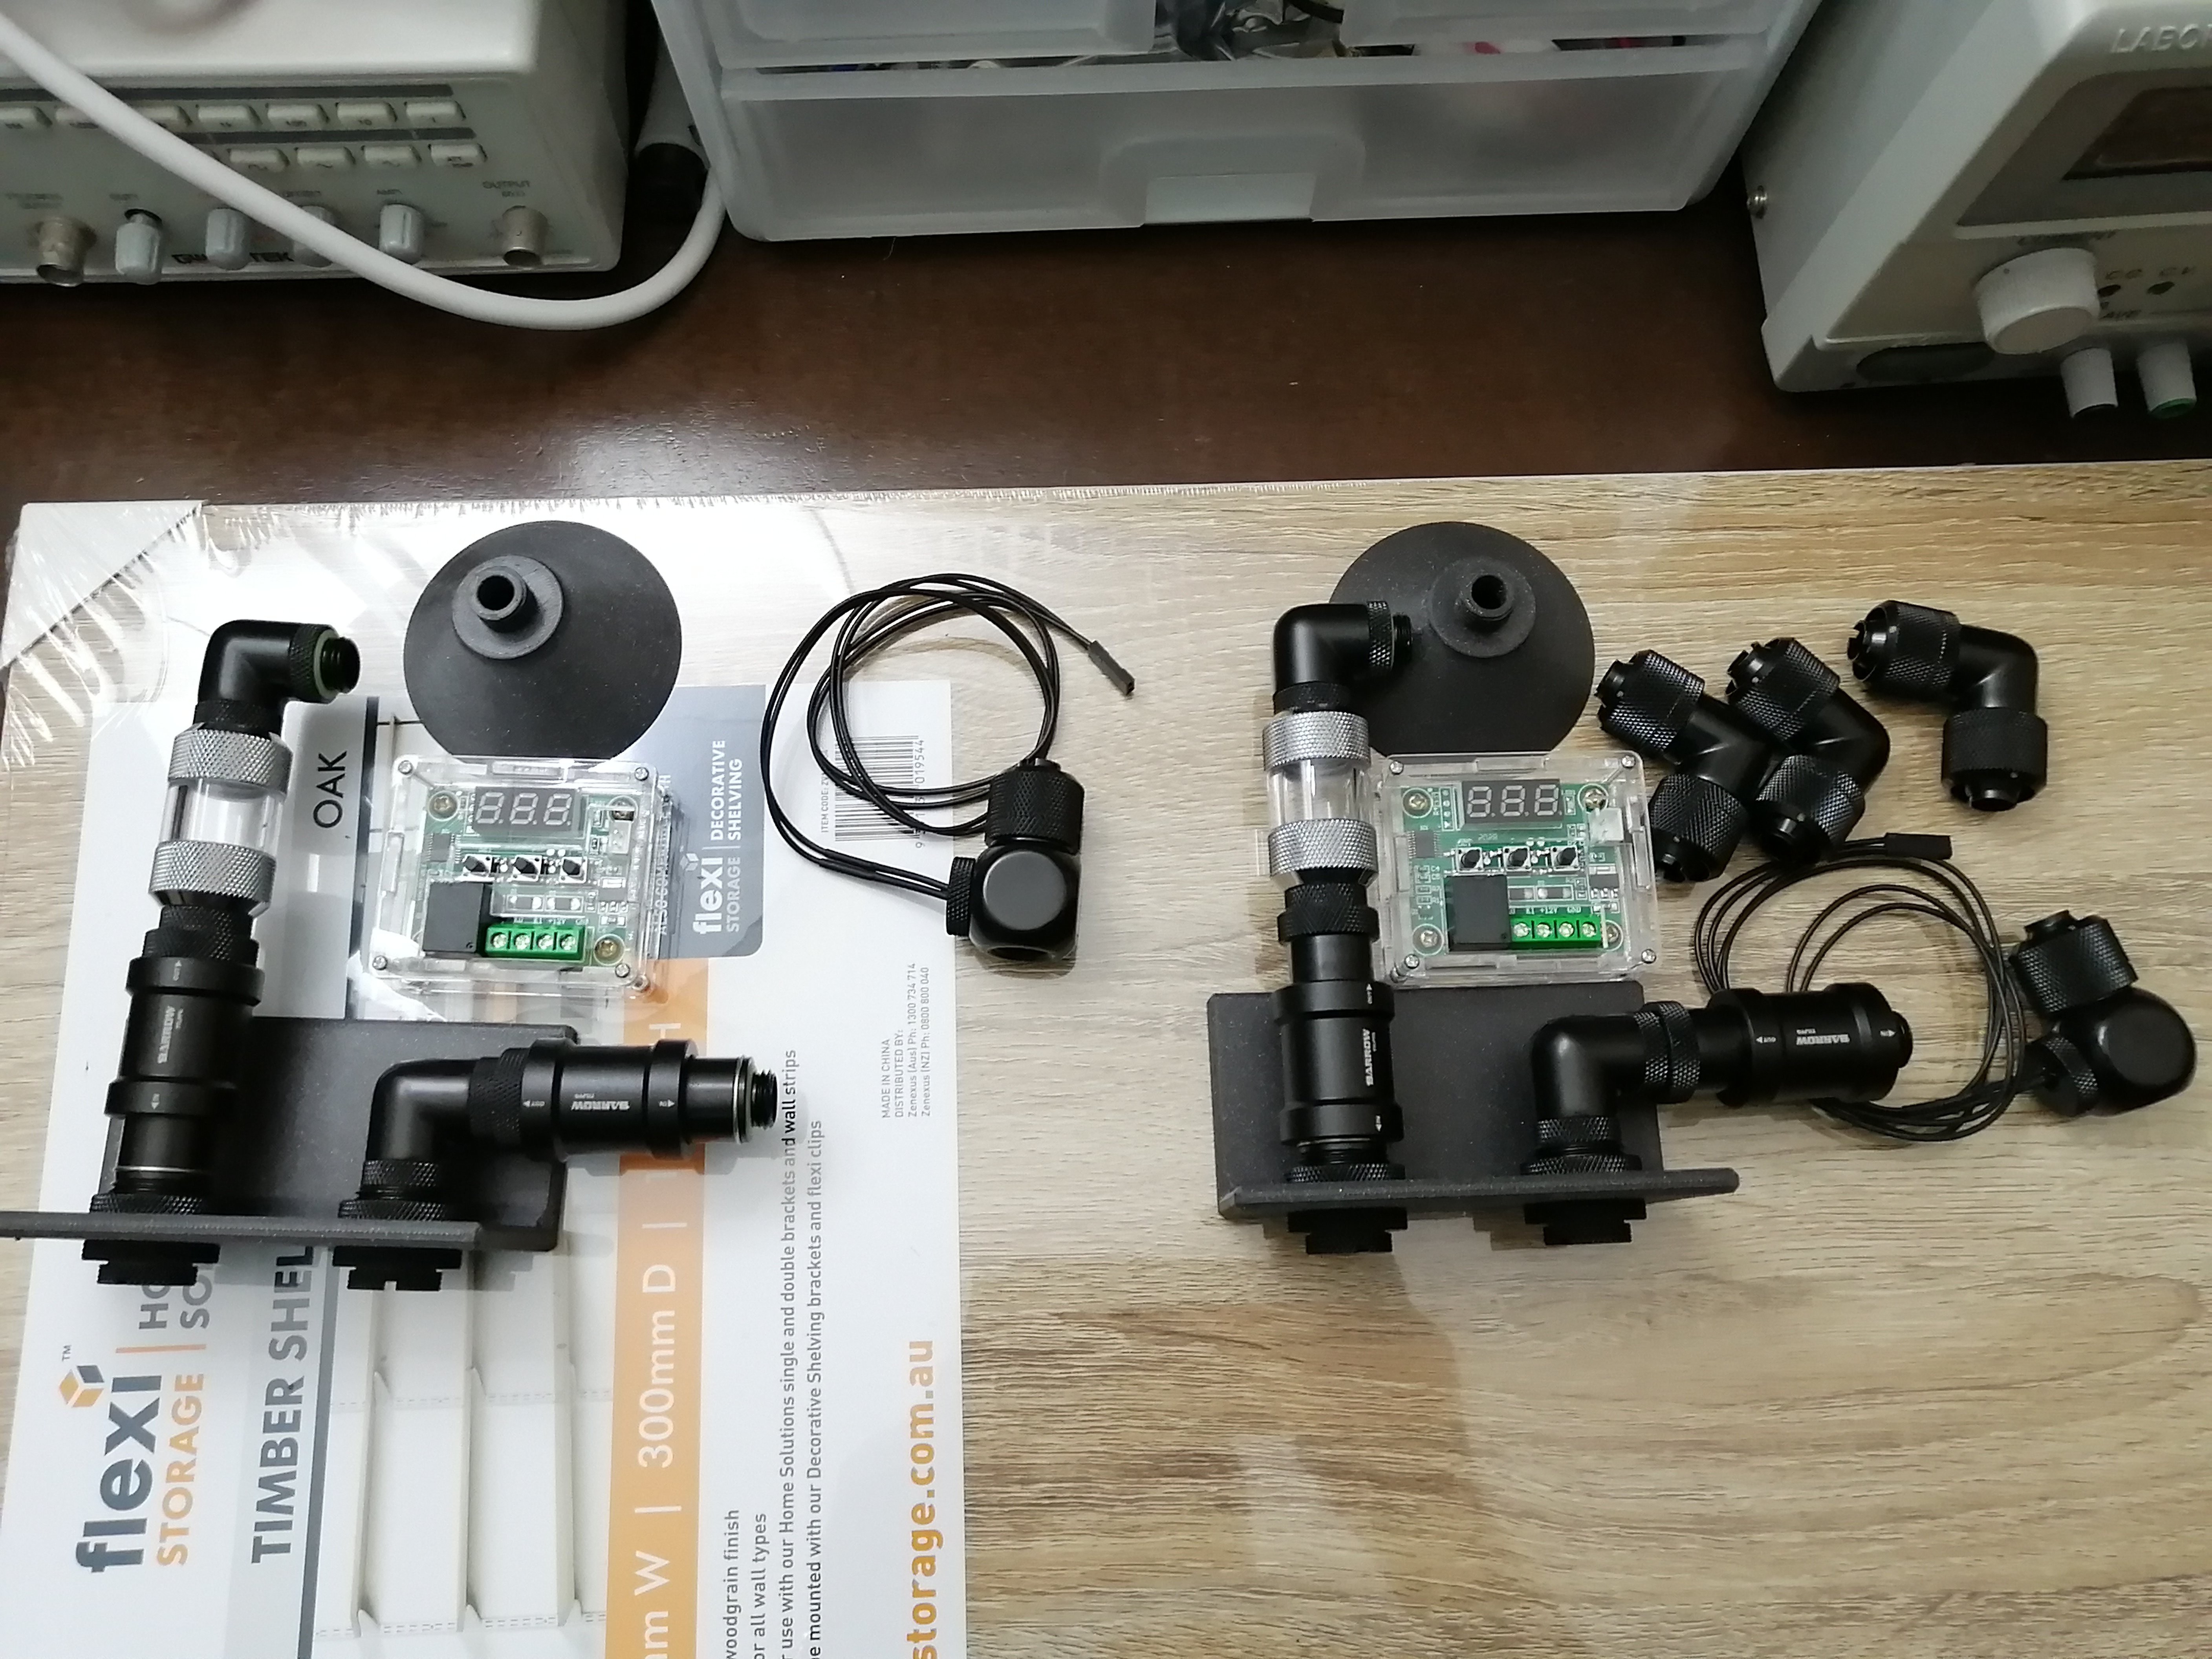
Now, to neaten things up I've made some ASA printed peltier spacers that have been superglued on to hold them in position as they slip around on thermal pads/thermal grease:
![]()
![]()
![]()
I've also made some spacers for the giant fans:
![]()
The whole idea is that the "stack" of components can be lifted vertically upwards, but nothing can move laterally and ruin it. It's like a heat block sandwich.
In the end I'm aiming for 4x150-200W peltiers in the sandwich.
Now! Thermal issues! I'm currently cooling with only 60-120W, but I can't get the hot side heat away and am therefore only achieving up to a 4 degree drop from ambient after tuning the input power.
There are many issues that need to be fixed (of which most will go away simply by completing the planned project):
1. The current thermal pads are garbage compared with thermal grease - I'm changing it out for grease now that I have the spacers. This is especially important now that I want only 4 peltier units instead of 12 lower power ones.
2. Heat blocks don't conduct heat from top-to bottom well without water in them! :)
3. That water likely also needs to move, so statically filling it up may not work.
4. The cooling thermal losses from the environment heating the pipes is immense and kind of comical. The air around the piping just feels nice. I'm aiming to overcome this with pure power in the future, but I can always start wrapping things in insulation... These PC copper pipe adapters are designed to bleed of heat with hot water from graphics cards, not stop the cold from escaping...
-
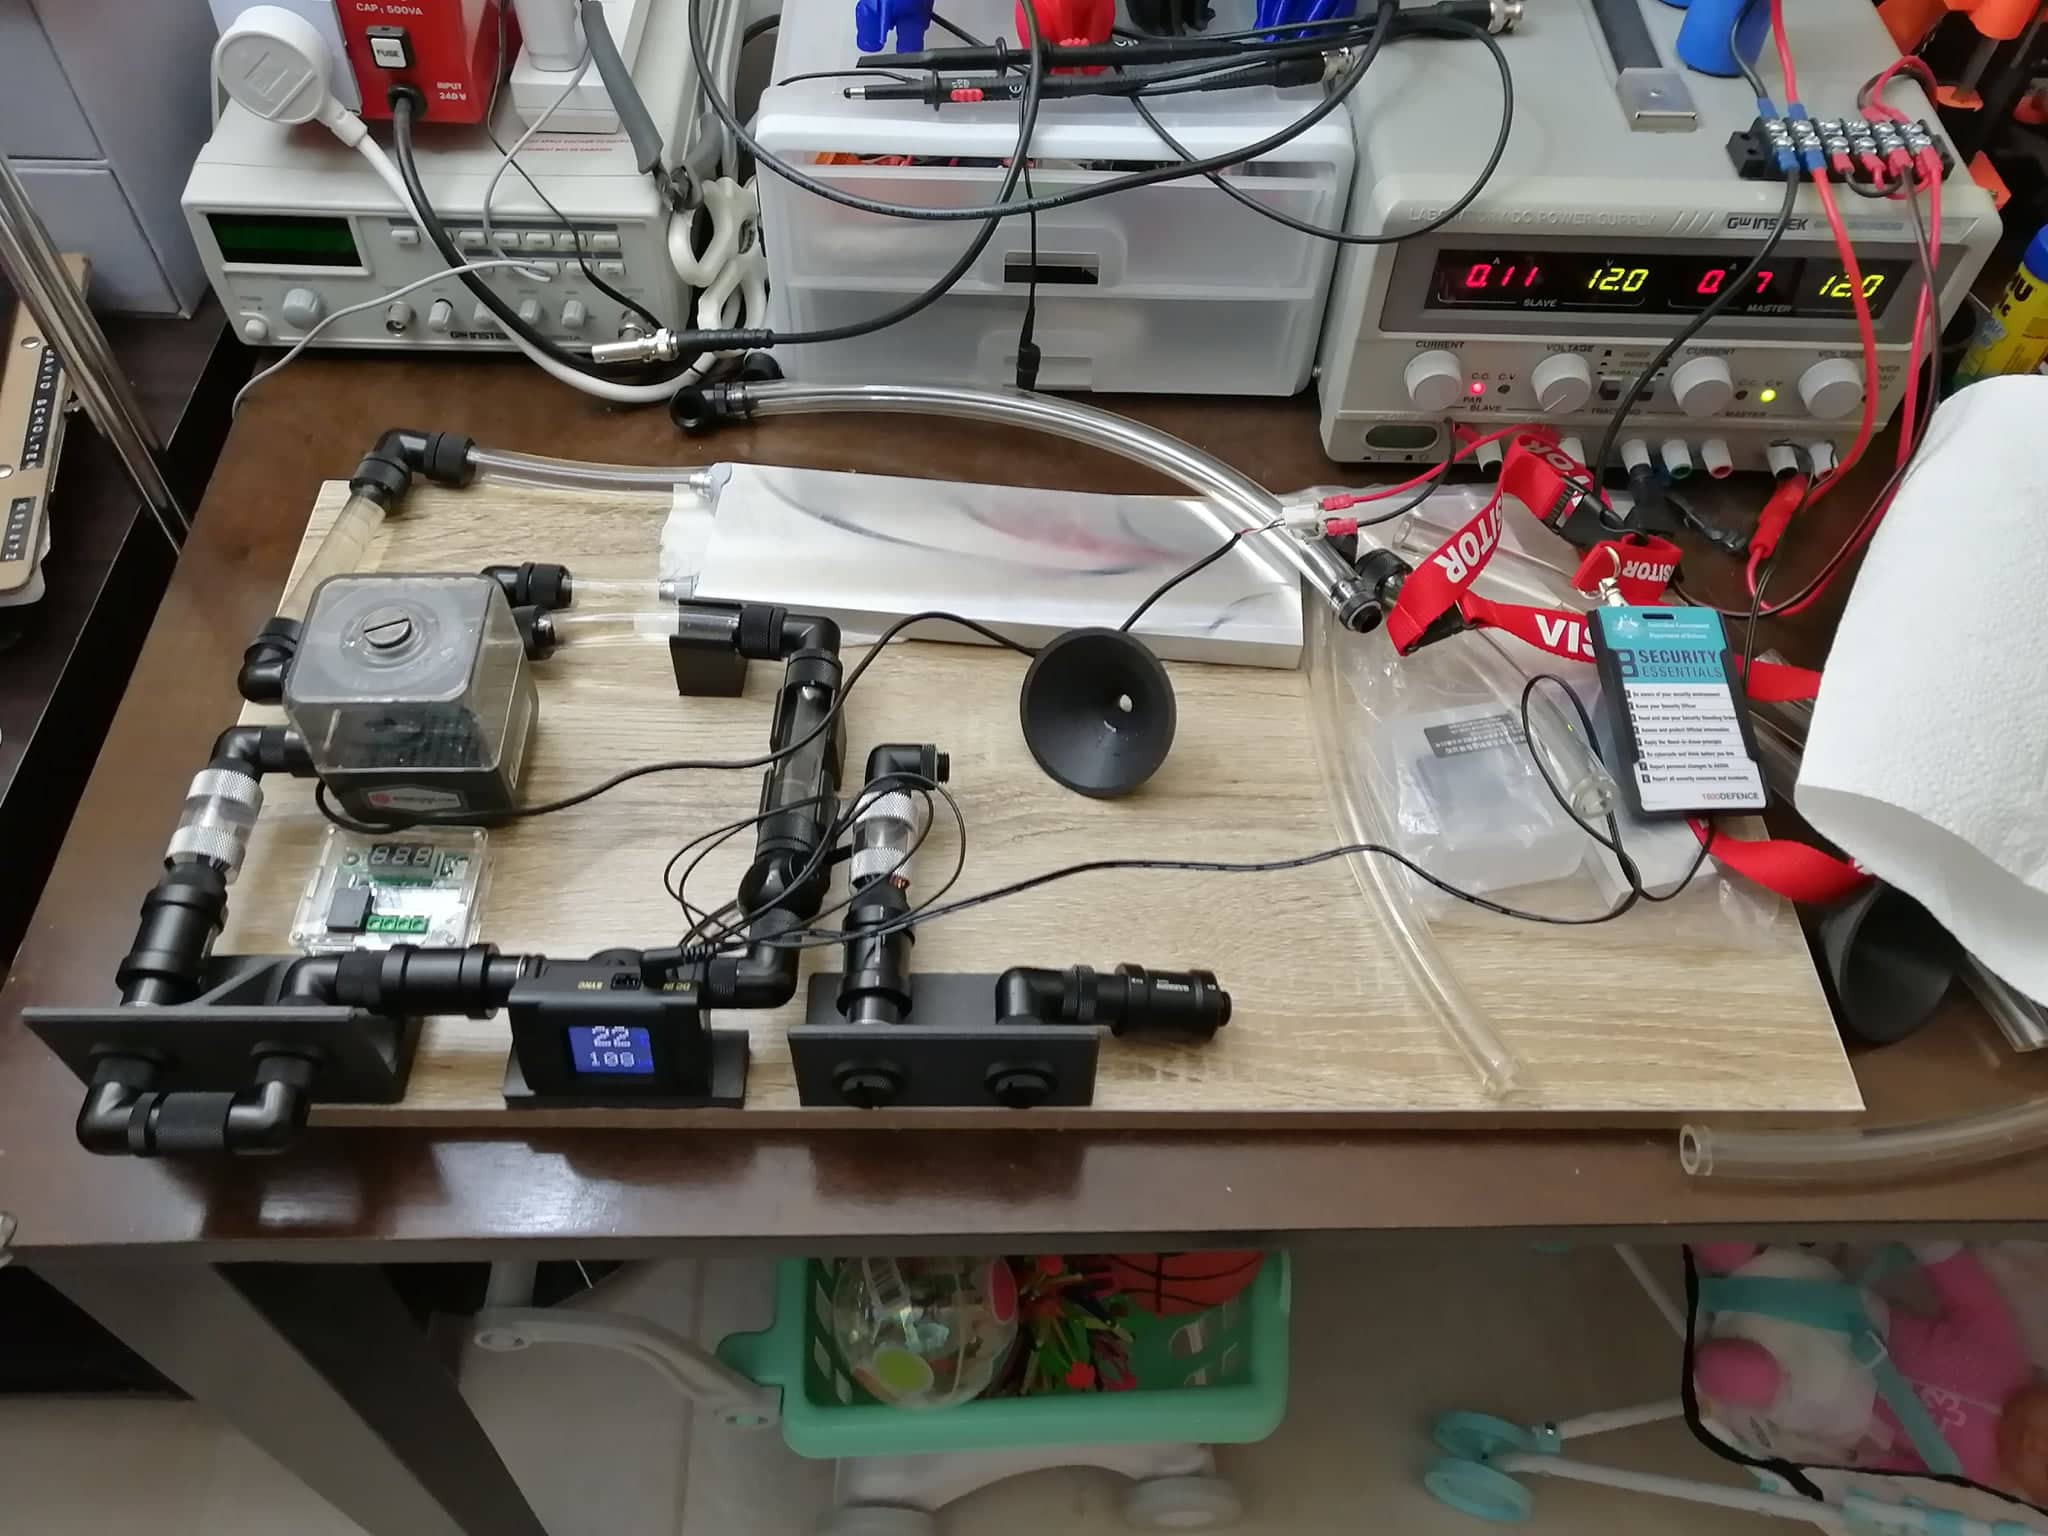
Test Load Platform Added
12/19/2021 at 02:19 • 0 commentsUsing a spare heat-block and some existing 3d printed parts with double sided tape, I threw together a test load platform. If everything goes well, I should be able to have the first loop running with a CPU cooler fan on a heatsink cooling the peltiers and pump the cool-side water to this little thing (drink cooler or more peltiers for cloud chamber?)
![]()
I did notice that the flow rate dropped even lower. Turns out that the pump I'm using is not what I ordered and is, in fact, a quarter of the power of the intended model (plate confirms this). It's clearly struggling to keep up with the flow resistance.
The good news is the higher power model is the same form factor, but the bad news is I'll be spending more money and that the pressures will be higher than what they are now. -
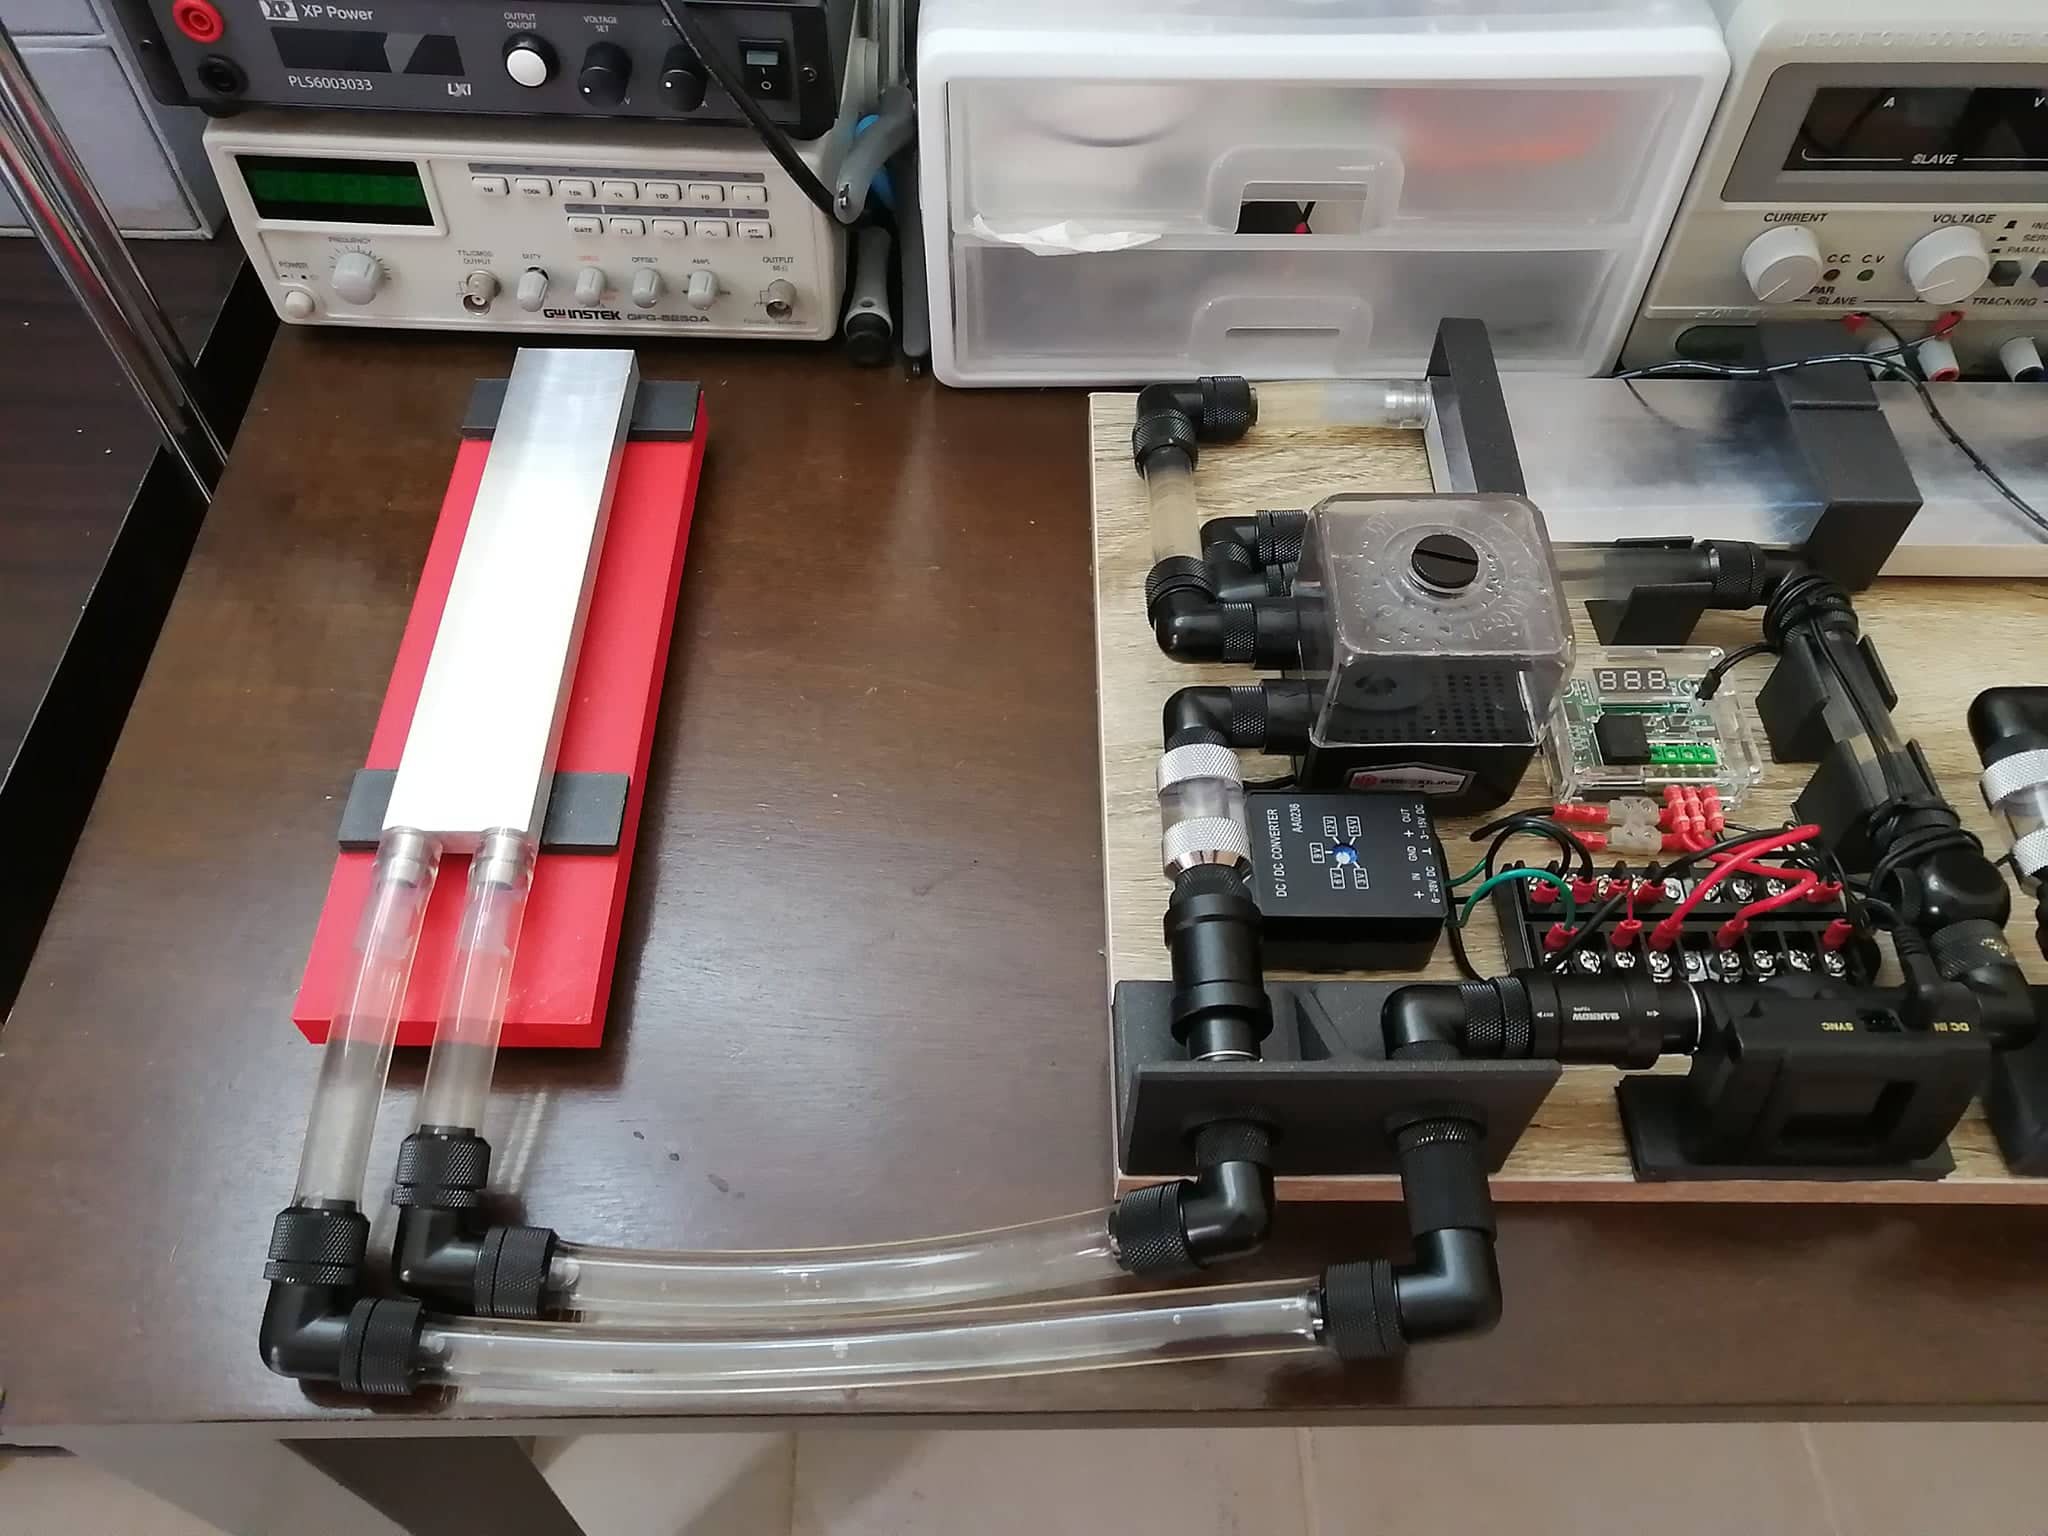
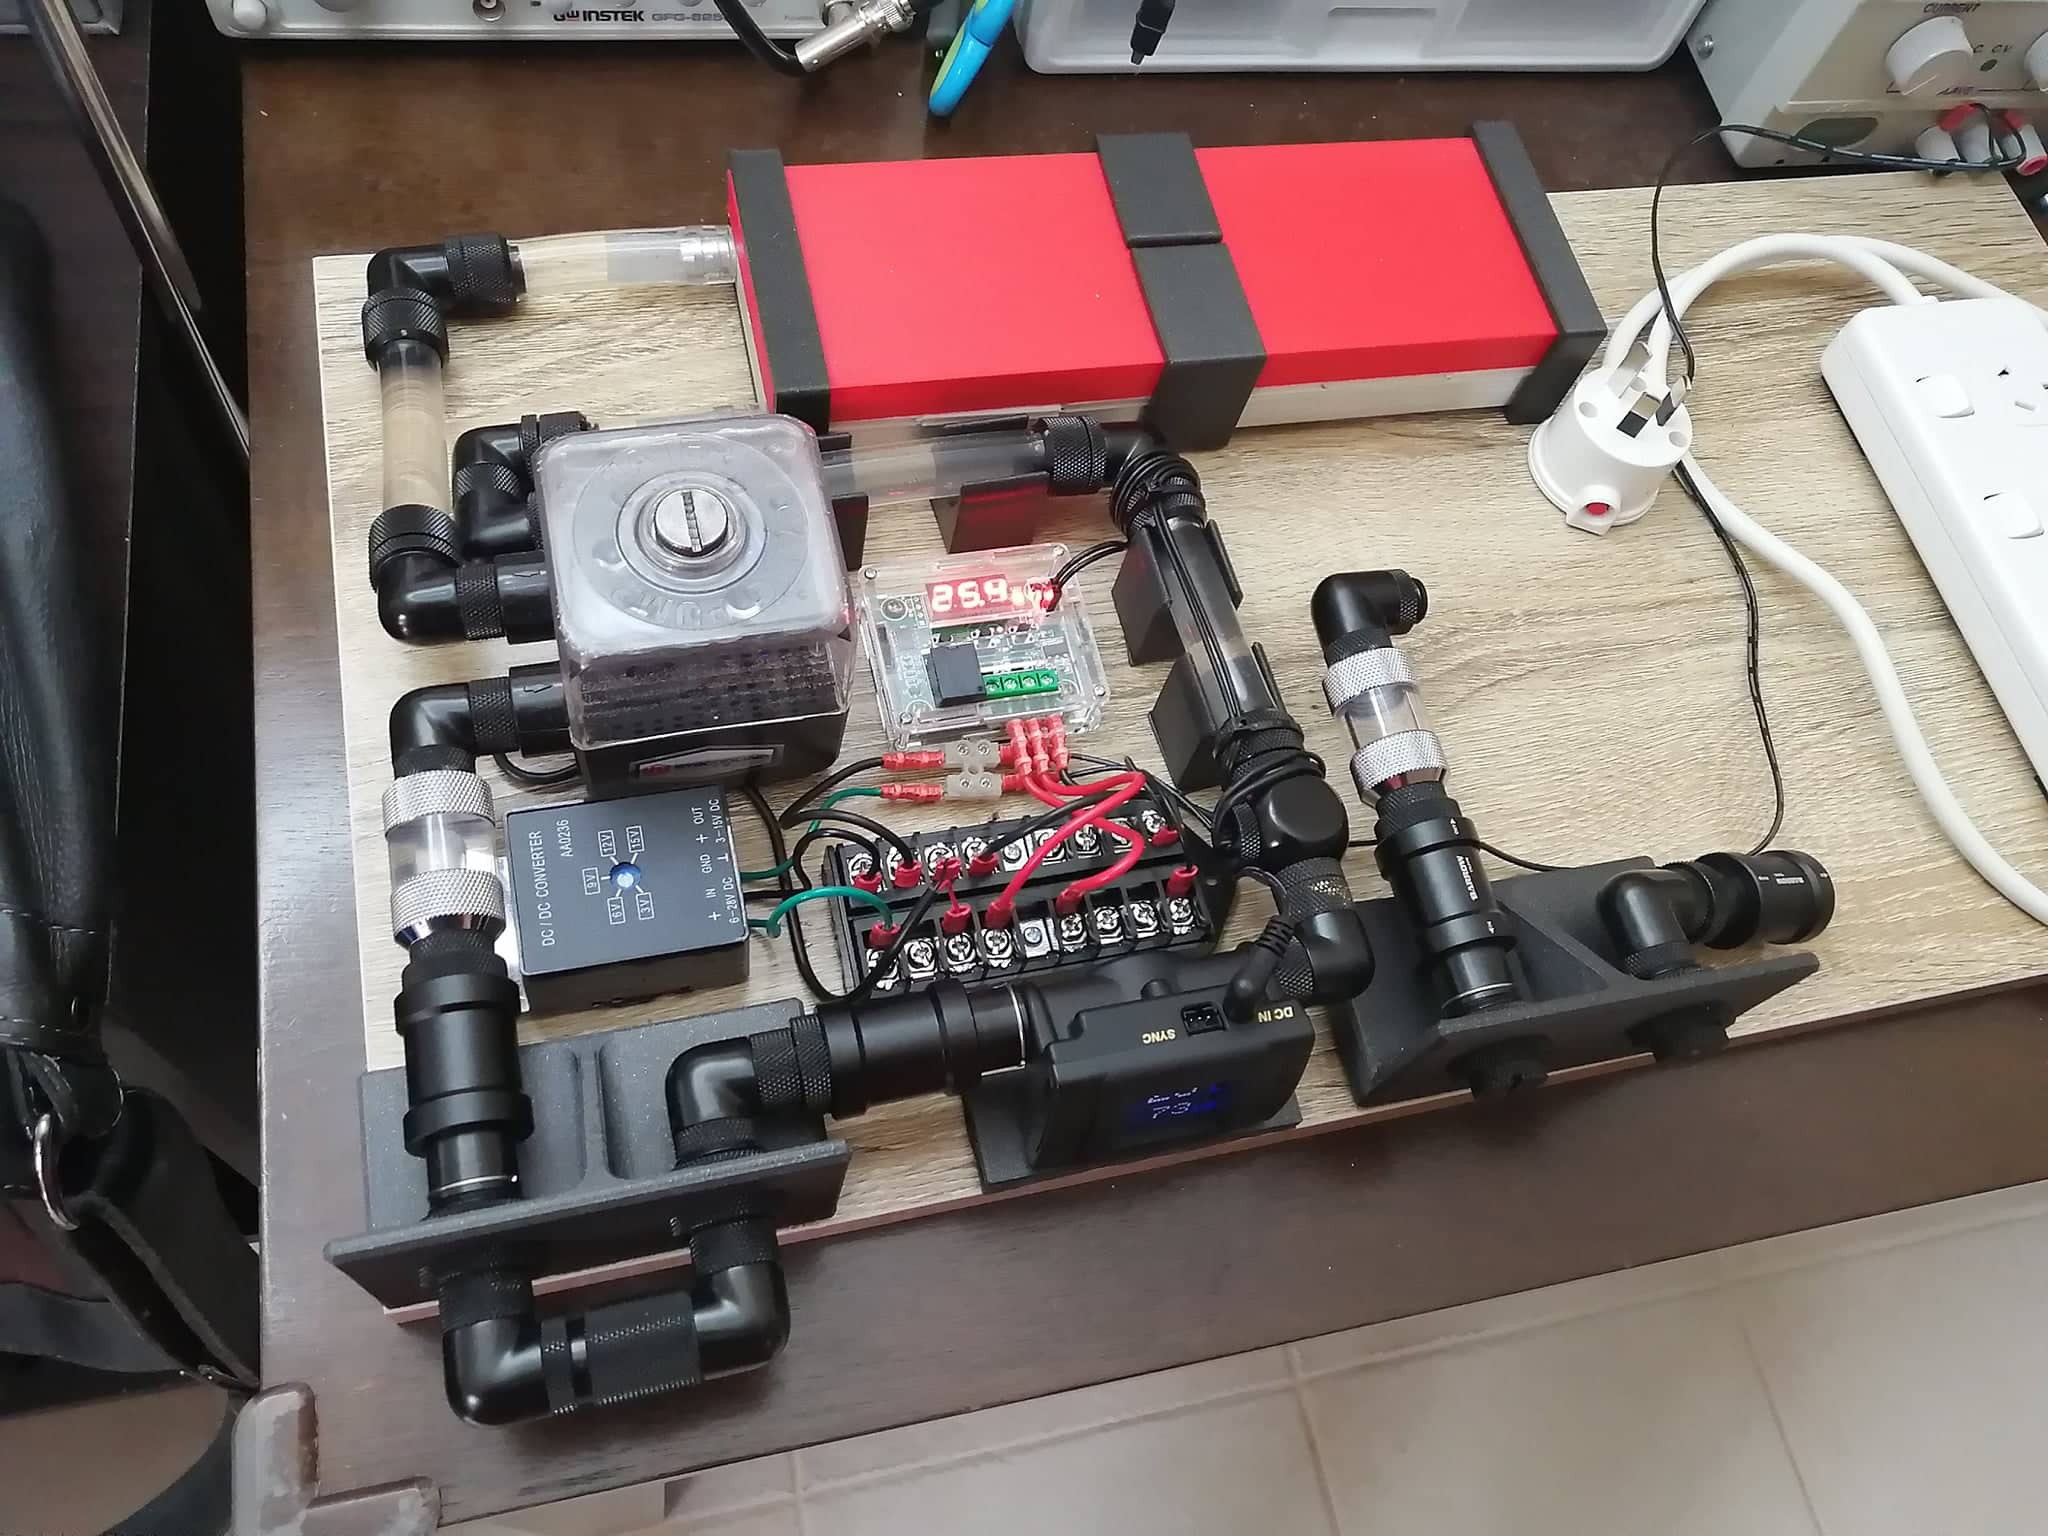
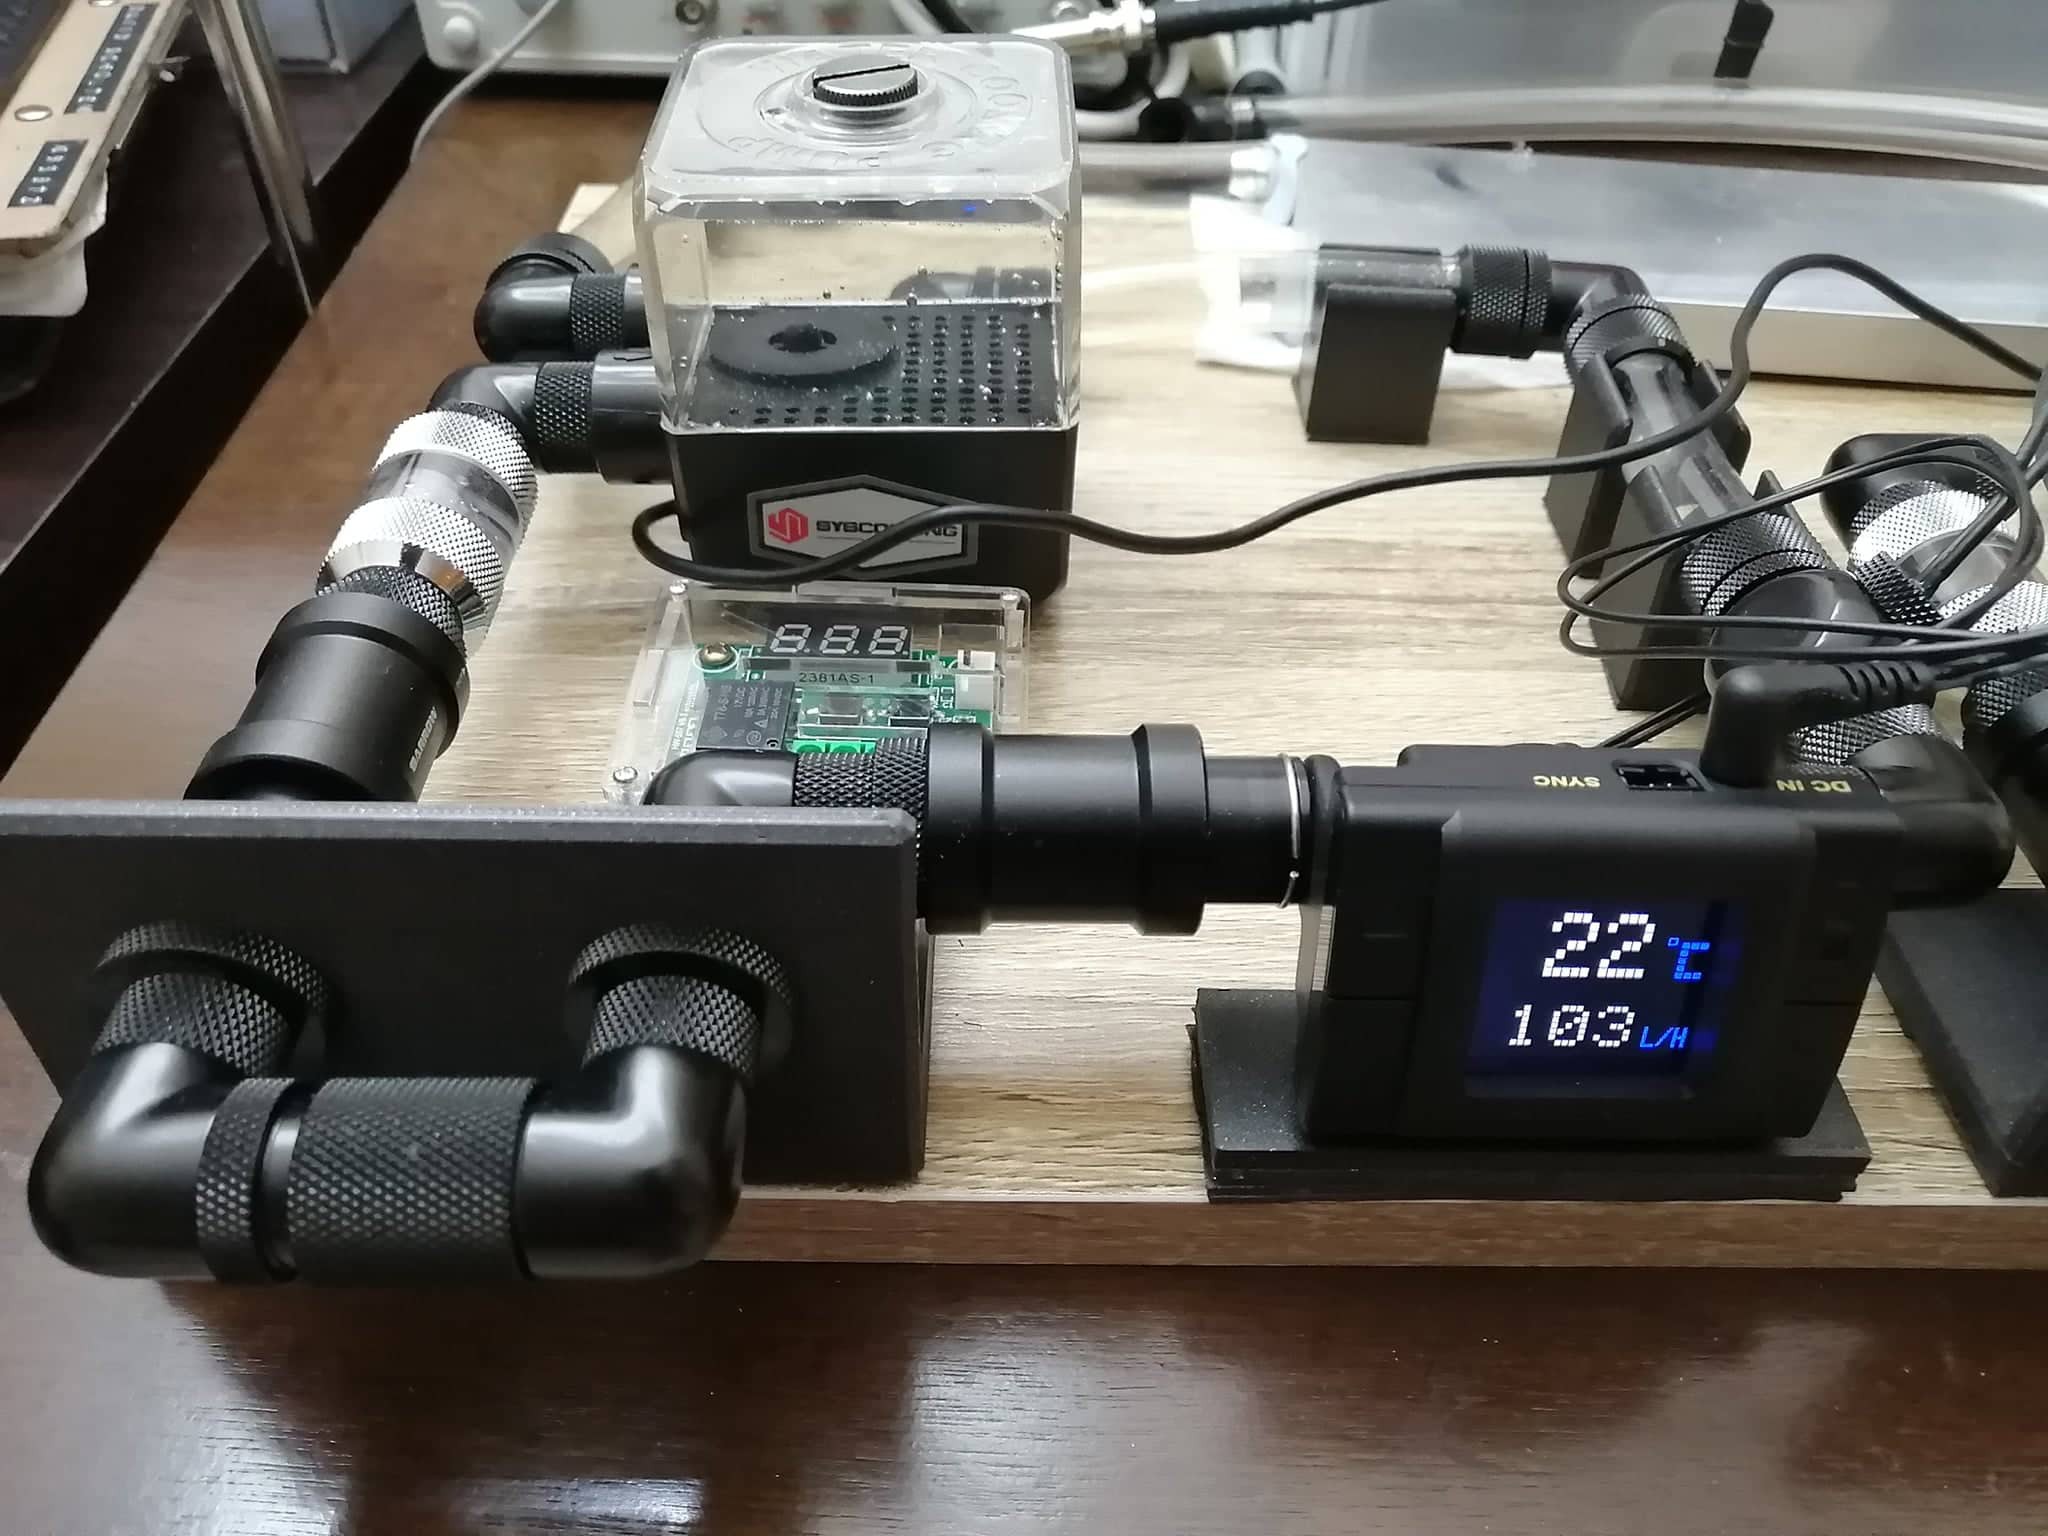
First Loop Now Done-Done
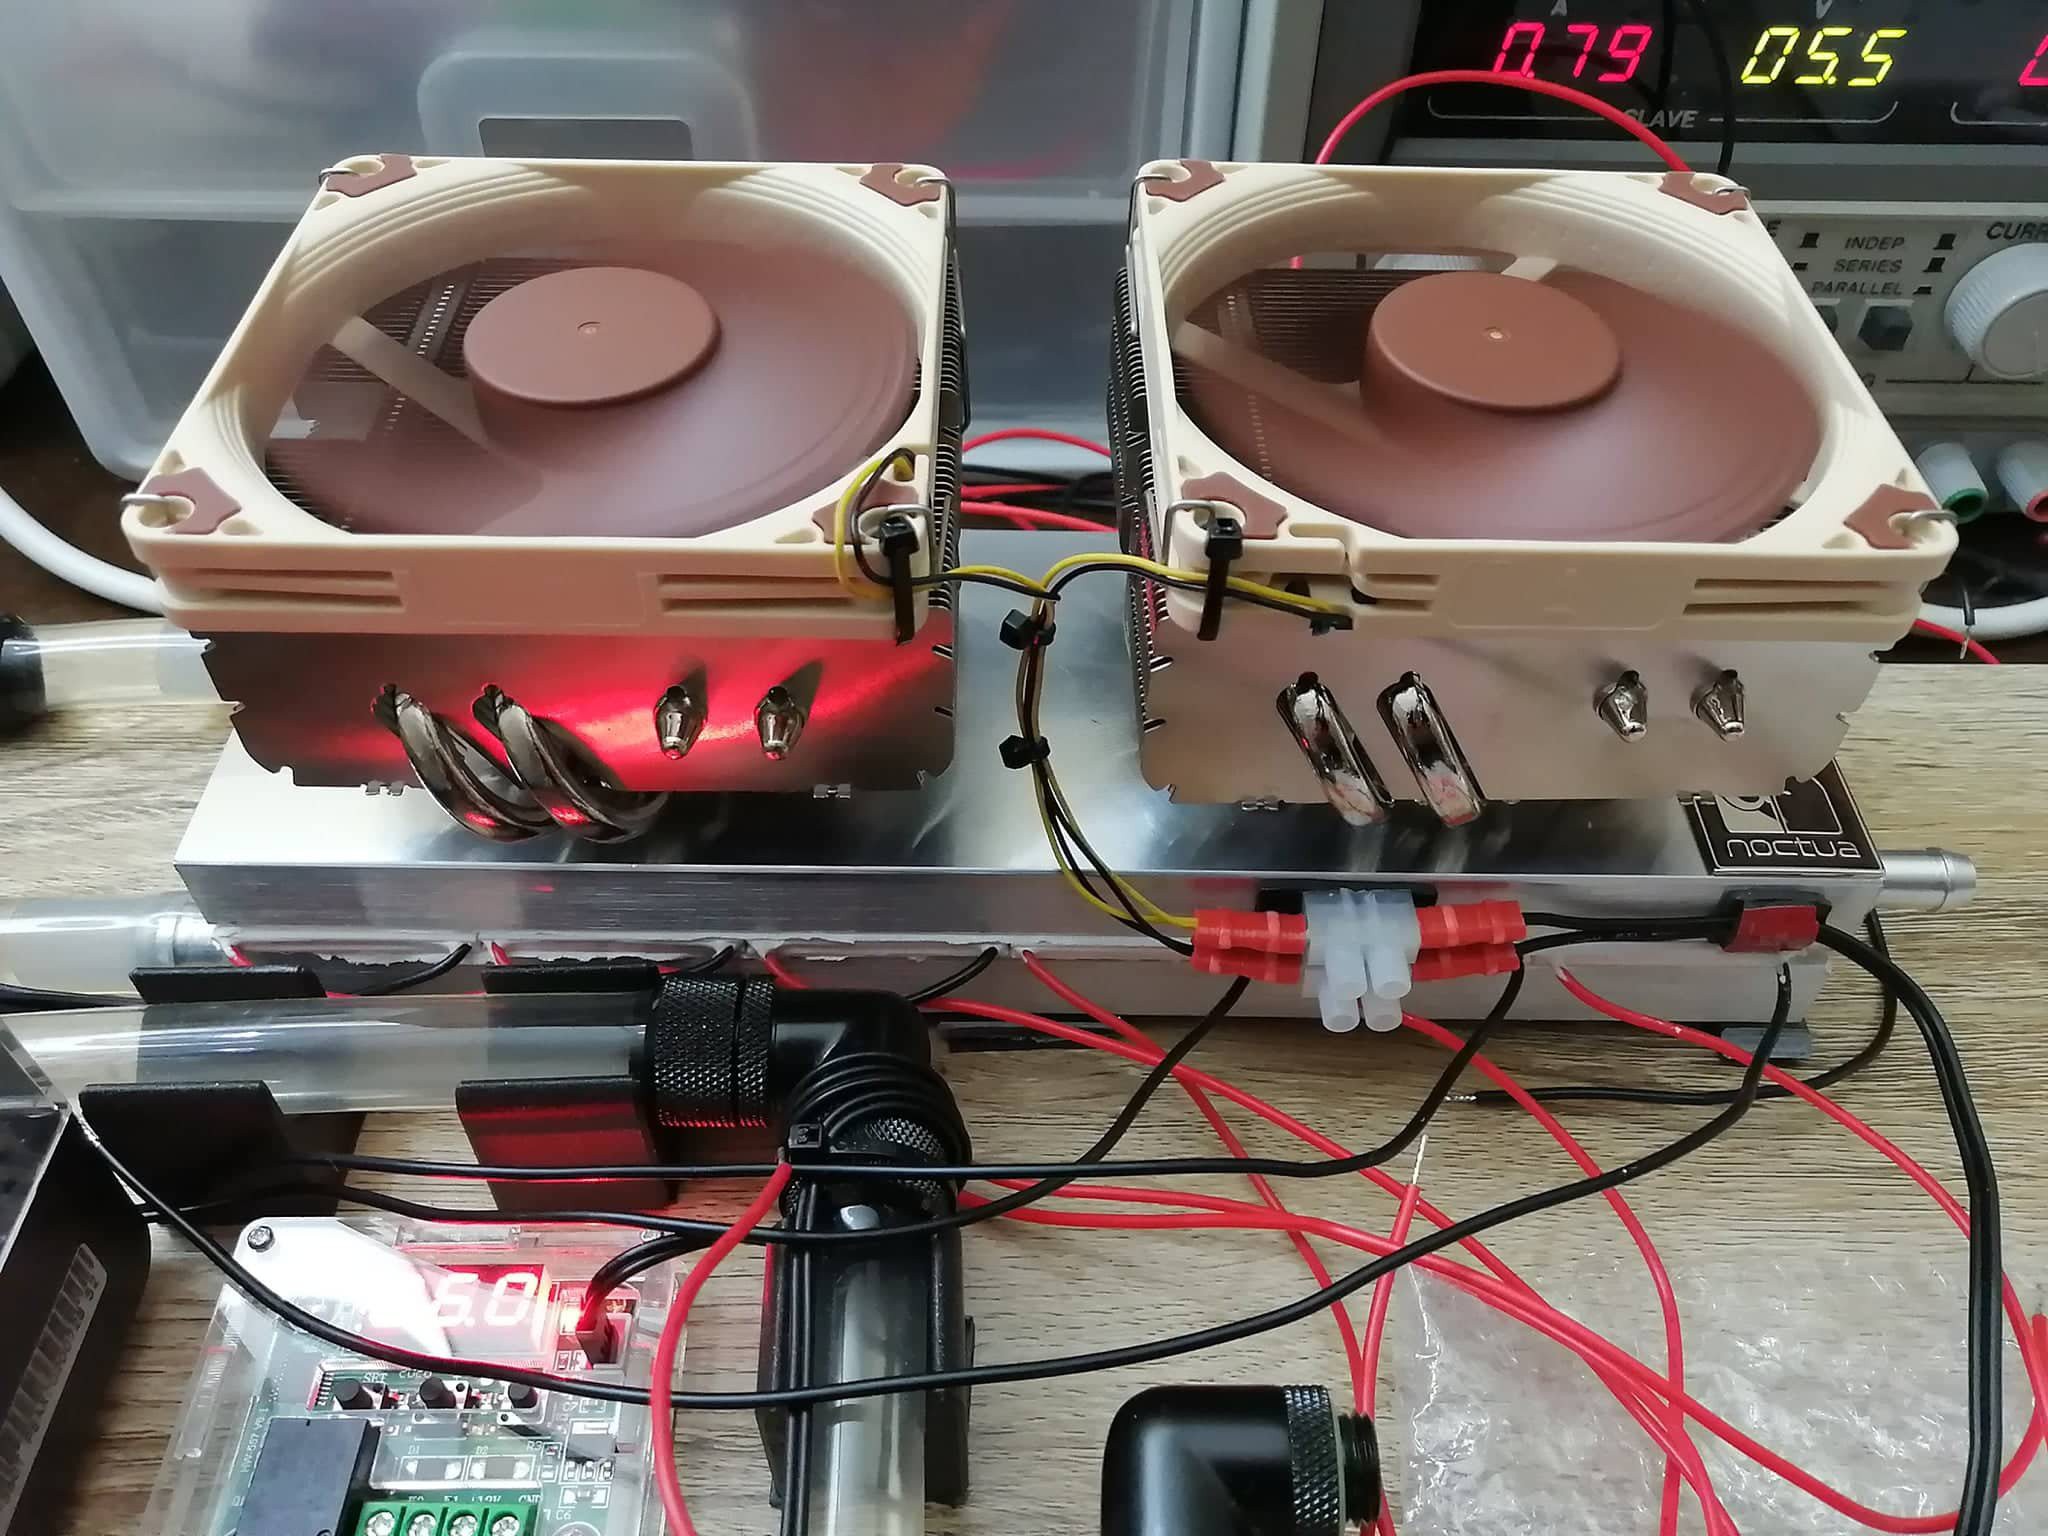
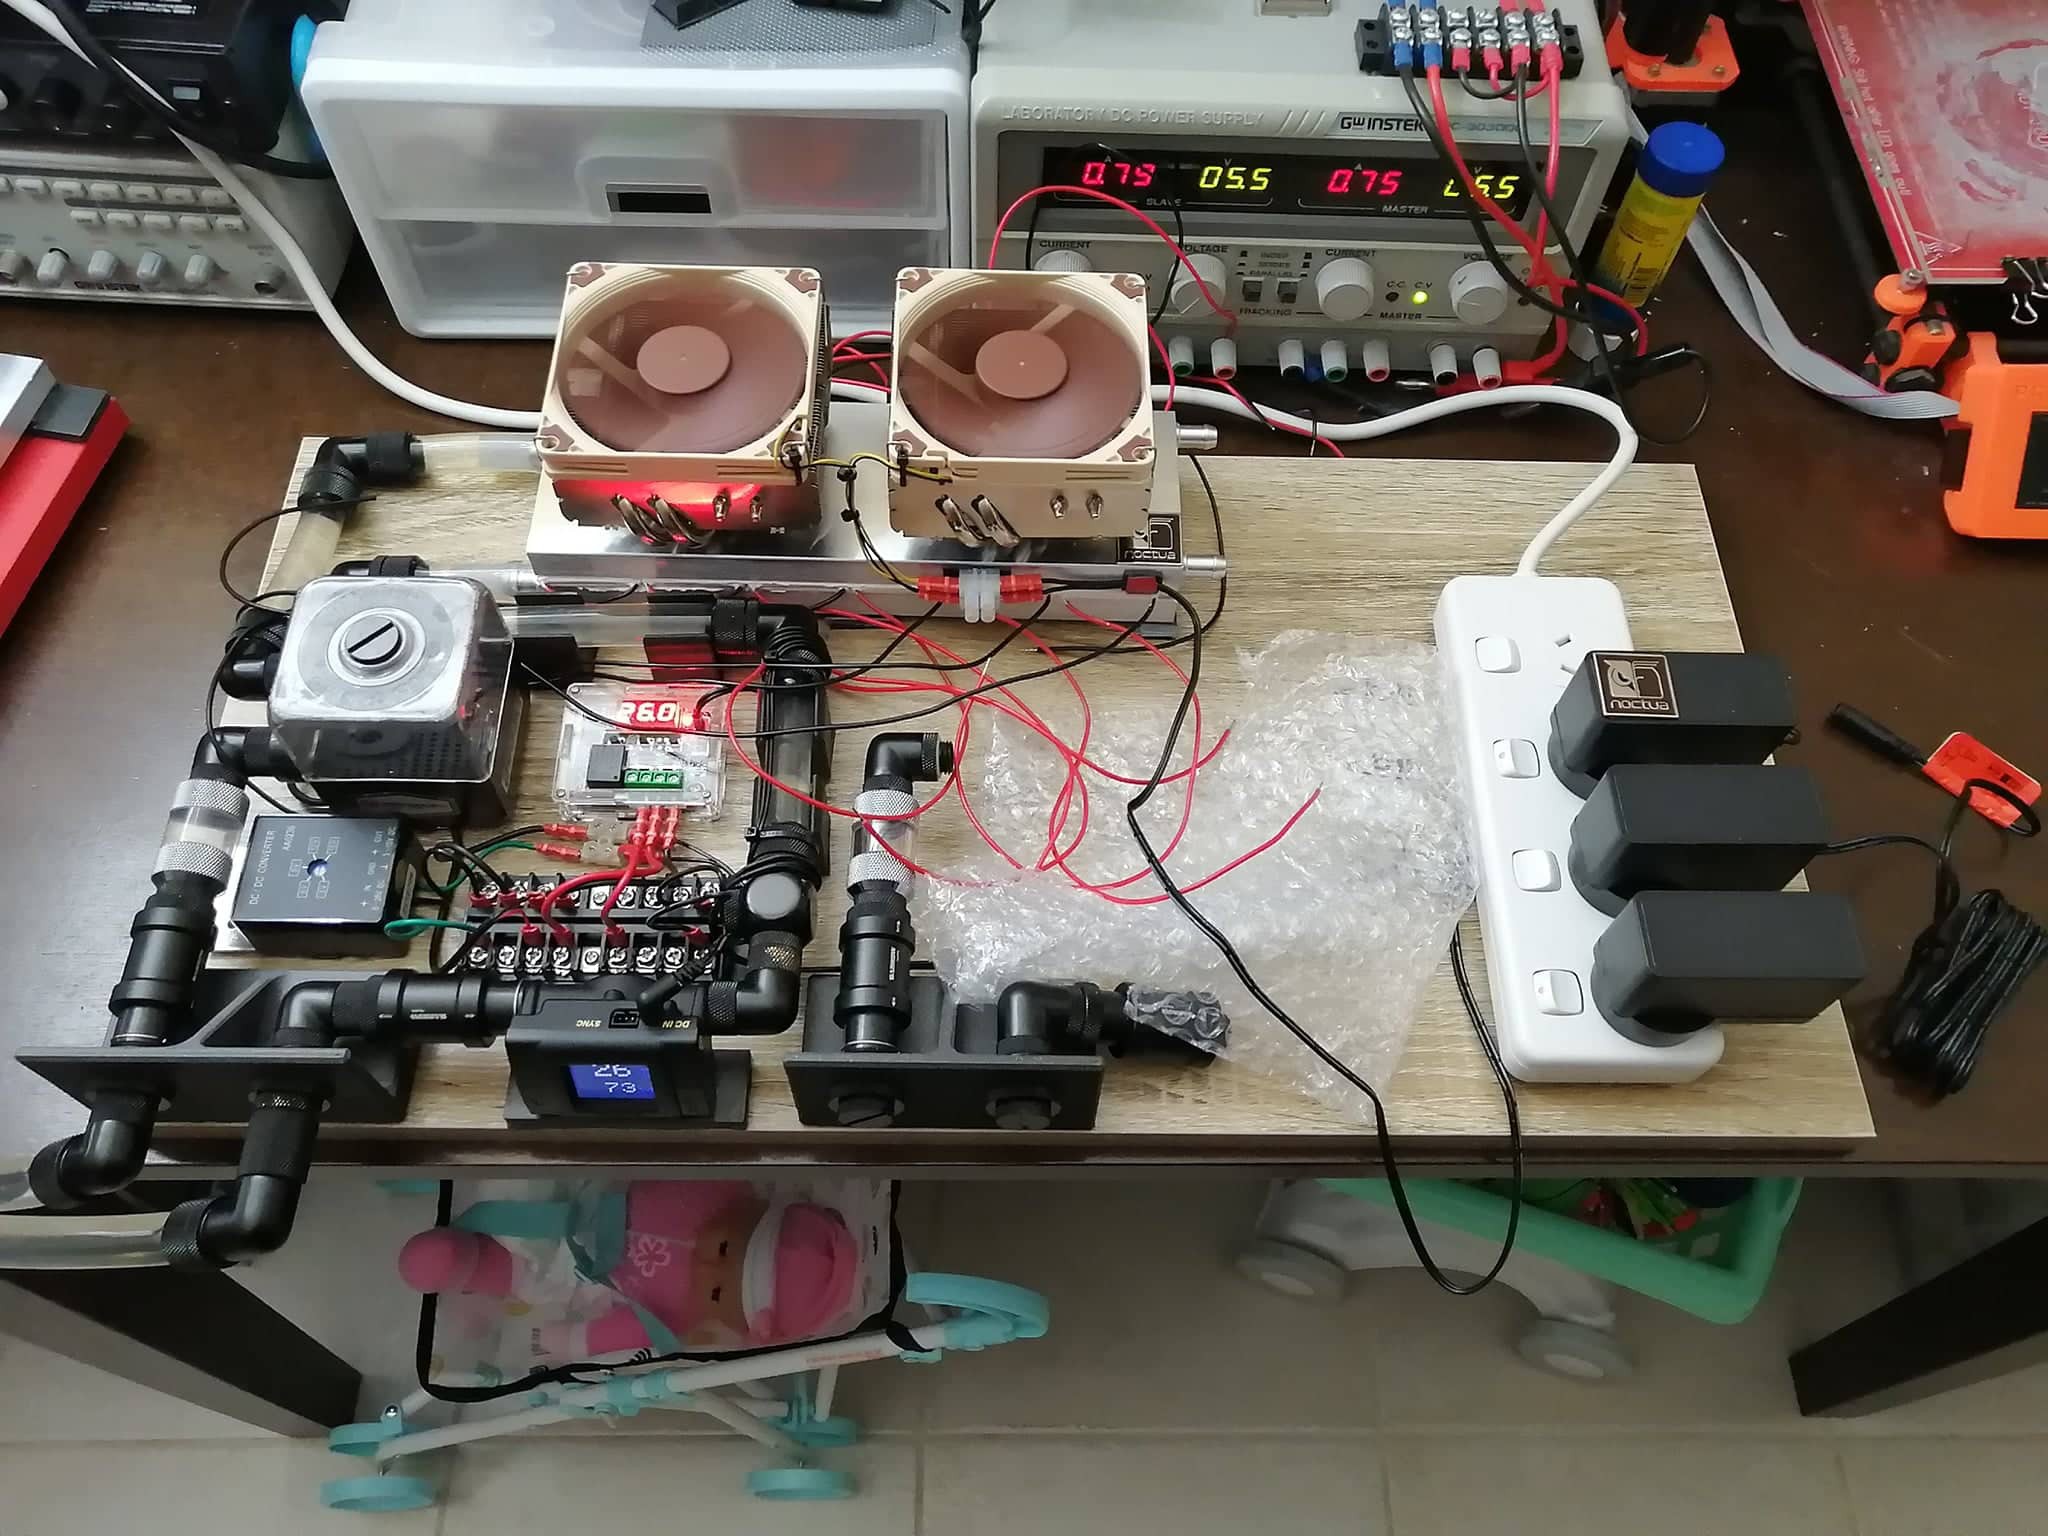
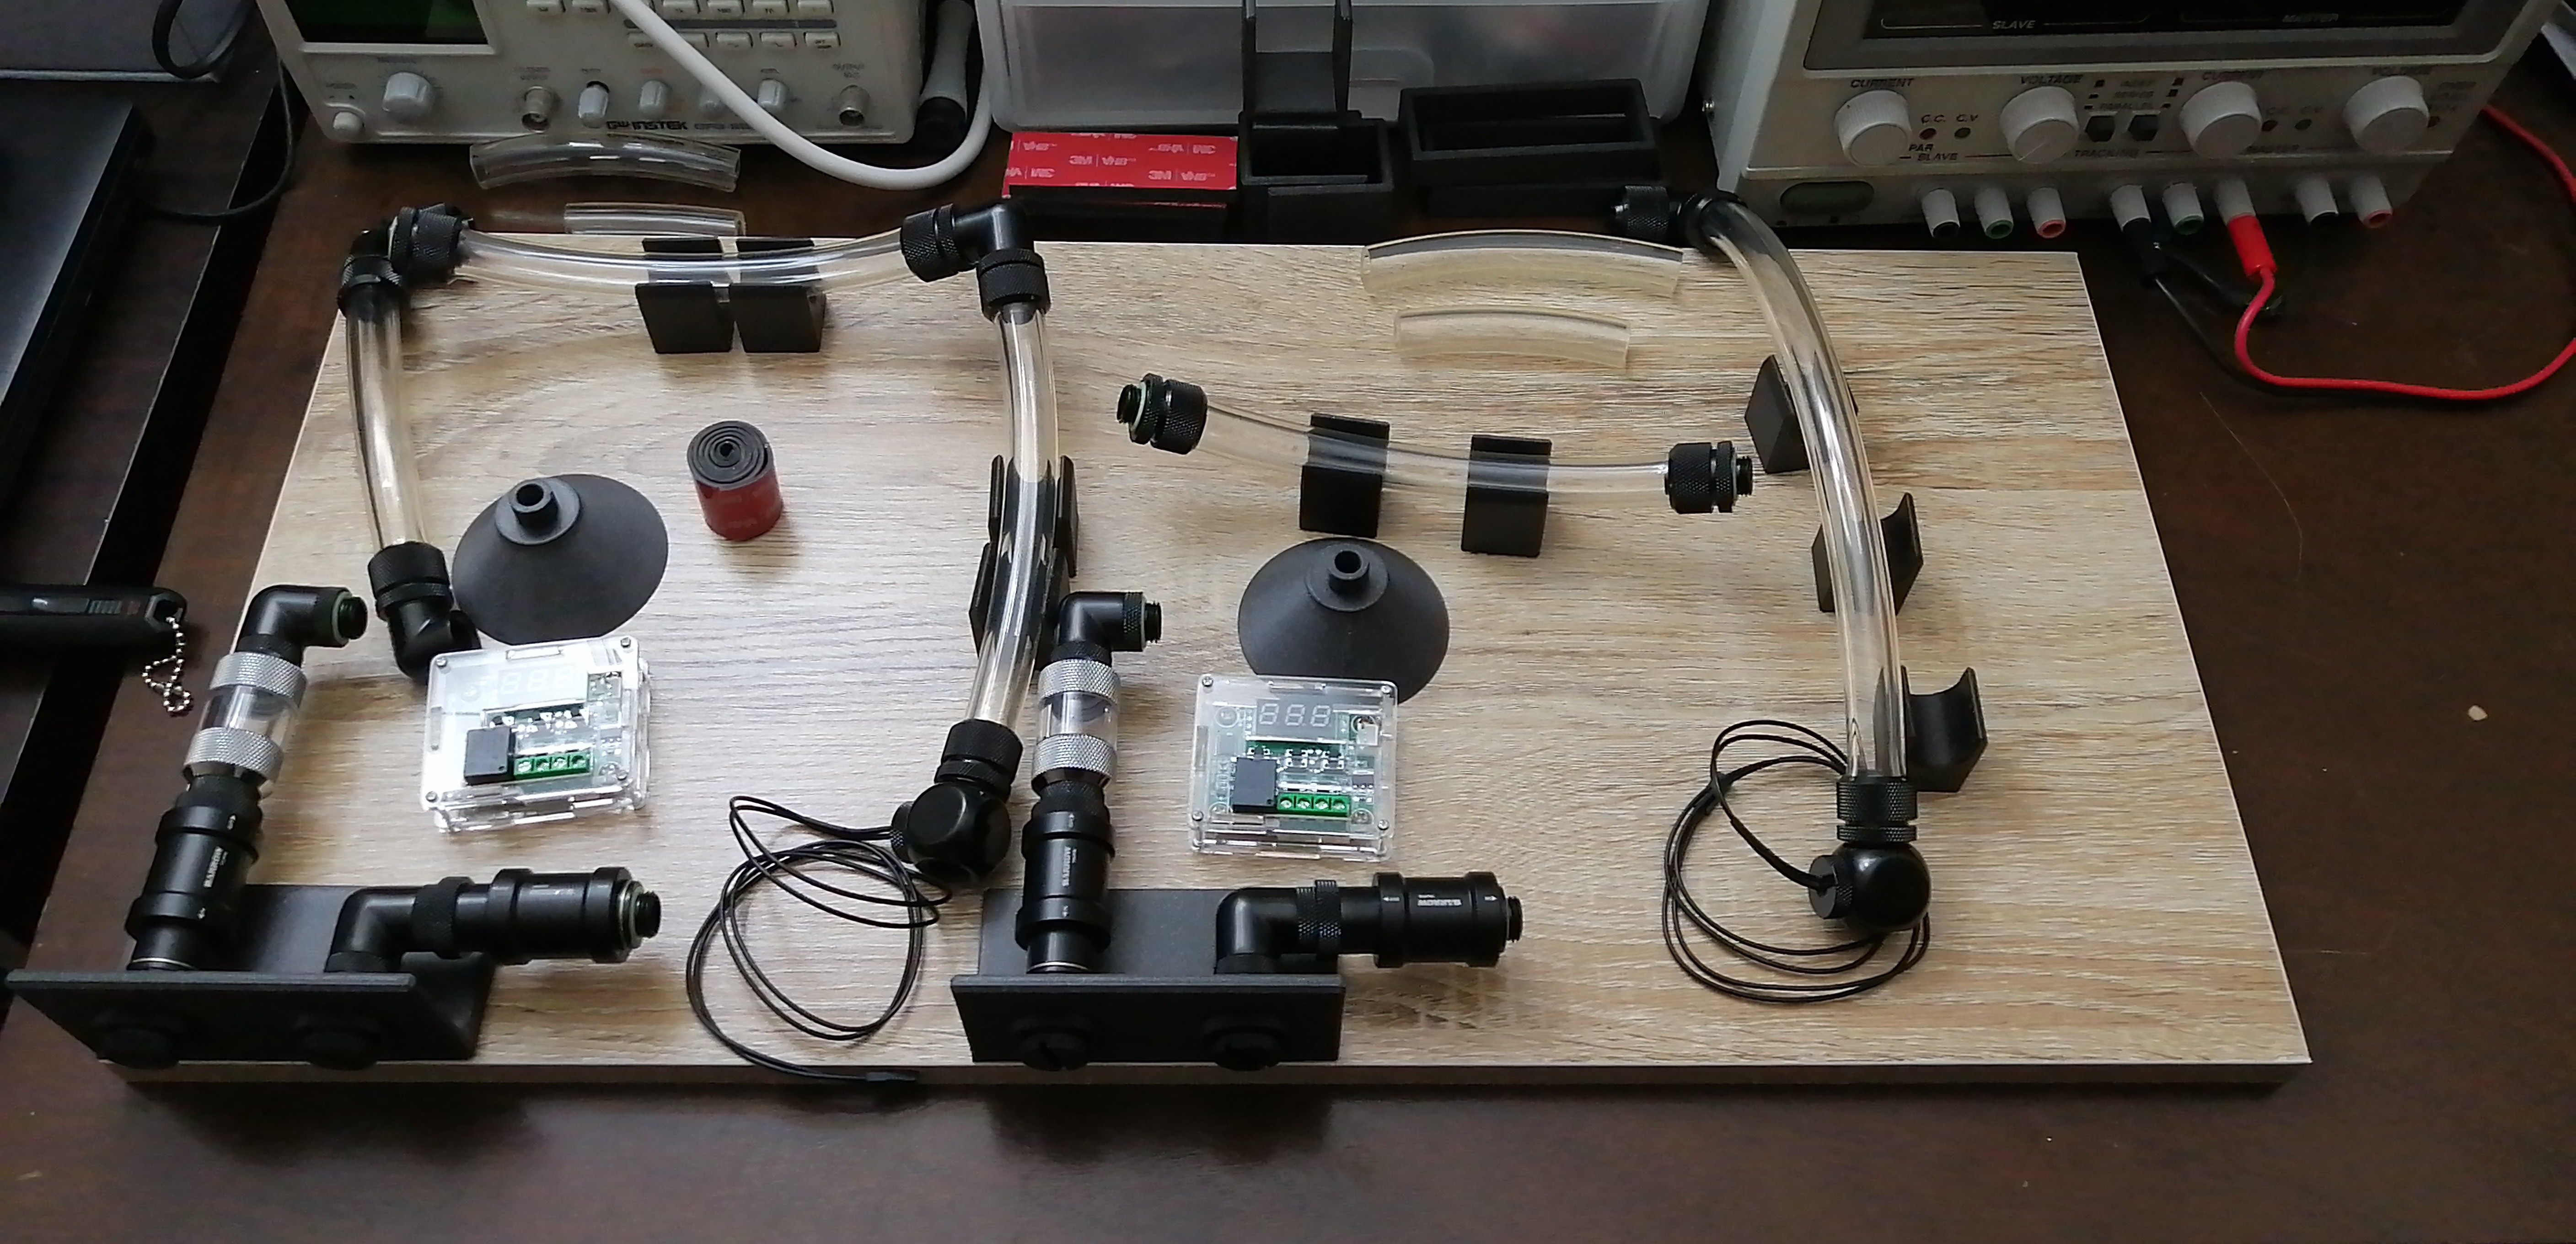
12/05/2021 at 04:51 • 0 commentsJust finished up making the first loop "permanent".
Found a smaller diameter pipe to interface with the heat block and I wired in the devices in their final positions. I ended up going with oversized linear 5V regulator modules for the monitoring panel at the front:
![]()
![]()
This whole section runs off of its 12V supply and their is a single little relay available to patch through some logic to the final external power supply. Depending on the control configuration of the supplies (for the peltiers), I may need some more relays for interfacing.
There is also now a 4-switched power-board that I intend to run:
-->Loop 1 @ 12V
-->Loop 2 @ 12V
-->Cooling fans @ 12V (just for low power loads, serious stuff pipes to external heat dissipation or buffering)
-->Main 1kW power source (with logic interface for on/off I hope).On the way in the mail are:
-->Power supplies
-->Piping
-->2nd Heatblock
-->12x peltiersSlowly but surely getting there. I'm also concerned about the galvanic corrosion between the copper (which everything is made of) and the heat blocks (only available in aluminium at that size). However, the copper is almost all coated and and permanent installation that has time to start significant corrosion I'd be able to use an anti-corrosive coolant I imagine. Still, I'll try to make sure the aluminium blocks are "removable" just in case and won't trap them in place.
-
First Loop Done'ish
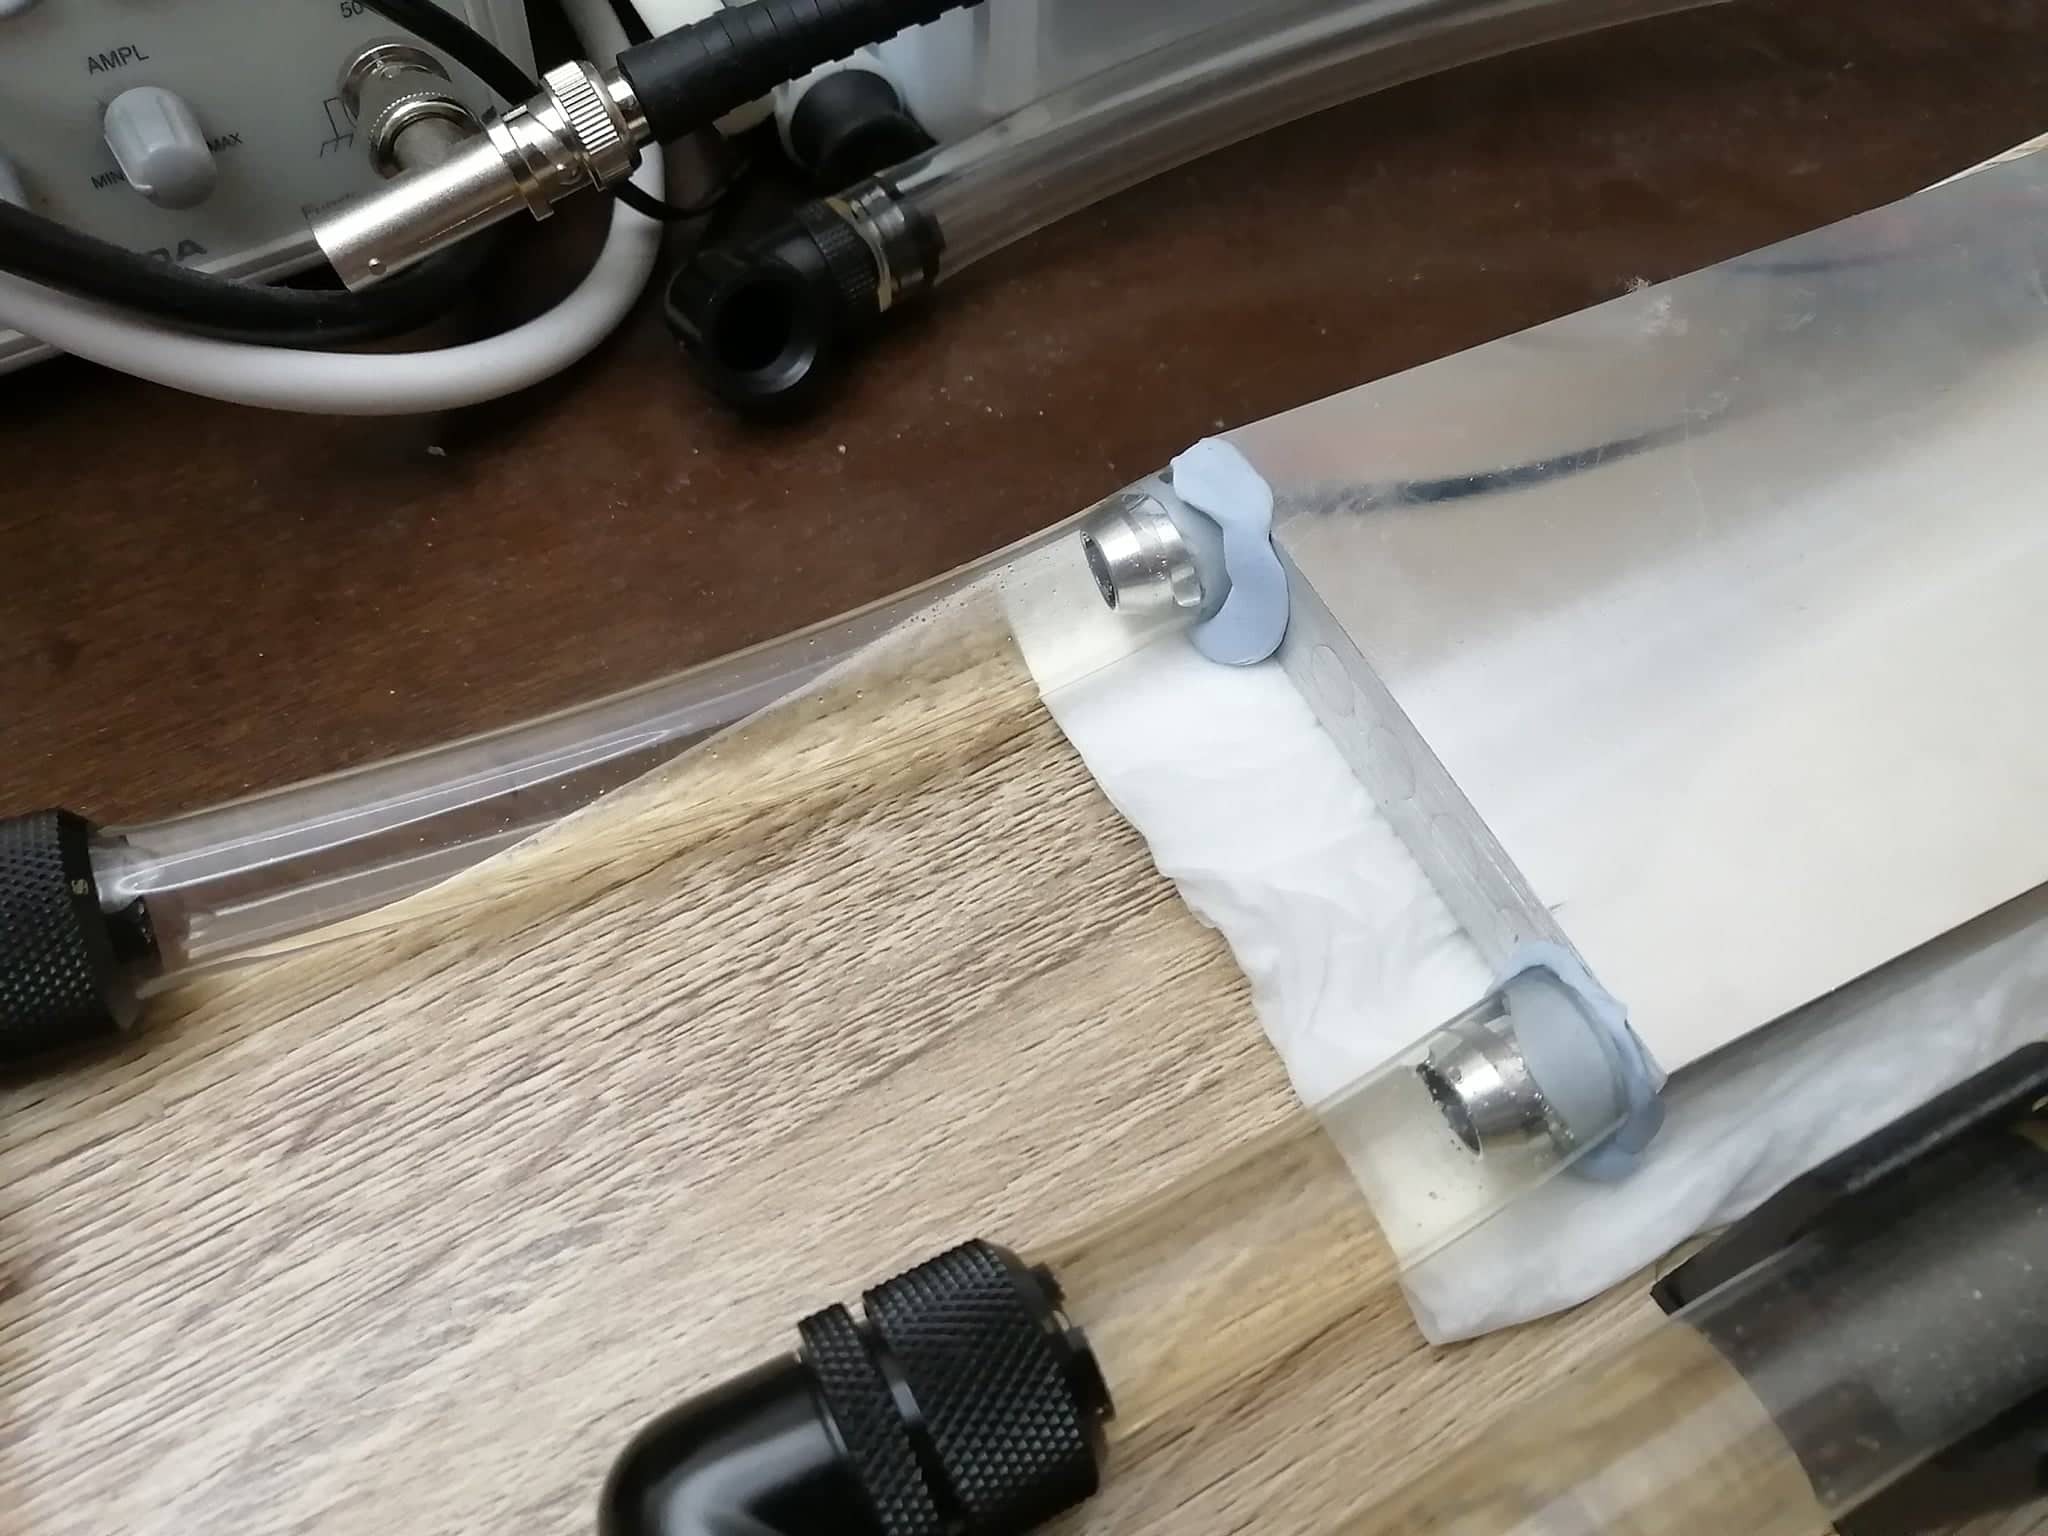
10/29/2021 at 10:57 • 0 commentsStuff has arrived and more assembly has happened:
![]()
![]()
I have almost everything required to complete the cold side loop except for a way to mount the higher diameter pipe to the heat block. I've had some ideas, but I'm just not sure yet. I'm not sure how permanent blutac is.
![]()
Still not sure how to practically obtain something safe that can provide 0.5-1kW at 12-48V.
I think I'll start some wiring next and get the water going in a way that will stay in the pipes.
-
Back on the project!
09/02/2021 at 07:56 • 0 commentsStarting to order something new each fortnight.
Slowly but surely...
-
Out of Stuff to Assemble
01/20/2021 at 10:19 • 0 commentsThat's it, I'm all out of stuff to assemble. Now I'm waiting on more money for the pump, flow meter and then heat blocks to allow proper placement of the pipes.
![]()
-
The Parts So Far...
01/17/2021 at 04:27 • 0 commentsI originally bought/printed a set of expected parts that I knew would be used regardless of any redesigns. They have since arrived:
![]()
1kW Solid State Peltier Heat Pump
Primary/secondary water loops & 12 peltier units with a 0-30°C set-point.