In this guide, I shall outline the steps to be followed to get yourselves a smart LED strip on a budget. This strip can be controlled using both the Google Assistant and Amazon Alexa either by voice via the respective party's smart speakers or from the respective party's apps.
0%
0%
Make Your Own Smart Light Strip
DIY smart light strip with Amazon Alexa and Google Assistant Control
Become a Hackaday.io member
Already have an account? Log in.
Just one more thing
To make the experience fit your profile, pick a username and tell us what interests you.
Pick an awesome username
hackaday.io/
Your profile's URL: hackaday.io/username. Max 25 alphanumeric characters.
Pick a few interests
Projects that share your interests
People that share your interests


 risknc
 Aaron Oppenheimer
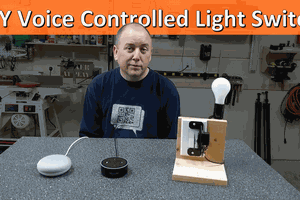
 Michael Hawkins