0%
0%
The Aspen V1: A Seed Planting Drone For the Masses
The Aspen V1 is an affordable DIY drone intended to help restore forests, prairies and everything in between.
 Dylan Radcliffe
Become a Hackaday.io member
Already have an account? Log in.
Just one more thing
To make the experience fit your profile, pick a username and tell us what interests you.
Pick an awesome username
hackaday.io/
Your profile's URL: hackaday.io/username. Max 25 alphanumeric characters.
Pick a few interests
Projects that share your interests
People that share your interests


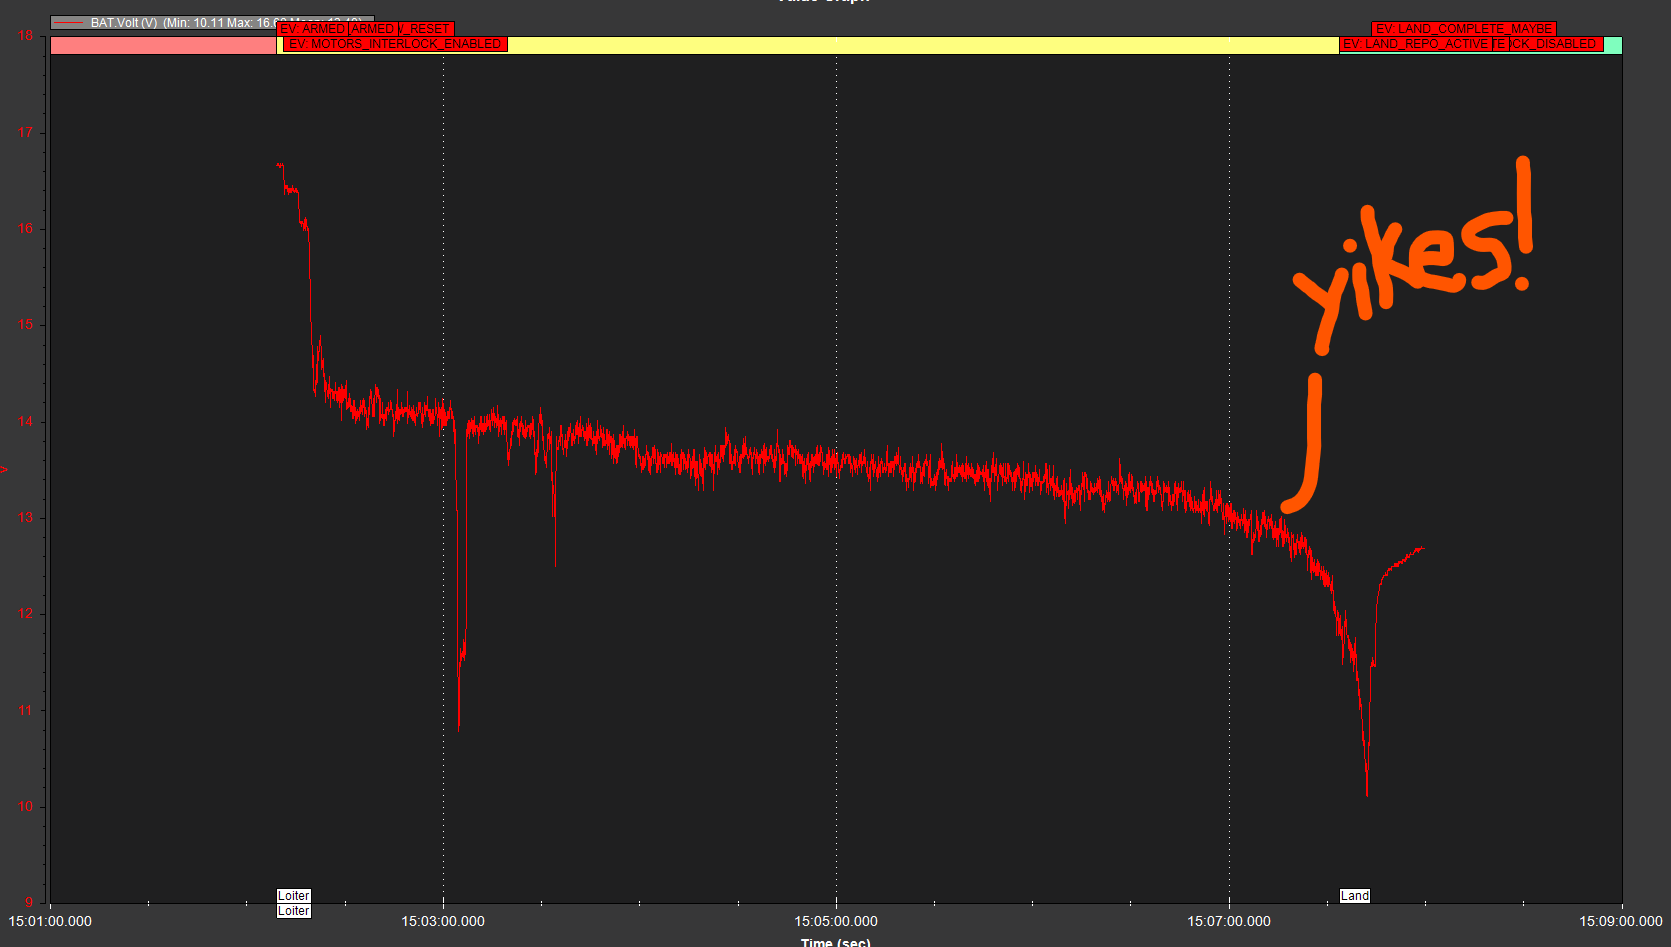

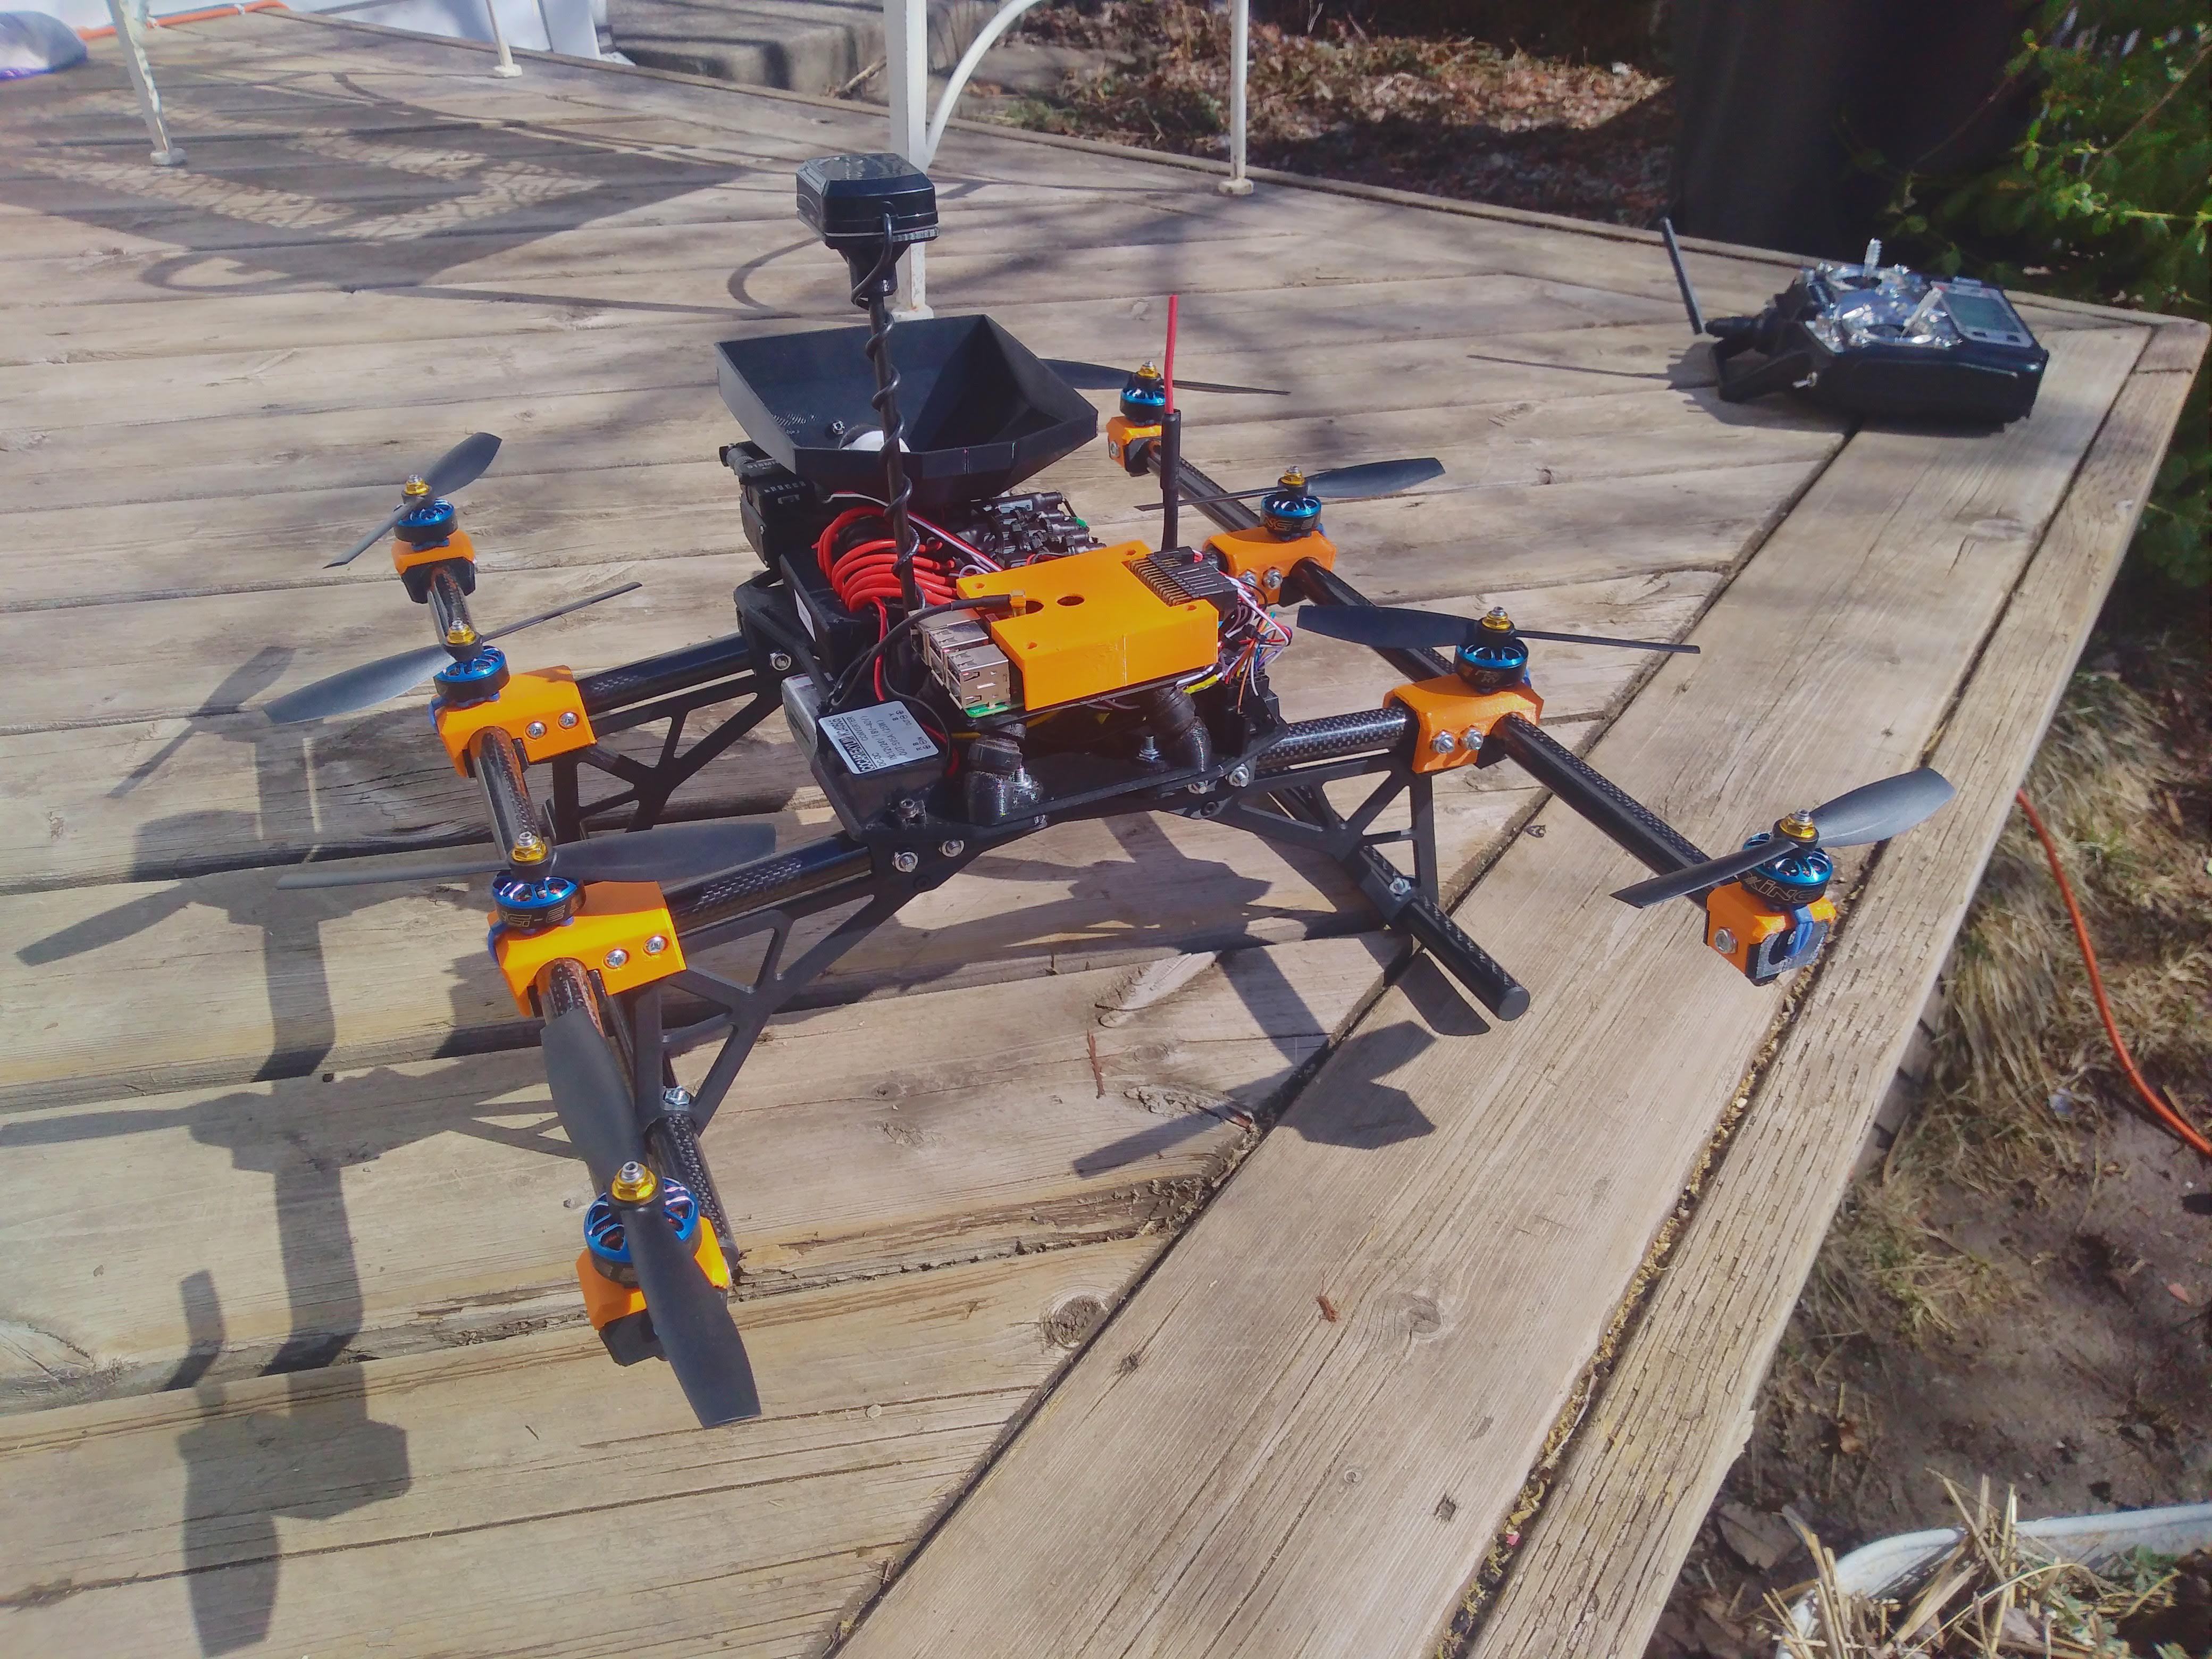
 It looked great and was destined for success.... until it wasn't.
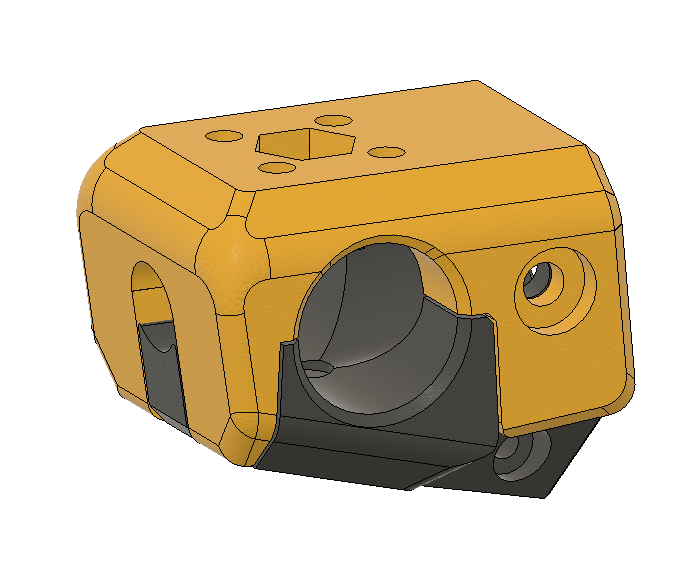
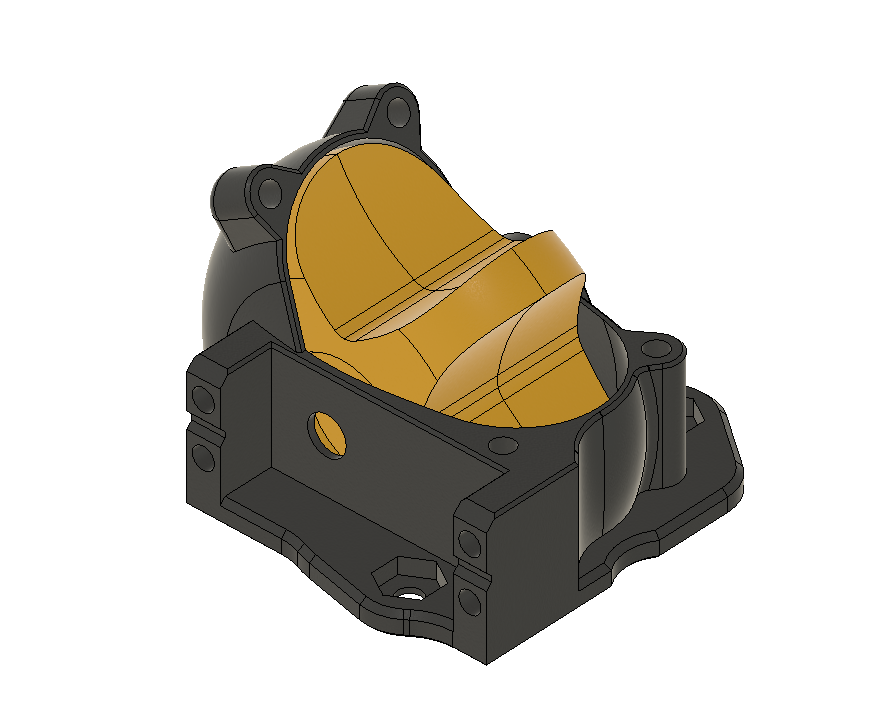
 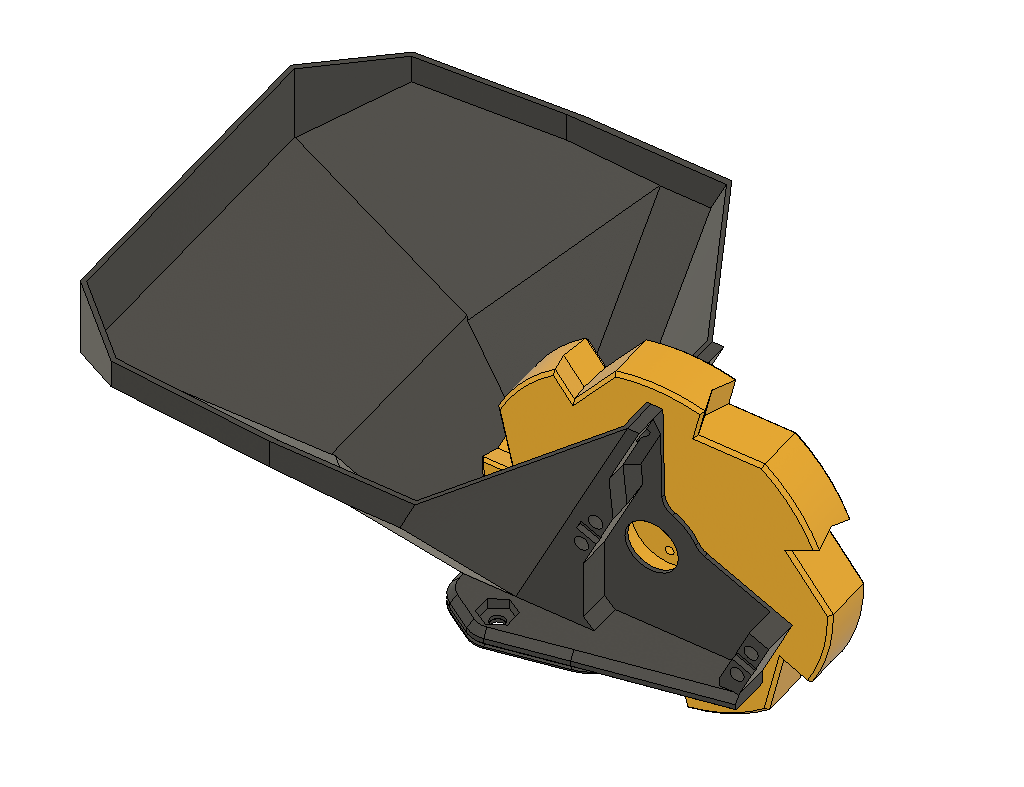 The size and design of the hopper still needs a bit of work, but currently it can hold ~700g of bird seed for testing.
 TeamSG
 Quinn
Quinn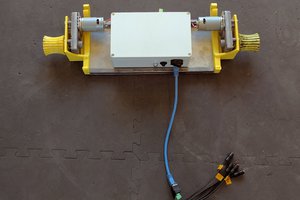
 Mike Turvey
Looks cool. I want to try it for my lawn care product page. Can you help me regarding this?