-
1Connect all hardware components
Connect the accelerometer to the Arduino Mini
VCC -> VCC
GND -> GND
SCL -> A5
SDA -> A4
Don't connect the battery, we will have to power up the Arduino Mini and upload the code first using an FTDI basic USB converter
-
2Import MPU6050 library and upload the code
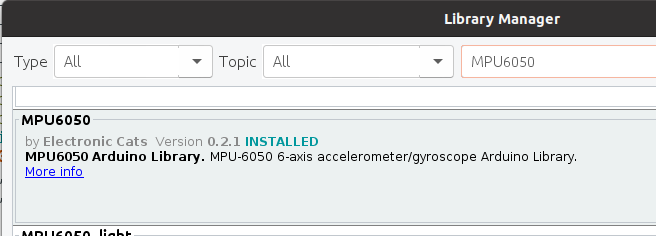
For this code you need first to add the MPU6050 library to Arduino, you can do it manually , or use Include Library -> Manage Libraries... and search for MPU6050
![]()
Then copy this code and Upload it to your Arduino. If you are using Arduino Pro Mini, make sure you select the right board and frequency (3v / 8mhz)
//GND - GND
//VCC - VCC
//SDA - Pin A4
//SCL - Pin A5
#include "I2Cdev.h"
#include "MPU6050.h"
#include "Wire.h"
const int mpuAddress = 0x68;  //Puede ser 0x68 o 0x69
MPU6050 mpu(mpuAddress);
int ax, ay, az;
int gx, gy, gz;

const unsigned long ONE_HOUR = 60UL * 60UL * 1000UL;
//const int warningLed = 13;
unsigned long elapsedDrink ;
unsigned long lastDrink;

void printTab()
{
   Serial.print(F("\t"));
}
void printRAW()
{
   Serial.print(F("a[x y z] g[x y z]:t"));
   Serial.print(ax); printTab();
   Serial.print(ay); printTab();
   Serial.print(az); printTab();
   Serial.print(gx); printTab();
   Serial.print(gy); printTab();
   Serial.println(gz);
}
void setup()
{

   pinMode(LED_BUILTIN, OUTPUT);
   // pinMode(warningLed, OUTPUT);

   Serial.begin(9600);
   Wire.begin();
   mpu.initialize();
   Serial.println(mpu.testConnection() ? F("IMU iniciado correctamente") : F("Error al iniciar IMU"));
}
void loop()
{
   // Leer las aceleraciones y velocidades angulares
   mpu.getAcceleration(&ax, &ay, &az);
   mpu.getRotation(&gx, &gy, &gz);
  // printRAW();

   elapsedDrink = millis() - lastDrink;
   Serial.println(elapsedDrink);

   if (elapsedDrink > ONE_HOUR) {
      digitalWrite(LED_BUILTIN, HIGH);   // turn the LED on (HIGH is the voltage level)
   } else {
      digitalWrite(LED_BUILTIN, LOW);    // turn the LED off by making the voltage LOW
   }

   if (ax > 15000 || ax < -15000 || ay > -5000 ) {
      //digitalWrite(LED_BUILTIN, HIGH);   // turn the LED on (HIGH is the voltage level)
      Serial.print(ax); Serial.print("/");  Serial.print(ay);
      lastDrink = millis(); // drinking now

   } else {
      //digitalWrite(LED_BUILTIN, LOW);    // turn the LED off by making the voltage LOW
   }

   delay(100);
}
If you want to test this first, change the ONE_HOUR variable to just a 5 seconds (ONE_HOUR= 5000) . Once restarted, the LED should turn on after 5 seconds
Note: If you place the accelerometer in a different position (with VCC at the bottom) , you might need to swap the following position check in the code:
ax > 15000 || ax < -15000 || ay > -5000
-
3Disconnect from PC and add 3v battery
Now disconnect the FTDI from the Arduino Pro Mini, and then add the 3V battery on VCC and GND.
Then the Arduino should turn ON and start working as expected. Make sure the Accelerometer is in the right position before you restart the Arduino.
-
4Wrap the Arduino to the bottle
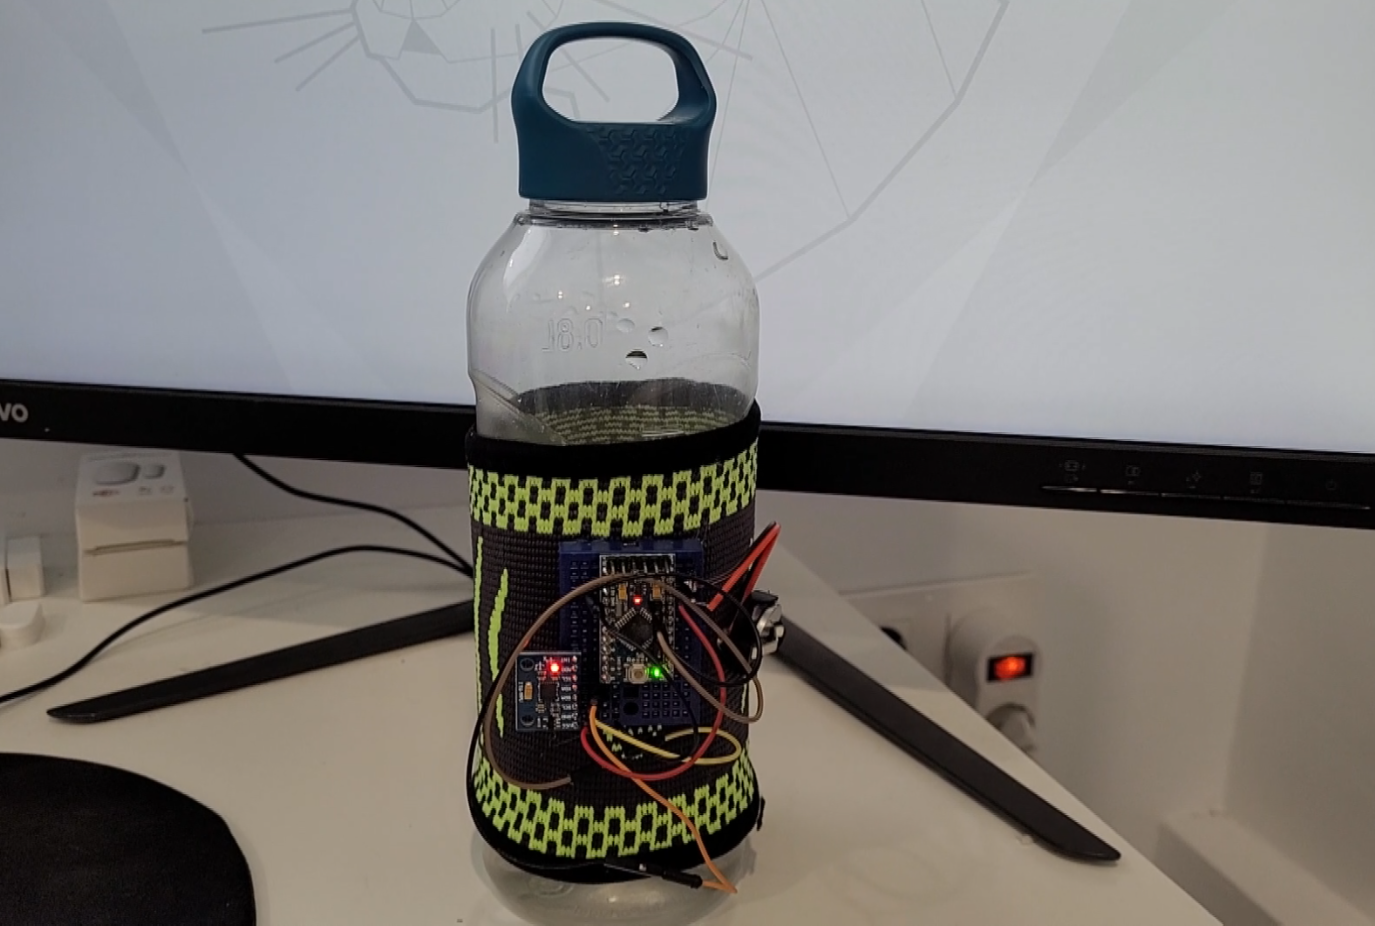
I used a wristband to hold the Arduino and the battery, the I just put it around the bottle.
If you need to calibrate the accelerometer again (the default position has changed). Just restart the Arduino
![]()
Bottle pomodoro
Portable version of water pomodoro that will remind you to stay hydrated through your workday
 Javier Rengel

Discussions
Become a Hackaday.io Member
Create an account to leave a comment. Already have an account? Log In.