Close
0%
0%

Create Your Own Apple AirTag

So Hi everyone this is me Rohan. In this project I demonstrate you that how you can create your very own AirTag or Object Finder

Similar projects worth following
Hi guys this is me Rohan Barnwal welcome back with another project in this project I talk about how you can make your own apple air tag. So I got the inspiration to make this thing after the apple event of 23 April 2021 in which apple company launched one of their product which is named as AirTag. When it was launched, after that I searched about it on the internet and I came to know that it is a button like device under which you can find your keys or your stuffs and you can also keep it in your wallet or purse like a key ring and like a coin. After that I searched more about it and on searching I came to know that when we click on play sound button, it produces a sound due to which we find that lost thing. So after that I thought why not make it from NodeMCU. So then I worked on it and I succeeded in it too. And now I want to tell you all how I made this. So here we go then,

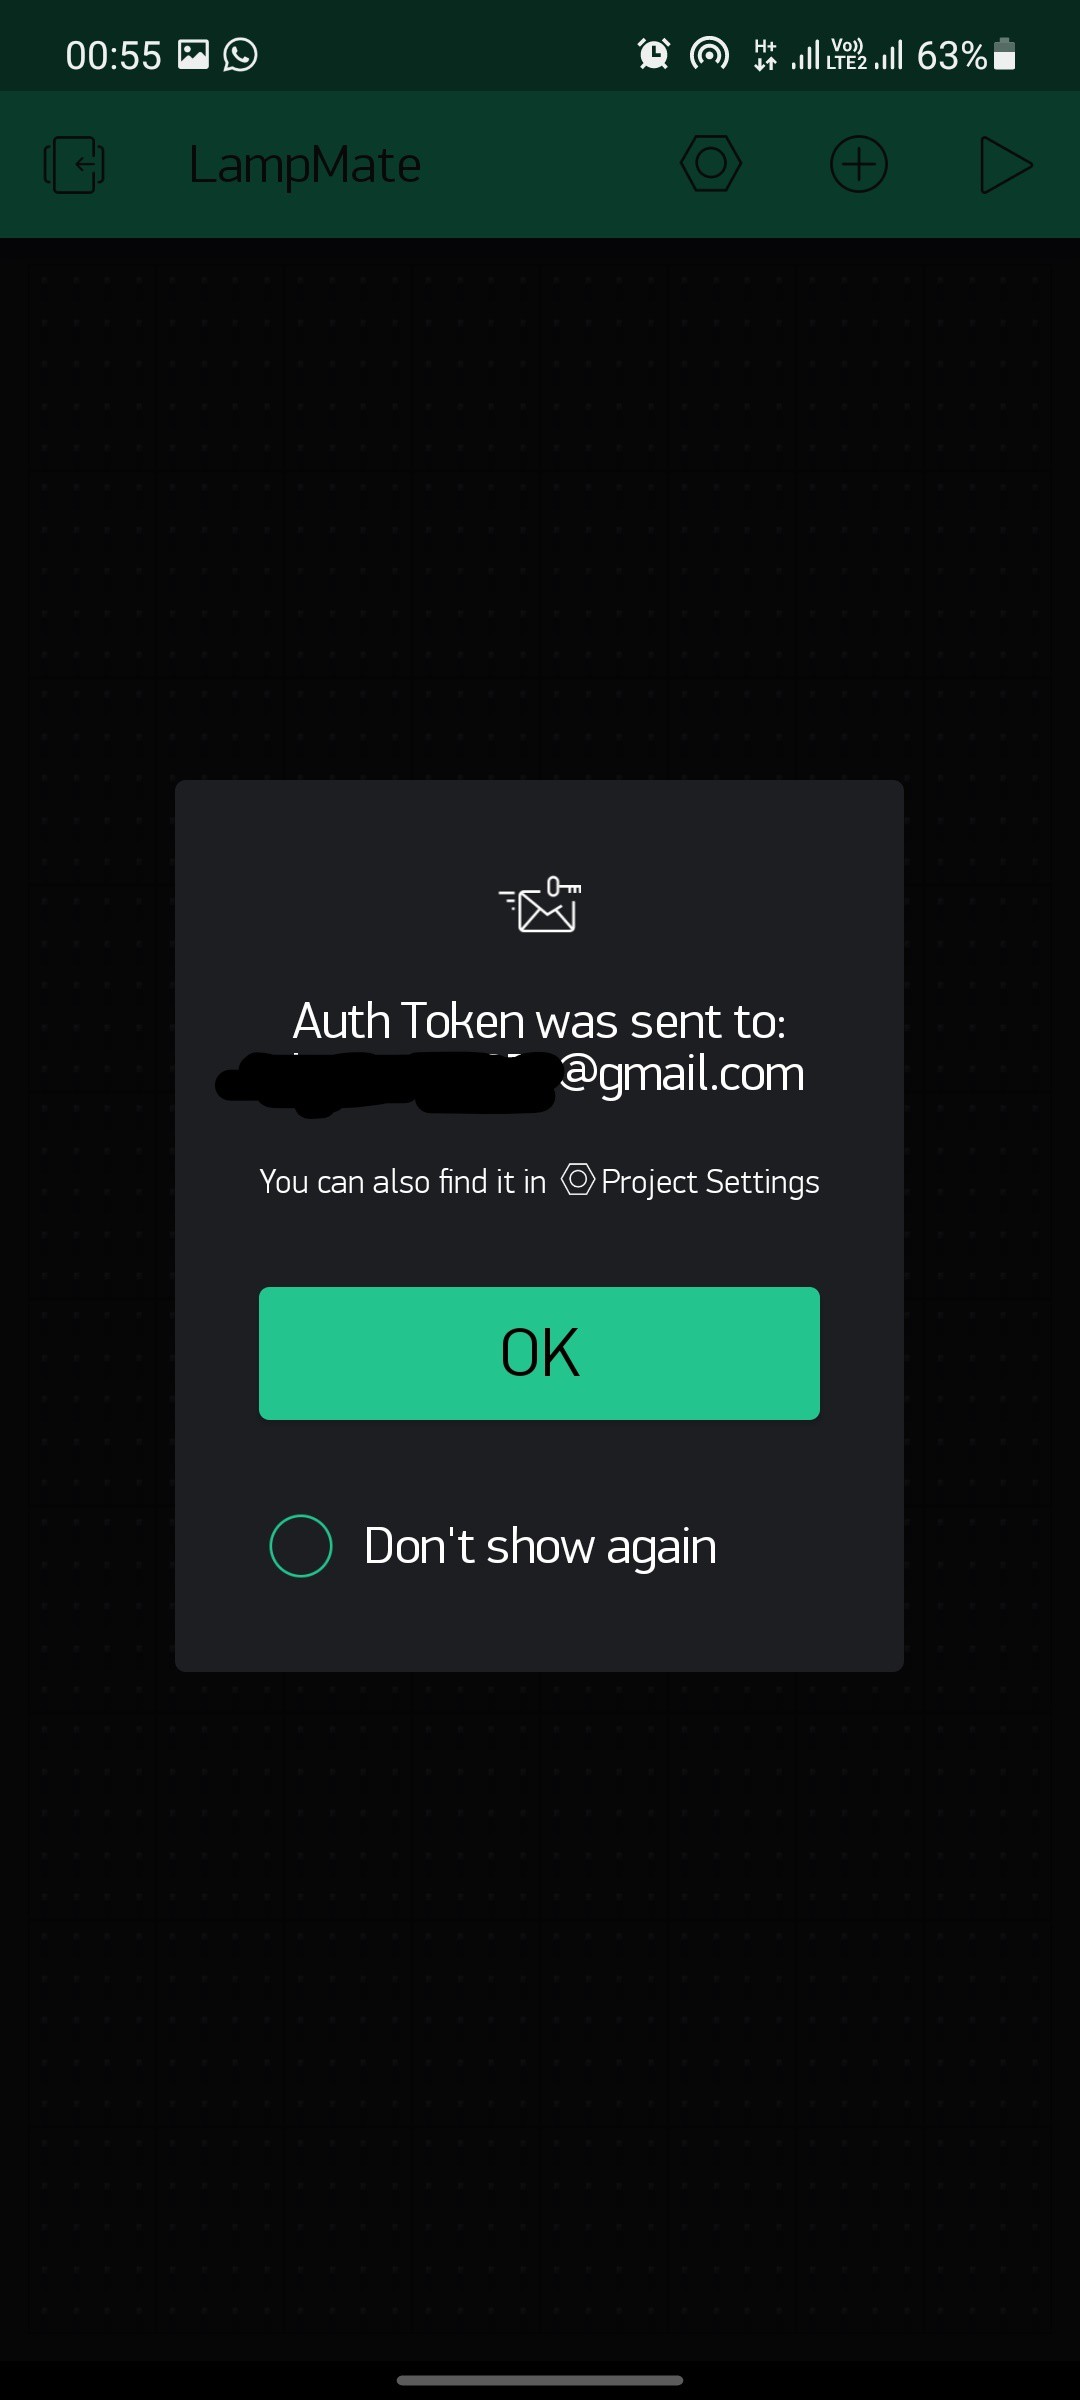
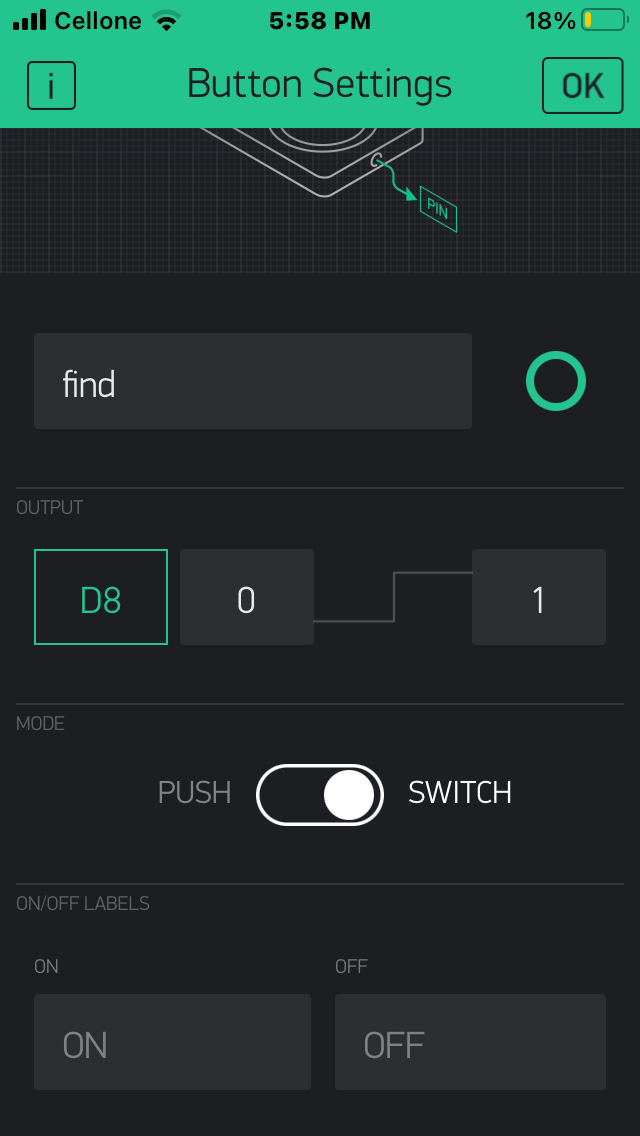
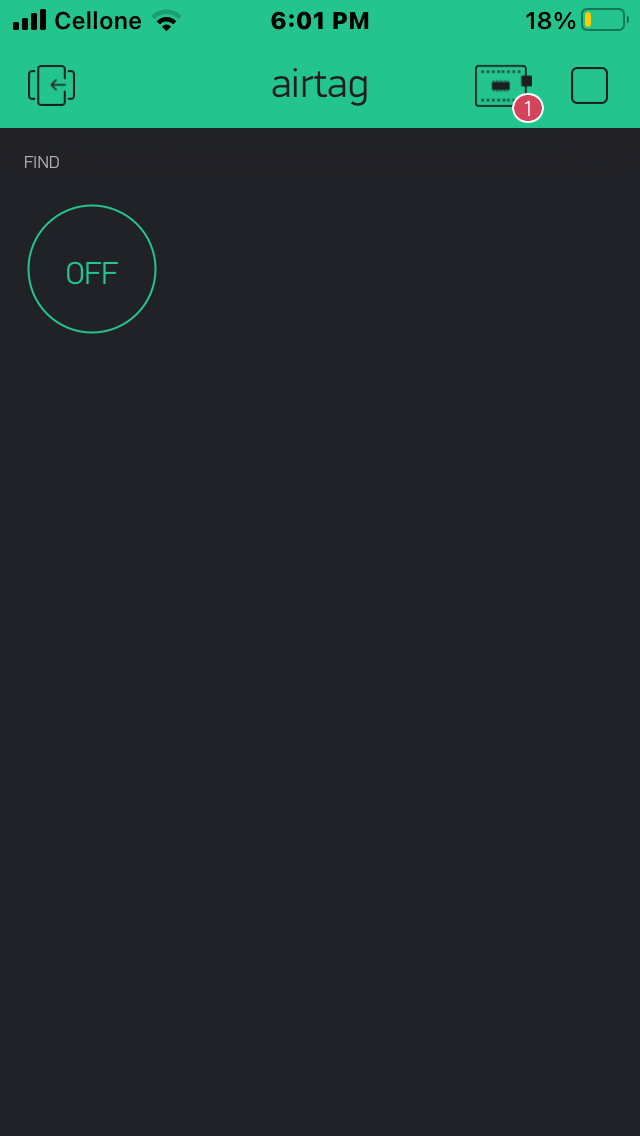
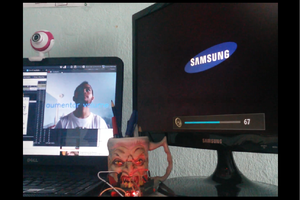
So the working of this project is very simple the AirTag is connect to your smartphone using your Wifi Hotspot and here I have used a app called Blynk which sends the data from smartphone to the AirTag whenever we click on the find button 

Few Information on the objects and the tools we are using in this project:-

Hardware Part:-

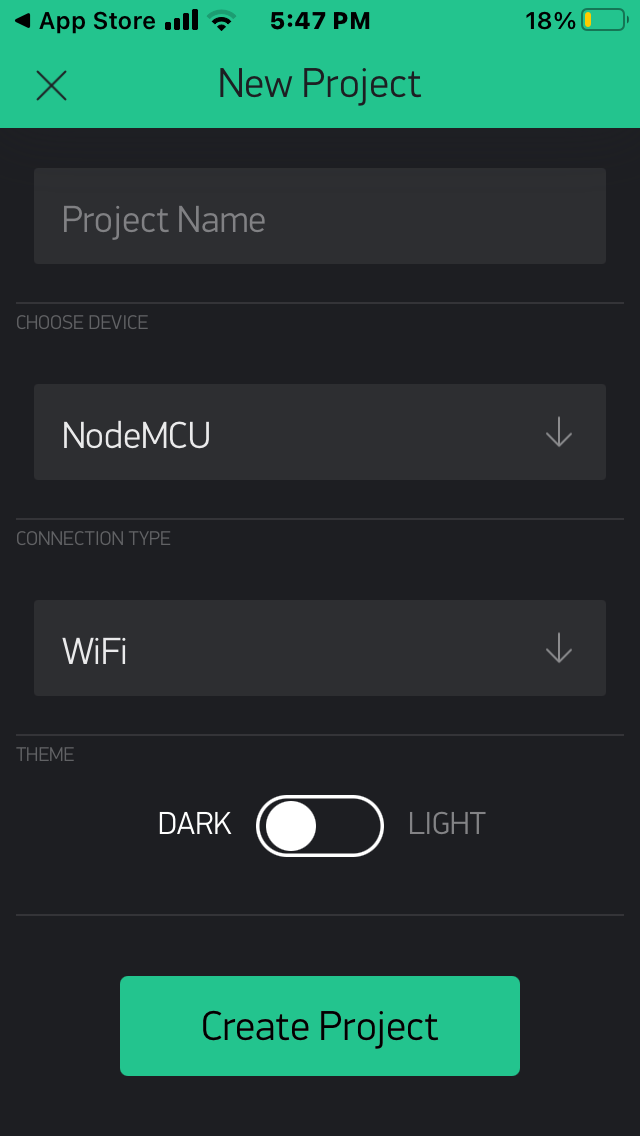
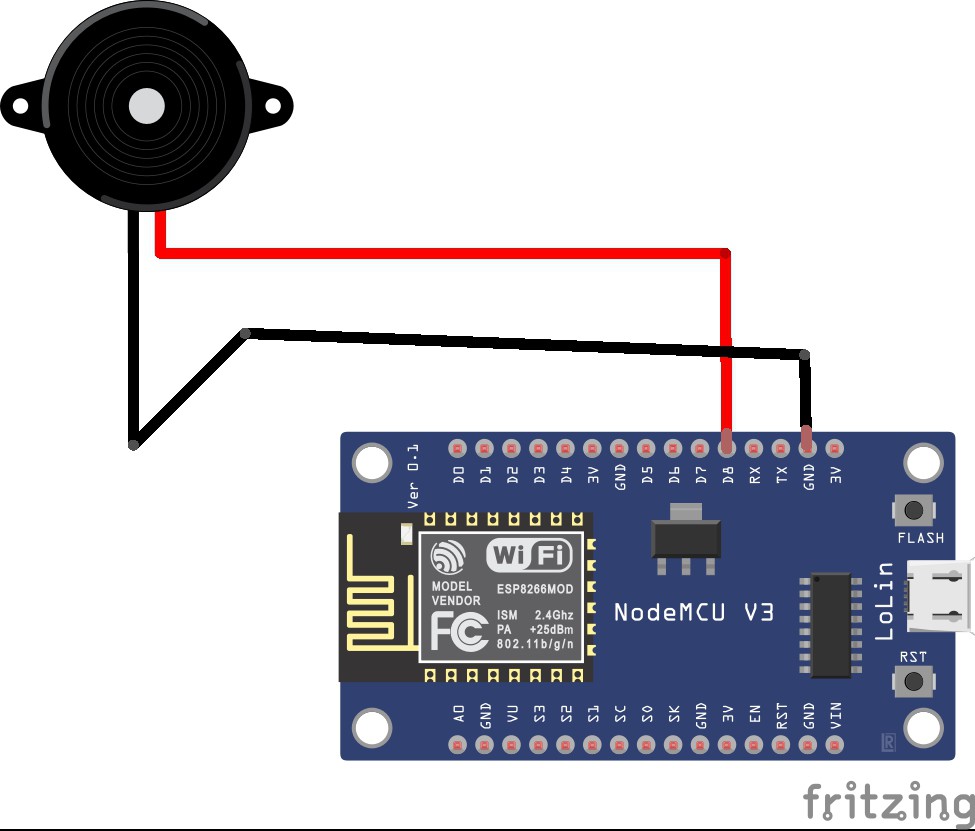
1. NodeMCU:- NodeMCU is an open source firmware for which open source prototyping board designs are available. The name "NodeMCU" combines "node" and "MCU" (micro-controller unit). The firmware uses the Lua scripting language. The firmware is based on the eLua project, and built on the Espressif Non-OS SDK for ESP8266.

Software:-

1. Arduino IDE:- The Arduino Integrated Development Environment (IDE) is a cross-platform application (for Windows, macOS, Linux) that is written in functions from C and C++. It is used to write and upload programs to Arduino compatible boards, but also, with the help of third-party cores, other vendor development boards.

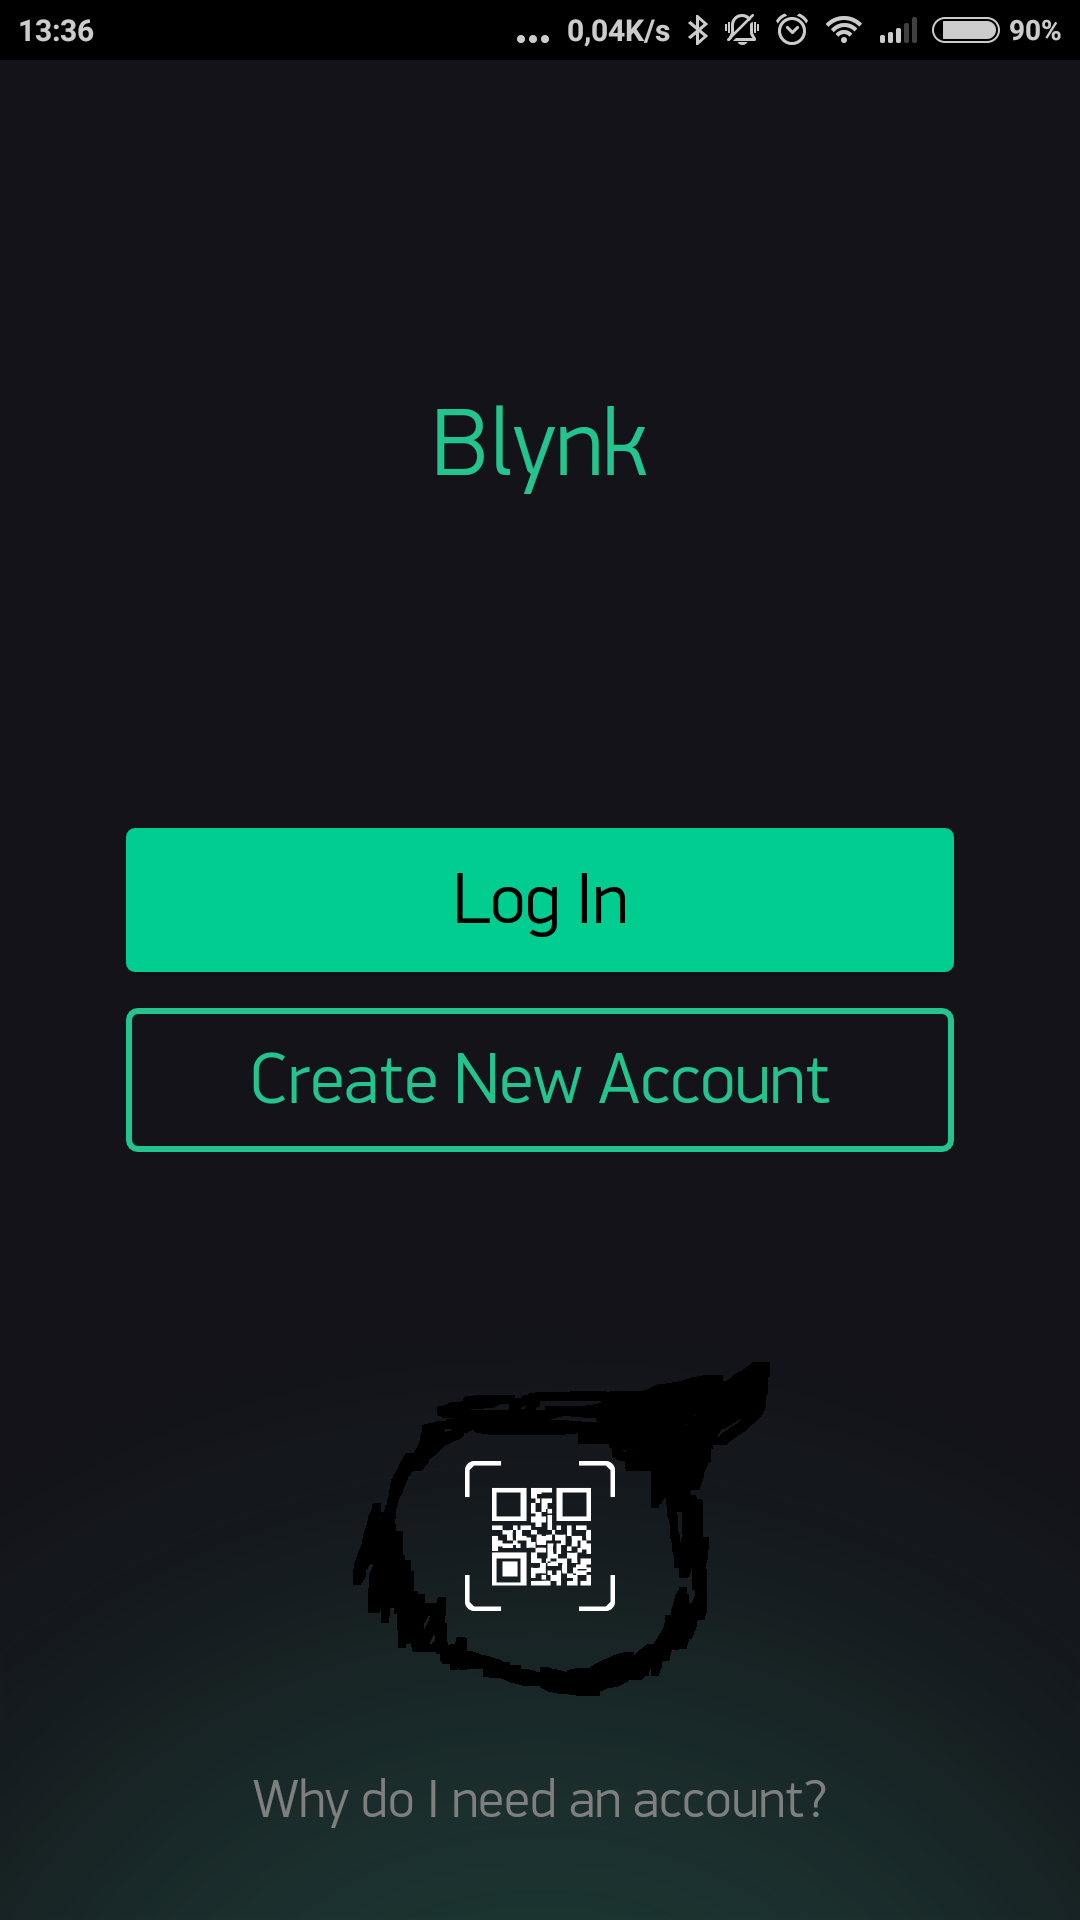
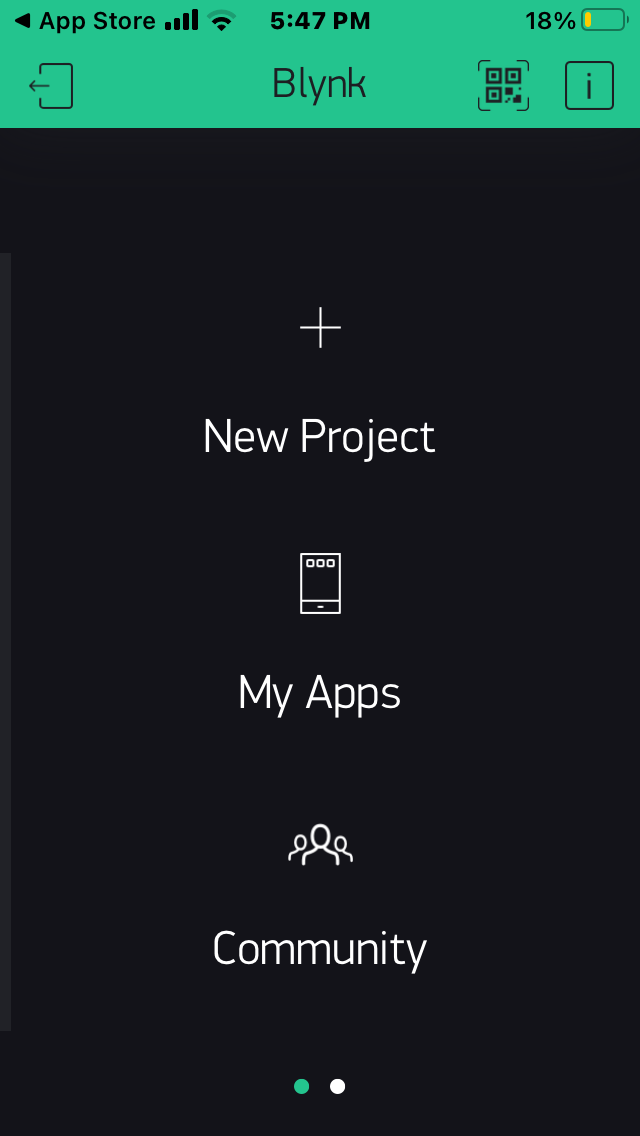
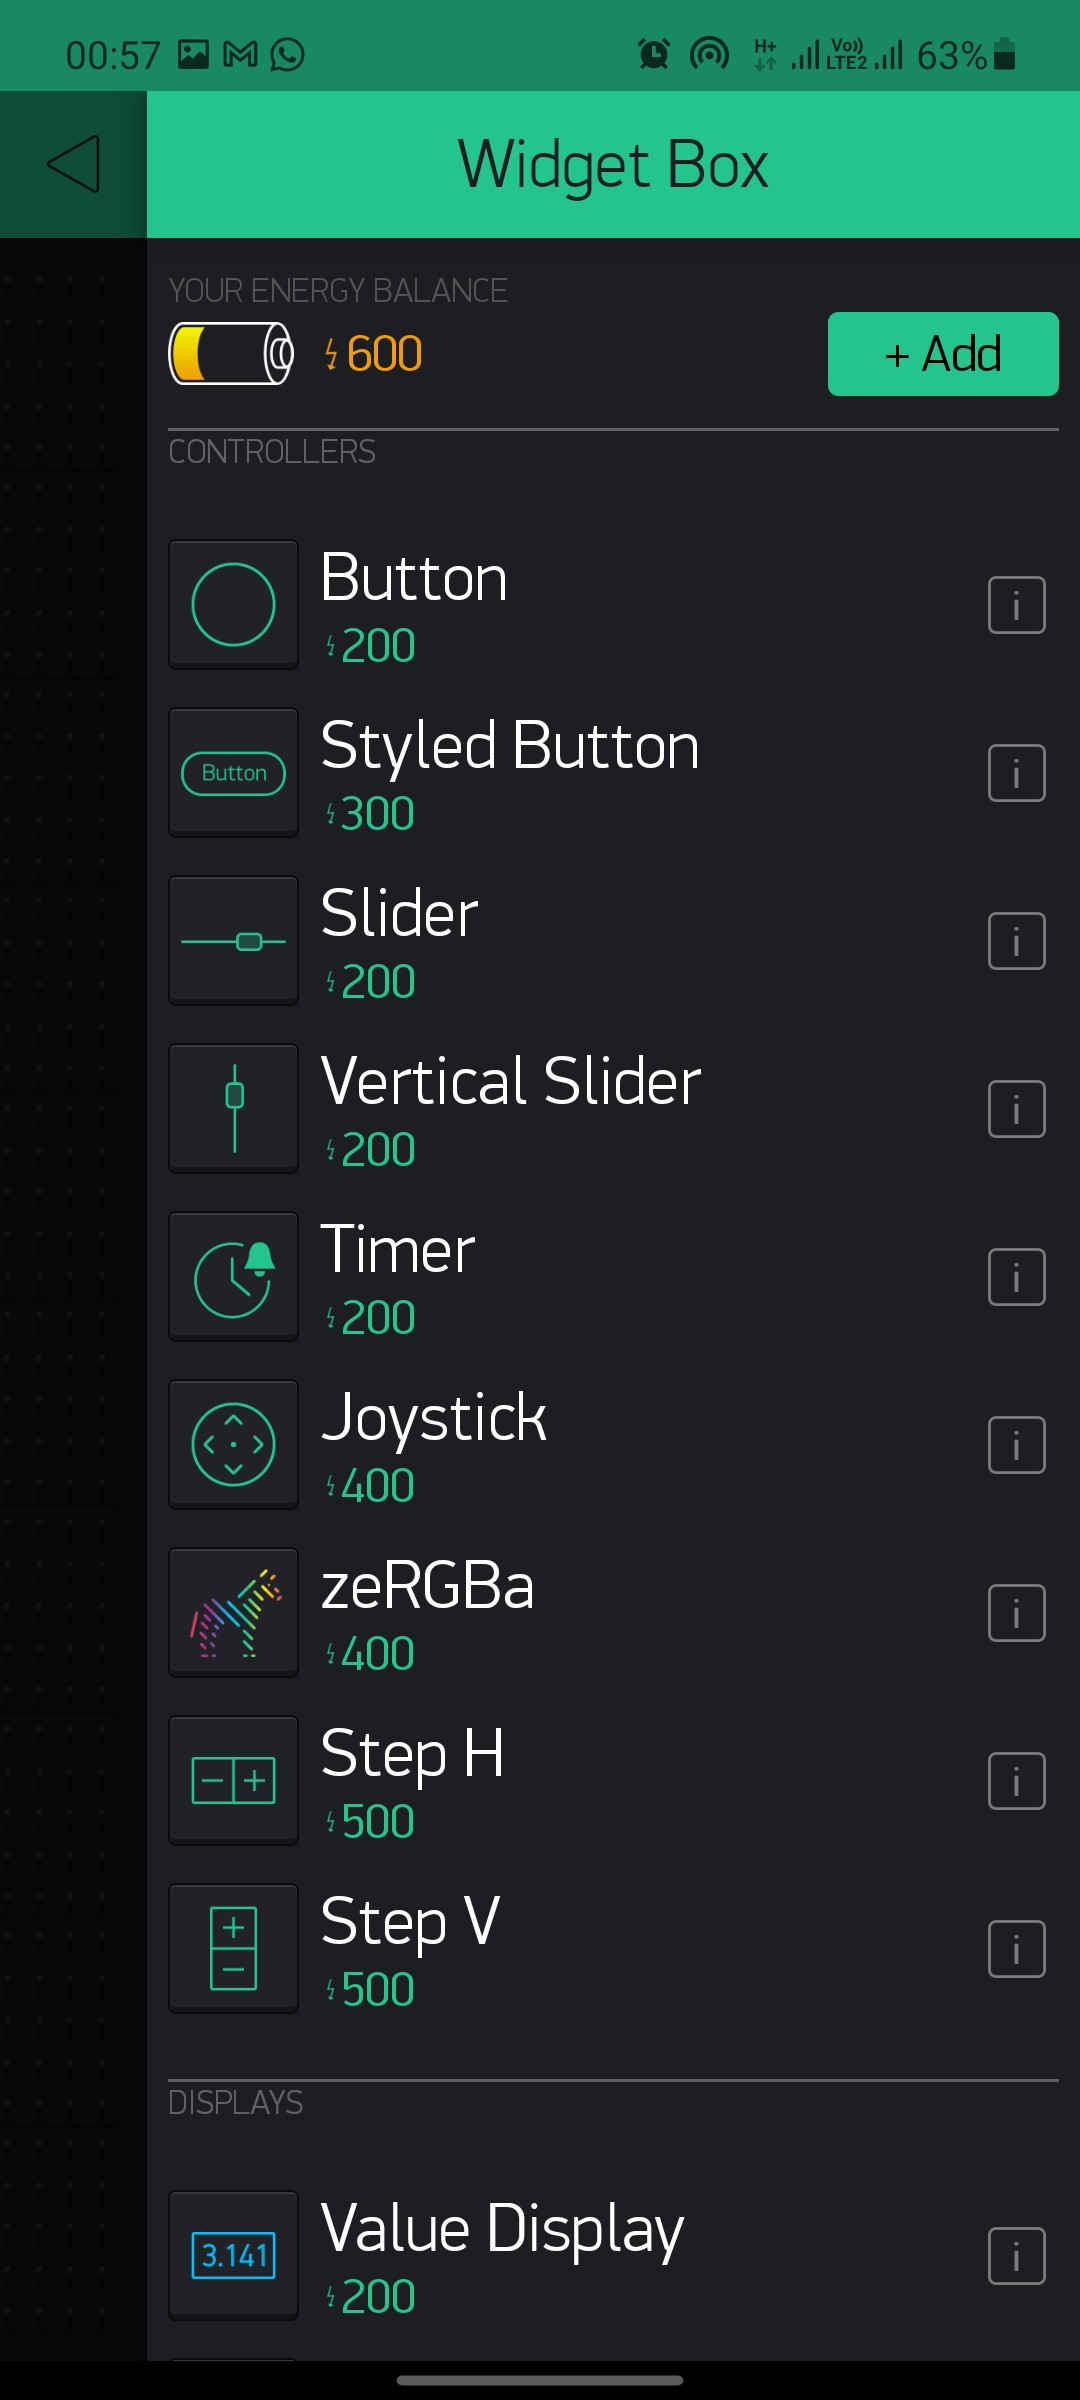
2. BLYNK:-  Blynk was designed for the Internet of Things. It can control hardware remotely, it can display sensor data, it can store data, vizualize it and do many other cool things. ... Blynk Server - responsible for all the communications between the smartphone and hardware.

AirTag.ino

this is the code

ino - 652.00 bytes - 07/29/2021 at 20:16

Download

  • 1 × NodeMCU
  • 1 × Buzzer
  • 1 × Lithium Ion Battery
  • 1 × Charging Board TP4056

  • 1
    Setup The BLYNK App

    Step1:- Now you have to download the Blynk App So Blynk was designed for the Internet of Things. It can control hardware remotely, it can display sensor data, it can store data, visualize it and do many other cool things.

    Step2:- After Downloading the Blynk app all you need is to login to the app via Google or Facebook or you can also create an account on that platform

    Step3:- After that click on new project then a pop menu will appear And it will be written that the auth token has sent to your email id.

    step4:- you have to paste that to your code in the auth part

    step5:- now in the app as So when you click on new project on your app one more thing will ask in which you have to select your board as well as connectivity you have to keep nodemcu in board and Wi-Fi in connectivity

    step6:- Then you have swipe the screen from right to left, a menu will appear, in that you will get different widgets, you have to choose the button from them.

    step7:- Now tap the button you have added once, in that you have to select the pin of the button in which your buzzer is connected , you will see the pin part in the output section, after that you have to select "switch" instead of "Push" and keep one thing in mind that while selecting the pin Let it be digital, don't change it and if you want, you can also change the name of the button.

    step8:-Upload the code to NodeMCU make sure you have enter your SSID which name of your Wi-Fi and Password of your hotspot and also add your Auth Token After that click on play icon if there is any exclamation like that it means your Board is not connected so for that check it once

    step9:- After all these things now connect your AirTag with your any object you can also call it Minitag as it is my version.

  • 2
    Connection
  • 3
    Code

    // You should get Auth Token in the Blynk App.

    // Go to the Project Settings (nut icon).

    char auth[] = "YourAuthToken";

    // Your WiFi credentials. // Set password to "" for open networks.

    char ssid[] = "YourNetworkName";

    char pass[] = "YourPassword";

    void setup() { // Debug console Serial.begin(9600);

    Blynk.begin(auth, ssid, pass); // You can also specify server: //Blynk.begin(auth, ssid, pass, "blynk-cloud.com", 80);

    //Blynk.begin(auth, ssid, pass, IPAddress(192,168,1,100), 8080); }

    void loop() {

    Blynk.run(); }

View all 4 instructions

Enjoy this project?

Share

Discussions

Gee Dup wrote 08/02/2021 at 19:12 point

This isn't anywhere close to an airtag to be honest man, also the device needs wifi so if this thing receives the signal from the phone then it must be near you anyway, call it a remotely activated buzzer :)

  Are you sure? yes | no

Rohan Barnwal wrote 08/21/2021 at 04:11 point

ya I know that but the working principal is somehow is same.

  Are you sure? yes | no

Similar Projects

Does this project spark your interest?

Become a member to follow this project and never miss any updates