Dilshan Jayakody
In this prototype build, the Si5351clock generator drives using an Arduino Uno board. With the given sketch, the user can tune and switch the shortwave meter bands using a rotary encoder. The supplied sketch support clock generation from 5205kHz (tuner frequency : 4750kHz) to 16285kHz (tuner frequency : 15830kHz). If required, this range can further extend or reduce by modifying the Arduino source code. In the given source code, we use Etherkit's Si5351 library to control the clock generator module.
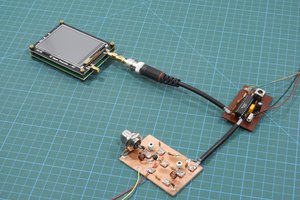
This receiver uses a conventional 455kHz I.F transformer kit in an intermediate frequency amplifier. We use a 2SC724 transistor for each filter stage. The value of this transistor is not critical and can be replaced with any suitable mid-frequency NPN transistor, for example, 2SC930, BF494, BC337, or 2SC829, etc.
The 2nd PCB consists of a filter, mixer, and detector circuit. This mixer stage also uses the NPN low power transistor and can replace with any of the above transistors. The crucial component of the detector phase is the OA90 or 1N34 Germanium diode. It can also change with any suitable Germanium signal diode.
The front filter stage constructs using a pair of ready-made 1µH inductors.
Both I.F amplifier and mixer PCBs design using commonly available through-hole-type components. The I.F transformer used in this circuit base on a standard 455kHz I.F transformer kit. Typically, this kit consists of 42IF101 (yellow), 42IF102 (white), and 42IF103 (black) I.F transformers with capacitors. These days I.F Transformers is a little hard to find. During our search, we found few local stores and online stores that sold above I.F transformer kits. We also noticed some AliExpress and eBay vendors selling the correct 455kHz I.F transformer kits online.
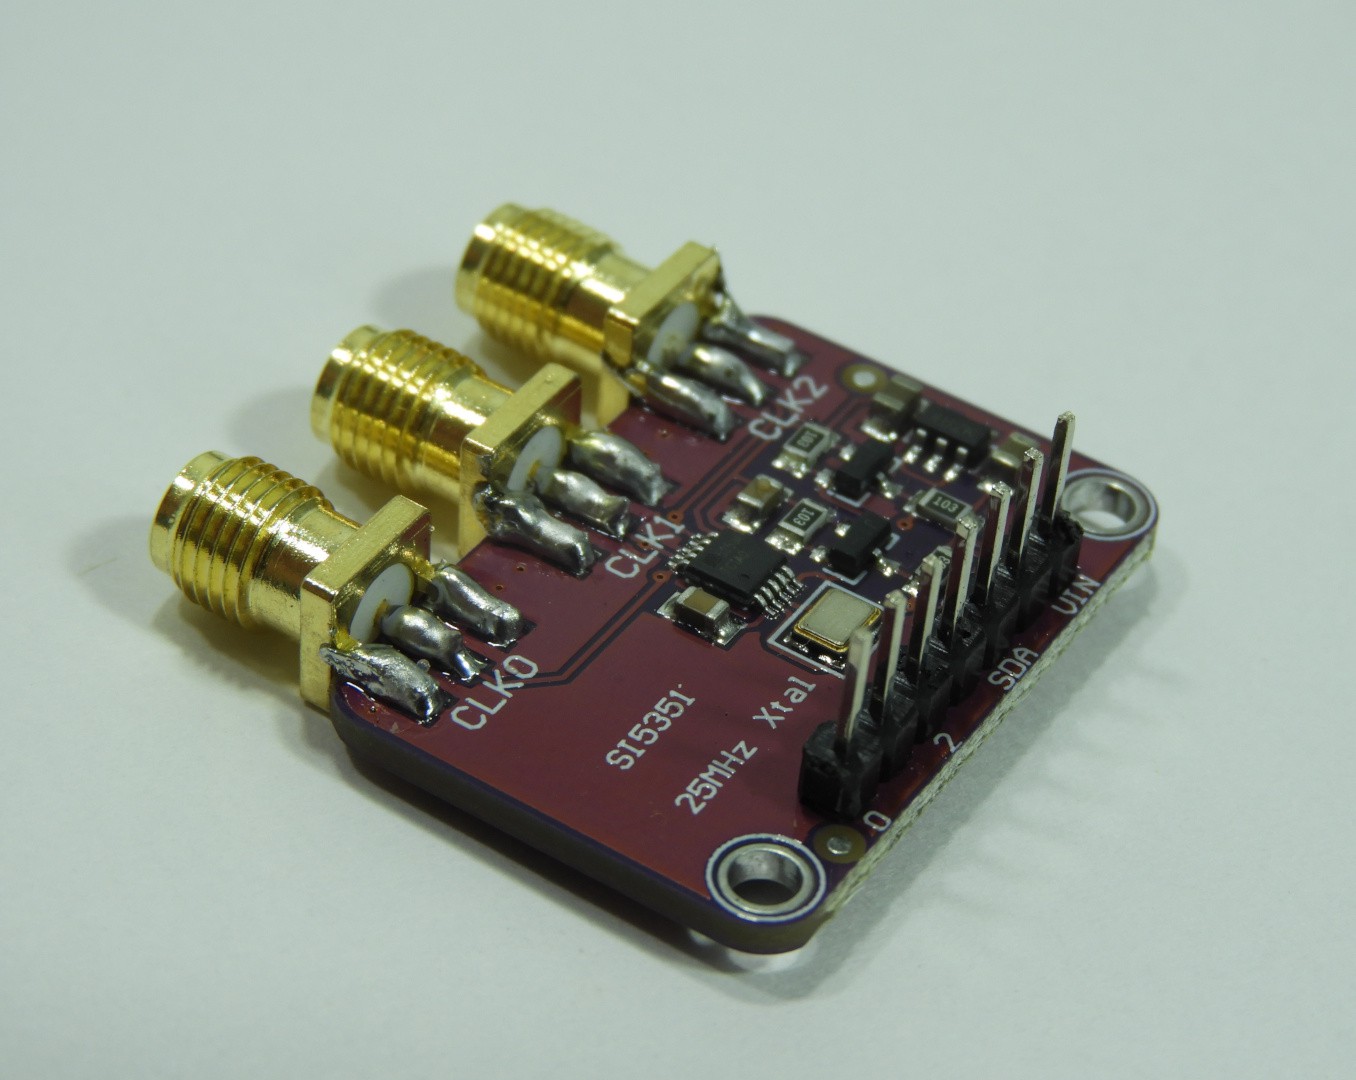
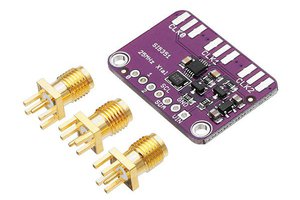
In this prototype, we will use the Si5351 module commonly found in online stores. Generally, this circuit works with any Si5351 module with CLK0 output. The module we used has a built-in I2C level-shifter and voltage regulator, so we connect this module straight to the Arduino Uno 5V supply and I/O terminals.
The suggested supply voltage to this tuner is 6V to 9V. The complete assembly and tuning process of this circuit shows in the video available with this article.
To fine-tune the intermediate frequency amplifier, we feed the known (7MHz) AM signal into the receiver and adjust the I.F transformers.
For testing, we connect this tuner to the external T antenna. During the test, in the morning and evening, we received a good reception on the 41m, 25m, and 19m bands. Although we received frequencies of 16m band and above, it was observed that the sensitivity was slightly low compared to the above meter bands. Due to proximity, we got good reception on several CRI and AIR broadcasts.
 biemster
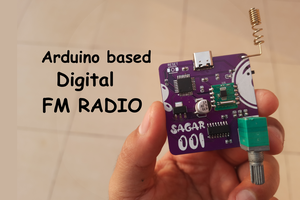
 Sagar 001