 pcadic
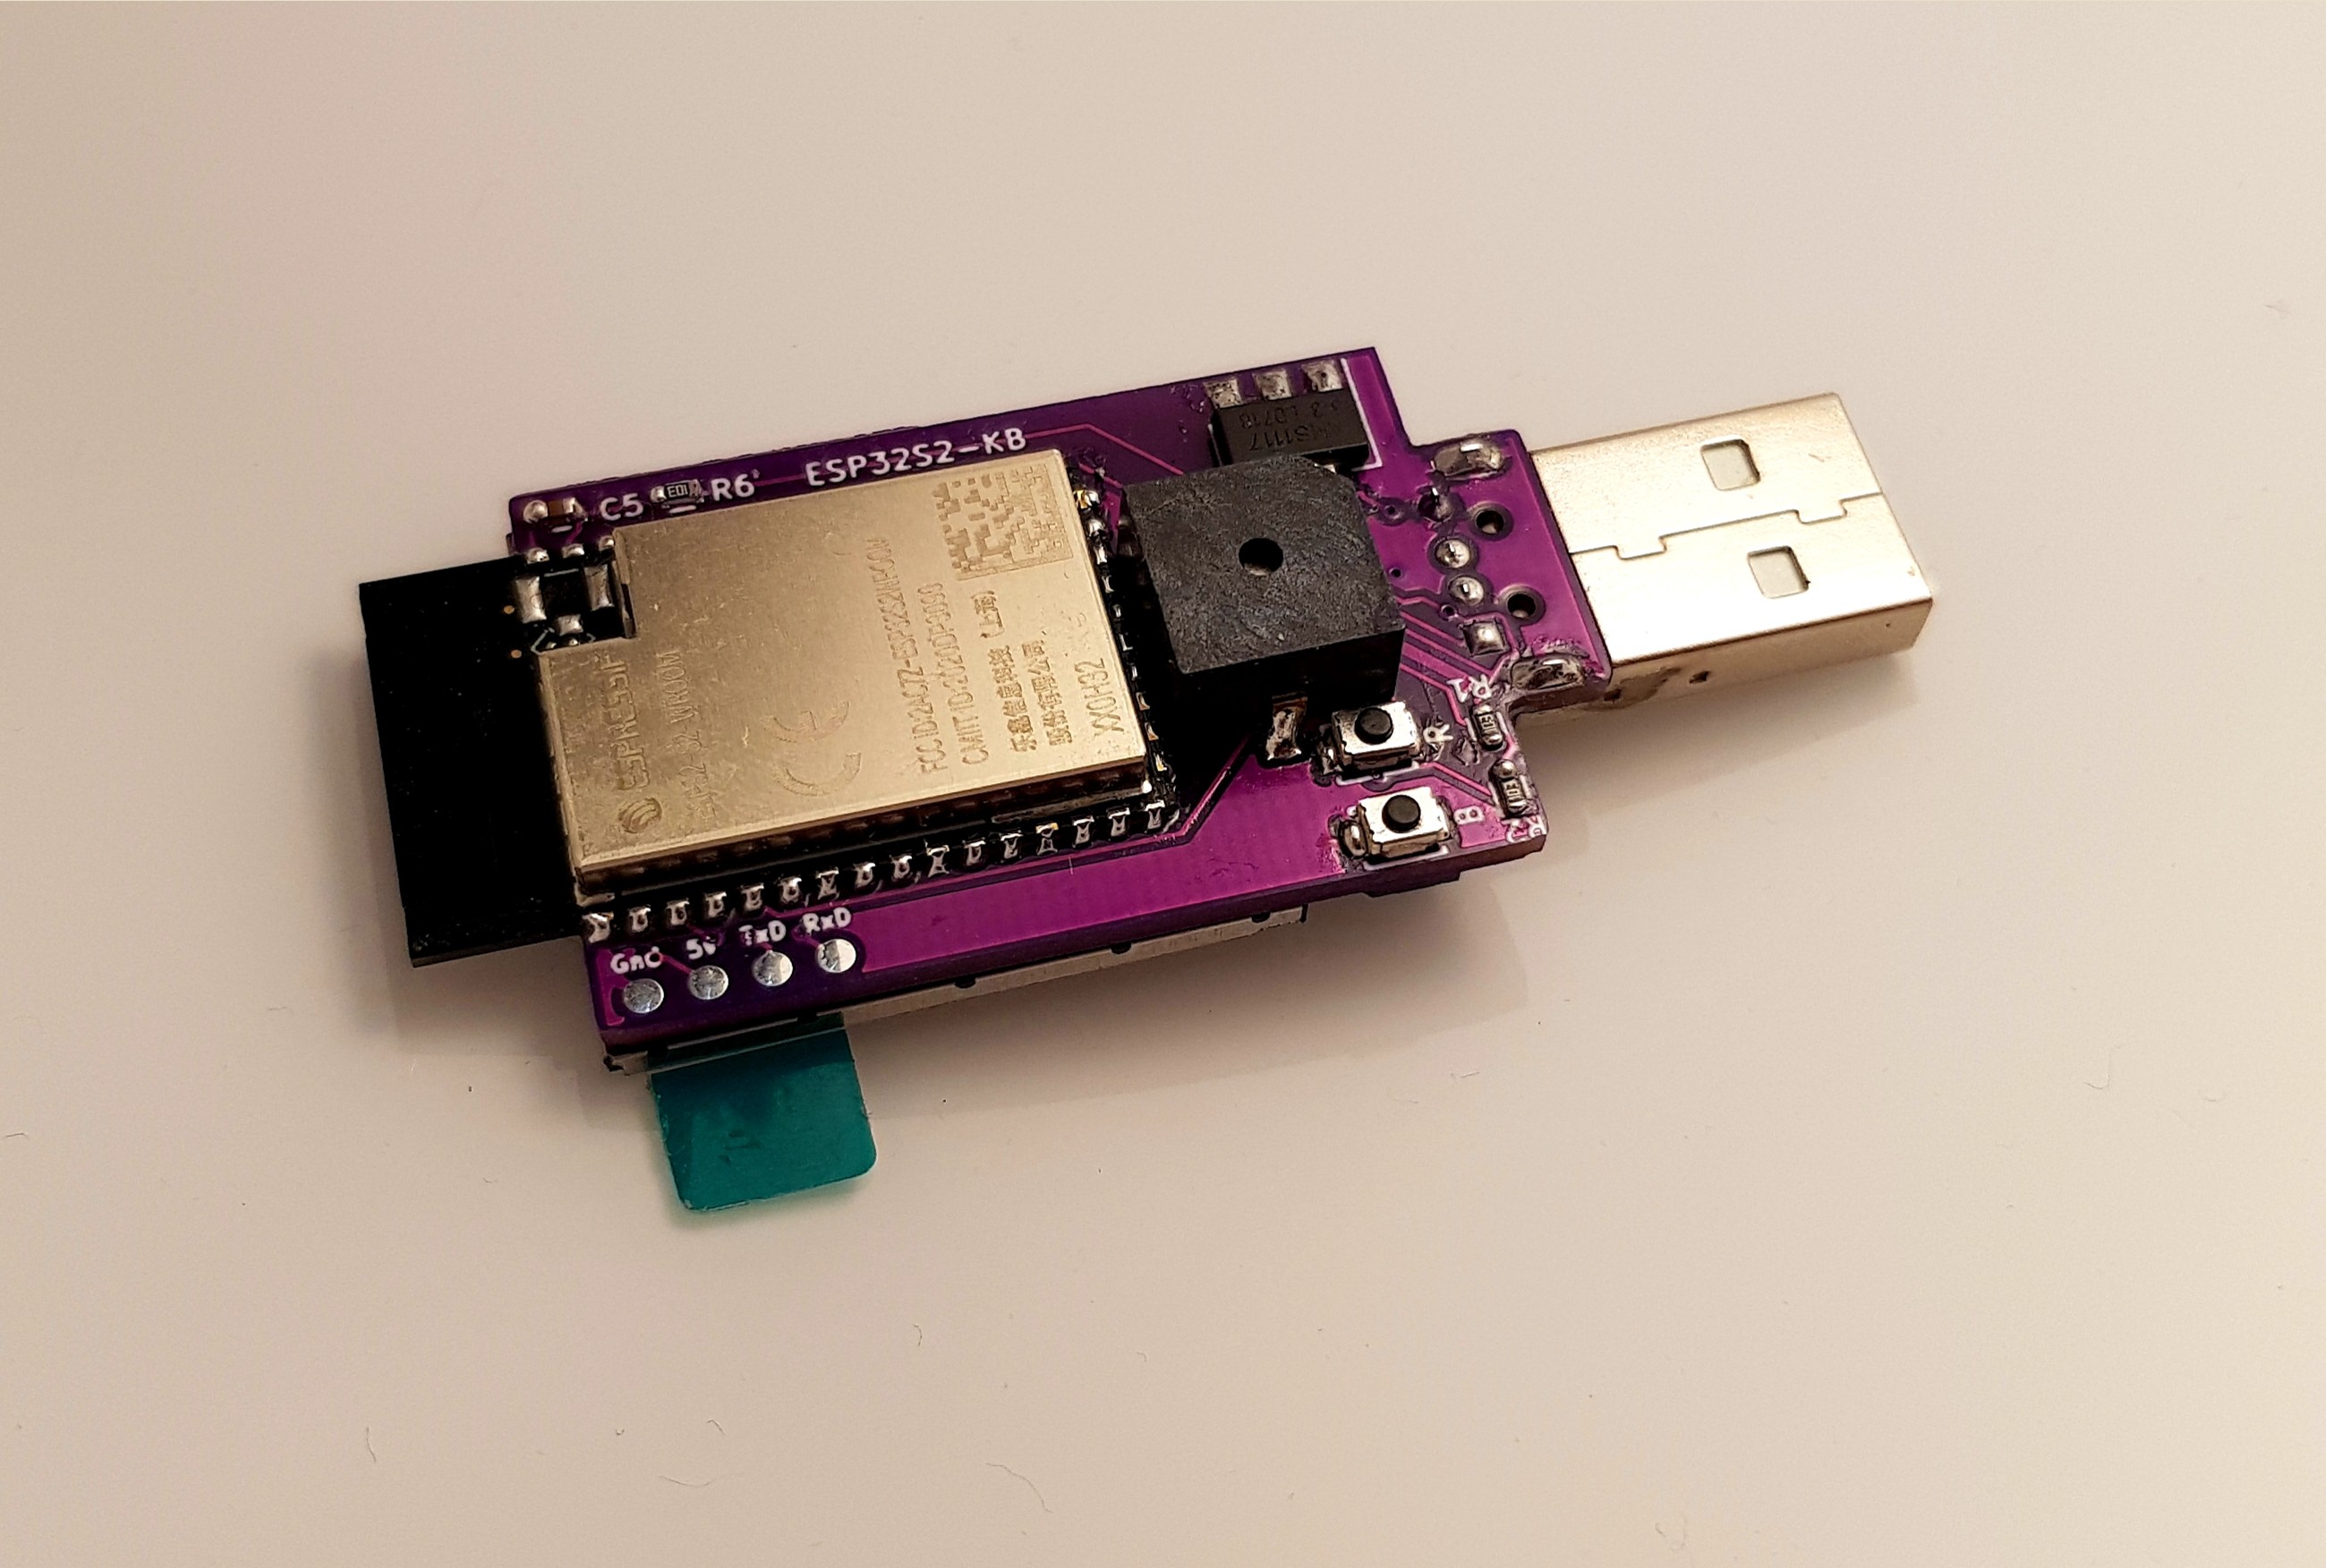
Based on our previous experience with our first MORPH-ESP240 crowdsupply.com campaign, we wantedf to make a small device capable of behaving as a USB Keyboard or USB Key. So we decided to remove all the unnecessary components and build a minimalistic USB device. The PCB software used is KICAD.
The cost to build one item is evaluated to : 13 USD for the components. The PCB is 4 USD. You can get the PCB here on tindie.

You can remove D1 and R3 SMD components if you to not need any light which may be anoying if you want to watch the display.


The soldering is not a particularly difficult operation. You can do it using a basic soldering iron . No oven or heat place is necessary although it can be easier and faster.


 ElectroBoy
 mbsg99
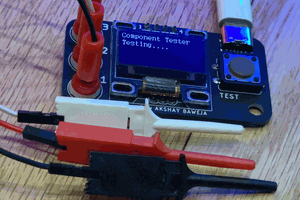
 Akshay Baweja
Where's the source code?