 Mark Wilson
I ended the original Kenbakless project with “The experiment is over, I doubt that I will pursue this further to a polished enclosure etc.”

However, when I rediscovered a calculator-style enclosure in my pile-of-stuff (https://www.jaycar.co.nz/sloping-handheld-enclosures-150-x-95-x-28-5-49-5mm-light-grey/p/HB6090 now discontinued), I knew I had to do the right thing and address the unresolved tension of the unenclosed (and ugly!) project.
The sketch was already done, so this was mostly an exercise in constructing the enclosure.

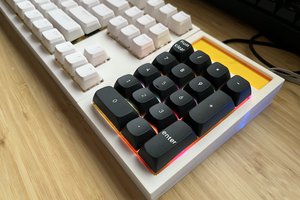
I started with a 4x4 keypad:

I was able to remove the back, rearrange the numeric keys and replace the rest with 3D-printed ones (see https://www.thingiverse.com/thing:4931235). I cut out a void in the enclosure to accommodate the keyboard, drilled M-2 holes to support it.
The Kenbak less modification needs the usual 4 control LEDs and a Octal indicator. Rather than ignore the extra unused LEDs in a strip of 8, I popped three of them off and bridged the gap by soldering a wire from DOUT on the 4th to DIN on the 8th.

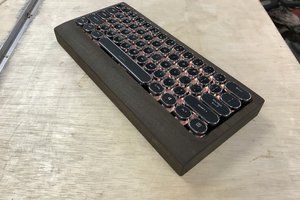
I laser cut and engraved an overlay for the new keys and a face-plate for the LEDs.
The face-plate fits in the gap provided by the enclosure. The LEDs are clamped in place.
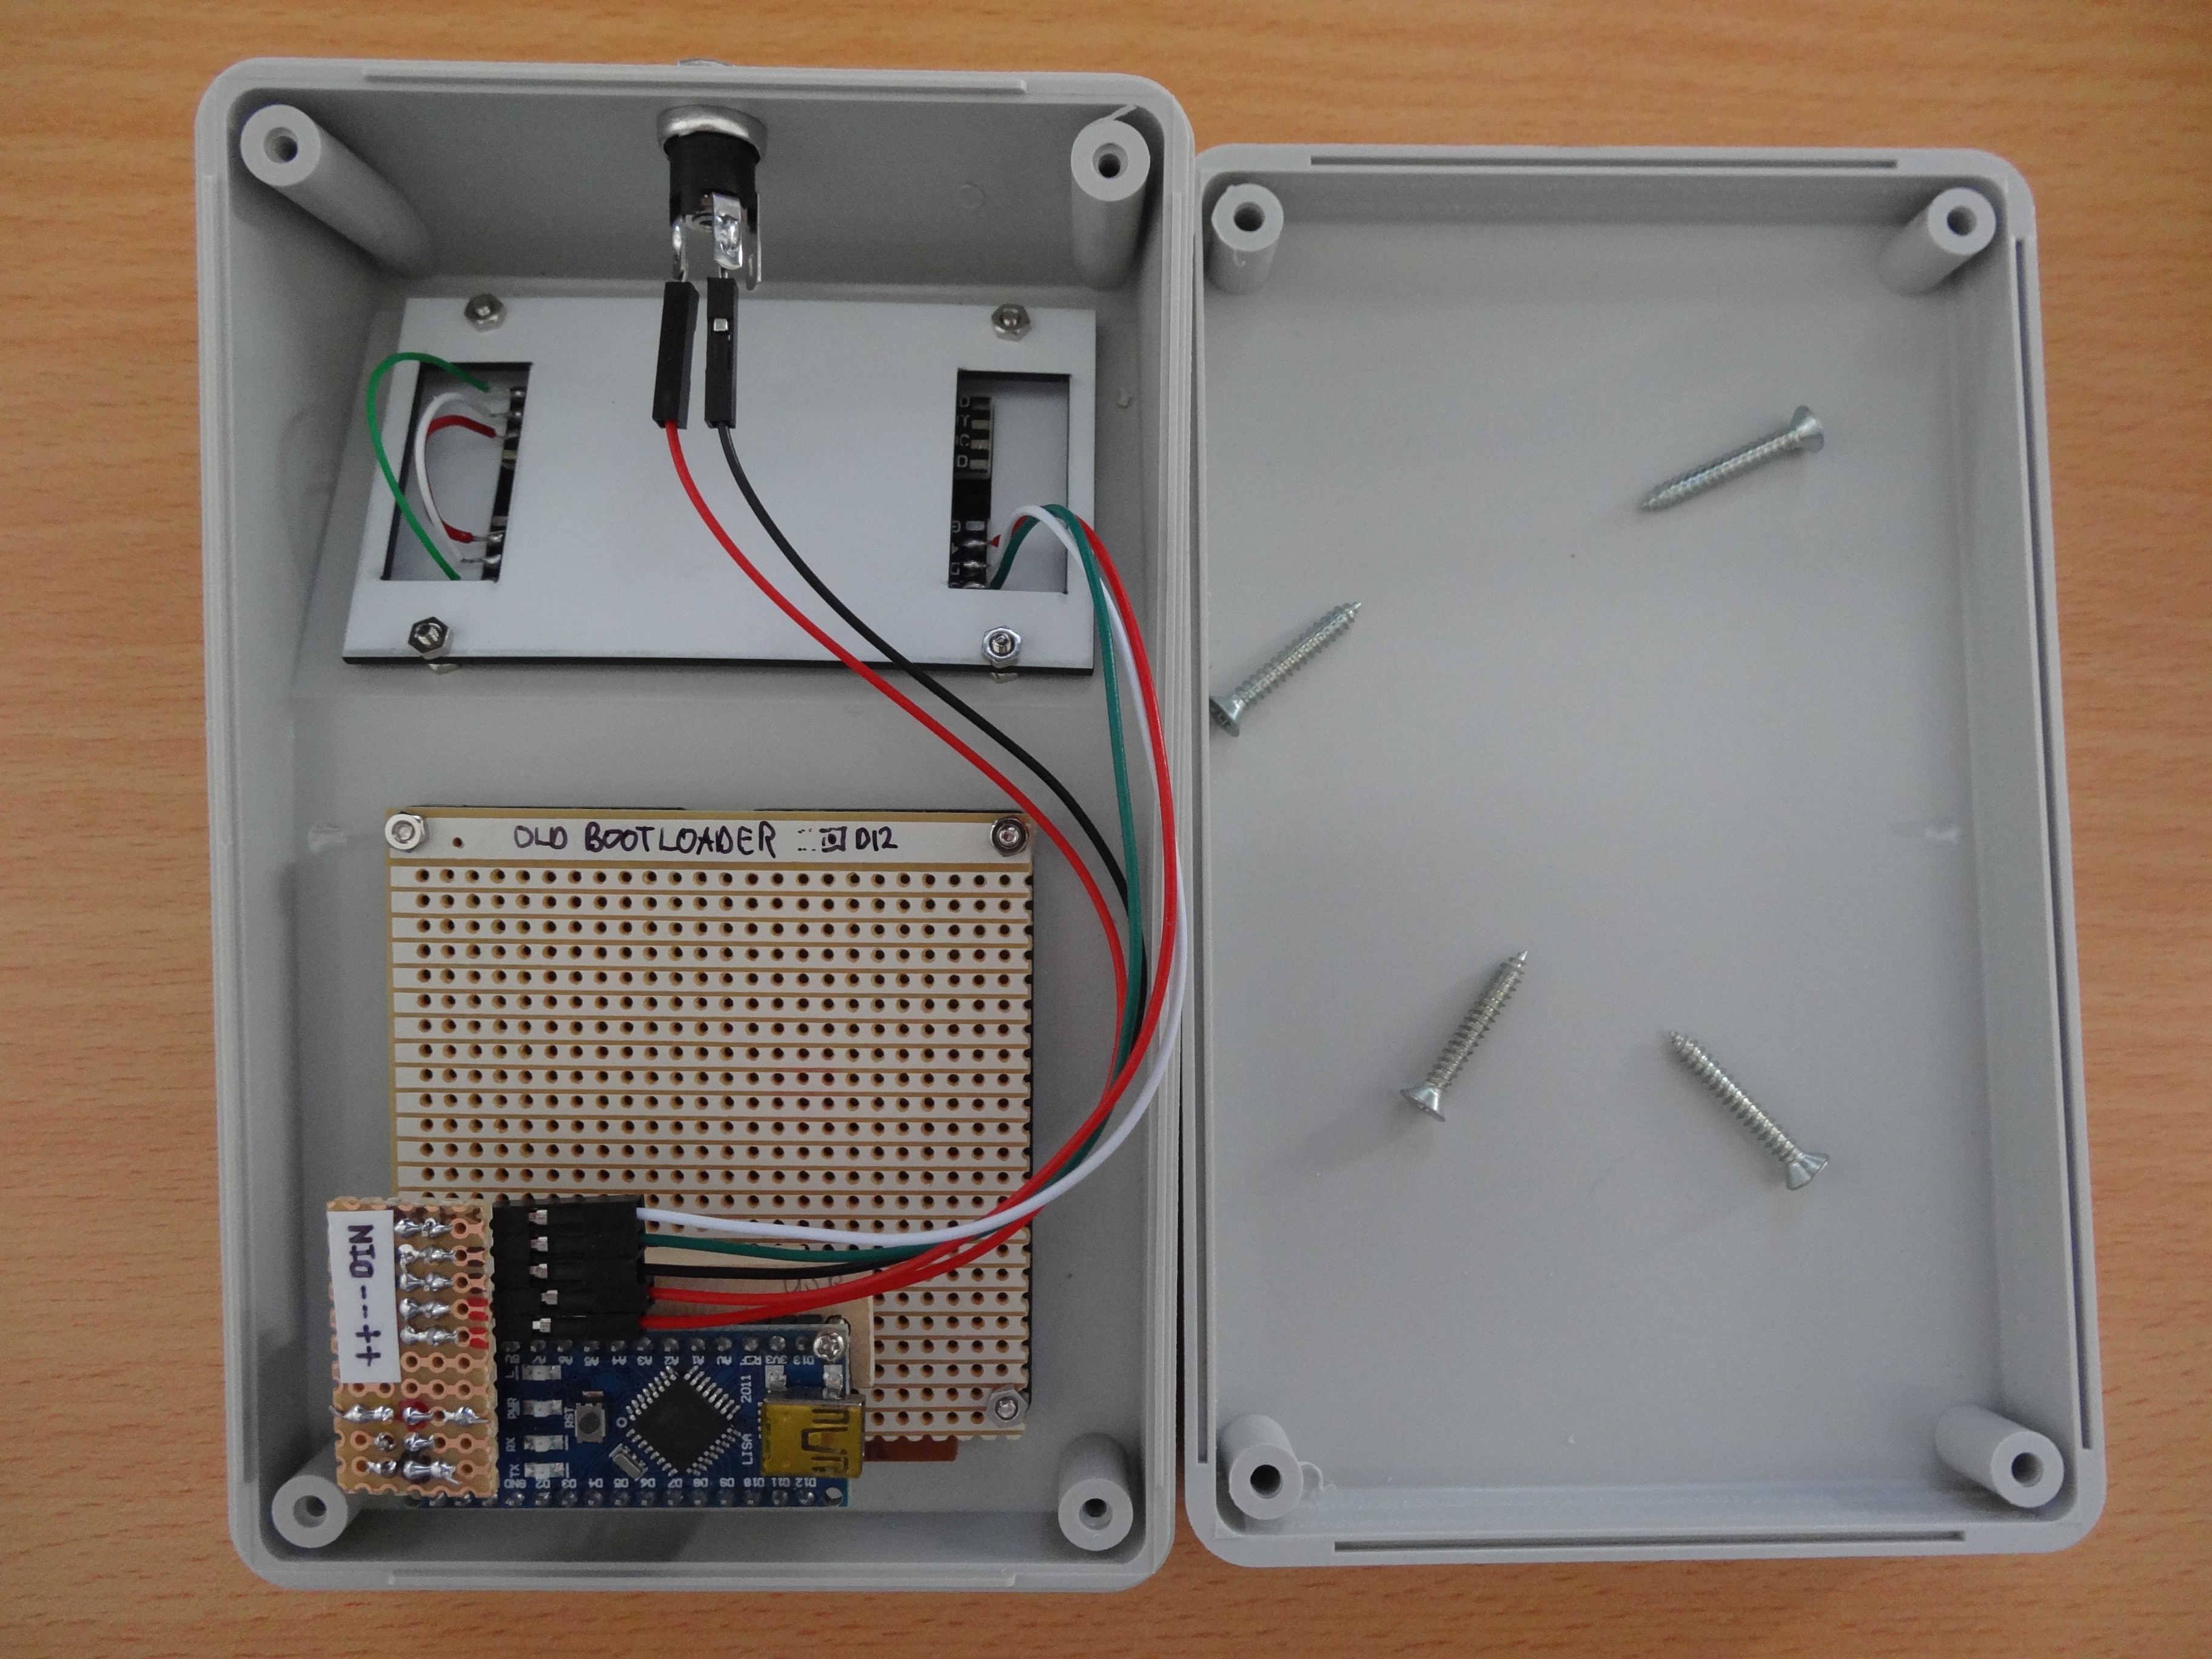
I prototyped using jumper leads, but then finalised with them too.
The Nano connects directly to the 10-pin socket on the keyboard. Power, ground and DOUT for the LEDs are via the ICSP connector.
More photos on flickr

 Vladimir Aubrecht
 andrew
 Tyler Johnson