Close
0%
0%

My Custom Scanning Electron Microscope

This is a scanning electron microscope I am building from scratch from mechanical, electronics and control software.

Public Chat
Similar projects worth following
I always want a SEM, the ones on eBay are quite expensive and they usually weights a lot.
So I decided to build my own from scratch, as an Industrial design learn experience and to have my cool instrument in the end.

Please check the build logs for design details.


In 2011 Ben from Applied Science YouTube channel built his own SEM and since them I wanted to replicate his project but in a less hacky matter, something I could use in future science projects.

It's a quite expensive project even if you have all the tooling to make the parts yourself so took me a long time to be able to afford building this instrument and many countries lived, until now, living in Germany I have better access to tooling and parts to be able to fabricate this.

It's been almost an year since I start to collect ideas and started to fabricate the first parts, it will take many months still until the first image shows up, but I decided was time to start to document this project and share with you guys my journey.

Regards,

Vini

  • 1 × 001 - Objective External Pole Piece "Column Tip" This part is made of carbon steel/cast iron it needs electroplating in nickel.
  • 1 × 002 - Objective Internal Pole Piece This part is made of carbon steel/cast iron it needs electroplating in nickel. Not in contact with vacuum
  • 1 × 003 - Objective External Body This part is made of carbon steel it needs electroplating in nickel.
  • 1 × 004 - Objective Internal Pole Piece Holding Ring This part is made of brass. Not in contact with vacuum.
  • 1 × 005 - Objective Internal Body This part is made of carbon steel it needs electroplating in nickel. Not in contact with vacuum.

View all 8 components

  • I am alive!

    Vini's Lab11/18/2022 at 08:24 0 comments

    Hi guys and girls!

    I have been busy the last few months relocating to the Netherlands, so the project was halted for a while, after making many parts I am considering ways to scale down the manufacturing effort, simplifying the design, now that I more or less managed to dominate magnetic lenses simulation and got consistent results with the reality I feel more confident to deviate from the original Zeiss design I was following.

    The biggest issue I see is the current design cannot be manufactured in a mini lathe and one of my goals, for this project, is to be accessible to hobbits that want to explore this field.

    Another aspect is the number of parts and seals themselves, I think there are too many. Also, some parts are really hard to machine, like the condenser assembly, the anode and the cathode.

    Anyways I just want to leave my thoughts here and give a quick update.

    I still need to find a hackerspace or a friend with a machine shop to continue the work, meanwhile, I will work on the 3D model and simulations in my spare time. 

    Cheers,

    Vini

  • Adding multiphysics calculation to the project.

    Vini's Lab05/26/2022 at 22:38 0 comments

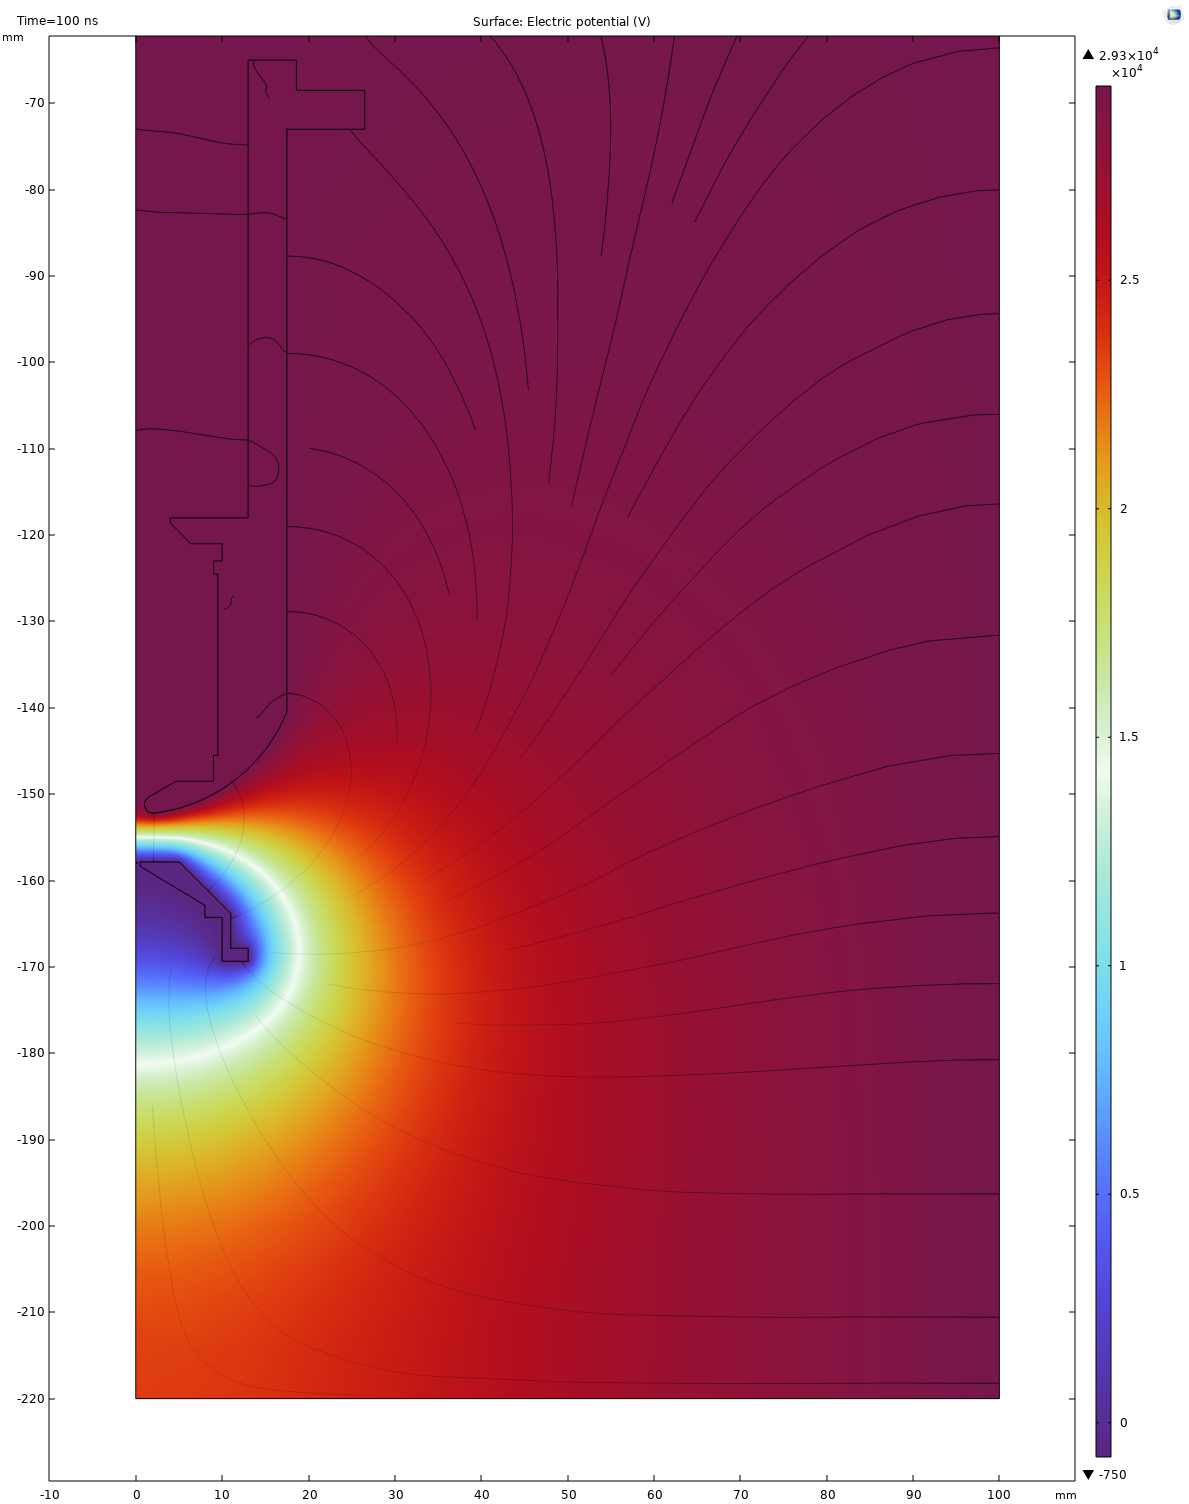
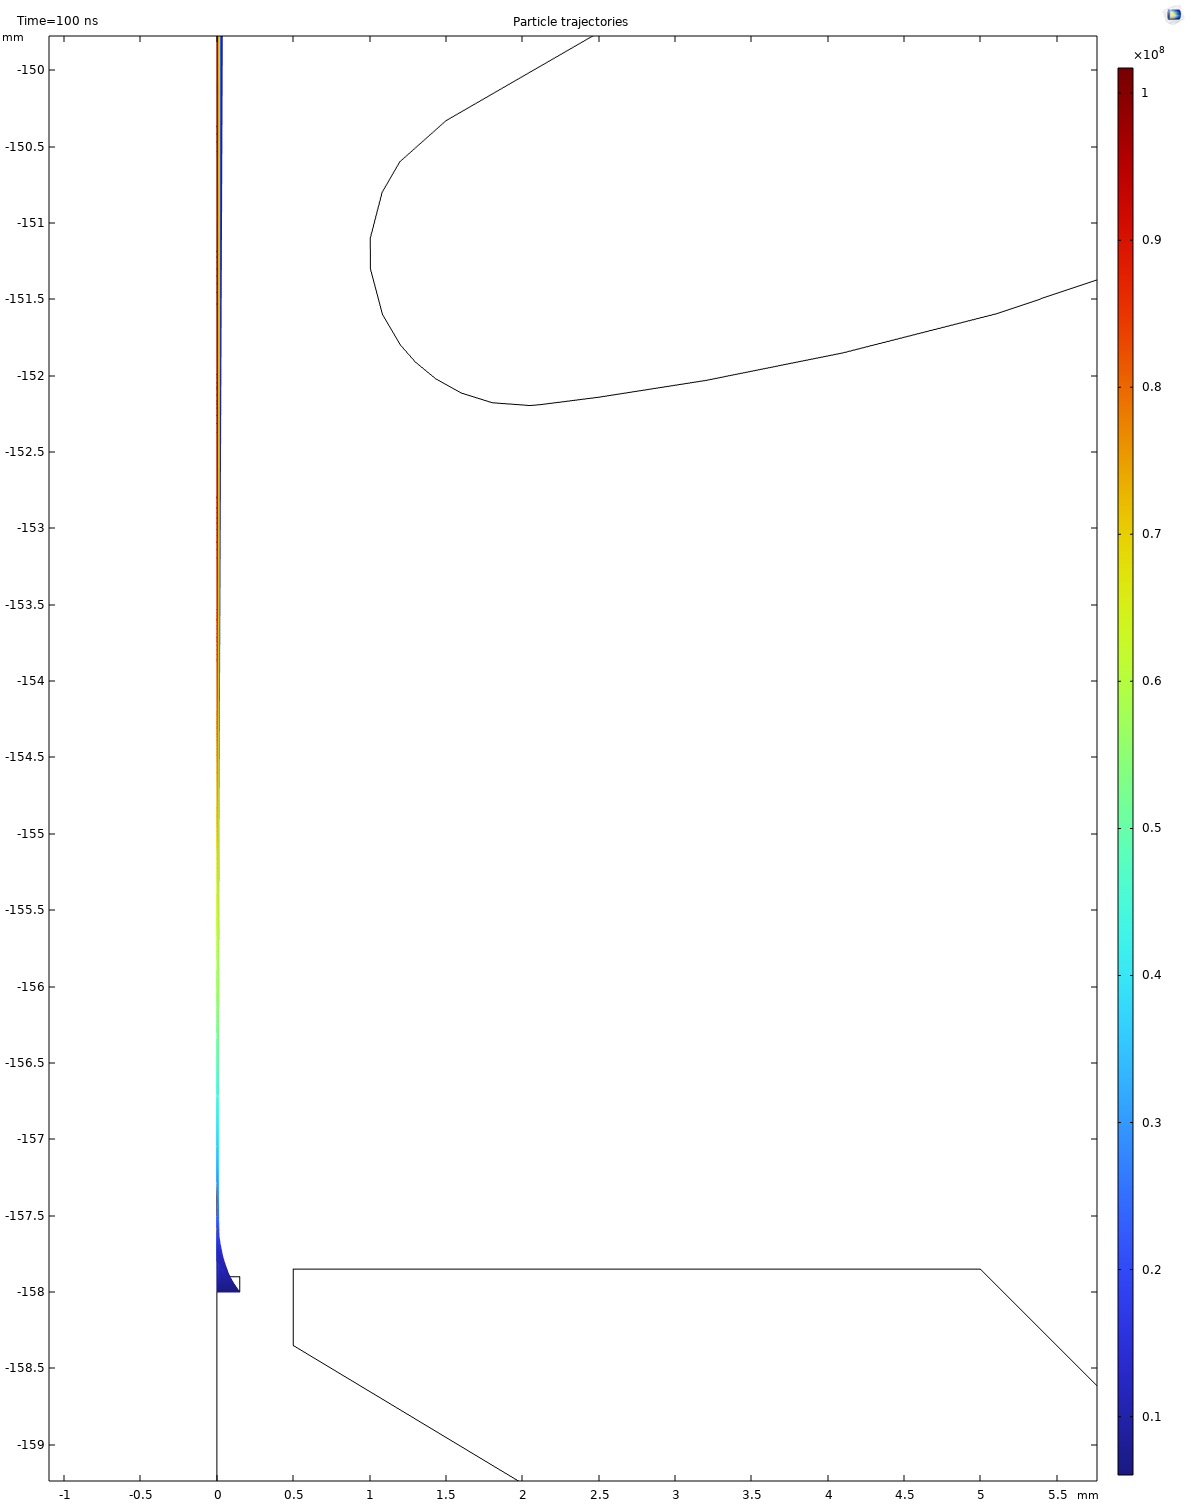
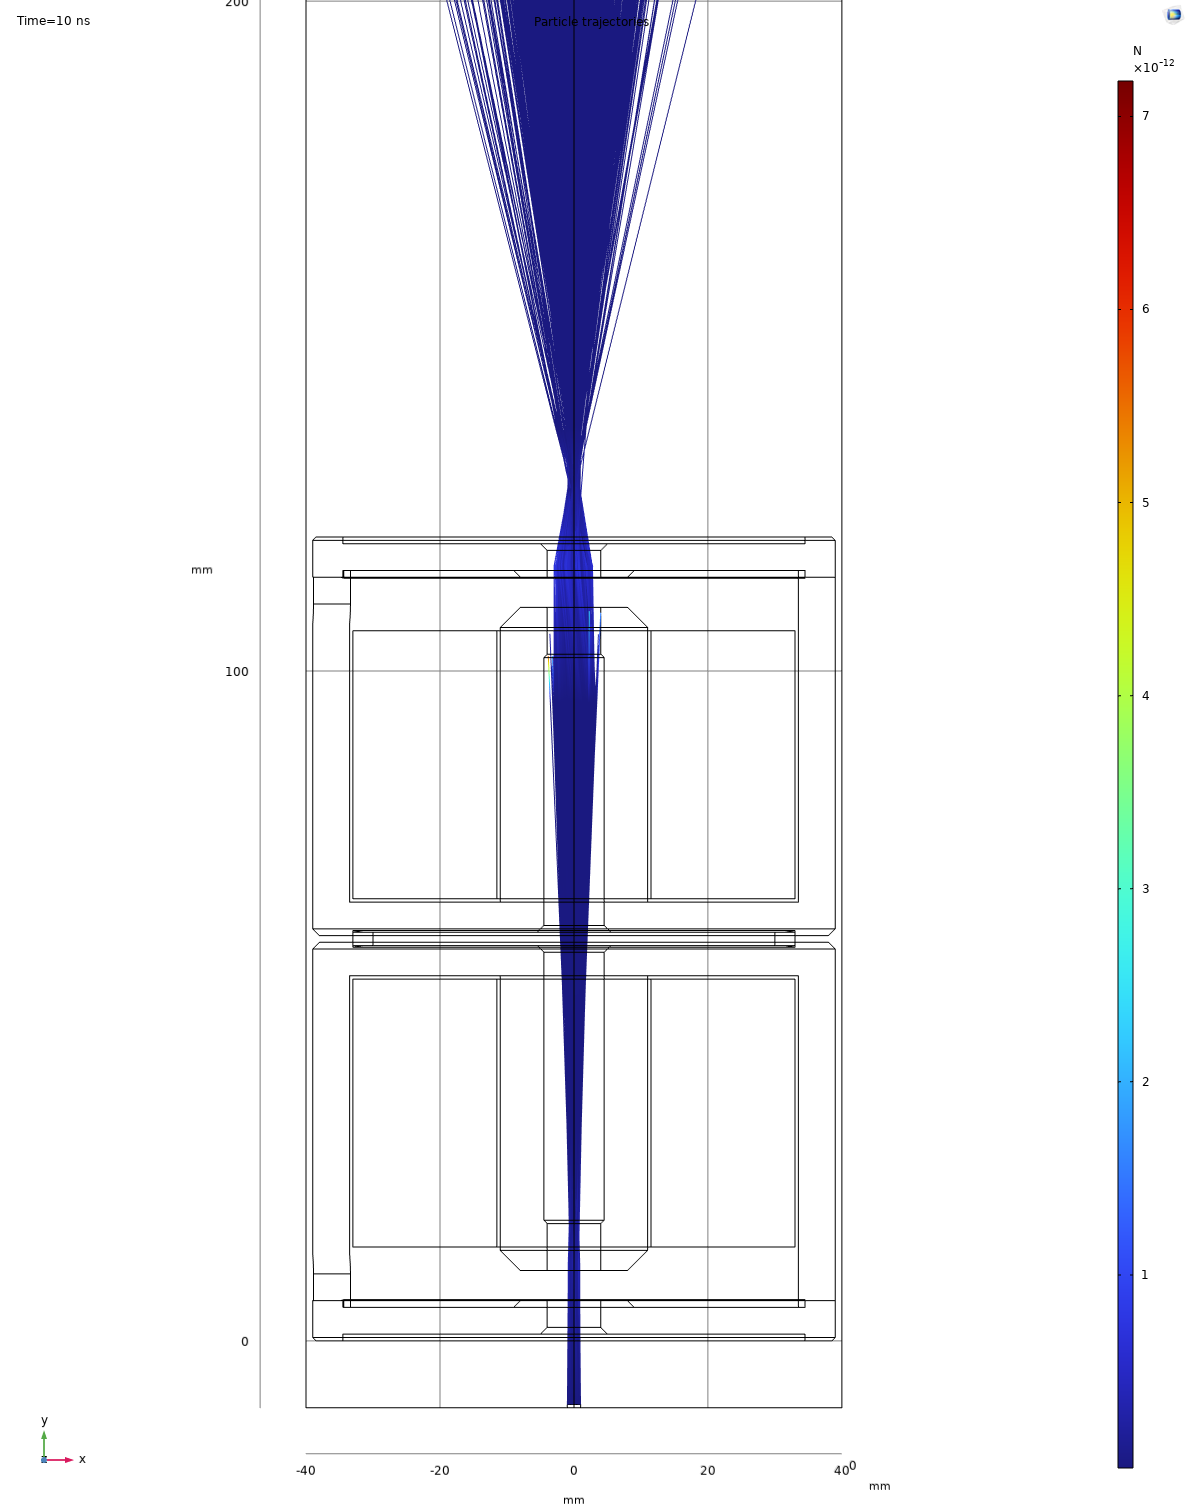
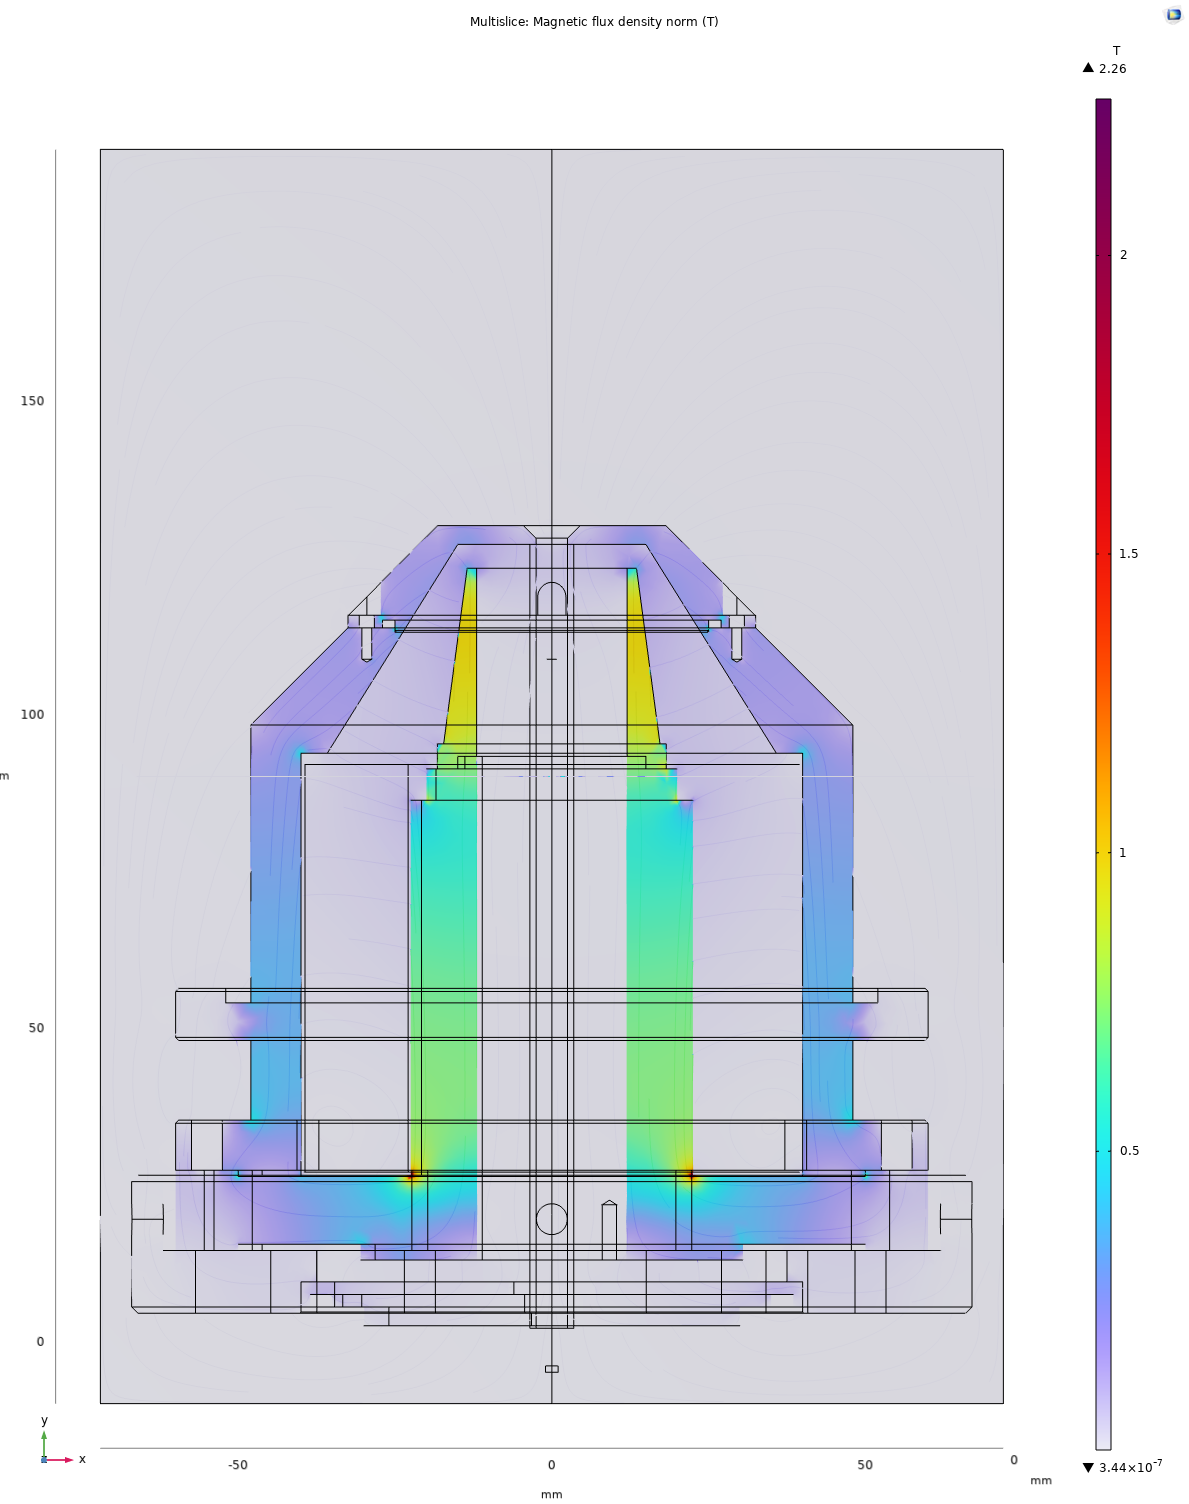
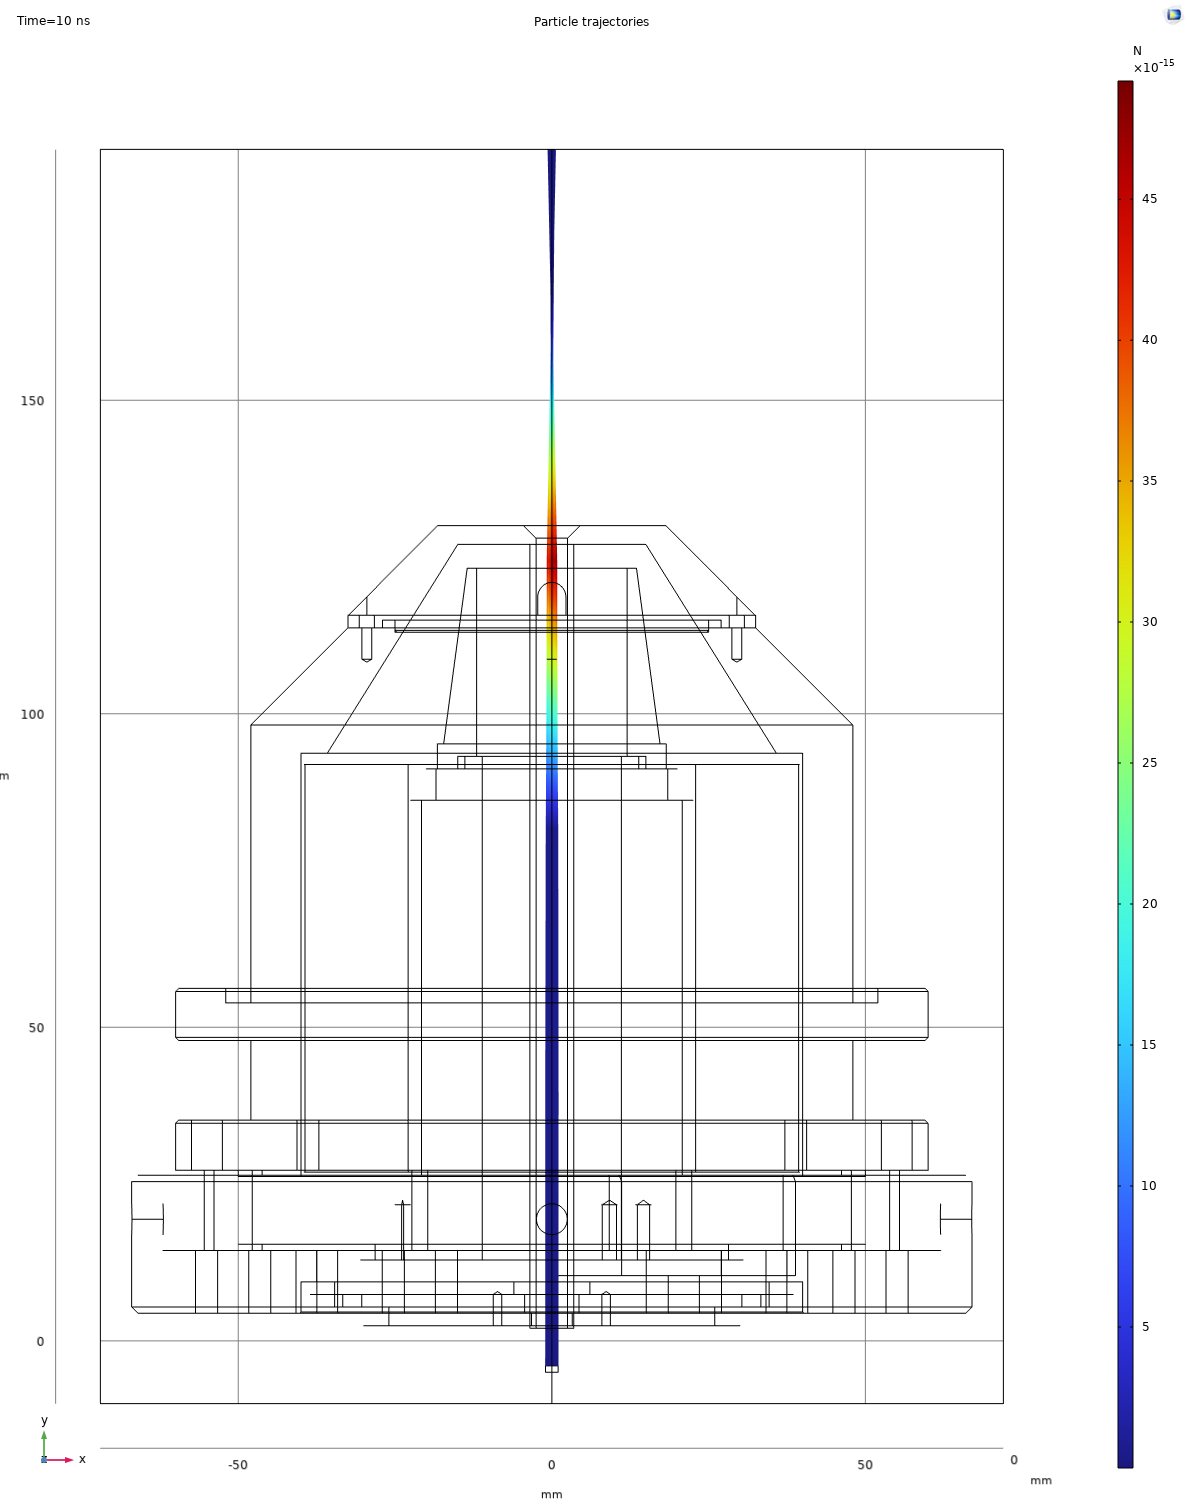
    I released a new repository with the COMSOL simulations for the magnetic lenses and electron gun.

    It is available at: https://github.com/VinisLab/VinisLabSEM-Simulations

    Here are some simulation images for 30KeV, Max magnification and shortest focus length (this is the setting where the currents on the lenses are the highest).

  • Announcing the Electronics Repository

    Vini's Lab05/05/2022 at 14:01 0 comments

    In addition to the Mechanical repository now the Electronics one is available too:

    https://github.com/VinisLab/VinisLabSEM-Electronics

    I created a public repo with my component libraries for Altium to facilitate:

    https://github.com/VinisLab/VinisLabAltiumLibraries

    You must install the lib to get the correct references.

    When the project is ready I would like to find a collaborator to port everything to KICAD.

  • Filament assembly done!

    Vini's Lab05/03/2022 at 17:33 0 comments

    This is the cathode or filament assembly.Since my lack of experience and this being the first thread I had to match it was a bit challenging, the small size of the parts also presents a challenge when machining specially the bore operations.

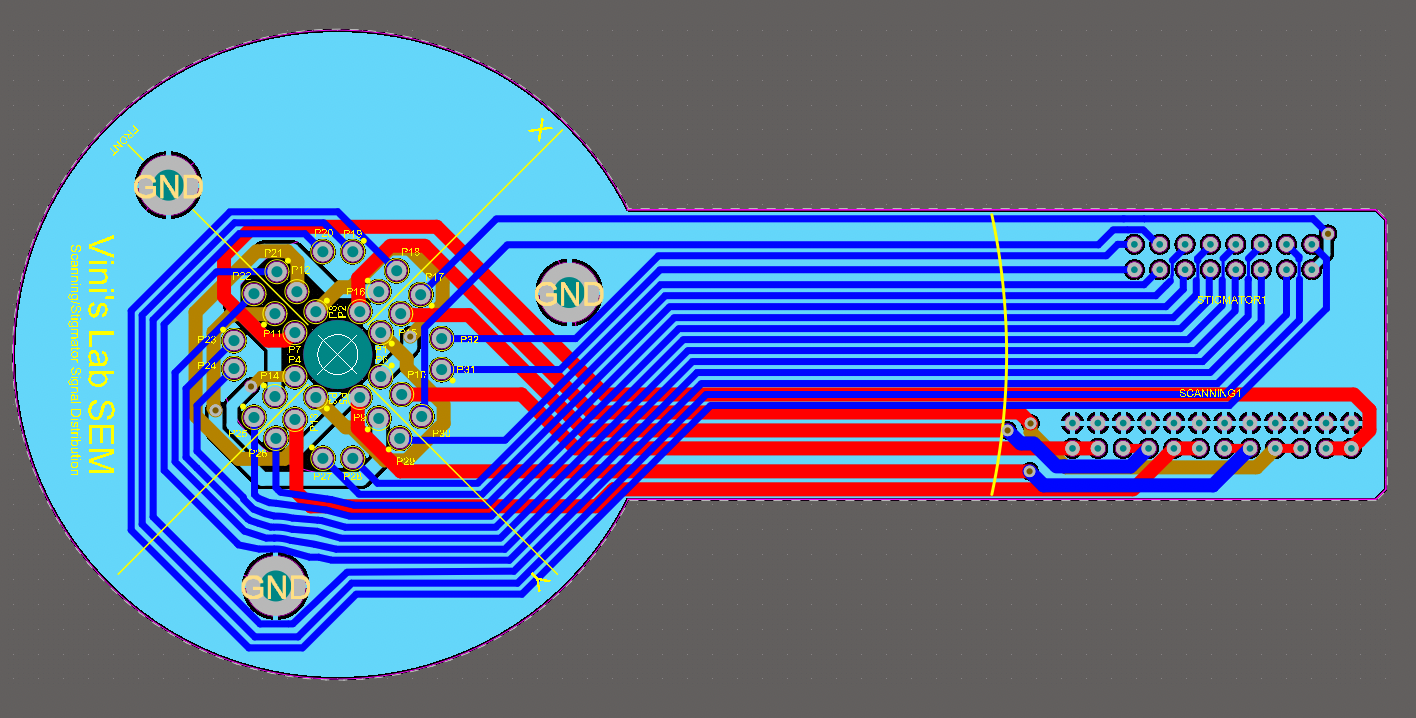
  • Scanning/Stigmator Signal Distribution Board

    Vini's Lab04/28/2022 at 09:37 0 comments

    Many signals must be routed to the core of the objective assembly.

    There lives the main scanning coils, the aperture imaging coils, and the stigmator octopole

    The scanning coils run at high speed when scanning in video mode, so to avoid crosstalking with the stigmator coils the traces routing had to be considered carefully.

    A ground plate was introduced to shield the stigmators and the routing was made so that the traces crossing are made perpendicular between each other when the ground plane is not available.

  • Machining and improvements on part.

    Vini's Lab04/27/2022 at 20:19 0 comments

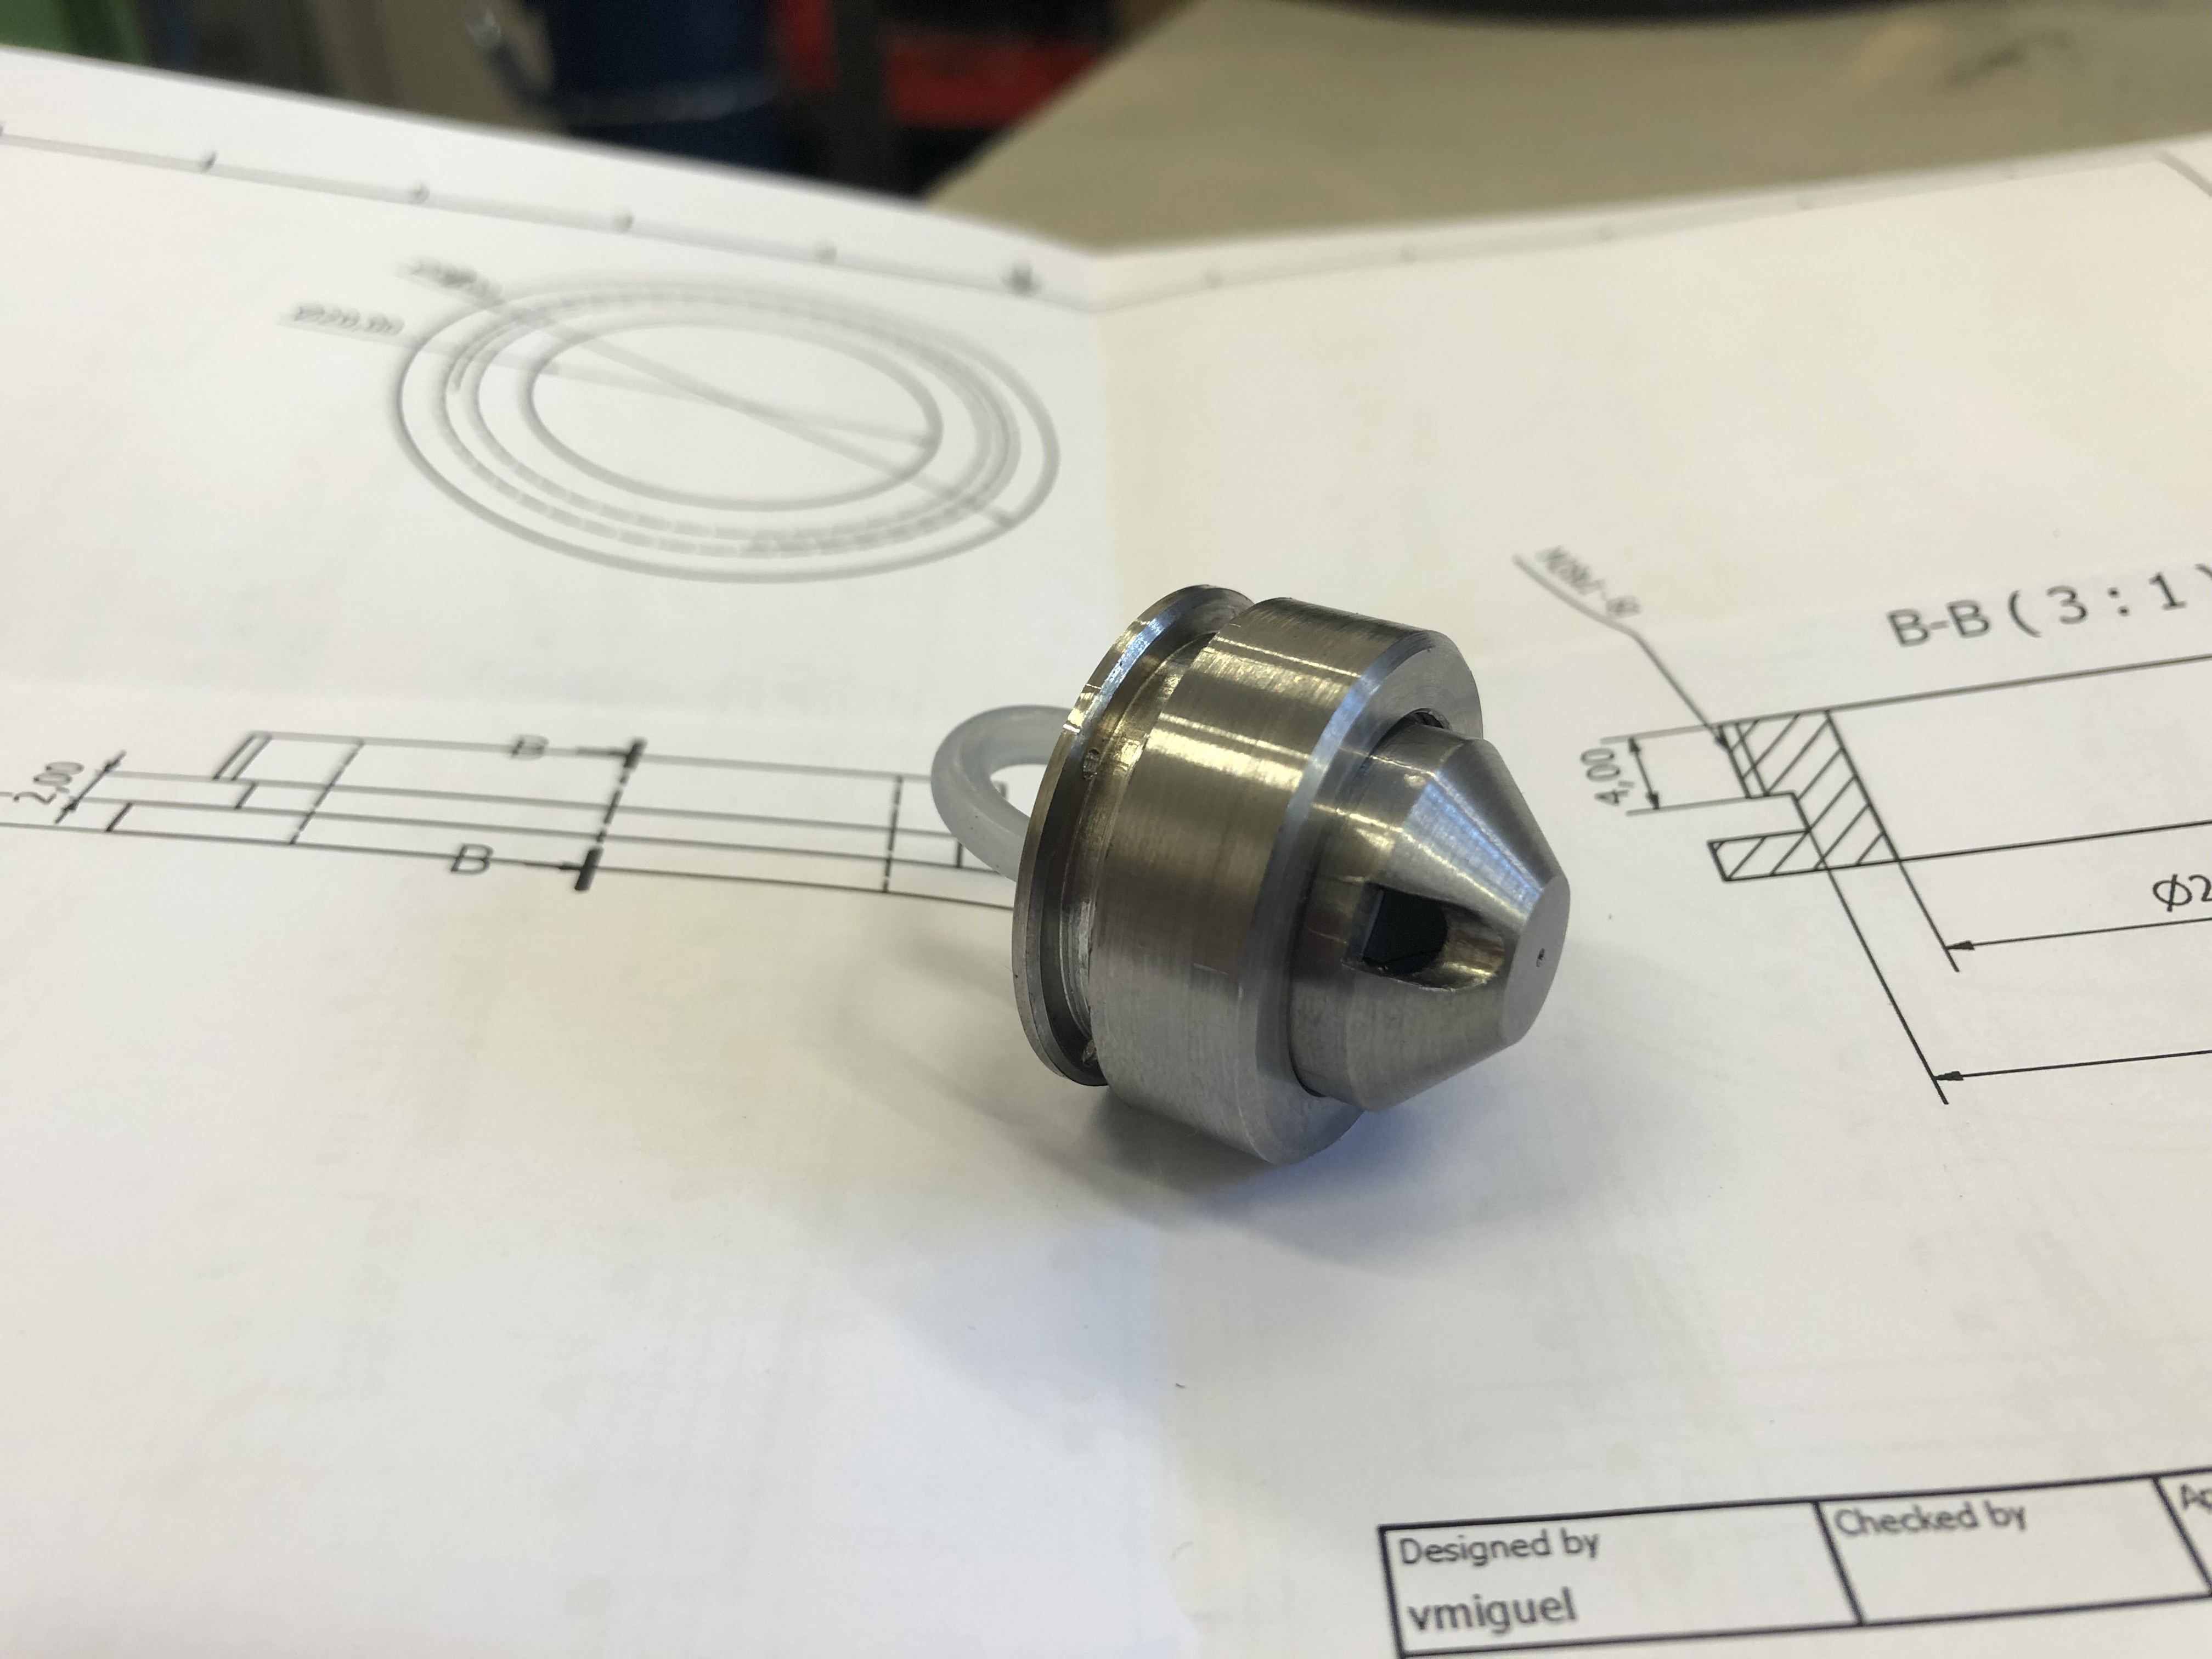
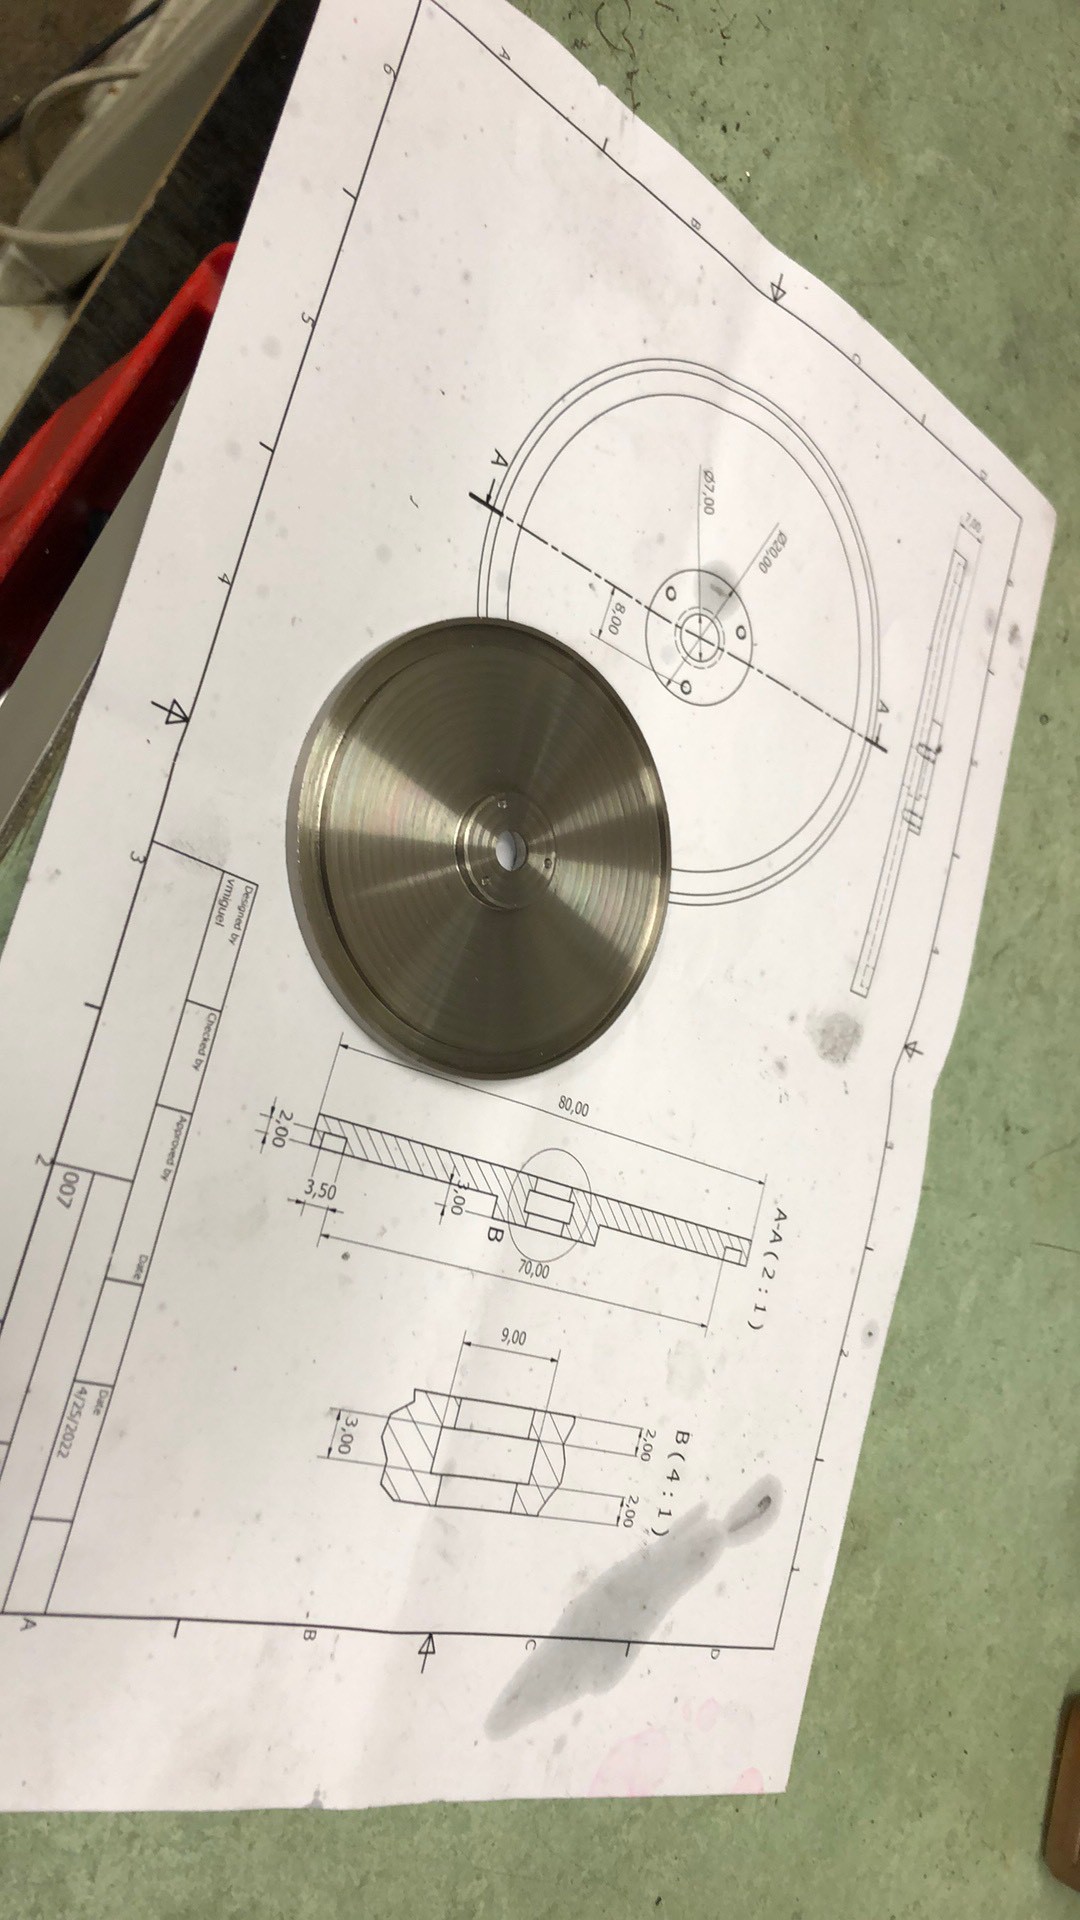
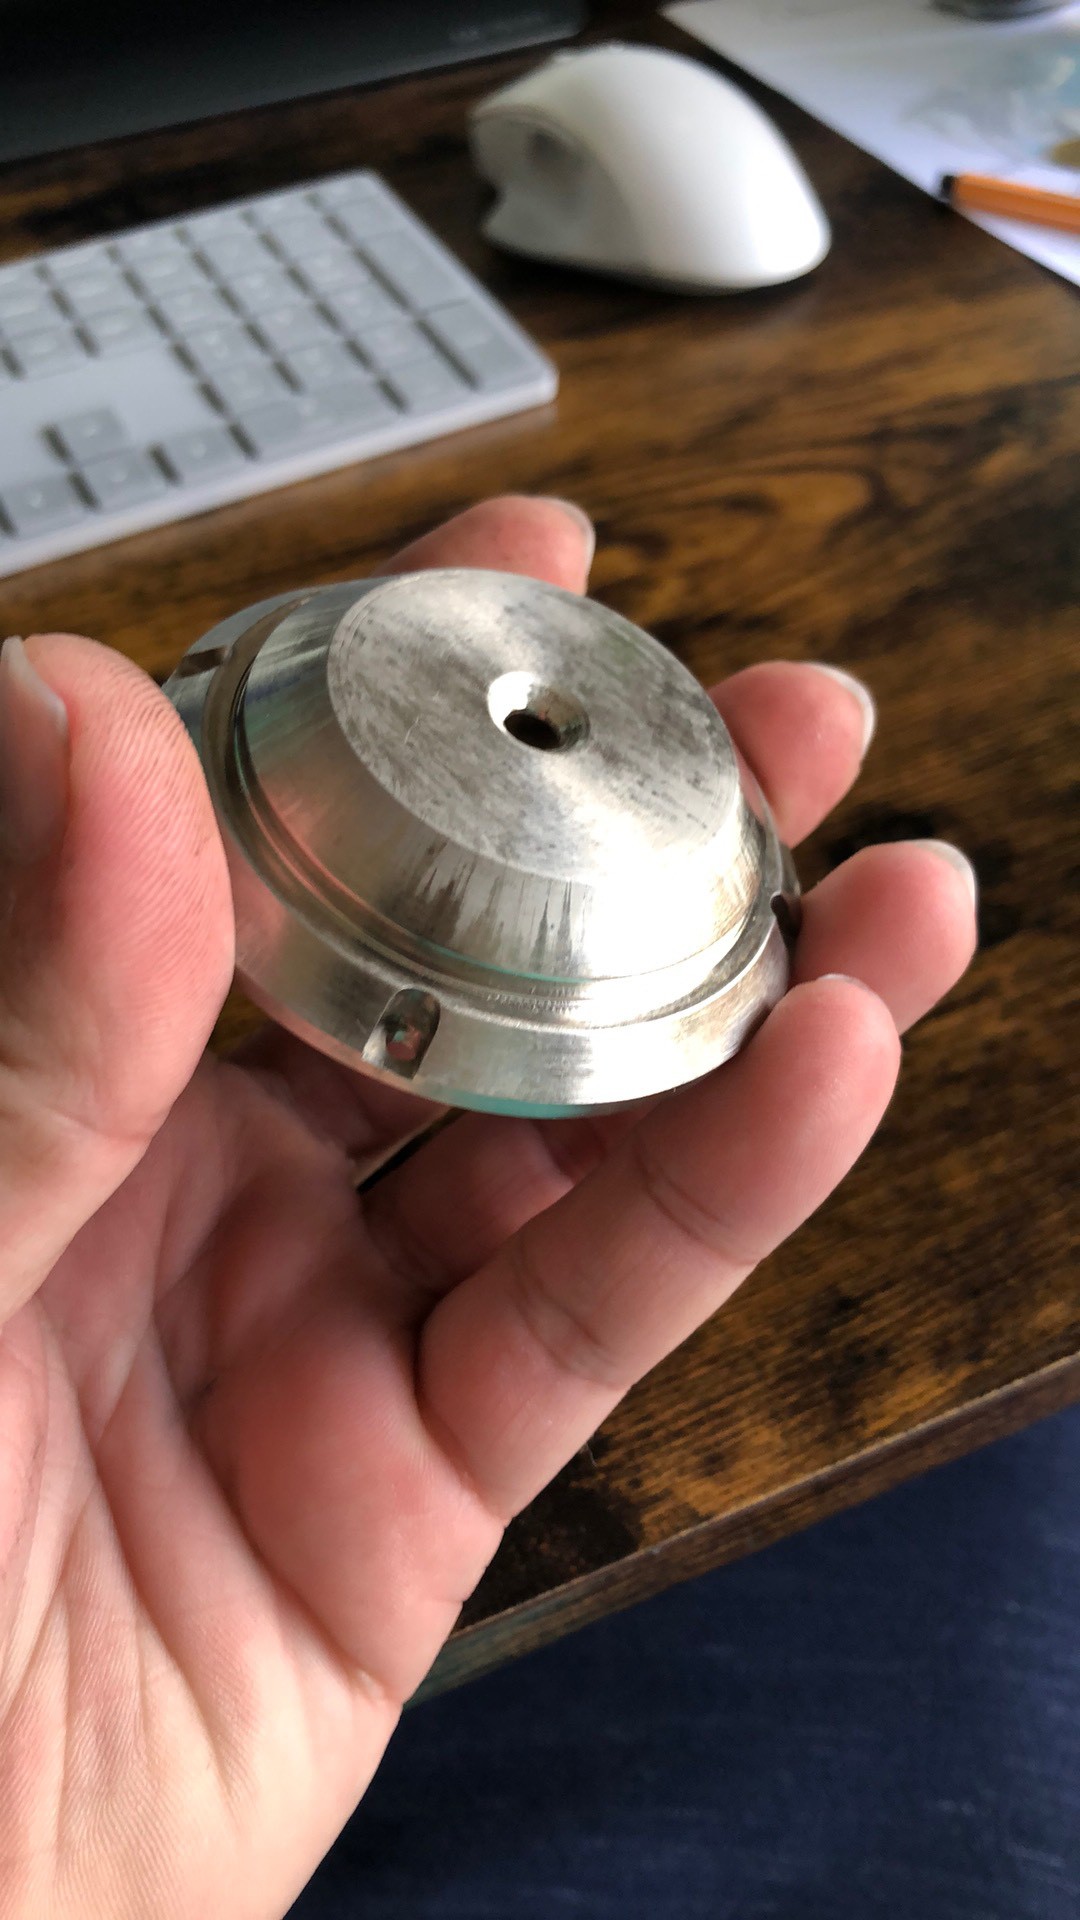
    Today’s part seals the objective liner tube to the aperture chamber.I during the machining I already made some modifications to this part, mainly in the detail B the journal for the O-Ring is not practical to machine. So I machined from the back the larger diameter and will machine an extra plug to retain the oring.Also a few changes will be added to reduce machining time.

  • More small parts machined.

    Vini's Lab04/26/2022 at 19:43 0 comments

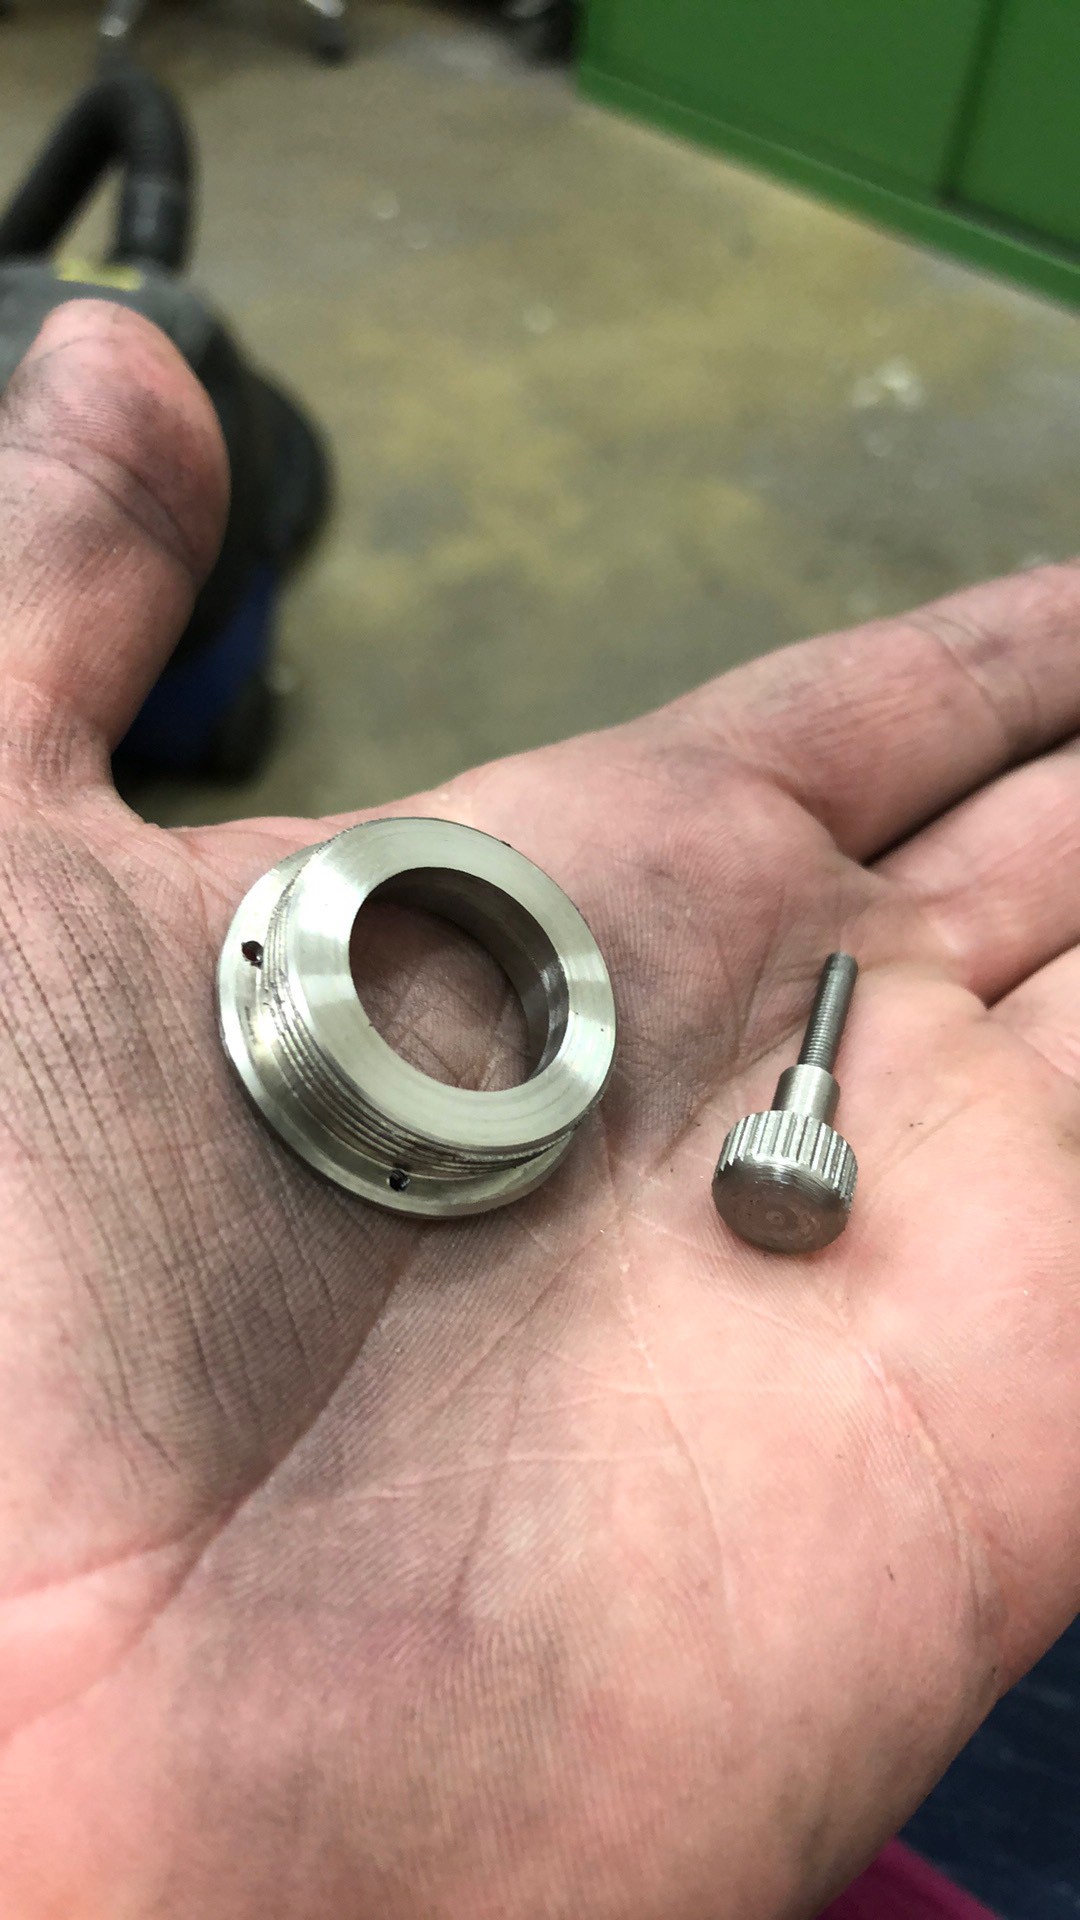
    Cathode Filament/Wehnelt holder.Electron Gun assembly release screw.My dirt hand :)

  • Starting with the nickel plating

    Vini's Lab04/21/2022 at 09:39 0 comments

    This was my first kinda successful attempt to nickel plate a part.I still need to perfect my setup and the voltage applied so the part does not have blackened spots and looks dull.The coating is functional just does not look as pretty.I will probably give a light polish on this part for cosmetics.

  • KF50 to anode body adaptor.

    Vini's Lab04/19/2022 at 20:51 0 comments

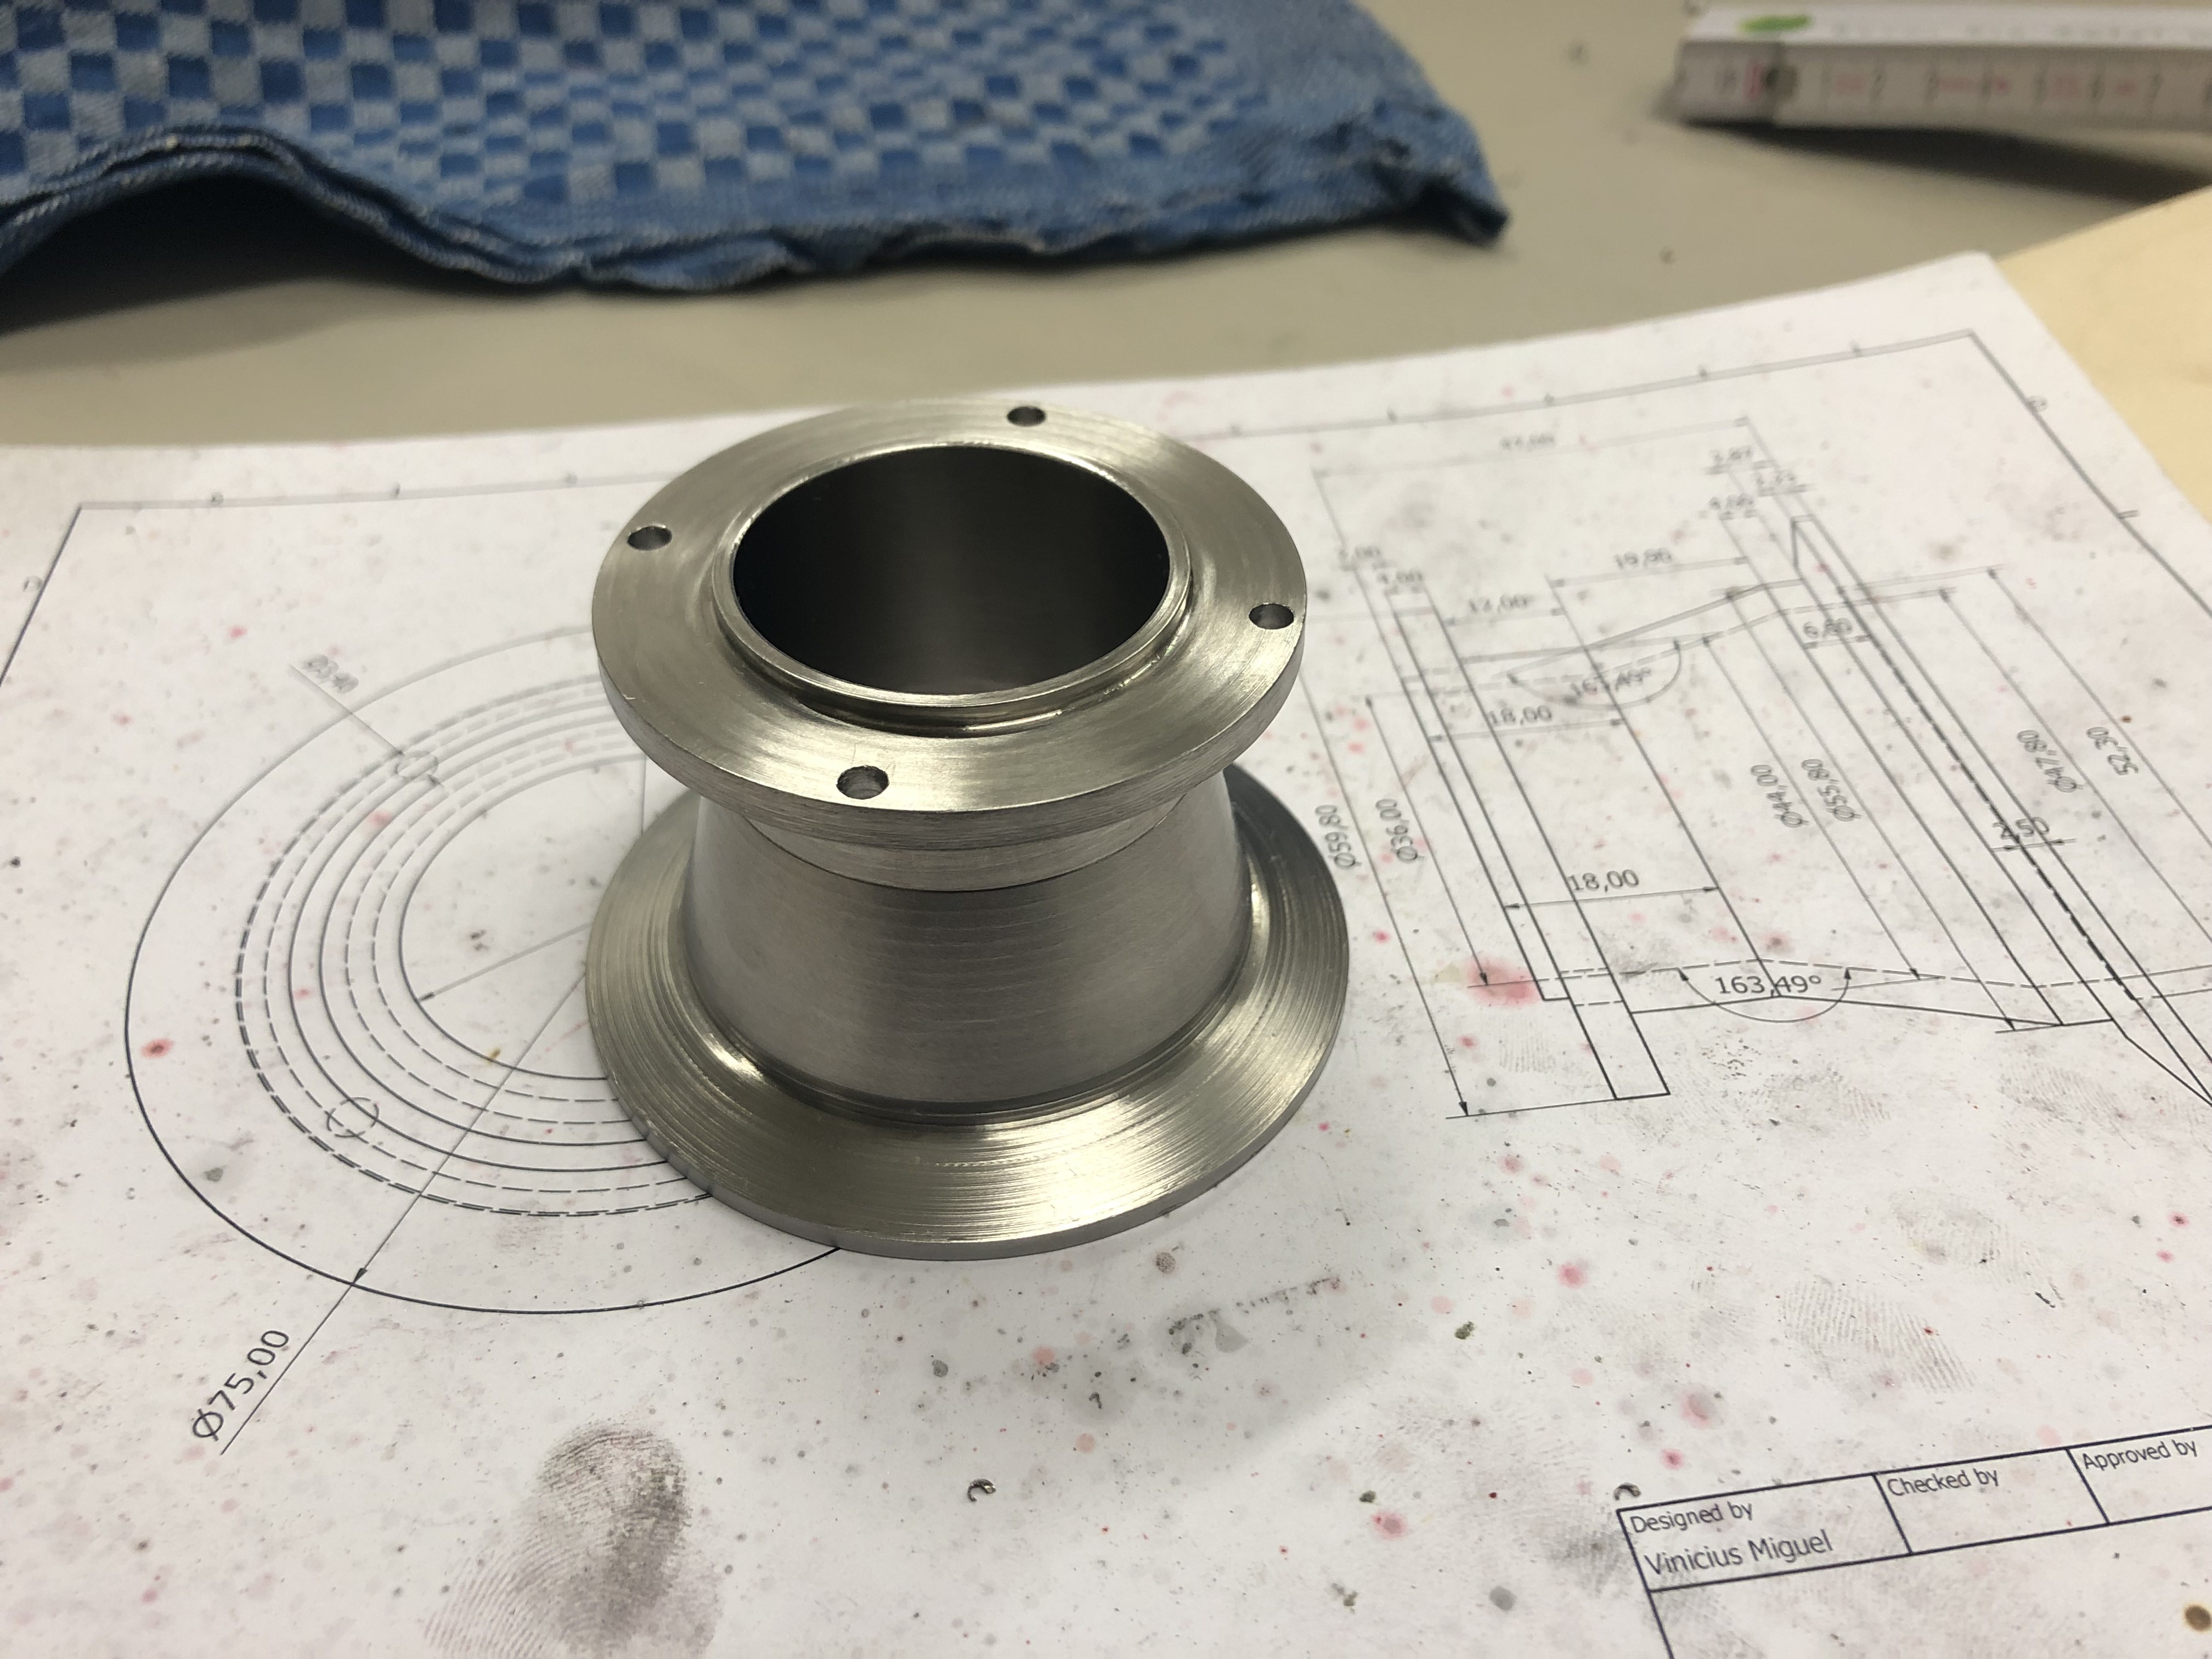
    This parts connects a KF50 bellow to the anode body.I am really proud of my work here. No small machining mistakes and the finishing is just great.I had stainless steel on the size needed so this one will not need nickel plating.

  • High Voltage Conector for electron gun.

    Vini's Lab04/17/2022 at 15:08 0 comments

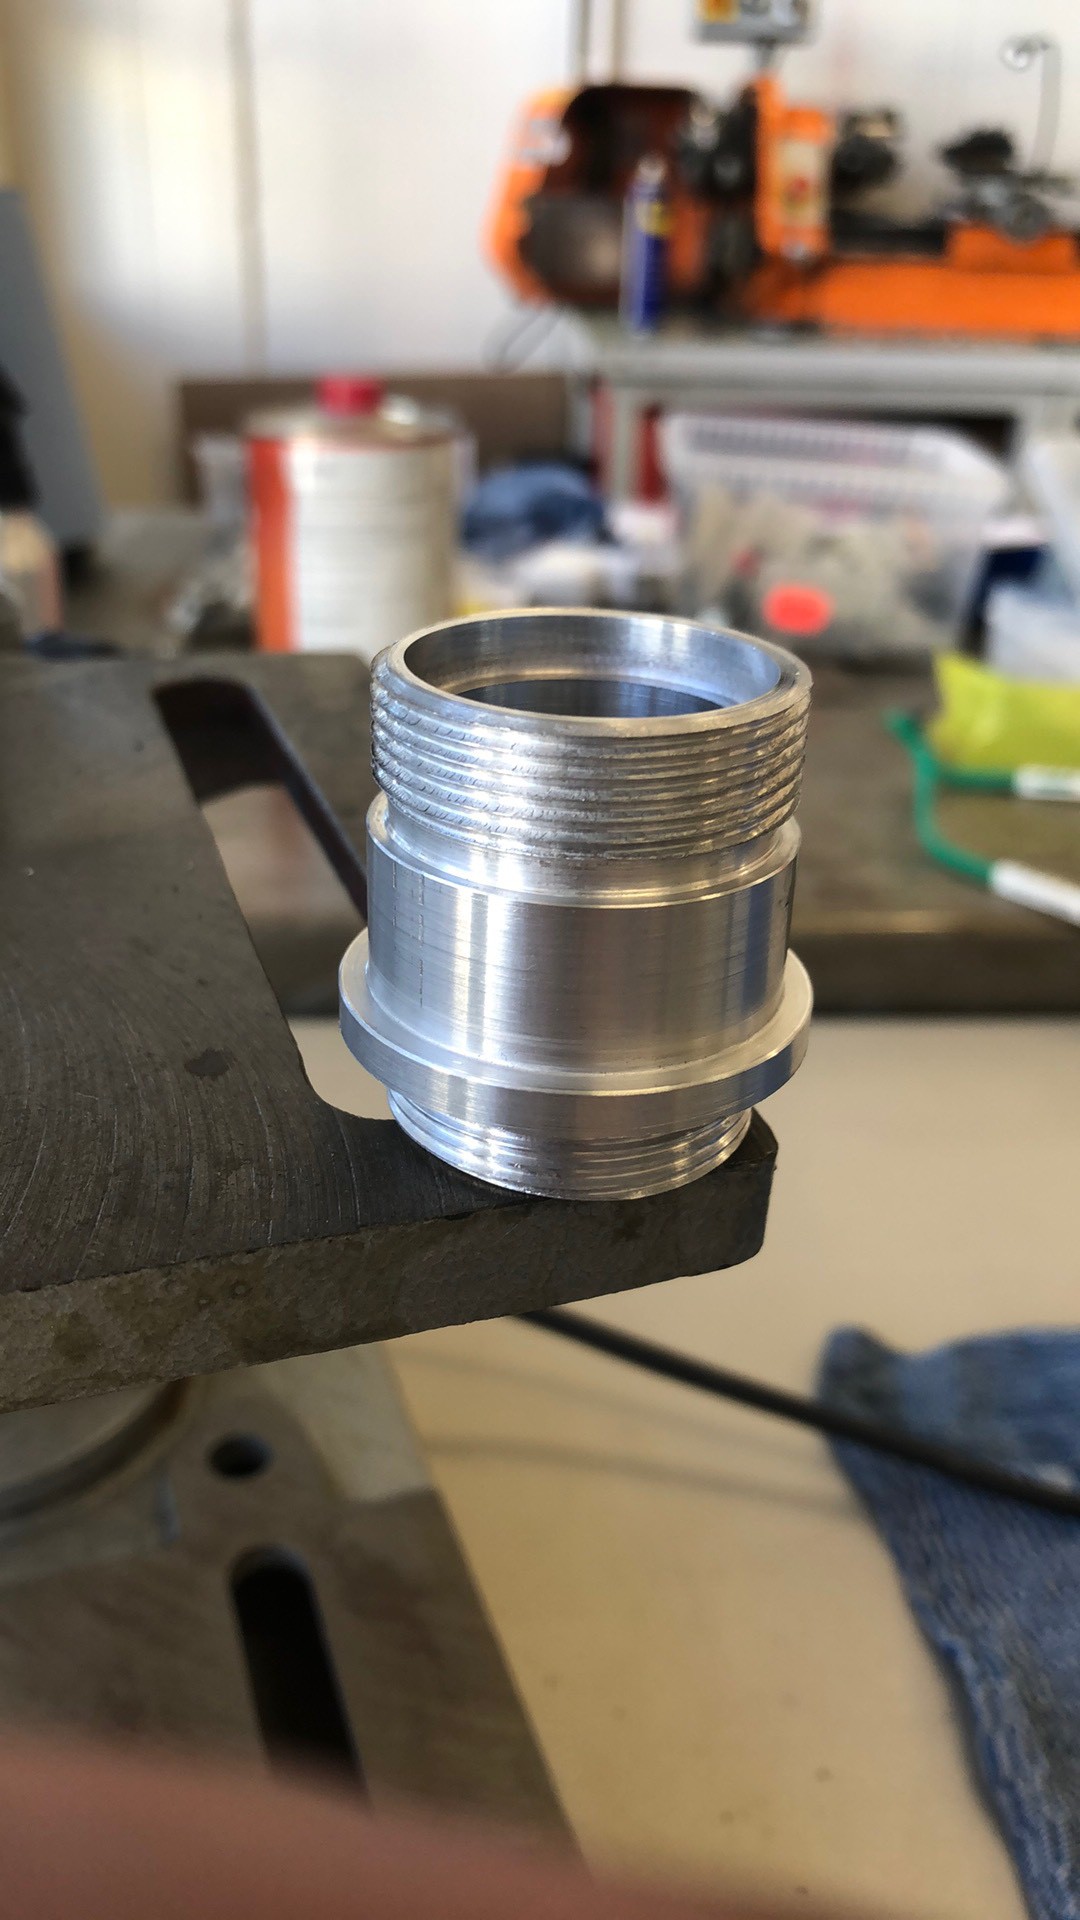
    High voltage electron gun connector/feedthrough.The threads was a bit of a challenge on the mini lathe since I could not disengage the cross slide.So I had to turn them manually.

View all 21 project logs

Enjoy this project?

Share

Discussions

Similar Projects

Does this project spark your interest?

Become a member to follow this project and never miss any updates