 Florian Sommerfeld
Showcase
Web Dashboard
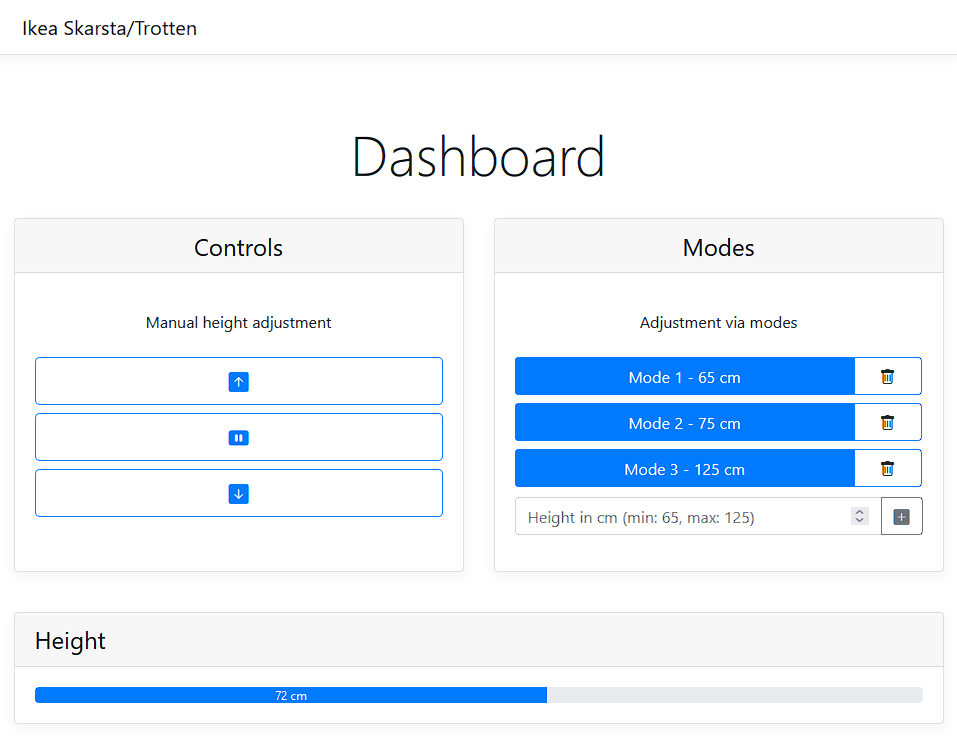
Features
- Web Dashboard is accessible from anywhere within your WiFi network
- No more manual cranking the table up or down
- Controlling the height of the table via the web
- Setting custom height modes via the web
- Current height is being frequently displayed
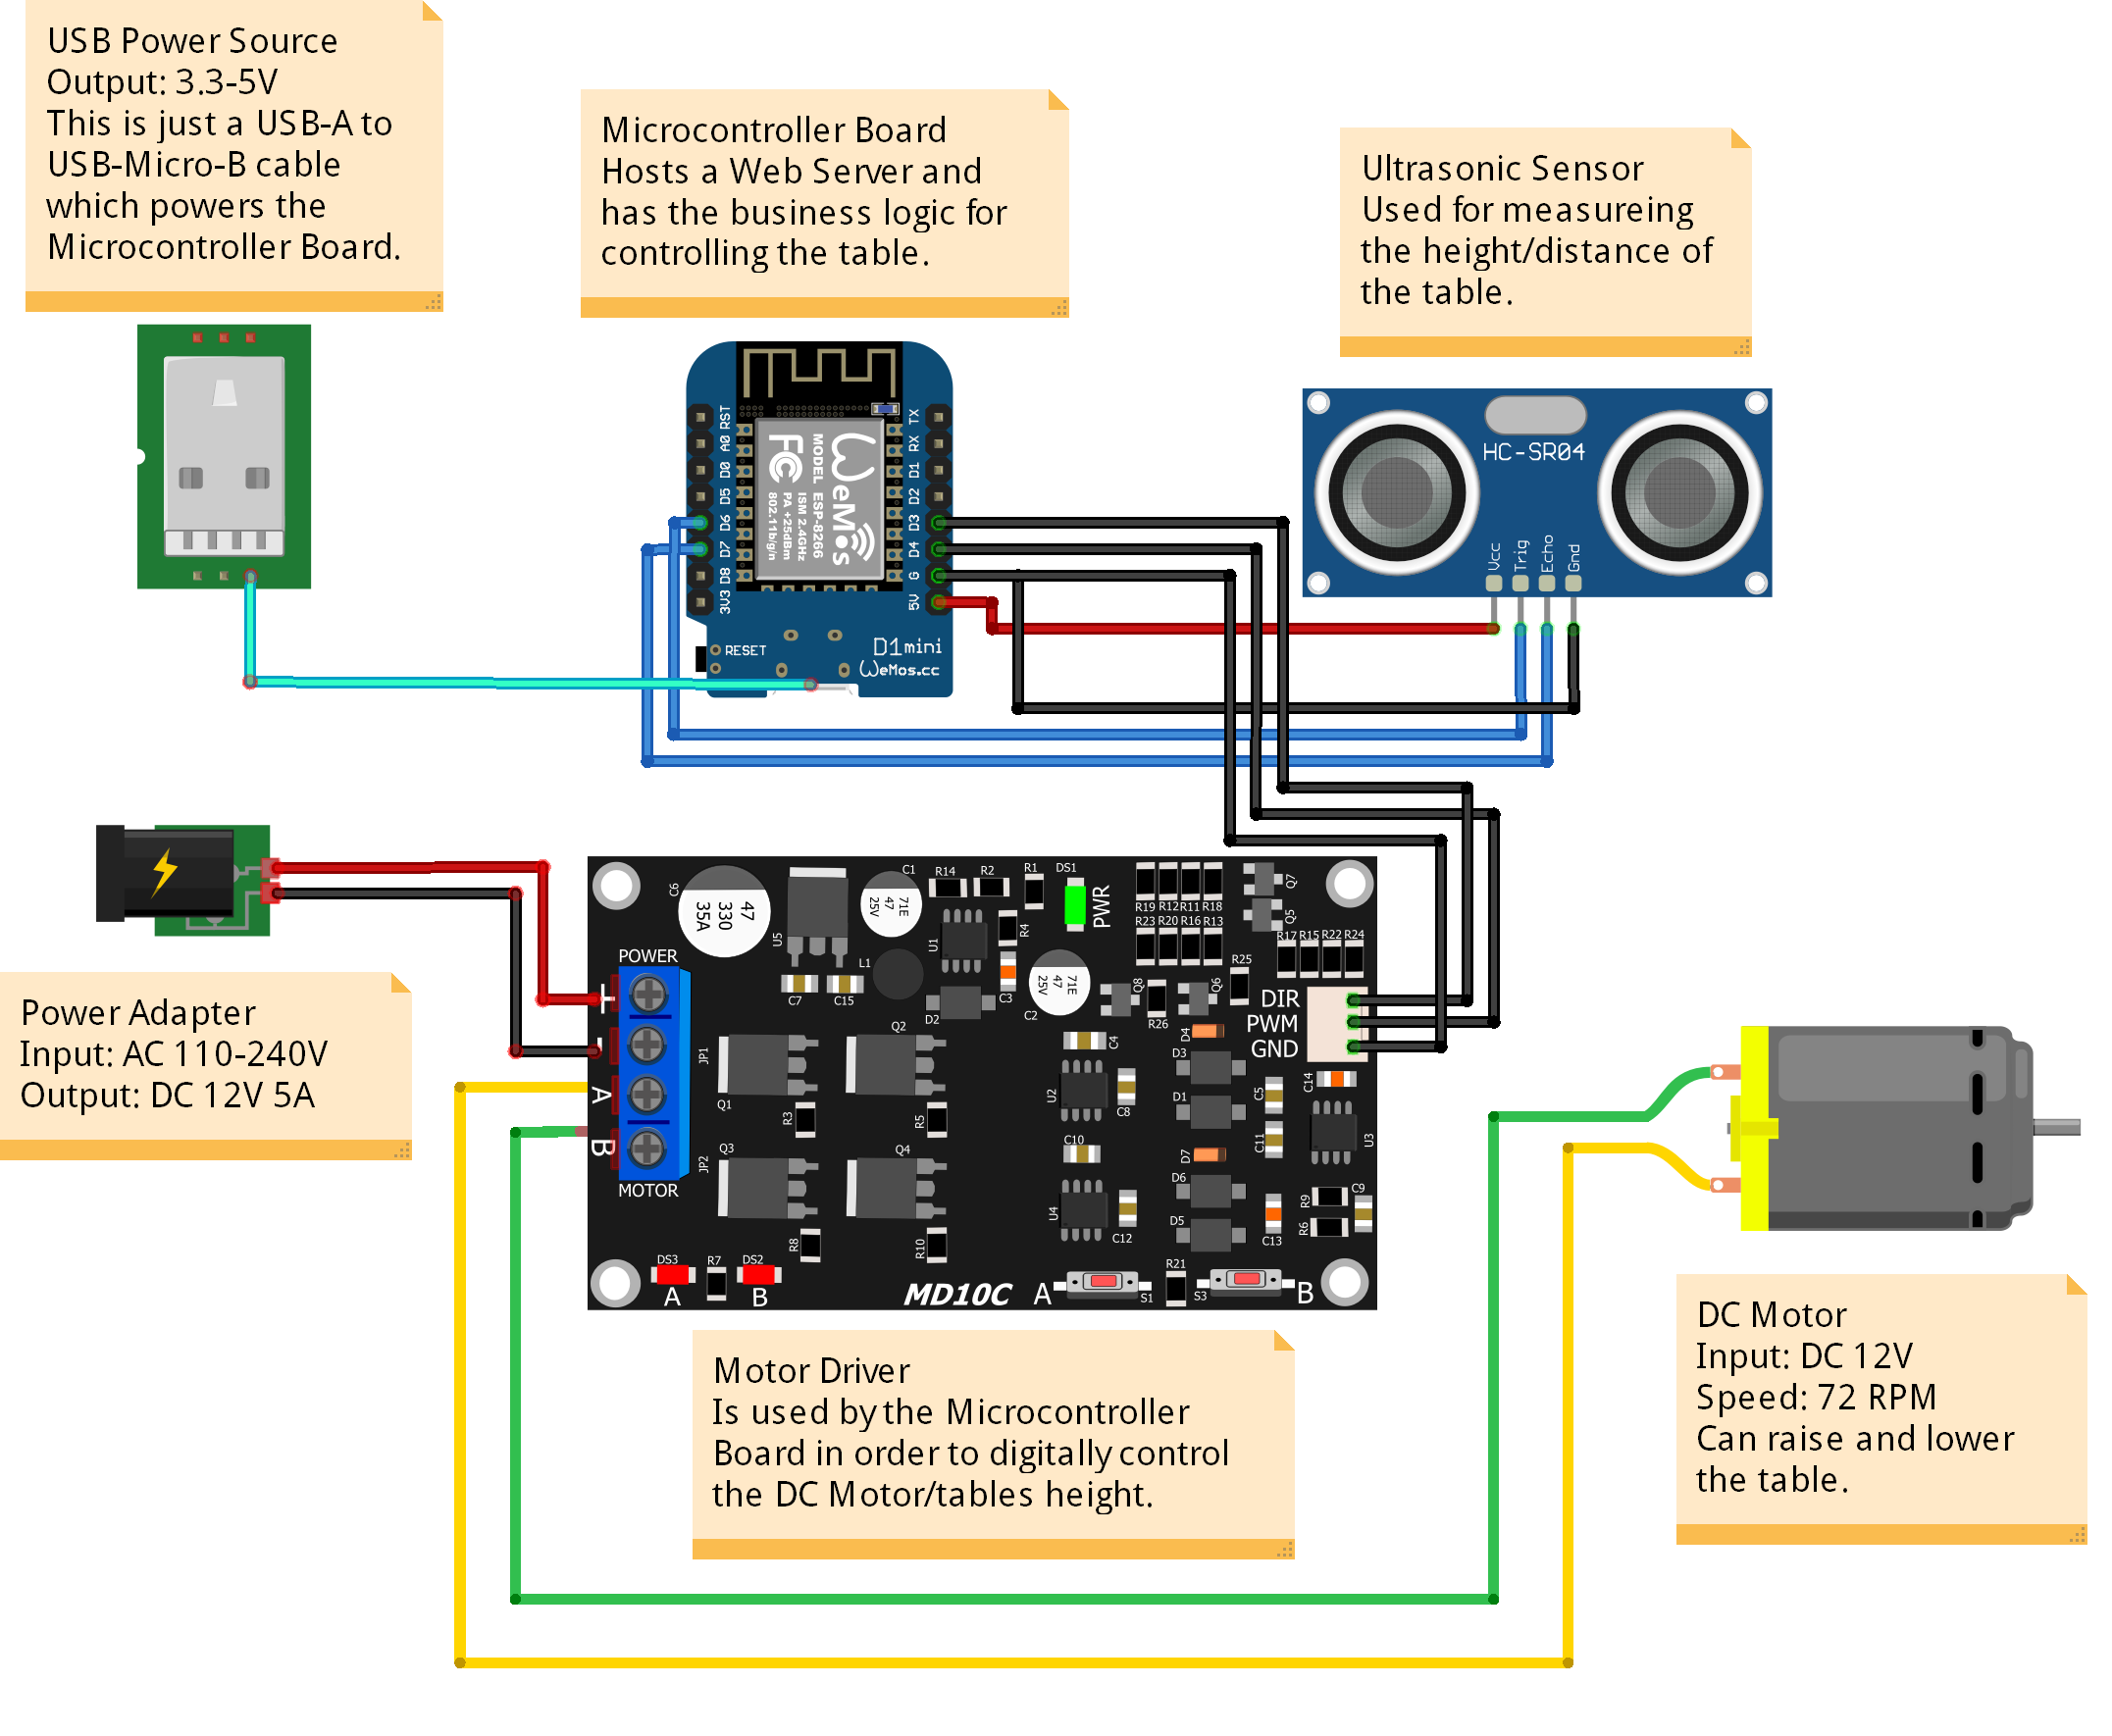
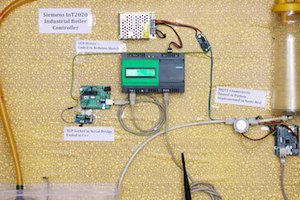
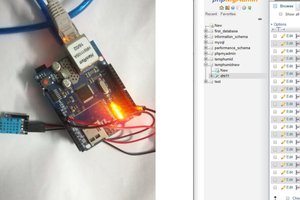
Circuit
This circuit was designed with Fritzing. Please see the hardware section near the end for a detailed list of the used hardware components which are shown in the circuit.
3D Model
The 3D models of user pashiran were used and adapted in this project.
Small holes were drilled into the table in order to screw the `Body1.stl` with M3 screws to it. After installing `Body1.stl`, the `Body3.stl` (case) was screwed on to it. Some M3 insert nuts were installed to `Body1.stl` with a soldering iron.

![3D model 2]()
Finite State Machine

The implementation is based on the following FSM:
 State transitions to the current state i.e. `UP`->`UP` happen when the user requests nothing after requesting the table to go up. The implementation takes care of stopping if the user hasn't stopped the table manually before reaching the maximum height and vice versa. `CUSTOM_HEIGHT` automatically transitions to `HOLD` whenever the requested height has been reached.
All other state transitions are done when the user requests something via the Web Dashboard through the following routes:
- `/motor//` with `action` being `up`, `down`, `stop`
- `/height//` with `height_in_cm` in the range from `60` to `160`.
Dependencies
Used dependencies for this project are:
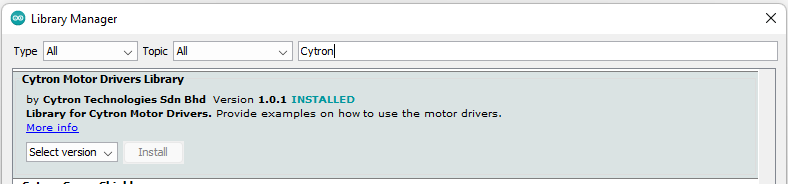
- Arduino Library for Cytron Motor Drivers, used to control the motor
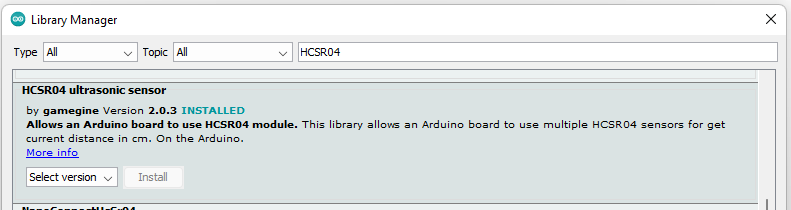
- HCSR04 ultrasonic sensor Library for Arduino, used to read the distance from the ultrasonic sensor
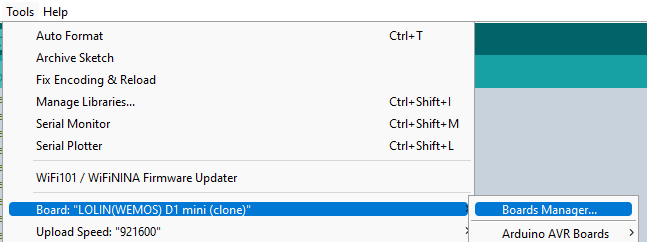
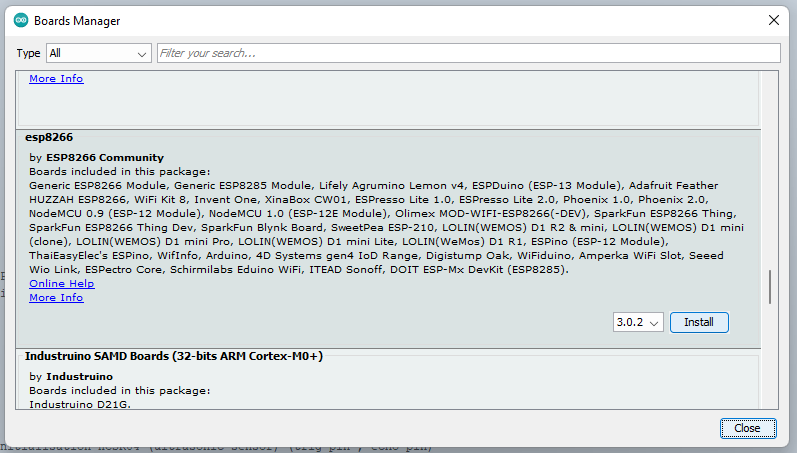
The dependencies can be installed via the standard procedure for installing Arduino libraries:
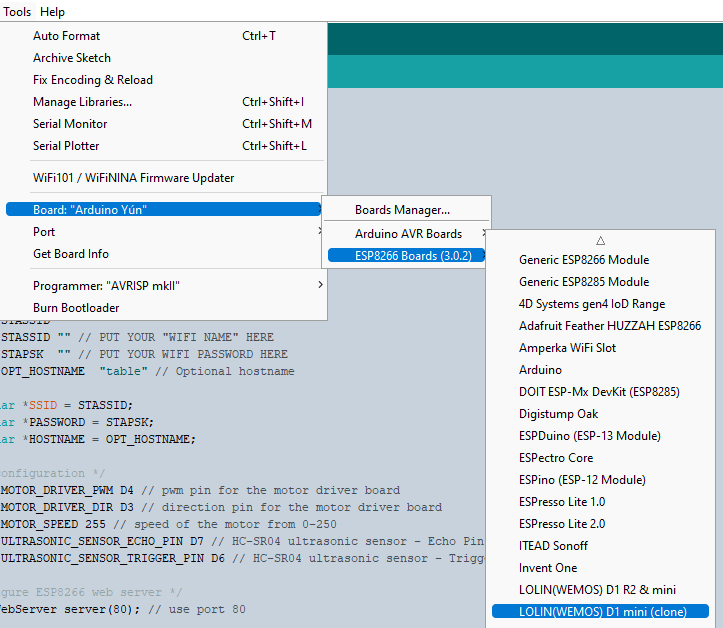
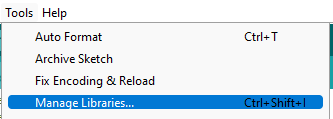
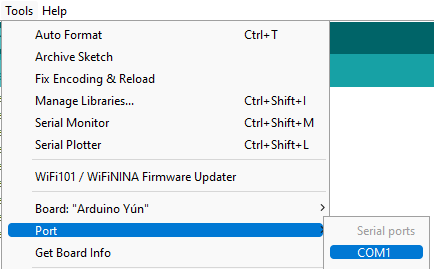
1. Open the Arduino IDE, select `Sketch` -> `Include Library` -> `Manage Libraries...`.
2. Search for `Cytron Motor Drivers Library by Cytron Technologies Sdn Bhd`/`HCSR04 ultrasonic sensor Library by gamegine`.
3. Click `Install` to install the library.
4. Restart the Arduino IDE.
Hardware
The hardware selection and 3D models of this project are mainly based on the Instructable of user pashiran. In comparison, this project uses a website ("web dashboard") for controlling the table height and a ultrasonic sensor for measuring the height instead of an optical endstop. There are no hardware switches, just the website which can be accessed via the hosted ESP8266 server (which shall be in the same network as your clients).
- Development Board:
- Motor
- Motor Driver Board
- Power Adapter
- Shaft Coupling (6x7mm)
- Ultrasonic Sensor
Table
Total costs approx. 48 € if you are patient enough to wait for the Aliexpress delivieries from China. The table and 3D printed model are not included in my calculation.
Credits
- 3D design files by user pashiran
- Arduino library for HCSR04 ultrasonic sensor by gamegine
- Arduino library for Cytron Motor Drivers by Cytron
- Arduino ESP8266 Web Server library by Arduino
- Bootstrap HTML, CSS, JS Framework by Bootstrap


 Inderpreet Singh
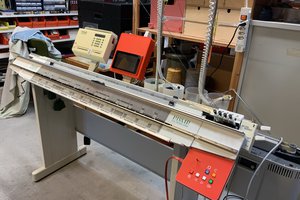
 Irene Wolf
 Embedotronics
Thanks for this great project, I rebuilt it and unfortunately broke the shaft coupler on the first run since the motor polarity was reversed in my case and the table was already at the bottom end. Sounded very bad, the motor definitely has some torque! I was wondering if it wouldn't make sense to add a over current/motor stall protection so the esp turns the driver off under too much load? So it wouldn't break or burn the motor in case the chair or whatever blocks the table. Most electric standing desks have something like that built in.
I haven't looked into the driver boards circuit but was noticing a shunt resistor network on it, so it seems there is already something like a overload protection built in, but probably more to limit the maximum current but nothing to sense the amperage/differential voltage from the driver on the ESP in any useful way since it only has the direction and pwm signal inputs.