Close
0%
0%

µGame 22

Continuing on improving CircuitPython gaming handhelds.

Similar projects worth following

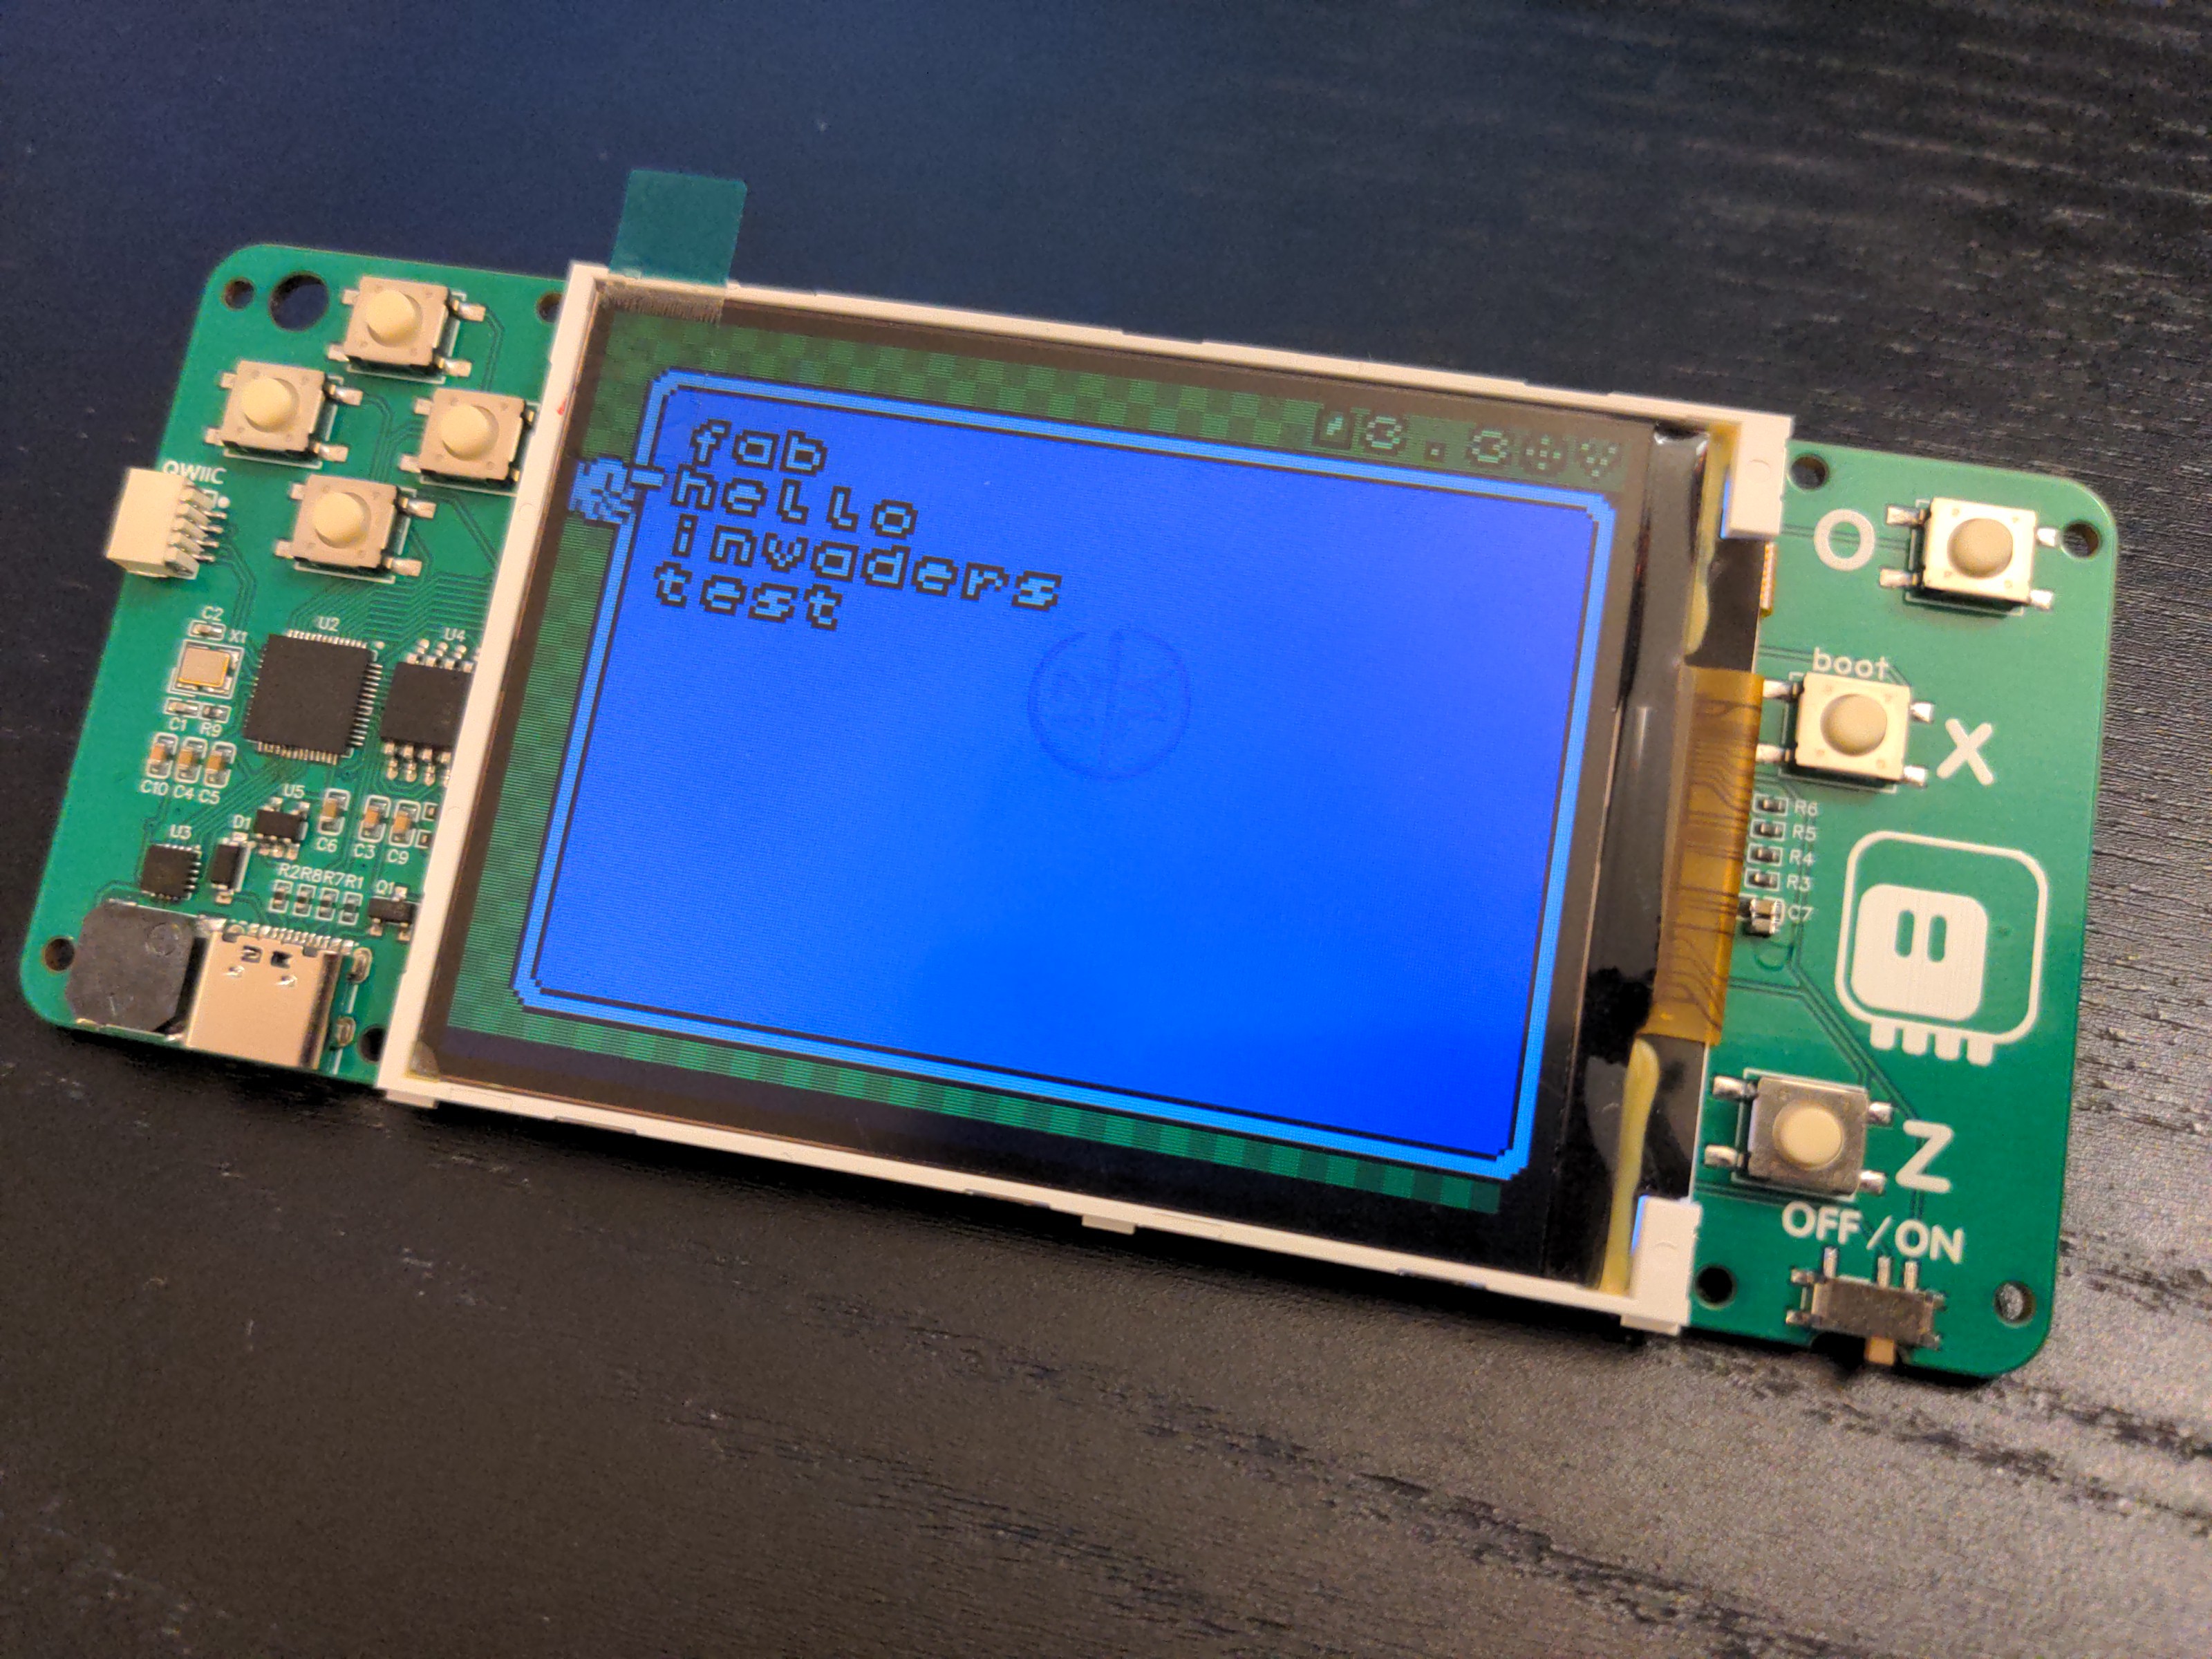
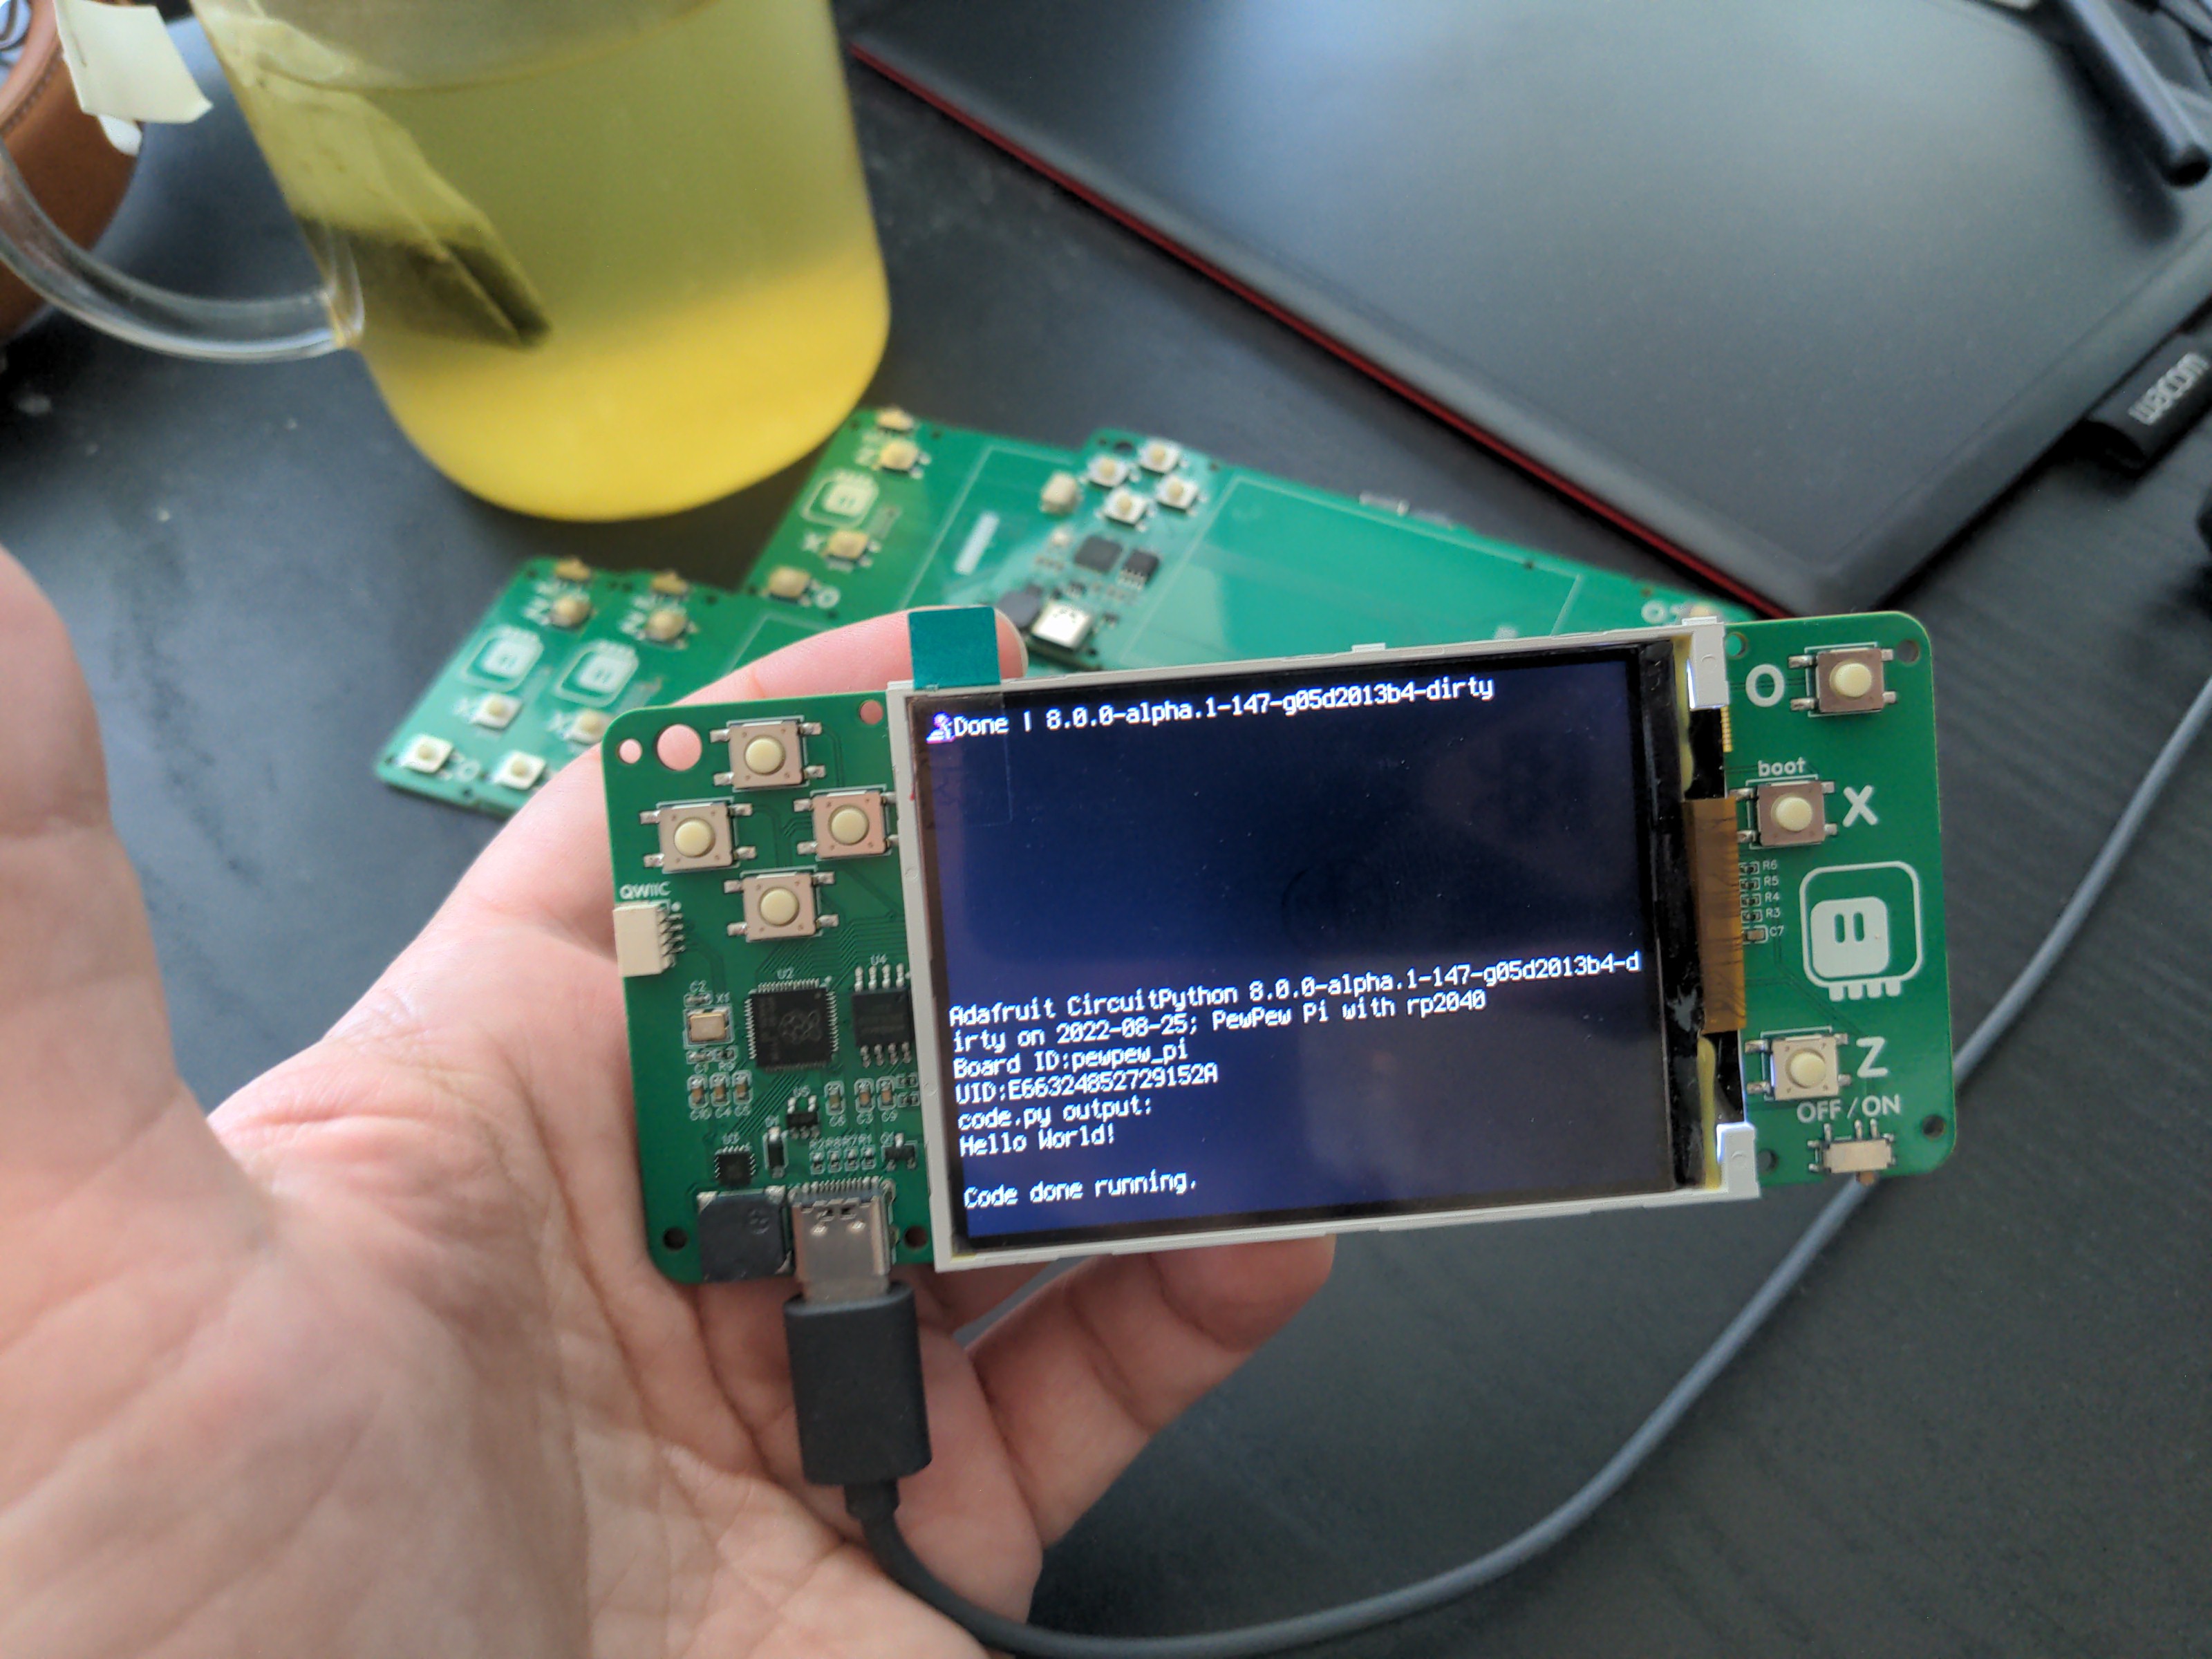
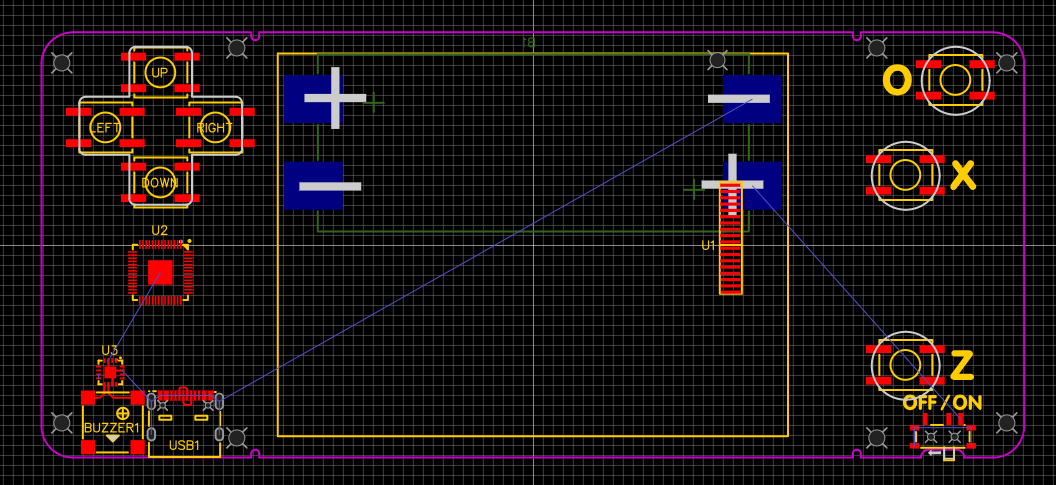
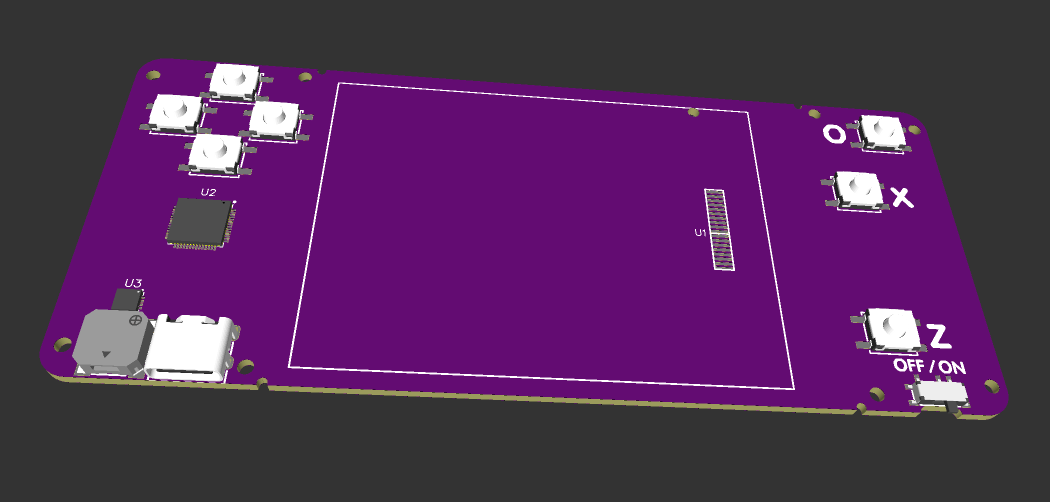
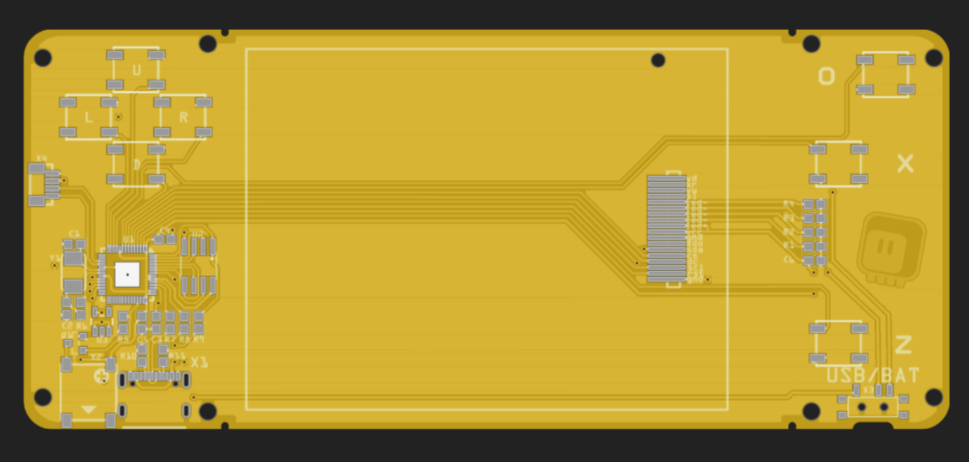
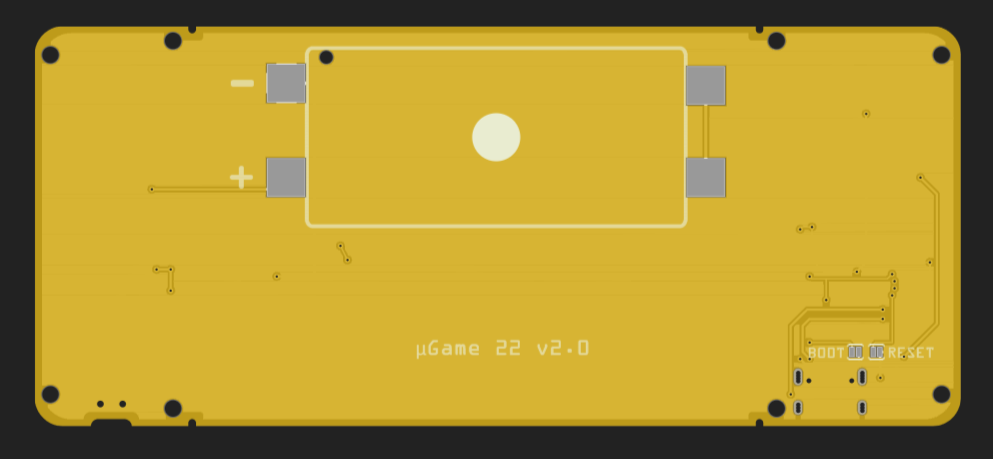
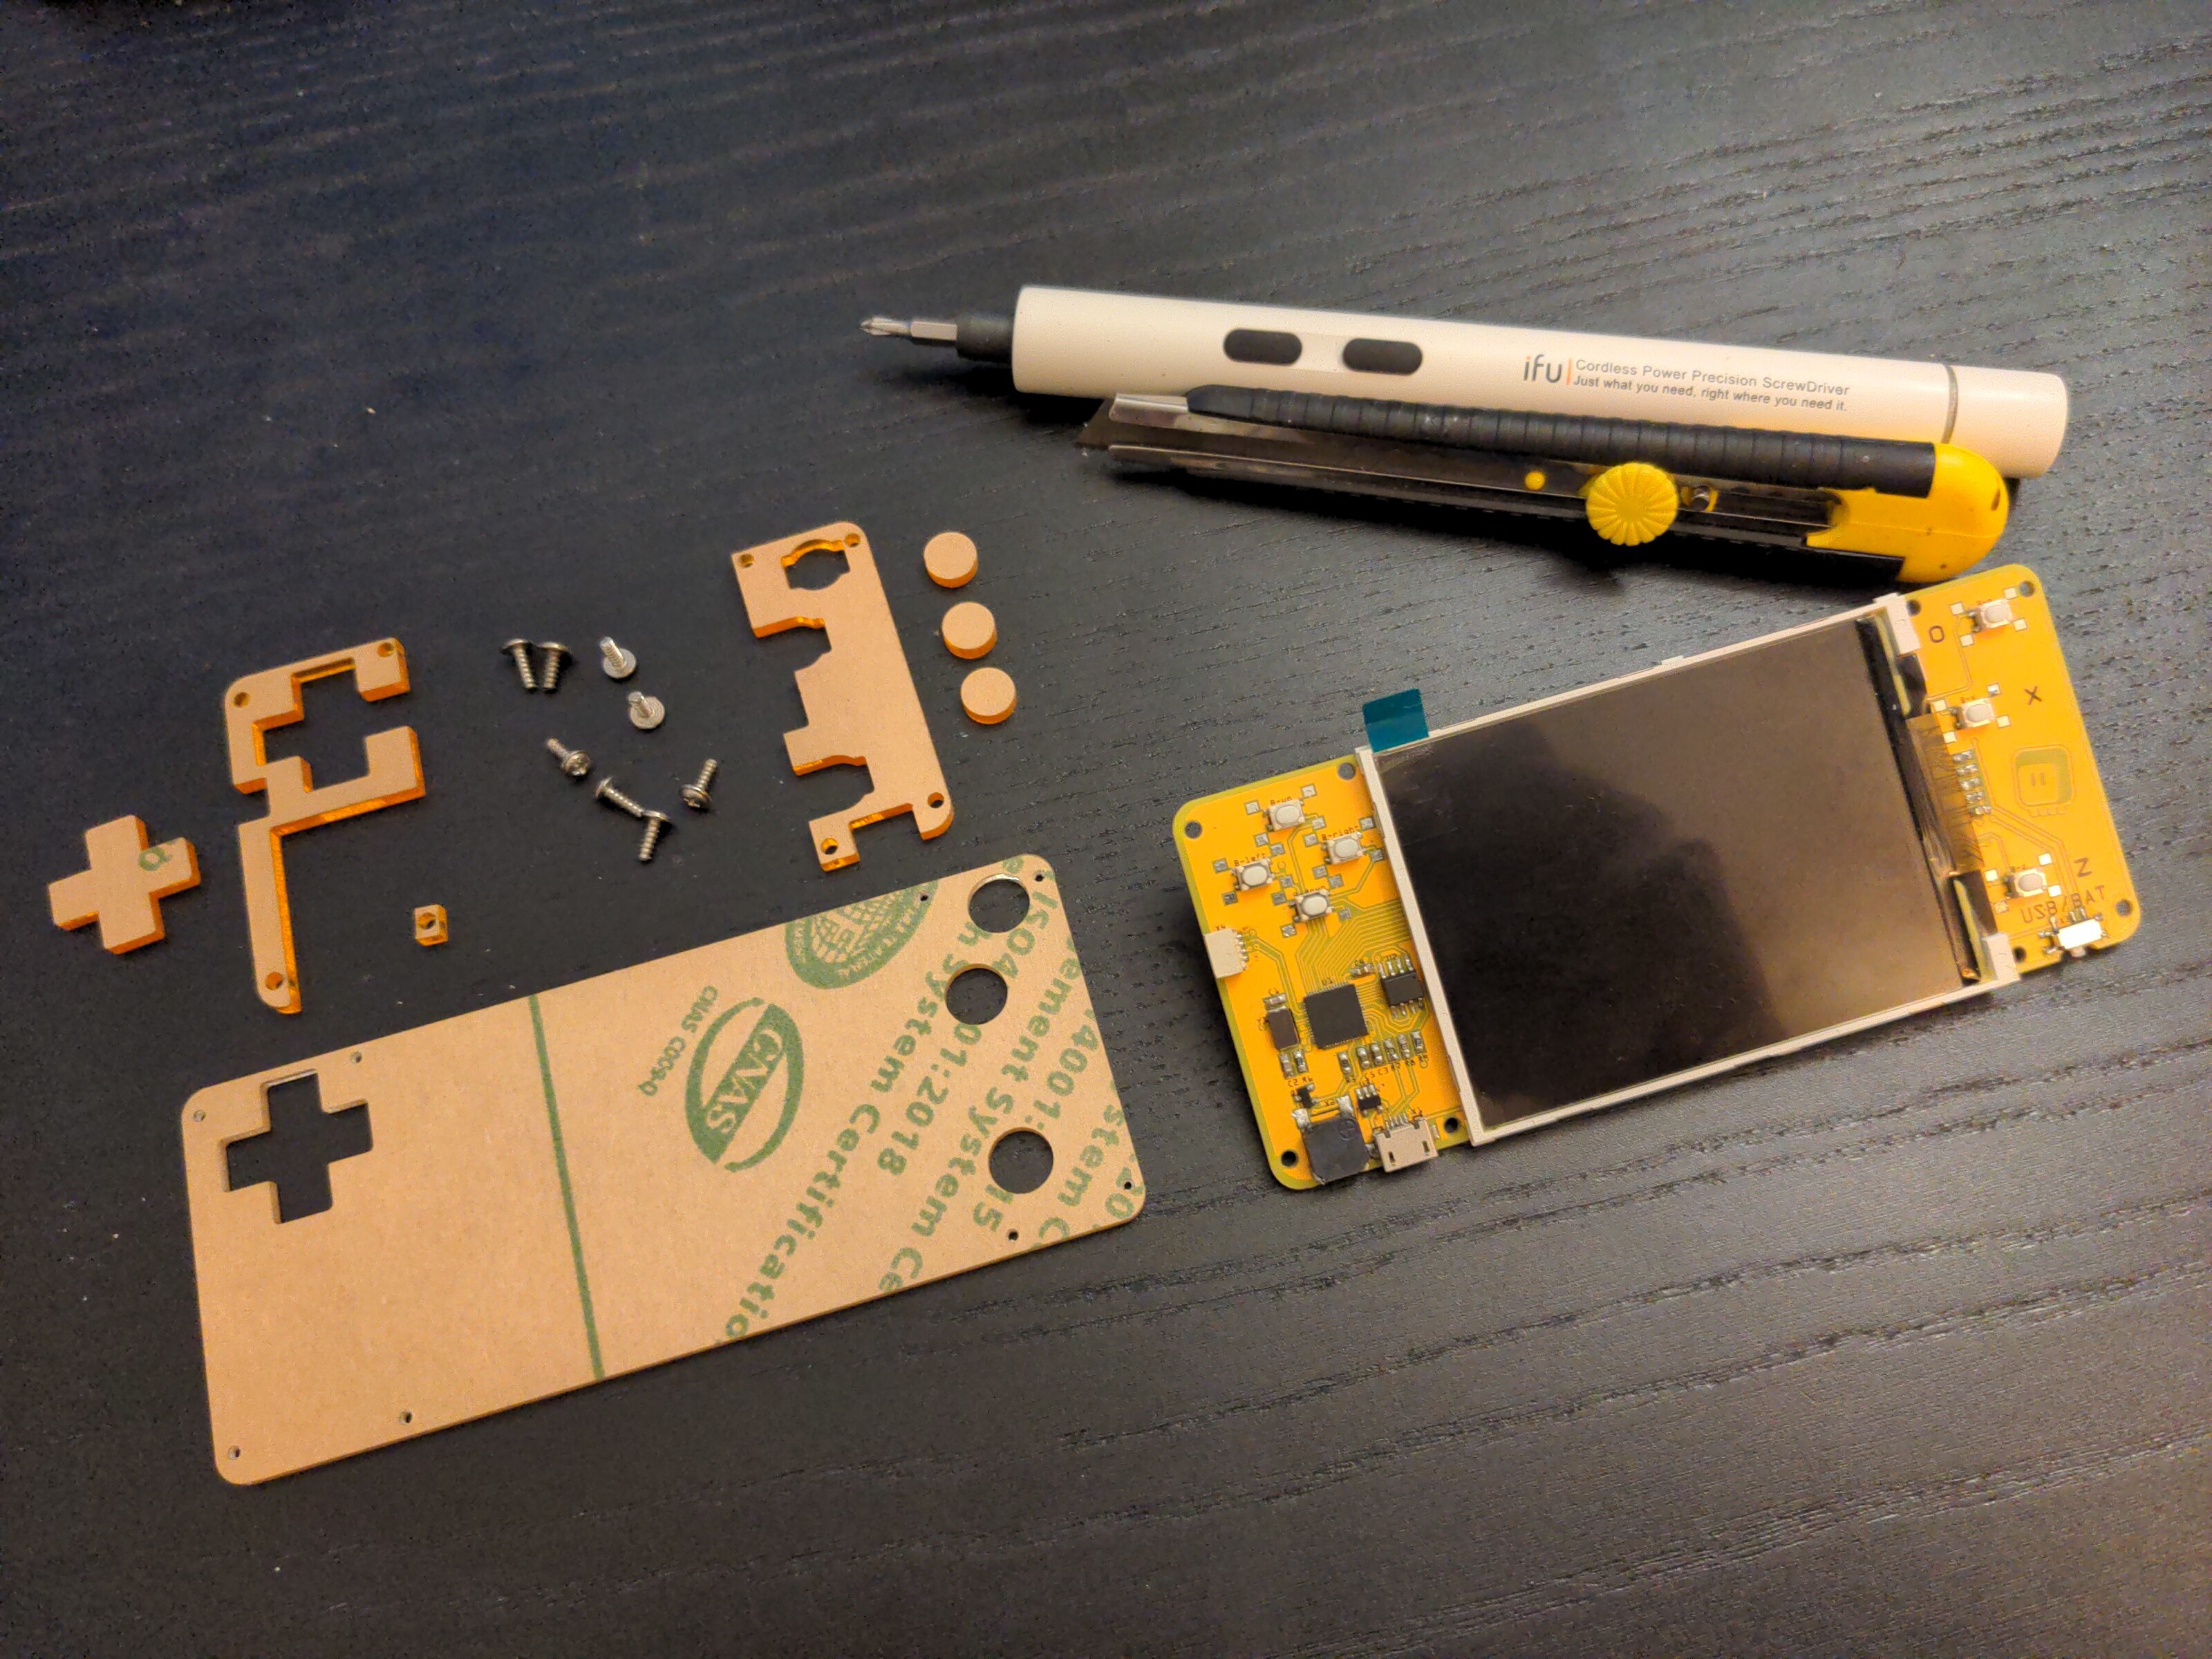
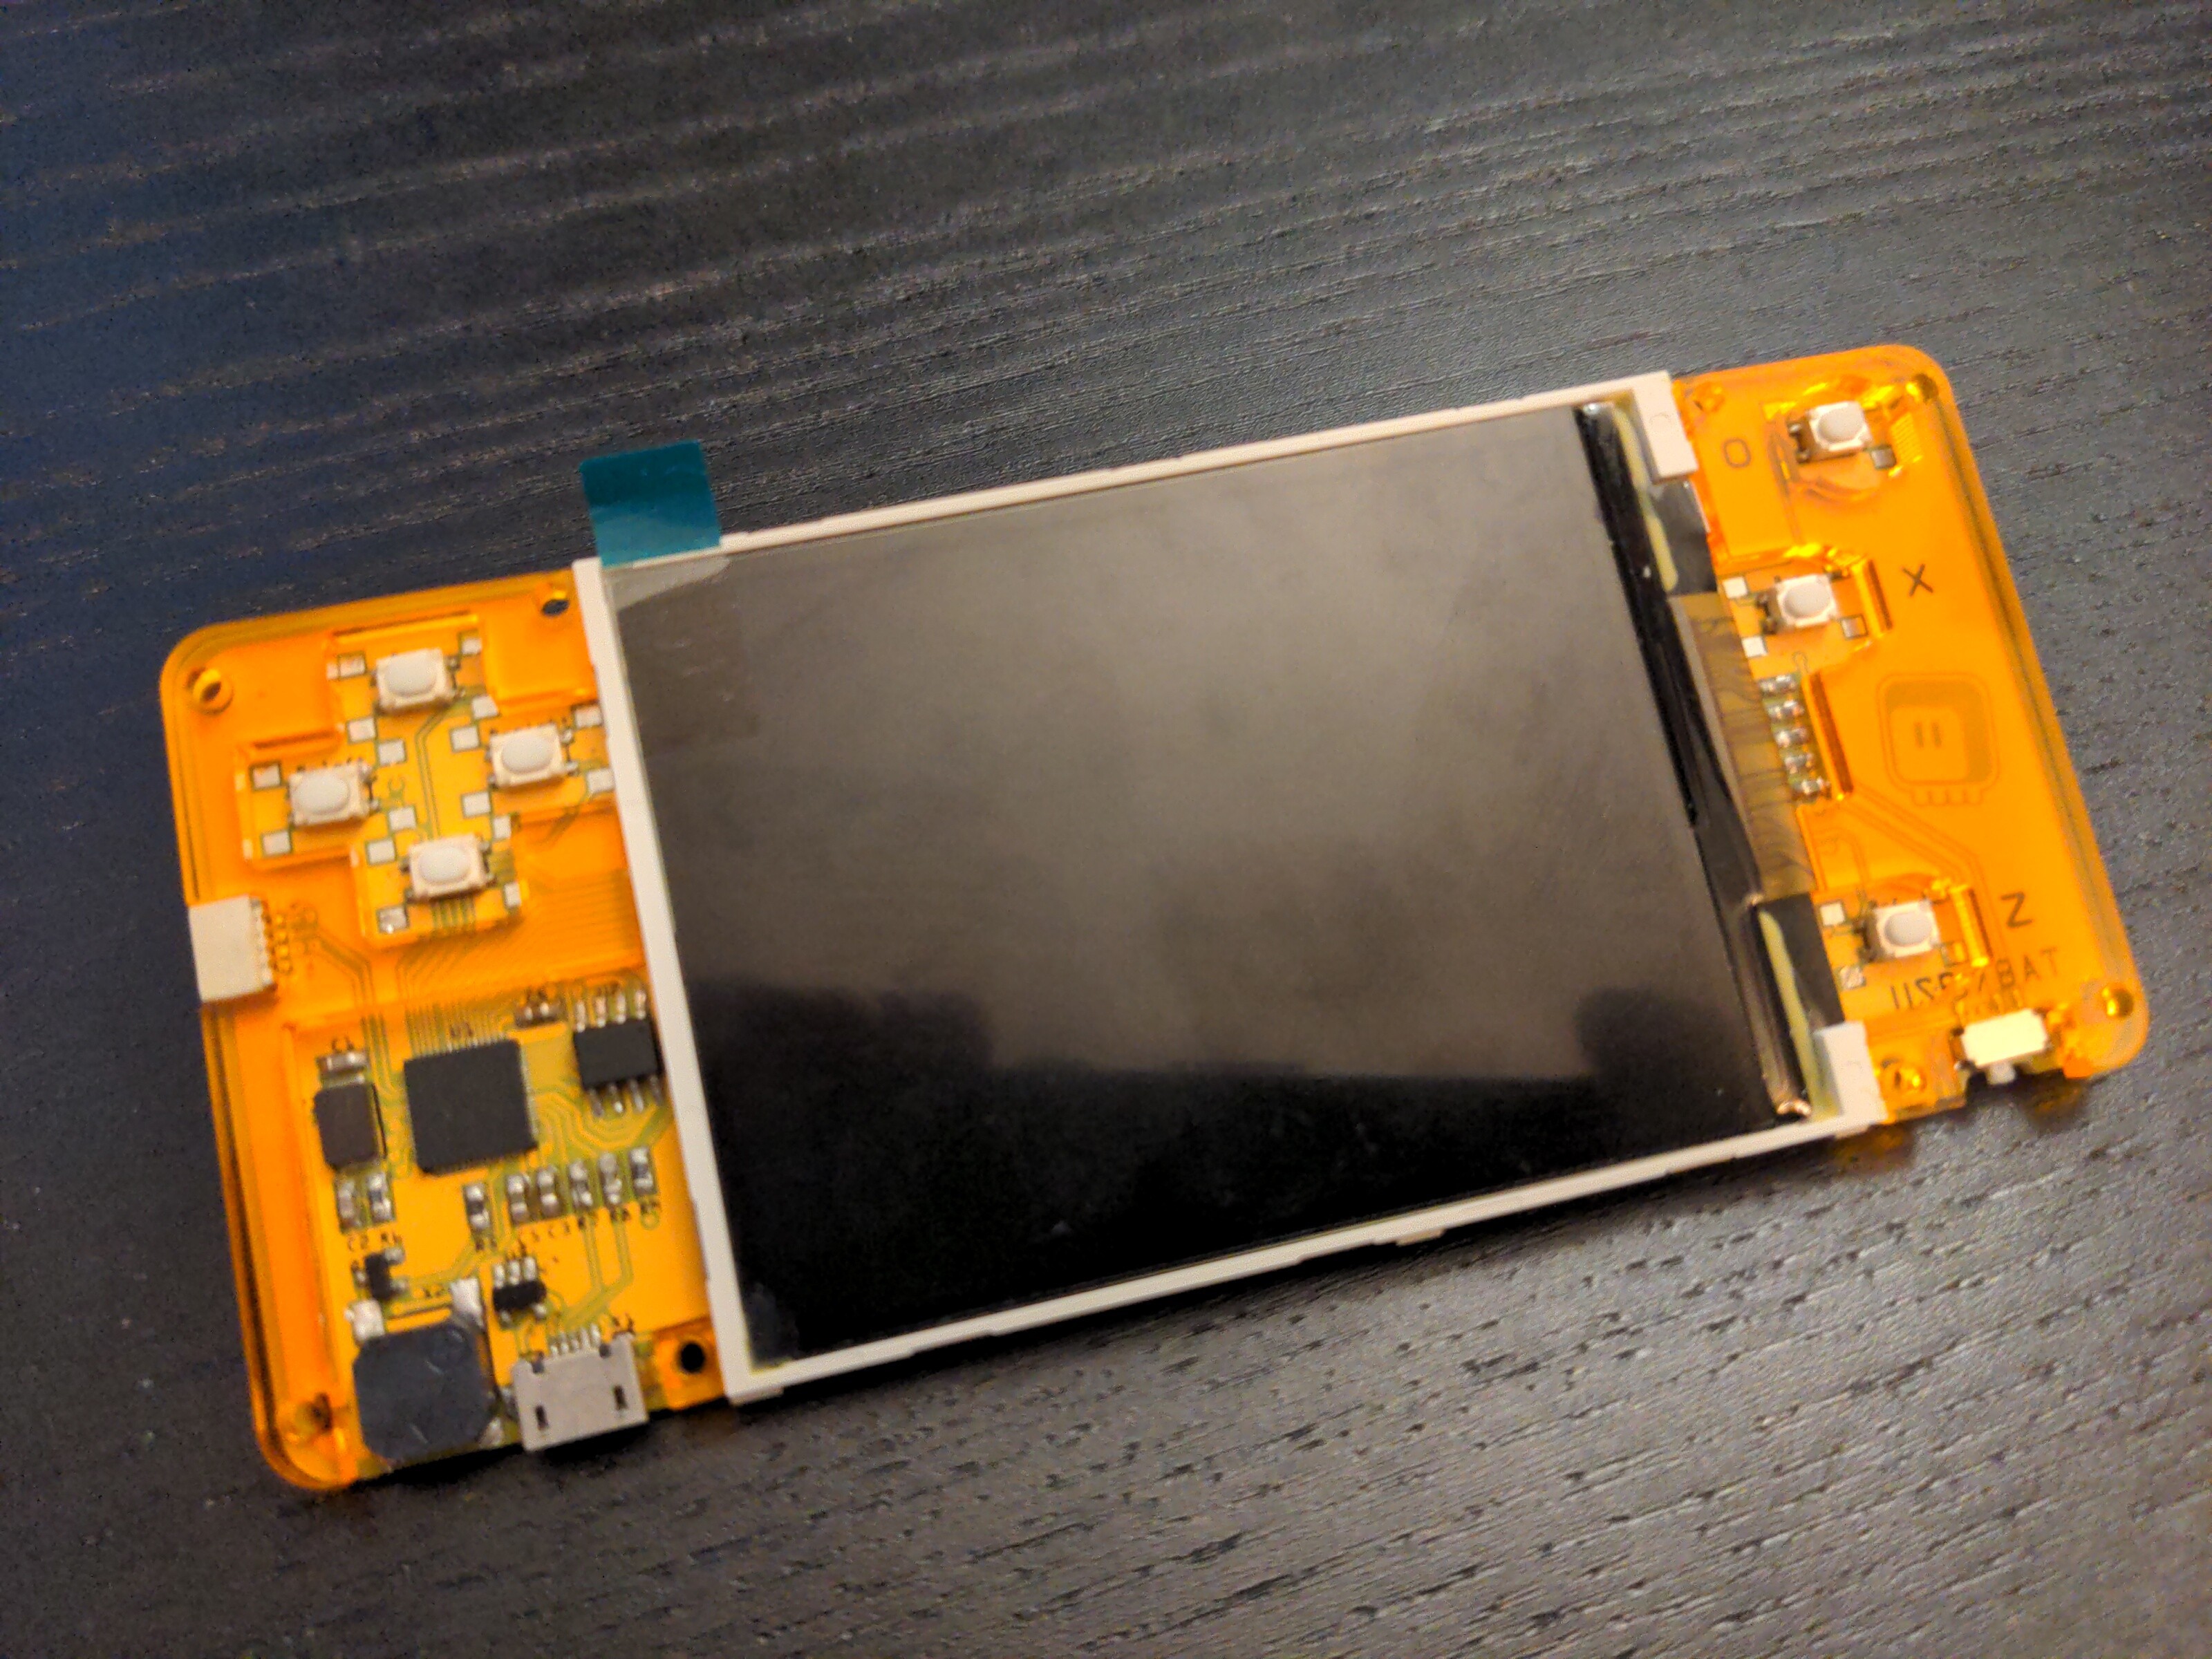
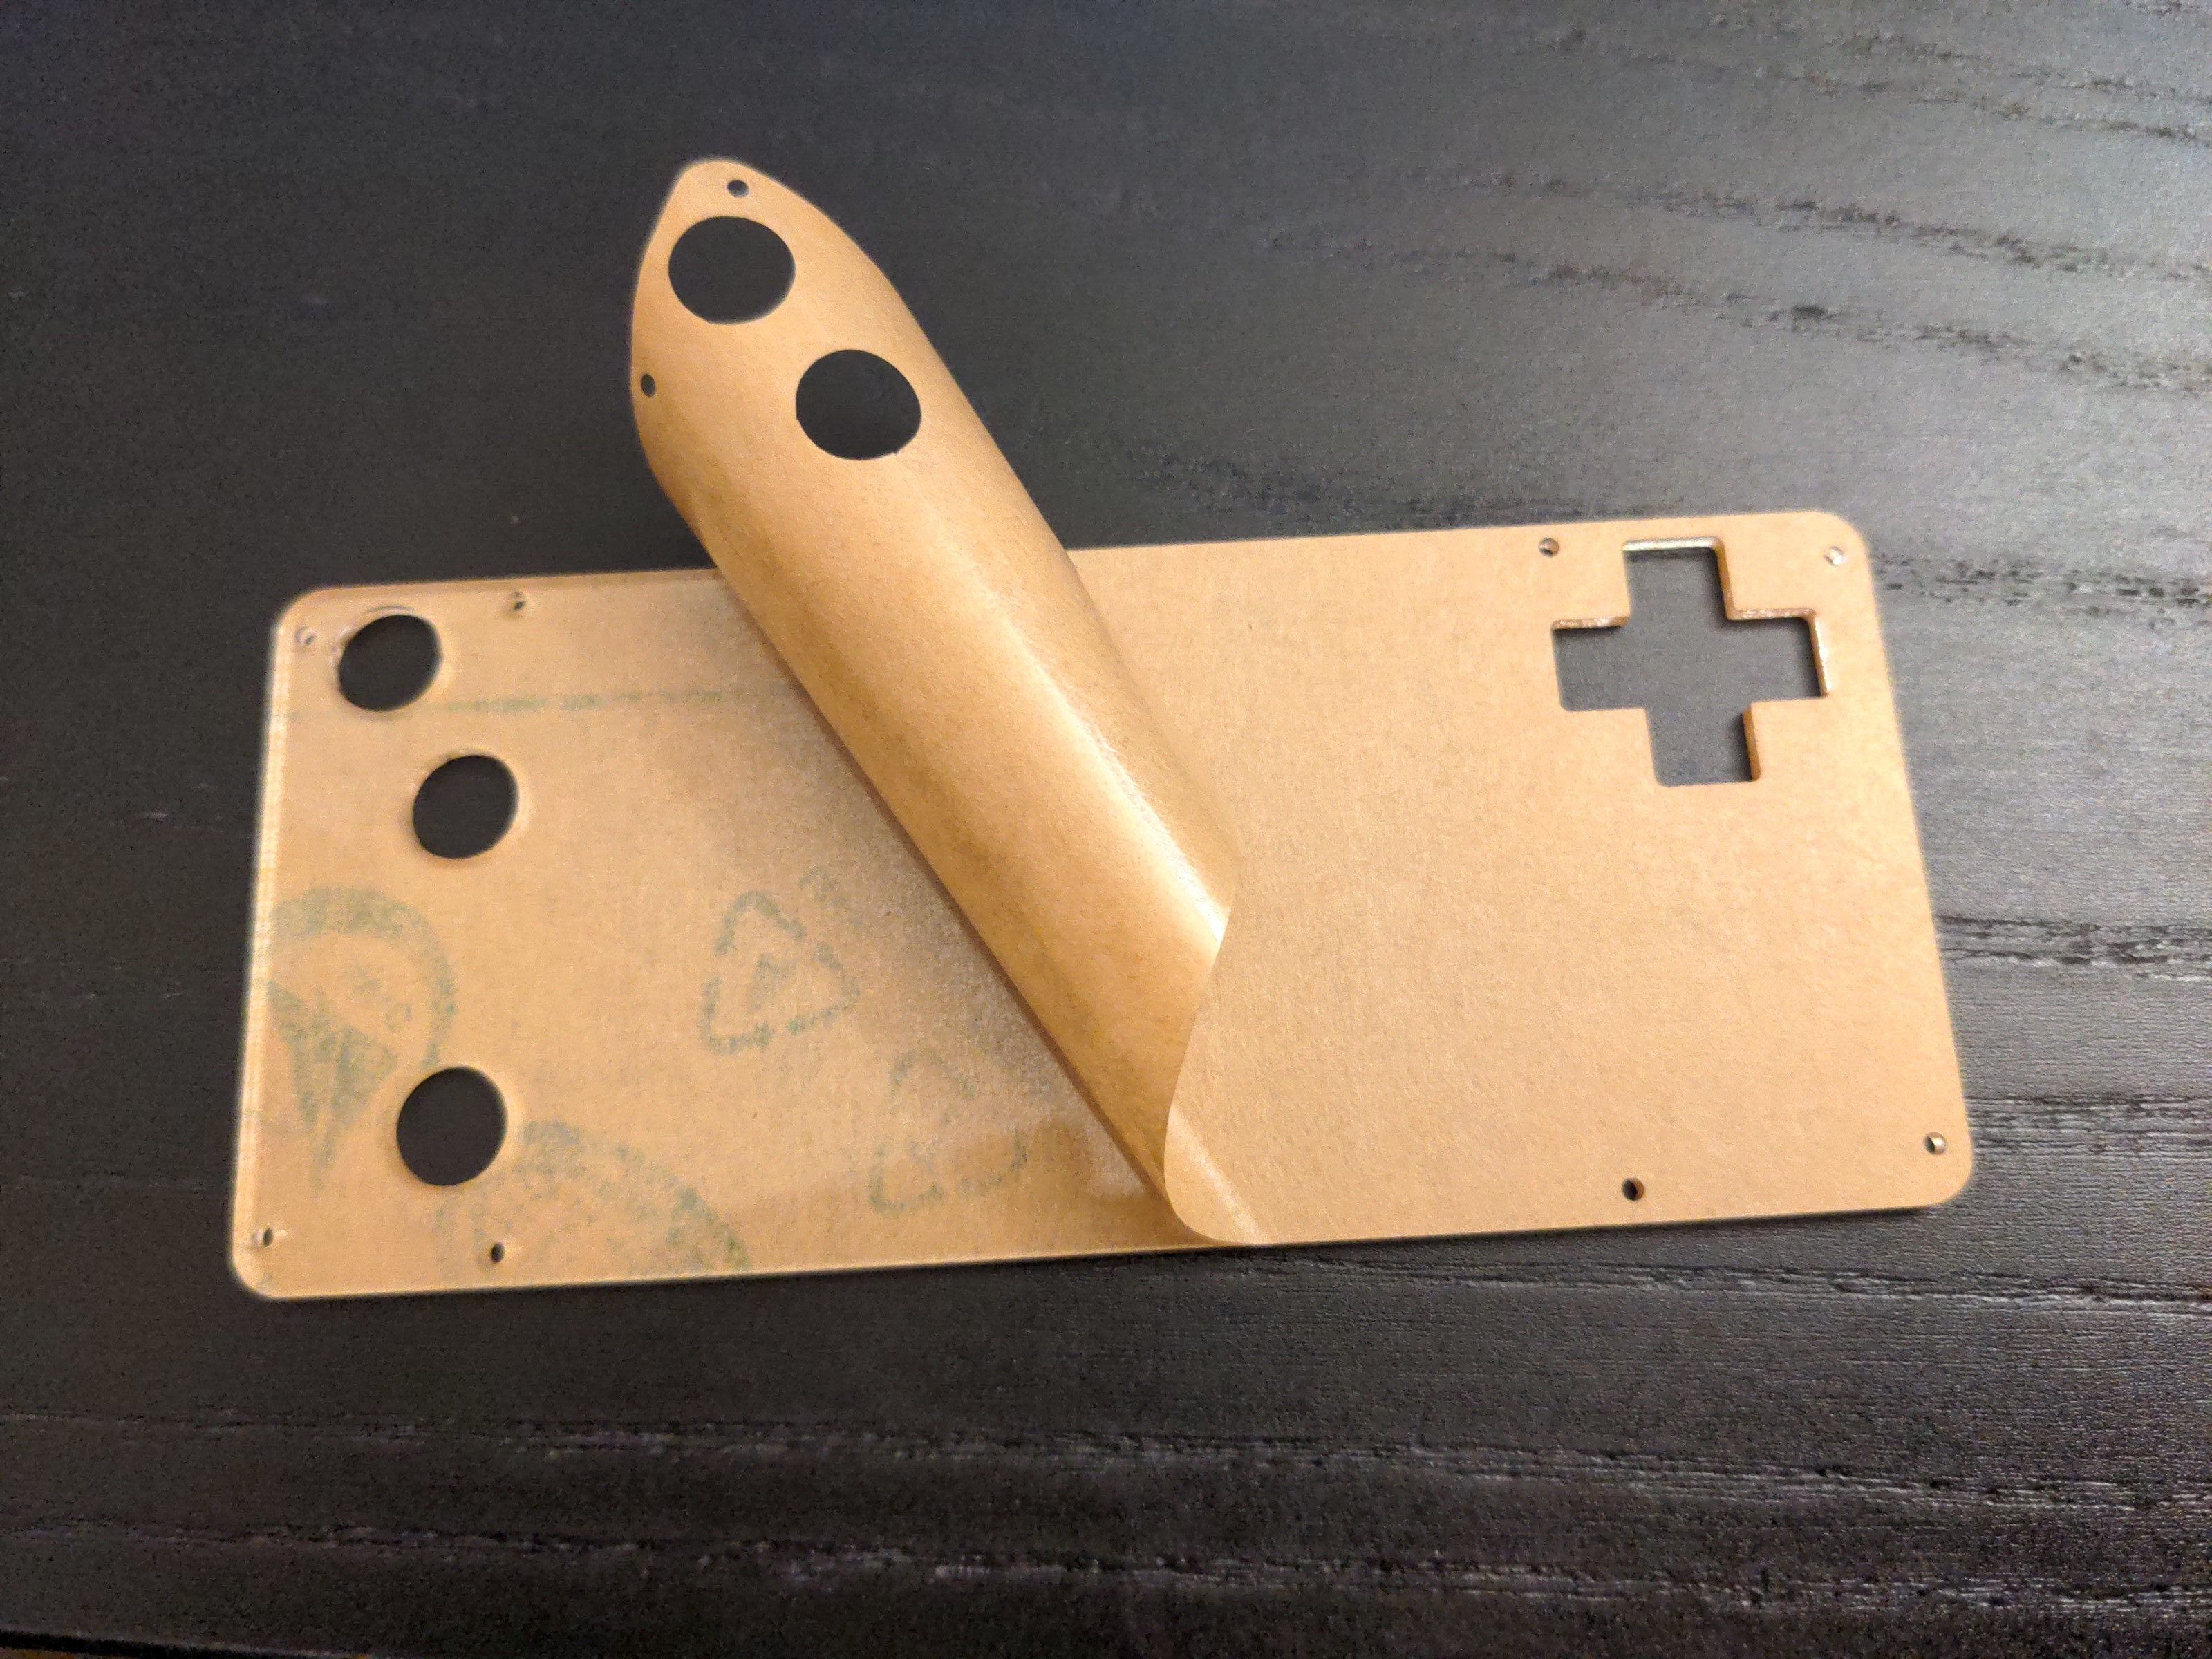
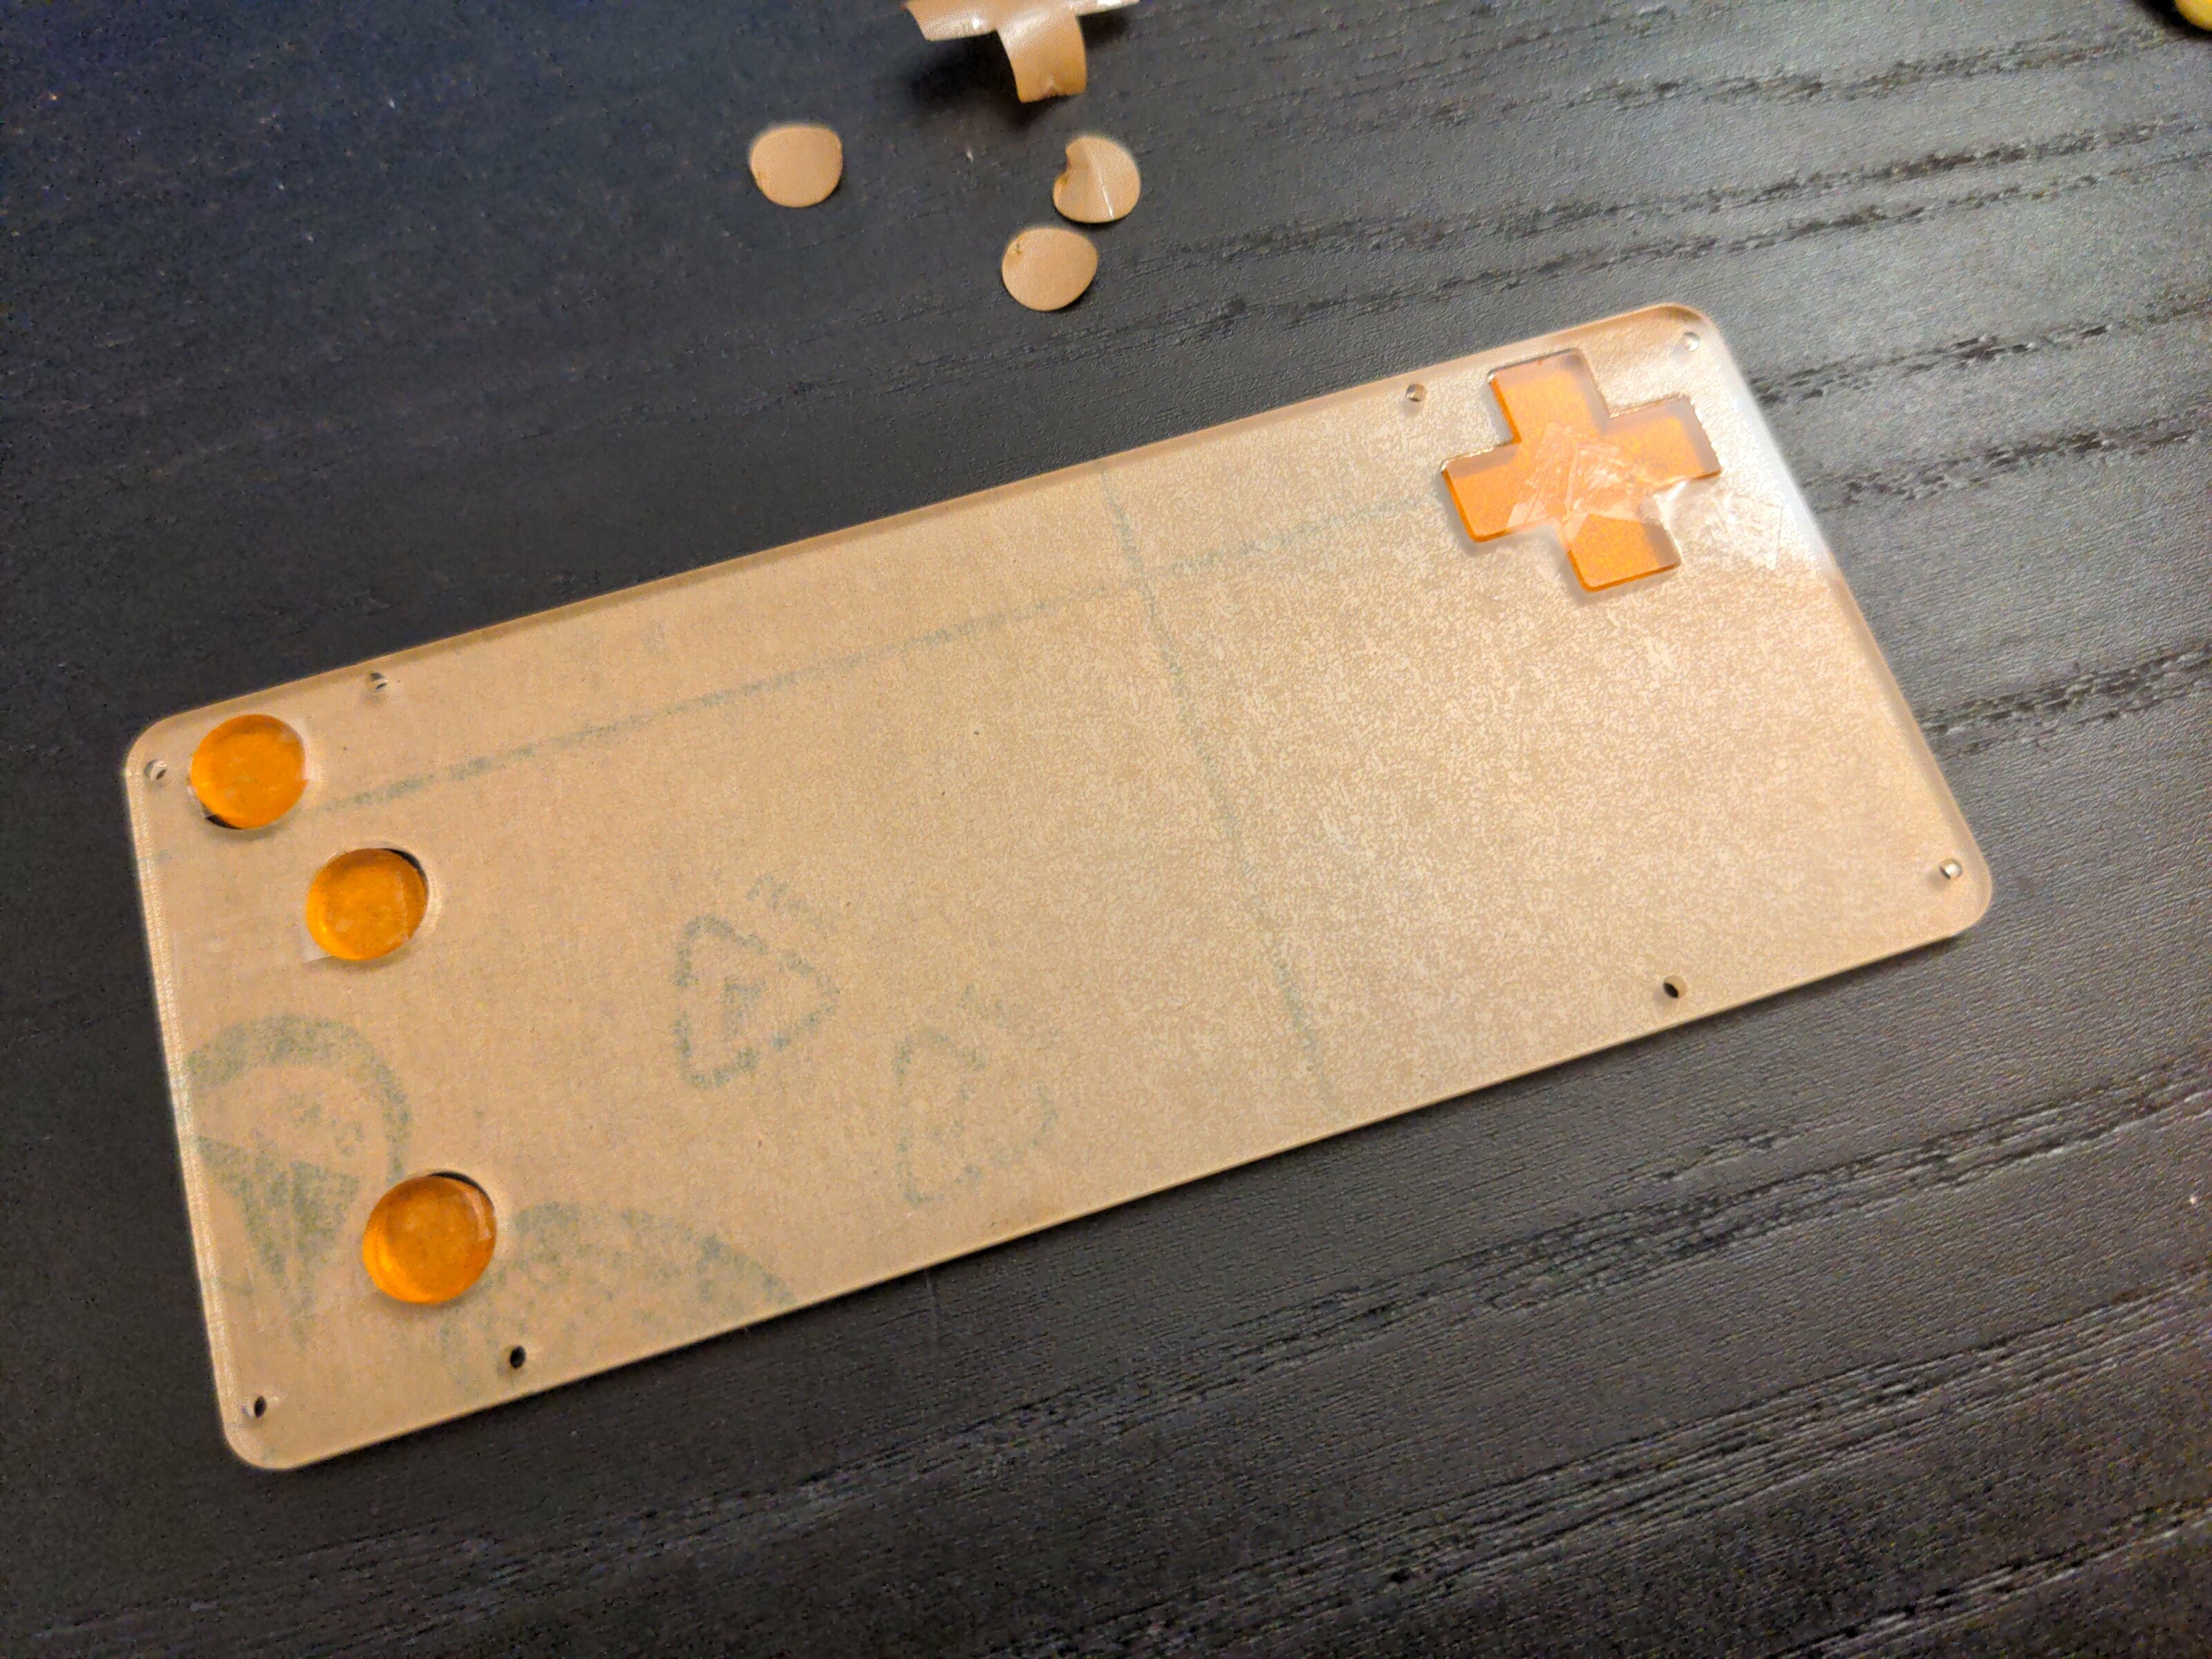
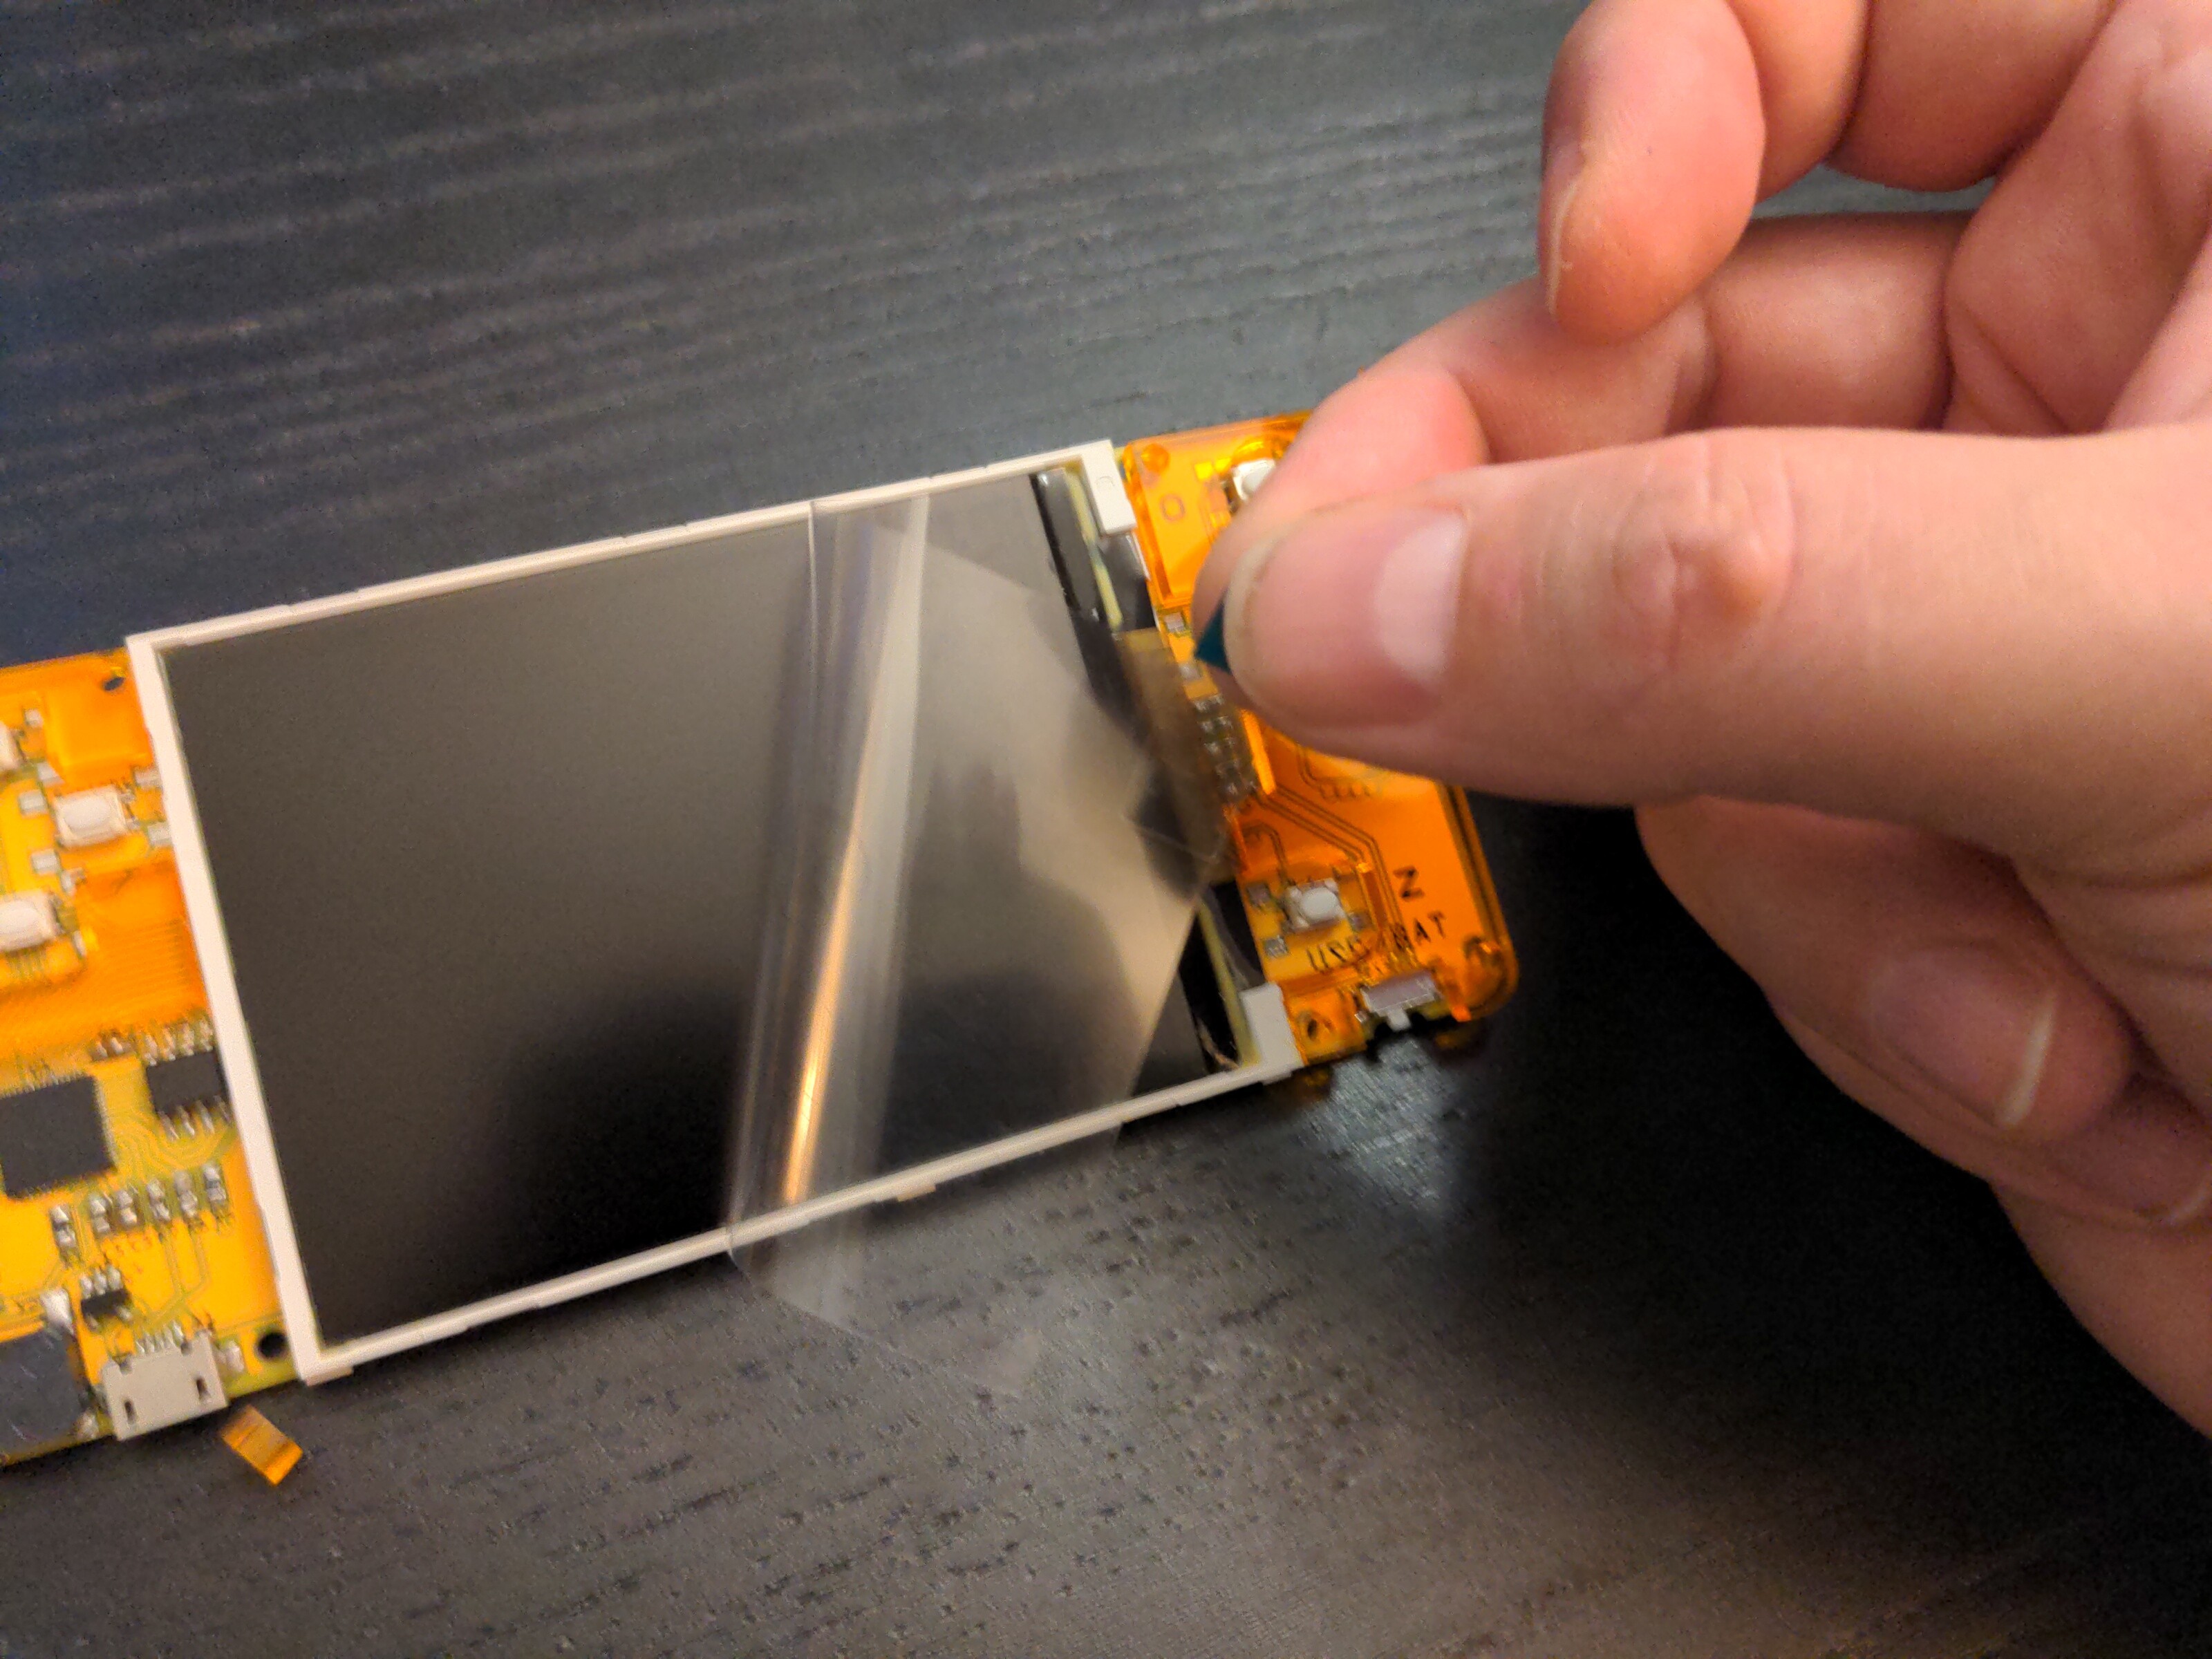
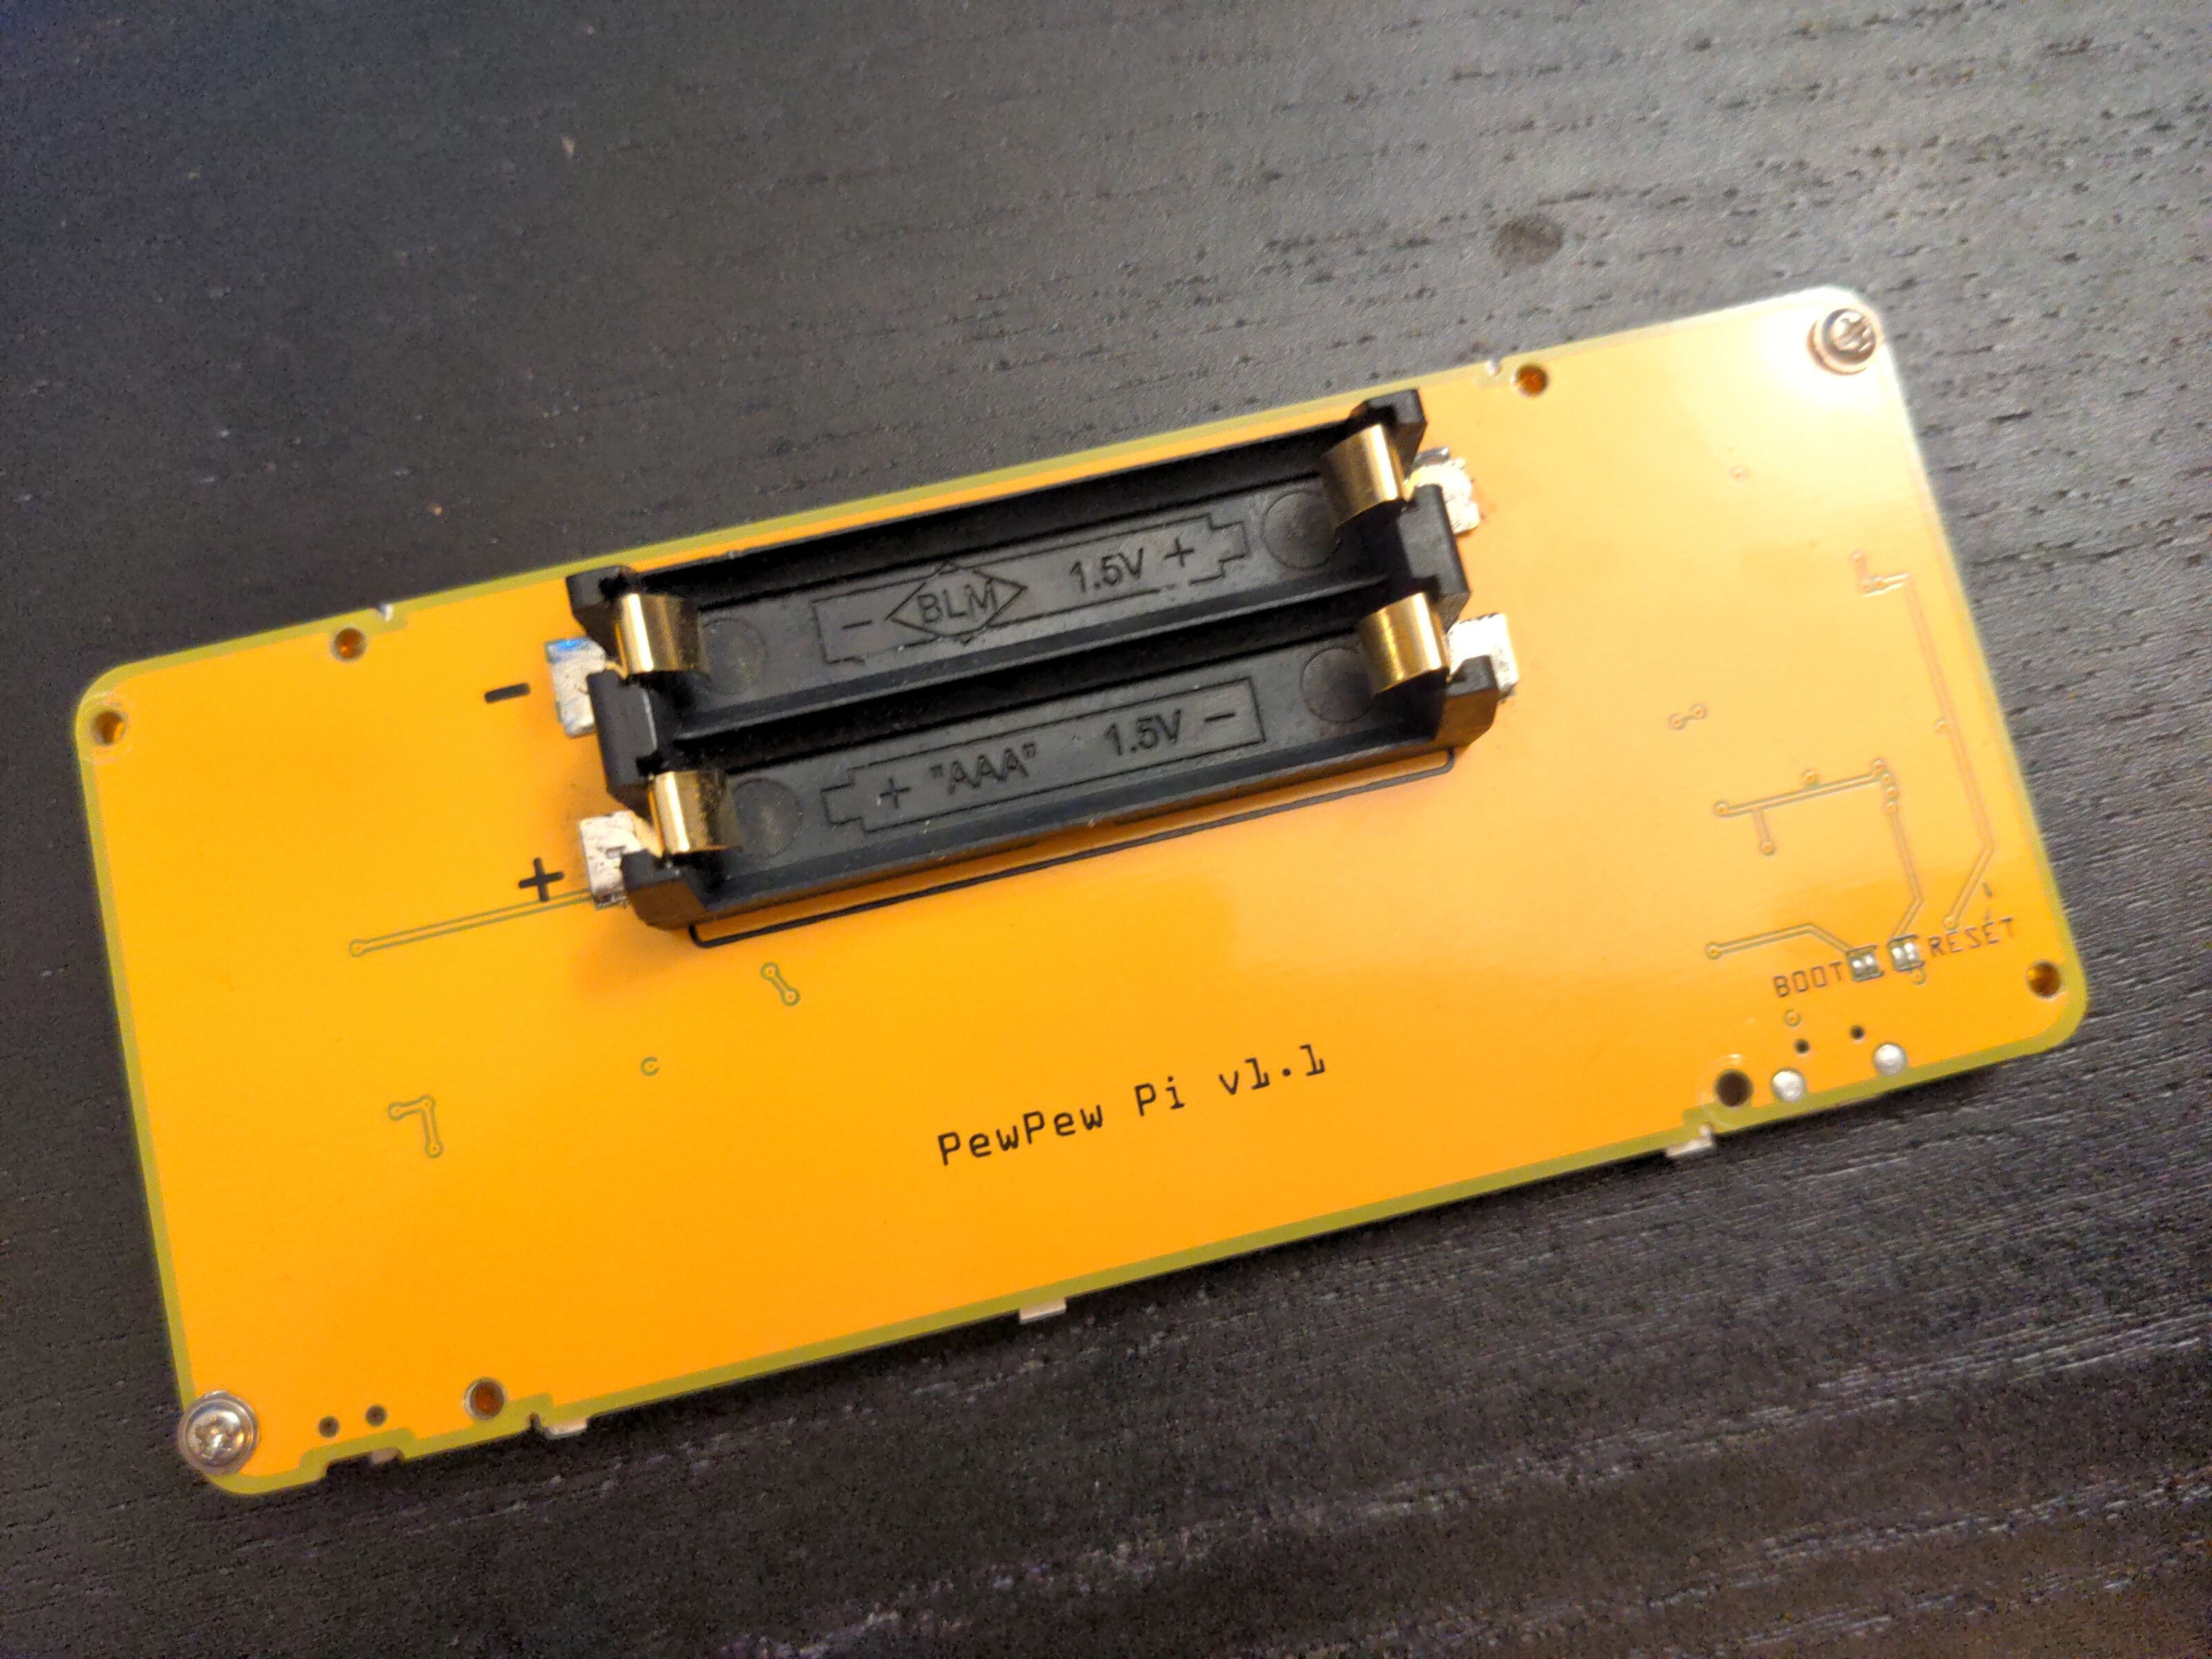
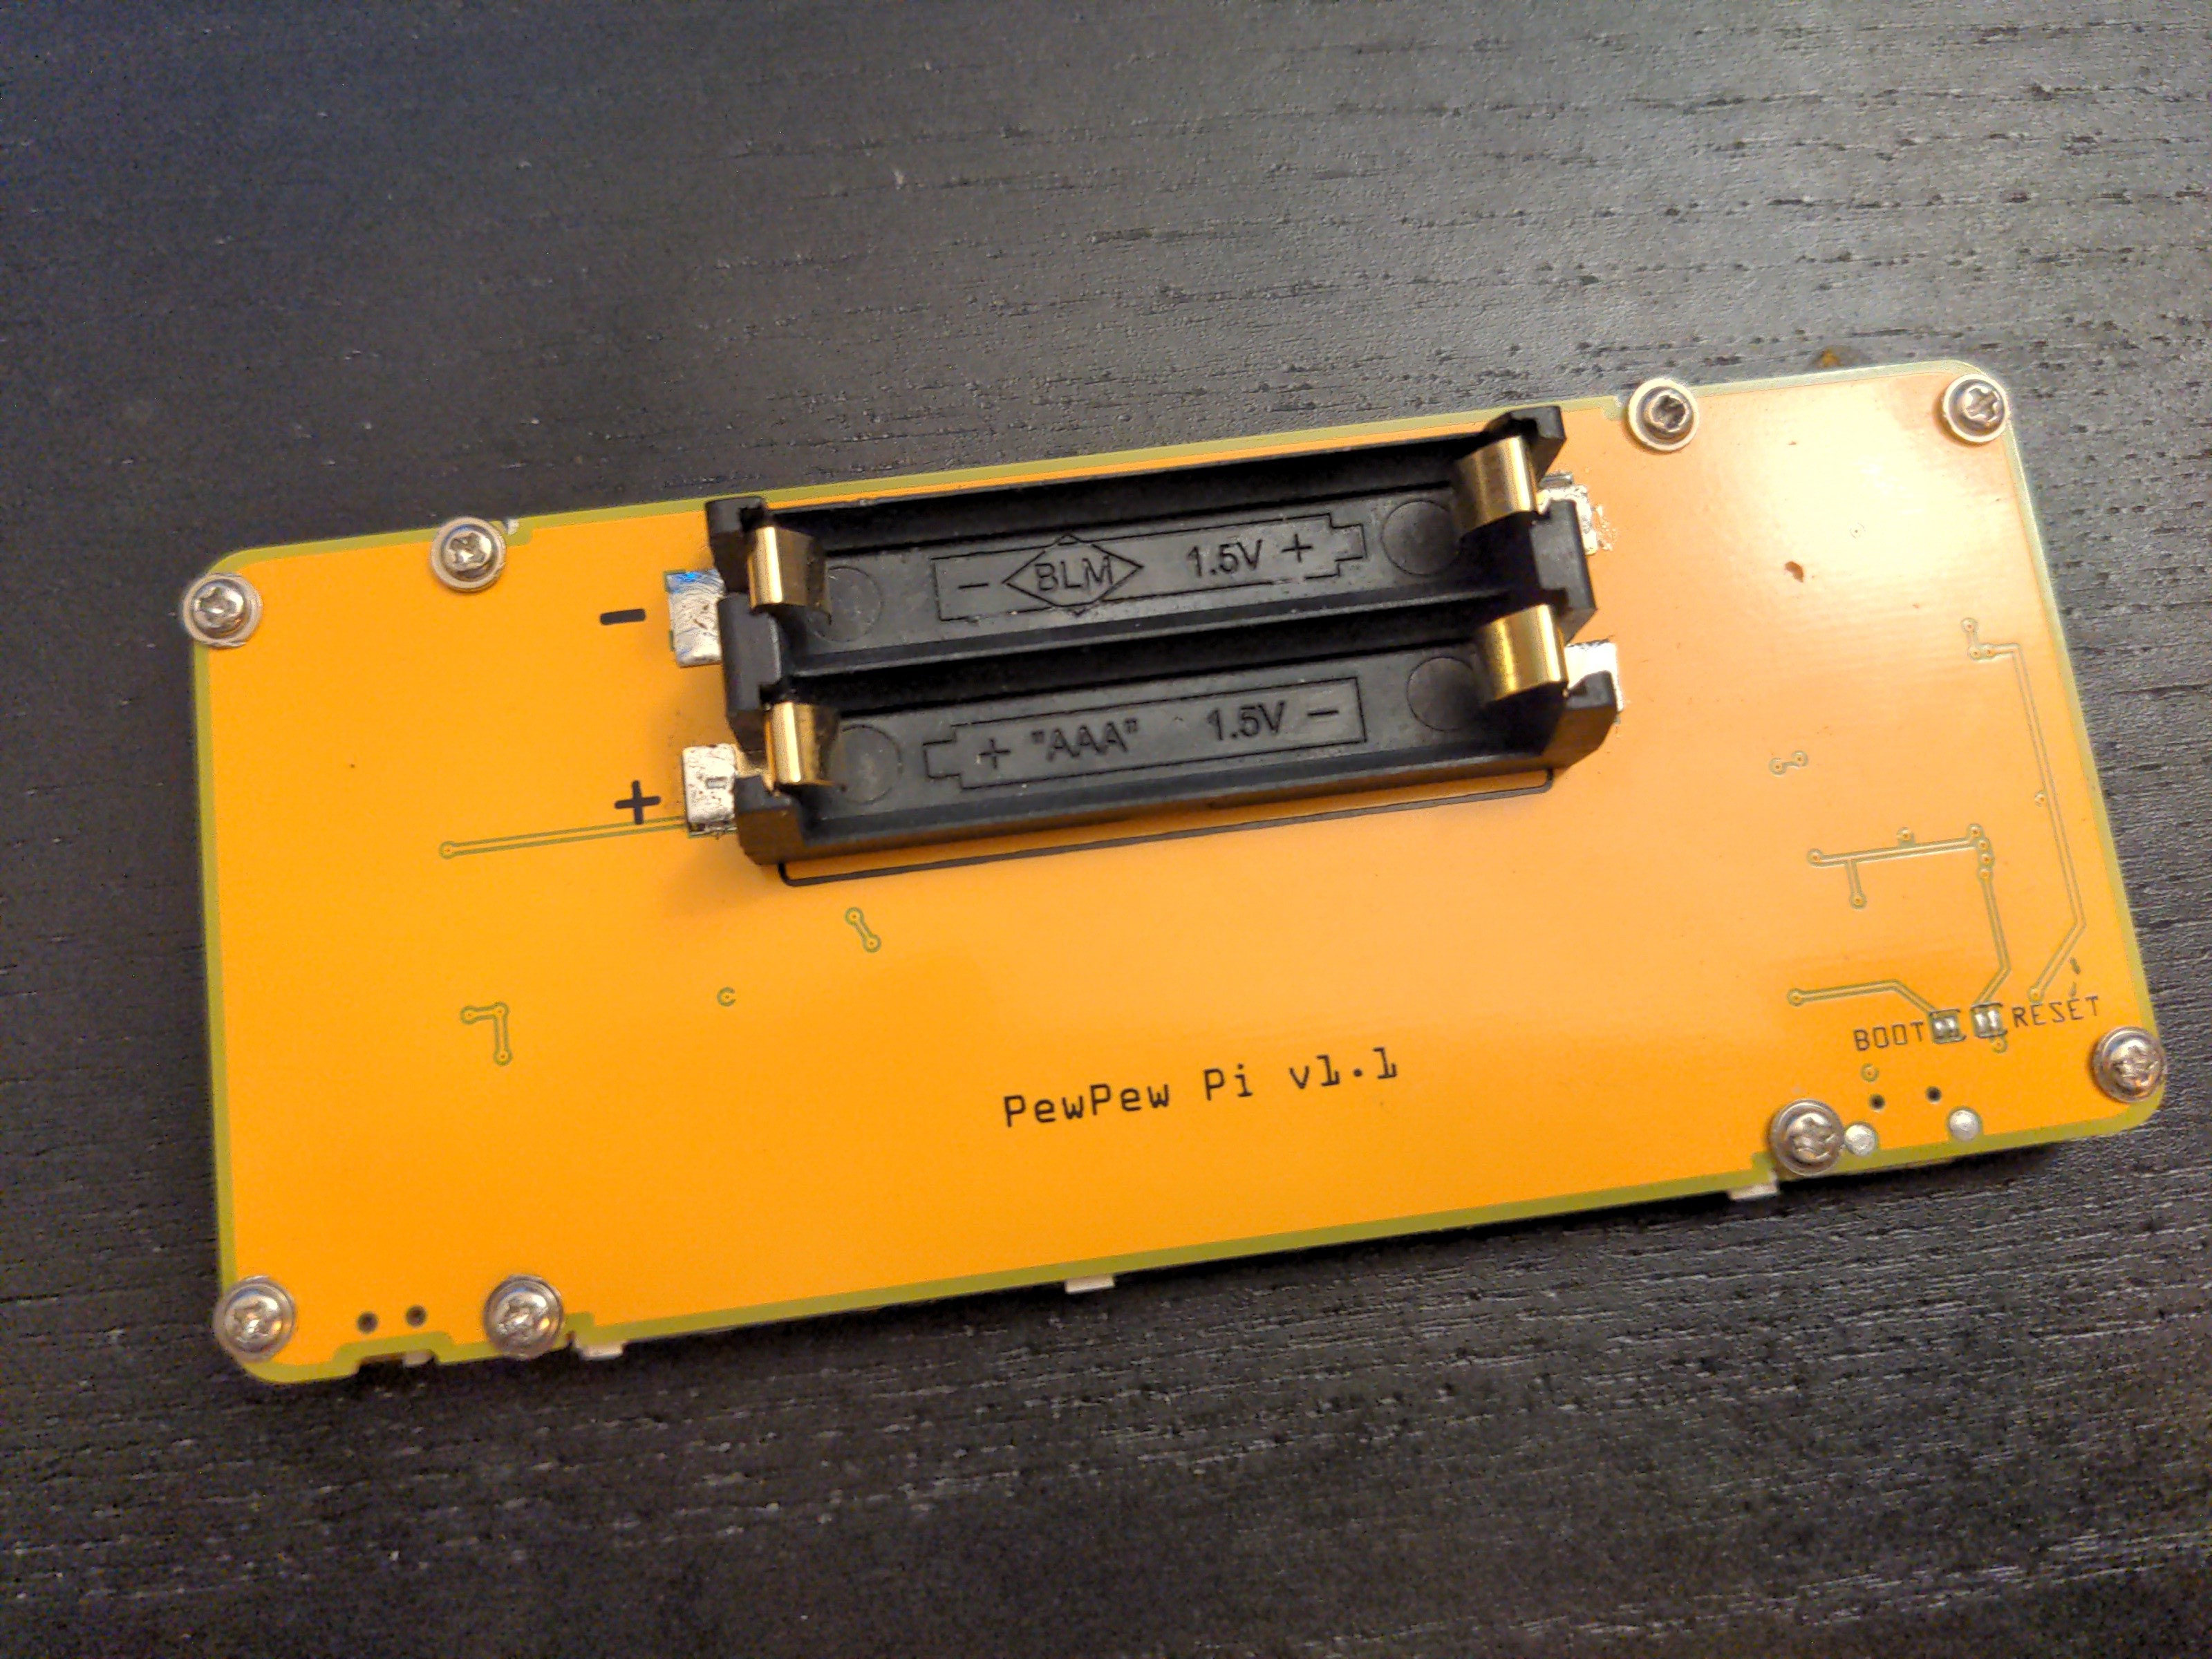
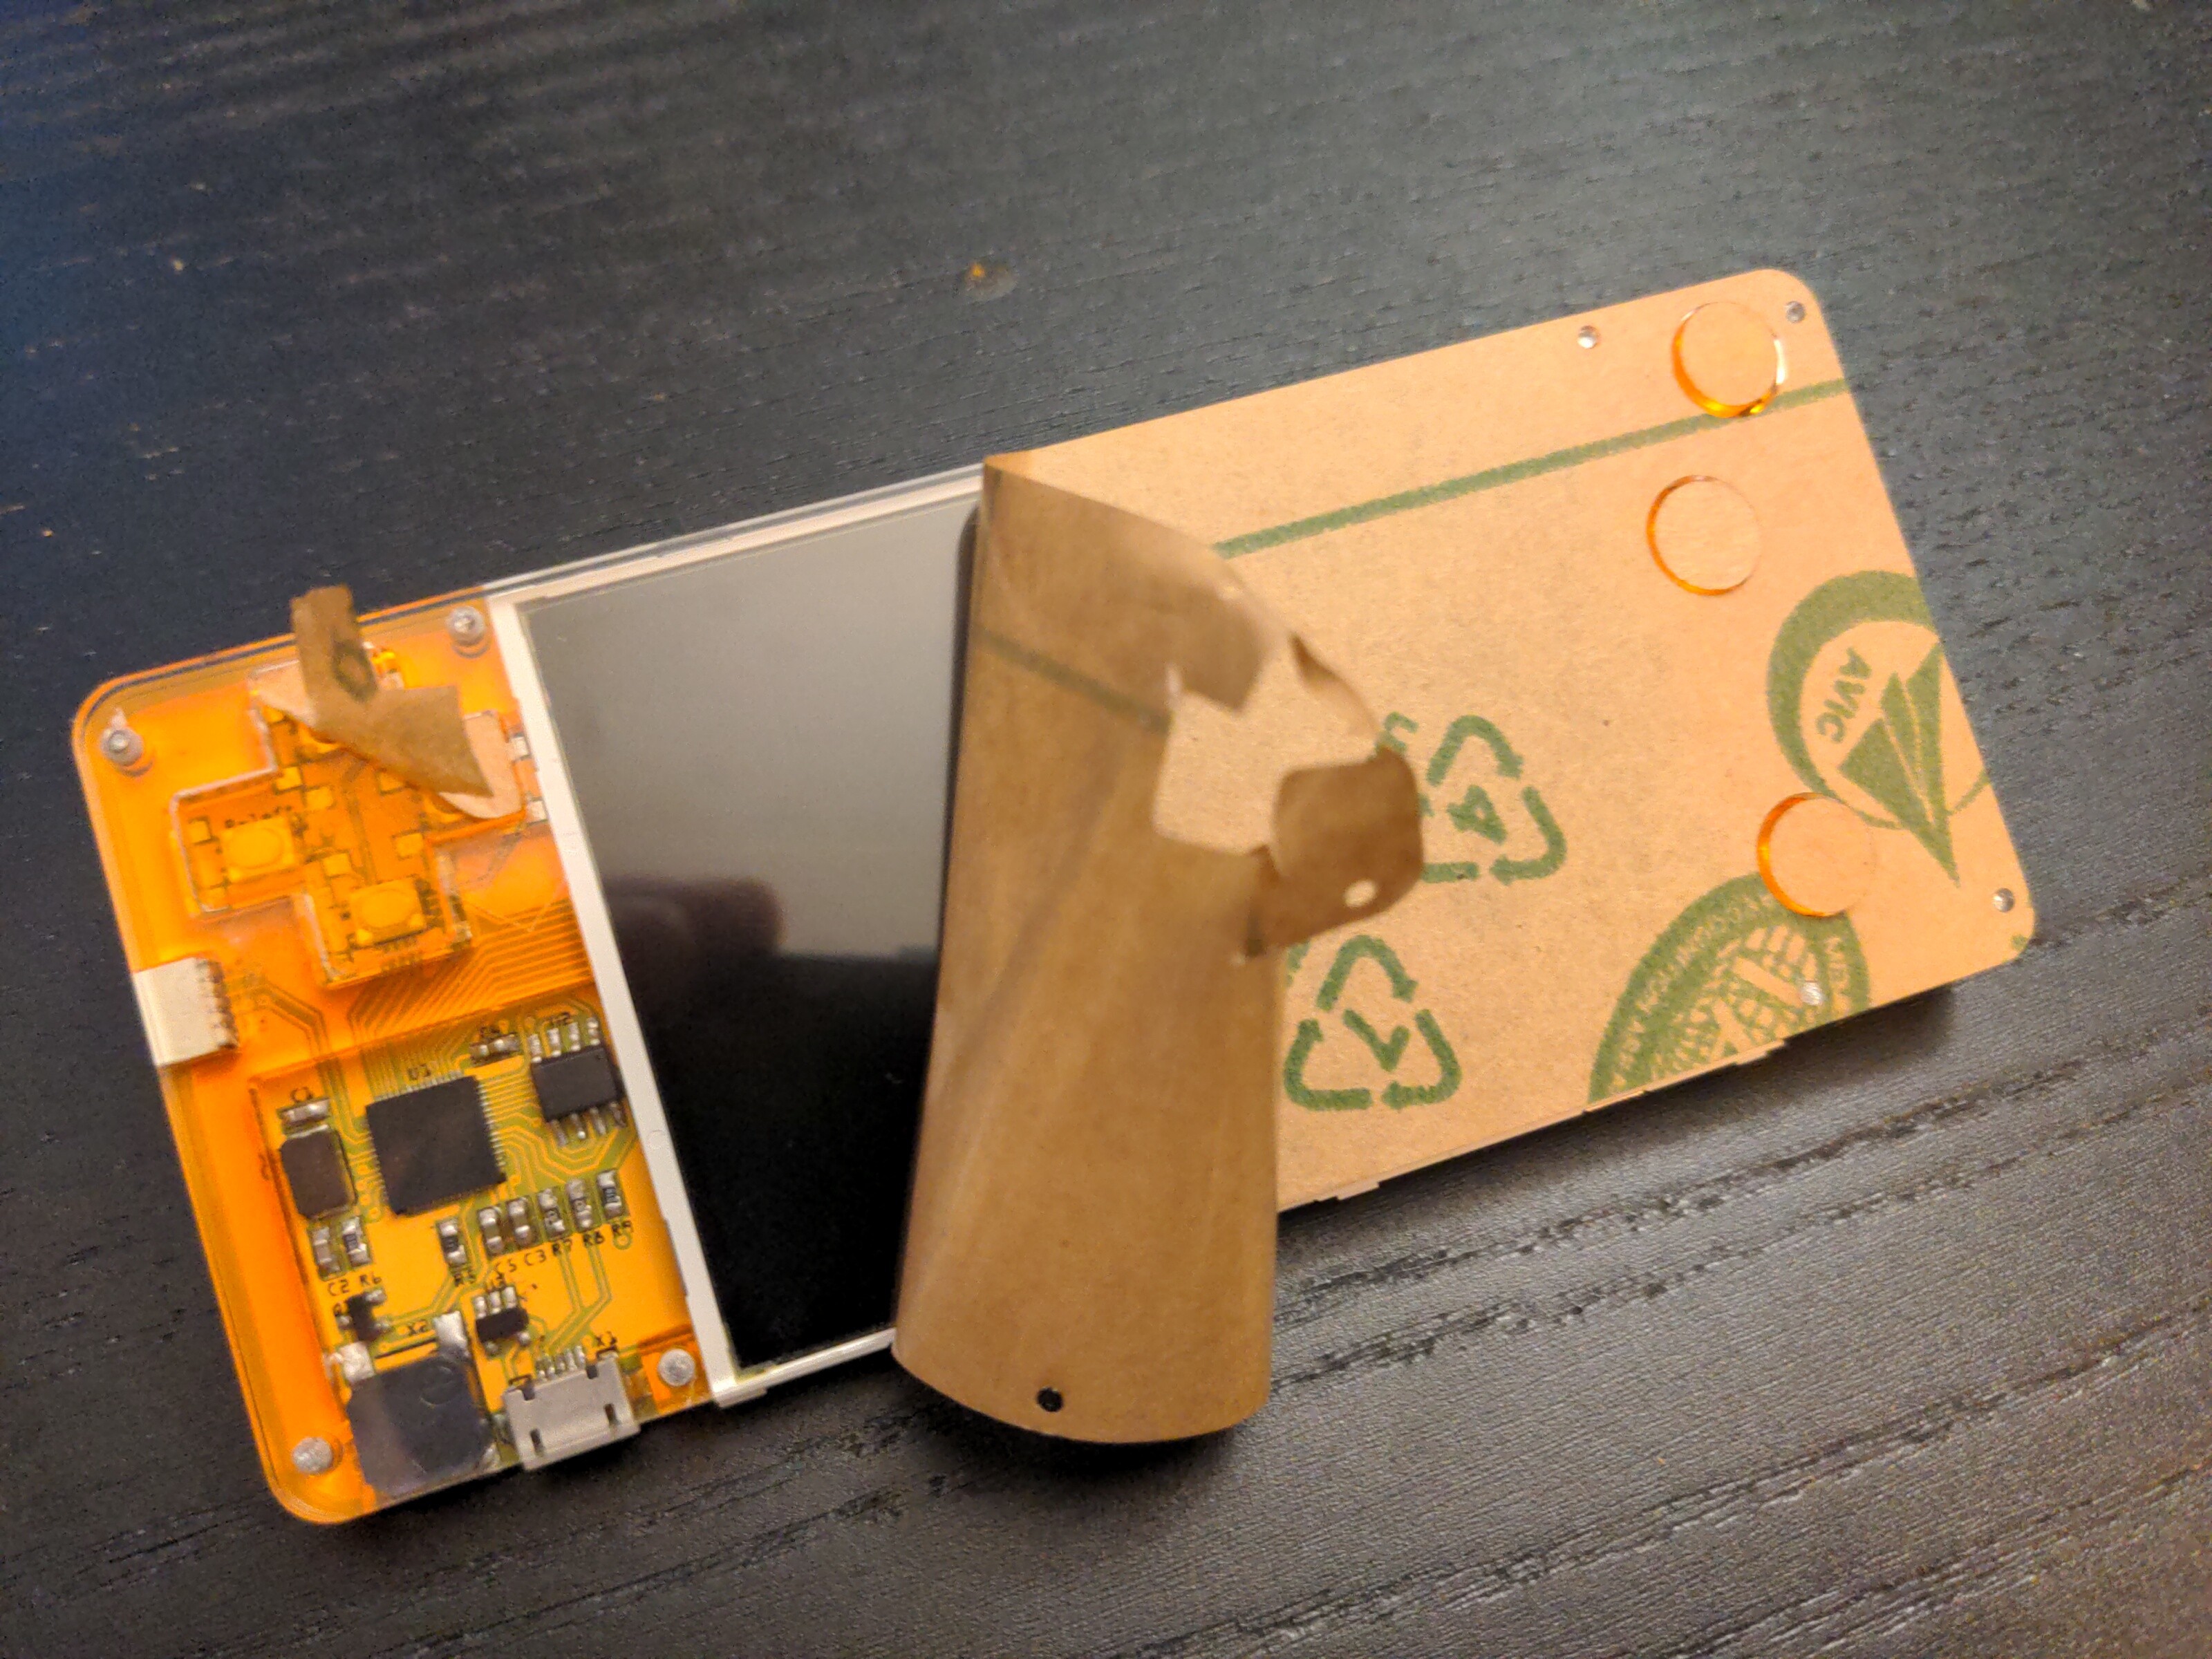
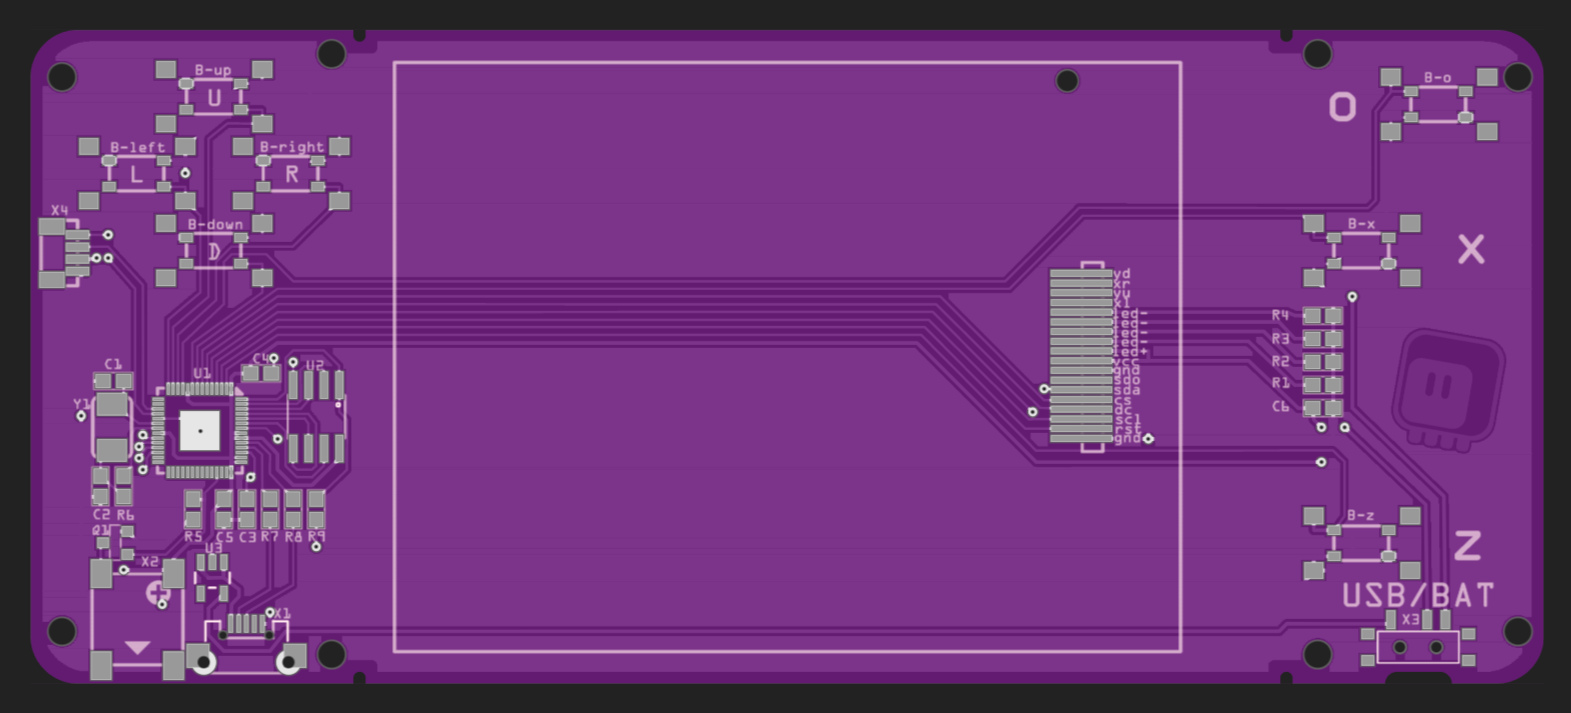
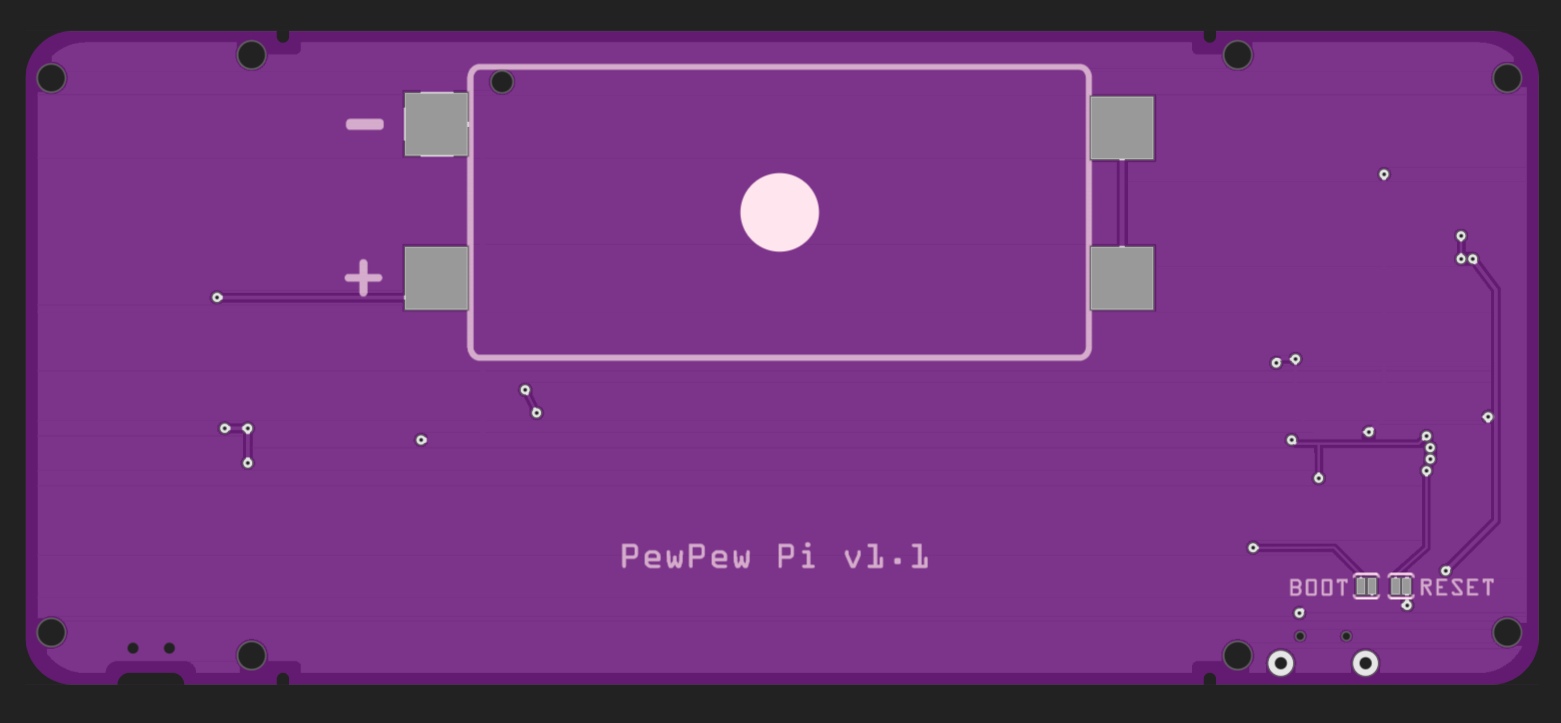
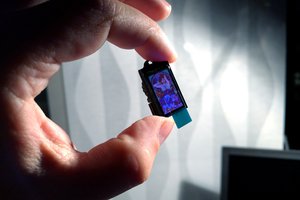
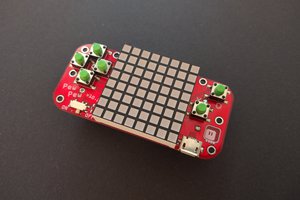
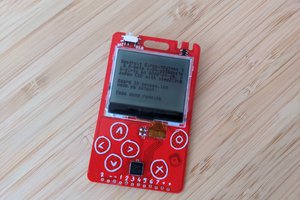
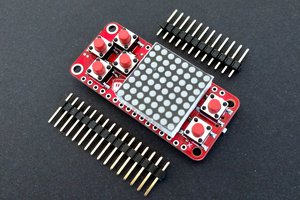
A comfortable gaming handheld for CircuitPython, continuing the work started with #µGame, through #PewPew M4 and #PewPew S2. A large 3.2" screen, an RP2040 microcontroller, 2MB of flash memory and a small speaker, all in a convenient form factor, with a laser-cut case and two AAA batteries for power.

  • Improving Screws

    deʃhipu2 days ago 0 comments

    One of the remaining problems that I still have with this handheld console is the way the case is held together. I originally used self-tapping screws to hold the two layers of laser-cut acrylic together, but there are many problems with this approach. The holes need to be just the right size for the screws to tap them properly, but still sit in there firmly. The screws themselves tend to be of poor quality, with their heads breaking off. The last layer of the acrylic is pretty thin, and is only held in place by a few threads of the screw. And finally, when I take the console to various events, I always tend to lose screws along the way.

    So I decided to look into this and find a better way to hold the whole thing together.

    LCSC recently introduced a new category in their parts shop, mechanical fasteners, so I went and looked for possible solutions. I found something they call "welding nut", which is basically like a threaded insert, but instead of being embedded in a plastic case, it's soldered to the PCB. That sounds promising, so I added a few of the smallest ones to my next parts order.

    When they arrived, I decided that they look very promising. I got two kinds, one that is a smooth tube, and one that is a hex nut. The latter looks more promising, especially since it comes at a variety of heights. I tried to modify my design in EasyEDA to see how that would work mechanically:

    It barely fits in some places, but it looks like I could pull it off. Of course the middle layer of the acrylic would need to be modified to make room for those nuts (or maybe even removed entirely, now that the top layer can rest on the nuts?), but that shouldn't be too much of a problem. I'm still wondering if I should be using the 3mm high nuts, that match the height of the middle acrylic layer, and all the electronic parts theoretically, or use 2.5mm ones to allow for thinner acrylic (it's never exactly 3mm) and tighter fit overall.

  • Sound Volume Reduced

    deʃhipu12/12/2023 at 20:33 0 comments

    I have been quiet the past few months about this project, because I was still struggling with power problems. Adding the boost converter was a great idea, and it works very well, but if you make the speaker play white noise, it will still overwhelm the batteries and make the voltage drop enough that the display resets, and you get a white screen of death.

    I tried lowering the gain on the amplifier (I dedicated an extra GPIO pin for that, so that I can do it with software), but it didn't help. So I let the project sit for a while, while I waited for inspiration.

    The inspiration struck a few days ago, and I was lucky that I could test it immediately, by cutting a trace on the board and soldering a resistor in series with the speaker. I know, it sounds obvious now, but you have to remember that I have very little experience with analog circuits. So yeah, the resistor limits the current drawn by the speaker, at the cost of lowering the volume somewhat. But now the screen doesn't reset, and the volume was too loud for my tastes anyways.

    I think this was the last problem I was struggling with, and the next step is to bodge the remaining ten prototypes I have assembled and run a workshop with them, to see if the participants find any new and exciting problems. If they don't, and I will start looking into producing and selling them.

  • Menu Improvements

    deʃhipu08/18/2023 at 23:08 0 comments

    Today was a CircuitPython Day, so I wanted to celebrate it by working on a game. However, before I got to that, I decided to improve the game selection menu that I use on my consoles, so that you can keep individual games in subdirectories, together with all their asset files. The idea is simple: if a directory contains a python file named a certain way (I choose "code.py", so you can put the same files in a subdirectory to have them appear in the menu, or in the top directory, to have them run by default instead of the menu), it appears in the menu, and selecting it runs that file. I decided it's the responsibility of the game code itself to make sure it looks for the files in the right place, though I will add a helper function for that to the #Stage, a Tile and Sprite Engine, for convenience (Any suggestions on how it should be named?).

    It was a simple enough modification, but I immediately stumbled upon a problem. Turns out that CircuitPython doesn't reset the current working directory on reload – and reload is exactly how the menu starts the games, and how they go back to the menu. Not only it's not reset, but also if there is a file named "code.py" in the current working directory, it will be run at startup in place of the one in the top directory! That means that once you select a game, you will have to play it forever, because any attempt at reloading results in the game running again. Very annoying.

    So instead of working on a game I fixed that bug. And in the process I also found and fixed another bug, where the flash chip that I'm using on ugame22 is not properly supported on rp2040 boards. And then I decided that I should properly publish the design files for this console, and have the board definition merged into CircuitPython's tree, so that such regressions are caught by automatic testing. So you see, instead of working on the game I am standing on a pile of shaved yaks, but it still feels like I make some progress, so I can't complain.

    Oh, and by the way, version 2.3 is already in fabrication. I tested the sound on version 2.2 and it works great, however, when running on battery the speaker is taking so much current from the poor little batteries, that the voltage drops on them, the screen backlight dims, and sometimes even the screen itself resets. So in version 2.3 I added a boost converter circuit, so that the voltage from batteries is stabilized, and we can suck those puppies dry, until there is no single ion left in them.

    The space is getting a bit tight, though, so I hope that's all the additions I will need.

  • Version 2.2

    deʃhipu08/17/2023 at 16:18 0 comments

    I finished the EasyEDA version of the board a while ago, and I have sent the design files to JLCPCB for assembly. They arrived today, and I was quite surprised to see that they just work, without any problems or mistakes:

    Even the original laser-cut case fits, though the QWIIC socket is a bit of a tight fit in there.

    Encouraged by this, I proceeded to testing the battery power, and lo and behold, it works as well!

    Then came time for checking the sound. I completely changed this, got rid of the transistor driving the speaker, and instead used an I2S amplifier. And it works very well, and is pretty loud even at the lowest gain setting.

    There is however a slight problem with this when running on battery power. You see, the speaker is so loud, that it makes the battery voltage drop, which causes the backlight to dim and sometimes even the display – the only part that really needs 3V for power – will sometimes reset and show the white screen of death. That only happens with the loudest sound I have in my games – the explosion – but it is a problem.

    So what can I do with it? I will try and see if I can squeeze a boost converter circuit in there, to keep the battery voltage stable even when the poor little things are overloaded. It should also prolong the battery life, so yay. The problem is that I have never done this before, so I'm a bit worried how it will go. The datasheets seem to be simple enough, though.

  • Jumping Fritzing

    deʃhipu08/09/2023 at 11:15 1 comment

    There hasn't been much activity here, mostly because I didn't really know where to take this project. I don't want it to become my second job, designing, supporting and selling a shiny product, ready to use for people who don't want to contribute anything themselves, but I don't really have any better idea about how to get it into the hands of those who want to be creative with it. So I kinda let it float in limbo until I figure this out.

    The USB-C version worked very well, I'm going to keep that. But I think there is room for improvement in the power circuit, and the sound could use some work as well. So those are the things I need to work on next. I already have an I2S amplifier chip tested in a different project that I can use here, and I got the MOSFETs for doing the "ideal diode" circuit, and maybe also for the backlight control. Maybe I will even use the boost converter chips I got for testing, to make it run longer on the same batteries.

    As for distribution, I have decided to move the design from Fritzing to EasyEDA, so that you can order the PCB with assembly from JLCPCB with a single click. Hopefully this will let the people who want it to get it easily, while freeing me from having to sell it.

    So I'm basically re-doing the whole thing in EasyEDA now, also picking more easily sourced parts as I go. So far I only needed one custom footprint, for the display itself, but I think I will need to also modify the button footprint to make the pads a little bit shorter. Otherwise it's going well – a few more sleepless nights, and it should be finished.

    Oh, and as a bonus, there is a 3D render!

  • USB Type C

    deʃhipu11/19/2022 at 23:18 0 comments

    Today I bit the bullet, and designed a version of the µGame22 with a USB Type C socket. What finally convinced me was the fact that a prototype I gave out had its USB port brutally ripped out, probably because it was put in a bag with the plug still plugged in. The USB Type C socket is much sturdier, and the particular model I choose has through-hole mechanical mounting, so it should be really solid. The main thing that was stopping me from doing this before was the fact that there is no ready footprint in Fritzing for such a fancy part, and that making such a footprint stretches the capabilities of Fritzing pretty thin. Not only do you have to deal with elongated plated holes, but also it's an SMD part that is two-sided. I ended up making two separate parts, and placing them on the opposite sides of the PCB.

    Will the fab house accept this design? We will see on Monday. Will this work? We will see in two or three weeks, when the PCBs and parts arrive.

    Shout out to the nice people at Mastodon who helped me to simplify the routing and to get the resistors right!

  • Name Change

    deʃhipu09/06/2022 at 12:13 0 comments

    I decided to change the name of this project to µGame 22, as a continuation of #µGame. While it can run all the PewPew games, just like #PewPew M4, the goals of the project are different than that of the PewPew family of devices. It's not so much a cheap workshop accessory, as a nice and comfortable CircuitPython handheld.

  • Case Assembly

    deʃhipu09/03/2022 at 20:18 1 comment

    A few weeks ago I ordered custom transparent stickers for the backside of the front plate for the case, so that they would mask away a part of the display, but more importantly, also hold in place the button caps. They just got back to me with a proposition of a "design" they made from the files I have sent them, where they just took the image of the outline of the sticker I wanted, and printed it on the sticker as the image. Of course that is not acceptable, I didn't want them to design a sticker based on my graphics, I have sent them an already designed sticker to make. No response from them yet, but I fear that if it's going to be a few weeks for every back-and-forth, it's going to be faster to just cut the stickers from a scotch tape myself. So I did exactly that, and in the process documented how the case is assembled.

    We are going to be working with transparent surfaces, so I strongly recommend doing it in a dust-free environment, with the window closed, away from shedding pets, with freshly washed hands and cleaned tools. Any specks or hair that get inside the device are going to stay there and frustrate you forever.

    Start by peeling off the paper from the three smaller orange parts that are going to go on each side of the display.

    Place them on the PCB. I prefer to actually skip the tiny square part at this point, and add it later, because it's very easy to drop and lose it.

    Next, peel the paper from the back side of the front plate, and from the back sides of the button caps. You can keep the paper on the front side, and only peel it off at the end, when the device is complete.

    Now place the button caps in the corresponding holes, and secure them in place with small strips of sticky tape. Make sure to only secure them on one side, so they can still move. Be careful when placing the cross button cap, to place it in correct orientation - it's slightly wider than its height.

    Now peel off the protective film from the display. Be careful not to touch it.

    Place the PCB face-down on the front plate, making sure the two orange parts are in place and aligned. Put in the first two screws at the opposite corners.

    Tighten the screws very gently and slowly. They are self-tapping ans slightly larger than the holes in the front plate, so if you use too much force, the front plate may crack. Next put in place the small square part, and tighten the corresponding screw.

    Finish by tightening all the remaining screws. Remember to go slowly and gently, as to not crack the front plate. They don't have to be very tight, just enough to hold the plate in place.

    Finally, flip the device, and remove the paper from the front and the buttons. You are done.

    The screws on the photos are prototype screws I had at hand. The final design will use black screws with a smaller and sunken head.

  • Second Version Assembled

    deʃhipu08/29/2022 at 18:56 0 comments

    Just a quick photo for now. The PCBs arrived, and I assembled the second version. So far it seems fine. Later I will test the rest.

  • Second Version

    deʃhipu08/26/2022 at 13:28 0 comments

    The second version of the PCB and case just left the @Elecrow fab and should arrive here early next week.

    I made the following improvements:

    • Added a qwiic connector, so you can extend it with sensors. I decided against having a 12-pin connector like in all the other PewPews, because this is mostly supposed to be for the games, but I still wanted an easy way to connect things.
    • Proper footprint for the kind of crystal oscillator that I have.
    • Swapped places of the USB and speaker, I think it's better when the USB plug is further from the edge.
    • Fixed the short on the speaker.
    • Moved the reset and boot jumpers to the back of the device, so that you have access to them with the case on.
    • Added vias on the SWD and SWC pins, so you can access them for debugging.
    • Added a cutout for the switch, and moved the switch deeper, so it no longer sticks out of the device's outline.
    • Used smaller holes on the front plate, so it should work with the nice black screws I have.
    • Rounded the edges on the case elements.
    • Added a coutout for the qwiic connector.
    • Moved the labels for the buttons to make them more visible.

    Overall, it's all small changes, but they make the device a little bit more convenient and nice. I considered switching to USB-C connector, but I couldn't be bothered preparing the footprint for it.

View all 11 project logs

Enjoy this project?

Share

Discussions

Similar Projects

Does this project spark your interest?

Become a member to follow this project and never miss any updates