 gedm-dev
After converting the G-EDM to a full 3 Axis EDM CNC it was time to create the first GCode.
The CAM software of choice was GRBL-Plotter. A nice and feature rich software that provides everything it needs to create 2D jobs.
Check out the link for more details about GRBL-Plotter:
https://grbl-plotter.de/?setlang=en
Sadly it is only available for windows and I had to install a virtual windows machine with Virtualbox since I'm a pure Linuxuser.
After changing a few setting the first GCode was easily created. I decided to use M3 and M4 commands to move the Z axis up and down. Those commands are normally used to enable and disable a laser.
GRBL-Plotter makes this easy as it allows customization of those commands.
But the GCode wasn't running and this turned out to become a new challenge. First I learned that my understanding of the machine coordinate system was slightly wrong. And also that there is something called workspace coordinate system on top of the machine coordinate system.
Also the concept of negative space was confusing and I still don't like it. It seems to be the result of some misunderstanding in the past and just never changed:
A good read about it can be found here:
https://openbuilds.com/threads/confused-about-homing-machine-position-zeroing-etc.6848/

After changing the code the axes moved like it is expected from GRBL. Positive values move the X table to the left, the Y table towards the operator and Z up.
The next step is to define the workspace zero position. This is done through probing the work piece. I'm currently implementing the routines that will allow manual and automatic probing.
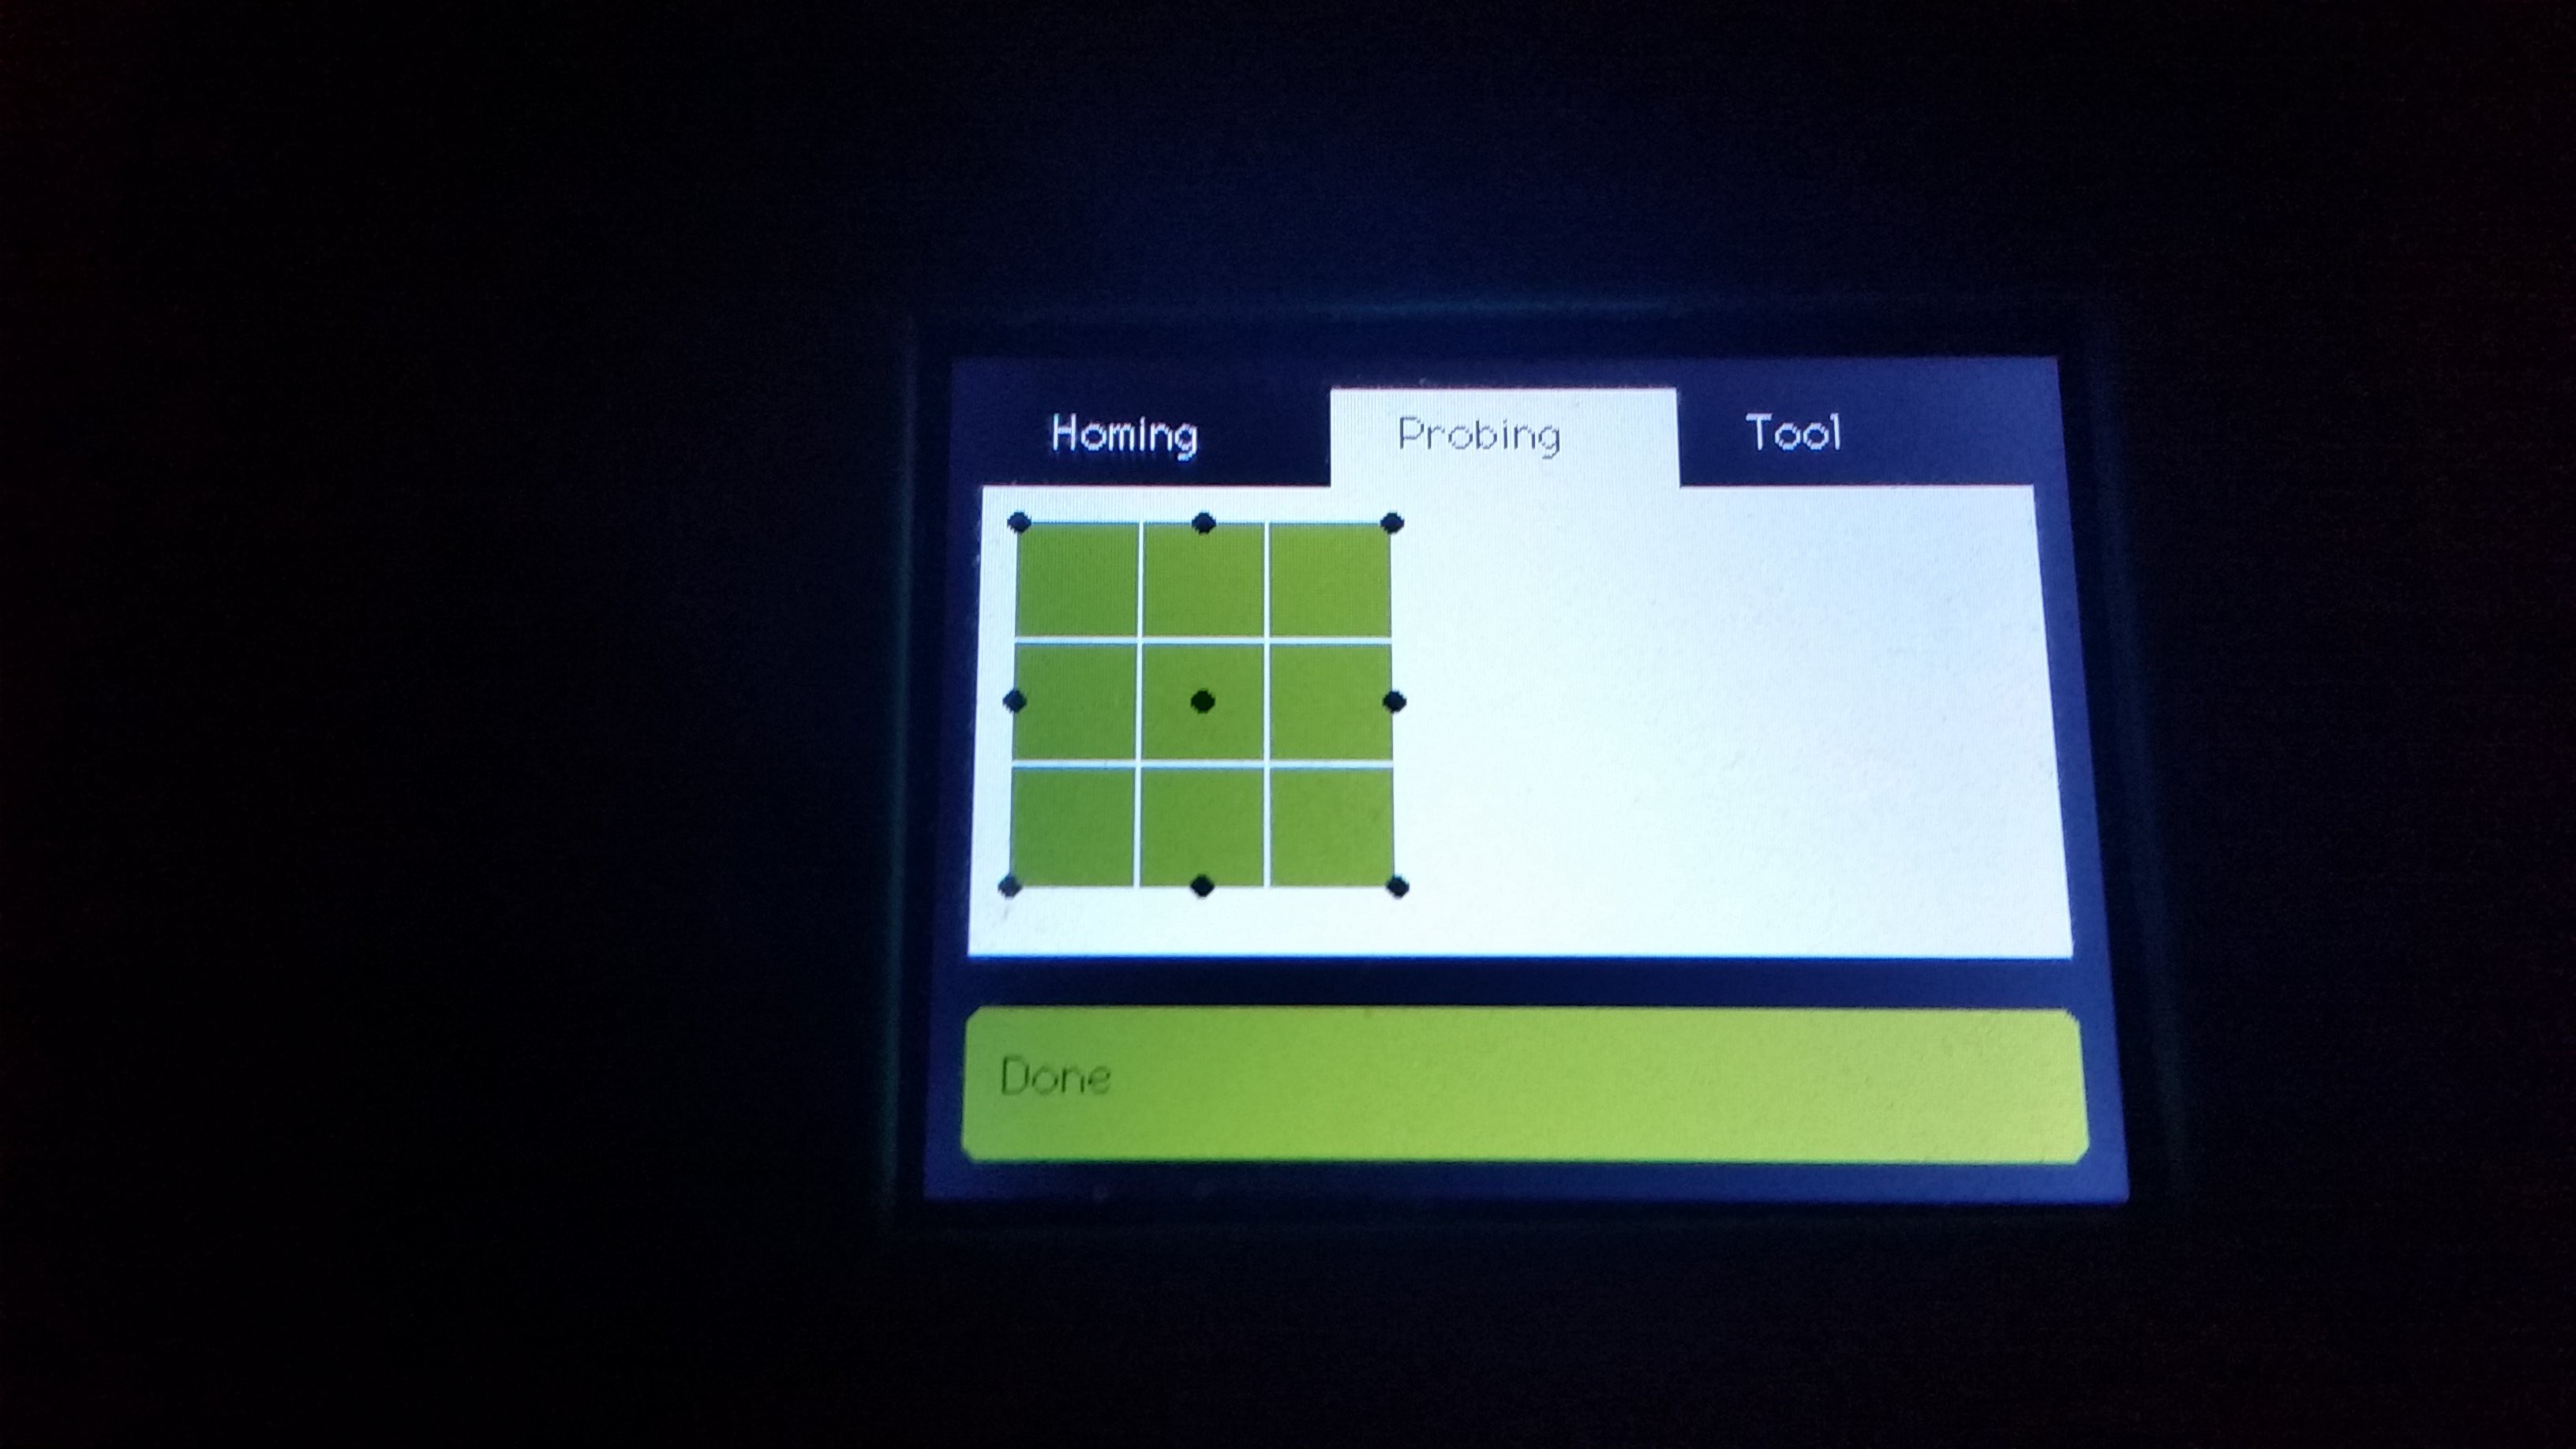
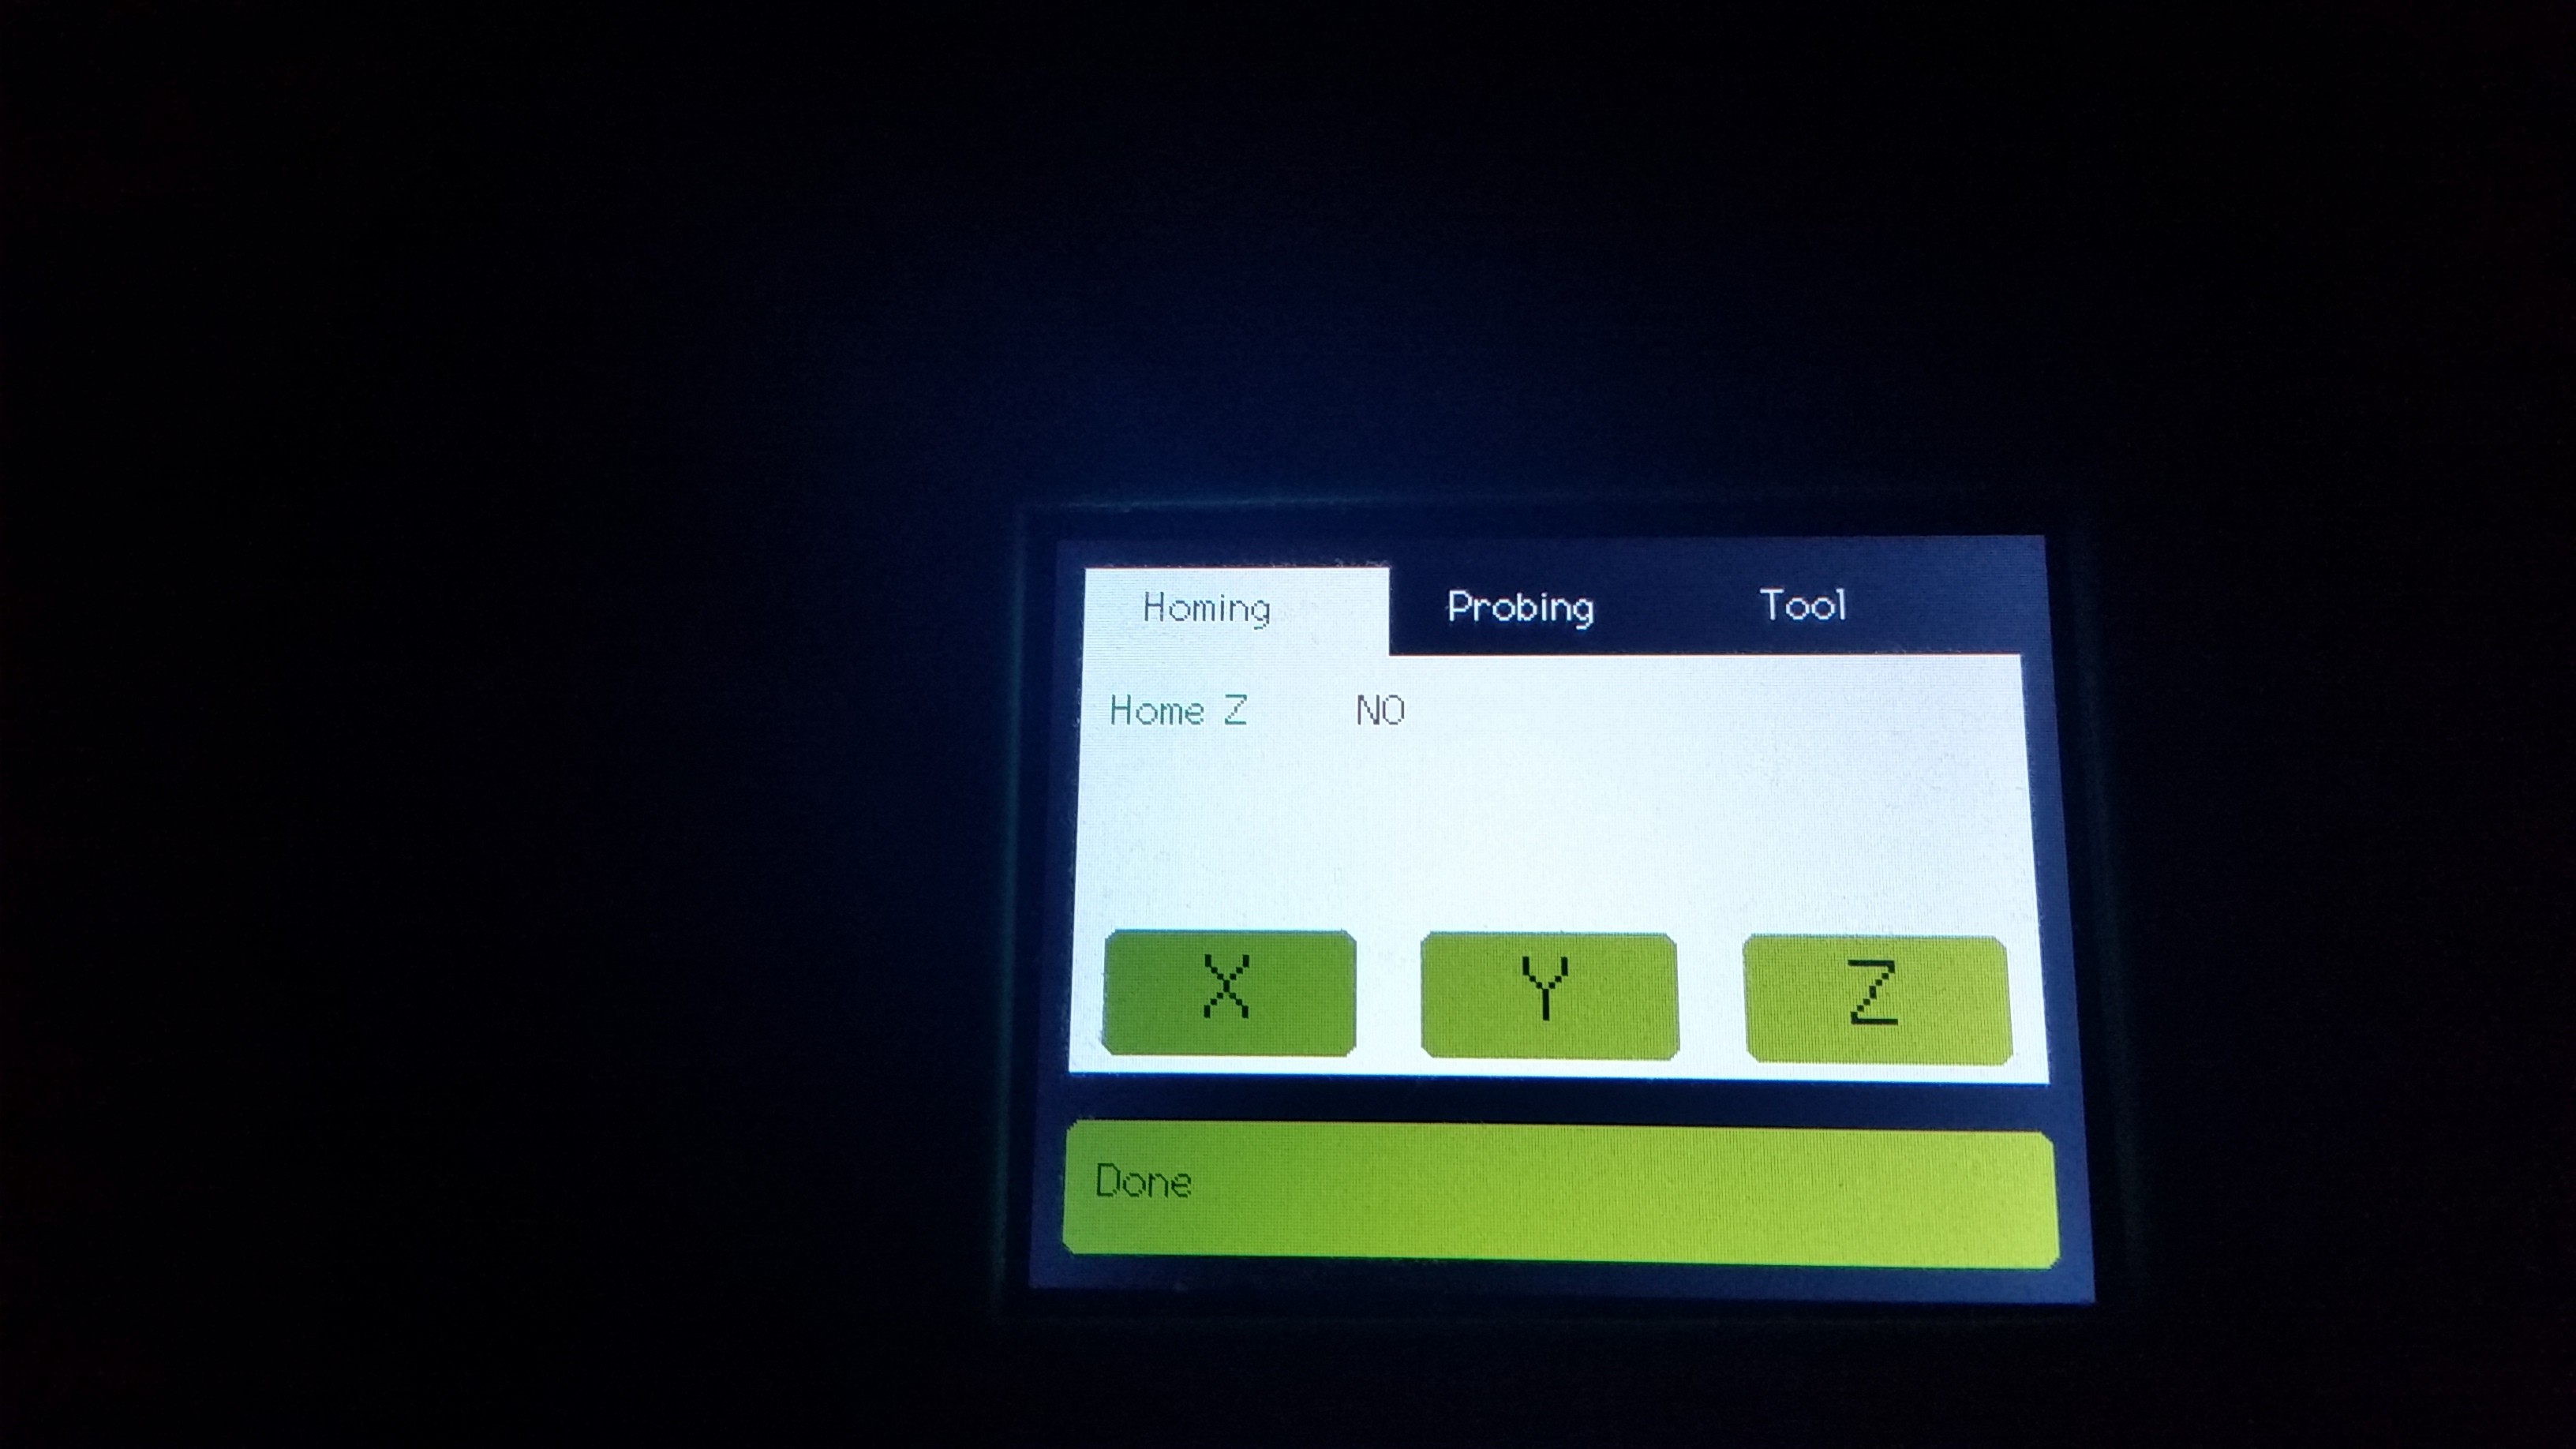
The small display doesn't provide much room to get everything on a single page so the page used for homing, probing needed a small makeover.
A homing tab, a probing tab and a tool tab was added. The tool tab allows to set the tool diameter that is needed after probing to get the real zero position.
And instead of using a fixed probe point like for example the back left corner it will allow all common probing points.

Discussions
Become a Hackaday.io Member
Create an account to leave a comment. Already have an account? Log In.