We all do it. Leave our laundry in the washer or dryer wayyy after the machine is done (and the clothes get smelly). The machine has a chime when the cycle finished, but if you dont grab the laundry immediately, you forget about it and it sits there forever.
It was a significant life improvement when I made our washing machine IoT connected to Home Assistant. There are multiple YouTube videos out there on how to make your washing machine IoT using just a smart plug, power monitoring thresholds and some timing checks. I then set the system up to send Signal messages (using signal-cli) to my wife and I when the washer was done.
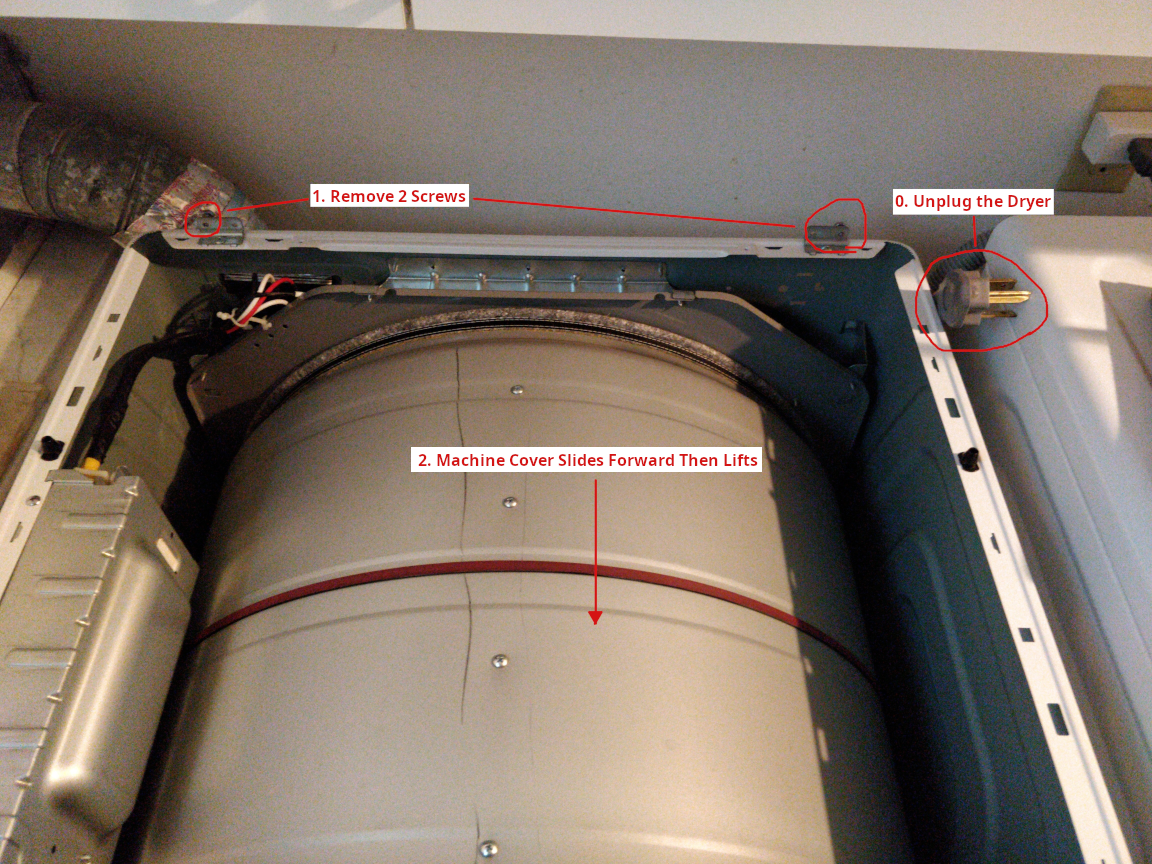
But, because the dryer is 240V, you cant just buy off-the-shelf smart plugs for them. This makes it more difficult to automate. But I was determined to make it work, so I tore the dryer apart.
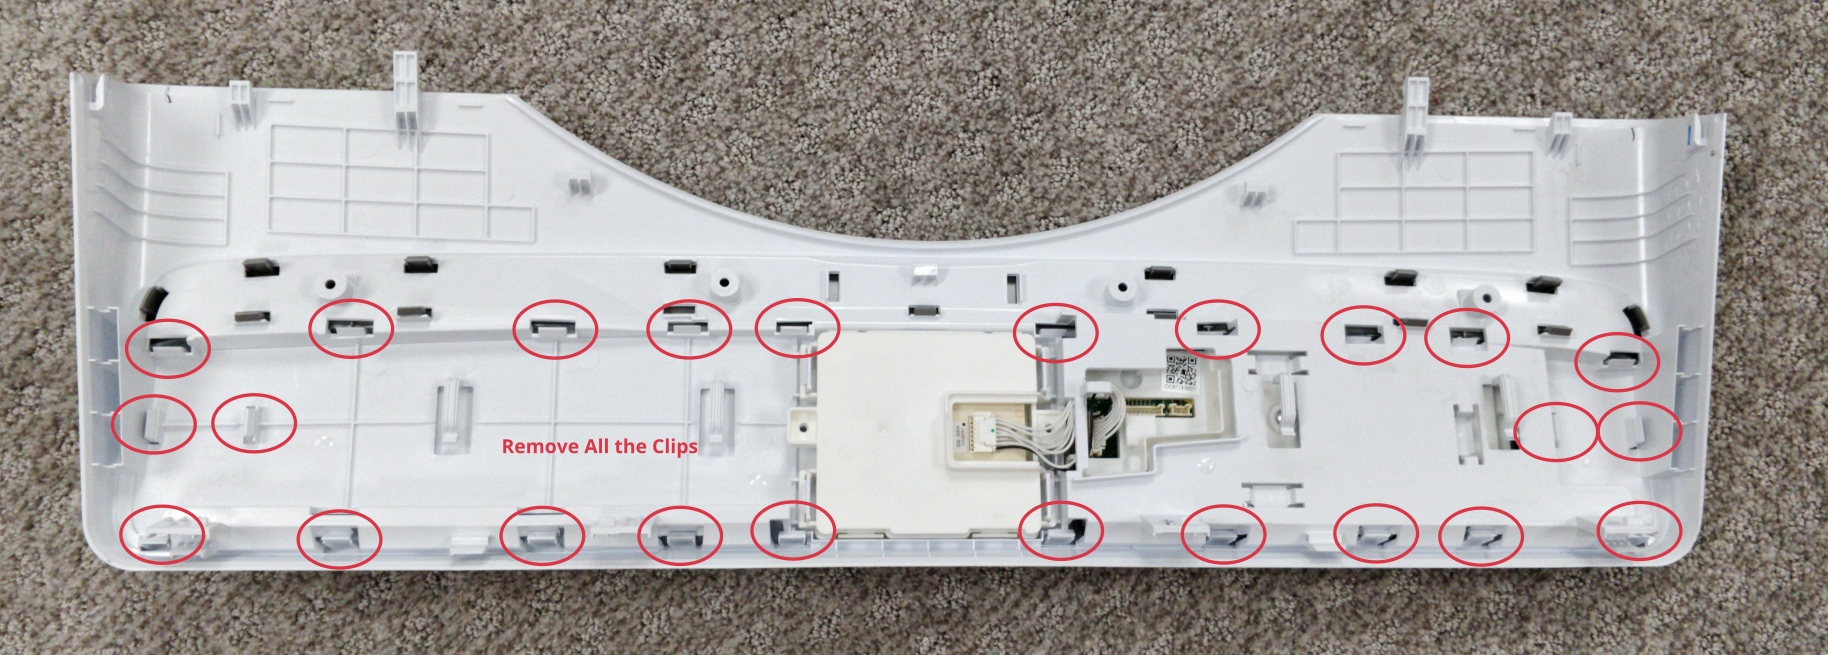
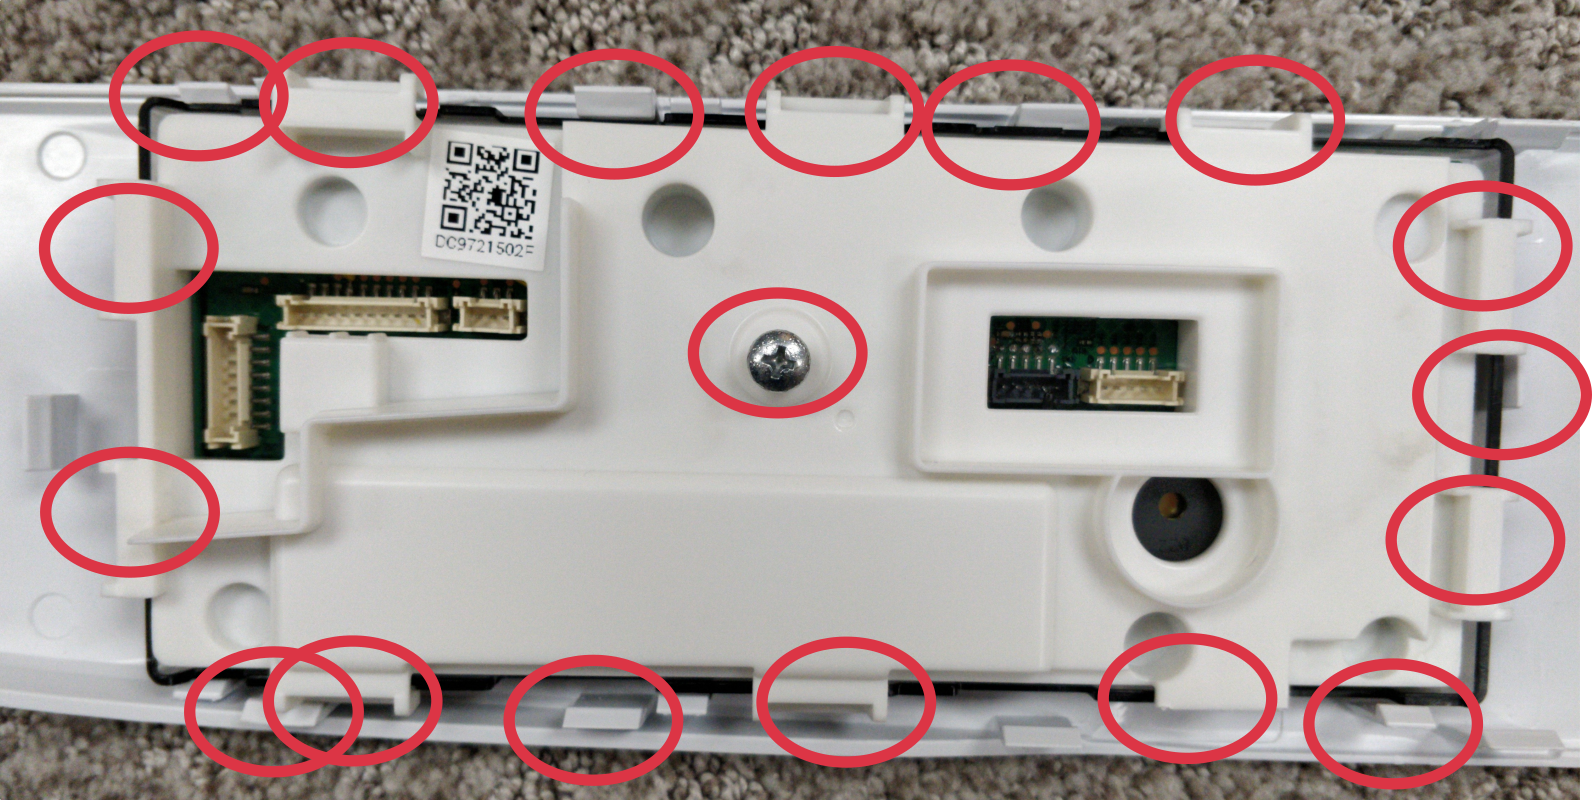
After some reverse engineering, I found out that the front control panel board is kinda just a dumb board that watches the status of the buttons and sends the status back to a main controller (somewhere else in the dryer) via UART at 38400 baud. This UART is continuously transmitting, even when the machine is off. The dryer main power is 12 VDC and the control board runs at 5V.
By connecting up an ESP8266, I was able to continuously monitor the UART and react to specific messages. I captured a message when the board is first turned on and another when it is first turned off. Then I created an ESPHome image with a Custom UART Component which was a Binary Sensor that just updates its state when the UART receives those specific messages.
With that, I now have an IoT Samsung Dryer without having to mess around with 240V 50A circuits. See the instructions for details.


 willbaden
 Cody
Cody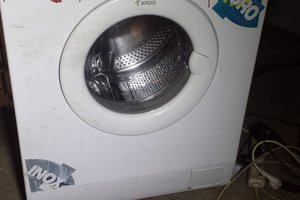
 Jakub Laník
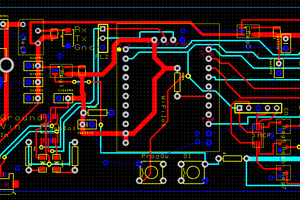
 unfoundbug