 Jamie Matthews
-
1The 3D Printed Enclosure:
All the enclosure components are designed with Fusion 360 and I have included all the files necessary and also the design files so you can alter it to your needs.
To keep the part list needed down all the components are 3D printed this includes a fully 3D printed passive radiator with TPU filament to aid with the low frequencies.
The enclosure was designed so that it does not require any supports in order to use the absolute minimum material with no waste.
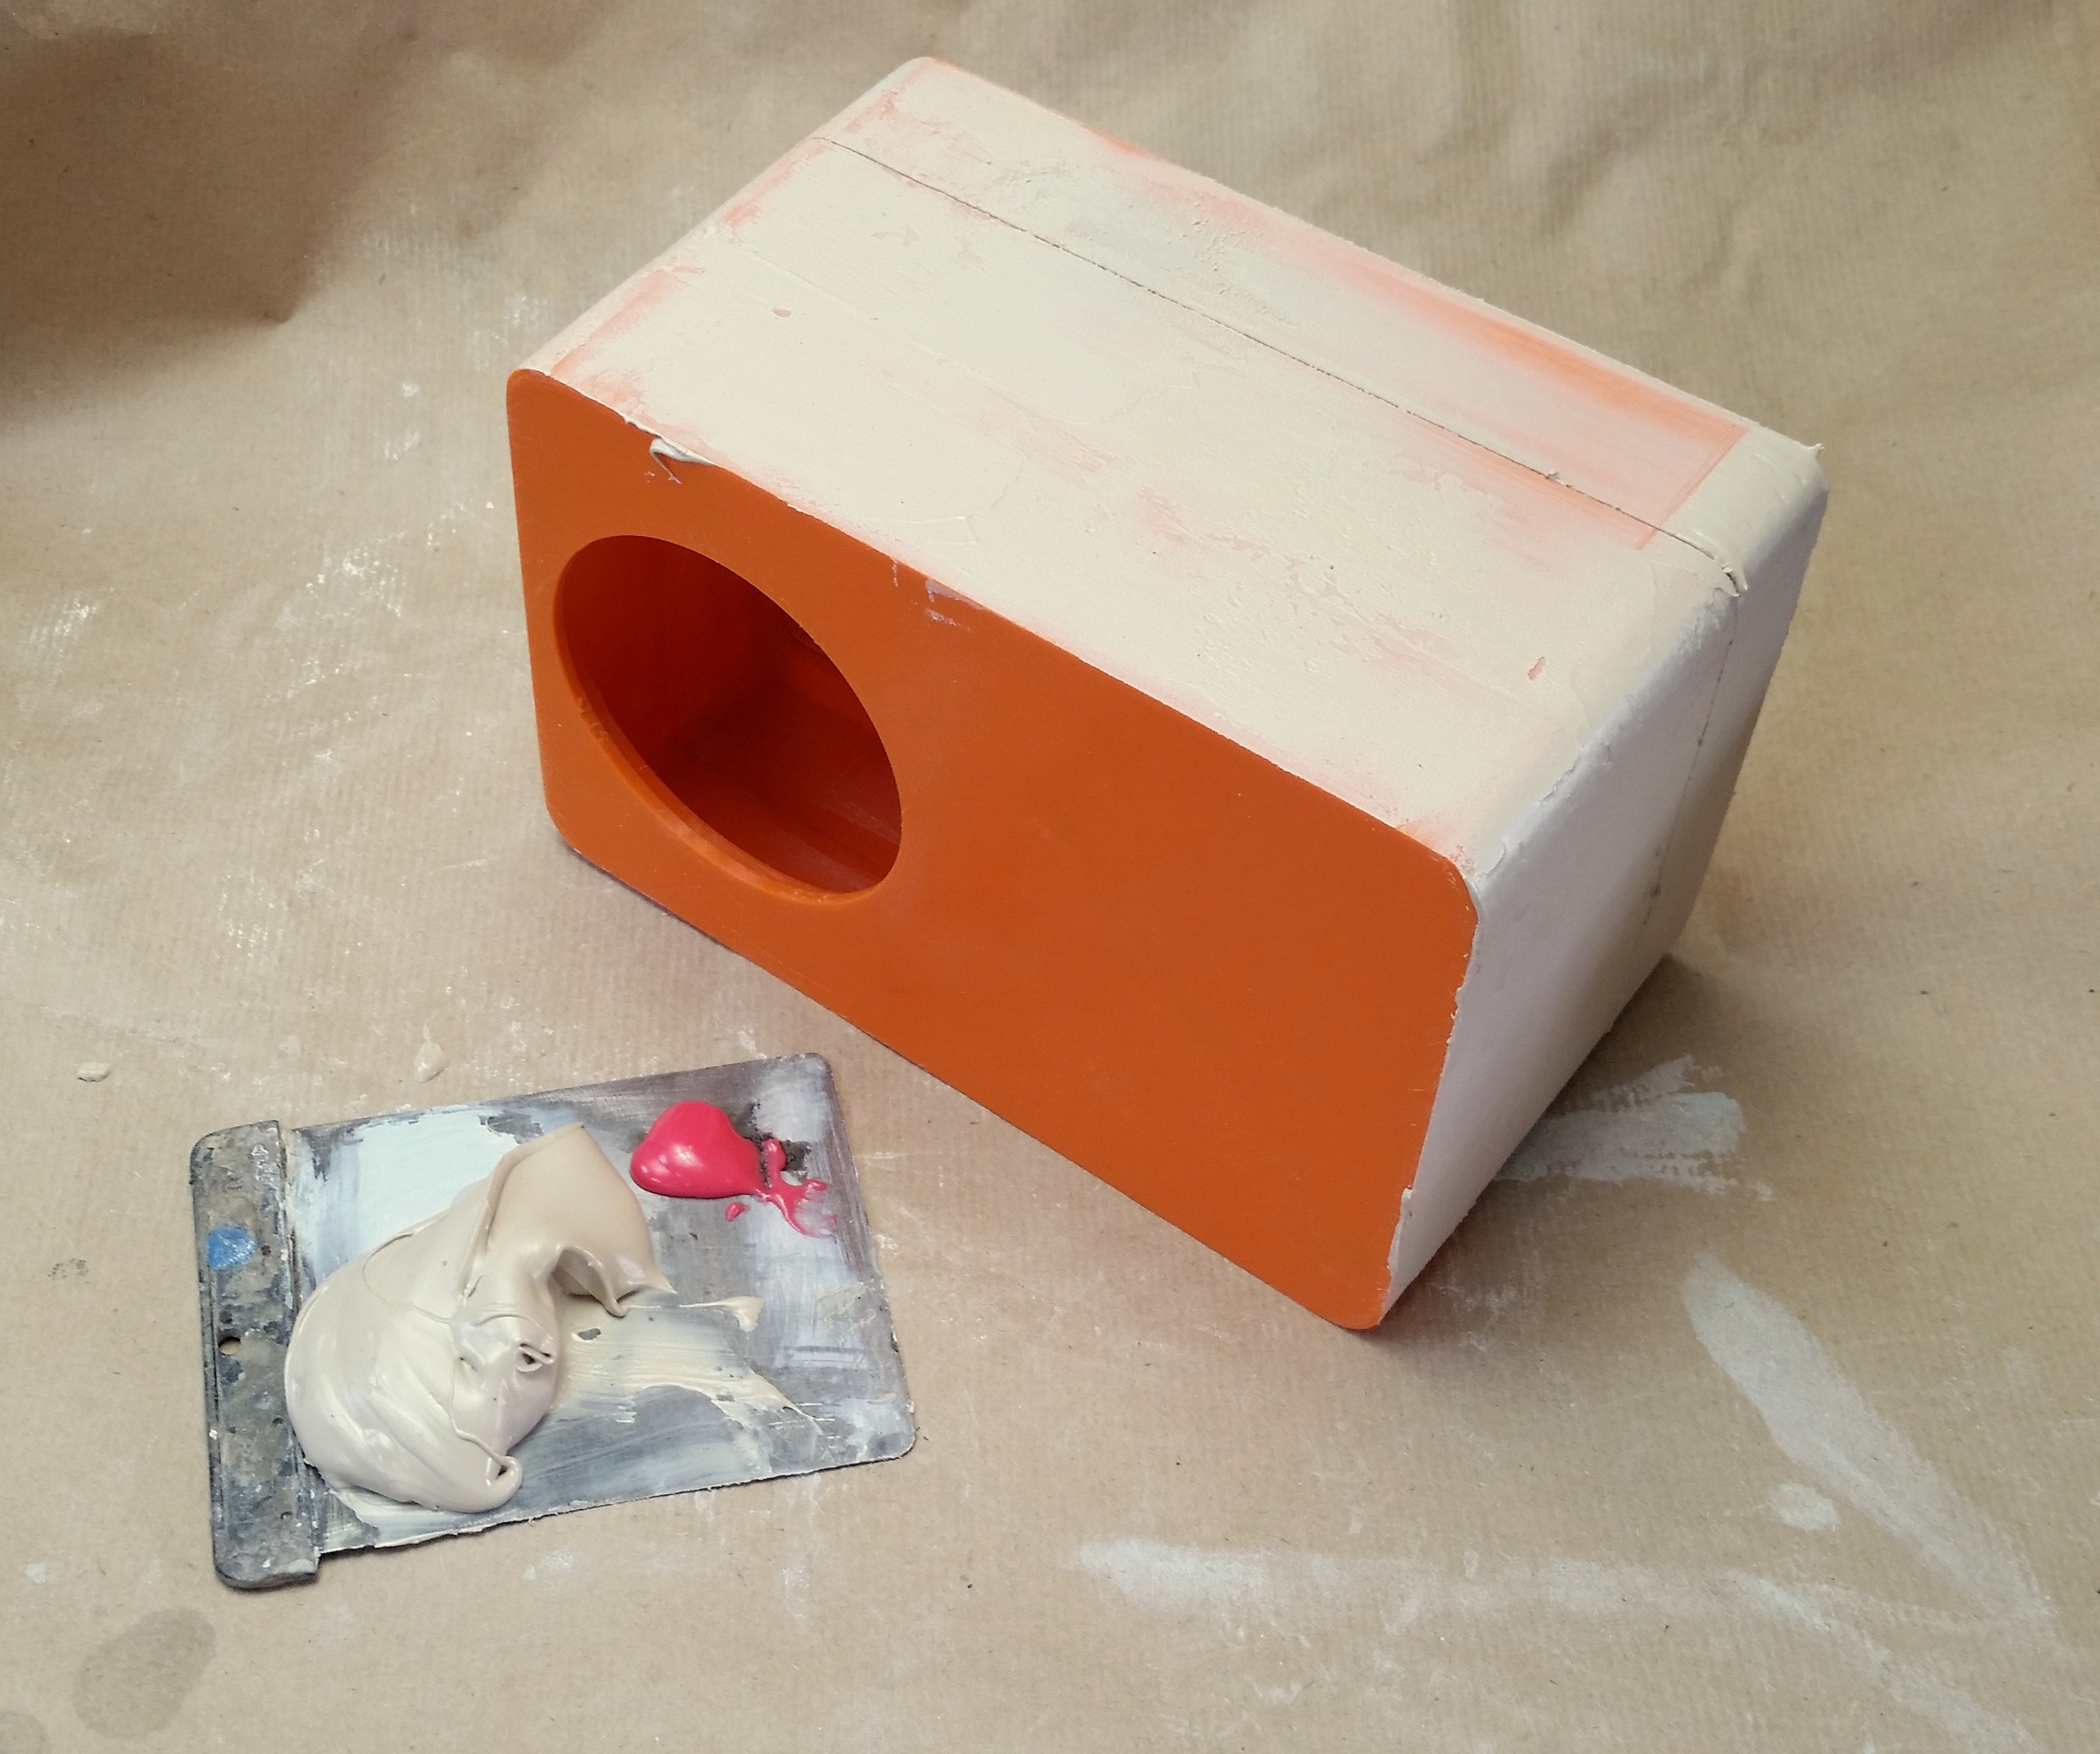
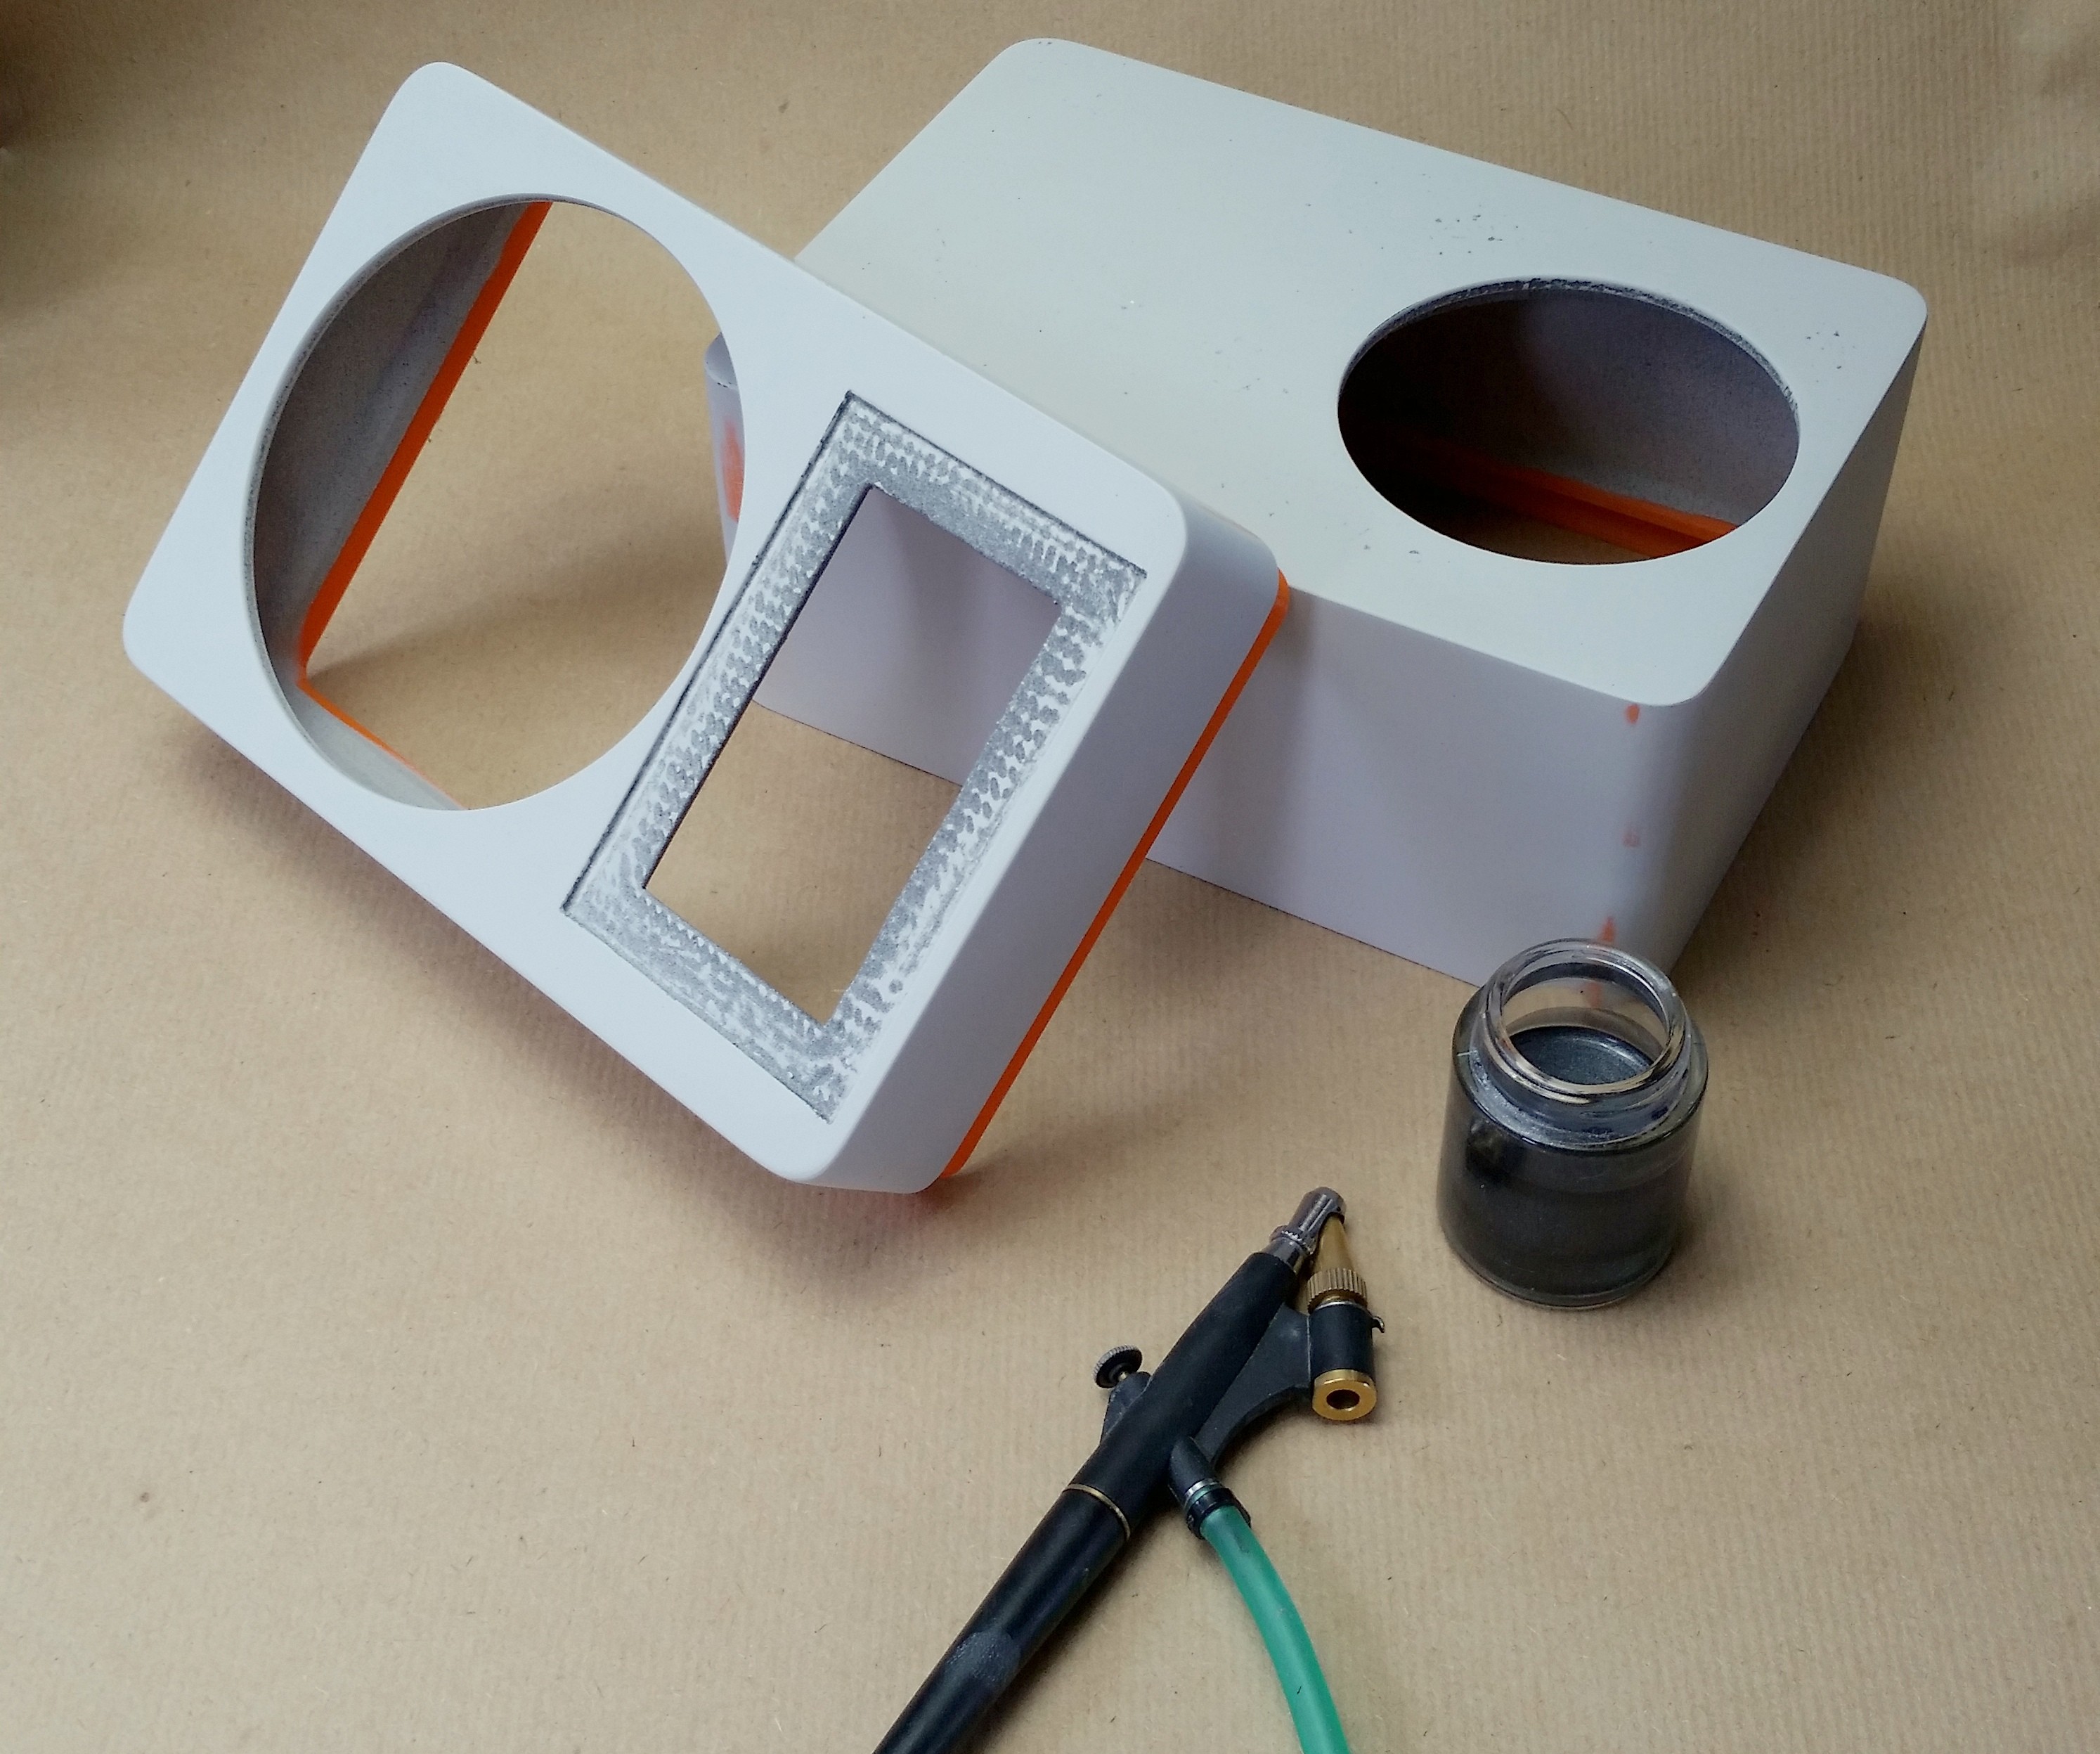
To give the enclosure a more premium look I sanded the entire box with some 80 grit sanding paper to get rid of any imperfections before applying Bondo filler before priming the case.
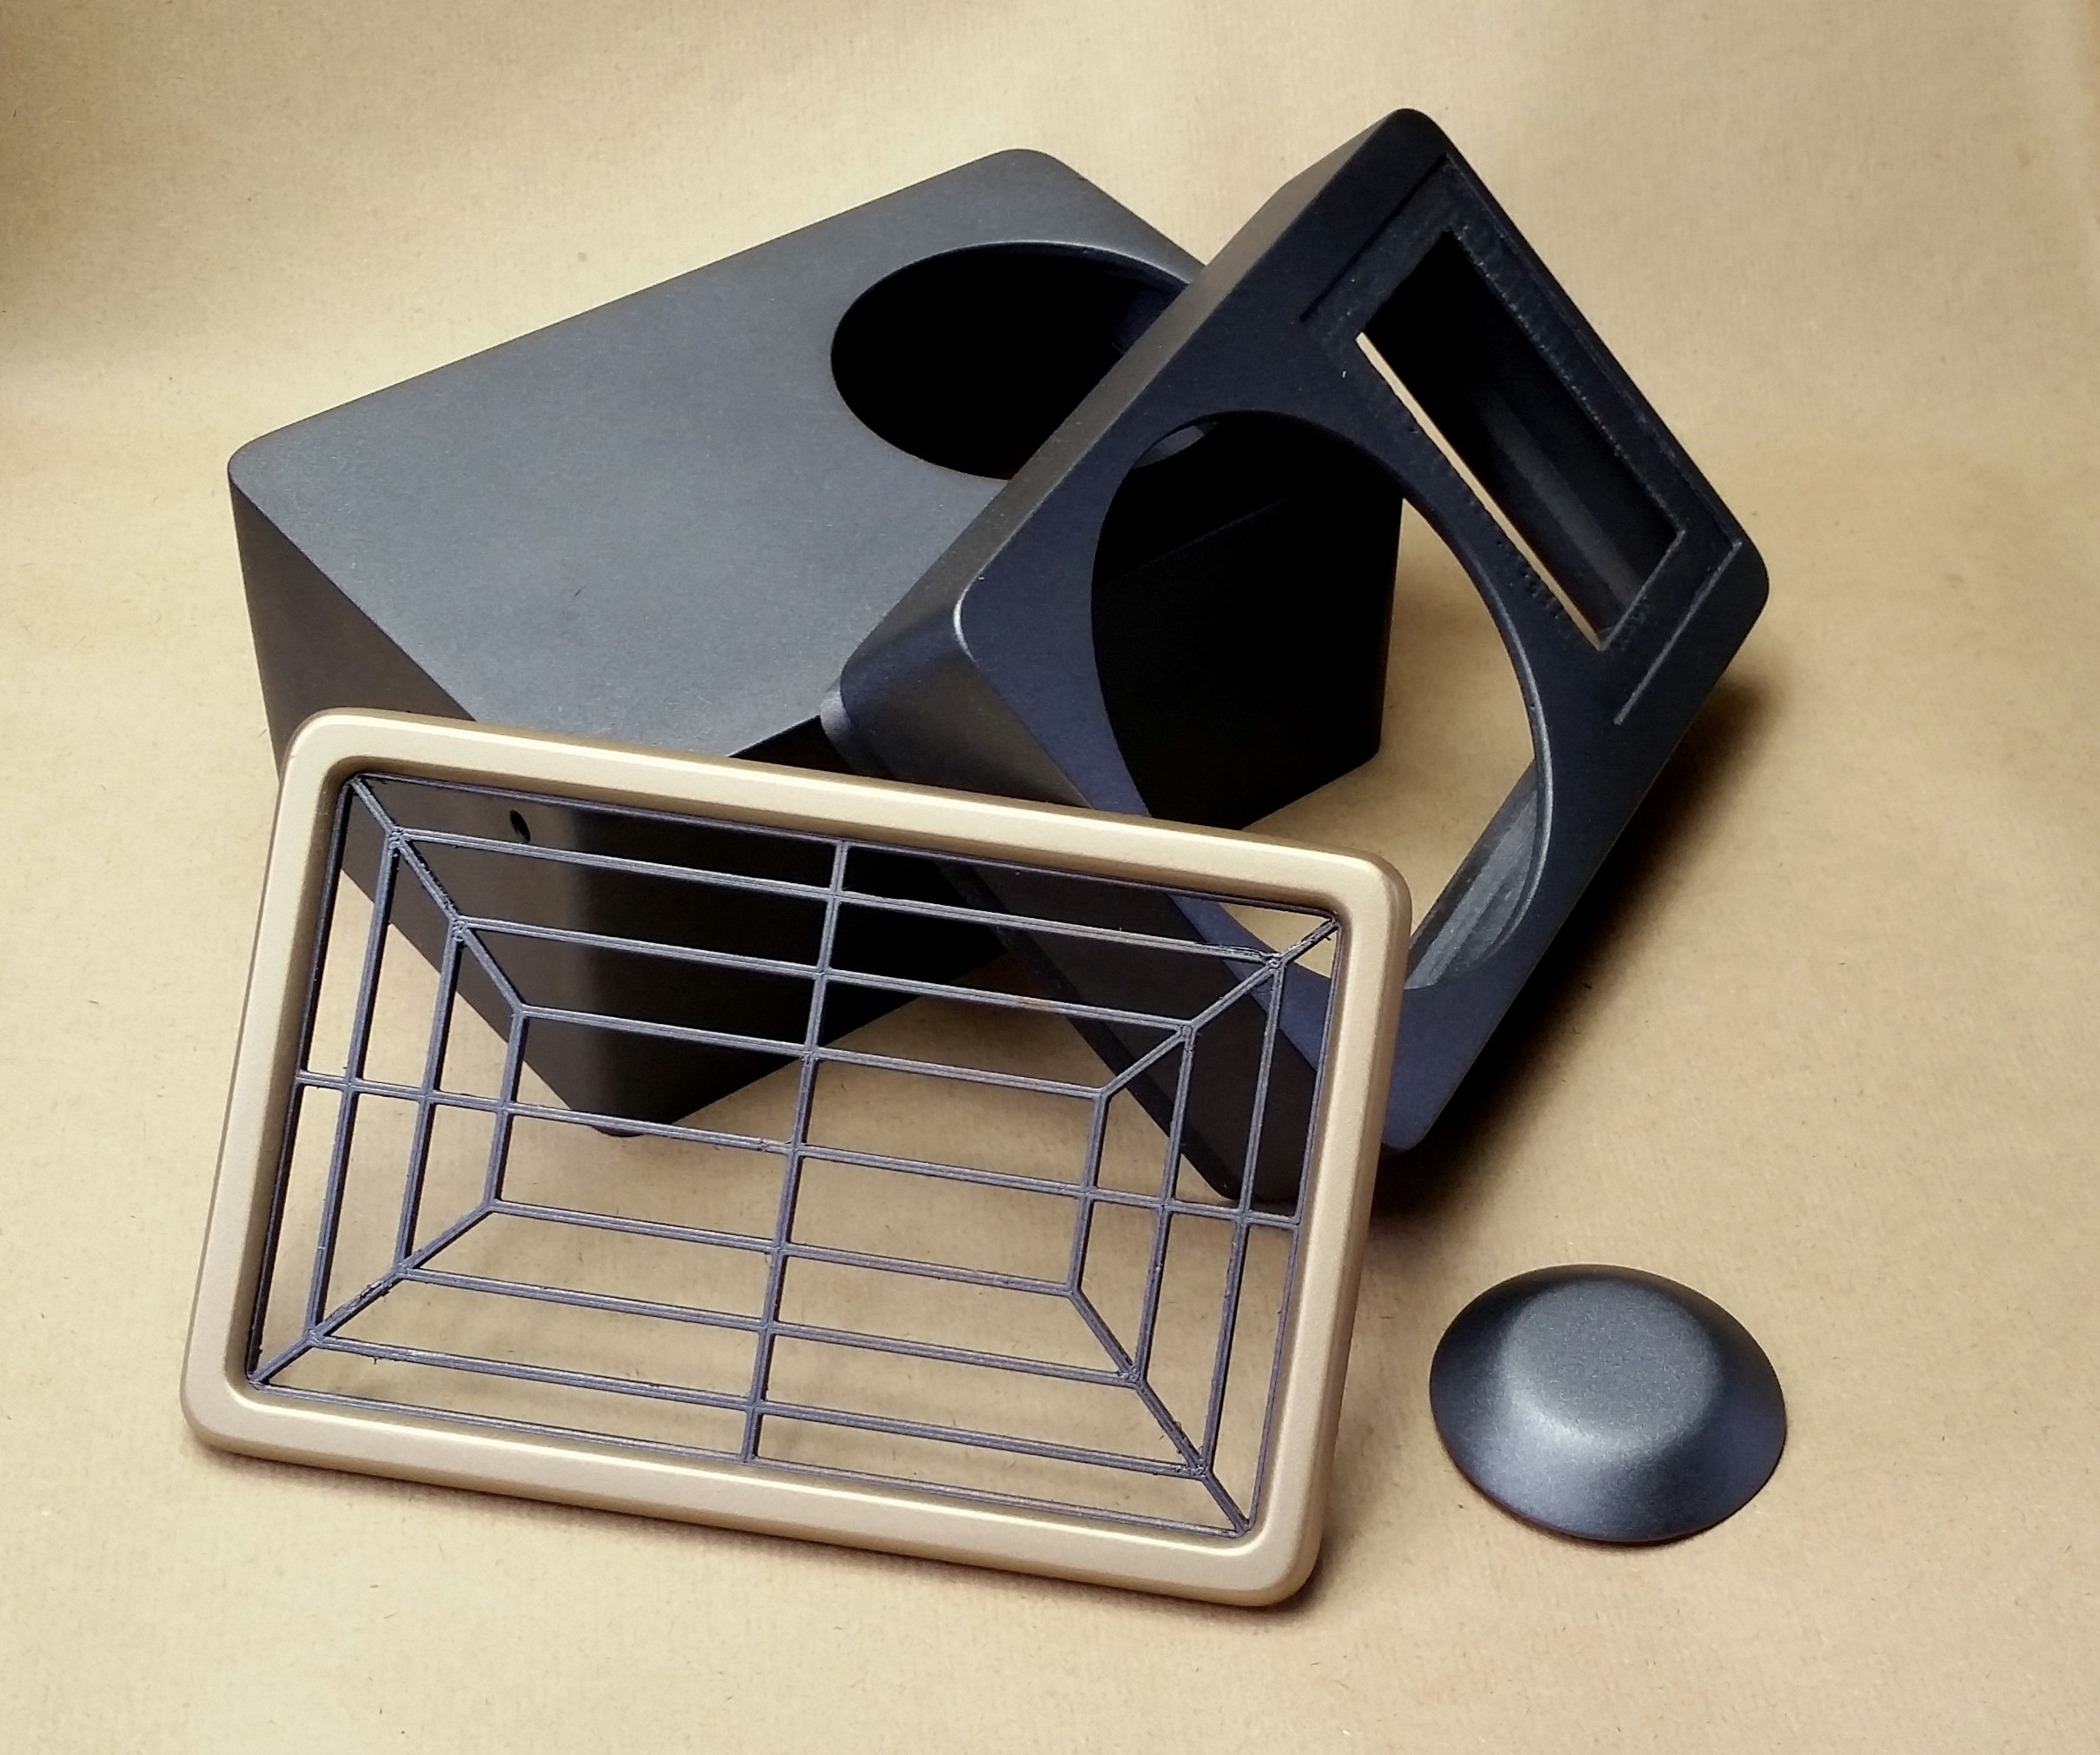
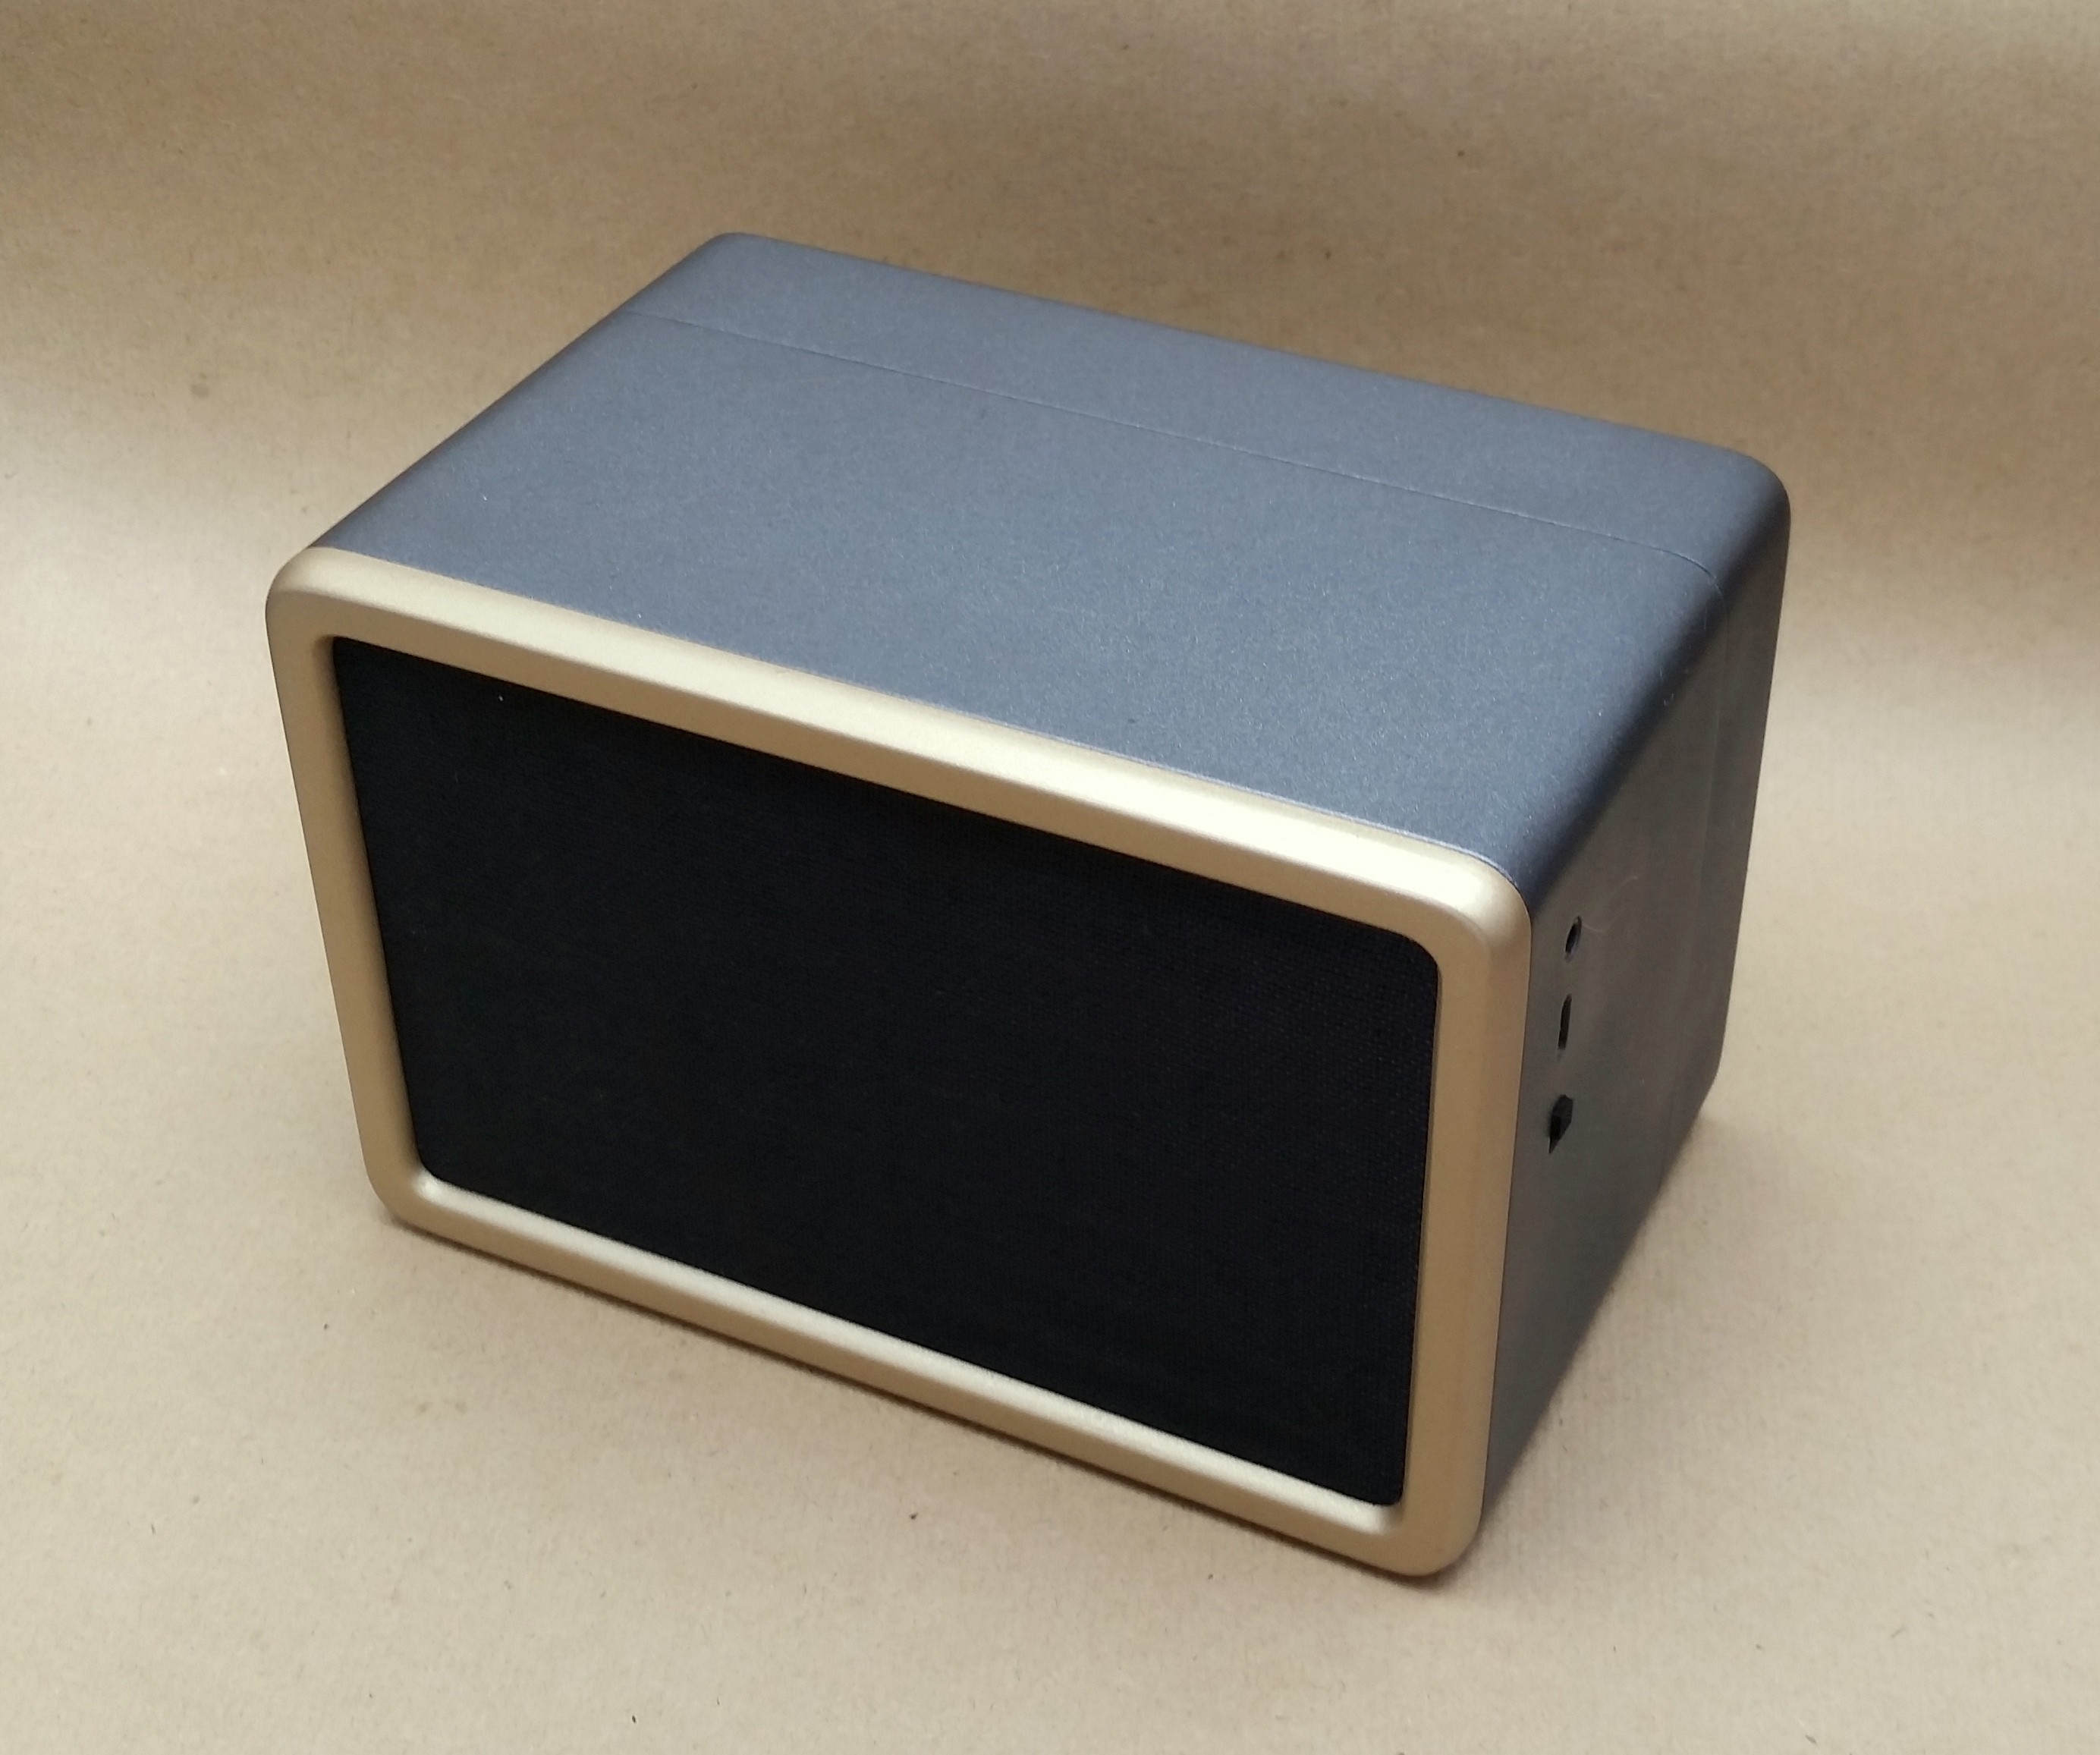
After sanding the primer smooth with 400 grit sanding paper wetted with soapy water I wiped all the parts clean and applied matt graphite gray paint to all of the main components and a matt gold to the front bezel.
-
2Assembling The Speaker:
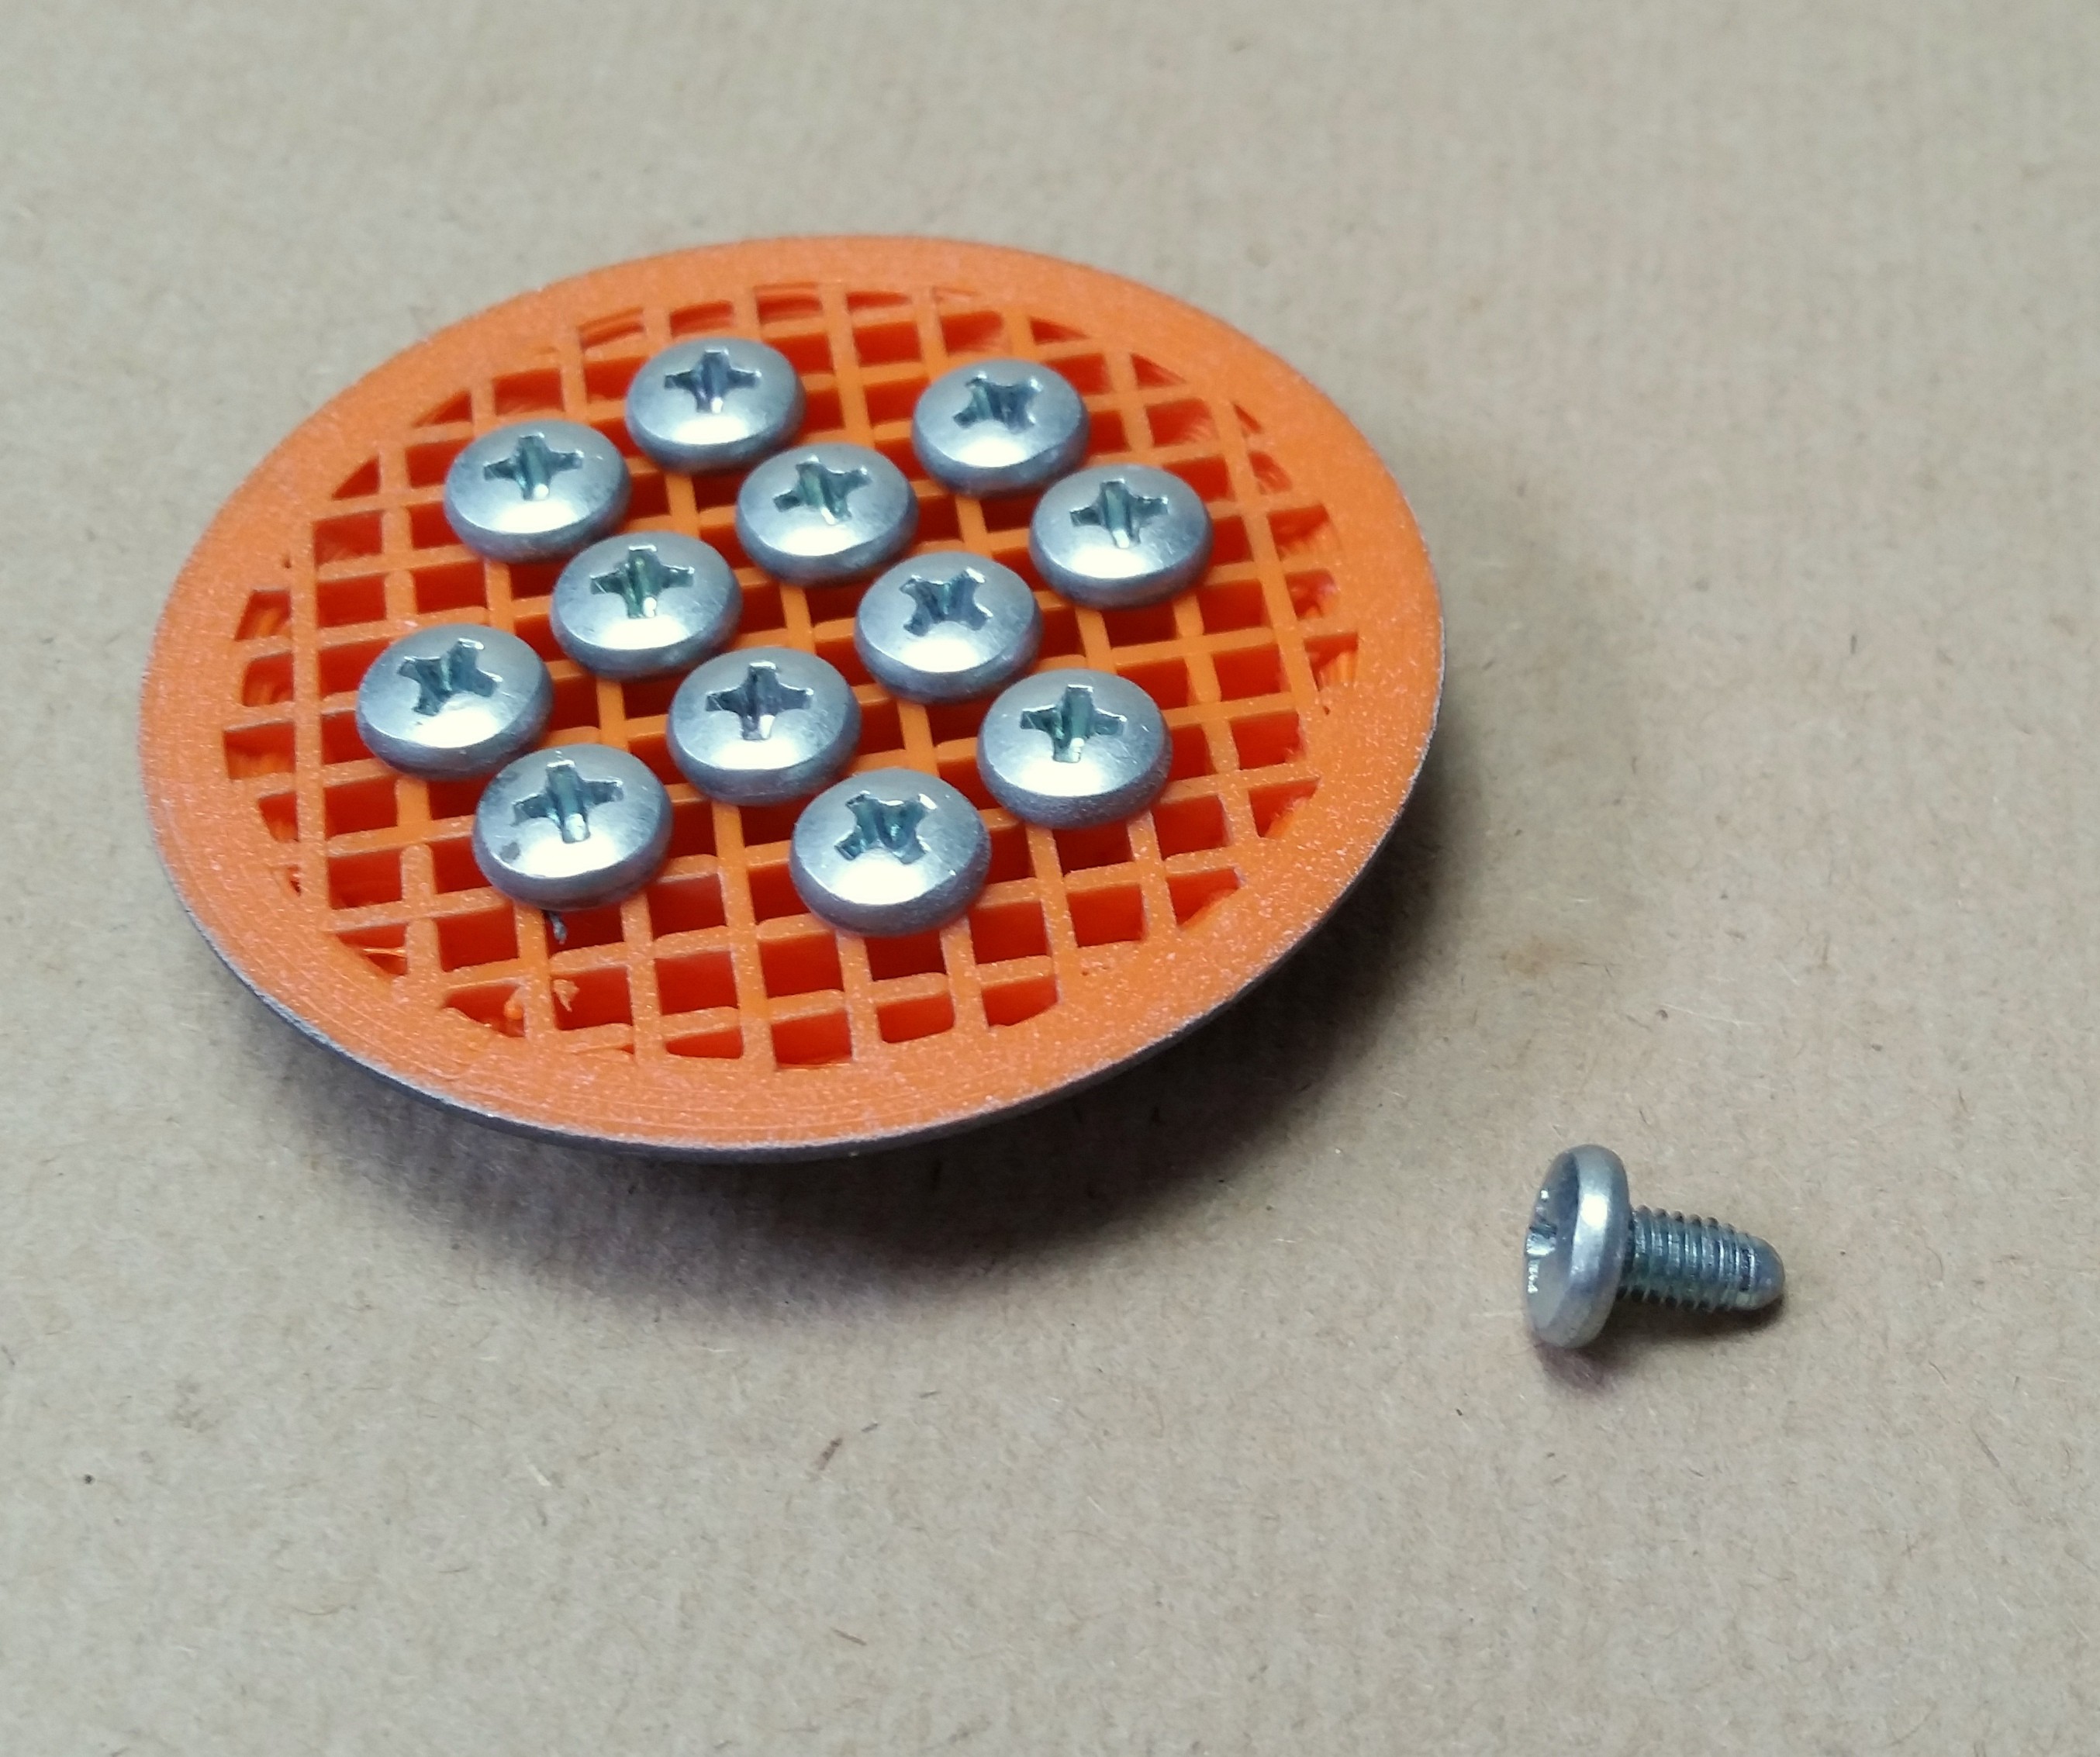
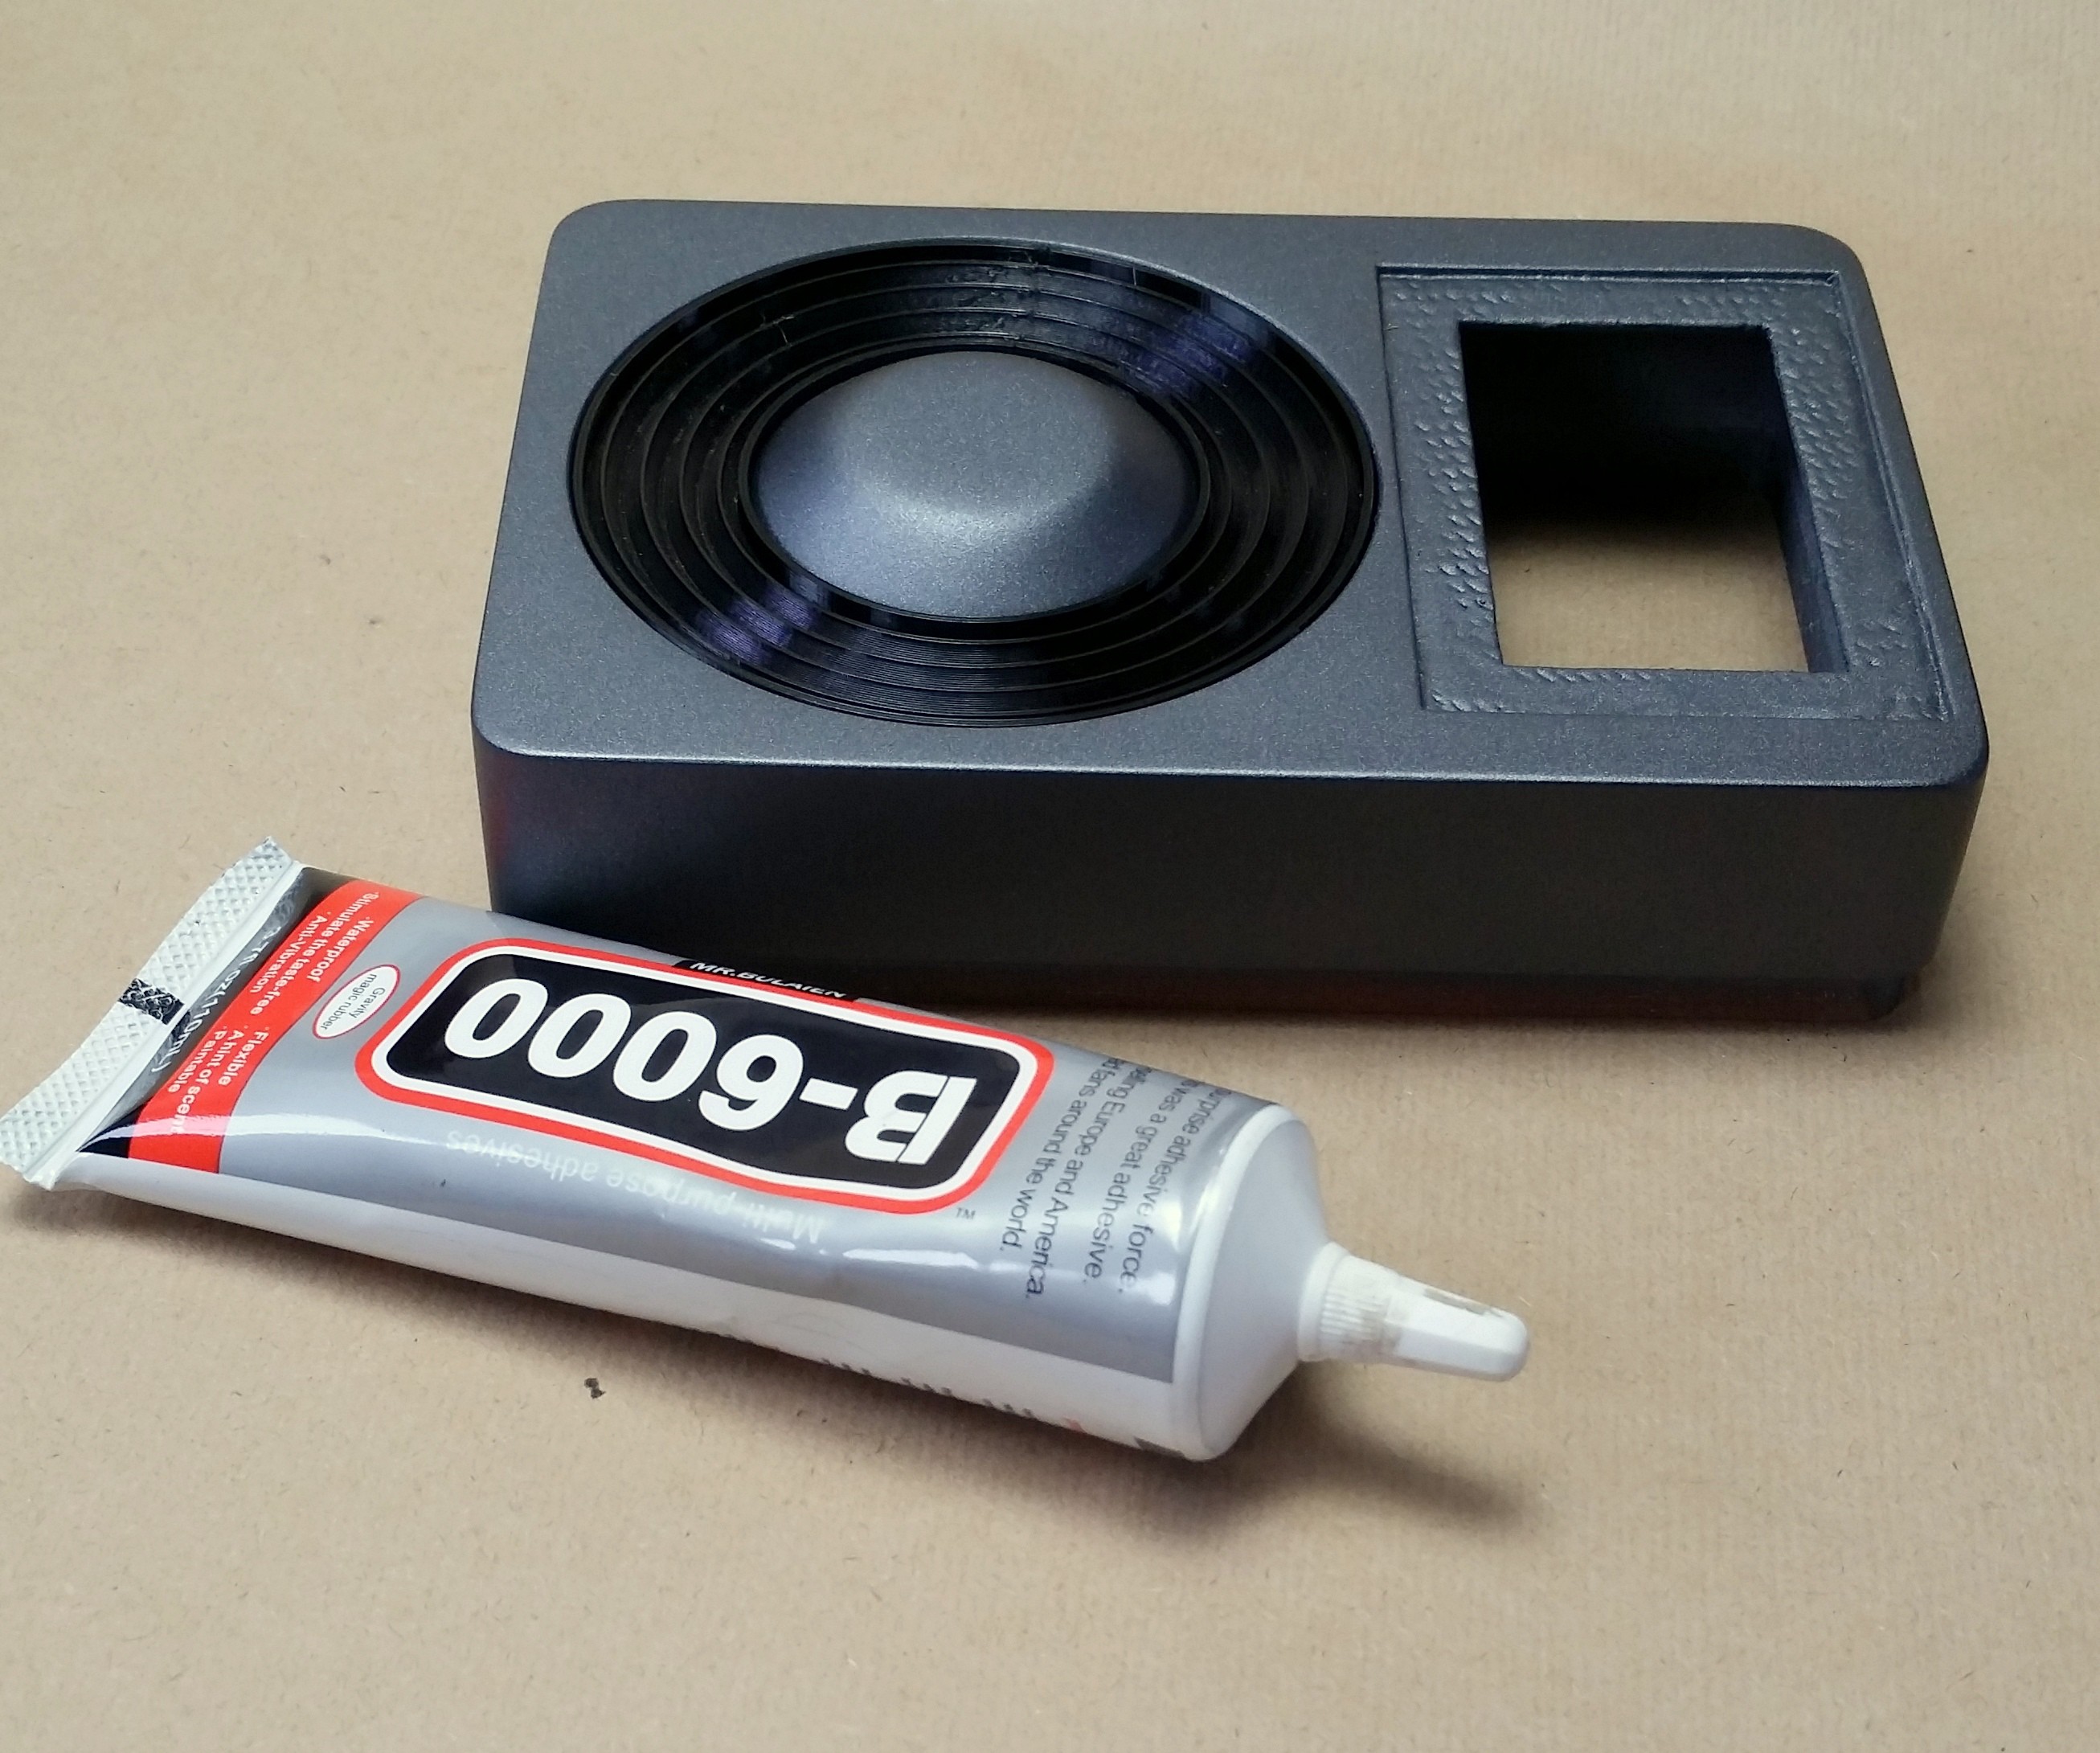
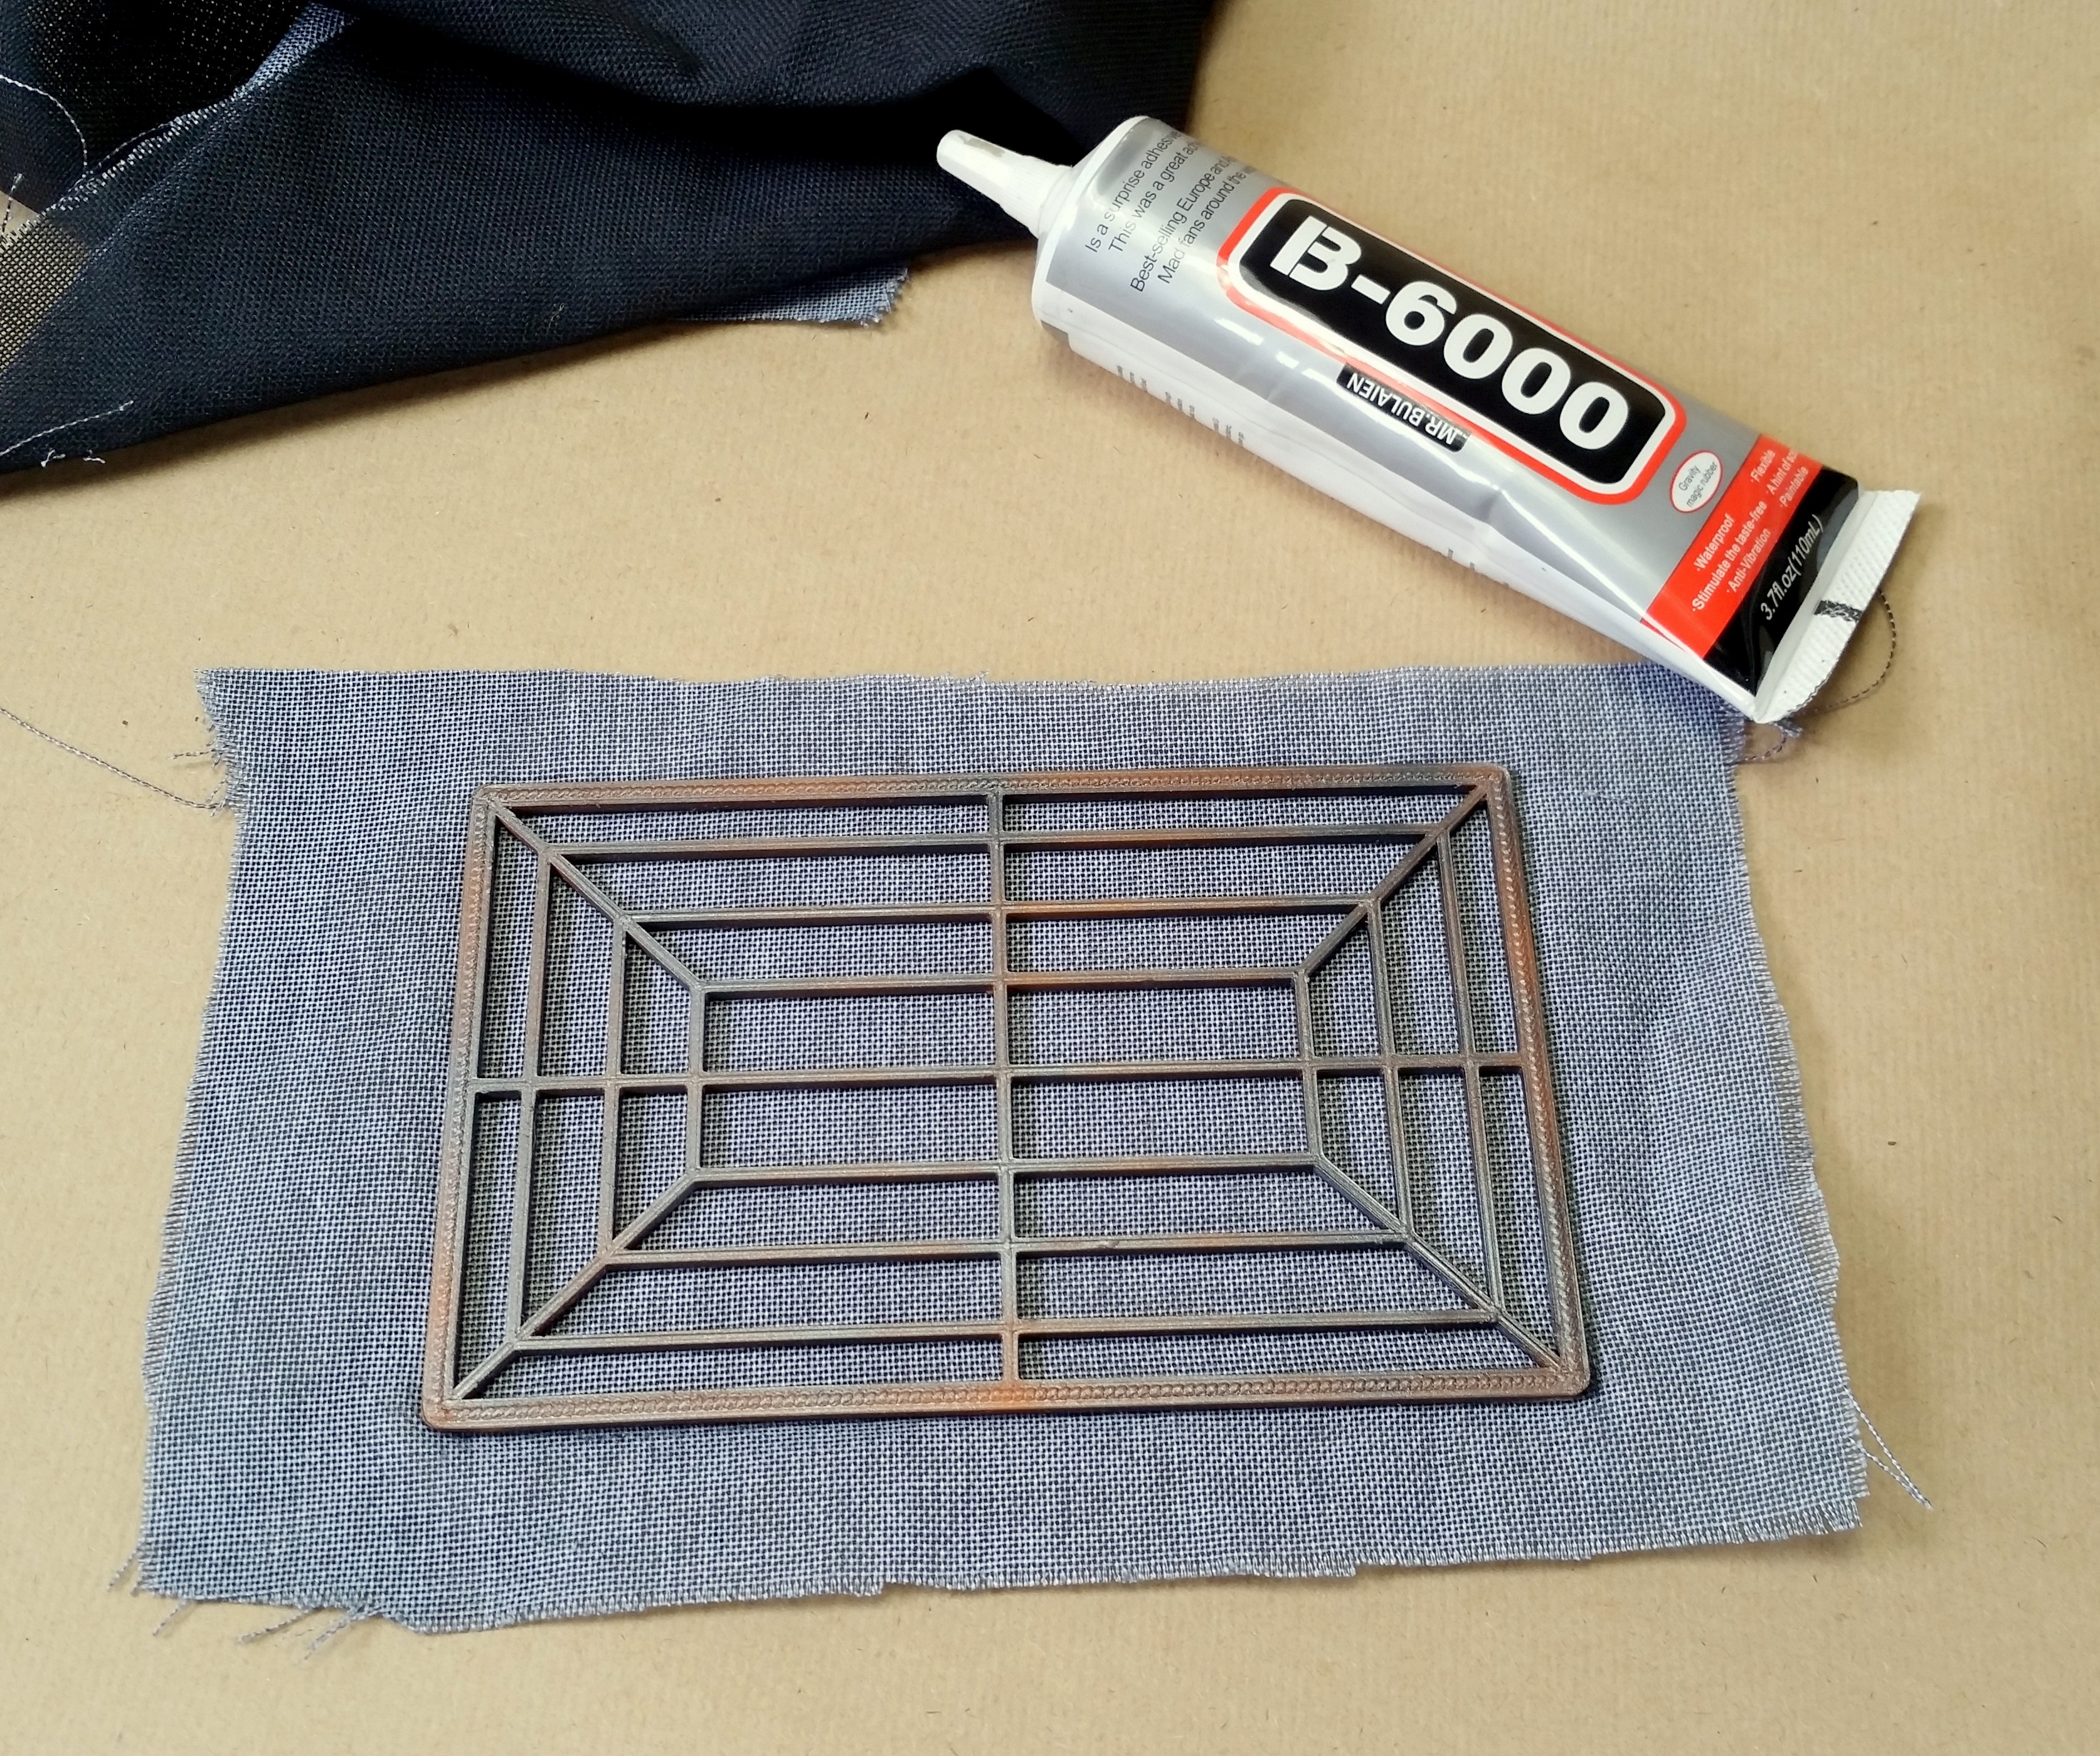
I started by assembling the passive radiator, I use B-6000 glue for all of the assembling as it is an excellent adhesive but also remains slightly rubbery which will give us a great airtight seal which is very important for the best possible sound quality.
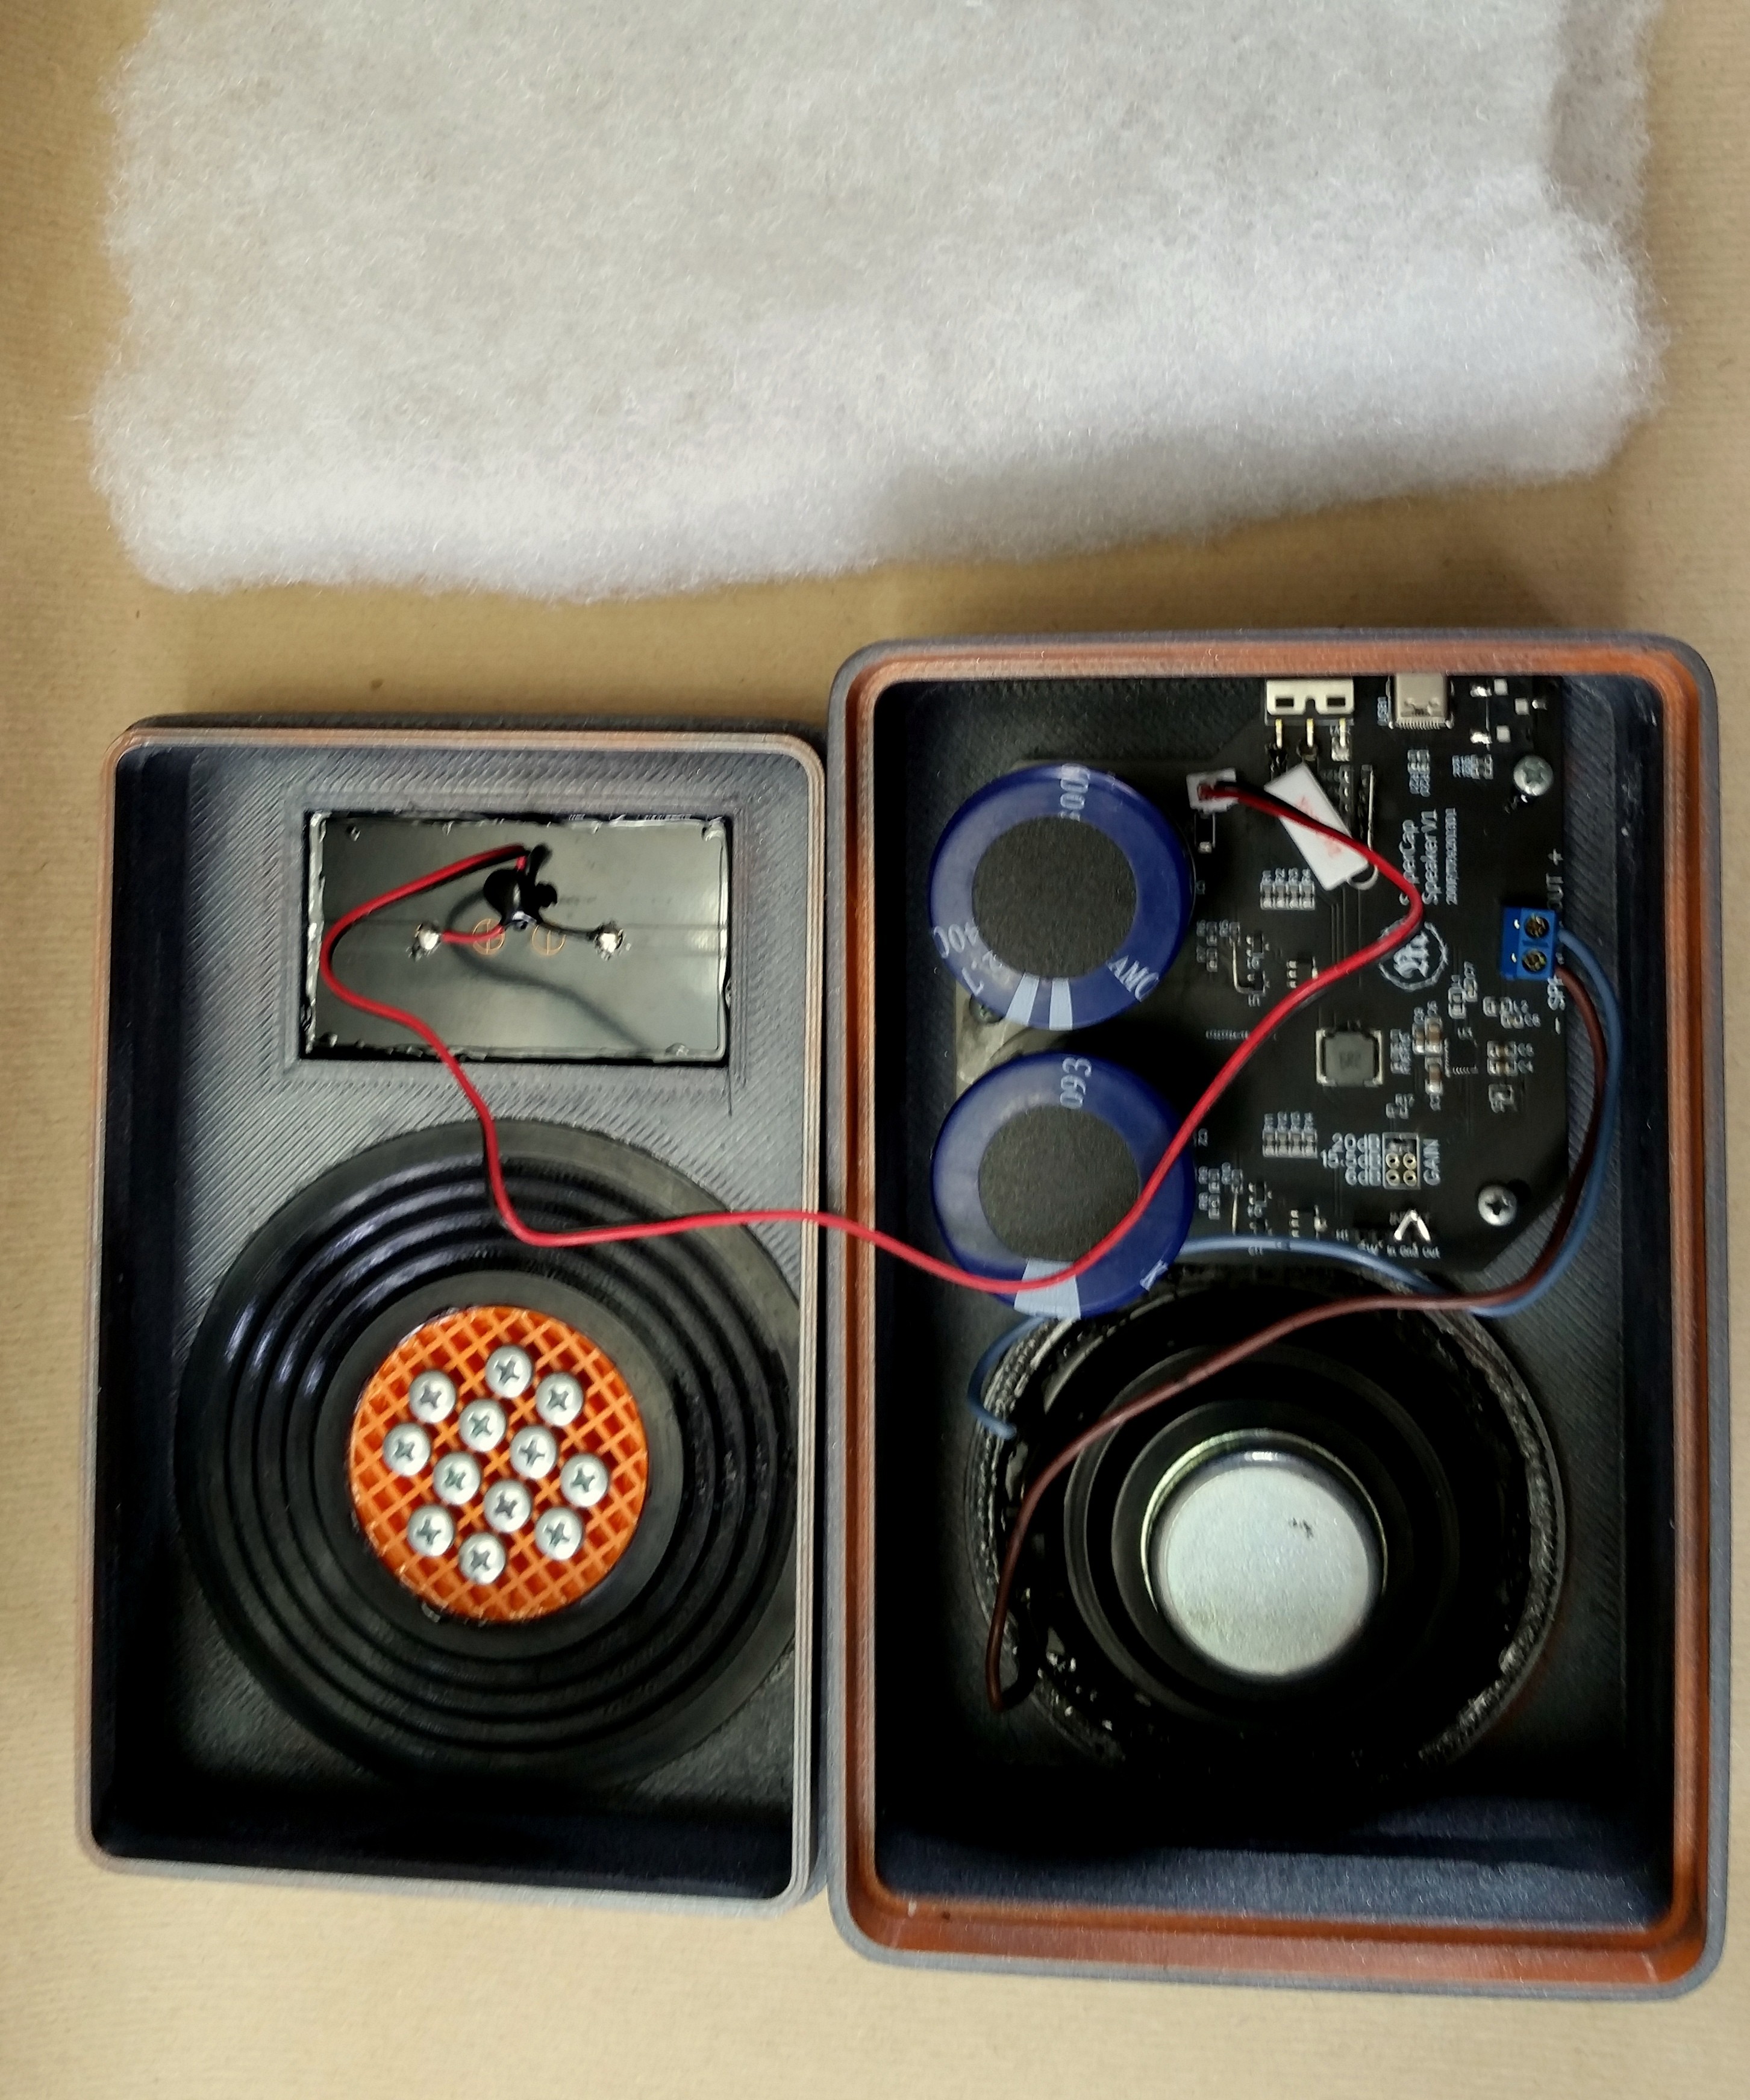
When the centre cap of the passive radiator is printed with 30% cubic infill and no bottom layers you can use 6mm M4 screws to adjust the weight/frequency of the passive radiator.
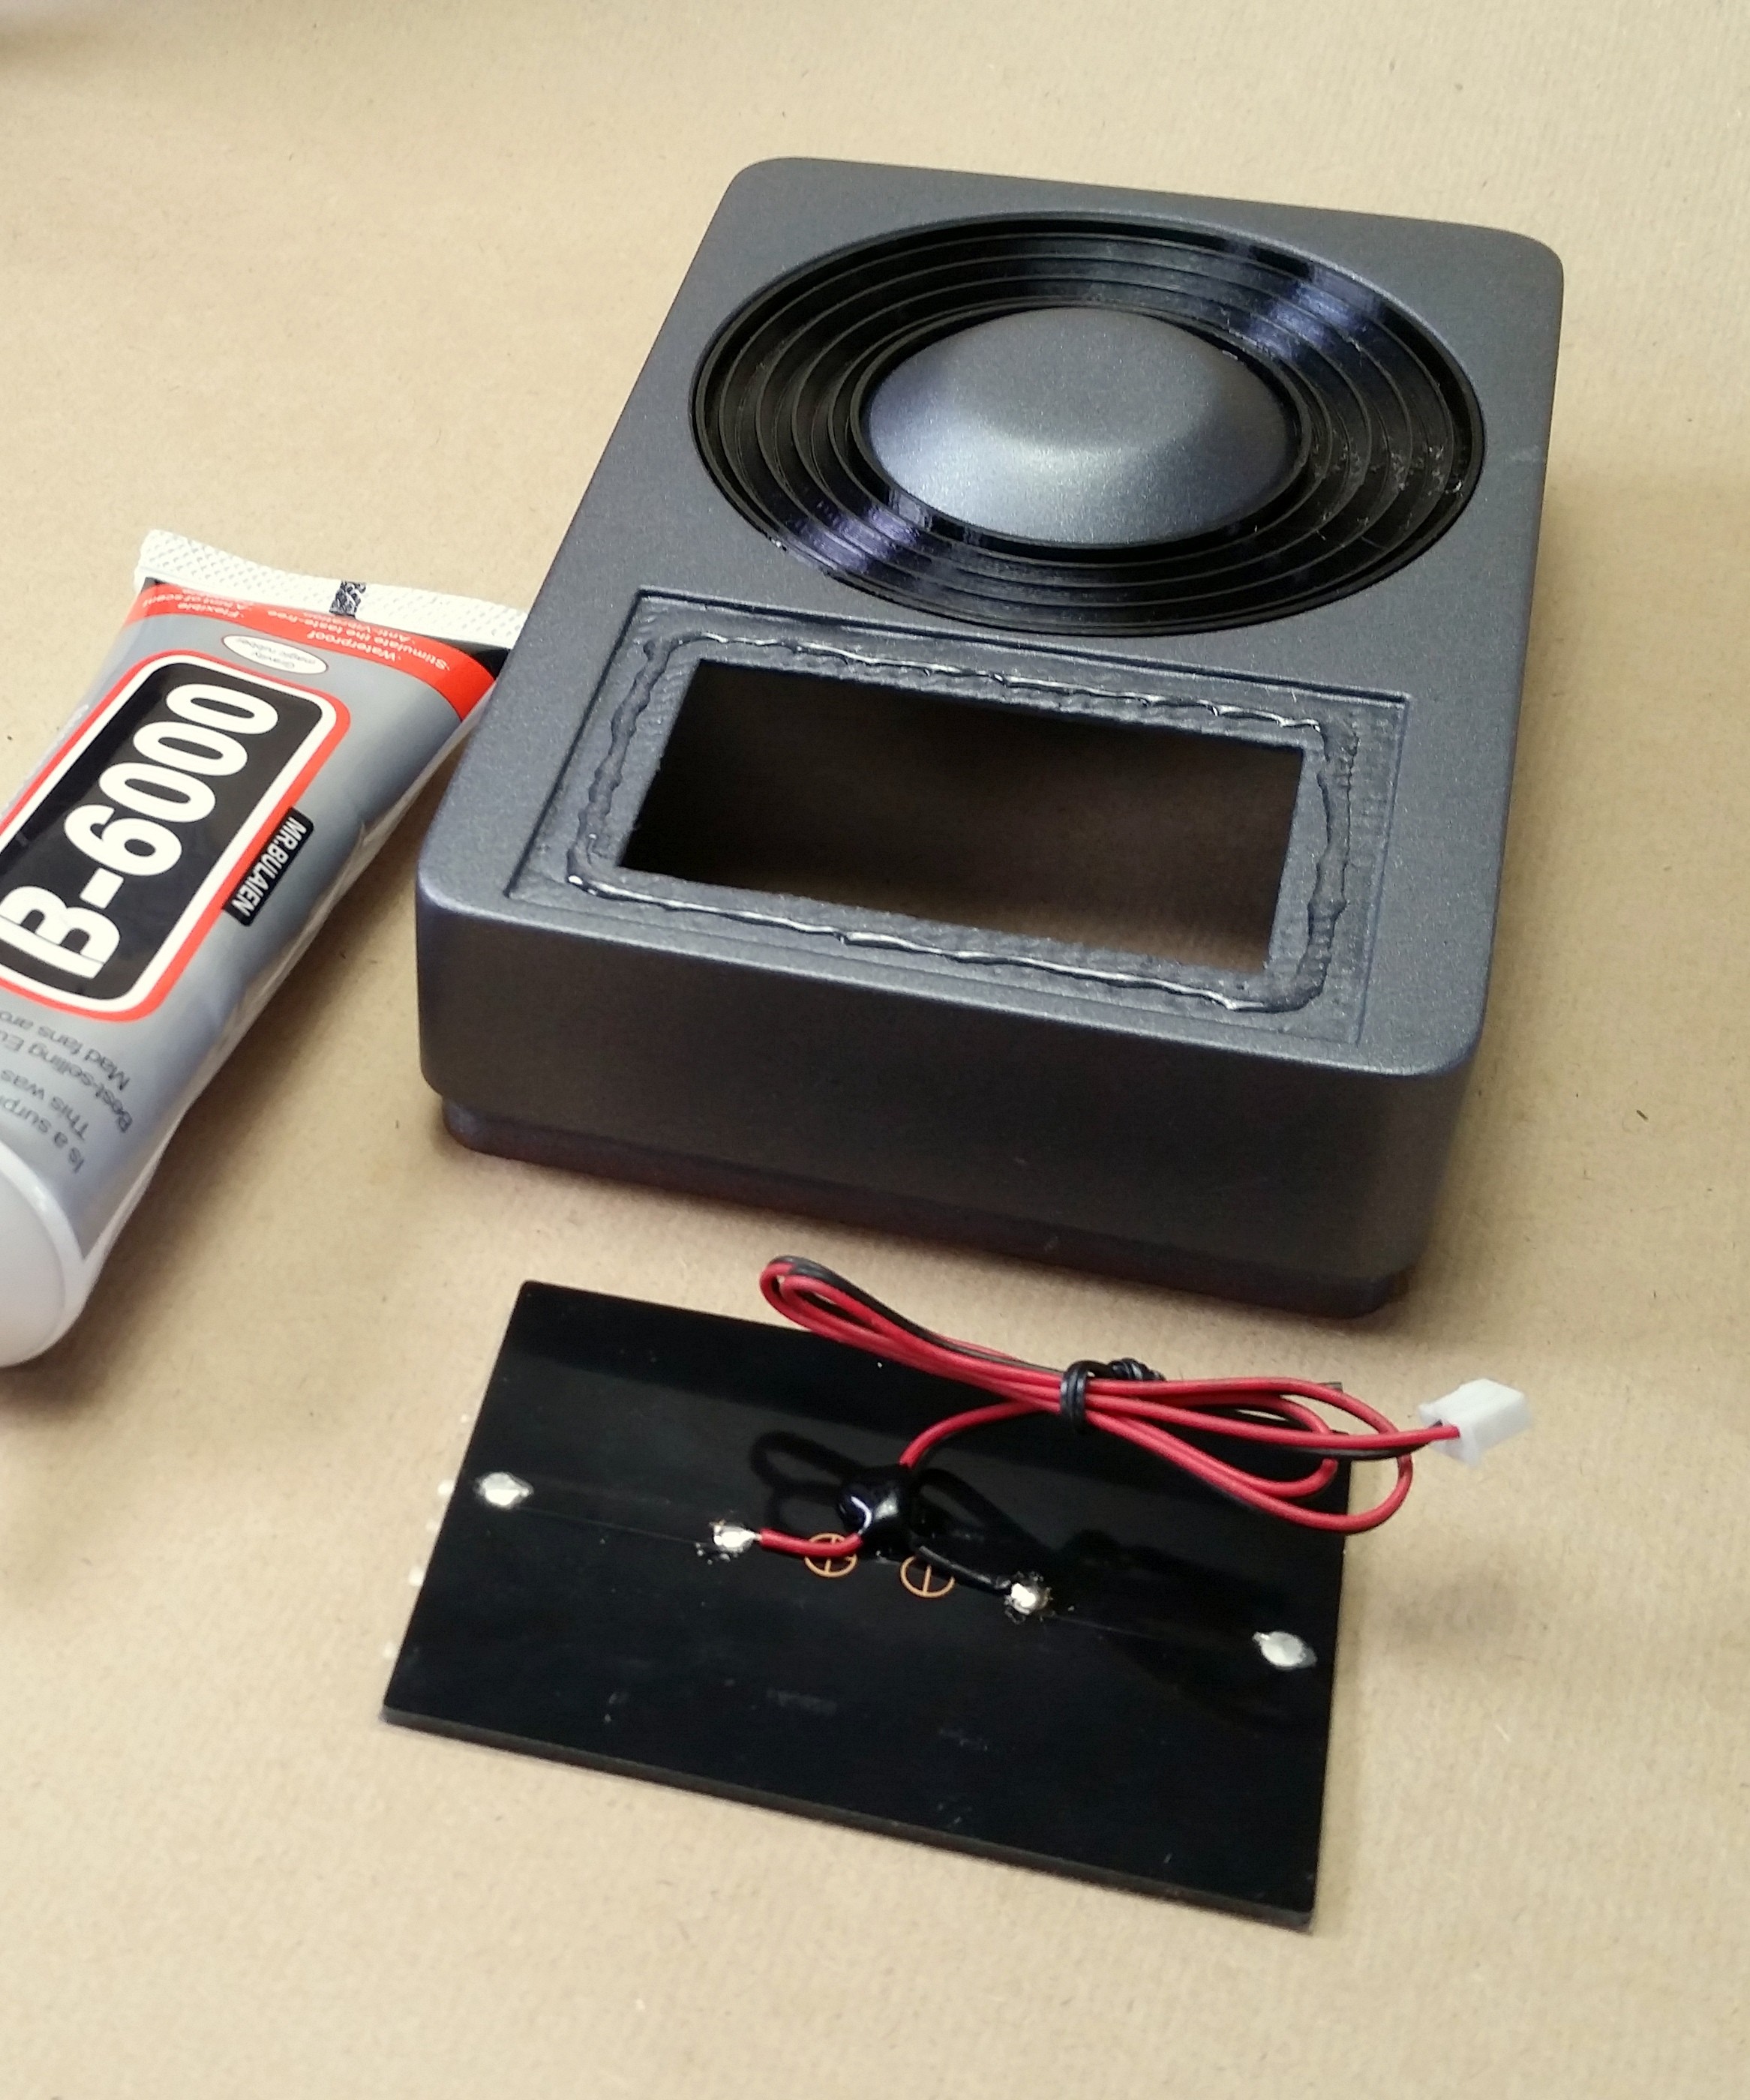
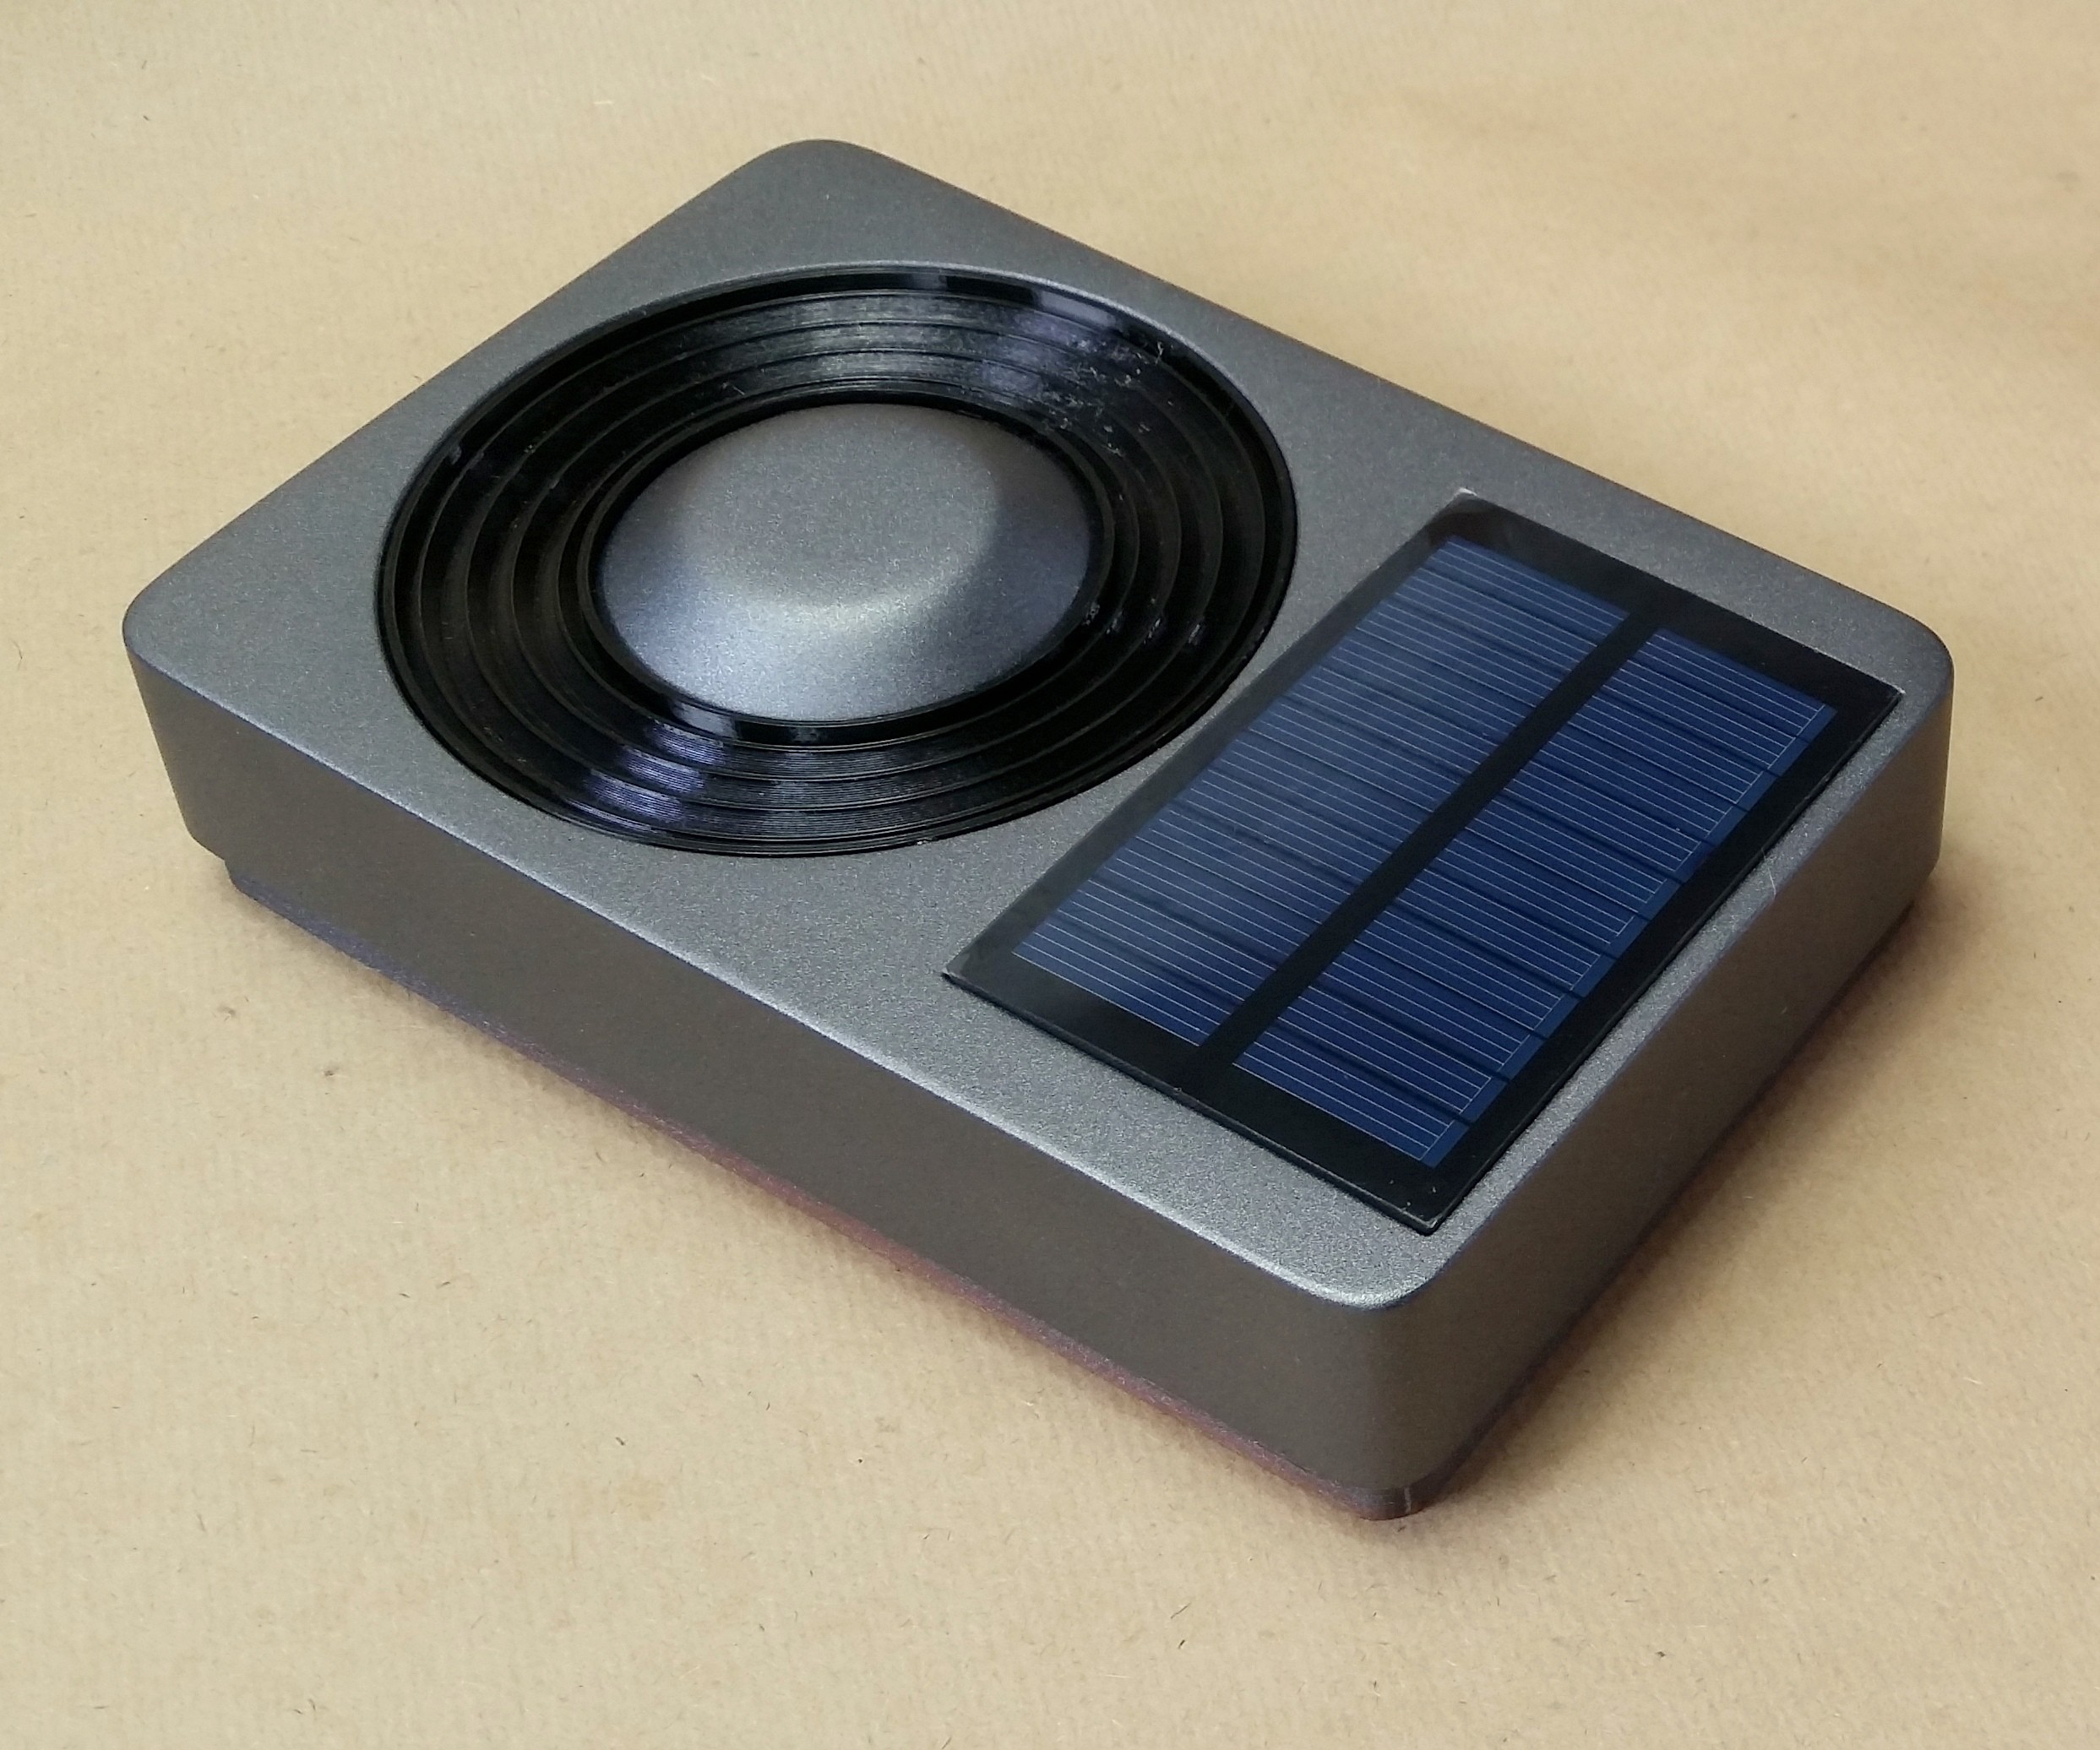
With the passive radiator adhered to the back frame of the enclosure we can install the solar panel next.
The solar panel is a 60mm X 90mm 5V cell. Using the same B-6000 glue add a thick bead around the indent of the solar cell in the enclosures back frame and press the solar panel into place.
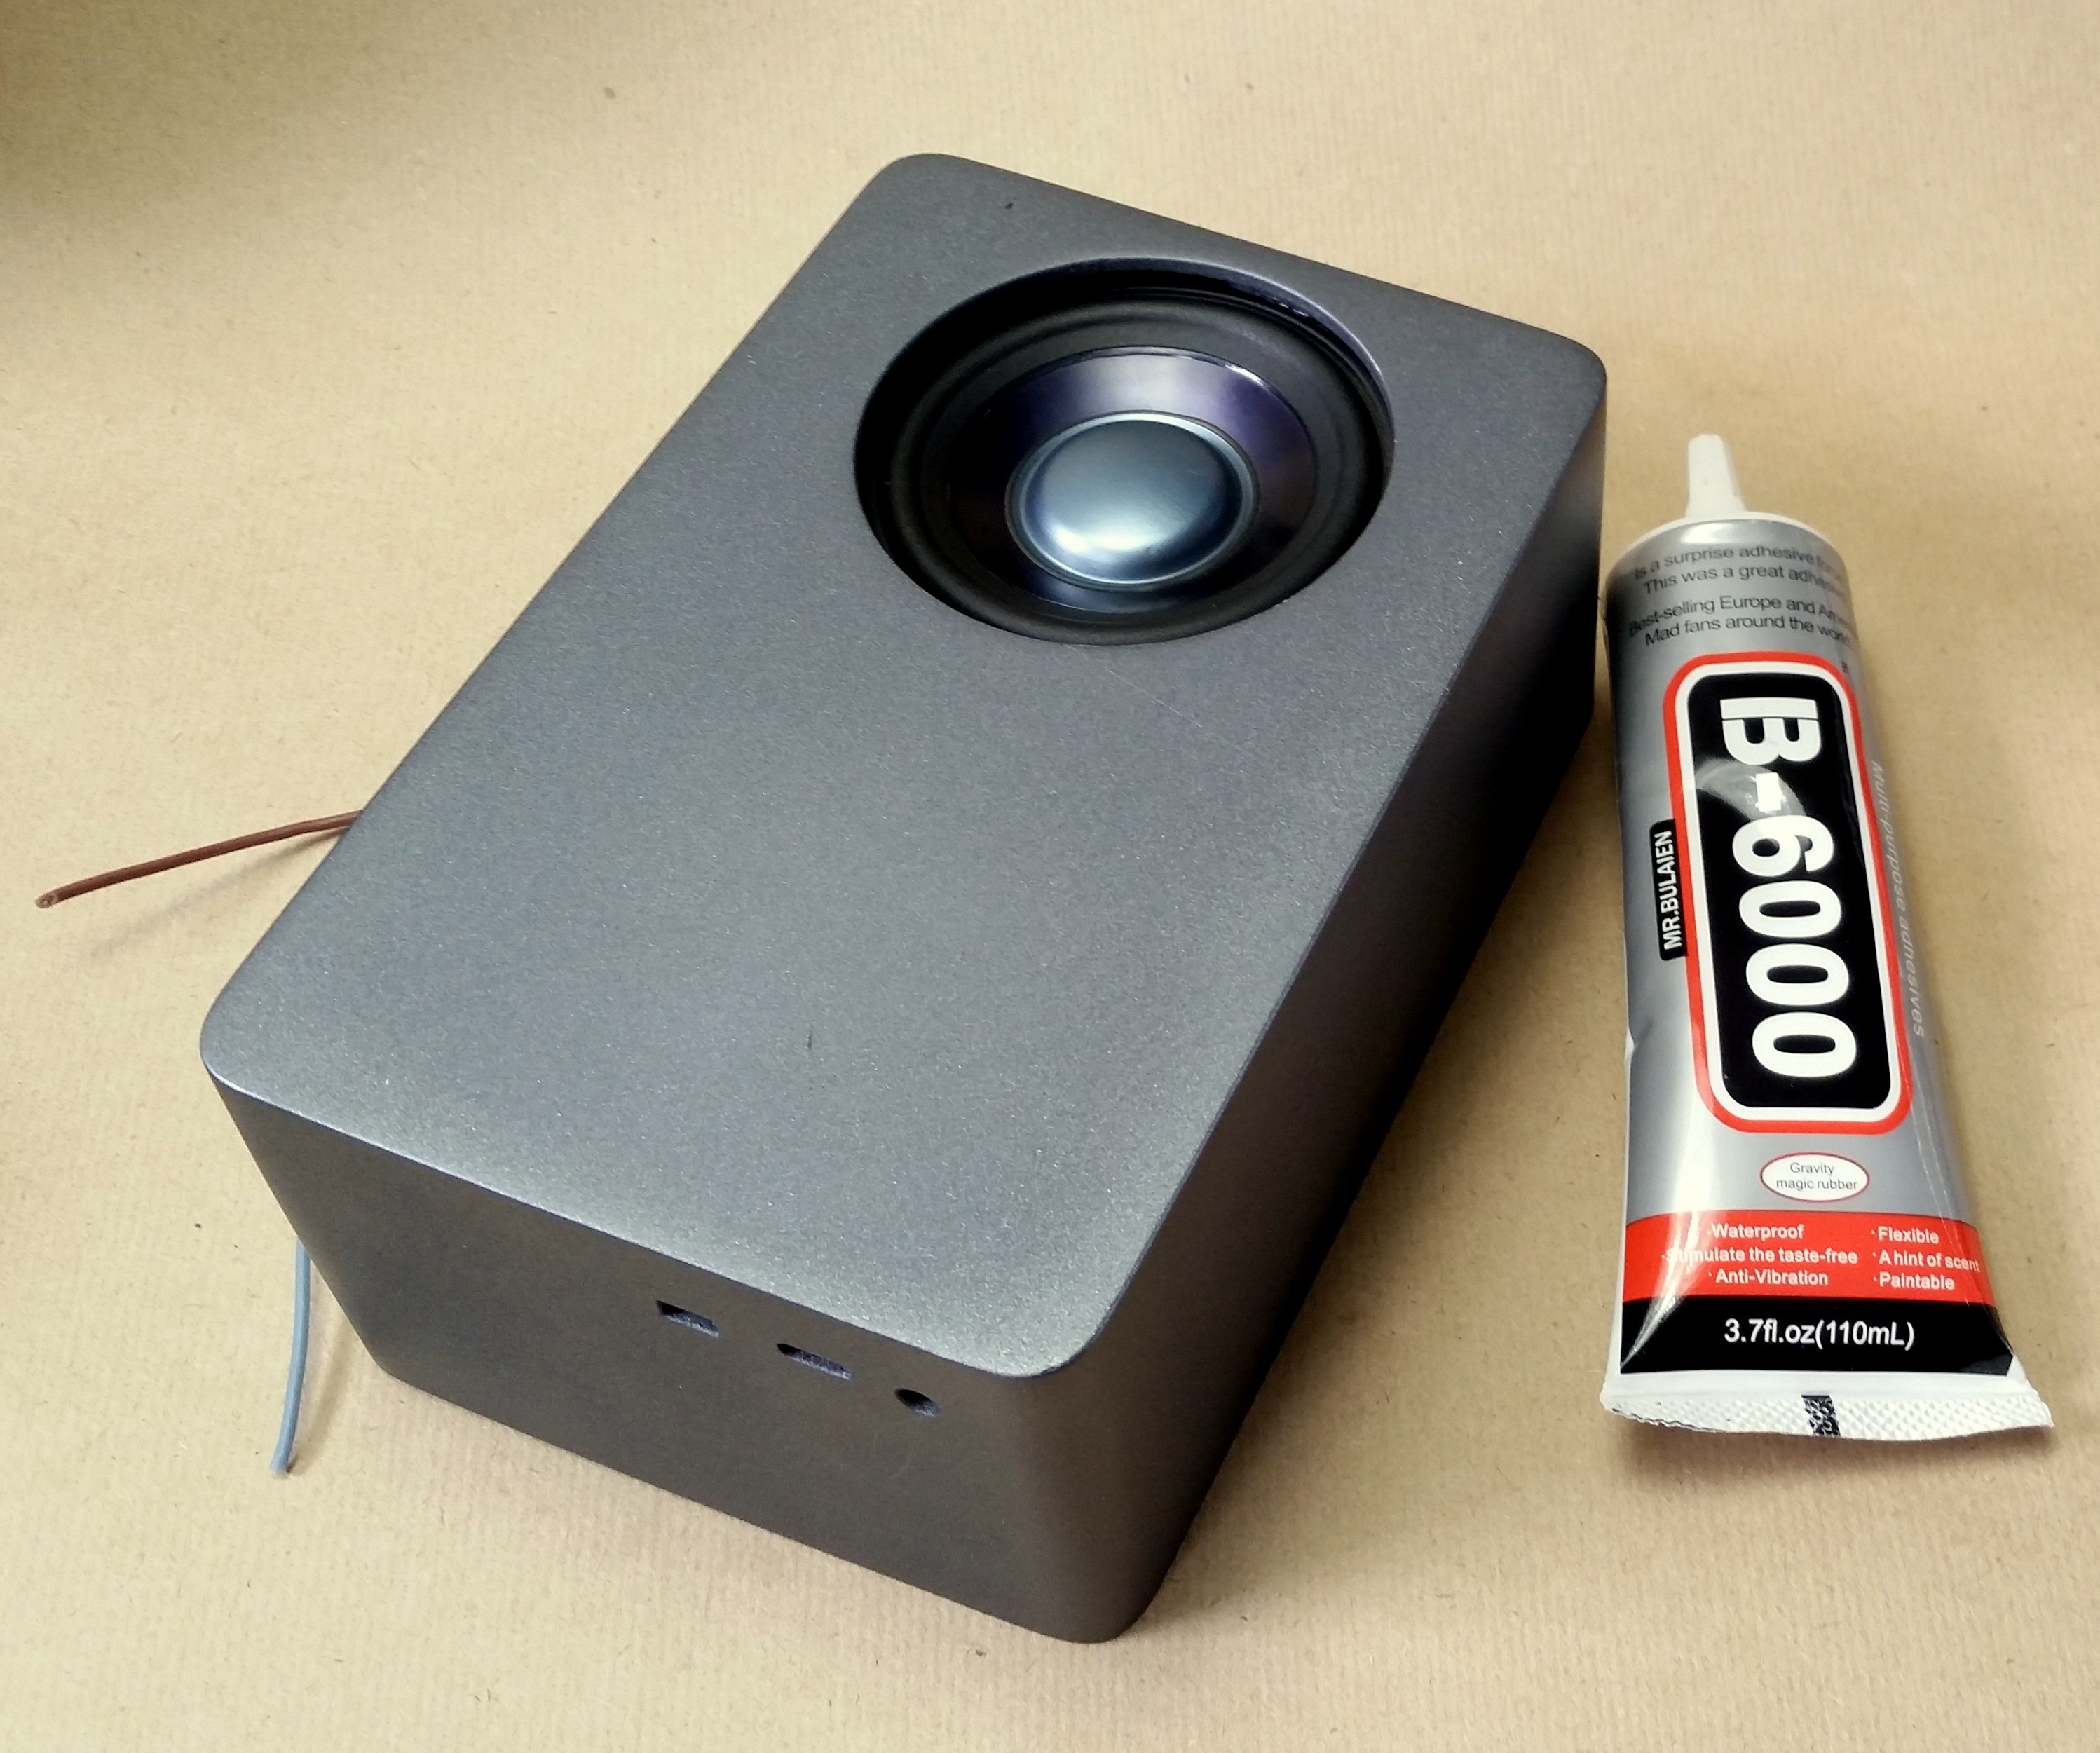
Next we move to the front frame of the enclosure, here we will first adhere the speaker driver into place.
The driver I'm using is a 3in Bose full range driver salvaged from a Mercedes and has incredible sound but is unfortunately quite inefficient.
The mounting hole should work with most 3in round drivers without modifications.
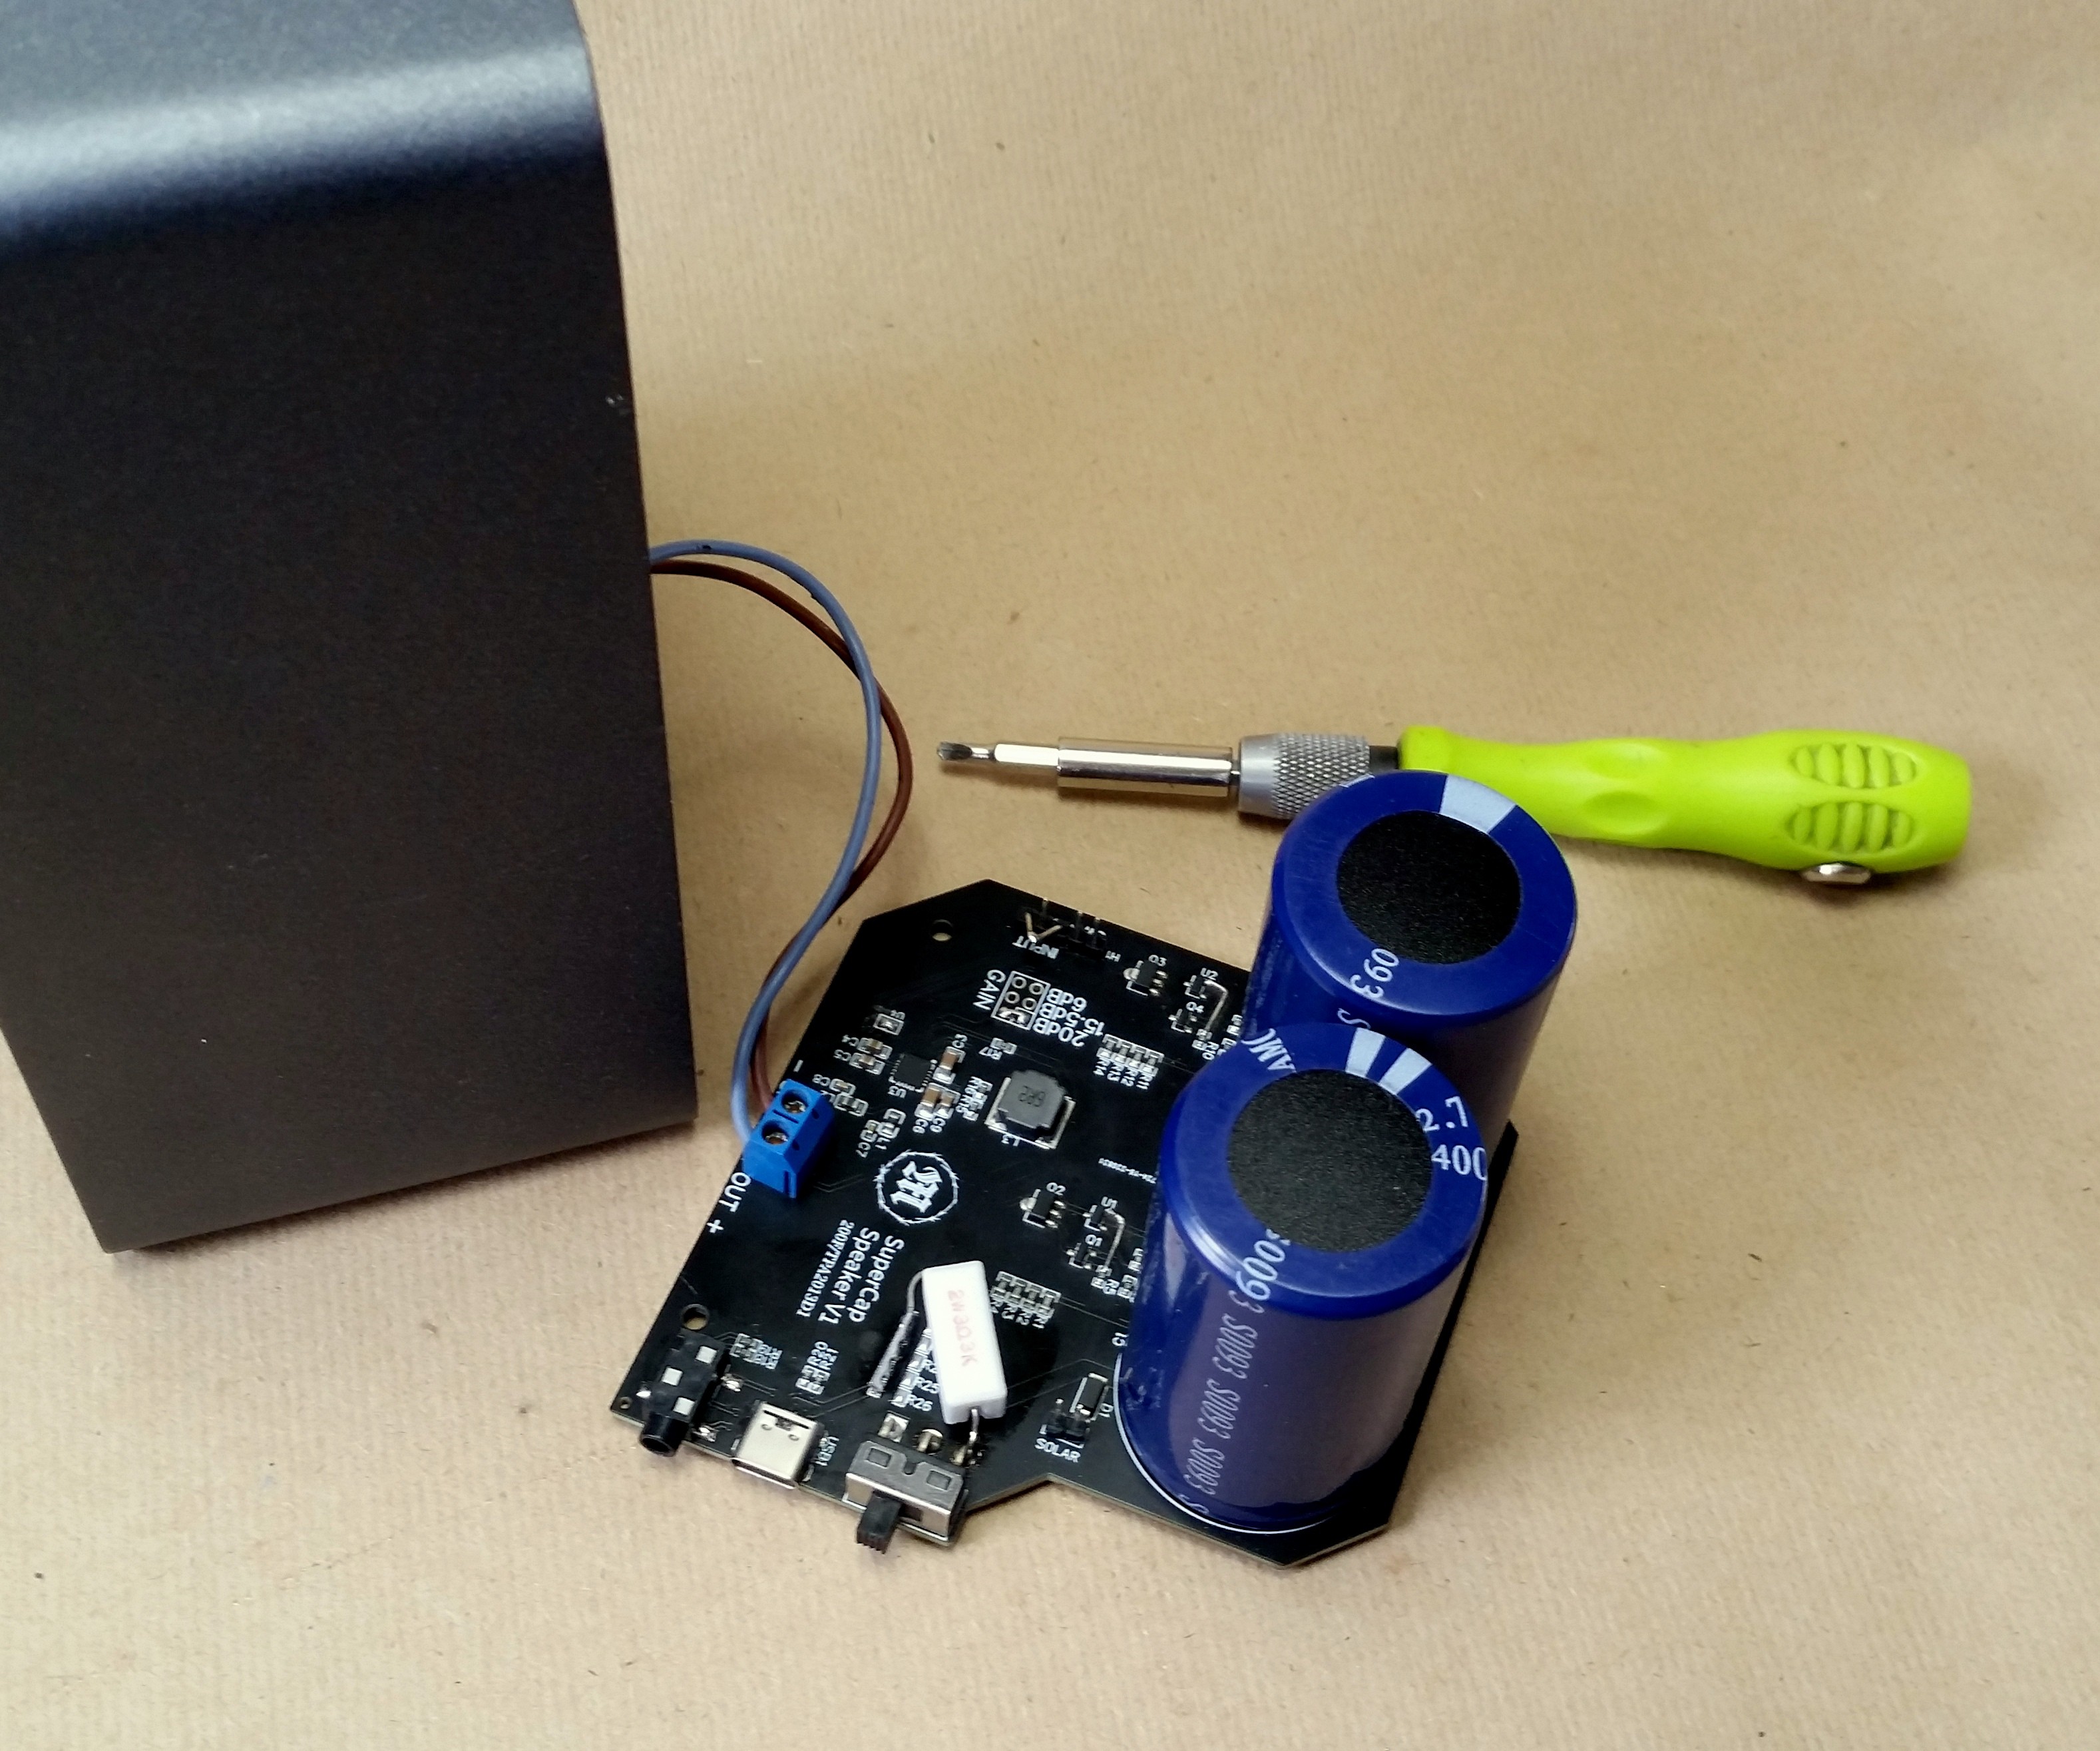
To complete the front frame we simply need to attach the wires from the speaker to the speaker output of the amplifier board and screw the PCB into place with with 3mm self tapping screws onto the mounting holes in the enclosure.
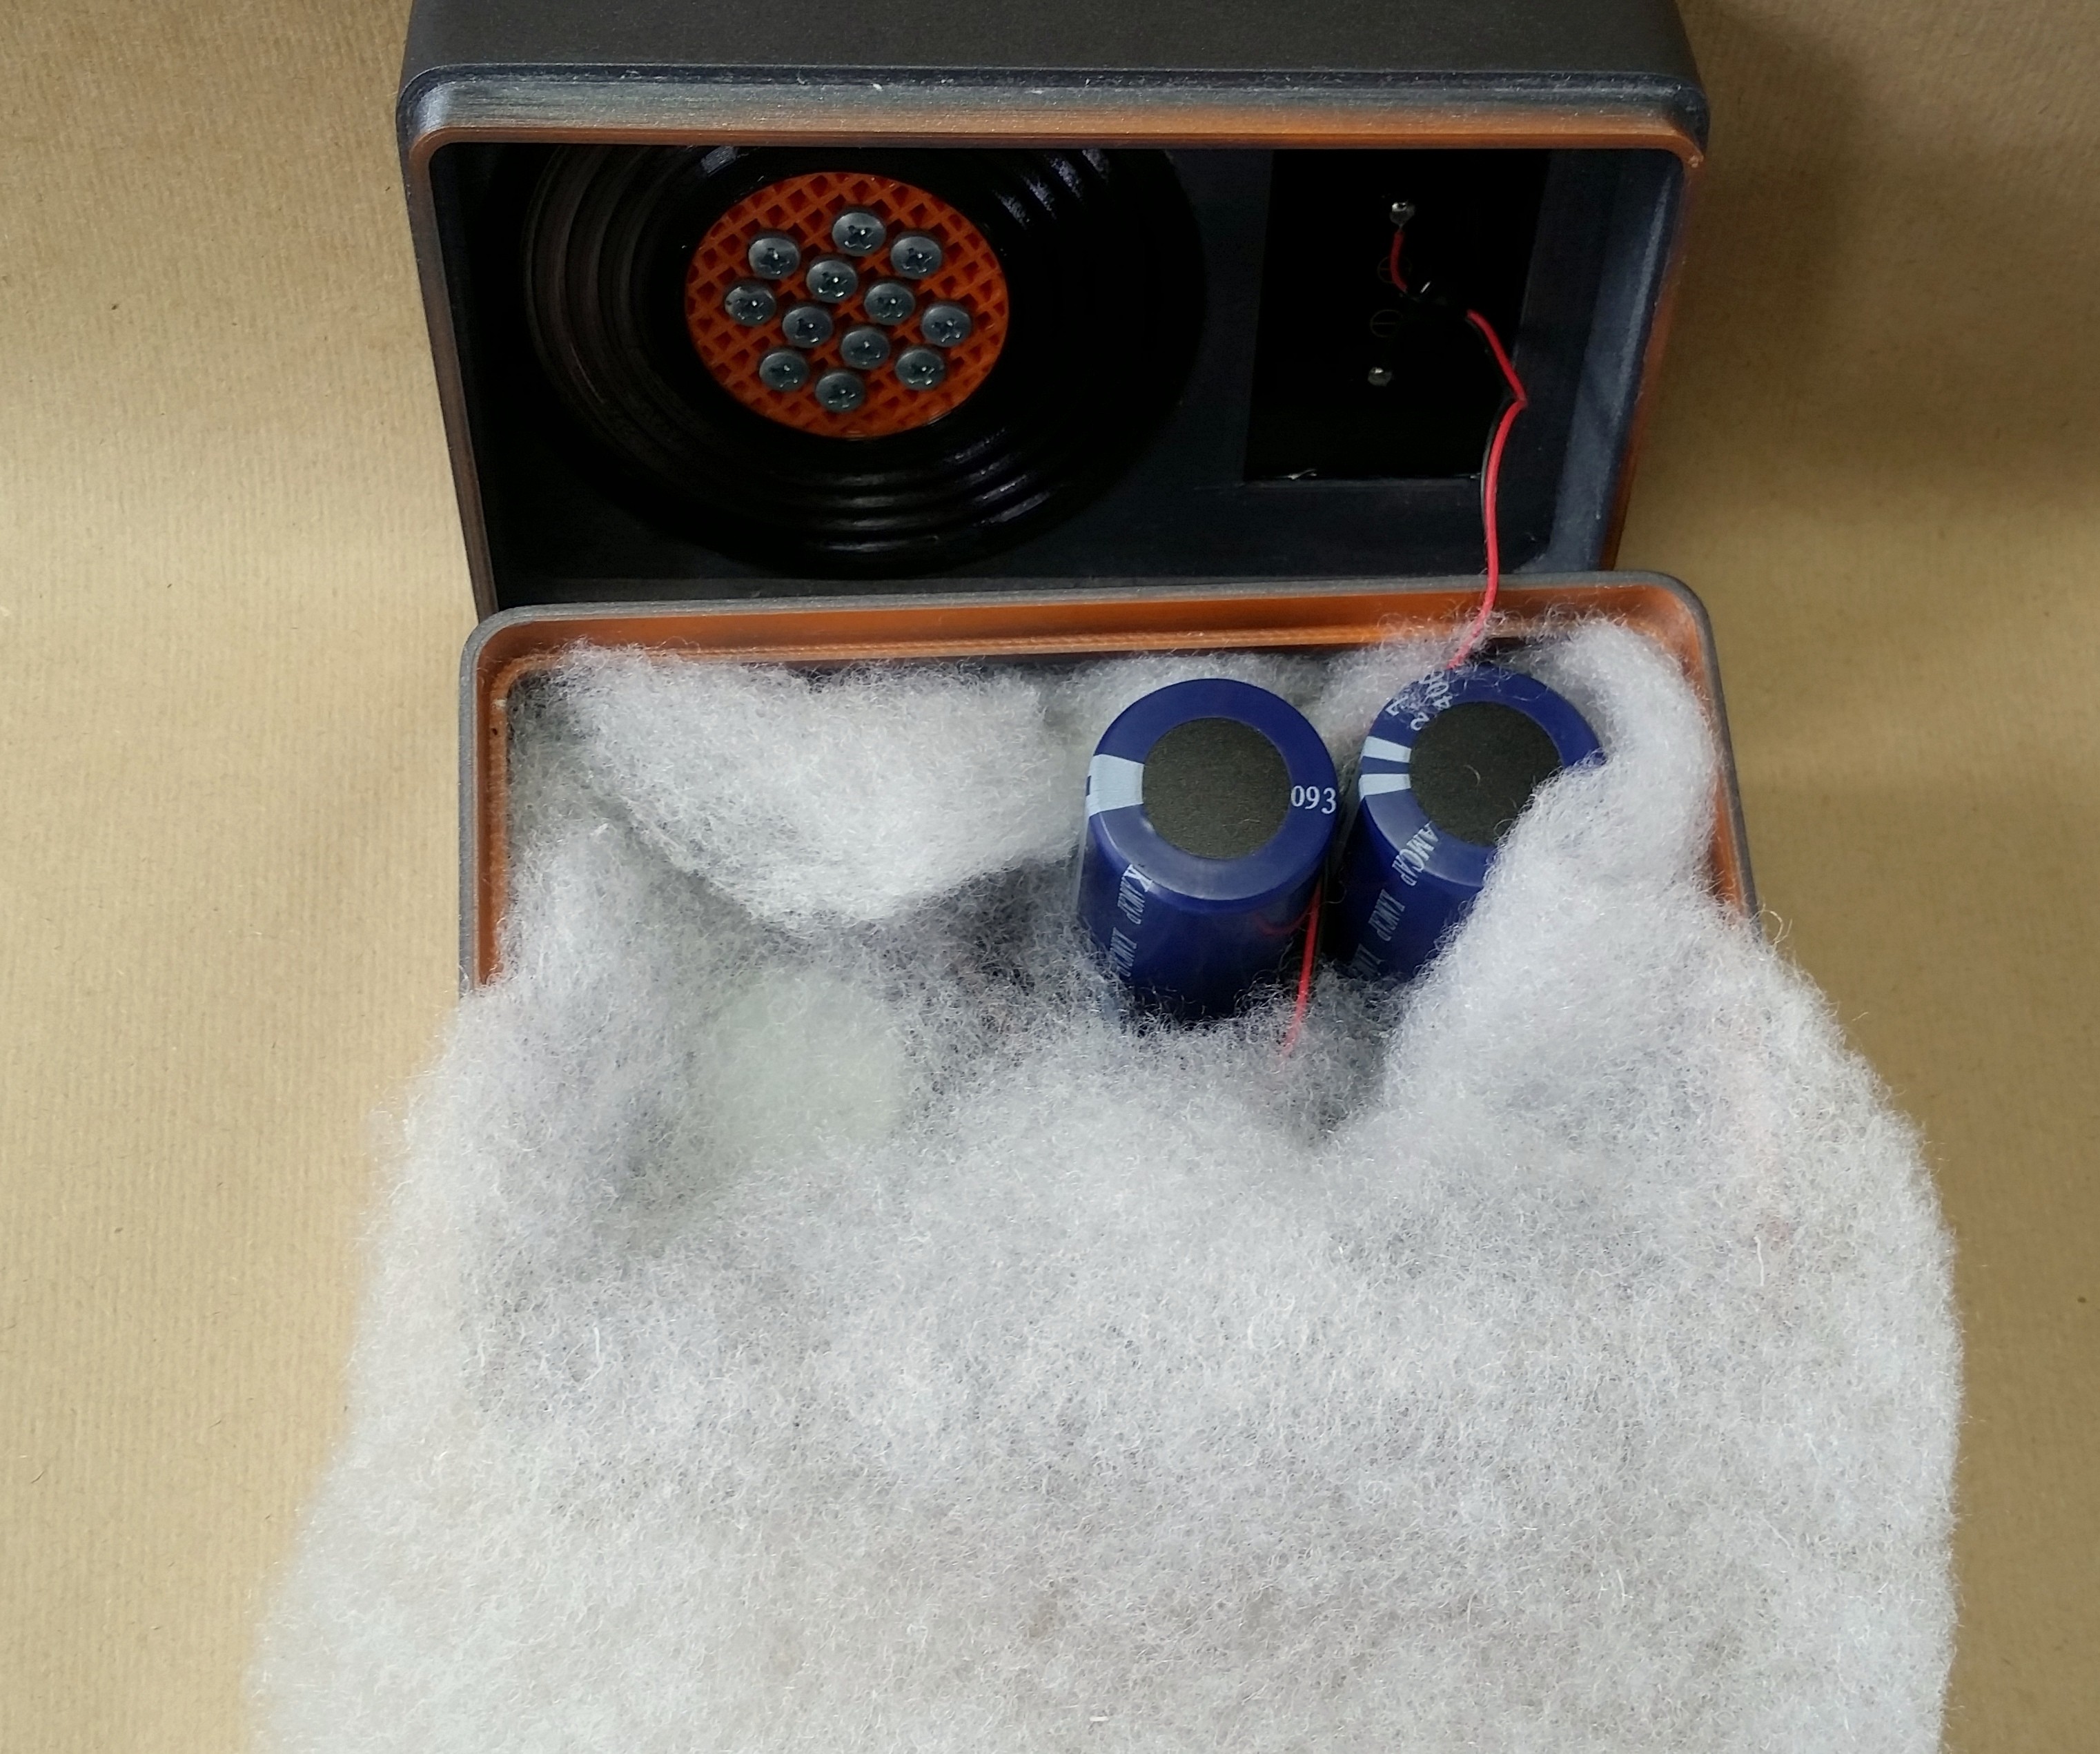
Before pressing the two enclosure shells together I loosely stuff the inside with low density polyfill.
Make sure your solar panel is plugged into the board before closing.
I add a bead of B-6000 glue around the inside of the edge of the enclosure before pressing the two halves together to ensure an airtight seal.
-
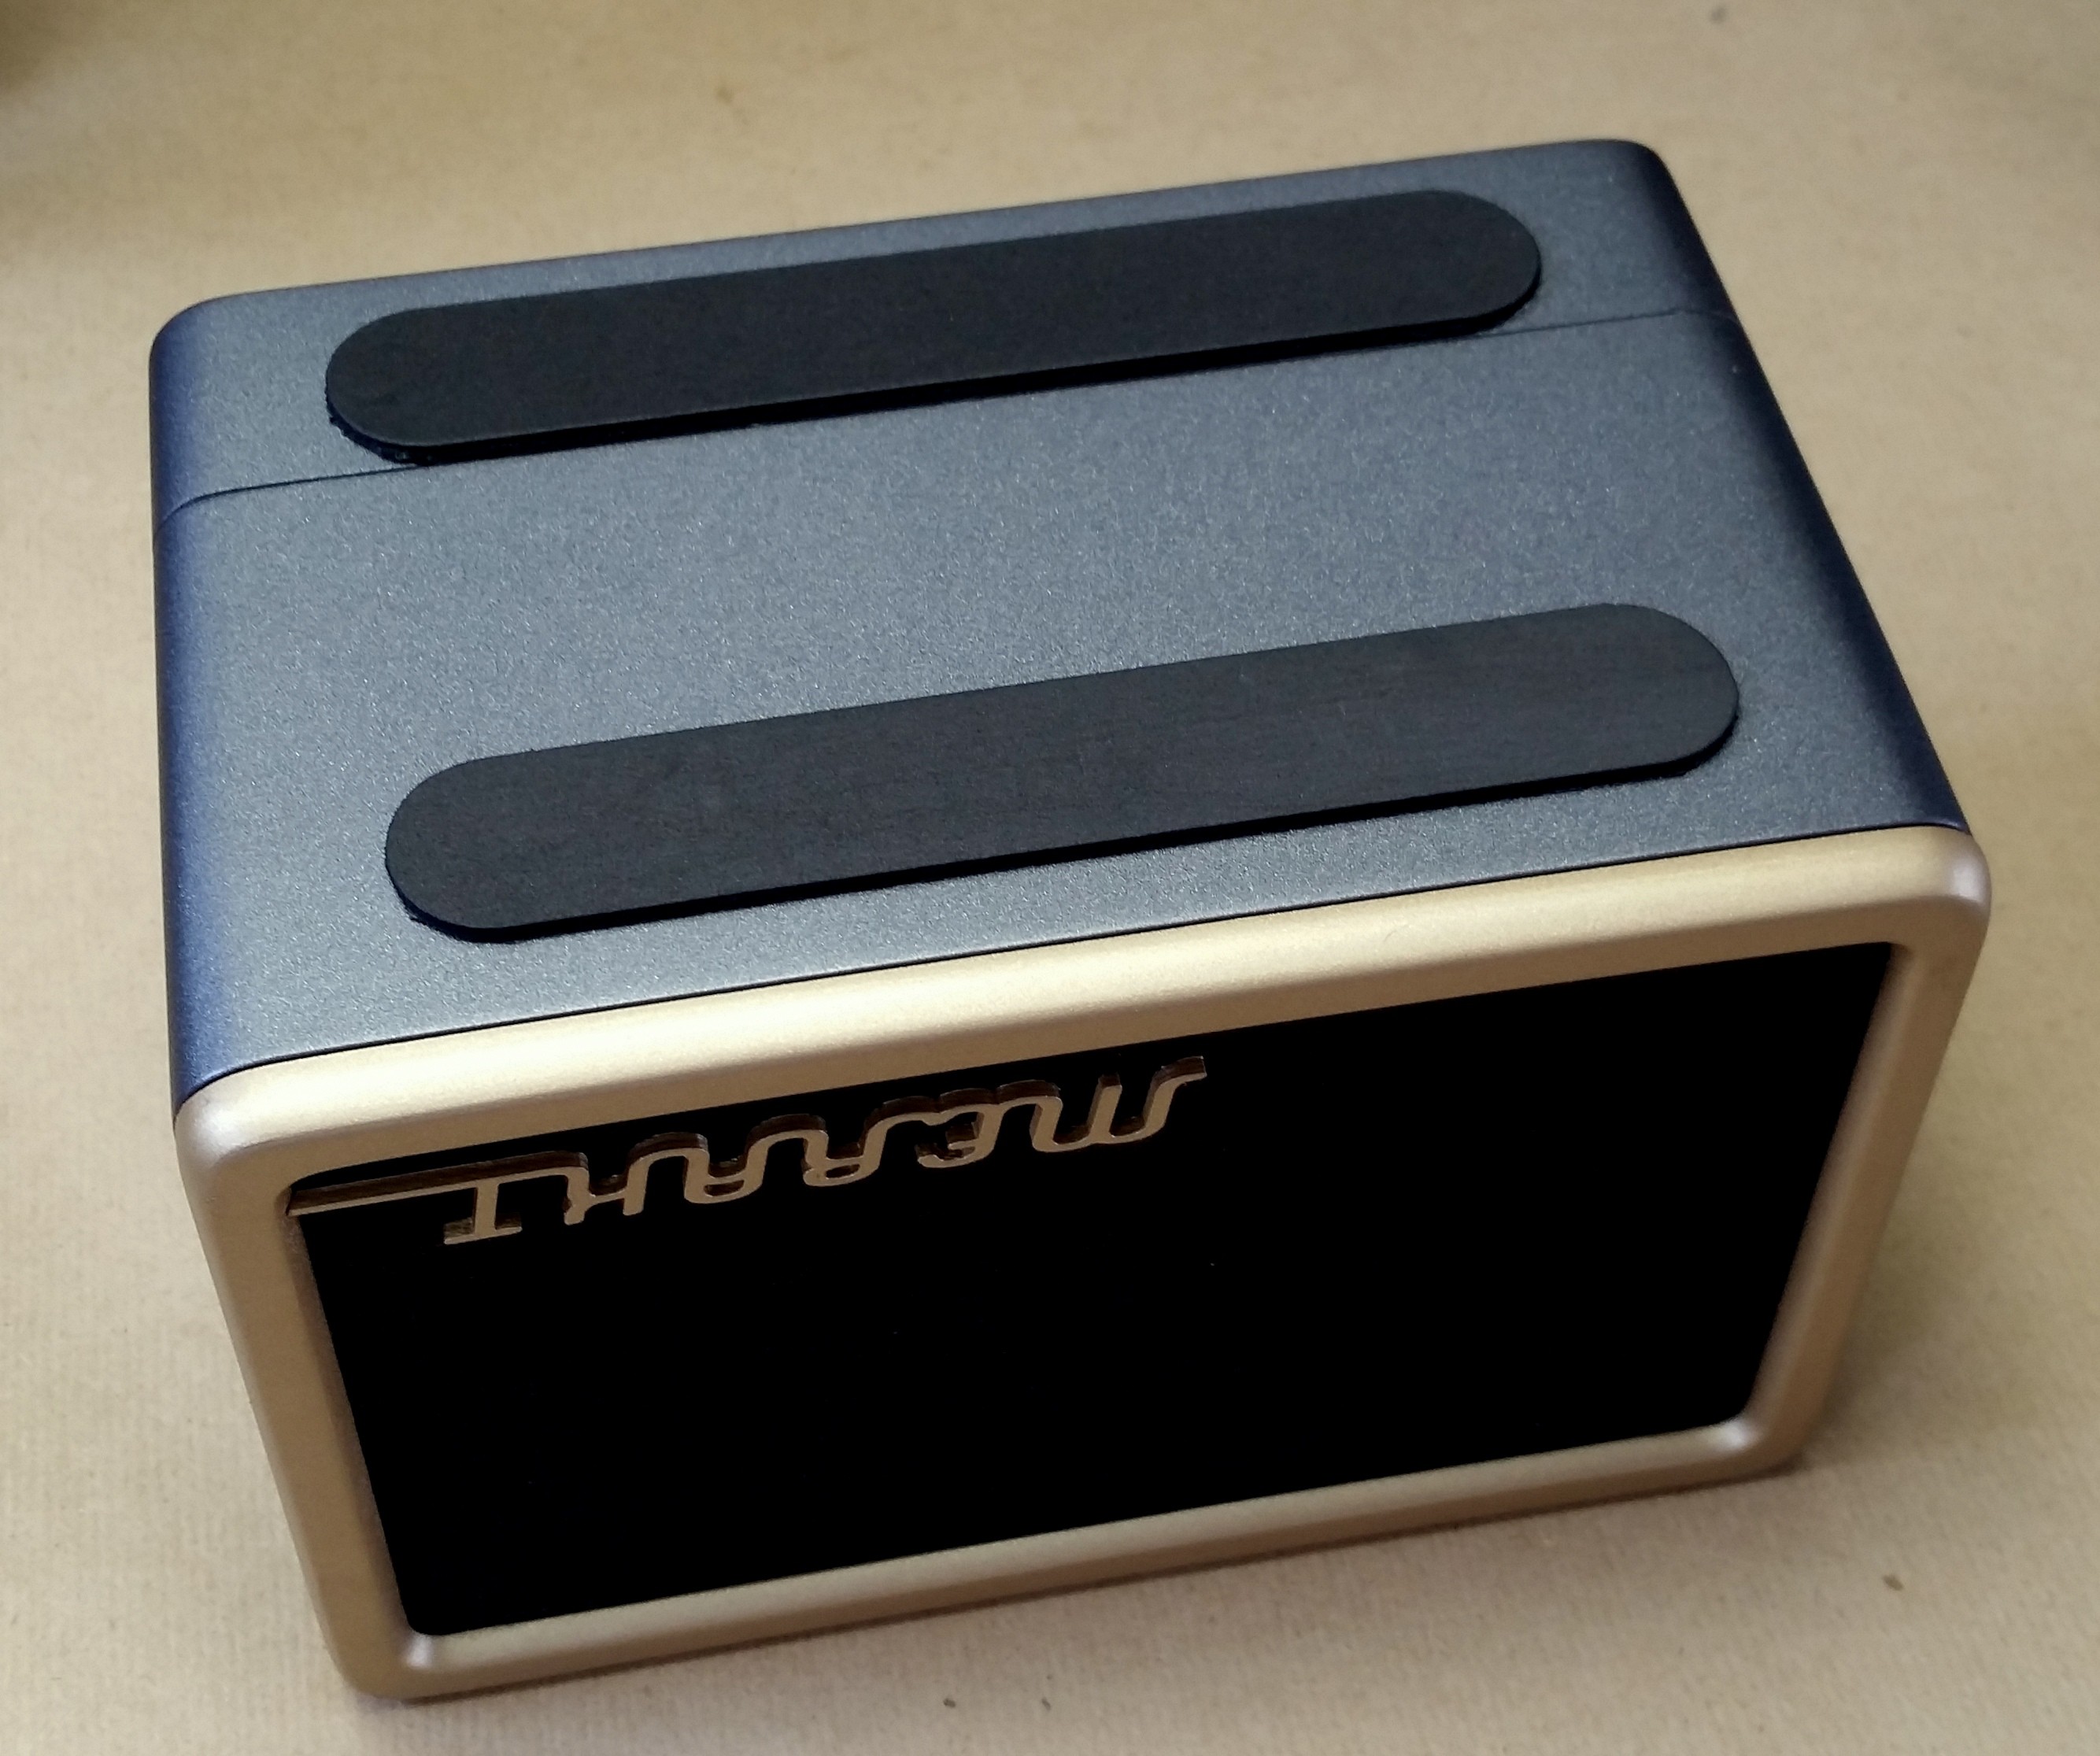
3Finishing Touches:
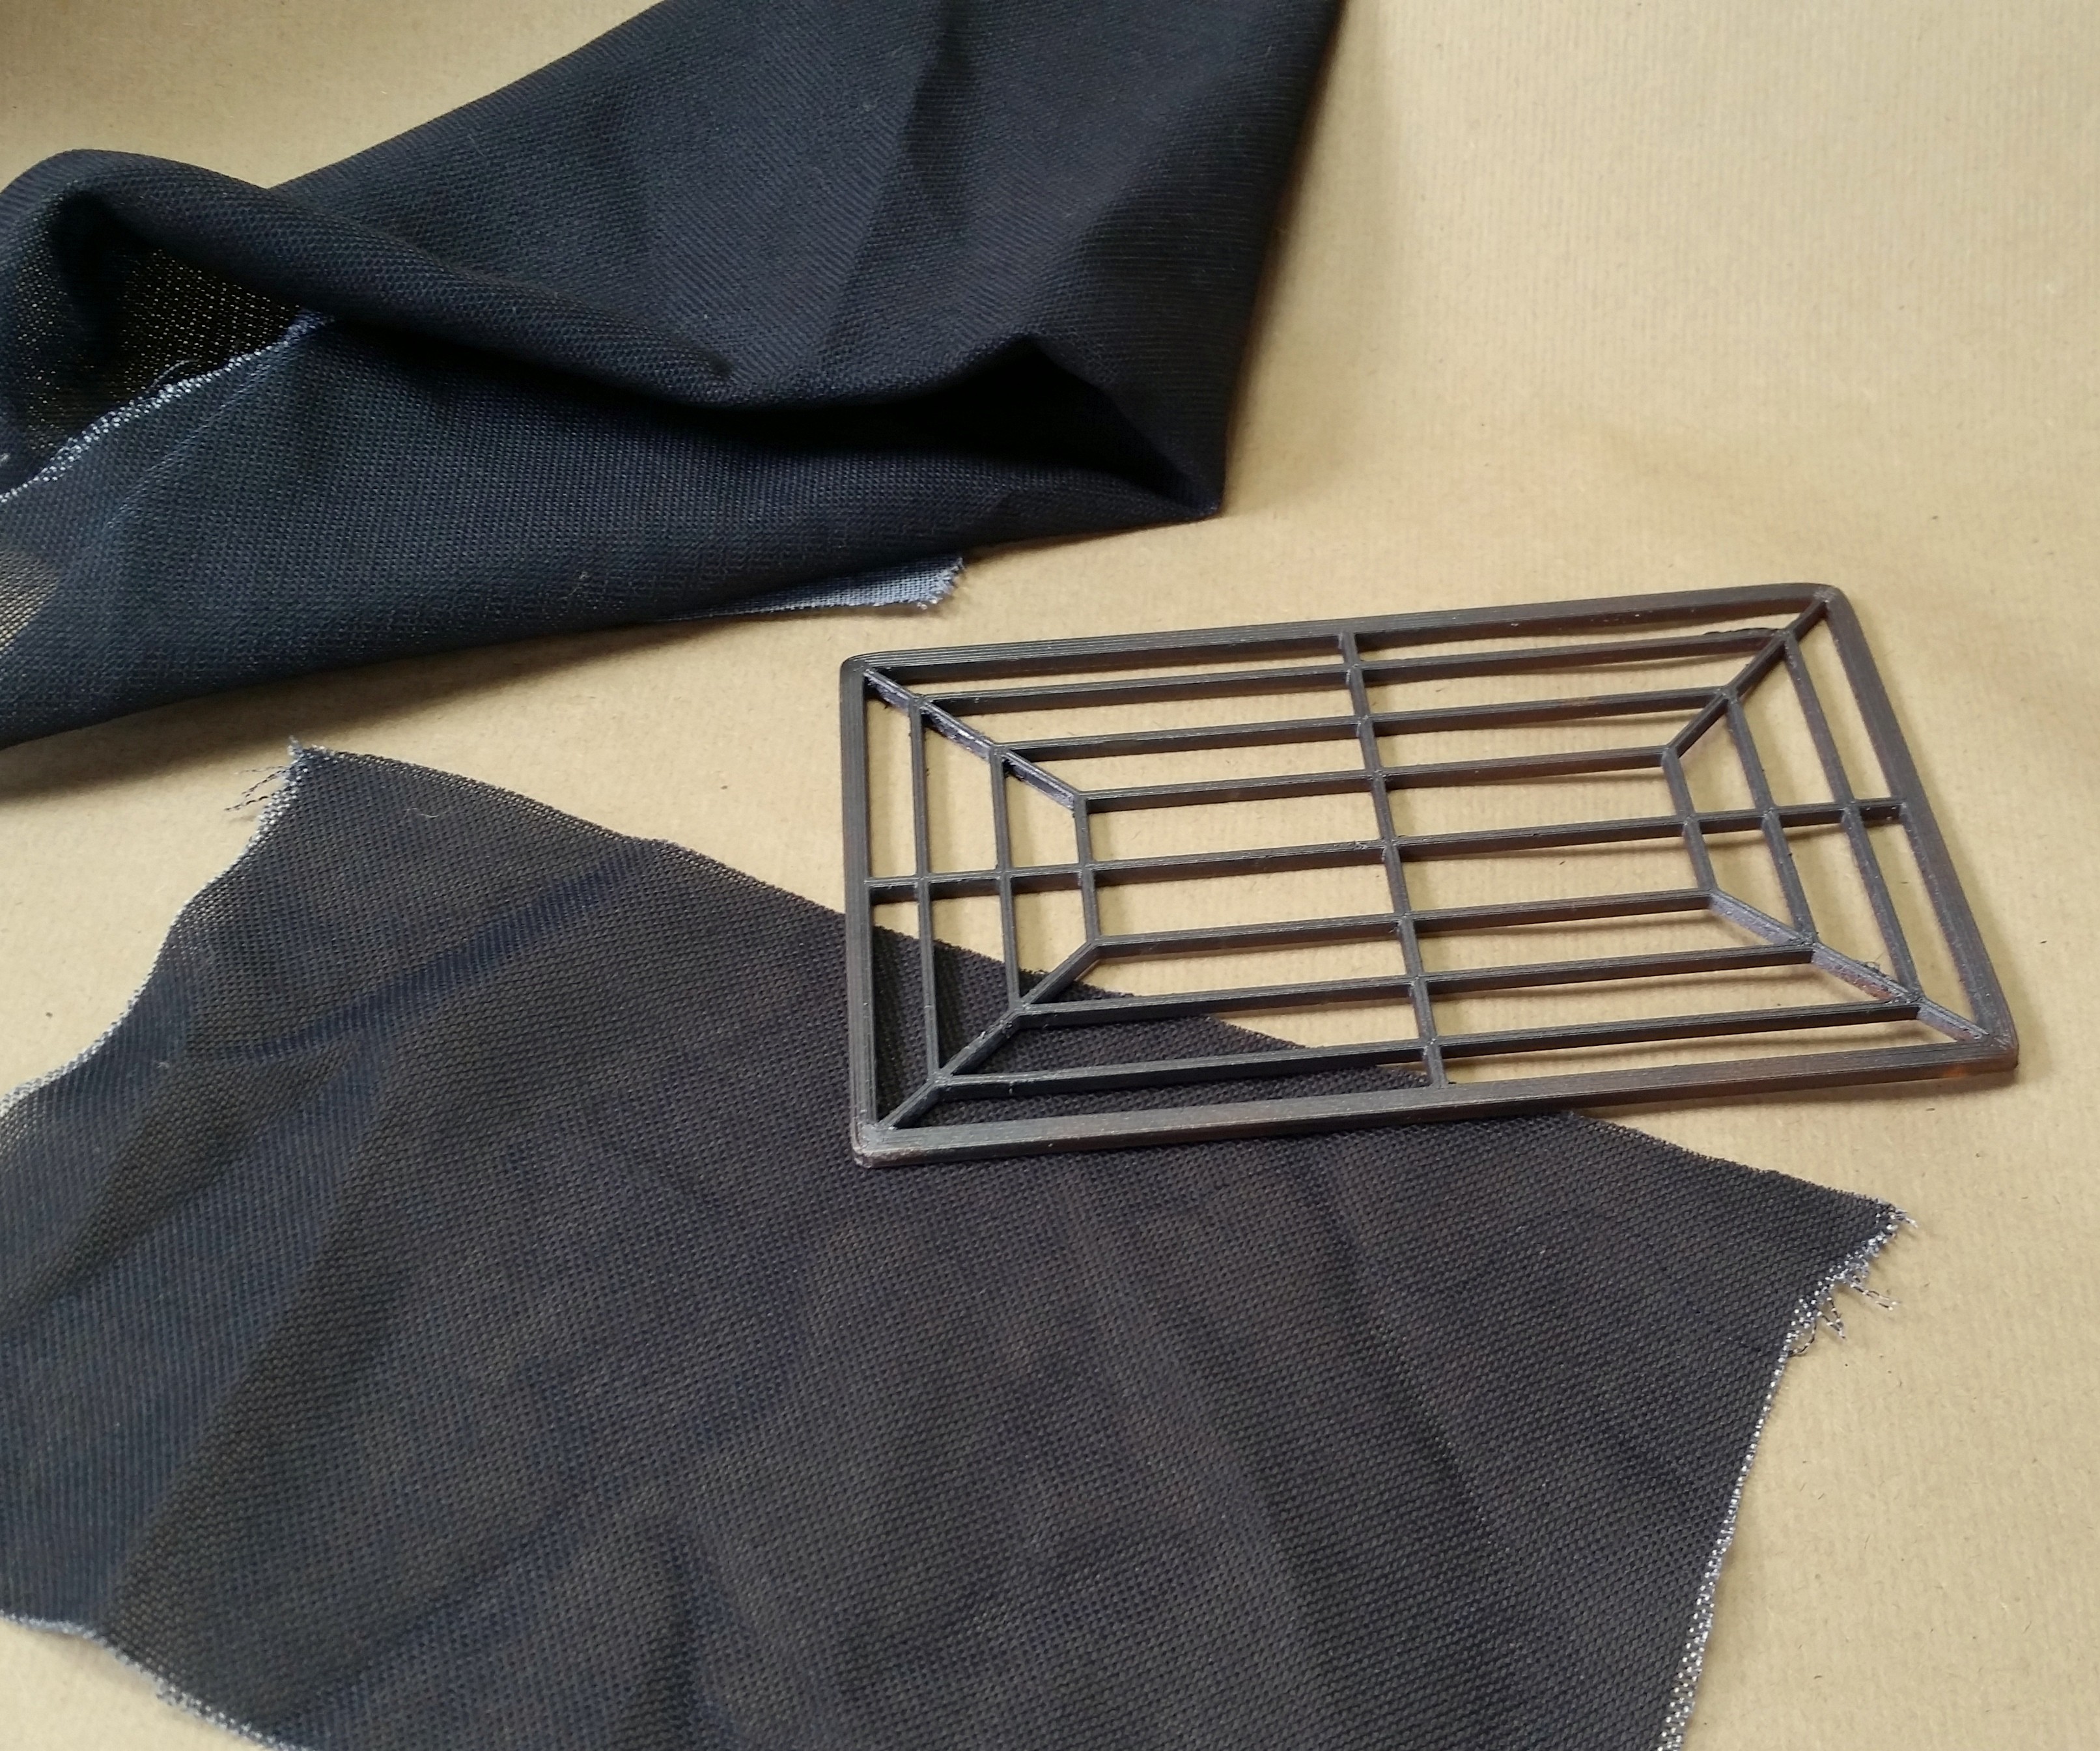
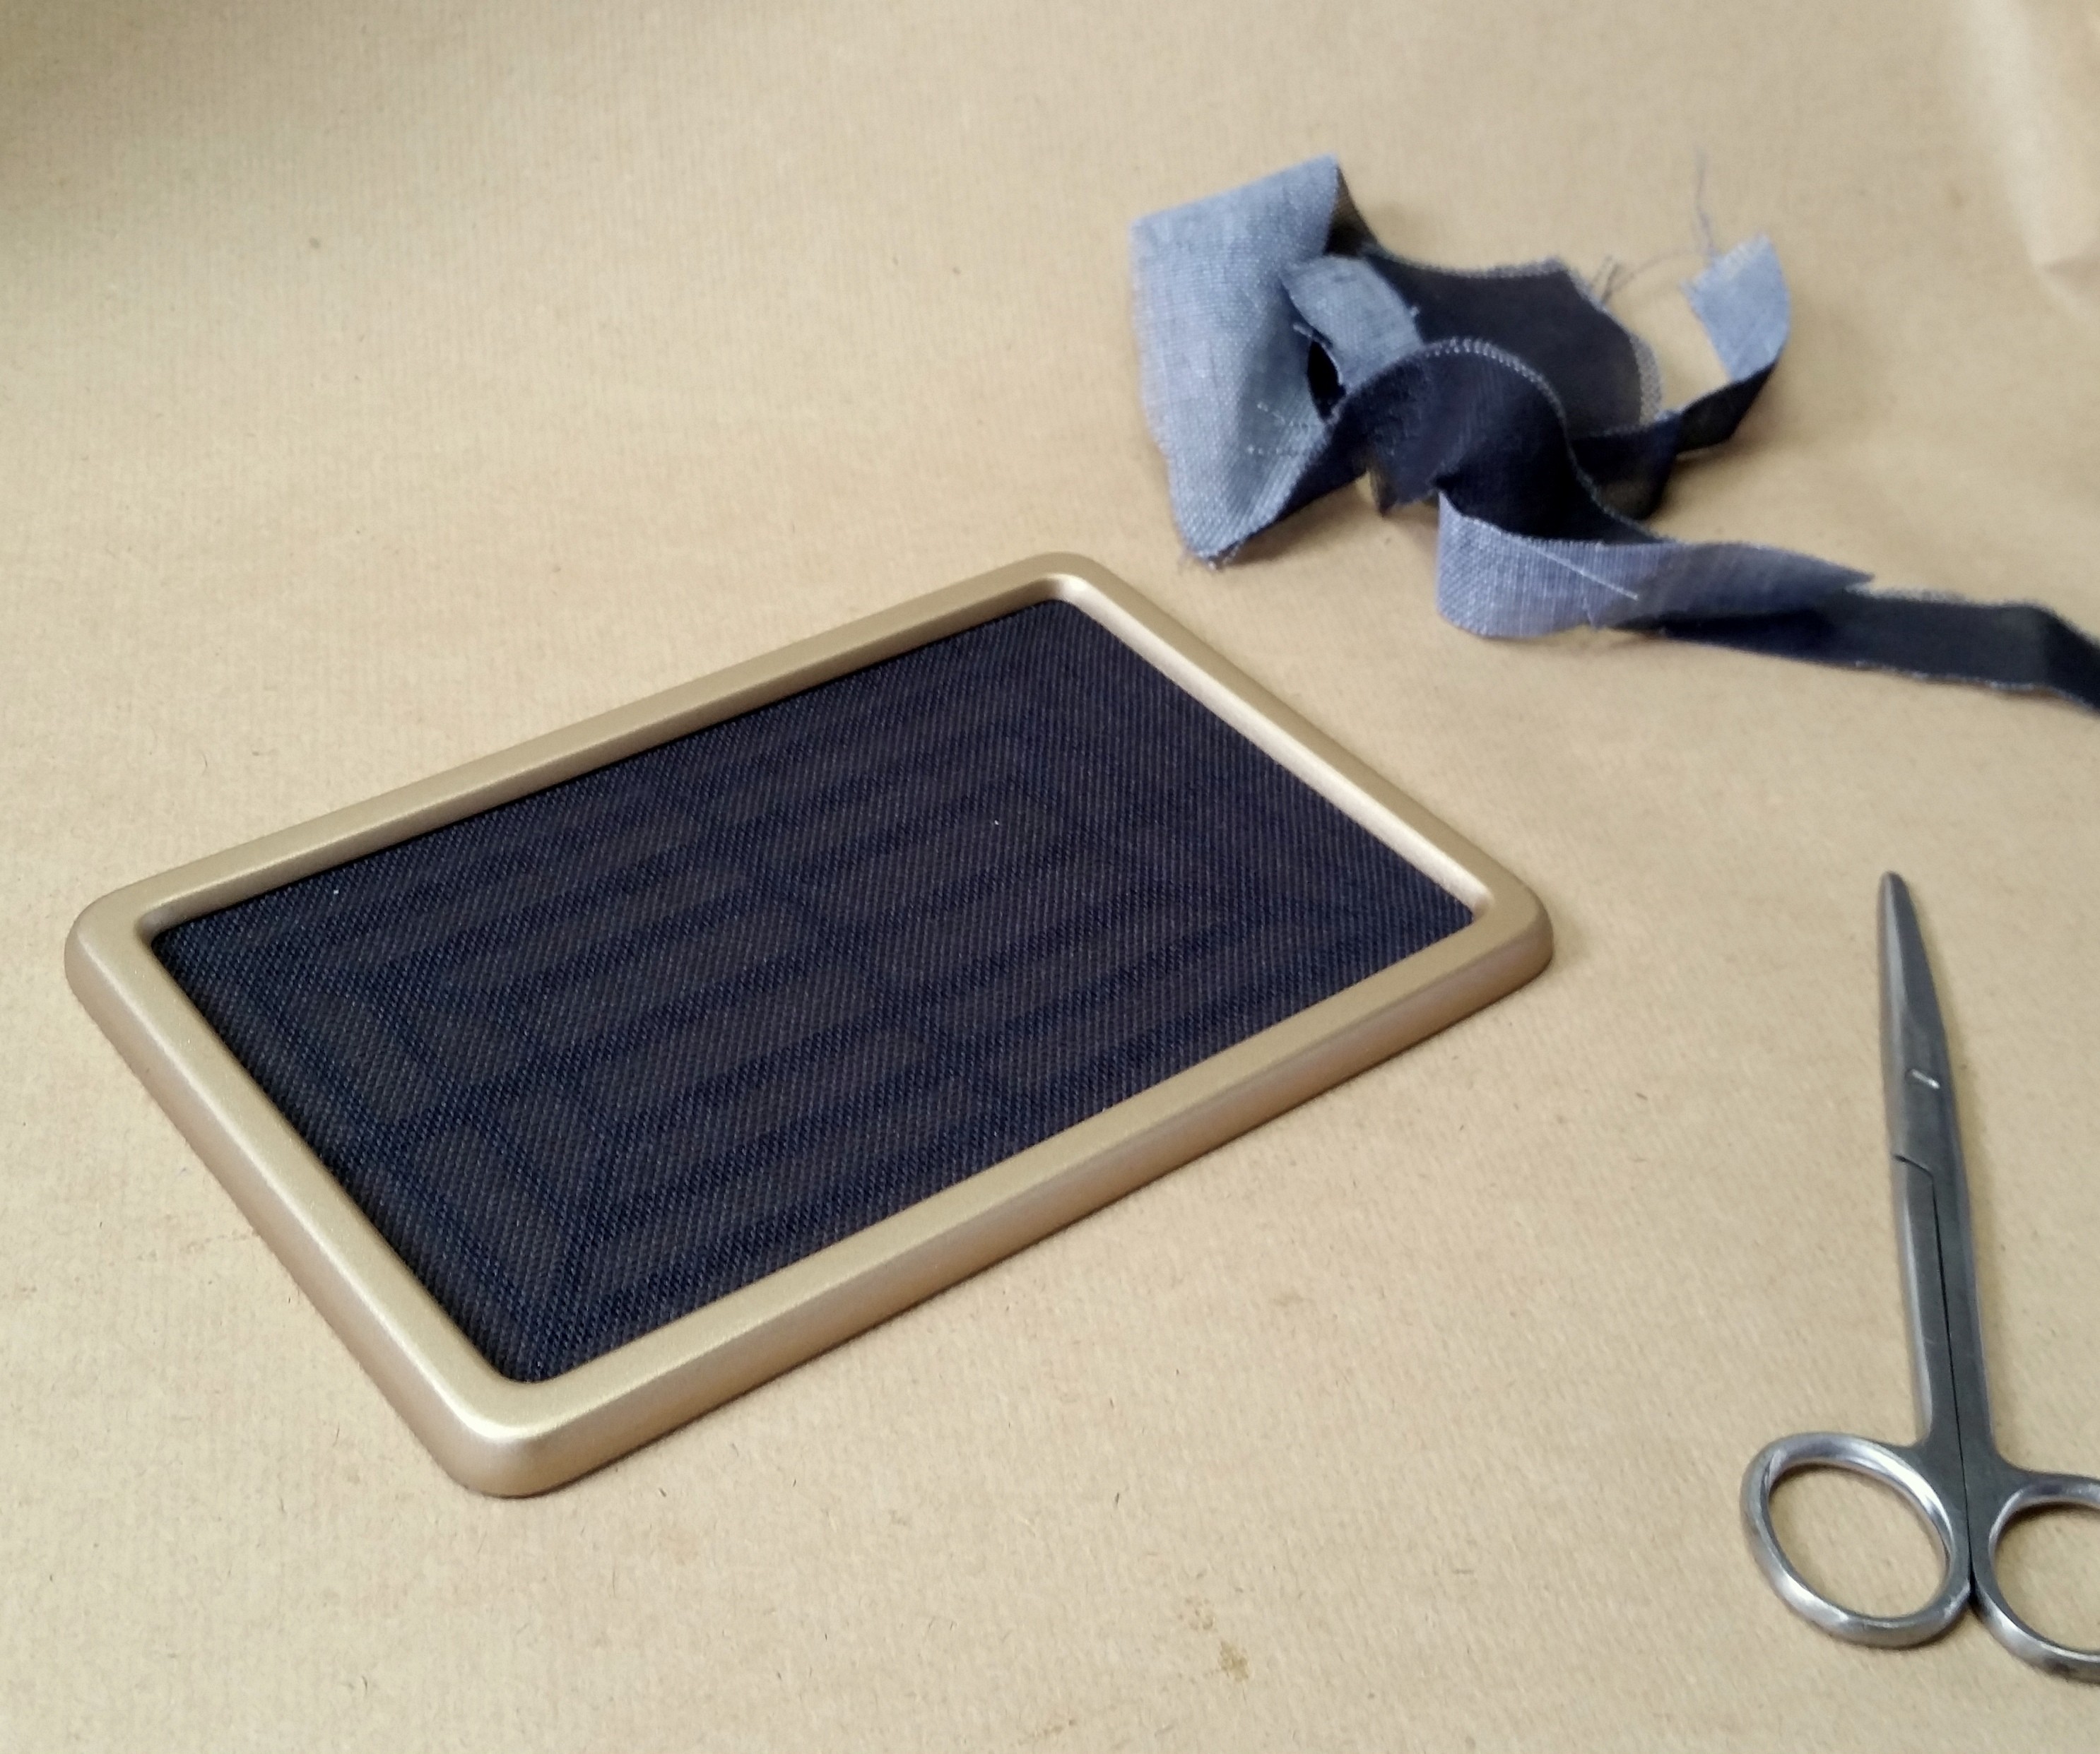
To finish off the aesthetics of the prototype I covered the front mesh in black speaker cloth before inserting it into the bezel and attaching it to the front of the enclosure.
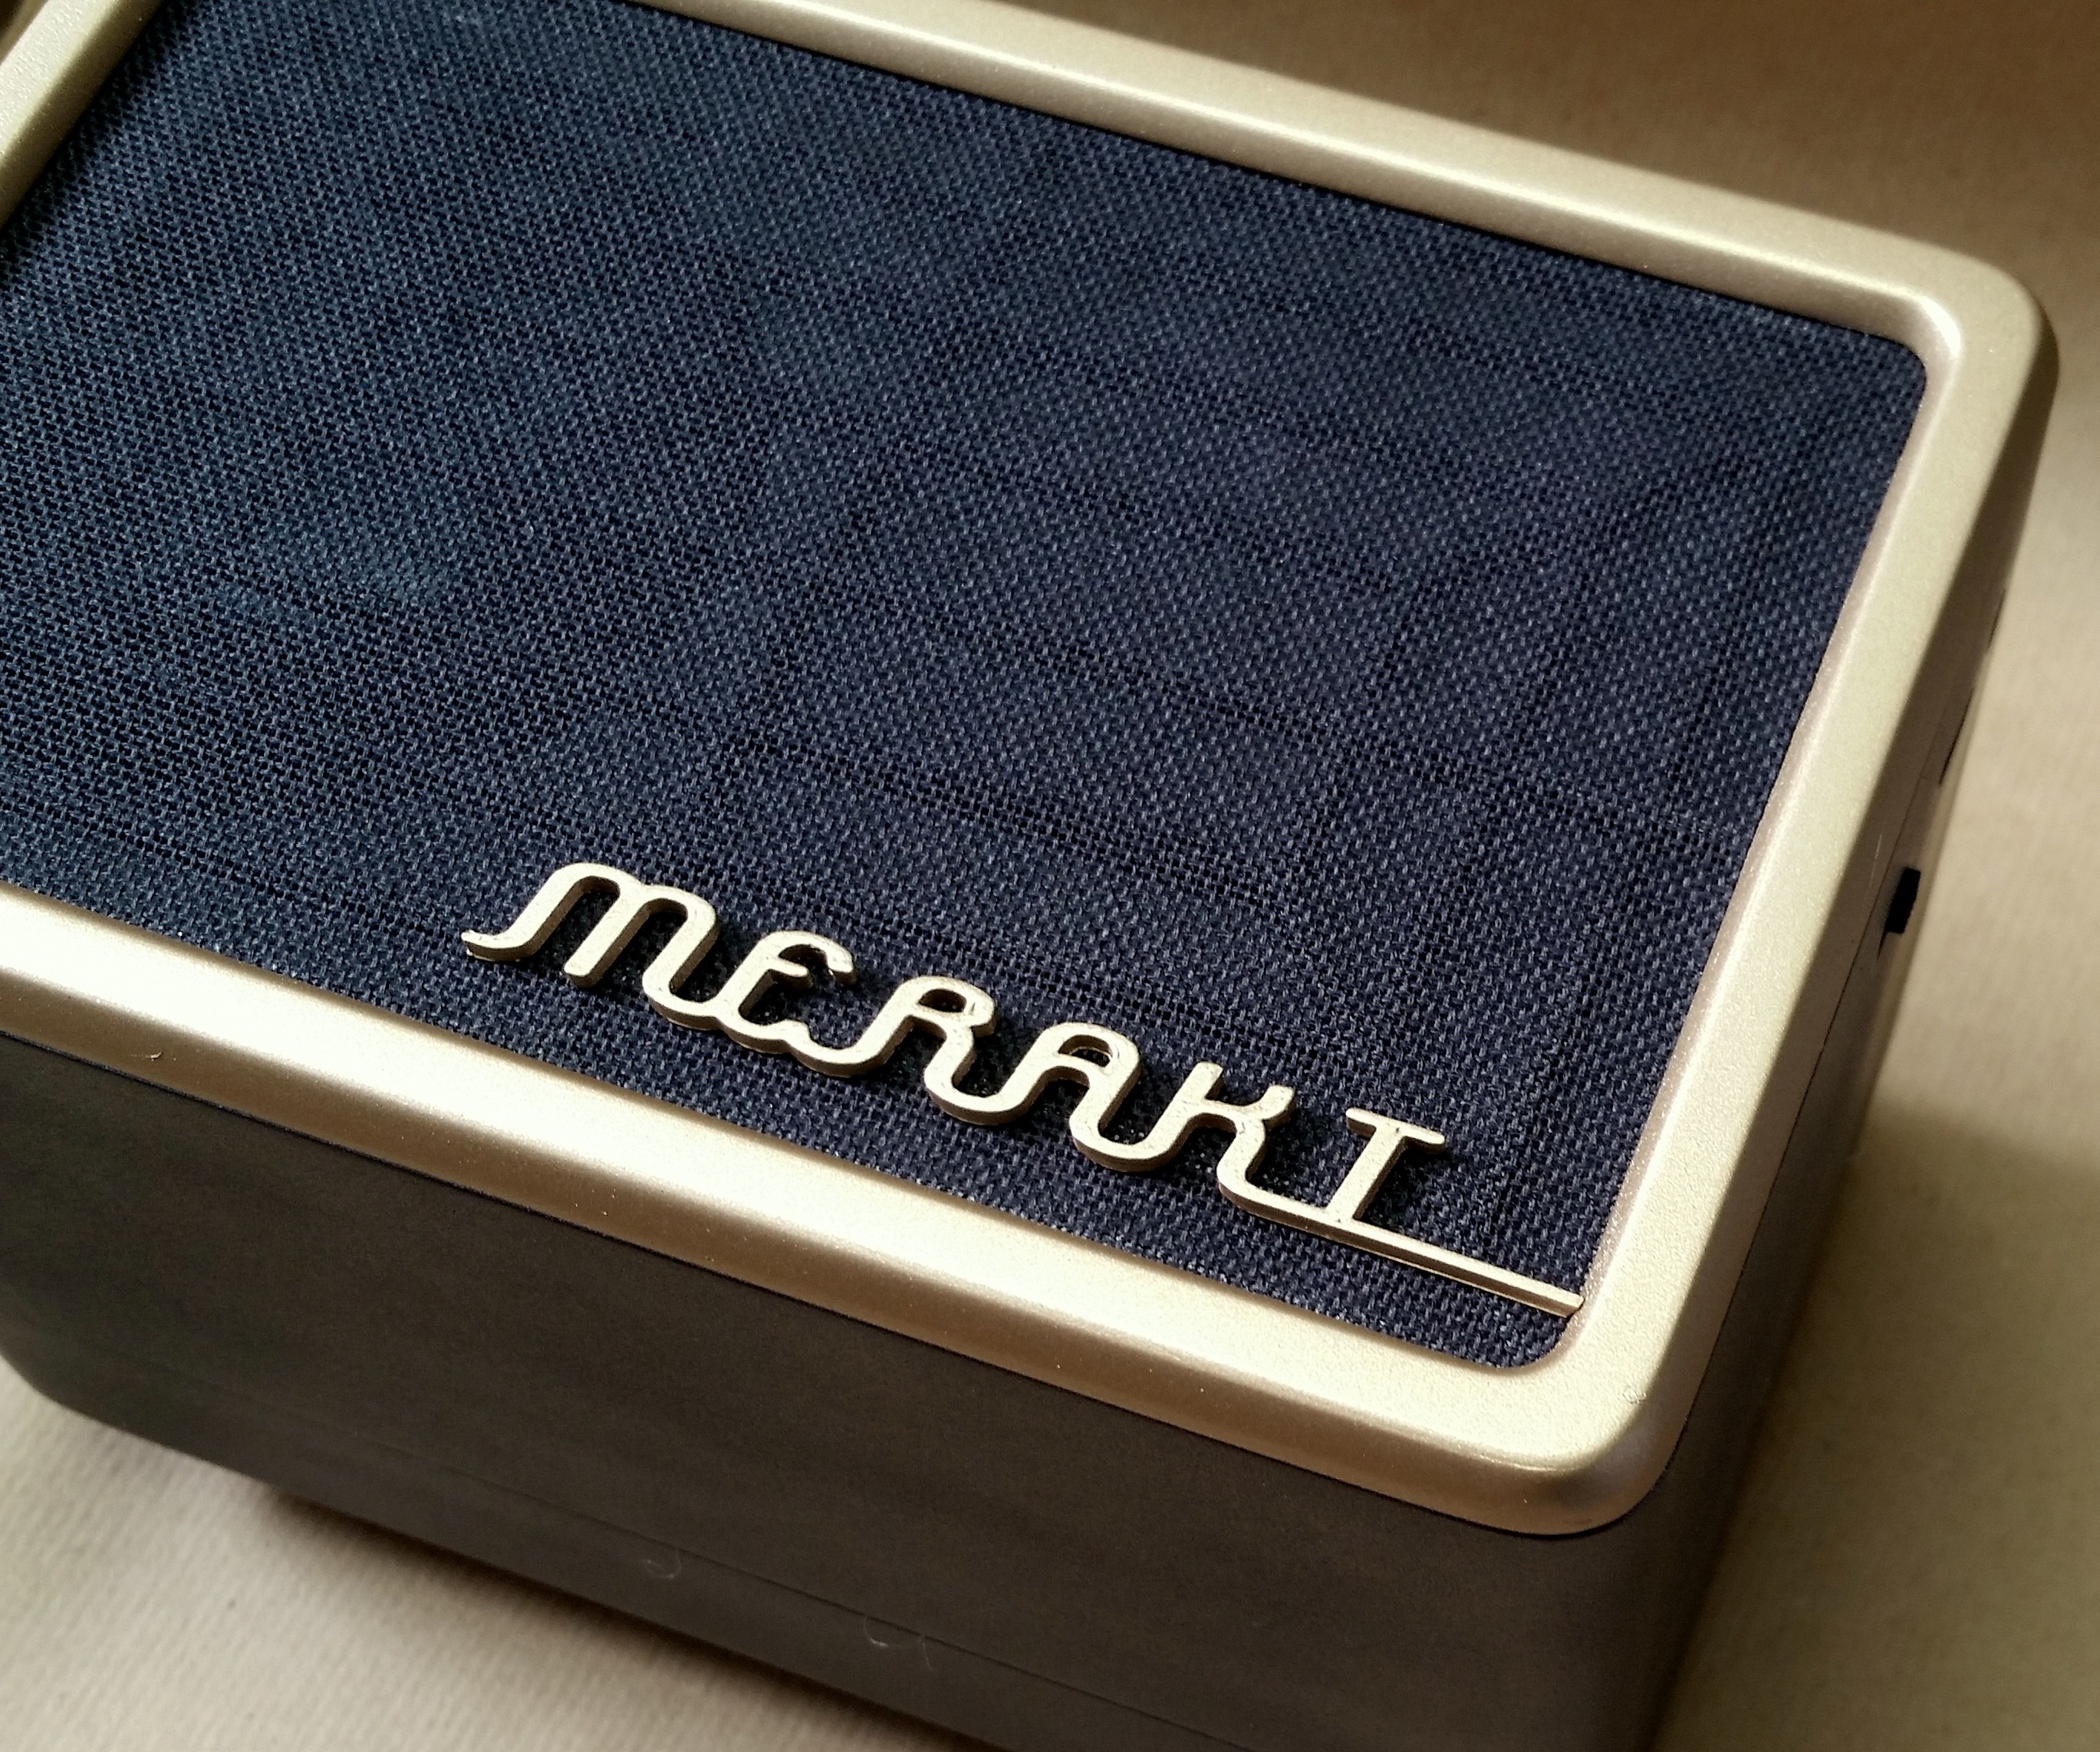
After finishing the speaker it looked a little boring so I quickly printed a badge for the front mesh, sprayed it in the same matt gold and attached it to the front.
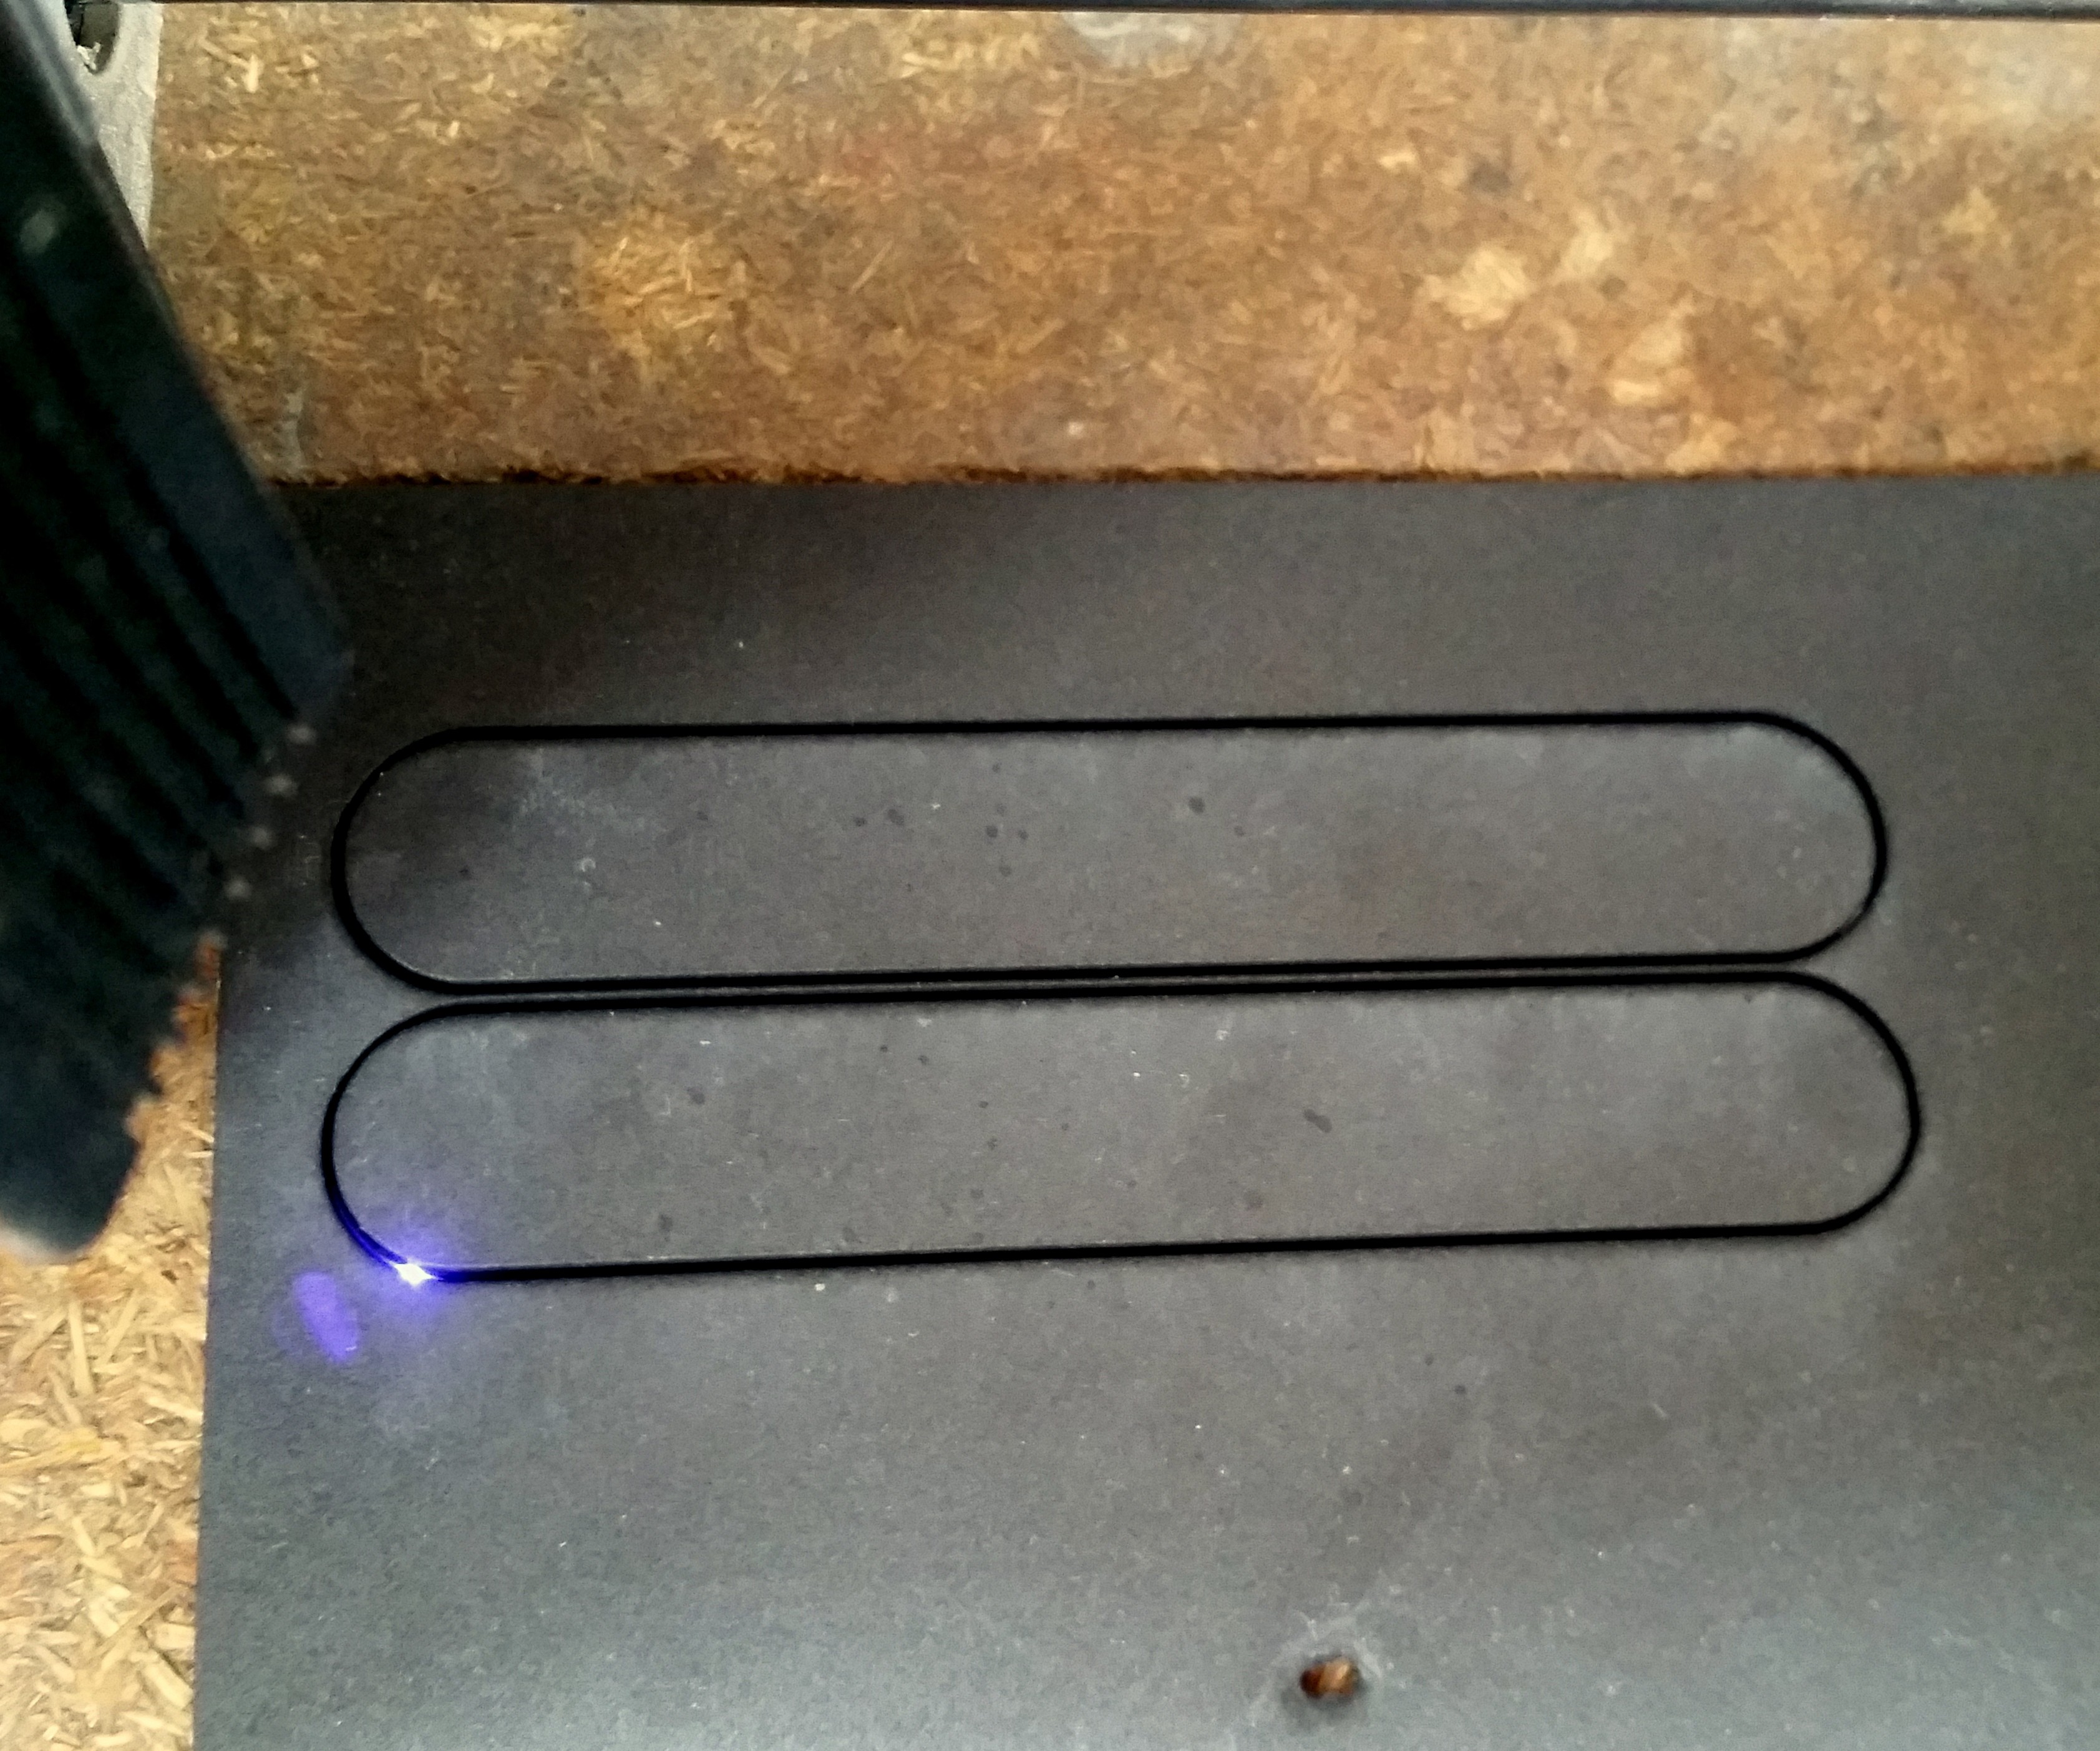
I also cut out some non slip pads for the bottom on my laser cutter from 2mm PVA foam.
Batteryless Supercapacitor Solar Speaker
Whilst listening in a sunny spot it stays 100% charged! If drained a charge of 10 minutes can easily get you 6 to 8 hours of playtime.


Discussions
Become a Hackaday.io Member
Create an account to leave a comment. Already have an account? Log In.