 Rex.Tang
Features
- Simple and clear design
- Easy to use
- Hi-Res DSD support
- AirPlay and Bluetooth support
- Low cost
- Low power use
Introduction
I have an old set of Denon speakers that can only play CDs and tapes, which is outdated. This has inspired me to come up with an idea.
I plan to use Volumio as a digital playback system and hope that the appearance is as good-looking as possible, while keeping the cost low.
Volumio support AirPlay and Bluetooth. That's perfect. Alternatively, I can use piCorePlayer or Moode Audio Player instead.
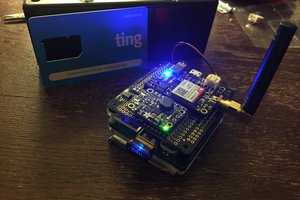
This is the effect of placing the DIY finished product next to the Denon speaker. It looks pretty durable, doesn't it?


System Description

Rendering

Case
The 10inch-Player case is made up of three materials: aluminum profile, acrylic, and 3D printed parts, along with some screws and foot pads.

Exploded-view

7.84 Touchscreen
At first I wanted to choose the waveshare screen, but then I found that the waveshare screen was not suitable for this structure and could not be used. Then I found this touchscreen from wisdPi. They use the same software. And this screen panel and driver board is independent, more suitable for diy installation
The 7.84-inch touch screen is glued to the 3D-printed bracket and then slid into the aluminum profile for fixation.

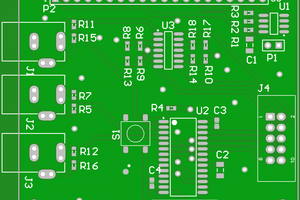
Internal circuit board

HDMI to MIPI board
This is the driver board for 7.84 LCD. It's a part of 7.84 Touchscreen.
Raspberry Pi 3B+
For Volumio, I think RPi 3B+ is more suitable because it is much cheaper, has sufficient performance, and supports Bluetooth and 5G Wifi.
wisdPi HiFi DAC
There are many HiFi DACs, but I choose the one from wisdPi.
This HAT has an active power noise reduction function, and I can use a cheaper power adapter.
Also it has an external power interface, next I will try to use a low power linear power supply to power the dac alone, which is cheaper than using a linear power supply to power the whole system. Also I can try to power the DAC directly with a battery.
Sumolink Erhu RP2040
To control WS2812 RGB strip and the power next step, I use an rp2040 mcu.
I used the rp2040 instead of the Raspberry Pi gpio because it was difficult for me to modify the volumio. And using an external mcu gives me more freedom and I can control more devices, such as the LCD brightness, RPi power on or power off.
Just because the price, I choose Sumolink Erhu RP2040, you can use any rp2040 mcu board as the same.


 Ricardo Vieira
 fhlipZero
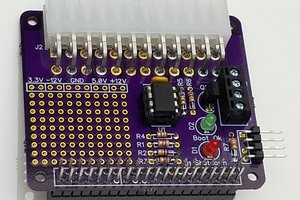
 tomtibbetts
Nice! Looking really cool, what software setup did you end up using?