Close
0%
0%

CyberTapeDeck

An 80's style tape recorder inspired cyberdeck

Similar projects worth following
A Cyberdeck style case I've been working on the last few months. The overall plan was to create a case with a screen I could use out in the garage to work on projects out there in the winter as well as have something to work on teaching my son about scratch and programming.

In 1980 when I turned 6 years old my aunt gave me a tape recorder and the movie Grease soundtrack for my birthday. I wore the tape to nothing, started a 'radio station' with my sister and had all sorts of fun with it. In the back of my head, I always imagined some sort of a screen where the cassette tape would go, and when I started thinking of building a cyberdeck that tape recorder was where my head kept going back to.

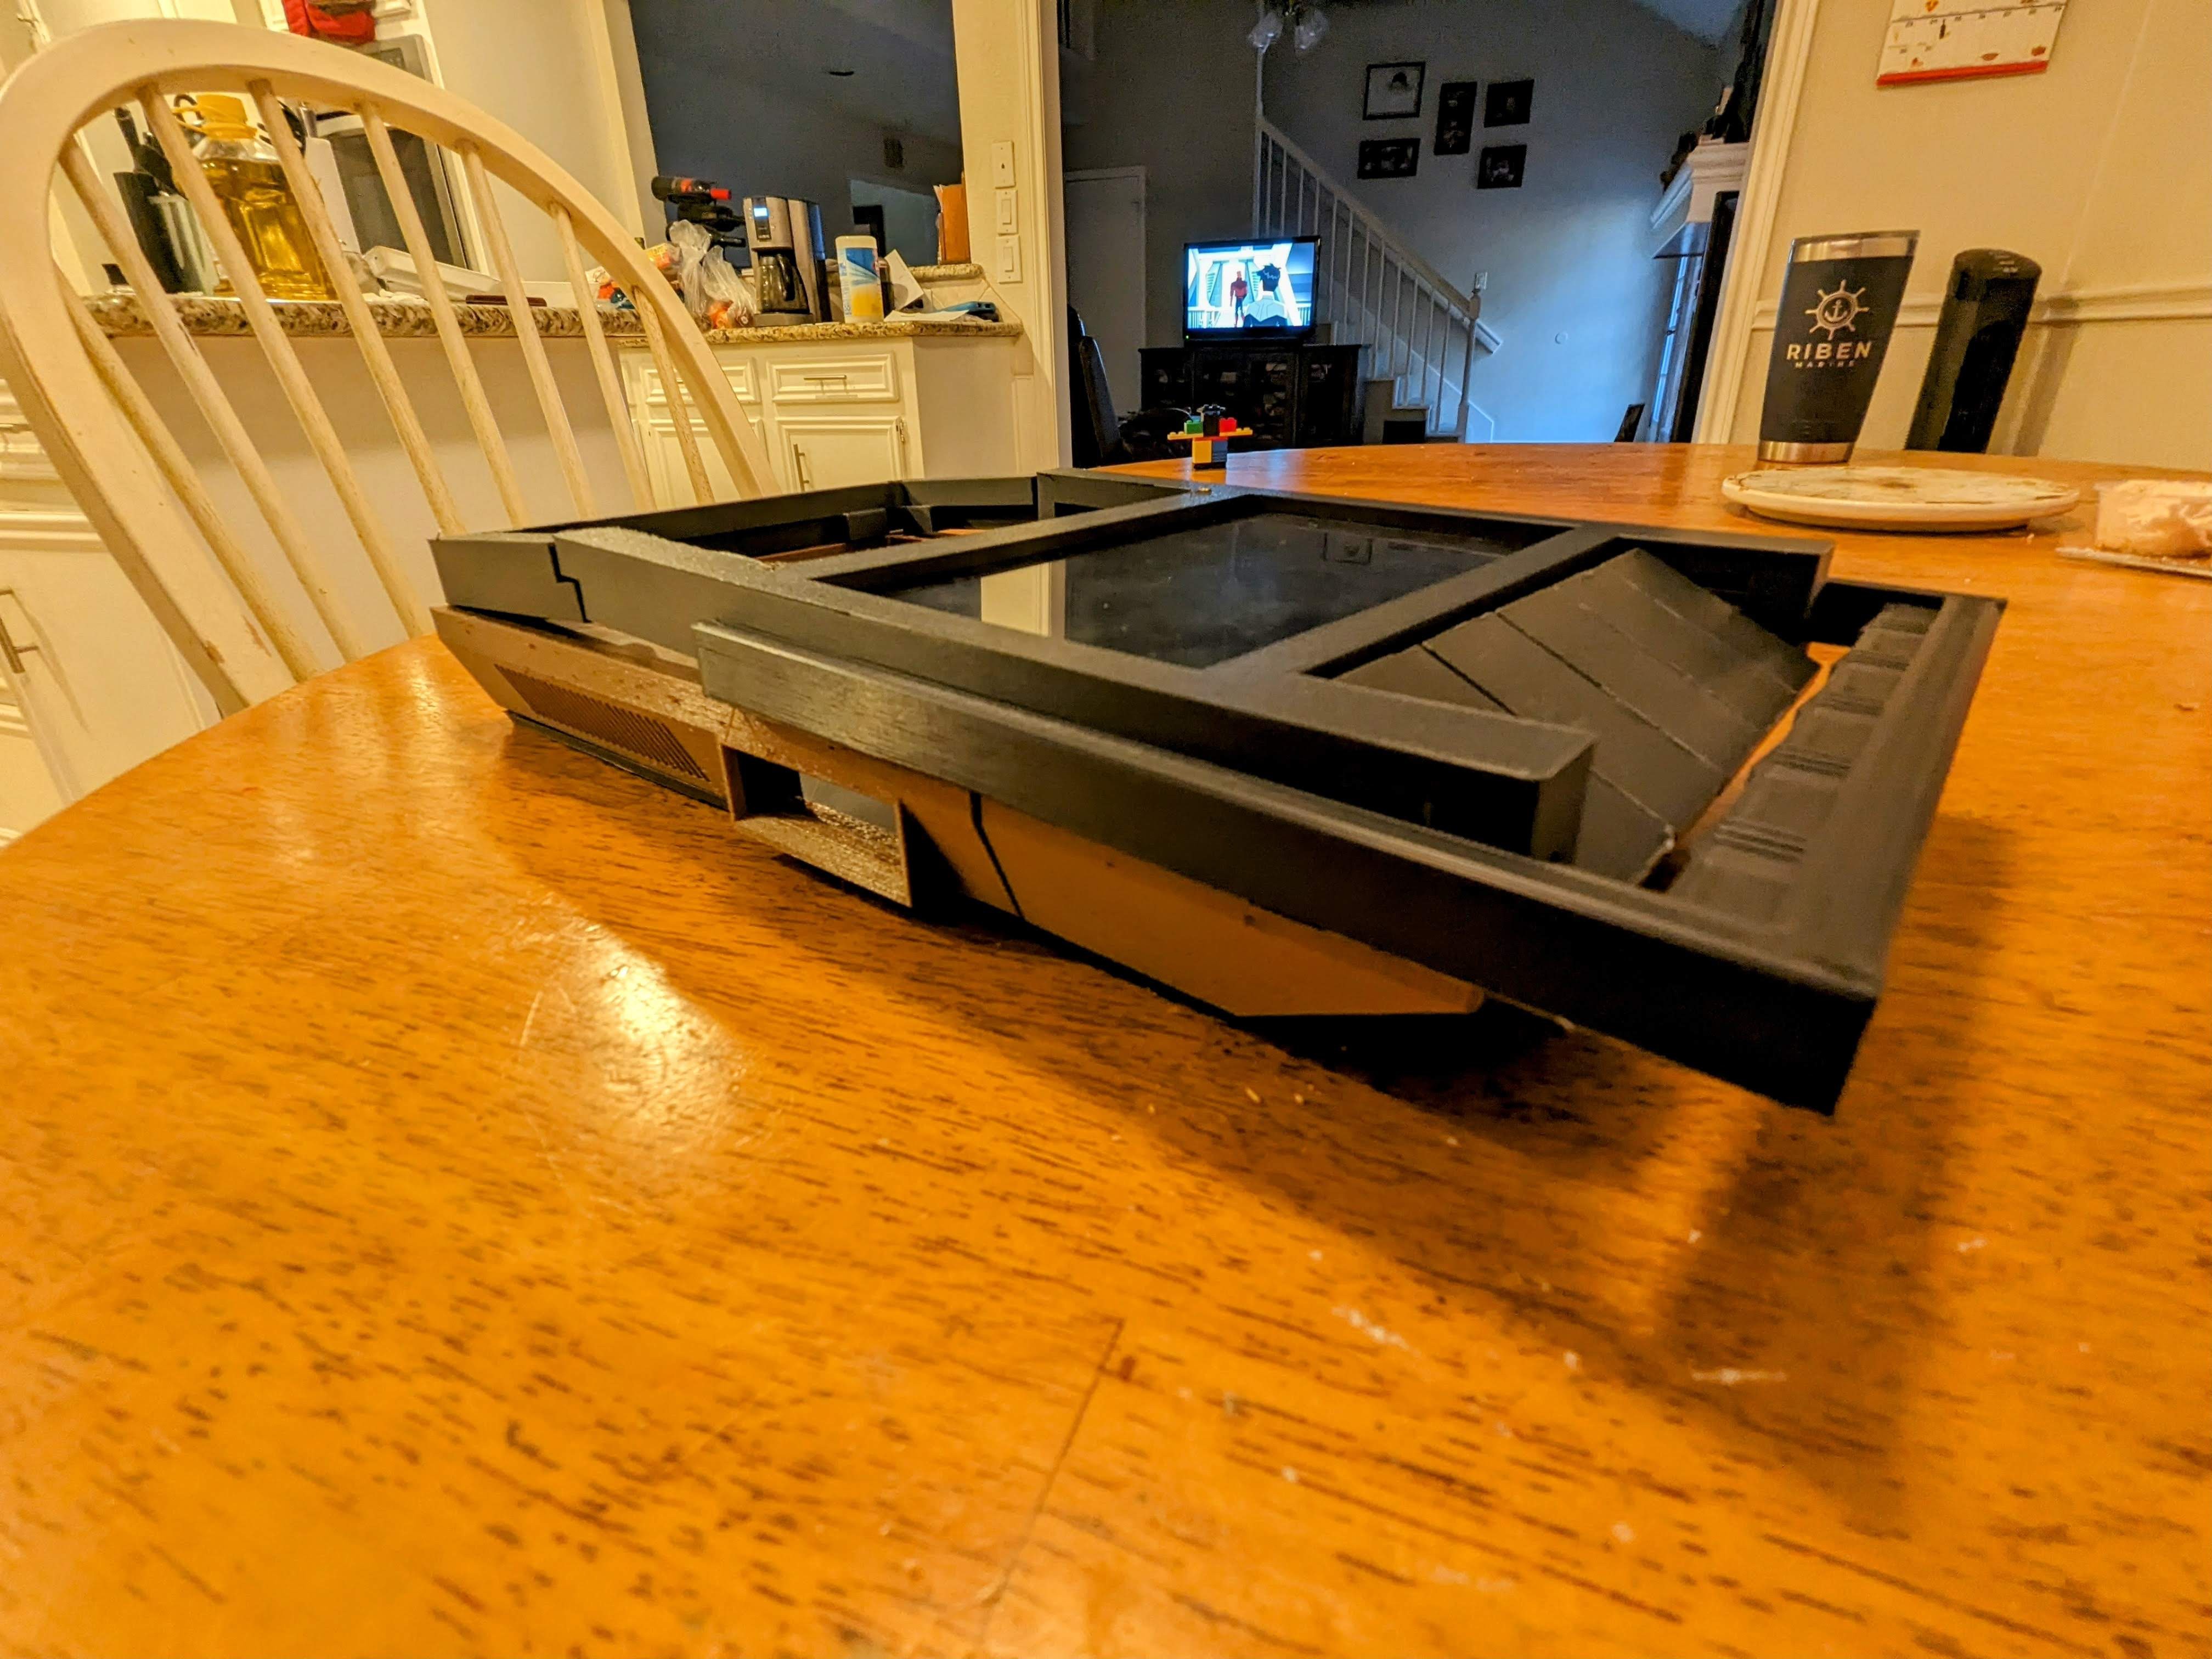
Lately i've been looking to teach my now 7-year-old son scratch and wanting a setup that minimized exposed wires. I was additionally starting to see cyberdeck style devices pop up on reddit and decided to create something along those lines.

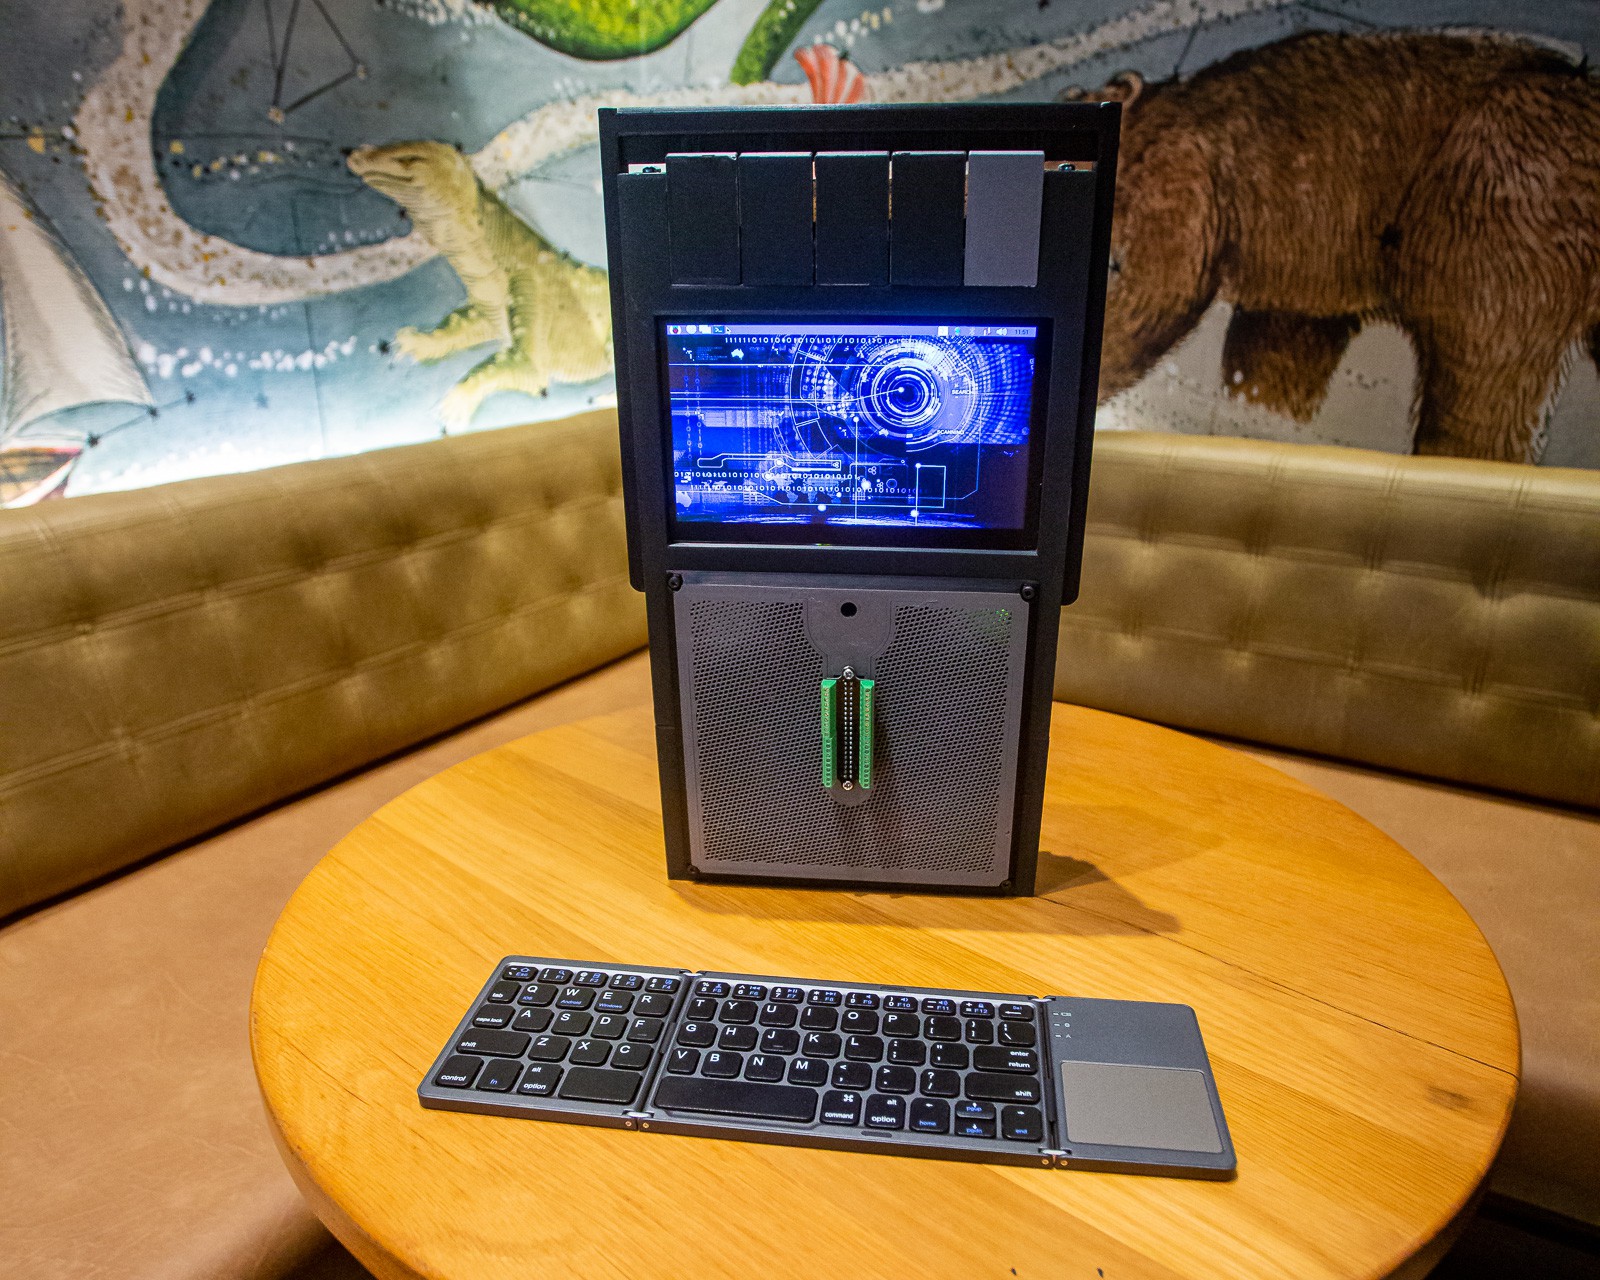
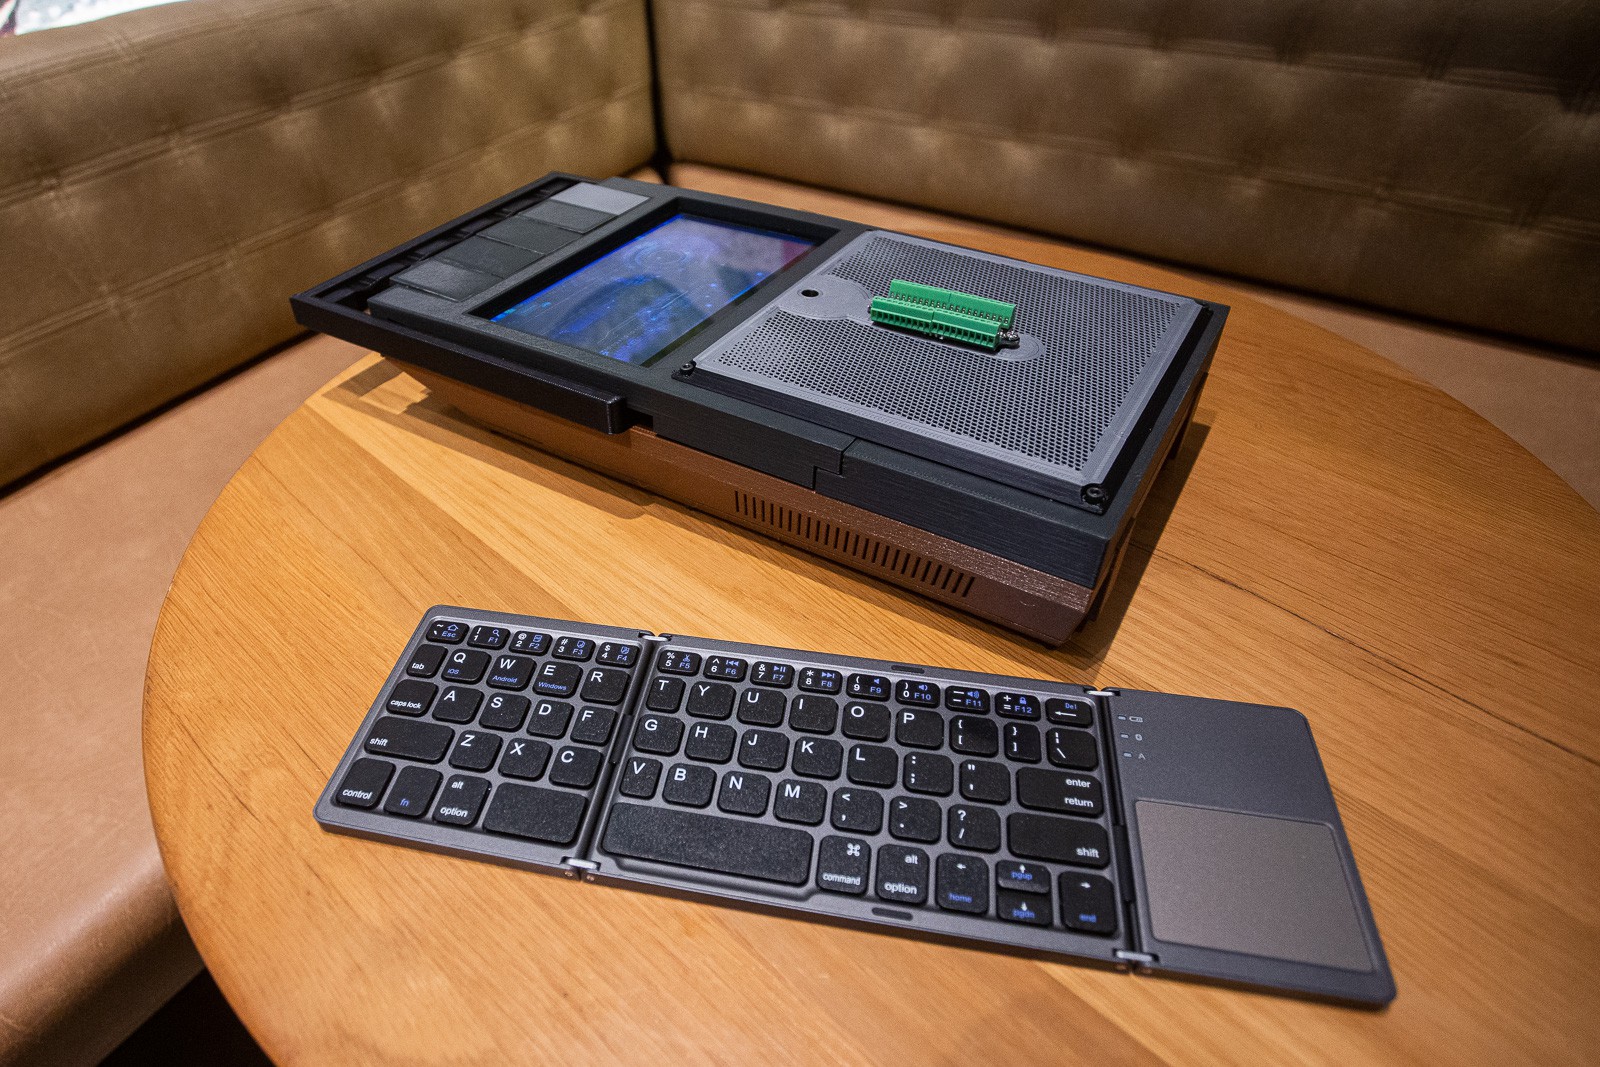
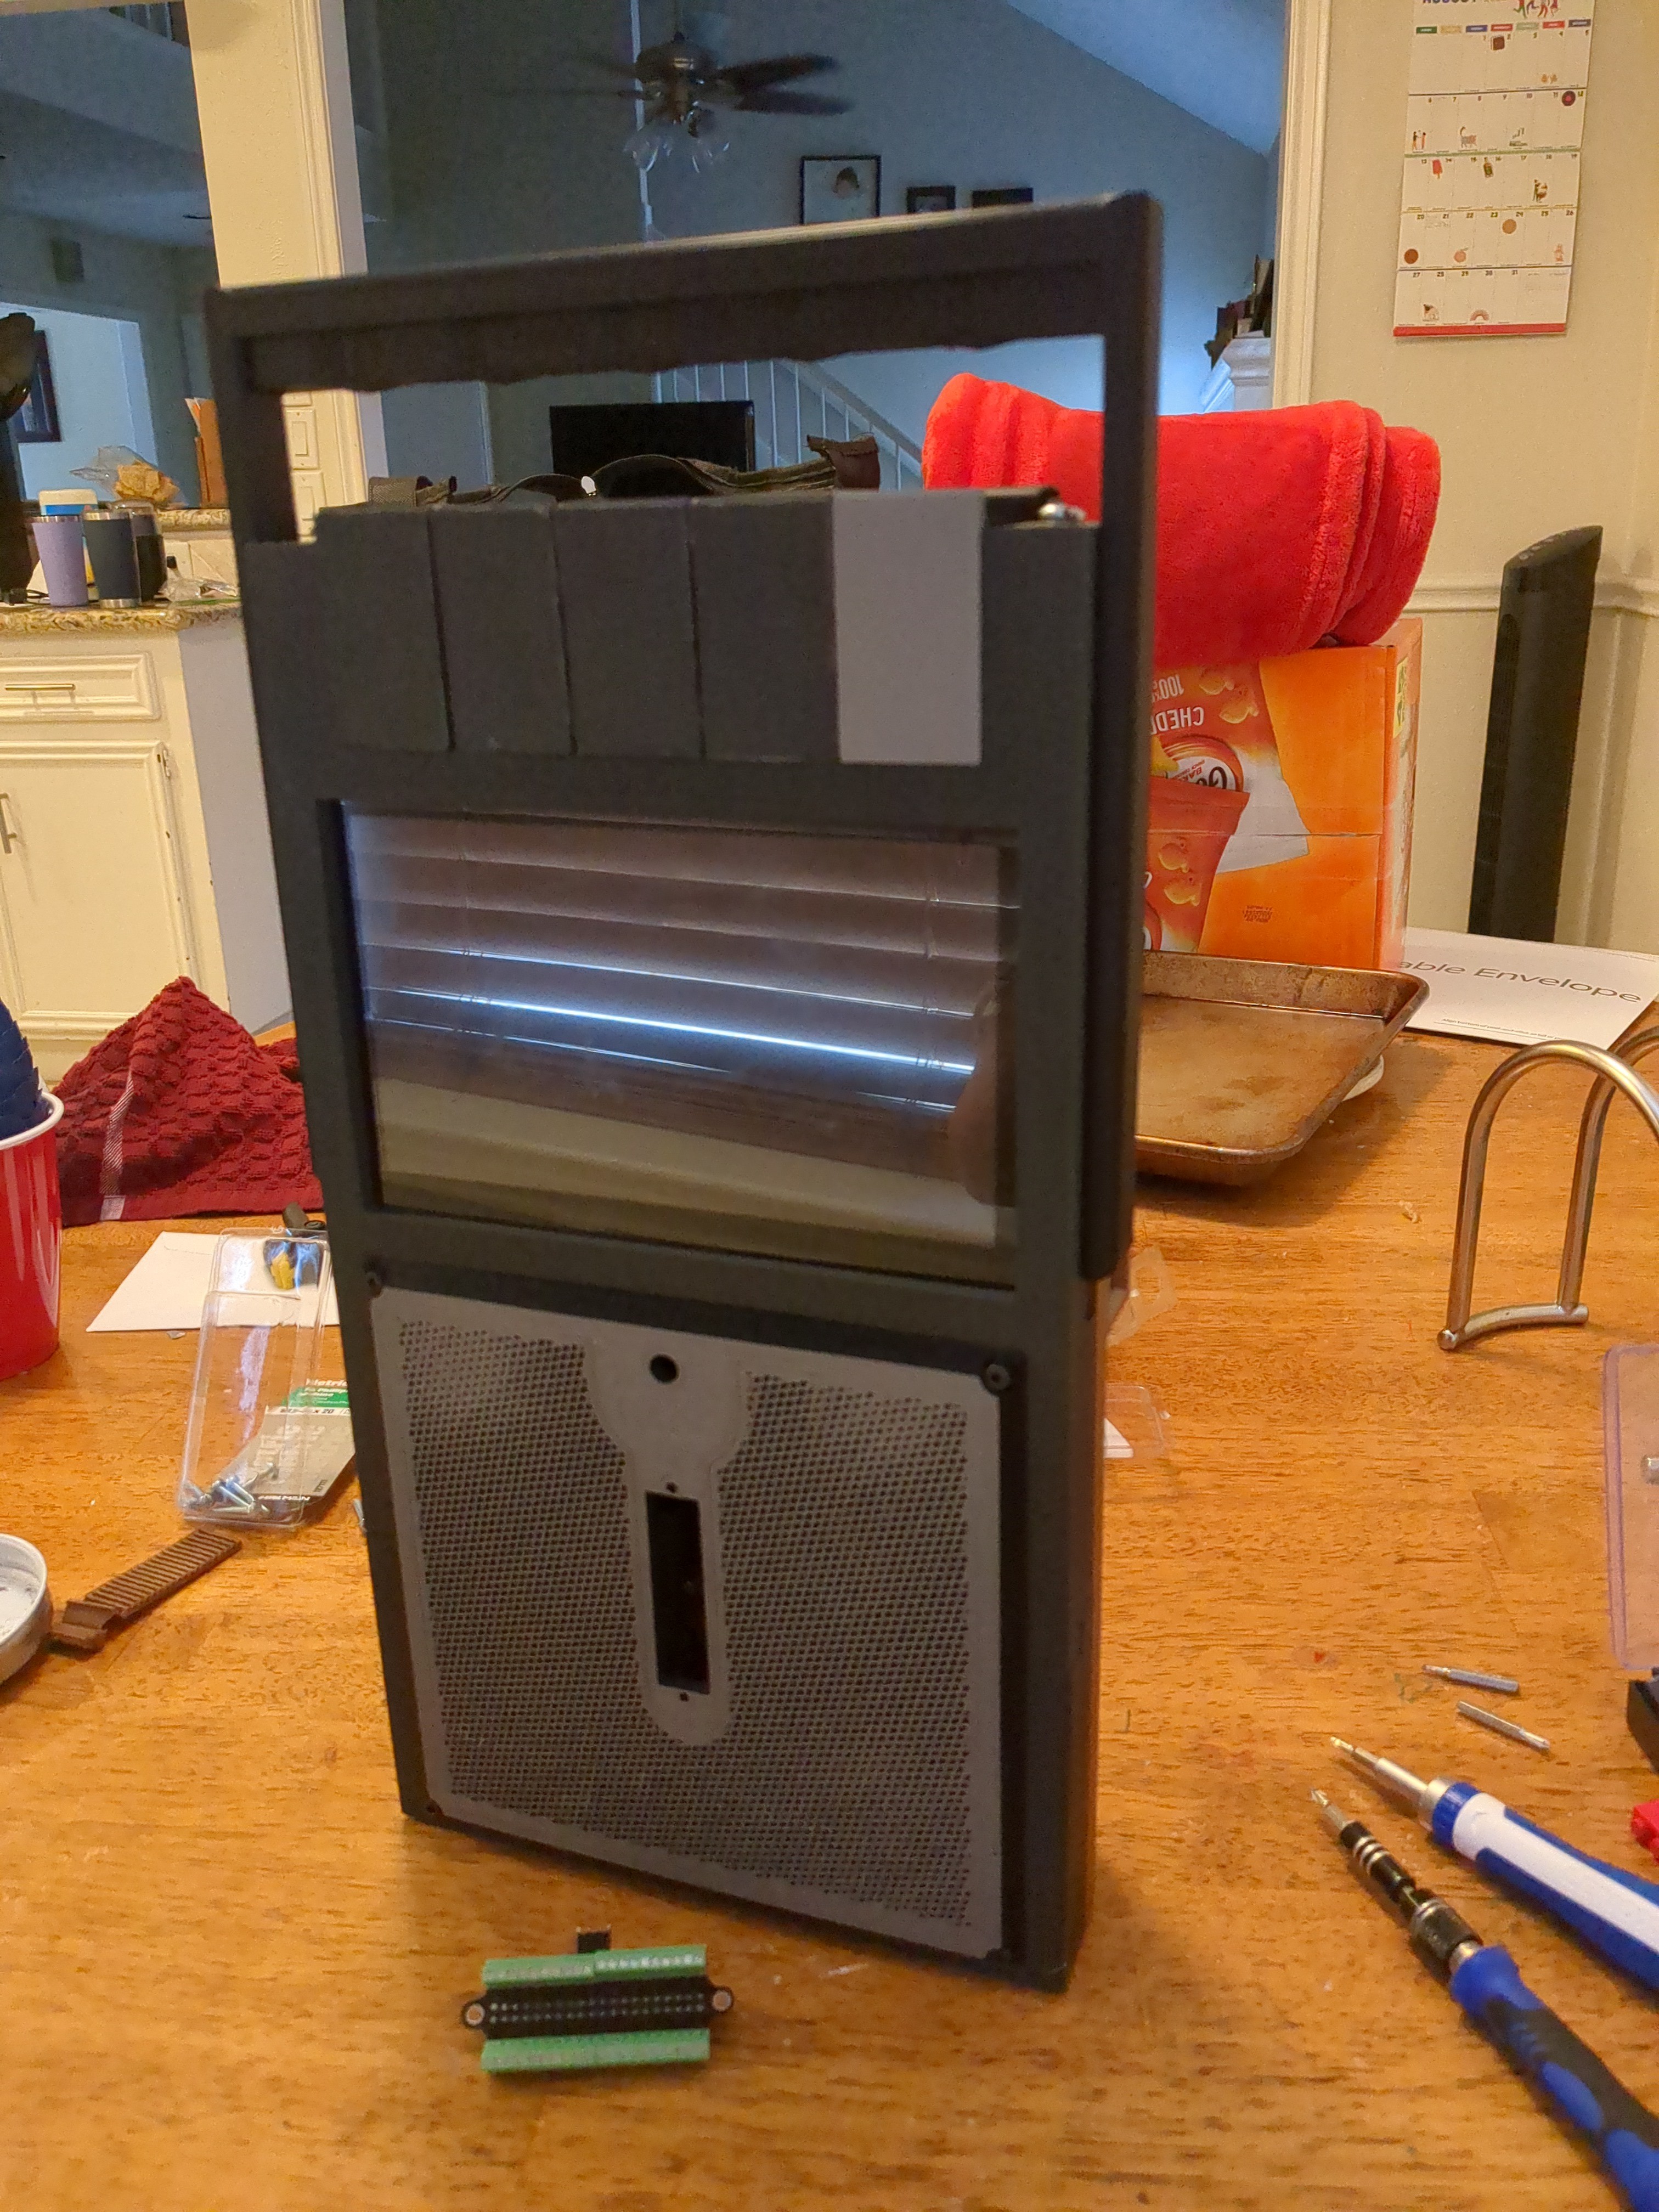
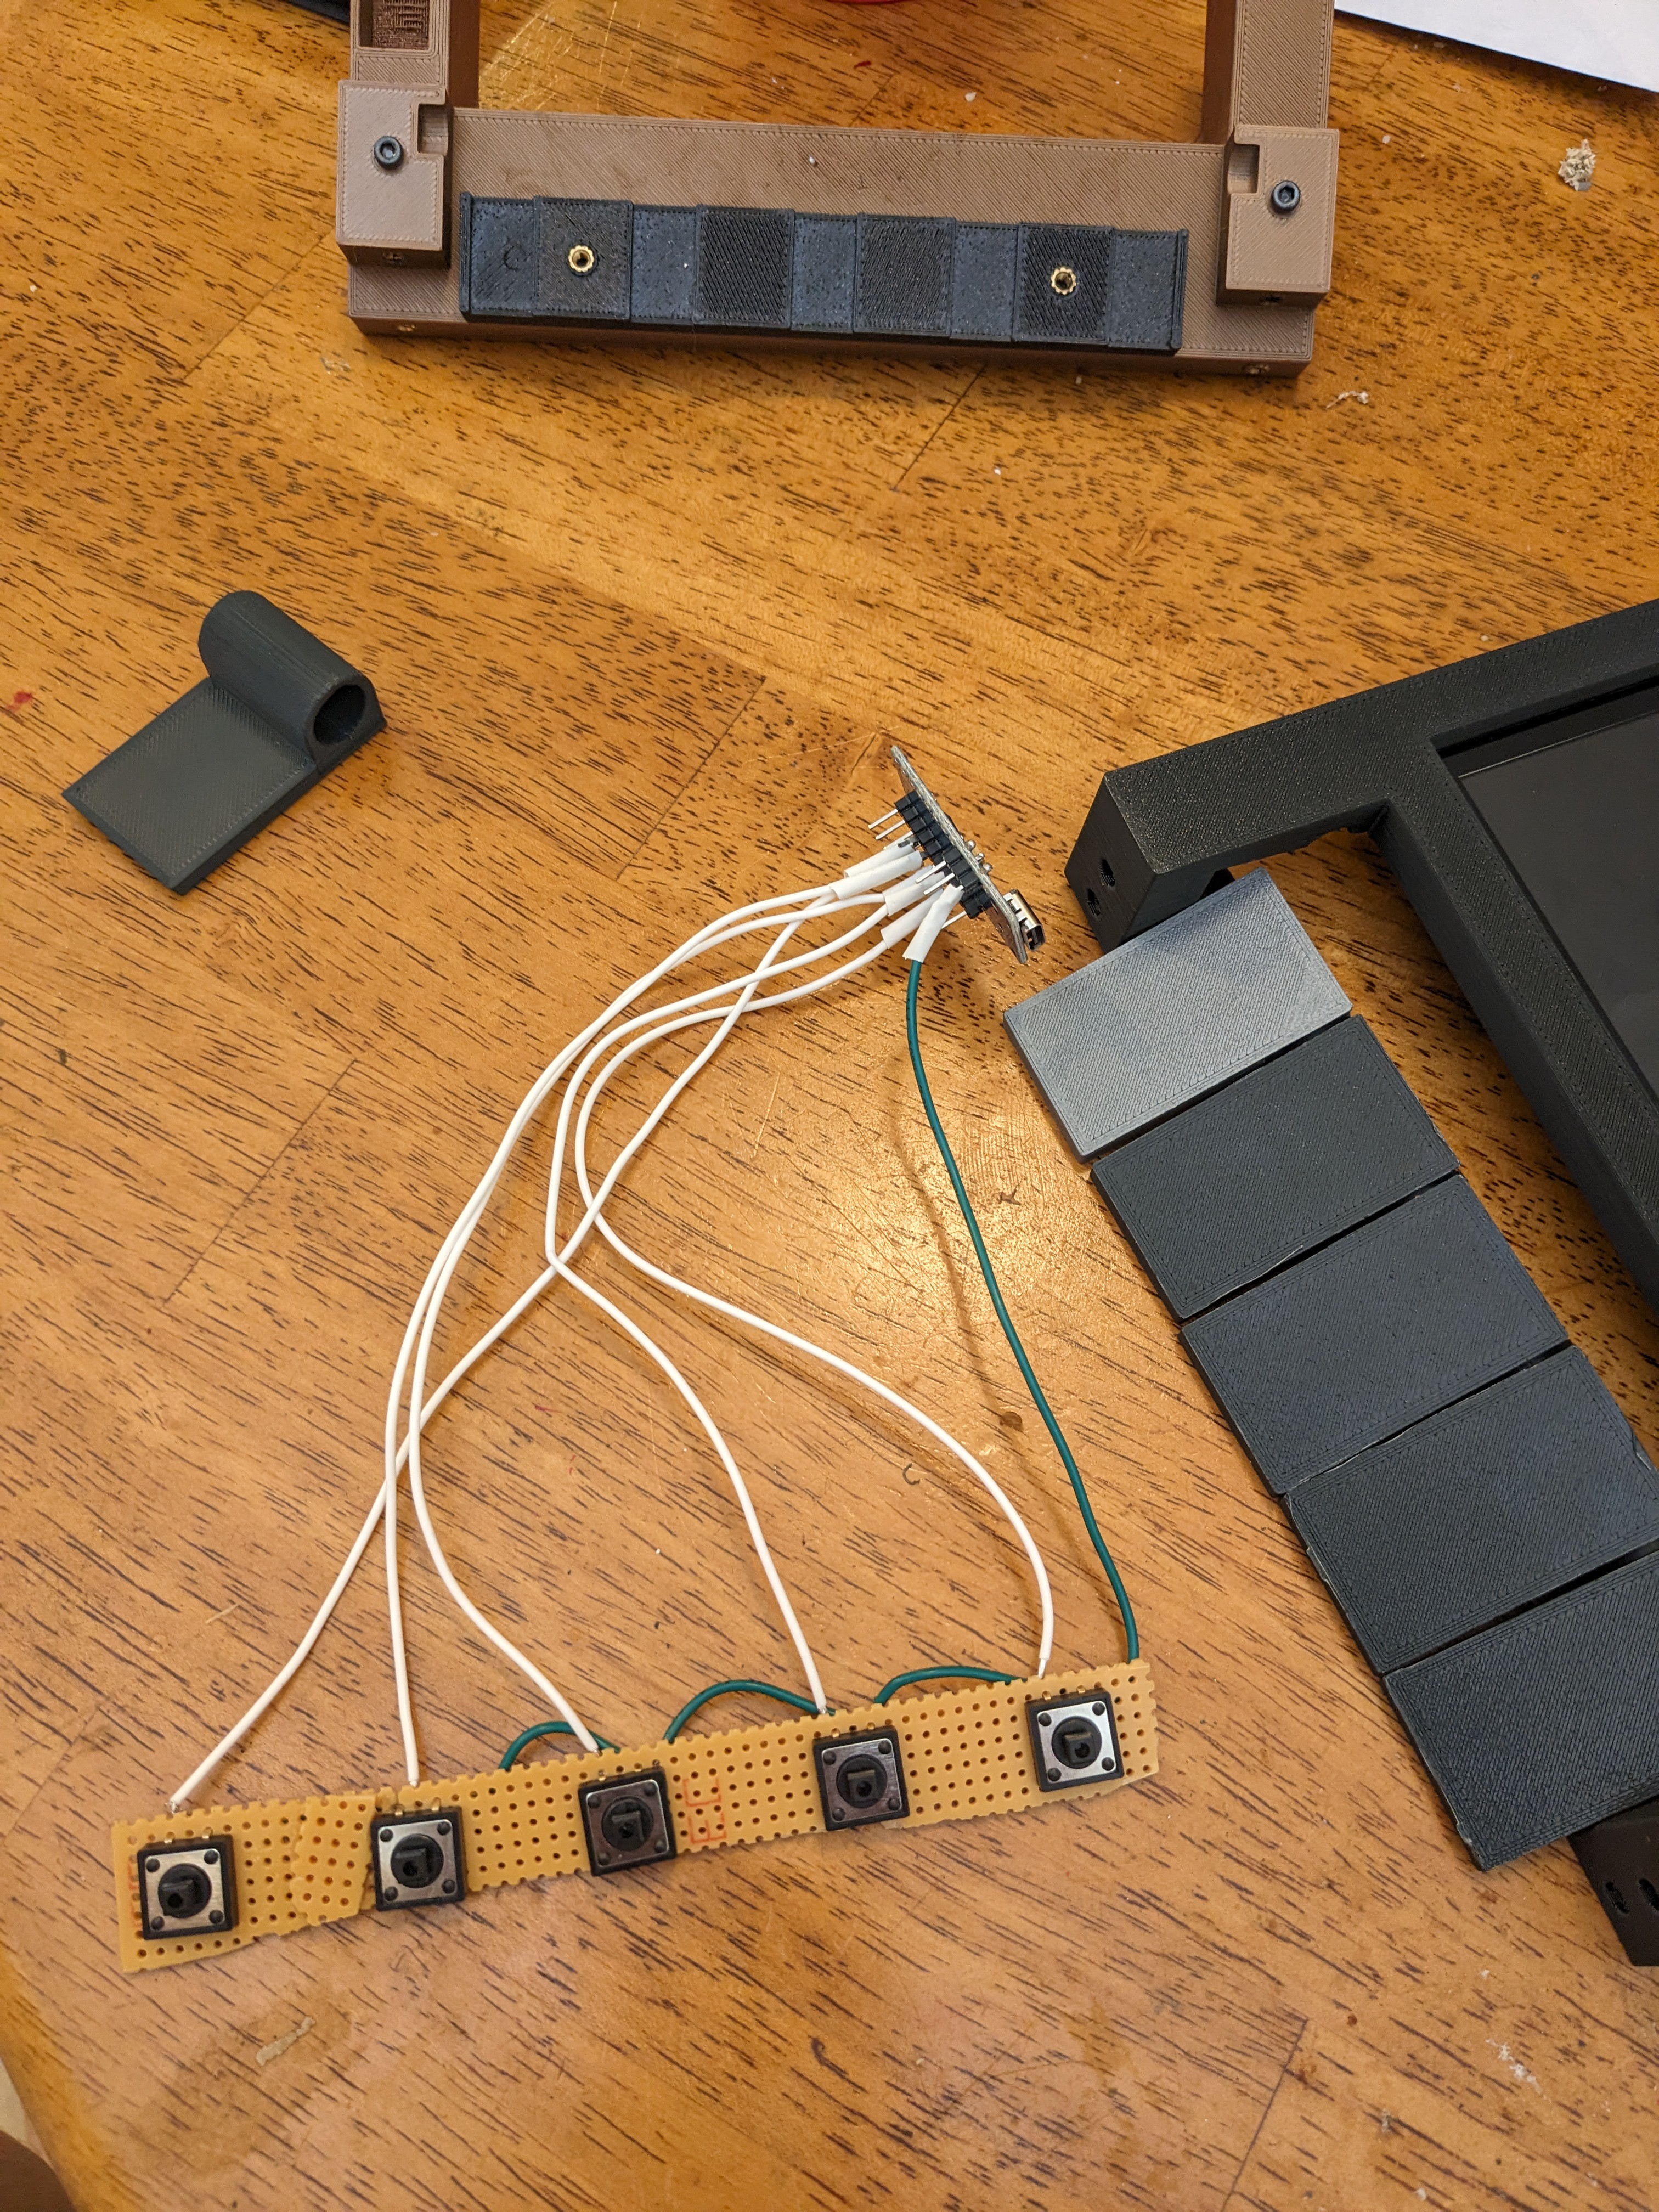
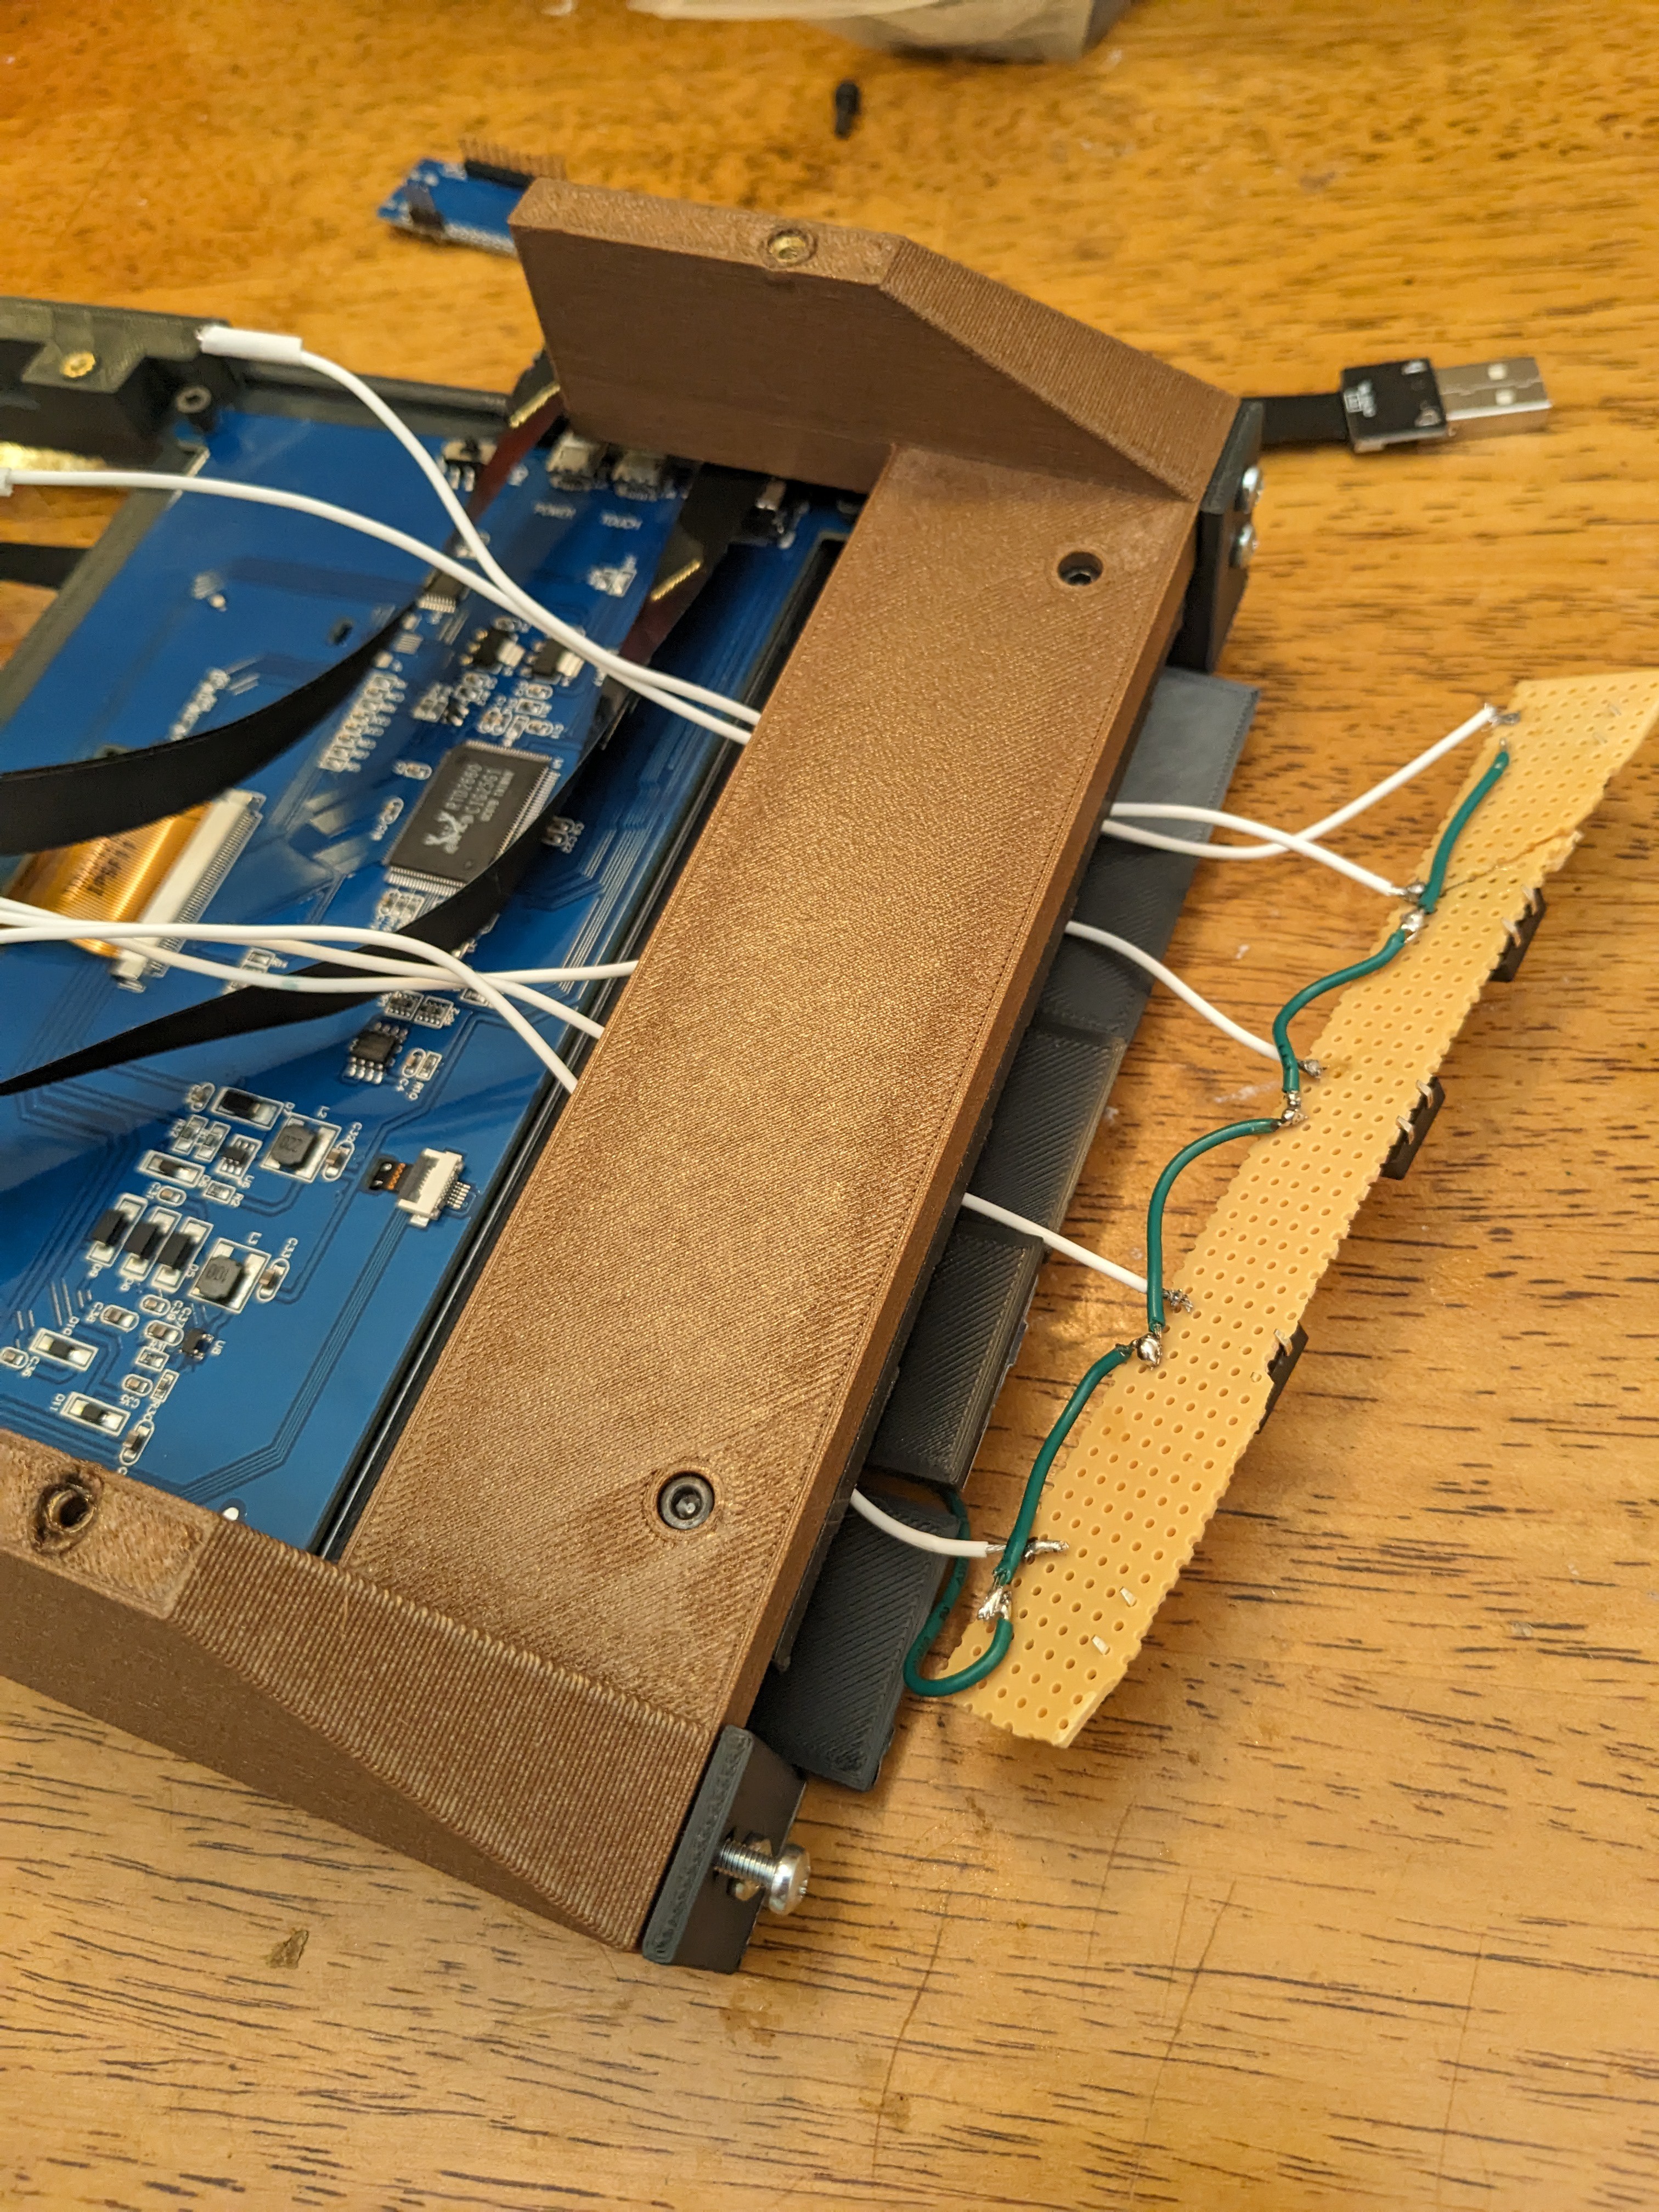
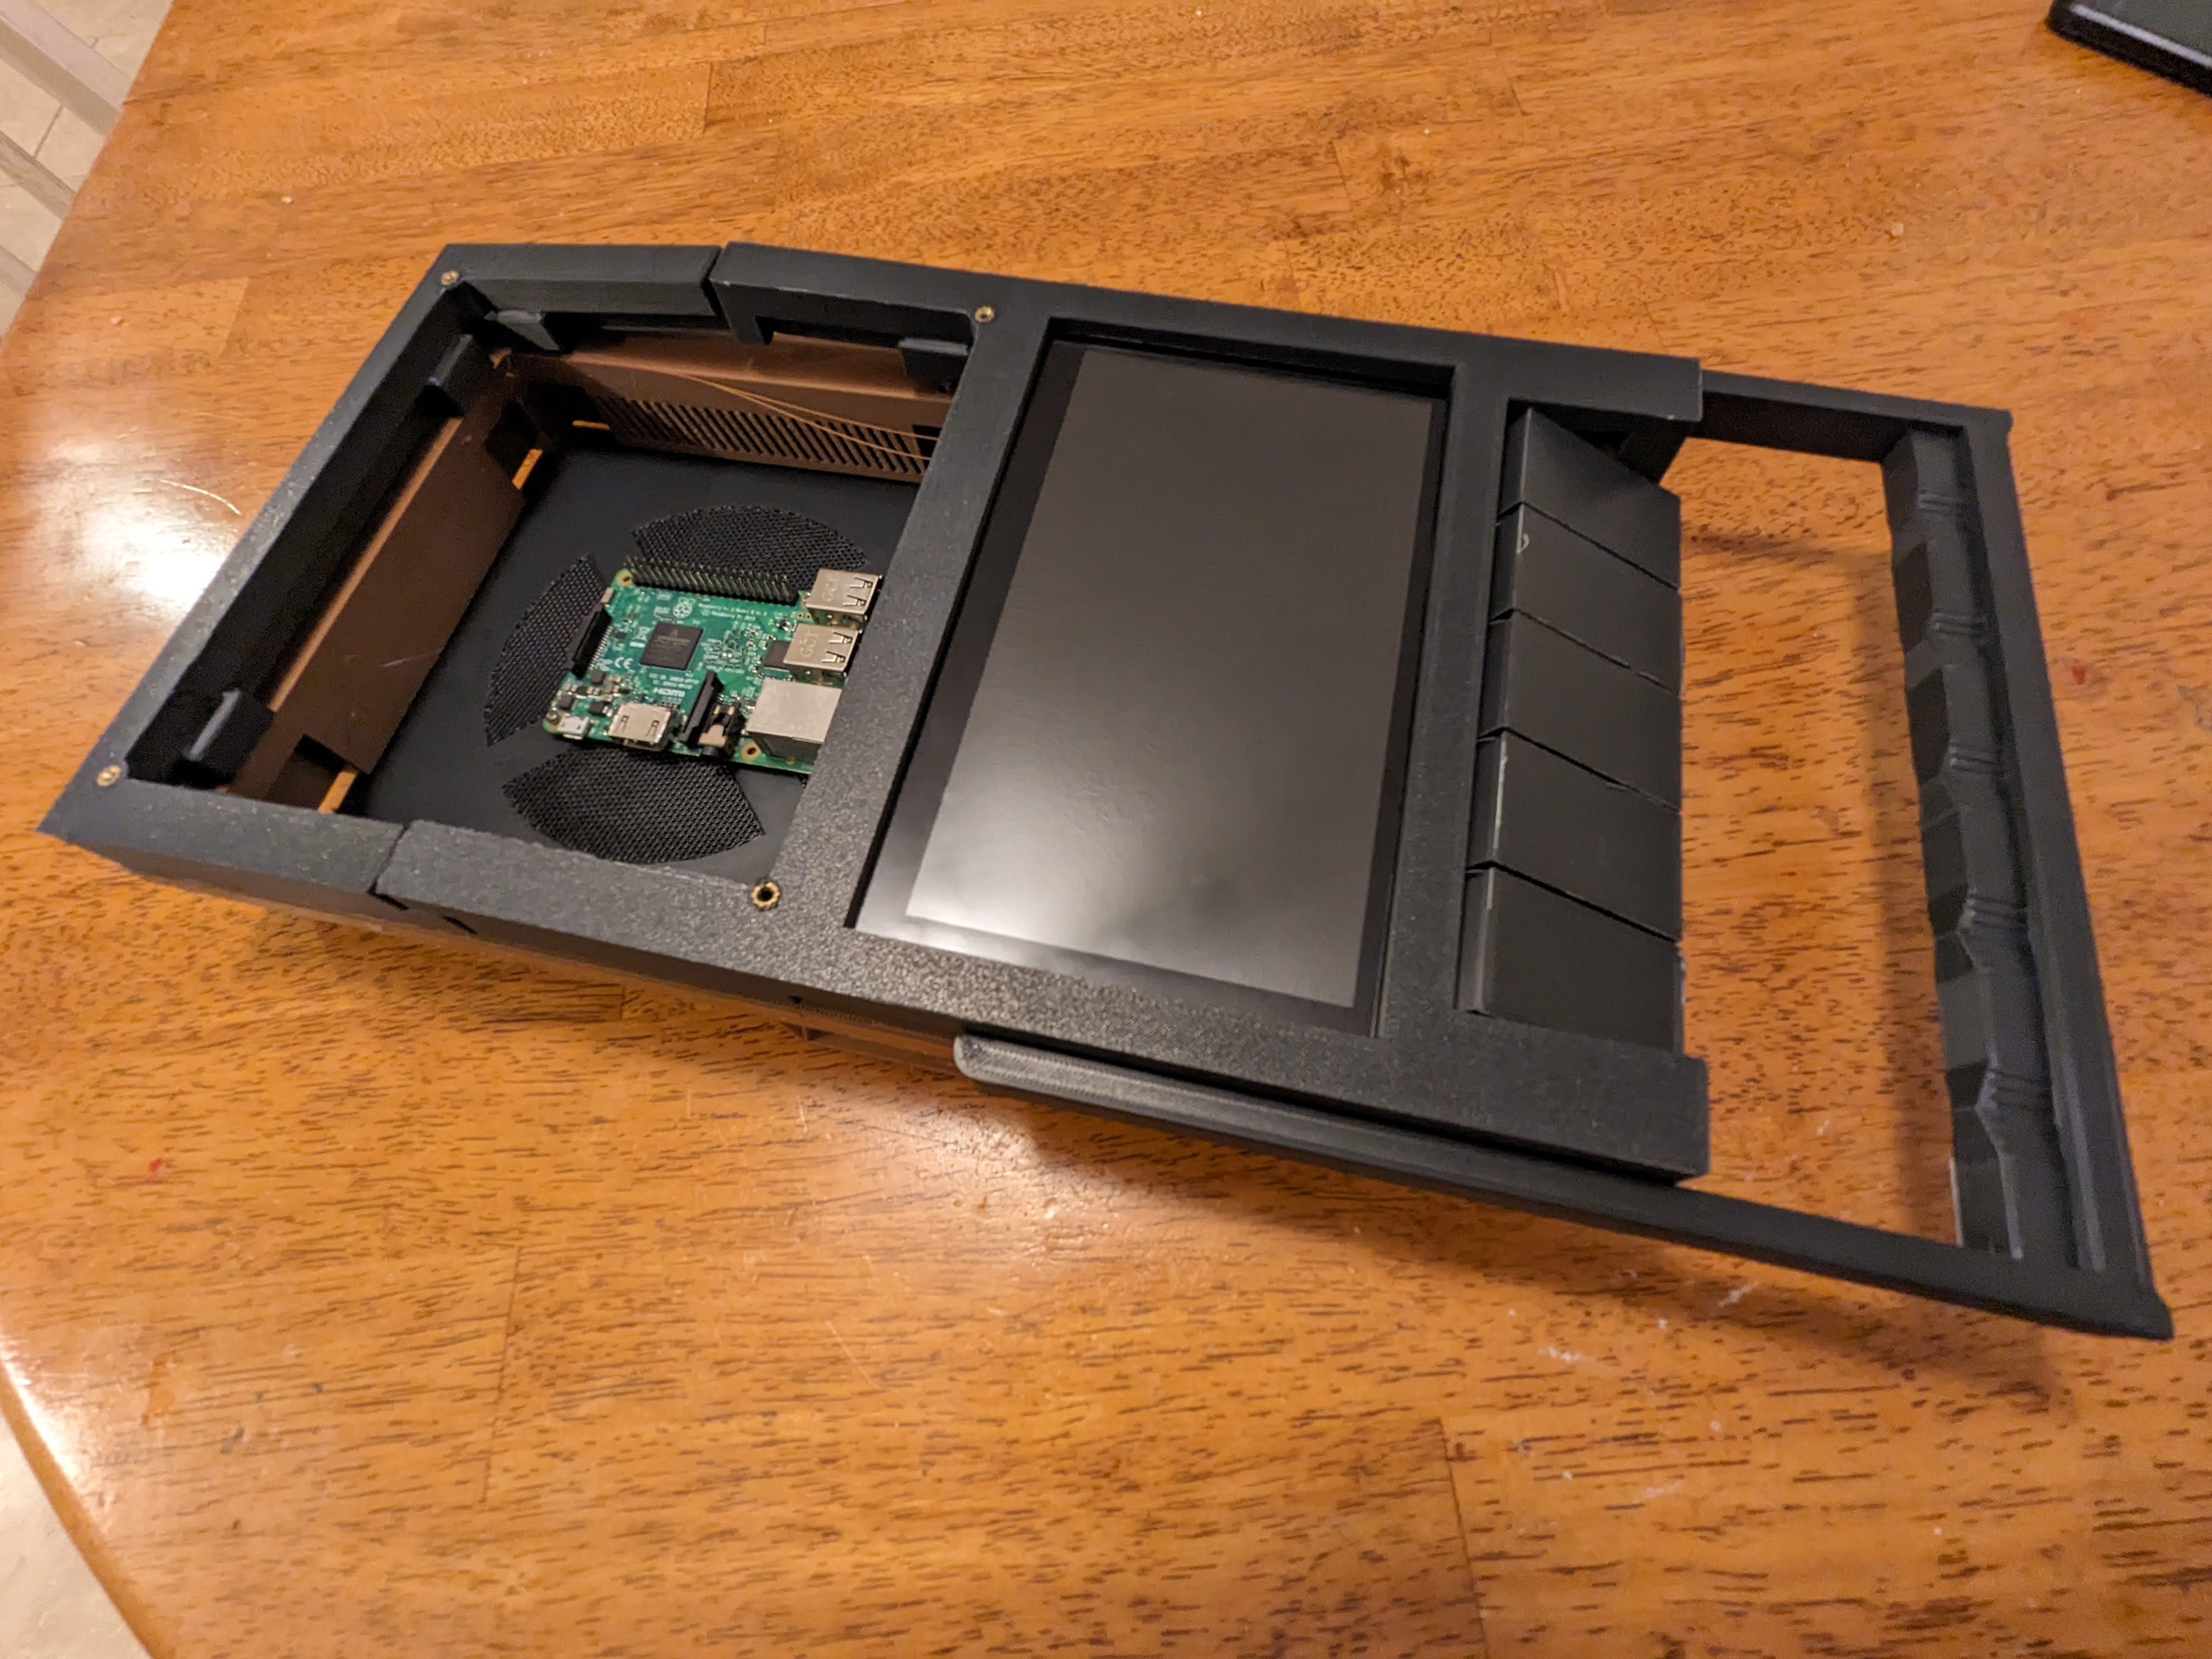
As I no longer had the original cassette player 40 or so years later, I was going to have to build my own. The buttons would run a keyboard type firmware on an Arduino thanks to some knowledge I picked up over the last year building a macropad, and speaker bay would allow for a modular area for GPIO access.

Standard Tesselated Geometry - 1.06 MB - 08/11/2023 at 15:34

Download

TopBodsplit1.stl

This joins with TopBodySplit2, it was too large to print without warping.

Standard Tesselated Geometry - 2.23 MB - 08/11/2023 at 15:34

Download

Standard Tesselated Geometry - 53.51 kB - 08/11/2023 at 15:33

Download

Standard Tesselated Geometry - 52.92 kB - 08/11/2023 at 15:33

Download

Standard Tesselated Geometry - 119.22 kB - 08/11/2023 at 15:33

Download

View all 15 files

View all 12 components

  • And it boots!

    Matthew H08/14/2023 at 01:49 0 comments

    A few photos I took earlier of the deck, trying to find somewhere nice but not crowded...hard in Houston when everyone's trying to beat the heat. 

  • Battery time

    Matthew H08/11/2023 at 01:15 0 comments

    Battery is running longer then i really dreamed, easily an hour to one bar.  The pi is secured with m2 screws, will secure the rest of the parts with vfb tape.  Someday if I decide to reprint the base so I'll modify the design to use more screws but low on plastic and have used enough filament this month.

  • Power

    Matthew H08/09/2023 at 12:45 0 comments

    I found a battery/UPS module for the Pi made by Sunfounder that was relatively cheap.  The more DIY options were going to boost the price, and I'd rather have something off the shelf if my son is going to be messing with it.  Overall, it seems to eliminate my low power issues which I suspect are due to trying to power the screen over the Pi's USB port.  Wiring only involves some USB cables for the most part.  

    I can attach the power switch to the EN and Ground terminals to kill power to the machine when it's shutdown and have some options for adding LEDs for power status and charging status at some point.  I'll probably need to reprint something and add some holes to make that work, but not until a future revision.

  • Hack The Planet!

    Matthew H08/05/2023 at 21:17 0 comments

    Done screwing it all together.  Need to take care of the power cable and battery still but it's getting there!

  • Some lite soldering

    Matthew H08/05/2023 at 21:14 0 comments

    Soldered the buttons to a piece of perf board I had with some old wire lying around....crimped the ends with some jst connectors and put heat shrink over them to keep from shorting.  They really should be DuPont connectors...I should buy a set from digikey.  If only I had a gift card....  

    I used this video as a basis to setup a pro micro so it can be programmed through the pi to customize the buttons as needed.

    The wires slid under the 3d printed buttons which press the wired buttons when pushed on.  

  • And as much as you plan and measure things...

    Matthew H08/02/2023 at 13:24 0 comments

    Reprinting the whole base pretty much, my dremeling out a notch janked things up pretty good.  Apparently, I didn't think to leave any clearance for the display cables.  @*#($%^*

    Additional note to self...everything everyone says about modeling with polygons is true.  Sit down and learn onShape already!

  • Roughing it together

    Matthew H07/31/2023 at 01:42 0 comments

    Began adding heatset inserts last night, and testing if the screws would get through the holes.  I may go back through and readjust things but it's at a point of 'good enough for me' and will be made to work.  

    Found the warping on the base I thought I fixed with some ABS gooped on and resanded was just going to be a headache and the fit was going to be more trouble then I really have time for.  Not having enough black left I found a copper colored pet-g which would get me closer to the look I was originally planning to go for anyways.  Something more so resembling an Atari-2600's color scheme.  I still have a few more parts to print but it's coming together nicely!

  • Ready, Set, Print!

    Matthew H07/31/2023 at 00:55 0 comments

    I've been at this for a few weeks now, modeling took a little while to get things right...had a few reprints to do which set me back, but now in a race against the end of the contest.  My Aliexpress delivery arrived and getting trying to get everything printed.

    There's cheaper filament out there but I find I don't have to reprint as much with the good stuff.  Keene Village Plastics has been a solid brand for me, I mostly print ABS in the Voron and it doesn't smell as bad as some of the others I've tried.  It also adheres very well so long as I don't go past the edge of the heater matt.  I'm using black ABS for the black parts, dark grey for the modular bay as well as one of the buttons and the power port.  Love the color of the pearl sparkle copper Pet-G with the black and will be using it for the base.  Have used this color combo for my Head Amame headphones and a few other things I've made over the last few years.  In this case however it has a bit of the feel of an Atari 2600 color scheme.

View all 8 project logs

Enjoy this project?

Share

Discussions

Tom Nardi wrote 08/03/2023 at 02:01 point

This is such a fantastic concept, can't wait to see it come together. Looks like you've got plenty to keep yourself busy with the next two weeks...

  Are you sure? yes | no

Matthew H wrote 08/03/2023 at 12:08 point

Thankyou Tom!  Hoping to get this all done in time.  

  Are you sure? yes | no

Similar Projects

Does this project spark your interest?

Become a member to follow this project and never miss any updates