Initial exploration and testing of software is being done on computer, using the .srm Save RAM file from a SNES emulator. Once the structure of the .srm file is well-documented, and the relevant data can be decompressed and extracted, the code will be ported to a microcontroller, and expanded to read data from the SRAM chip to an SD card.
In the physical build, an LCD display will show the decompressed image that has been extracted from the cartridge.
The initial focus is on extracting the background picture, and saving it as a PC-compatible image. Future scope may include extracting animation frames, and/or recreating the full animation in a PC-compatible file (e.g. a GIF).
Processing and recreating the music is not a main focus of this project. Others have already done significant work on reverse engineering the music composer and its save format. It will, however, be possible to dump the music data, and potentially convert it into a suitable format on PC.

 JTKLENKE
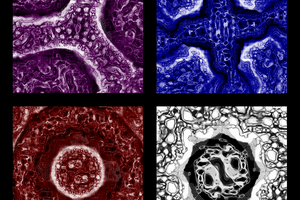
 xD
xD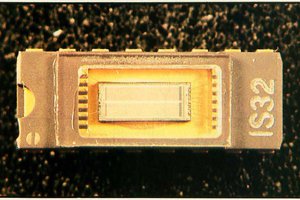
 Keith
Keith
 Bill Edds