 wille.io
Compiled with:
- 'avr-gcc -v' gcc version 4.9.2 (GCC)
- Arduino SDK 1.6.13
µfck is a minimal bios including a brainf*ck interpreter for Arduino Uno (ATmega 328p) with the total binary size of less than 1000 bytes.
Already have an account? Log in.
To make the experience fit your profile, pick a username and tell us what interests you.
Compiled with:
This was my first try, code that does nothing:
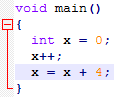
Then I compiled it to see in what size it comes out:


What? That’s hughmungus! That can’t be it.
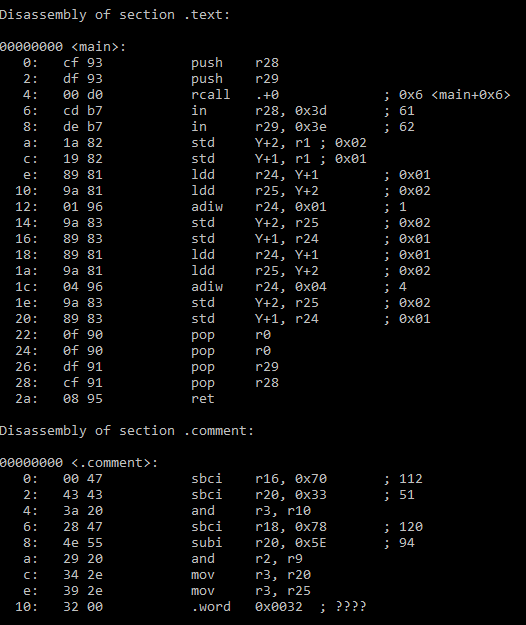
The basic disassembly told me nothing what caused that giantic blob.
Adding the size optimization flag didn’t do much. 31 bytes saved. If I would add a little functionality that would kill the 1024 bytes.

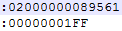
ObjCopy it into Intel Hex will result in a minimalistic 30 bytes, that’s impressive for hex in text.


But extracting it into binary is even better!


2 bytes is more my league!
Taking a look at the hex output:
On which 08 95 is the return oft he main function. So I guess it works.
The next steps were a little bit more complicated, as I wanted Serial Communication for my Brainfck Interpreter. So I copied all relevant code and munched it together, resulting in a really small bunch of code.

(It works :)
After the Serial Communication was working, I went on to build the Brainfck Interpreter. But at first I wrote it for the x86 Architecture to have faster builds to test. I took a look at Wikipedia on how these ‚Opcodes‘ work. After a few minutes I came to the famous ‚while‘ opcode, which is a little more complicated. I used a stack for the while-calles, as I like the CPU-way of doing stuff (me, as a mostly low-level developer).
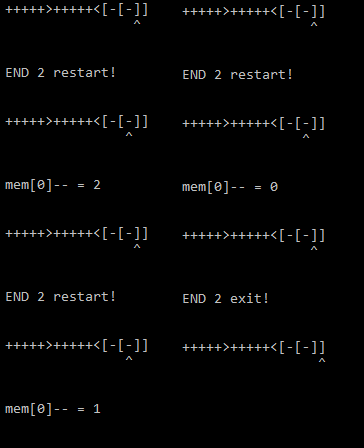
(Basic Example Debug Output for Testing)
After flashing my final results, I wanted to cry:

But after I remembered that there were a whole bunch of non-PROGMEM Debug String, I took them out and flashed it..

Yay, success! Done! :)
It's easy to feed your Arduino Uno with µfck.
µfck comes with an pre-inserted brainfck code which prints a simple text. Feel free to enter your own code or add your code to load it from eeprom.
Clone from https://github.com/willeio/ufck
Run make install with the following arguments:
Open the Terminal Emulator of your choice and open the previously selected serial device at 9600 baud.
 Edward Li
 Ed Danis
 Ford Sleeman
 Robin Reiter