Mx. Jack Nelson
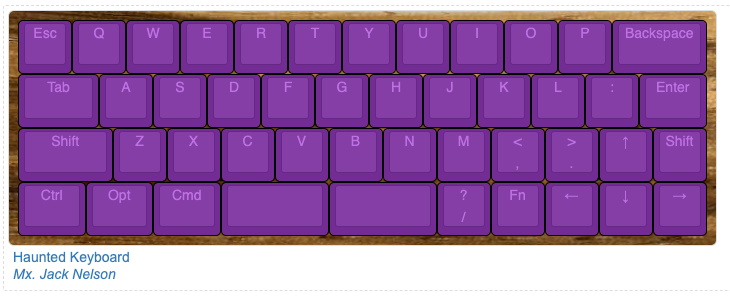
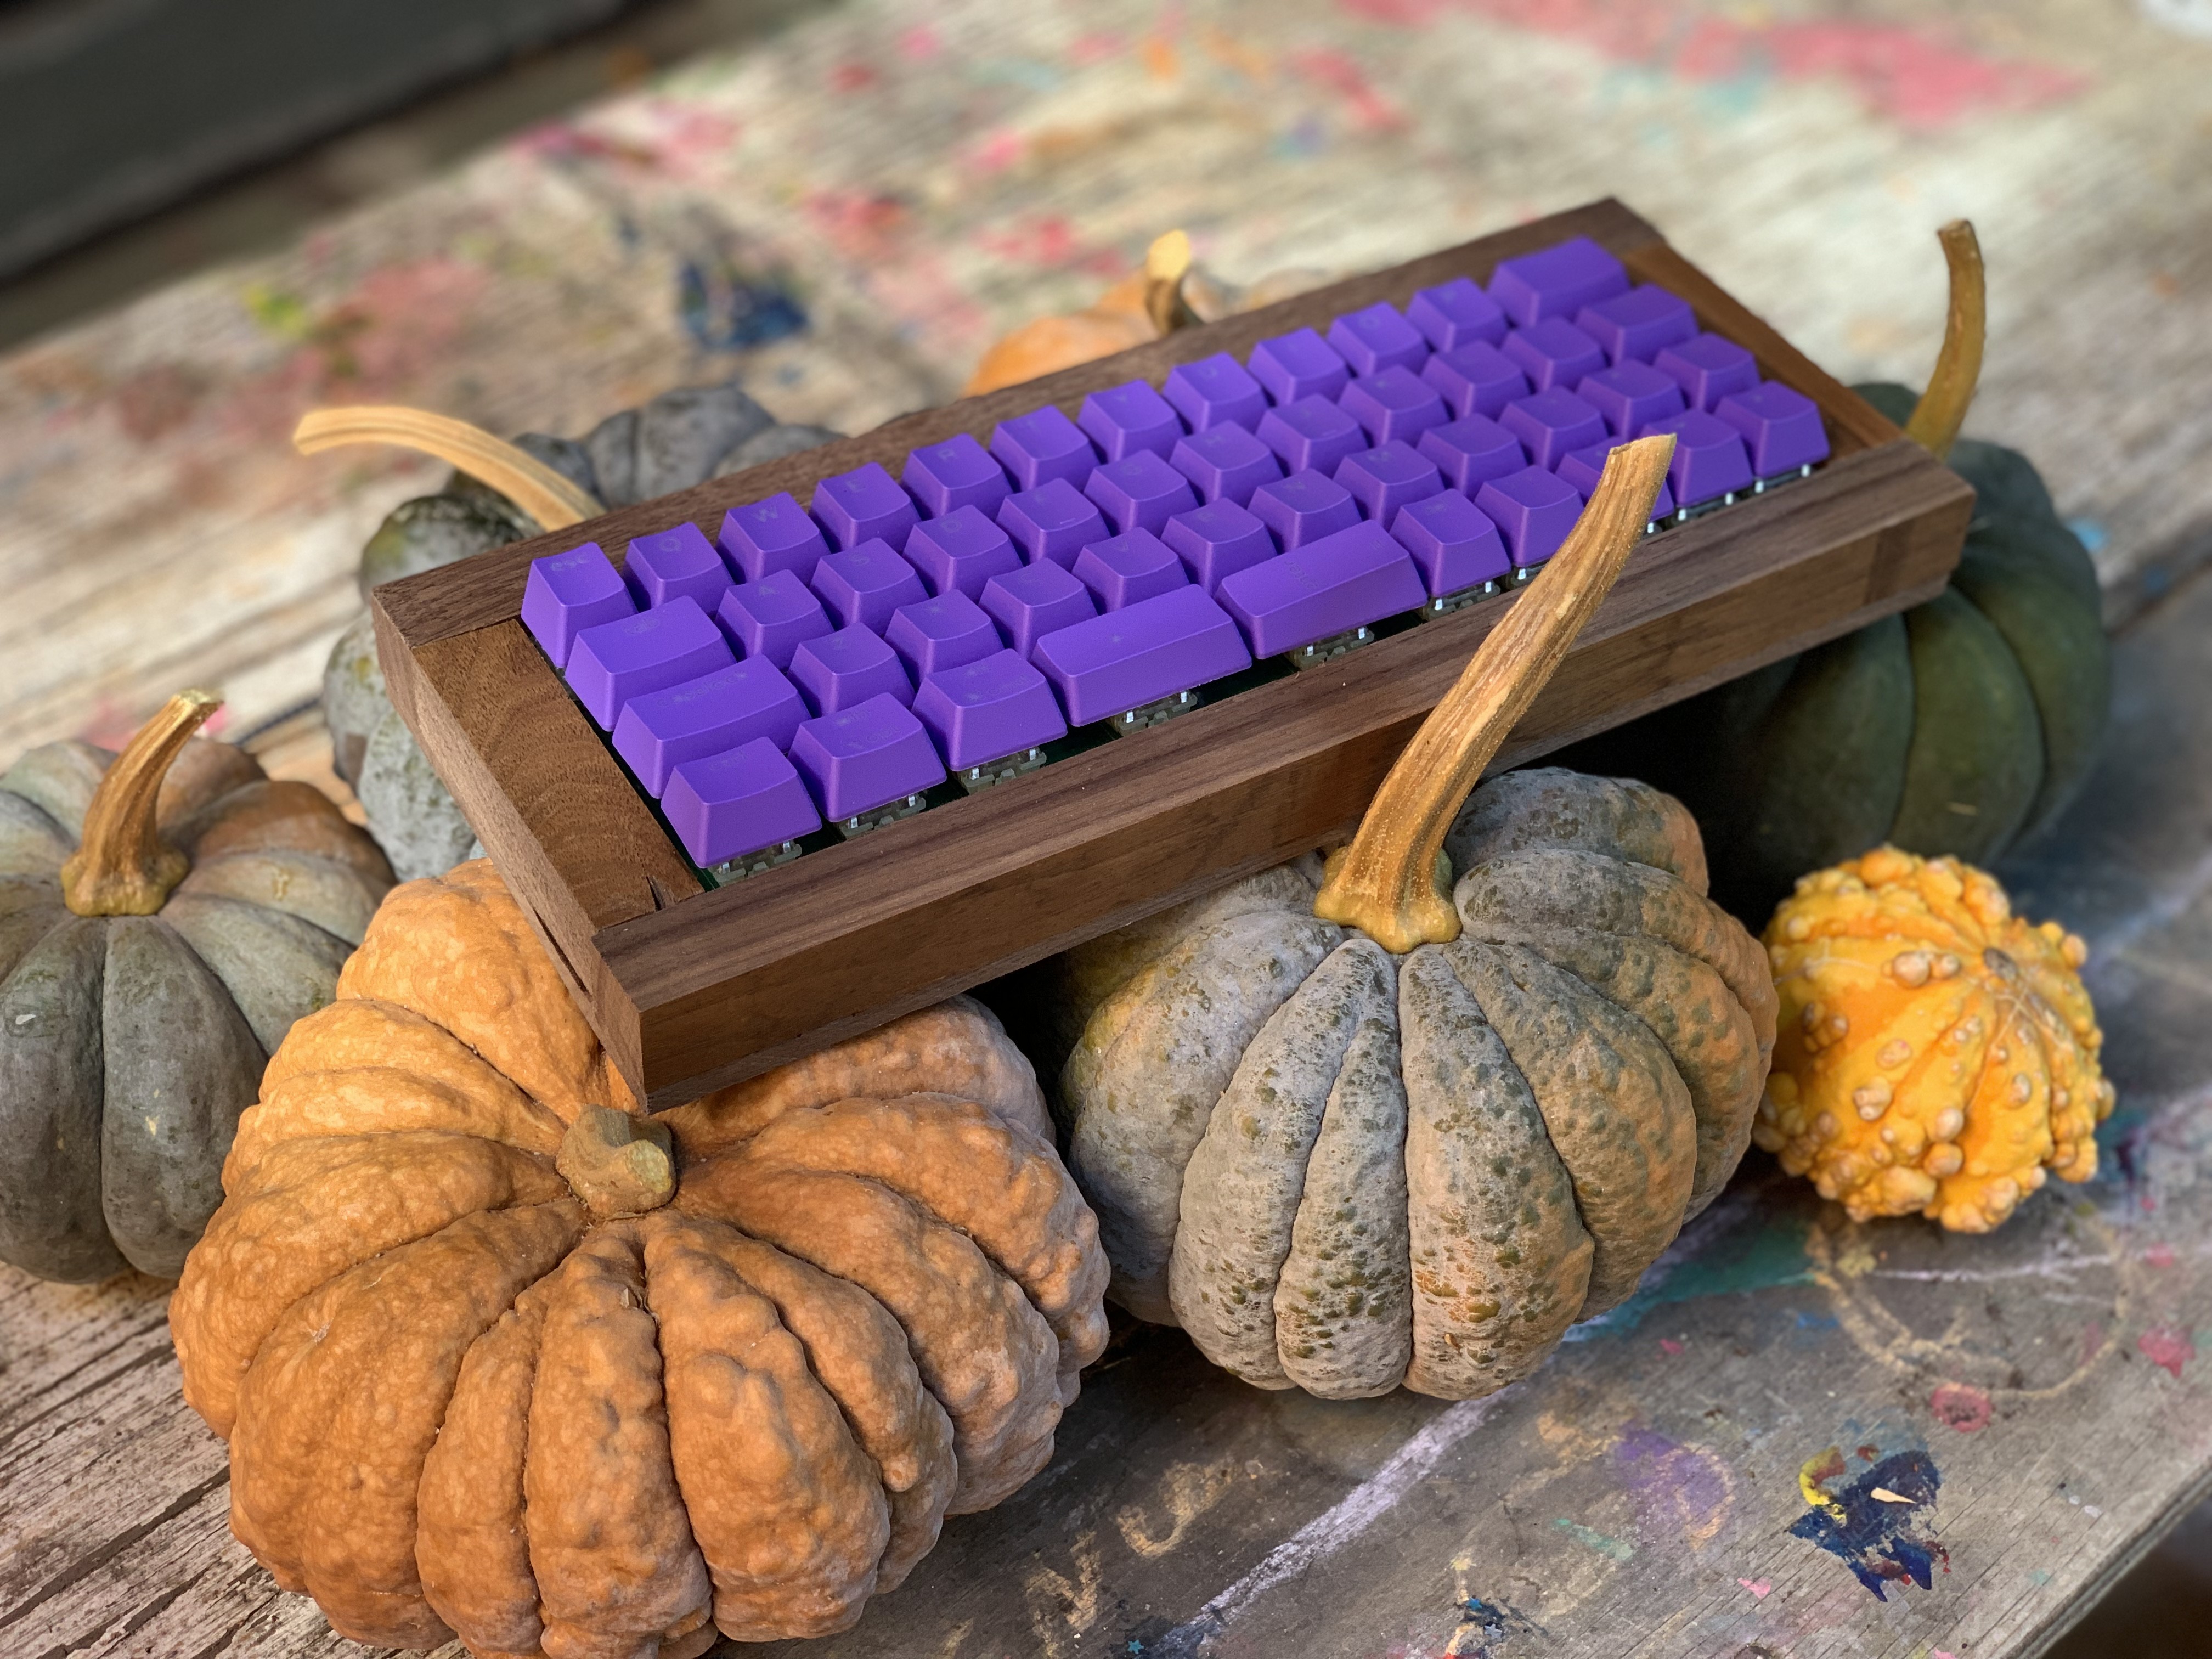
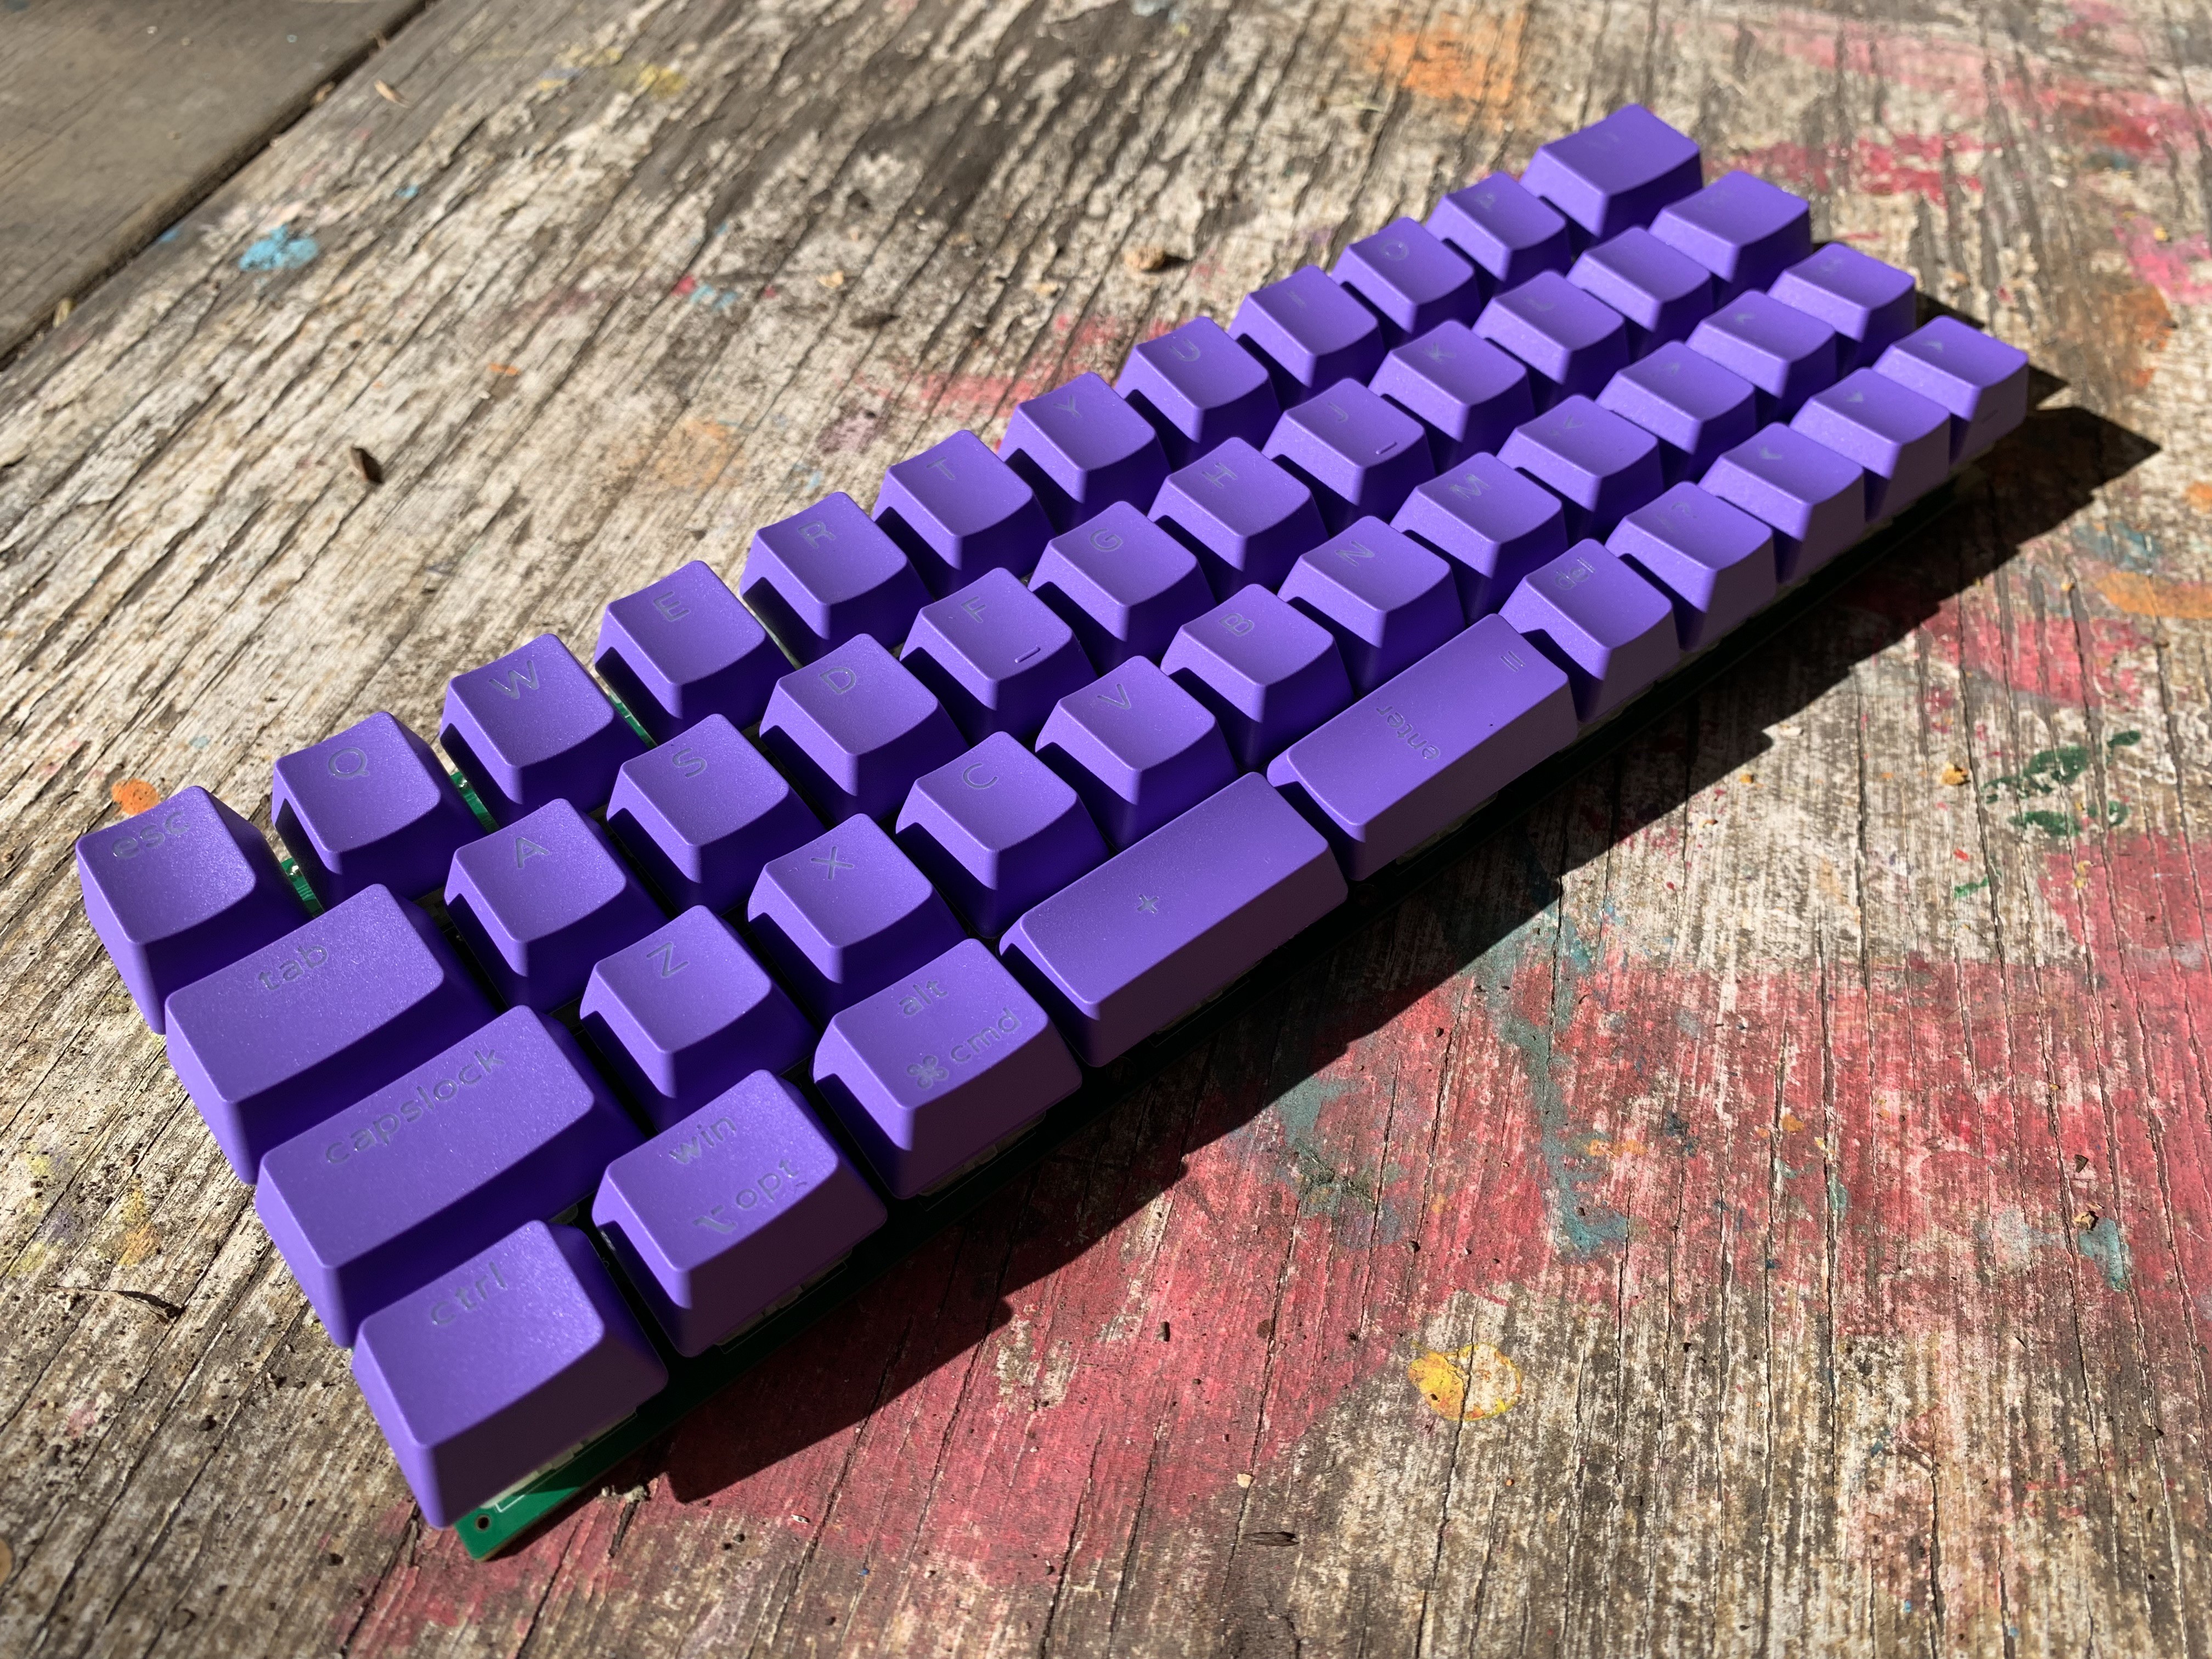
Have spooky conversations with ethereal AI through this magical keyboard.
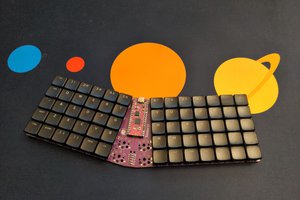
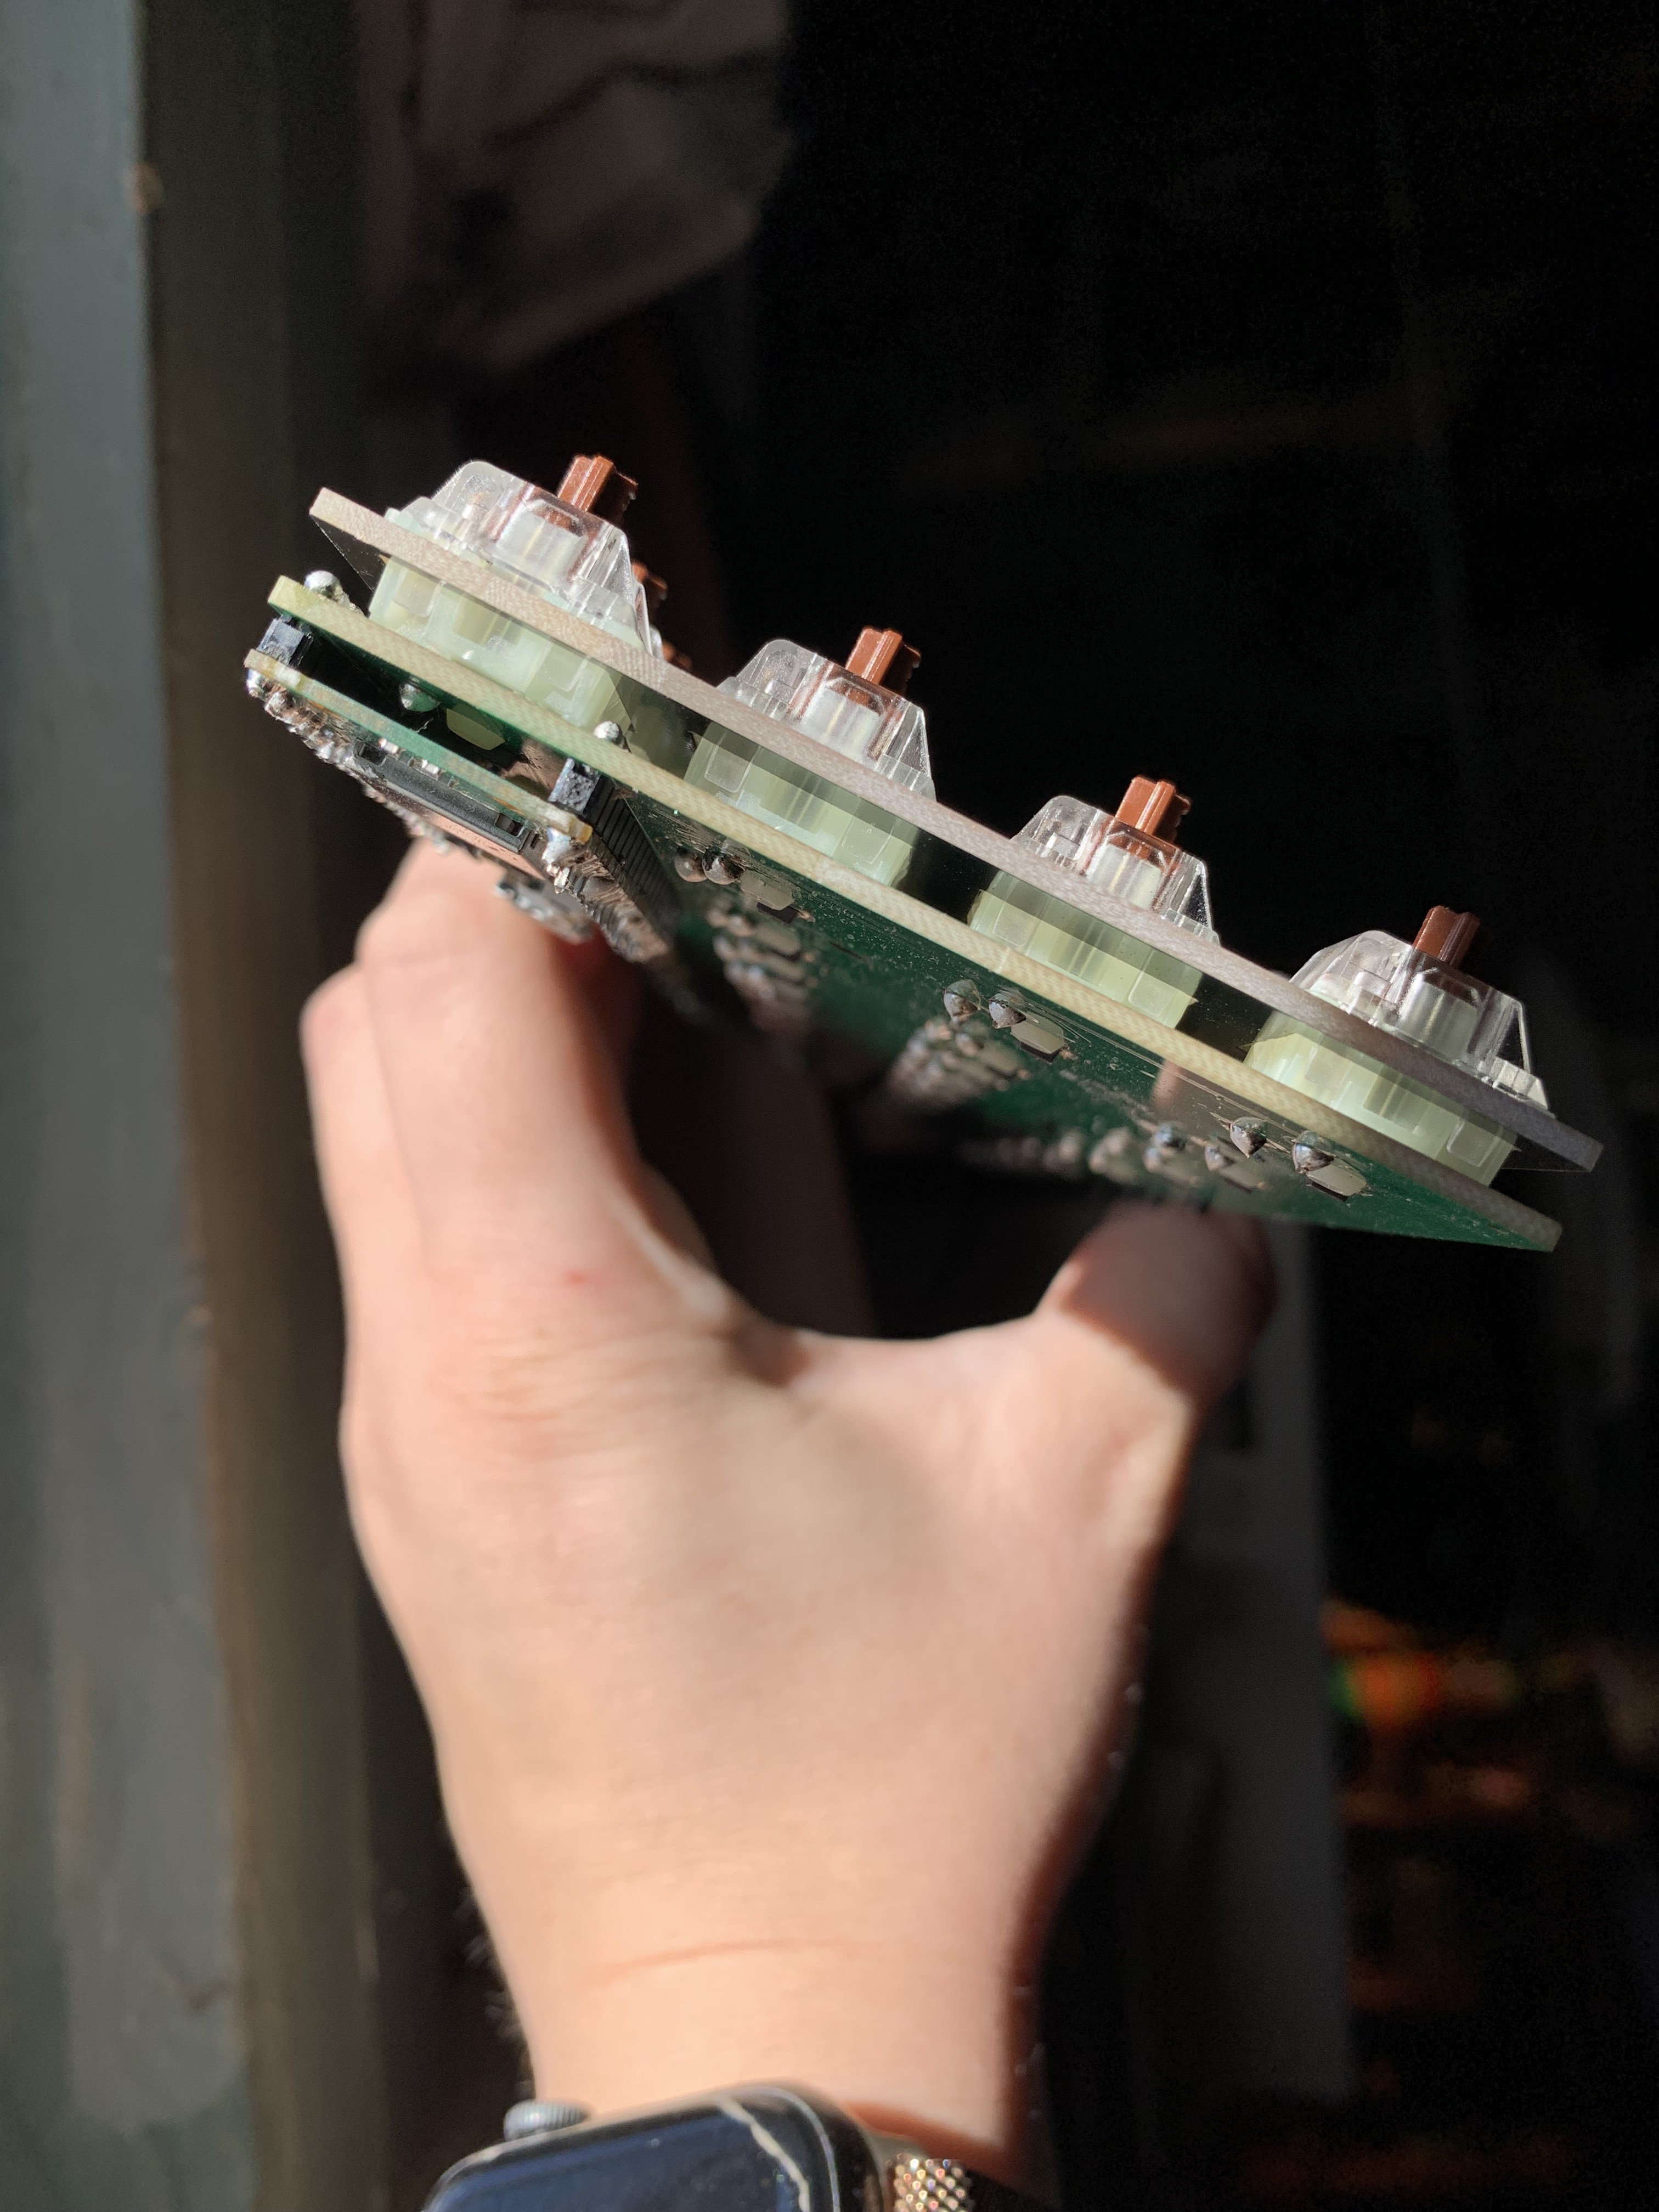
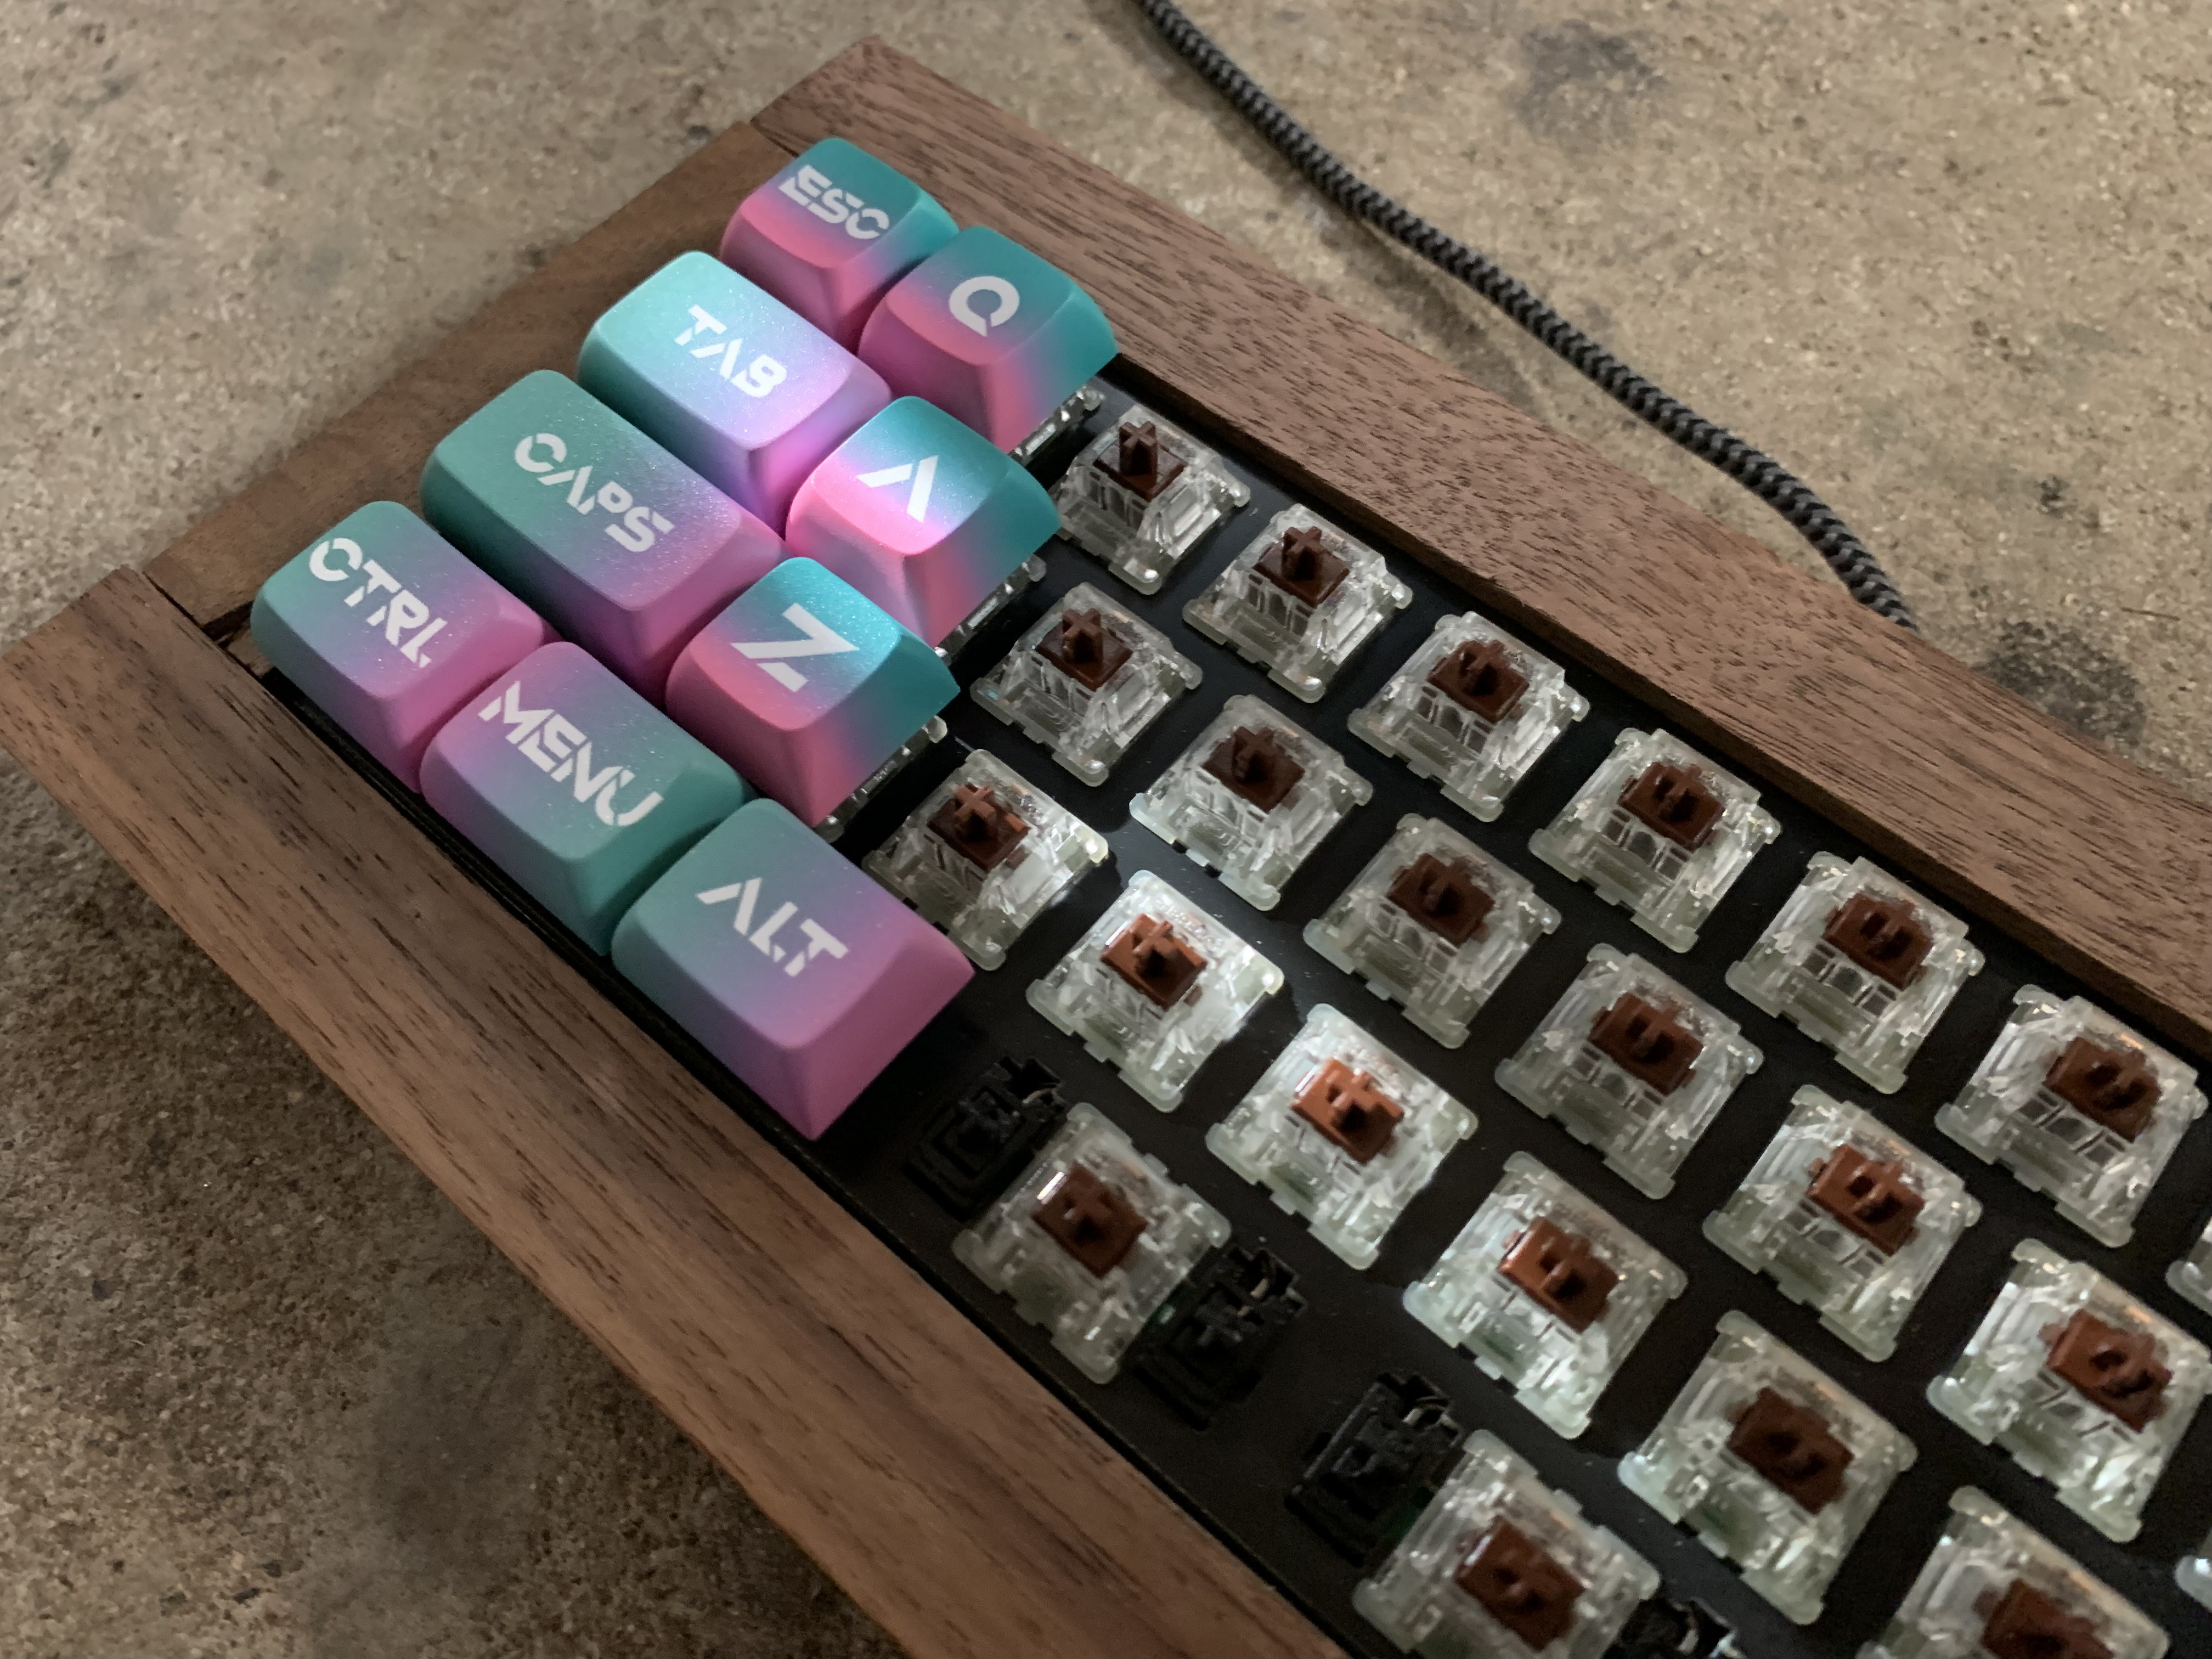
This custom PCB keyboard is powered by a Raspberry Pi Pico W and connects to any computer via USB. The Pi Pico W connects to WiFi in order to send keyboard input to ChatGPT, which returns a spooky response that gets typed out wherever your cursor is.
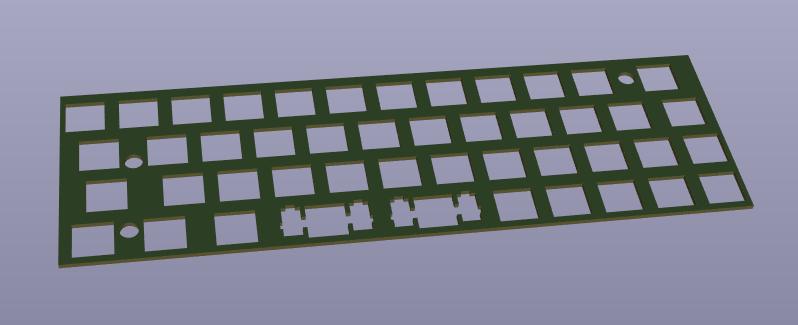
This is also my first experience creating a PCB, and creating a keyboard from scratch. Below are the resources I used.
List of resources
Software and Services:
- Keyboard Layout Editor (KLE)
- KiCad Download
- ebastler - marbastlib for KiCad
- ncarandini - KiCad RP Pico
- Falstad
- ACI - PCB Trace Width Calculator
- JLBPCB Assembly Parts Library
- JLBPCB
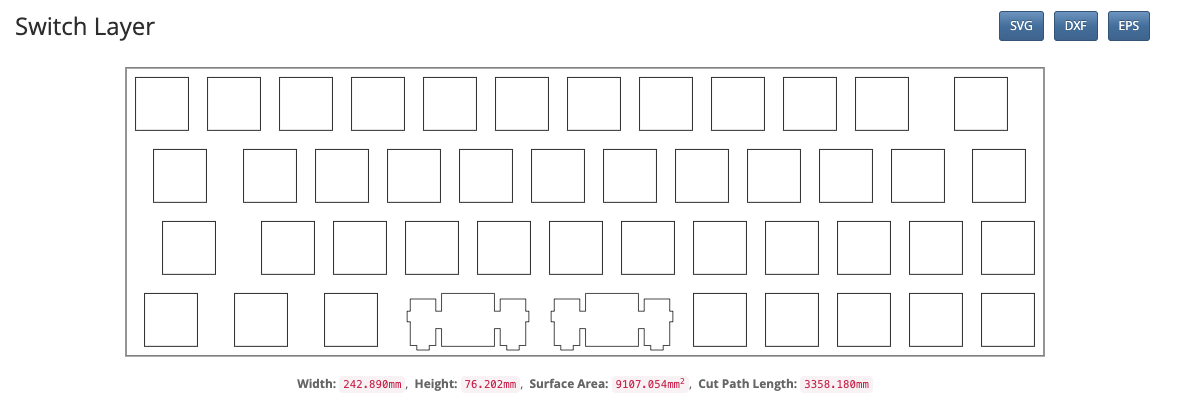
- SwillKB - Plate and Case Builder
Hardware Guides:
- The Keeblog - Creating the Perfect Keyboard Layout With Keyboard Layout Editor
- KiCad.org - Getting Started in KiCad (Version 7.0)
- Noah Kiser - Creating a Keyboard PCB with Diodes (Kicad 6.0)
- Jake Harrington - How to Build a Custom Mechanical Keyboard
- Thomas Baart - Cheat sheet: Custom keyboard mounting styles
- Phillip Burgess - Adafruit NeoPixel Überguide
- eelik - How to create a power plane (using zones)
- Notes and Volts - JLCPCB - SMT Assembly with KiCad
- Phillip Burgess - Adafruit NeoPixel Überguide
- Noah Kiser - Convert .dxf to Gerbers for FR4 Mechanical Keyboard Plates
Software Guides:


 Tauno Erik
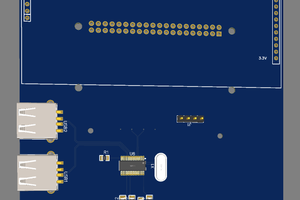

 deʃhipu