 simeononsecurity
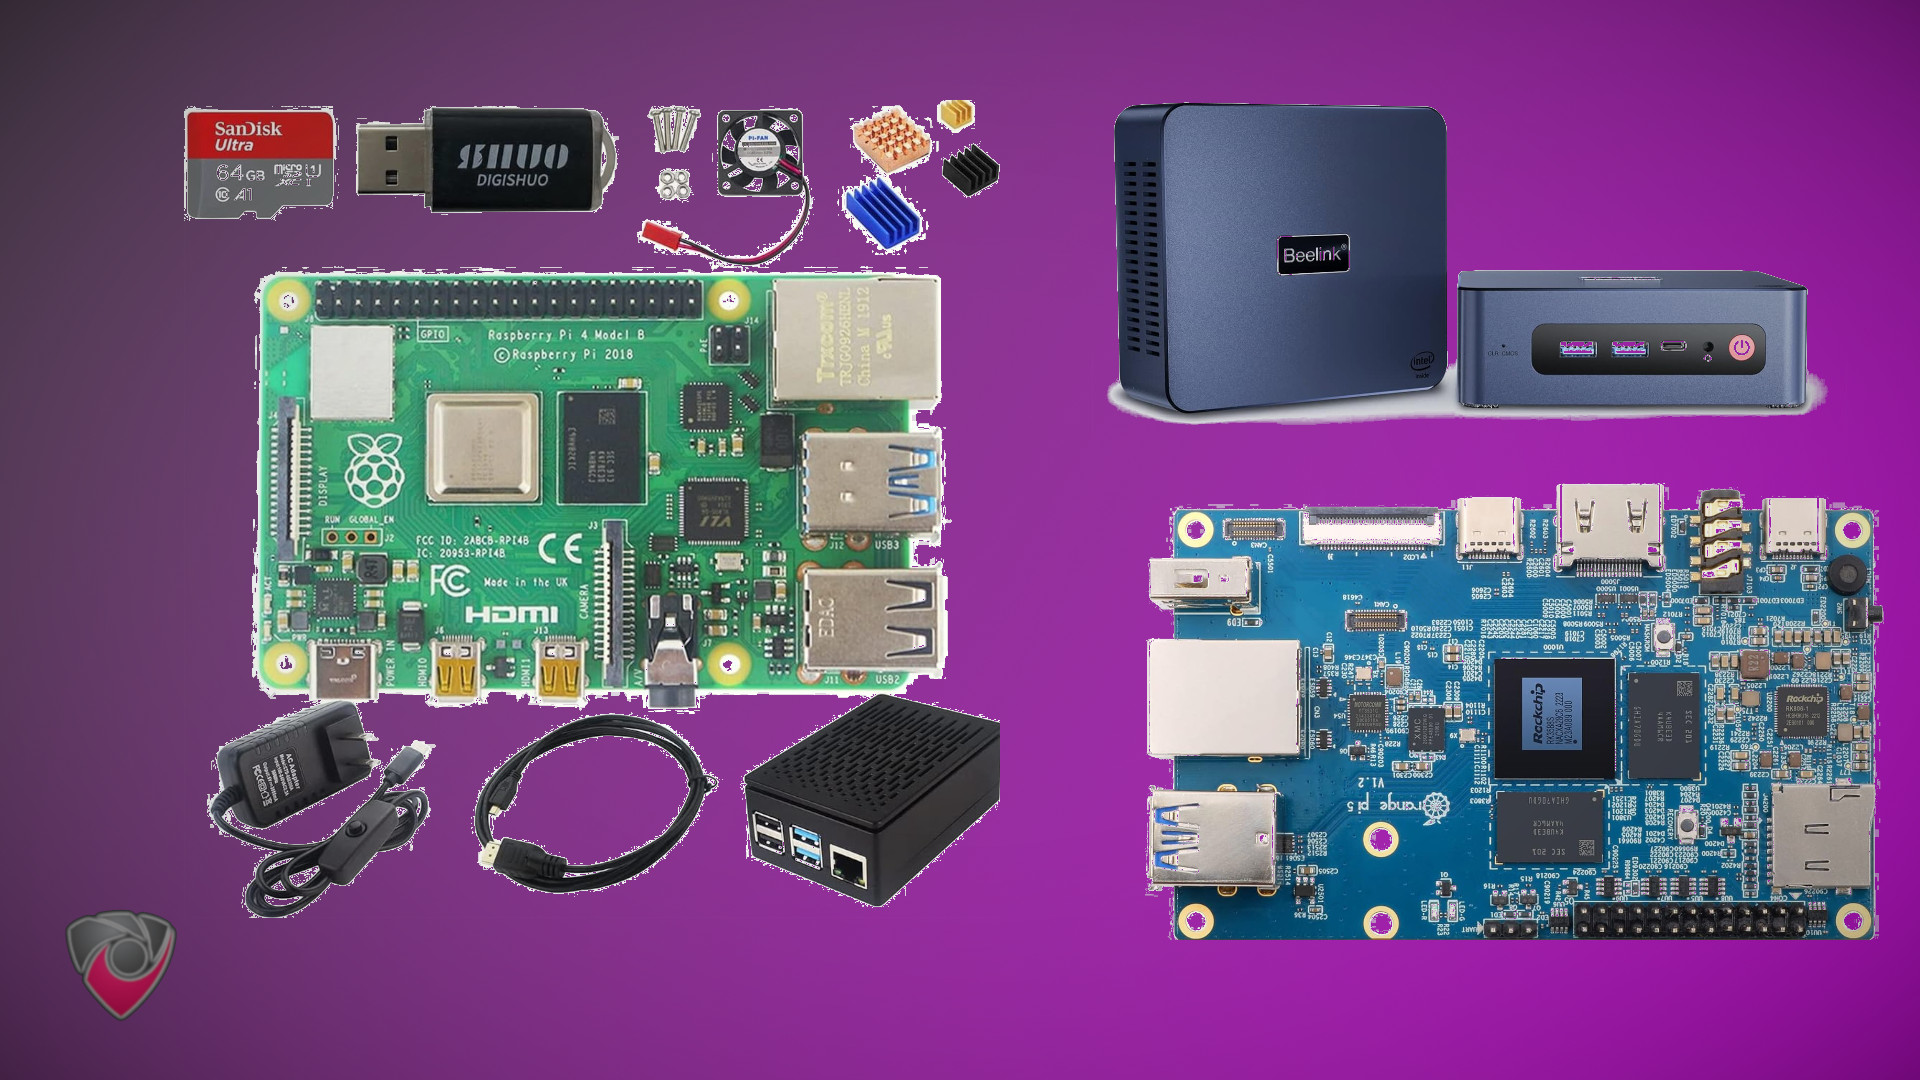
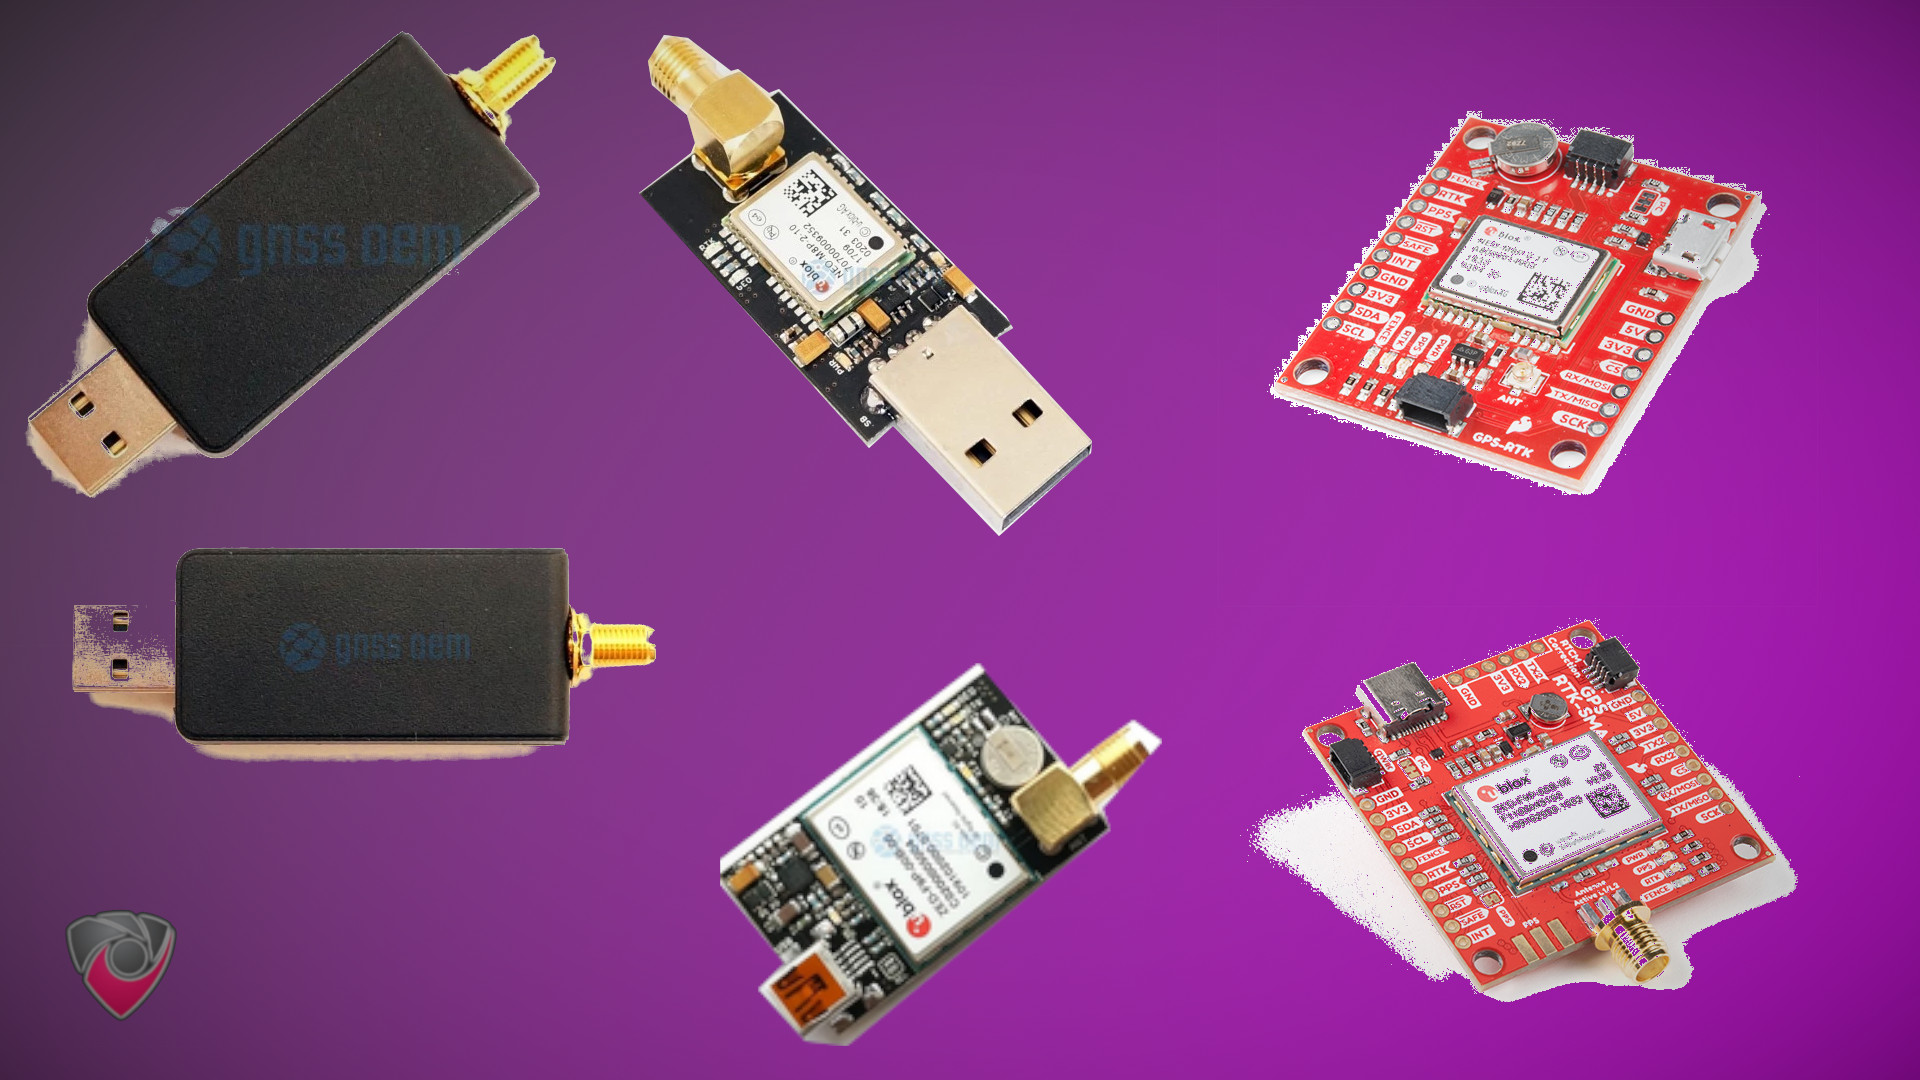
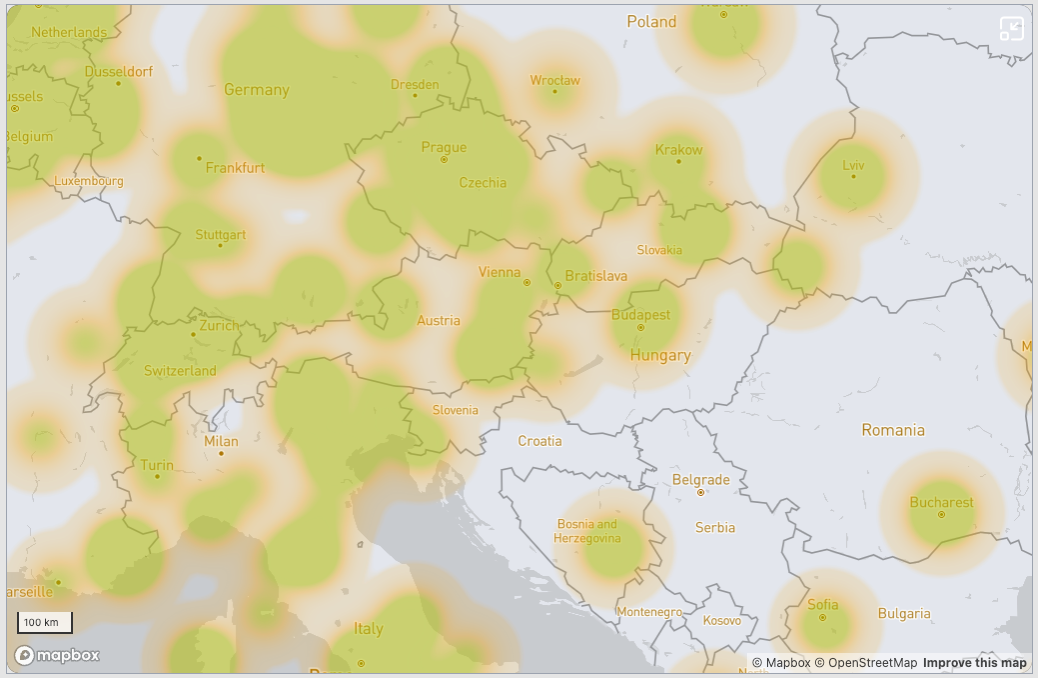
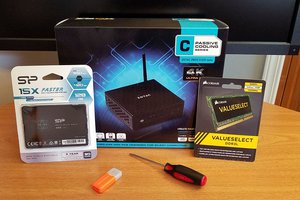
Embark on a journey to establish your own GPS Onocoy server, enhancing precision and contributing to a decentralized GNSS correction data network. This comprehensive guide covers hardware recommendations, GPS receiver options, antenna choices, and step-by-step instructions for setting up your Onocoy reference station. Discover the advantages of this DIY approach, from cost-effectiveness to customization, and become an integral part of the global navigation system. For the latest and detailed instructions, refer to the original guide published on SimeonOnSecurity's website.
0%
0%
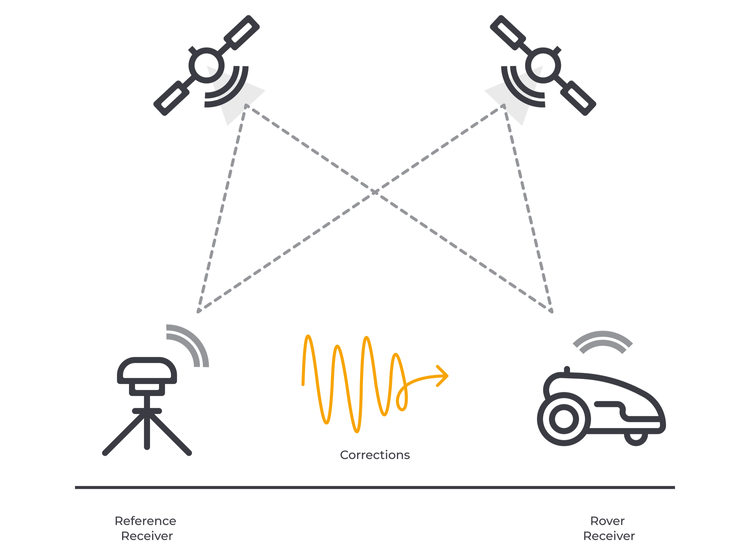
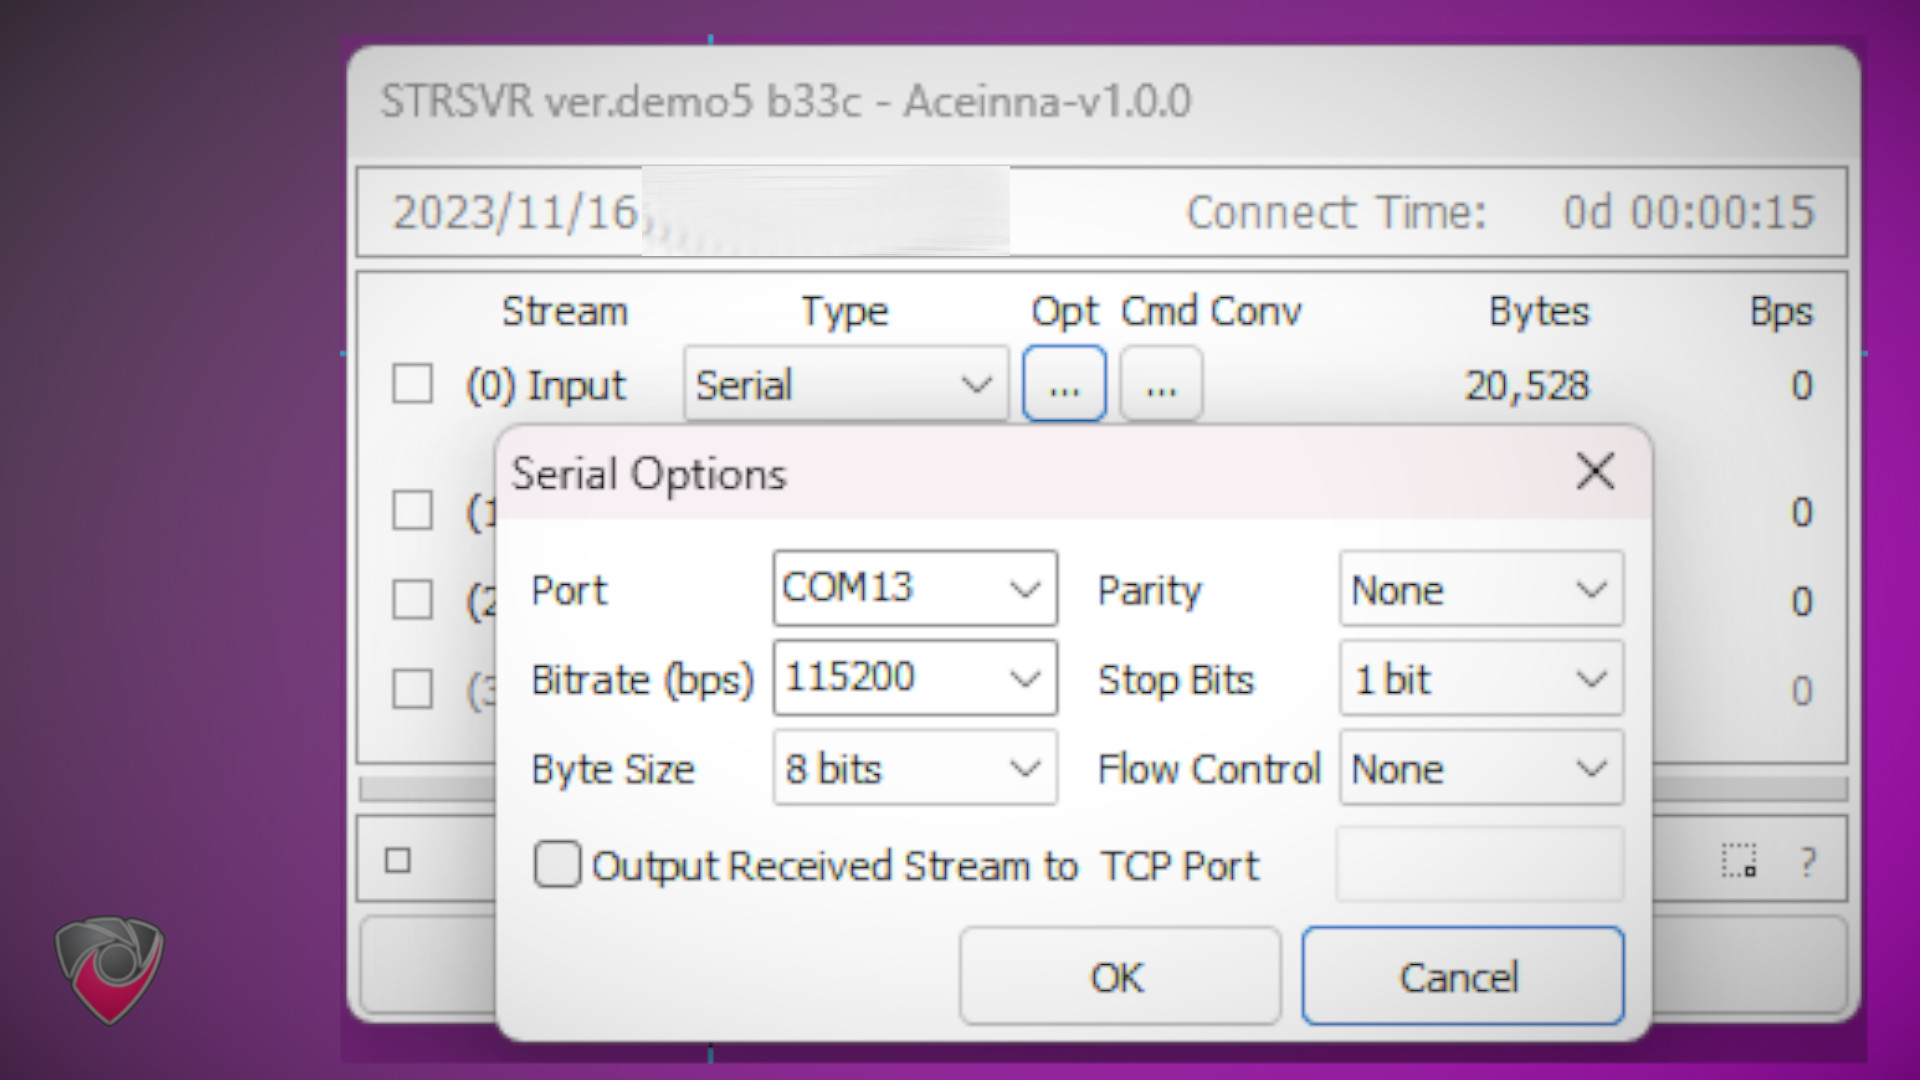
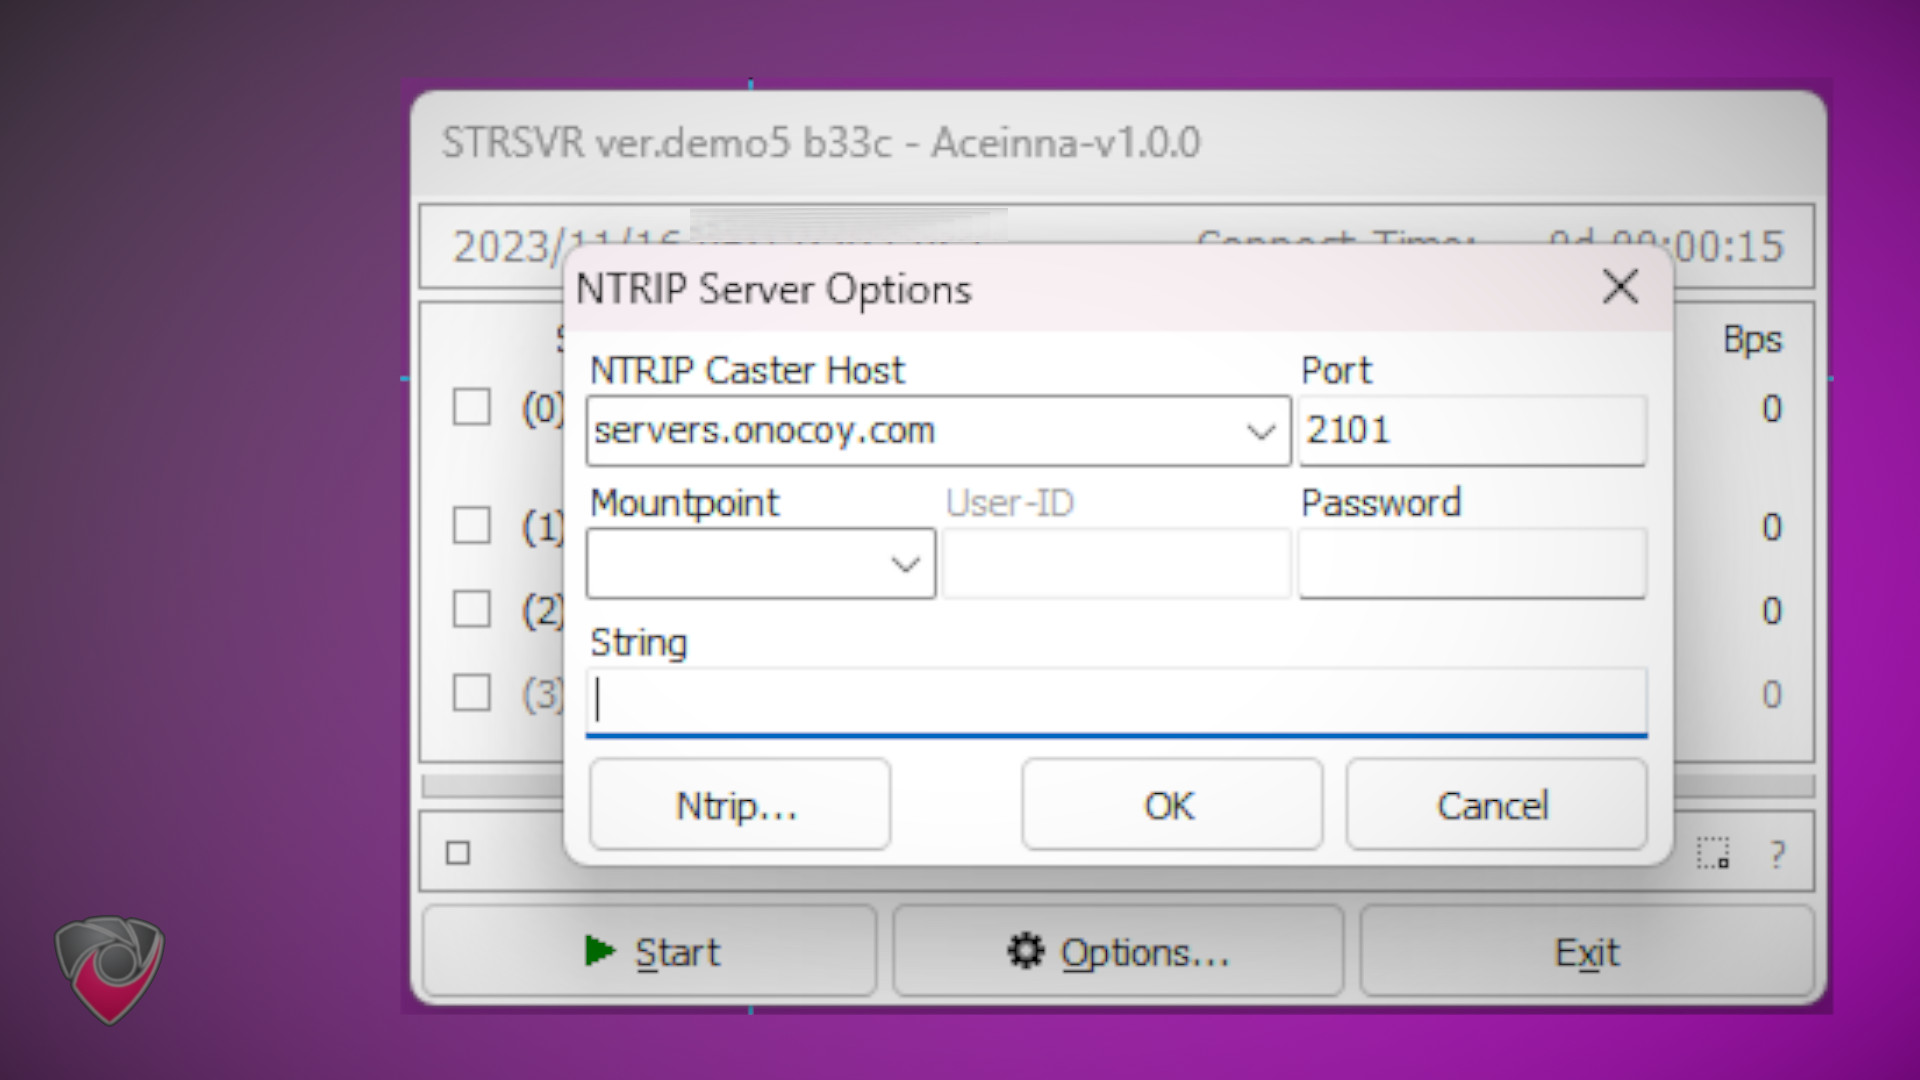
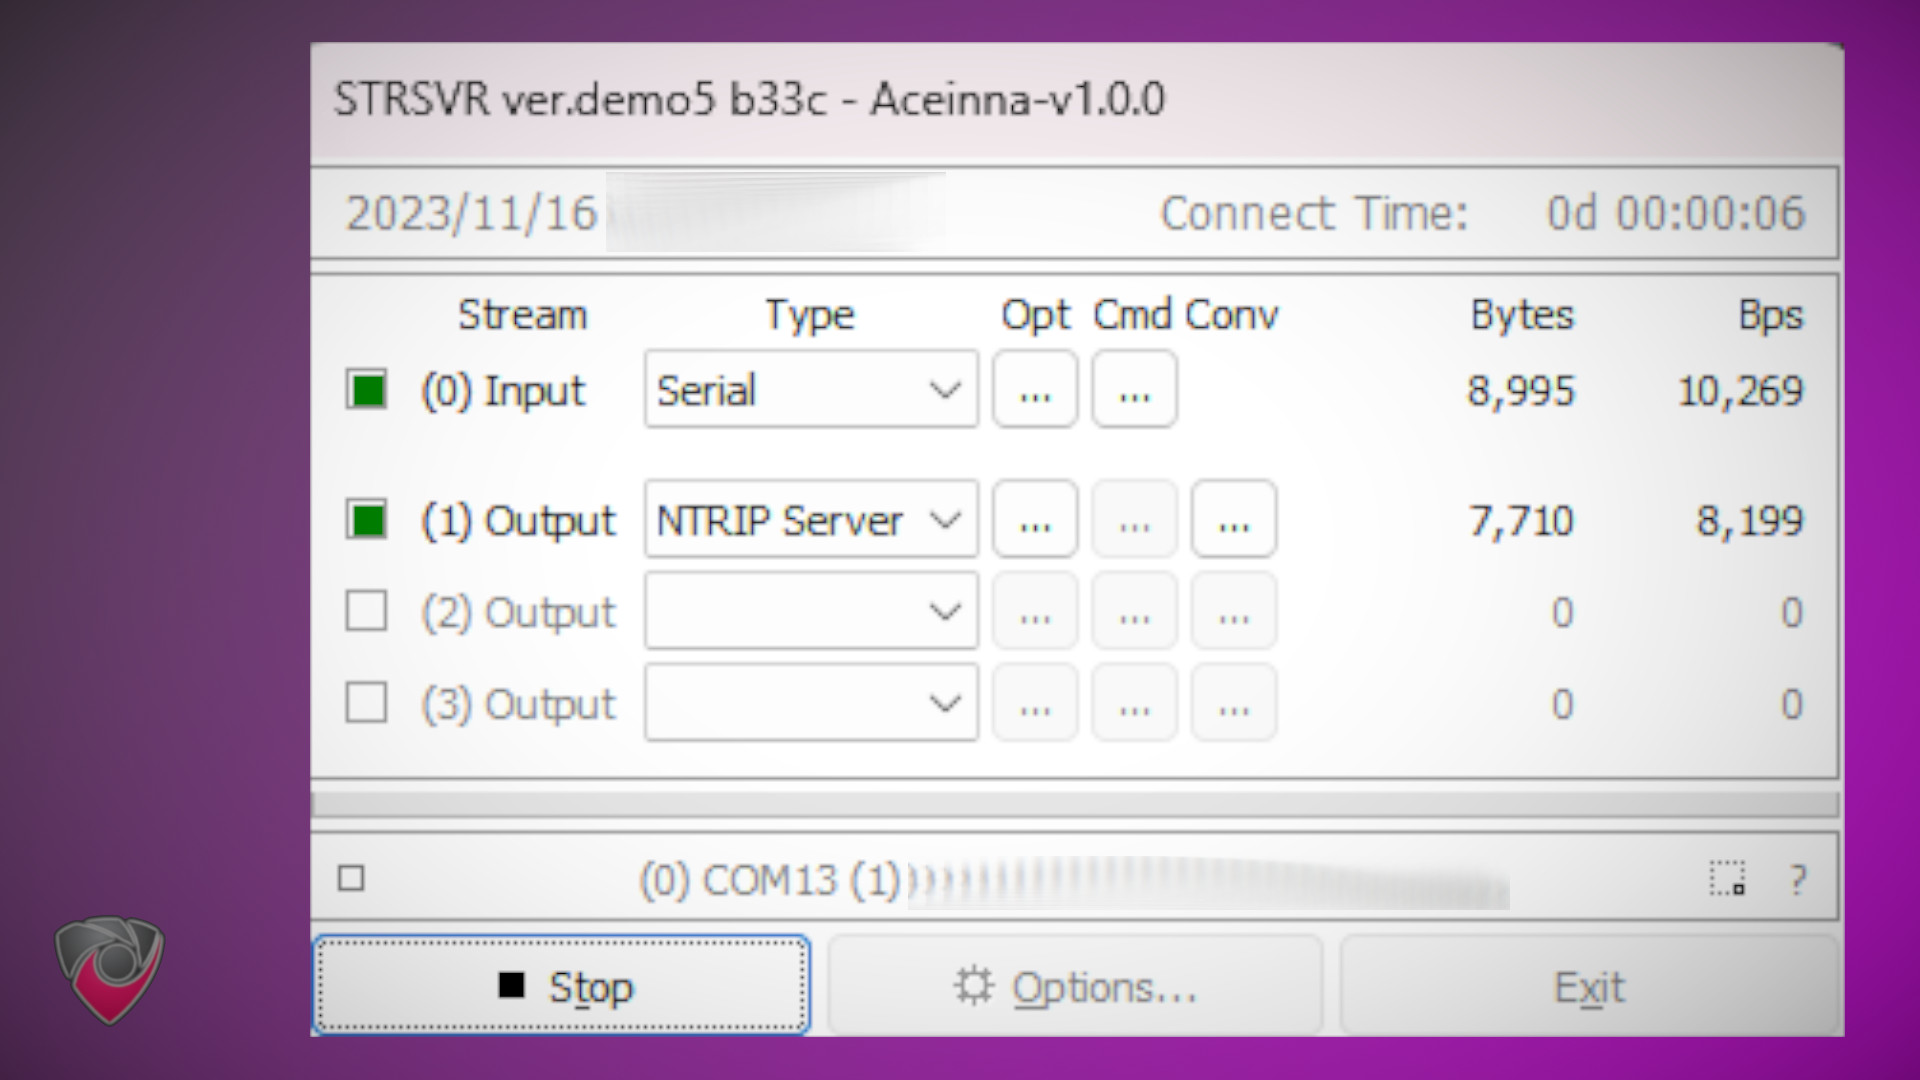
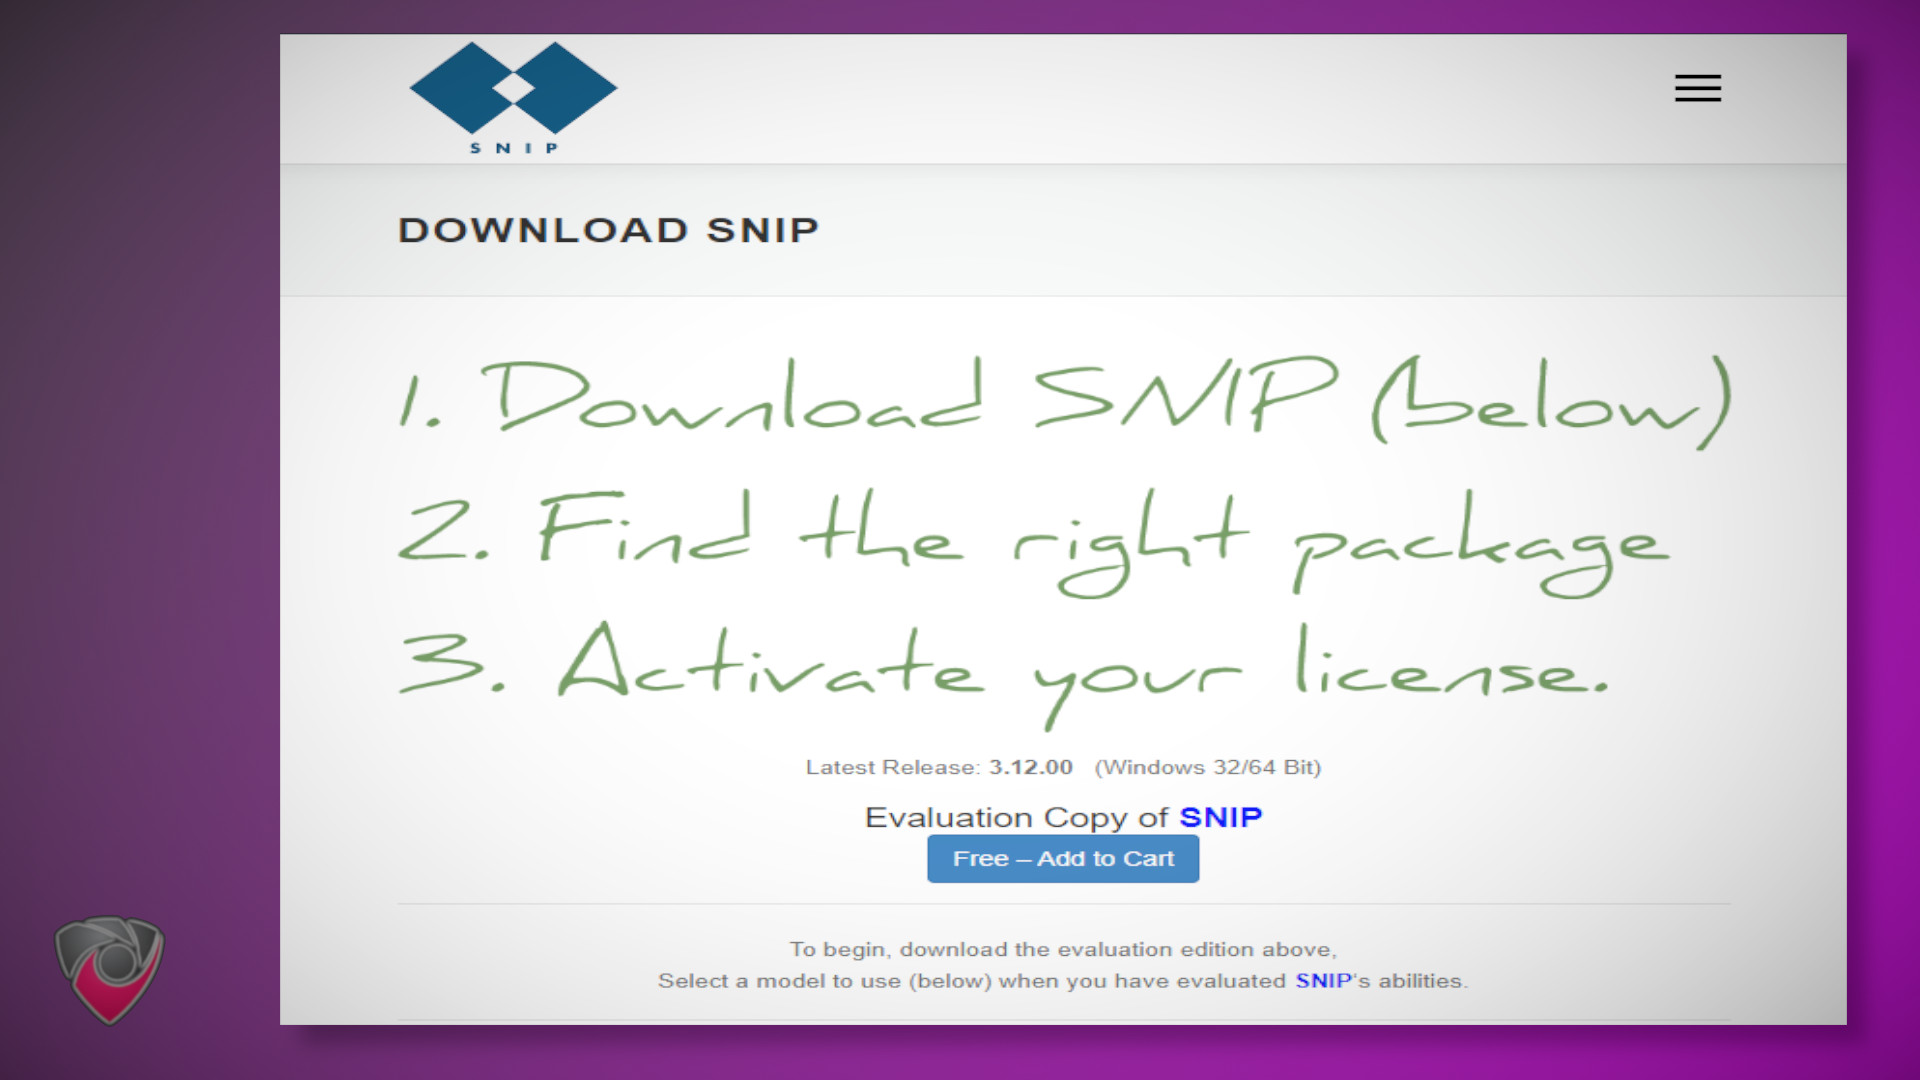
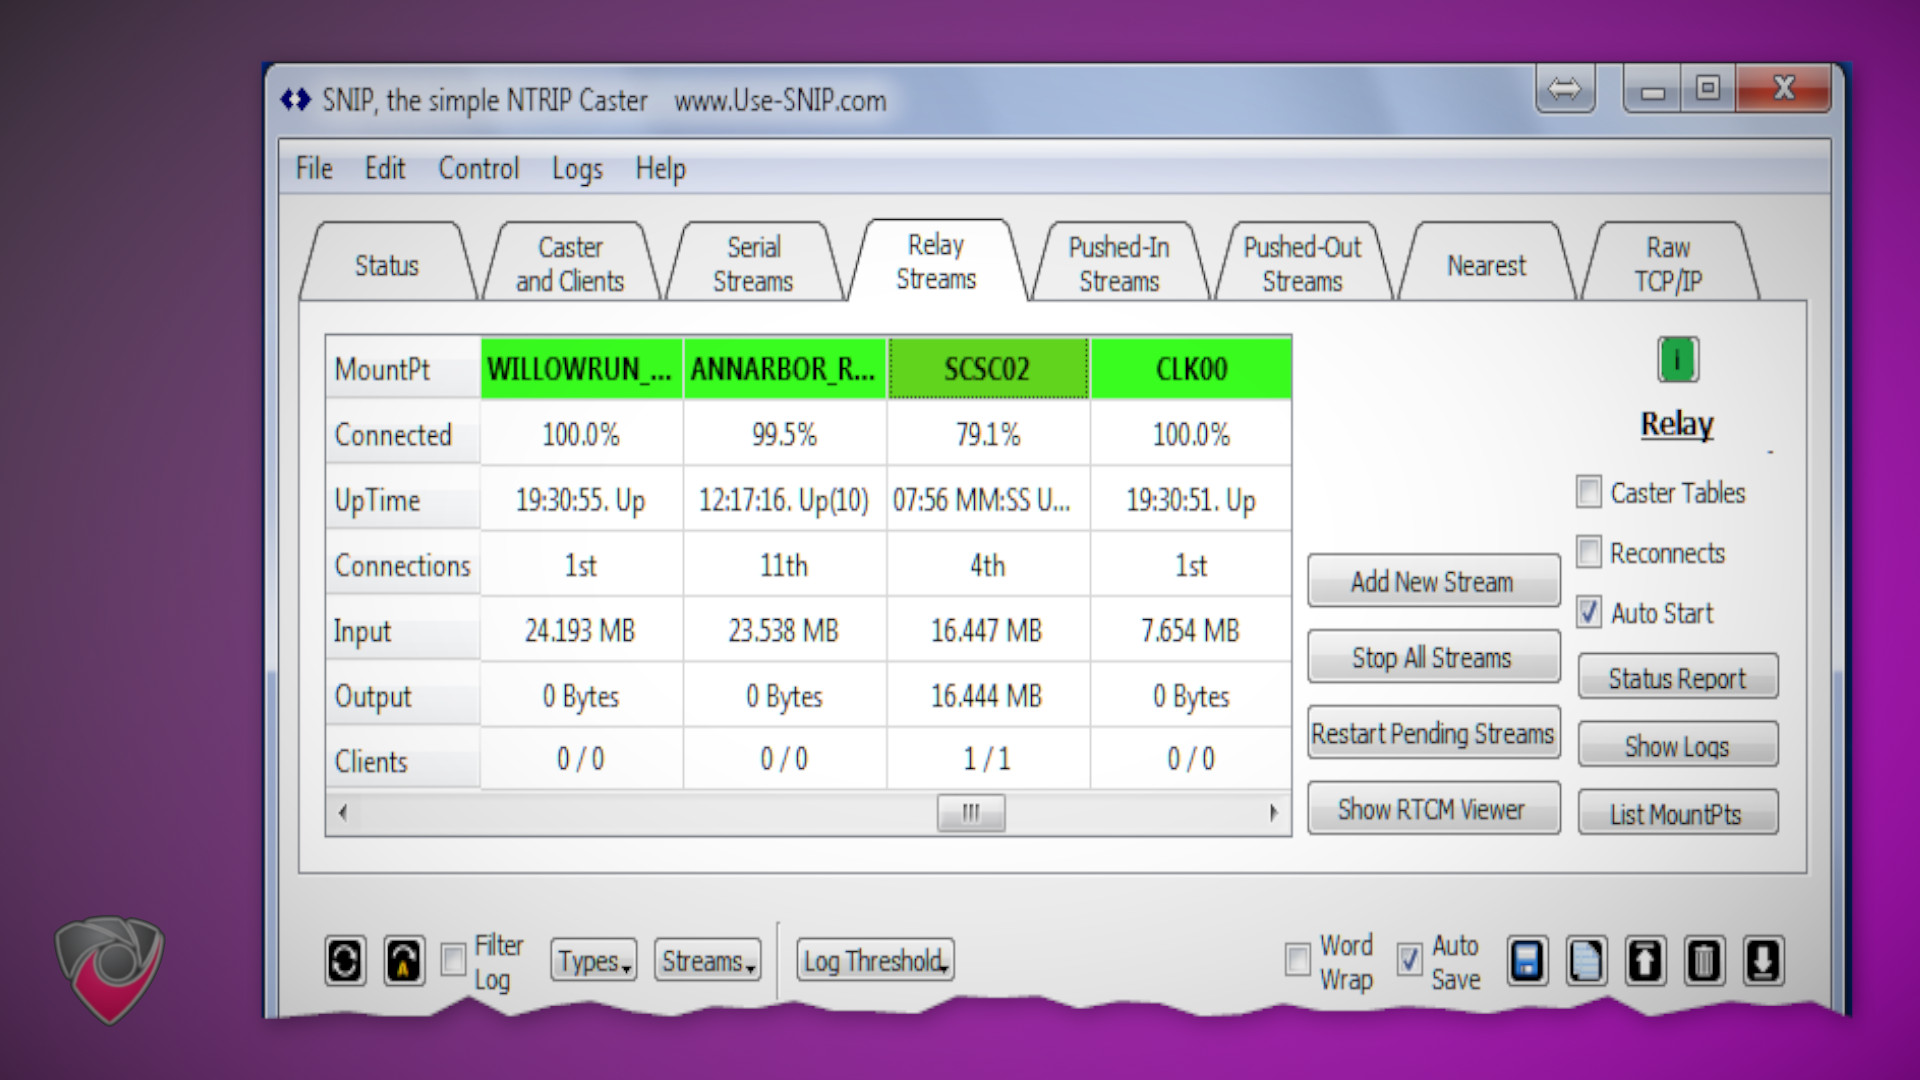
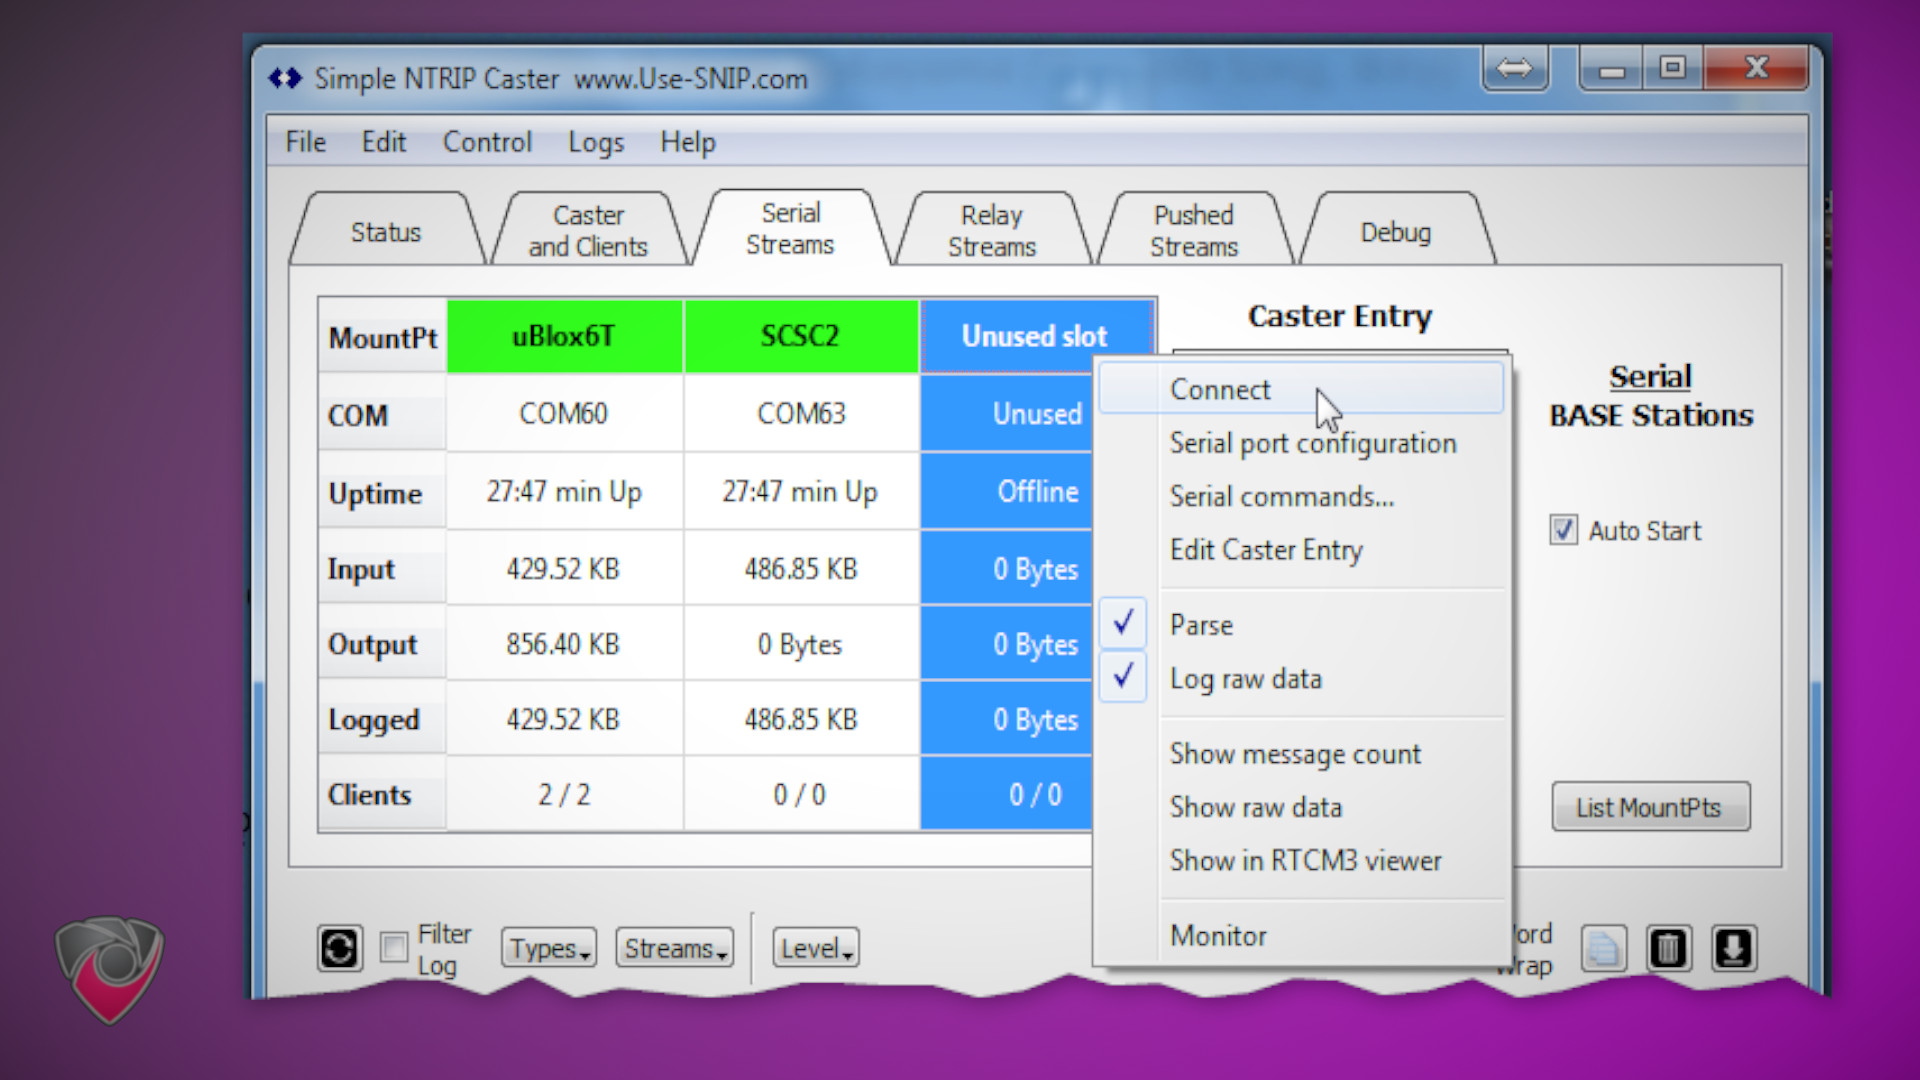
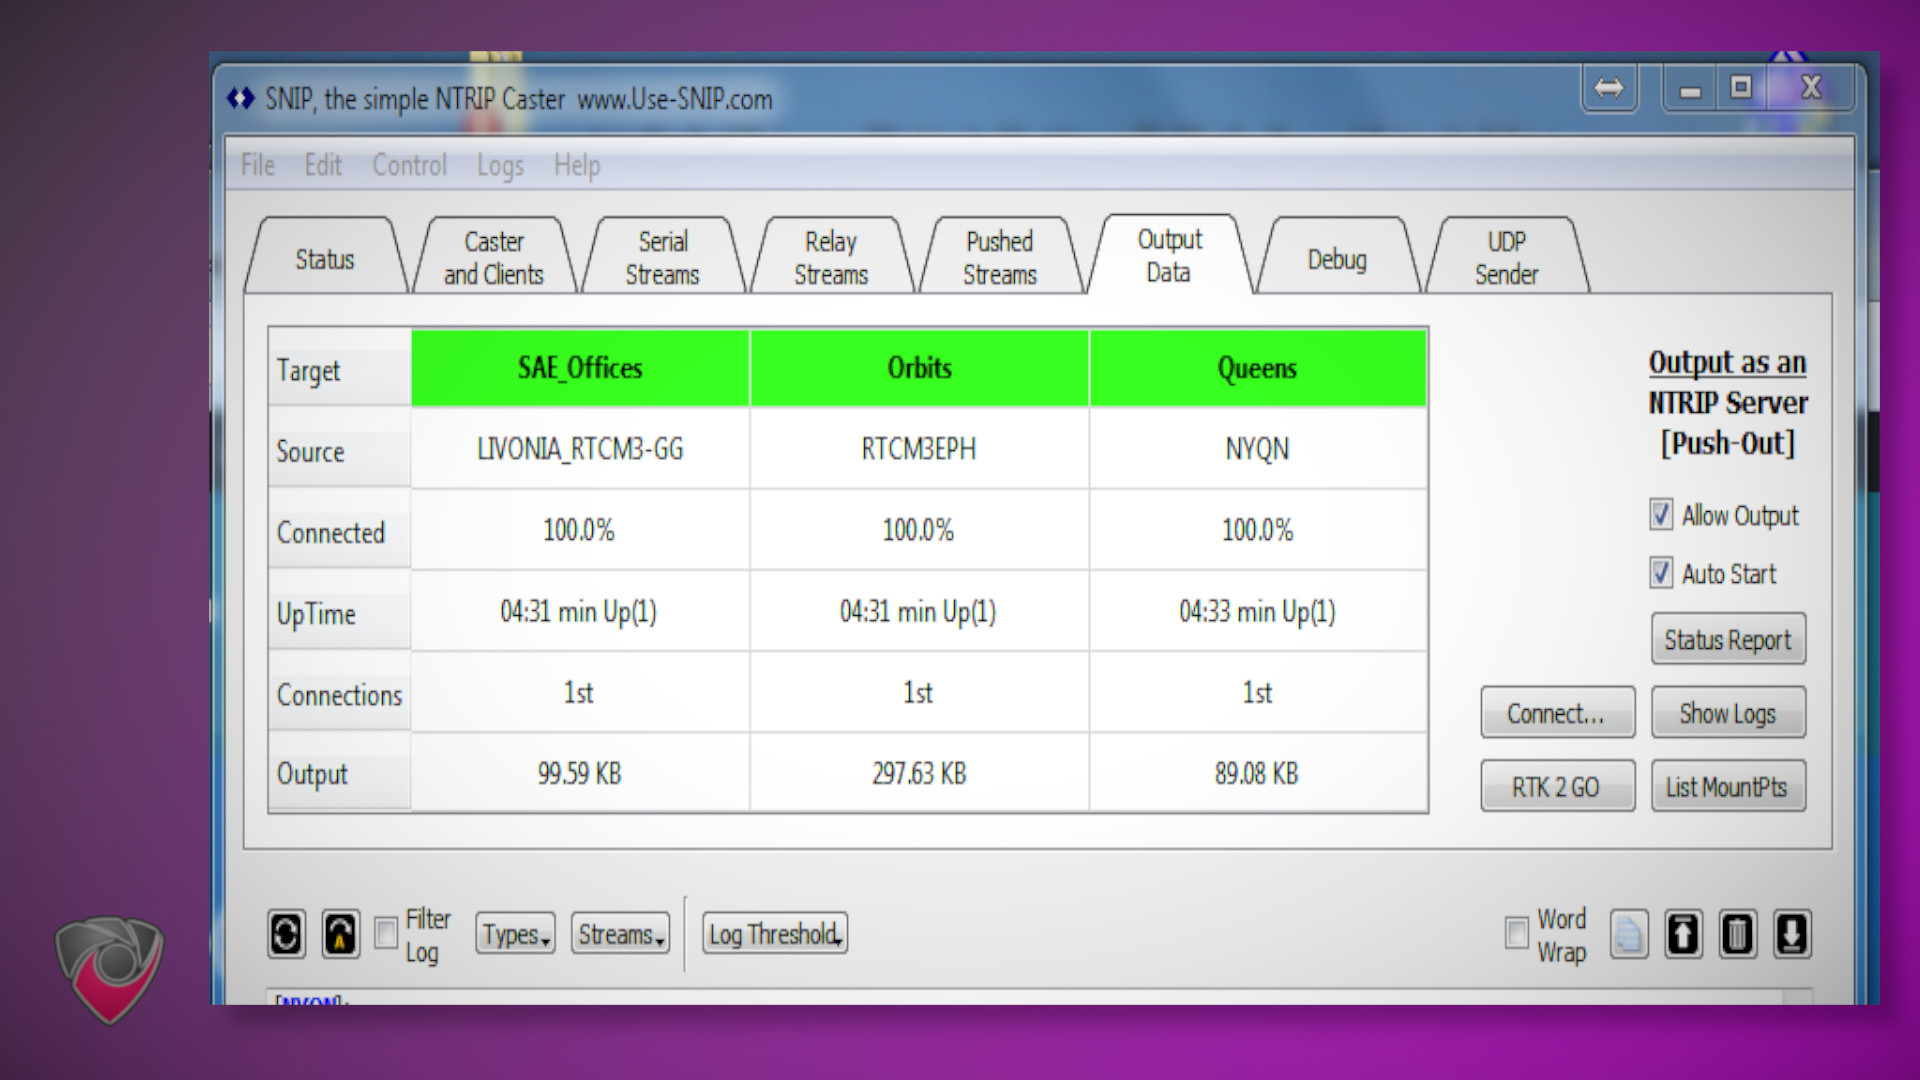
DIY Ntrip Server and Reference Station Setup
This guide provides step-by-step instructions to help you get started with creating your DIY Onocoy reference station
Become a Hackaday.io member
Already have an account? Log in.
Just one more thing
To make the experience fit your profile, pick a username and tell us what interests you.
Pick an awesome username
hackaday.io/
Your profile's URL: hackaday.io/username. Max 25 alphanumeric characters.
Pick a few interests
Projects that share your interests
People that share your interests


 Carlos
 Gibberfish