Close
0%
0%

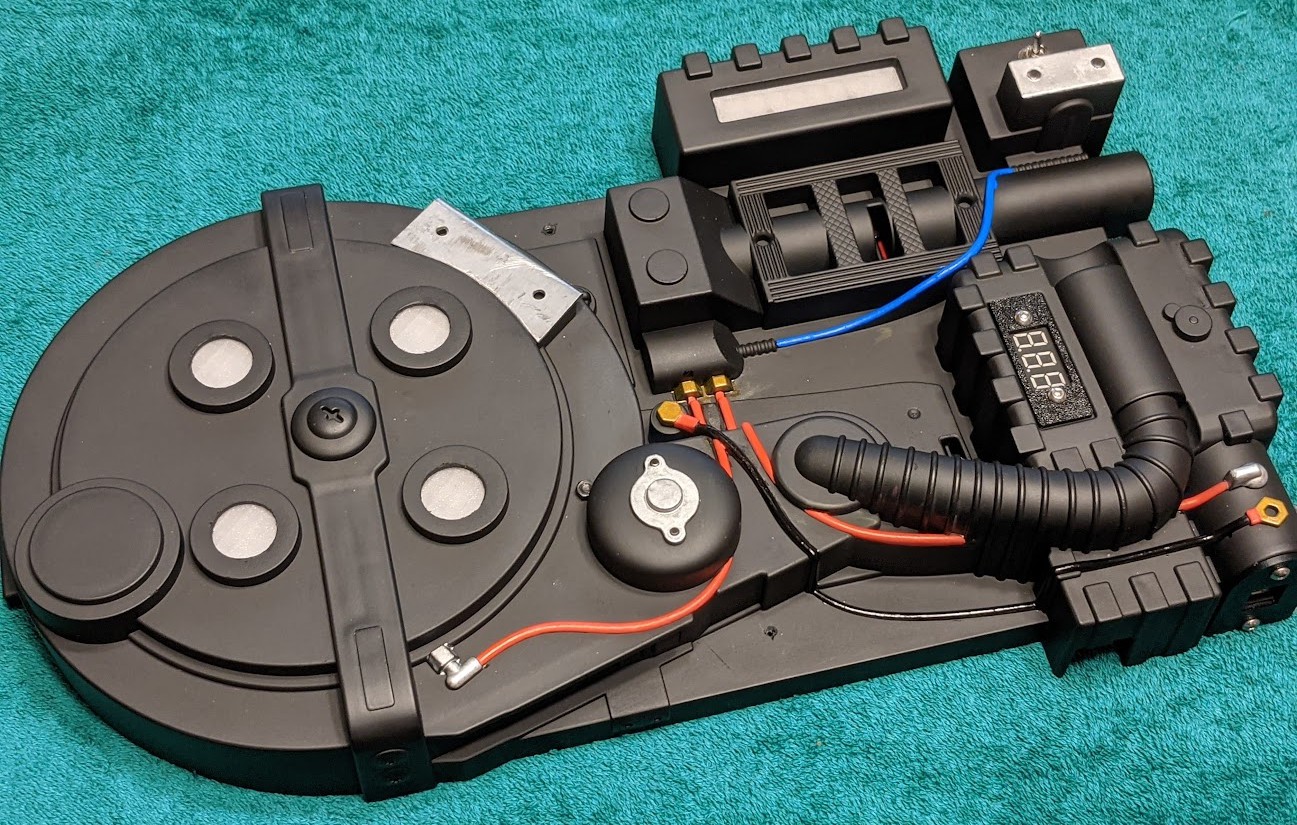
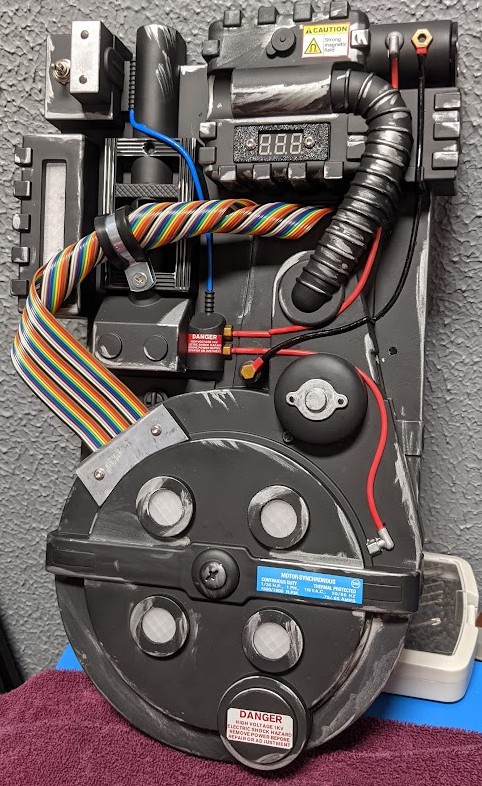
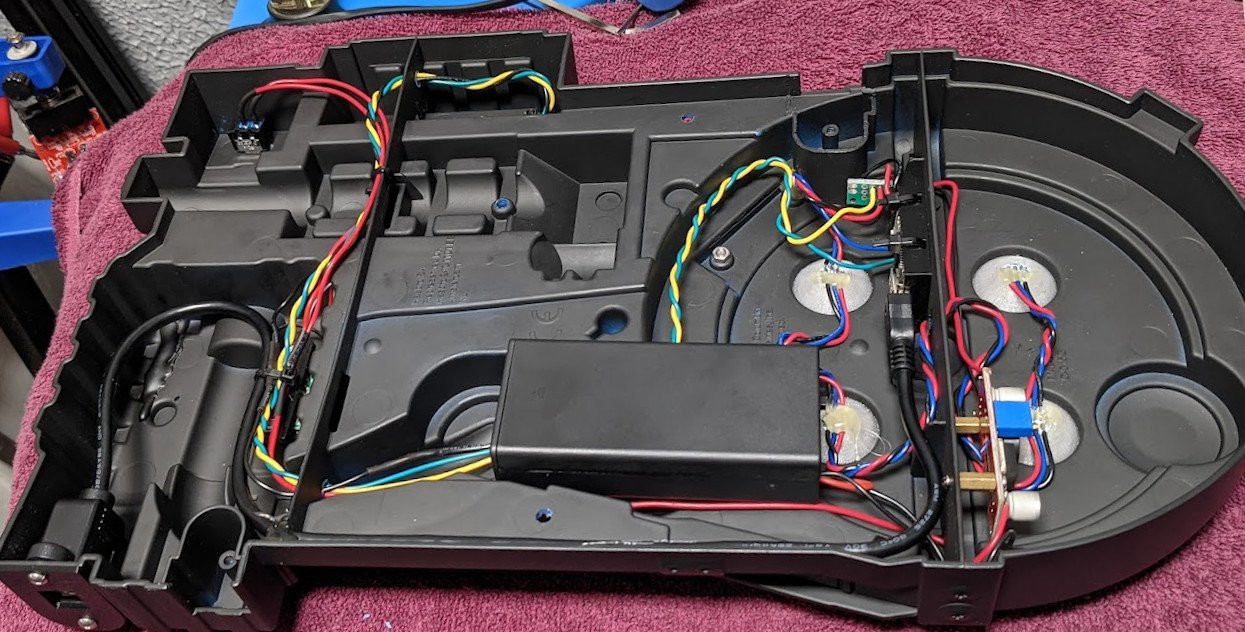
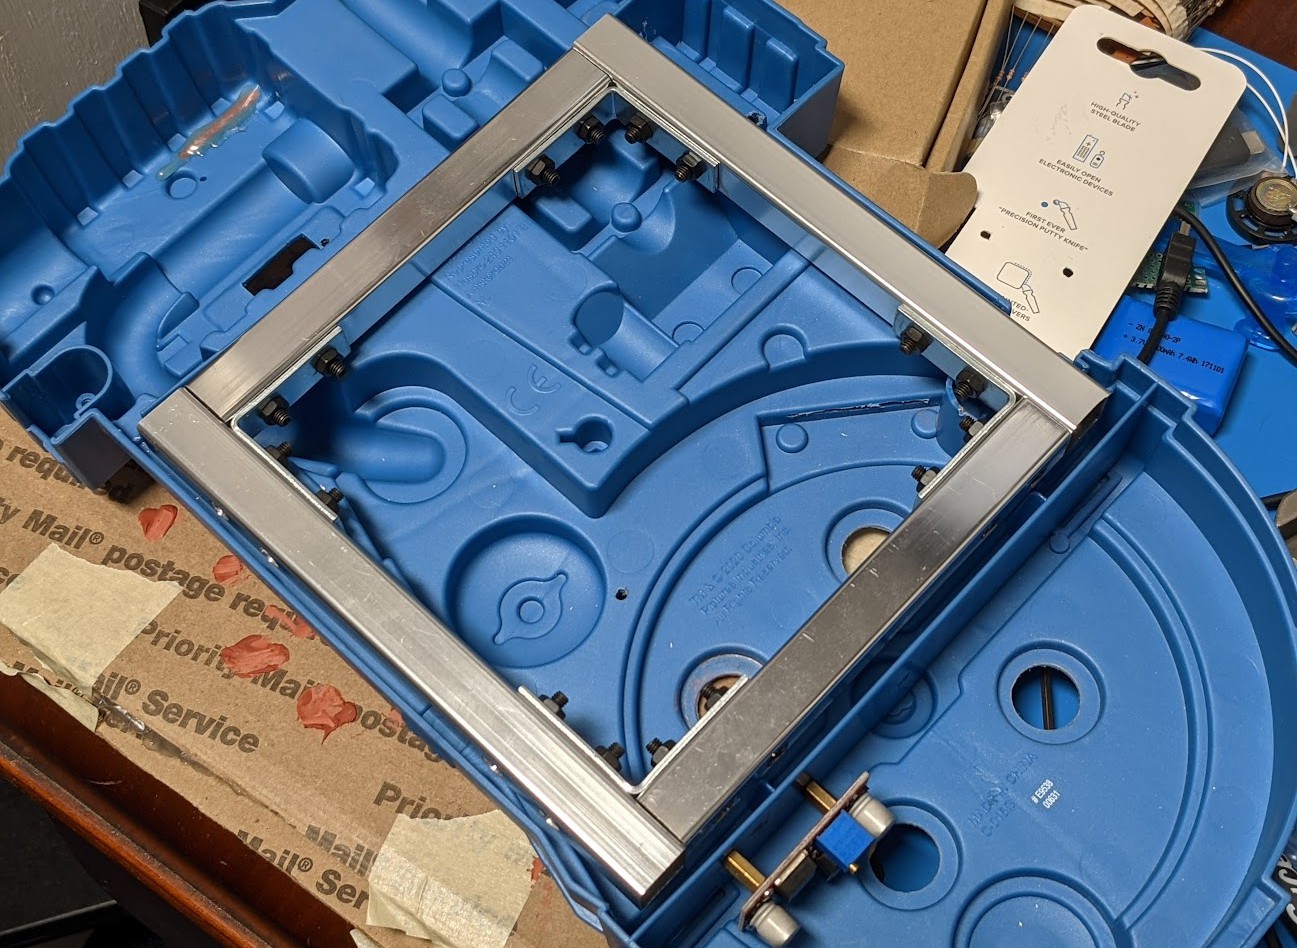
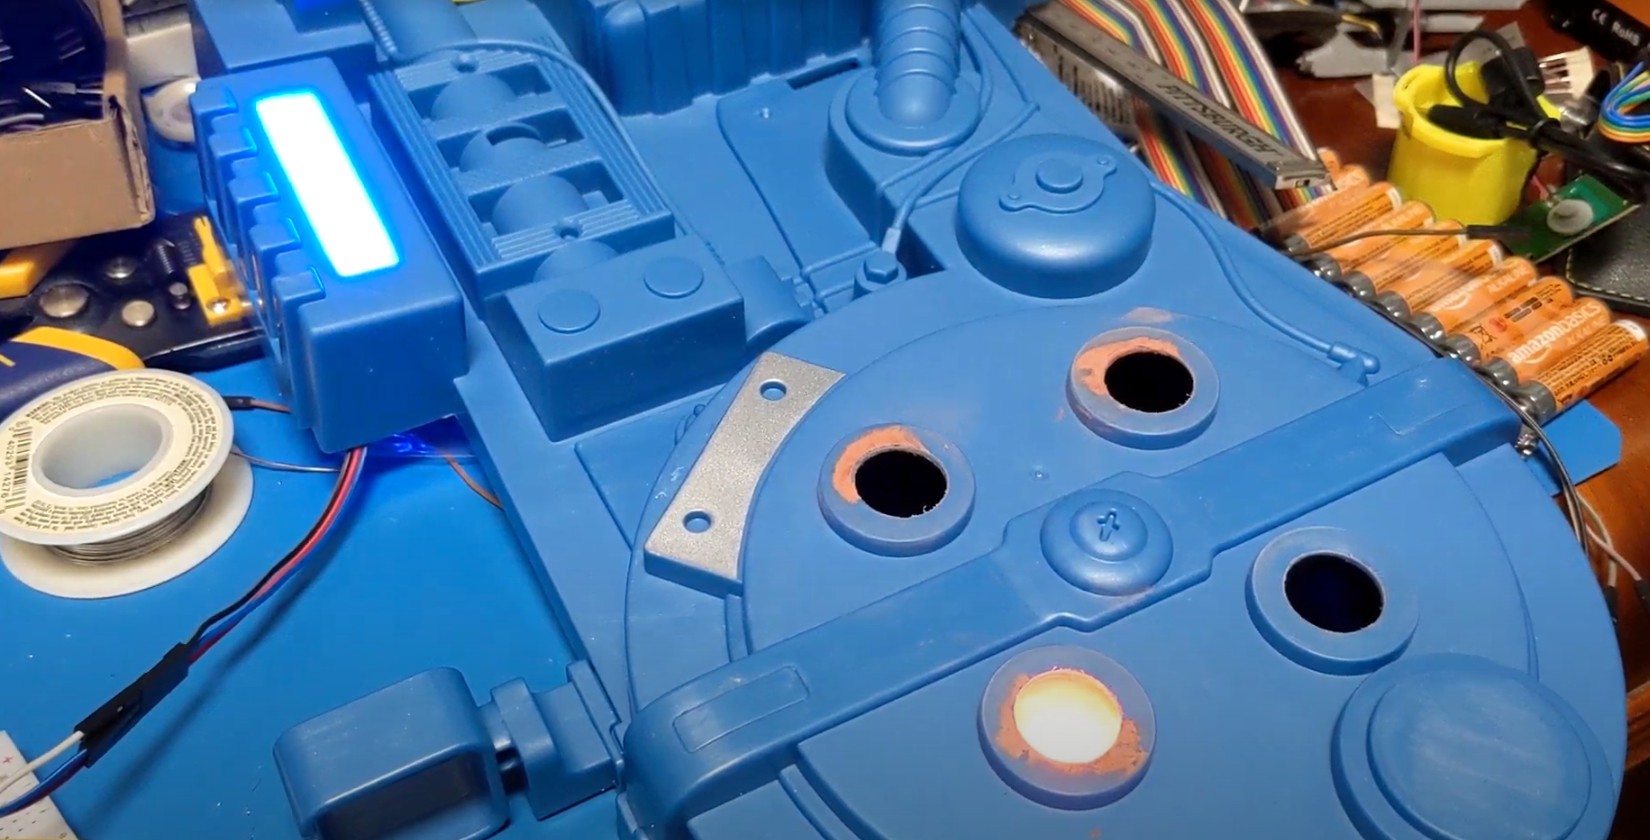
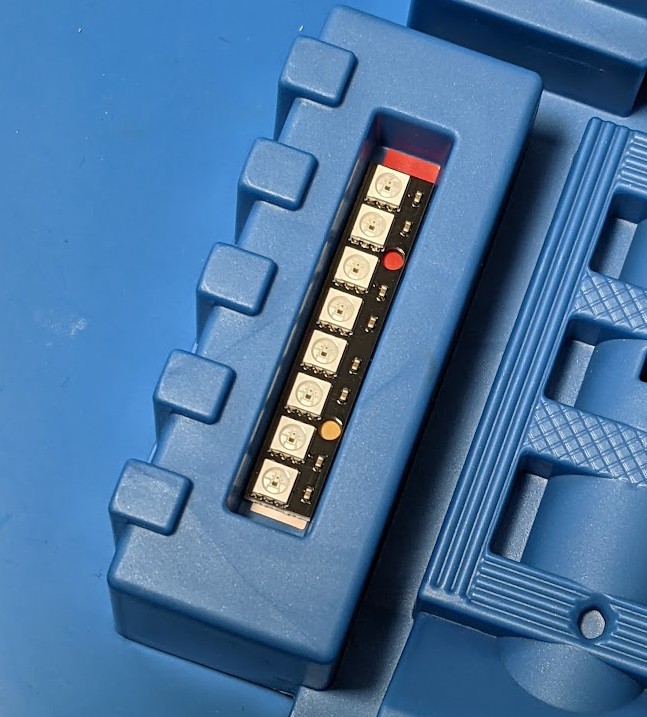
Hasbro Kids Proton Pack Conversion

Building a custom Ghostbusters Proton Pack out of the 2021 Hasbro toy.

Similar projects worth following
In 2021, to coincide with the release of "Ghostbusters: Afterlife", Hasbro Toys released a blue child-sized Proton Pack that was supposed to look like the toys for the animated "The Real Ghostbusters" series that ran from 1986 to 1991.

I have no idea who this product was for, since kids young enough to wear it would almost certainly never have seen the show. But it gave me a perfect base to build a custom Proton Pack for my daughter that would look closer to what was seen in the original 1984 movie, which she happened to be watching on repeat at the time.

  • Detail Work

    Tom Nardi10/16/2023 at 03:48 0 comments

    Unfortunately I didn't take many shots during the final phases of construction, so I'll have to fill in some blanks here.

    After applying the plastic primer and flat black spray paint, I added some color by painting the "wires" that were included in the injection molded frame. I then cut a piece of scrap metal to serve as the clamp for the ribbon cable, and added a piece of 30-wire rainbow cable.

    Wear marks were added using silver Rub 'n Buff, a technique which I saw Adam Savage use to realistically weather a NERF rifle. This was the first time I tried this technique, and while I got the hang of it pretty quickly, I definitely feel like it's a bit overboard in some spots.

    The final step was to order a proton pack sticker kit, which is used to dress up full-size packs. Obviously the scaling was all wrong for most of the stickers, but several of them came in smaller sizes as they were meant to be placed in multiple locations on the big pack. I was also able to cut some down to size, which at least let me put the right color/shape stickers in the right spot, even if the text was incomplete.

  • Final Wiring

    Tom Nardi10/16/2023 at 03:34 0 comments

    Here you can see all the wiring in place, including the power switch at the top (left in this photo), the 18650 cell holder in the middle, and the Arduino and buck converter mounted to either side of the plastic support behind the cyclotron.

    As you can see, there's still room in there to add a speaker and some sound playback hardware. But as my daughter has sensory issues, I didn't think having the pack make noise would be wise. That said, the option is there to add it in the future.

  • Structural Concerns

    Tom Nardi10/16/2023 at 03:28 0 comments

    The Hasbro pack was meant to be worn...technically. The original pack was very flimsy, and the straps were absolute trash. Rather than coming from the back of the pack like you'd think, they just put slits in the plastic wherever they wanted and looped them through.

    So after removing the original straps and covering the holes with Bondo, I created a frame out of square aluminum tubing and mounted the plastic shell to that. This took care of the flexing, an gave me a rigid point to mount the straps.

    The straps themselves came off some knock-off Mickey backpack I got on Amazon for $10. I cut them off, reinforced the edge with some stitching, and then popped grommets into them which I ran screws through. The idea was that this would let me securely mount them to the metal without running the risk of tearing through the material.

    The final result was strong, but admittedly, not very comfortable. For long-term wear, I'd probably add some kind of padding over the aluminum frame. I also realized after the fact that the frame was mounted too low on the pack itself -- if I were to do it again, I'd make it slightly narrower so the top of the frame would be closer to the top of the pack. As it stands, the pack sits a bit too high on my daughters back.

  • Powering Up

    Tom Nardi10/16/2023 at 03:00 0 comments

    Since I've been pulling a bunch of lithium ion drill batteries out of the trash (they will be for a Hackaday article at some point...probably), I decided to use a pair of 18650 cells in an off-the-shelf battery box. This gave me 7.4 volts (and even higher when freshly charged), which would be fine to run through the Arduino's built-in regulator, but would be too much for the LEDs themselves.

    So the output of the battery goes to buck converter module which is adjusted for 5 V output. One set of wires goes directly to the LEDs, while the other is goes to the Arduino.

    I added a seven-segment LED volt meter to the back of pack, allowing me to check the battery level as my  daughter goes form house to house. With a little 3D printed bezel and surrounded by fake hoses, it blends in quite nicely.

  • USB Interface

    Tom Nardi10/16/2023 at 02:41 0 comments

    I wanted to make it easy to plug into the Arduino Nano to update the code, even once the project was all buttoned up. At one point I was even considering enclosing the whole back of the pack with some kind of plastic sheet, so it was especially important to break out an interface early on (even though in the end, I didn't go through with the enclosure).

    So I plugged a USB-B panel mount adapter into the Arduino, and ran it up above where the neutrino wand would have mounted. Incidentally, for this build, I decided not to do the wand. My daughter is a bit too young to understand the concept, and frankly, I was worried she would hit somebody with the thing.

  • Cyclotron LEDs

    Tom Nardi10/16/2023 at 02:35 0 comments

    Adding lights to the cyclotron took a little more work. I first drilled out the four circles, and then used Bondo around the openings to smooth them out.

    Into each opening went a conical PETG diffuser, which had an opening at the top for a single WS2812B  breakout PCB. Each LED was wired up to the next one in the circle, and eventually connected to an Arduino Nano clone along with the LED bar.

    Since all the LEDs are addressable RGBs, creating the animations would be simple. I could even change the colors, though for screen accuracy, the power cell would be blue and the cyclotron red.

  • Power Cell LEDs

    Tom Nardi10/16/2023 at 02:28 0 comments

    Beyond painting the pack and adding more physical details, I felt it was important to add some lights to the mix. The original pack is completely inert, so really, anything would have been an improvement.

    As it just so happens, a common 8 x 5050 RGB LED bar (such as the Adafruit NeoPixel Stick) fit perfectly inside the "Power Cell", which would let me recreate the animated light effect seen in the film.

    The bar was glued down into place, the wires were run out of a small hole cut into the bottom of the opening, and a 3D printed PETG lens was installed on top to diffuse the light.

View all 7 project logs

Enjoy this project?

Share

Discussions

Dan Maloney wrote 10/16/2023 at 17:11 point

Raising her right, I see -- just make sure you slip some Looney Tunes into the Ghostbusters loop...

Good greebling and aging, looks so much better than that lame Hasbro attempt.

  Are you sure? yes | no

Similar Projects

Does this project spark your interest?

Become a member to follow this project and never miss any updates