 Mike Kushnerik
Initial Planning
As with any good project, I started by doing some boring planning and requirements making to get started in the right direction.
As an initial target, I defined the below basic requirements:
- Must be handheld and cordless (battery power required)
- Should be the rough dimensions of a normal wand from the films
- Must have an RGB LED of sorts in the tip area for illuminating when a spell is cast
- Must have some trigger (ideally motion based) for detecting when a spell is being cast
Now that we have our targets defined, we can move on to selecting our hardware to satisfy them!
Electronics Hardware Design
Power Source

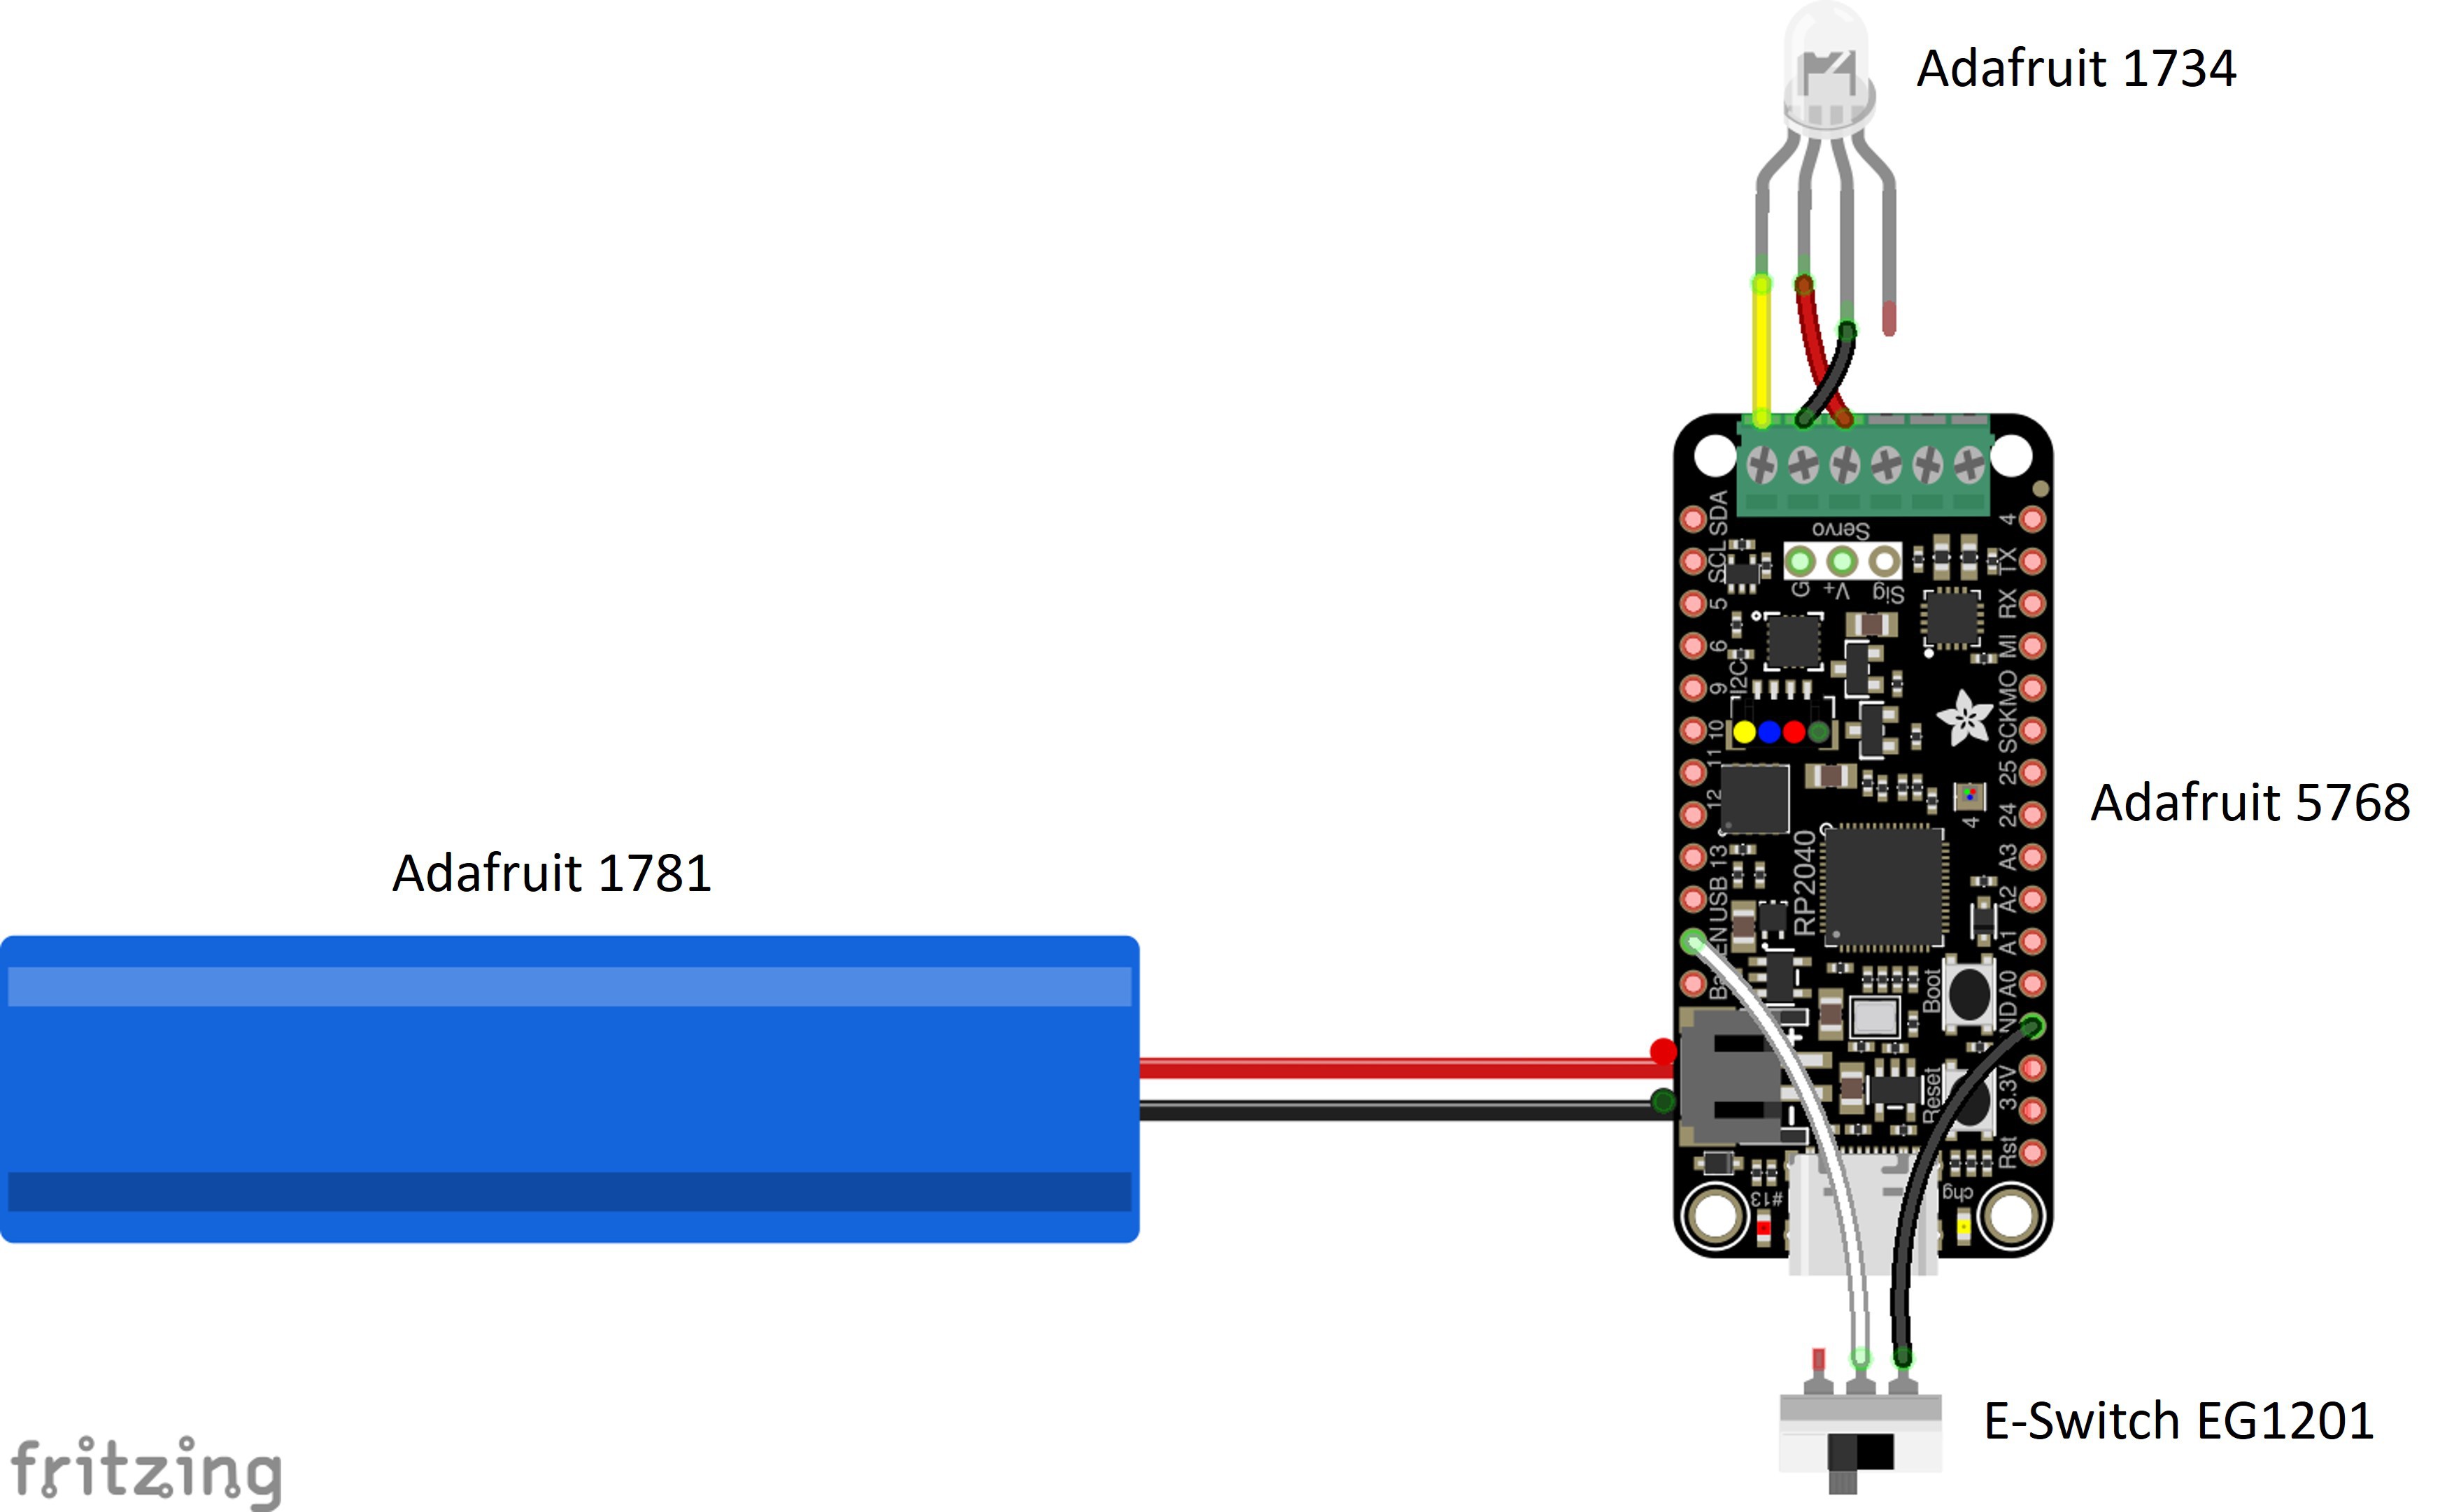
After reviewing the requirements I decided it would probably be best to go with some type of lipo/lithium ion battery to power the device. Seeing as we are going for a compact wand-like form factor, I decided a cylindrical cell would be best as this should be easy to design our wand shape around. Doing some searching, I stumbled across this 18650 size cylindrical cell from Adafruit that has 2200mAh of capacity and an integrated protection circuit! Also, it's already terminated to a JST PH connector which will work nicely with our microcontroller board selected next...
Microcontroller

I did quite a bit of searching for different dev boards out there to satisfy our requirements and even (for a second) considered designing a custom PCB, but ended up settling on the Adafruit feather ecosystem as they have an onboard charging IC for lipo/lithium ion batteries with a JST PH input connector. Specifically, the RP2040 Prop-Maker Feather was perfect for this project as it has a Triple-Axis Accelerometer (ST LIS3DH) onboard that we can use for our spell detection and has easy to use screw terminals for wiring up our tip RGB LED.
Full disclosure, I actually started this project and did most of the development with a normal RP2040 Feather (pink edition of course) with an LIS3DH breakout. Then a week before Halloween I realized that there is a thing called an Adafruit RP2040 Prop-Maker Feather that literally has everything I needed on one single board...
So then, over the course of (1) day, I redesigned everything and switched over to the Prop-Maker Feather to make it easier for assembly and so others can make this project without a ton of soldering.
TLDR: I need to research betterer before starting a project.
RGB LED

For the wand tip RGB LED that indicates when a spell is being cast, I was originally considering just using a normal common cathode RGB LED like I have used on other projects previously but I ended up changing my mind and going with these cool 5mm PTH Neopixels from Adafruit. The terminal block NeoPixel port on the RP2040 Prop-Maker Feather will also make it super easy to get it connected up and providing beautiful RGB goodness.
Mechanical Hardware Design

Now that we have all our electronics hardware defined, it's time to package them all together in a nifty wand-like enclosure! This was easily the biggest time dump for this project as I went back and forth multiple times on the direction I would take for this.
Originally I was thinking to have a two piece clamshell split down the middle of the wand with several screws, but that would easily kill the overall aesthetics and make disassembly a pain.

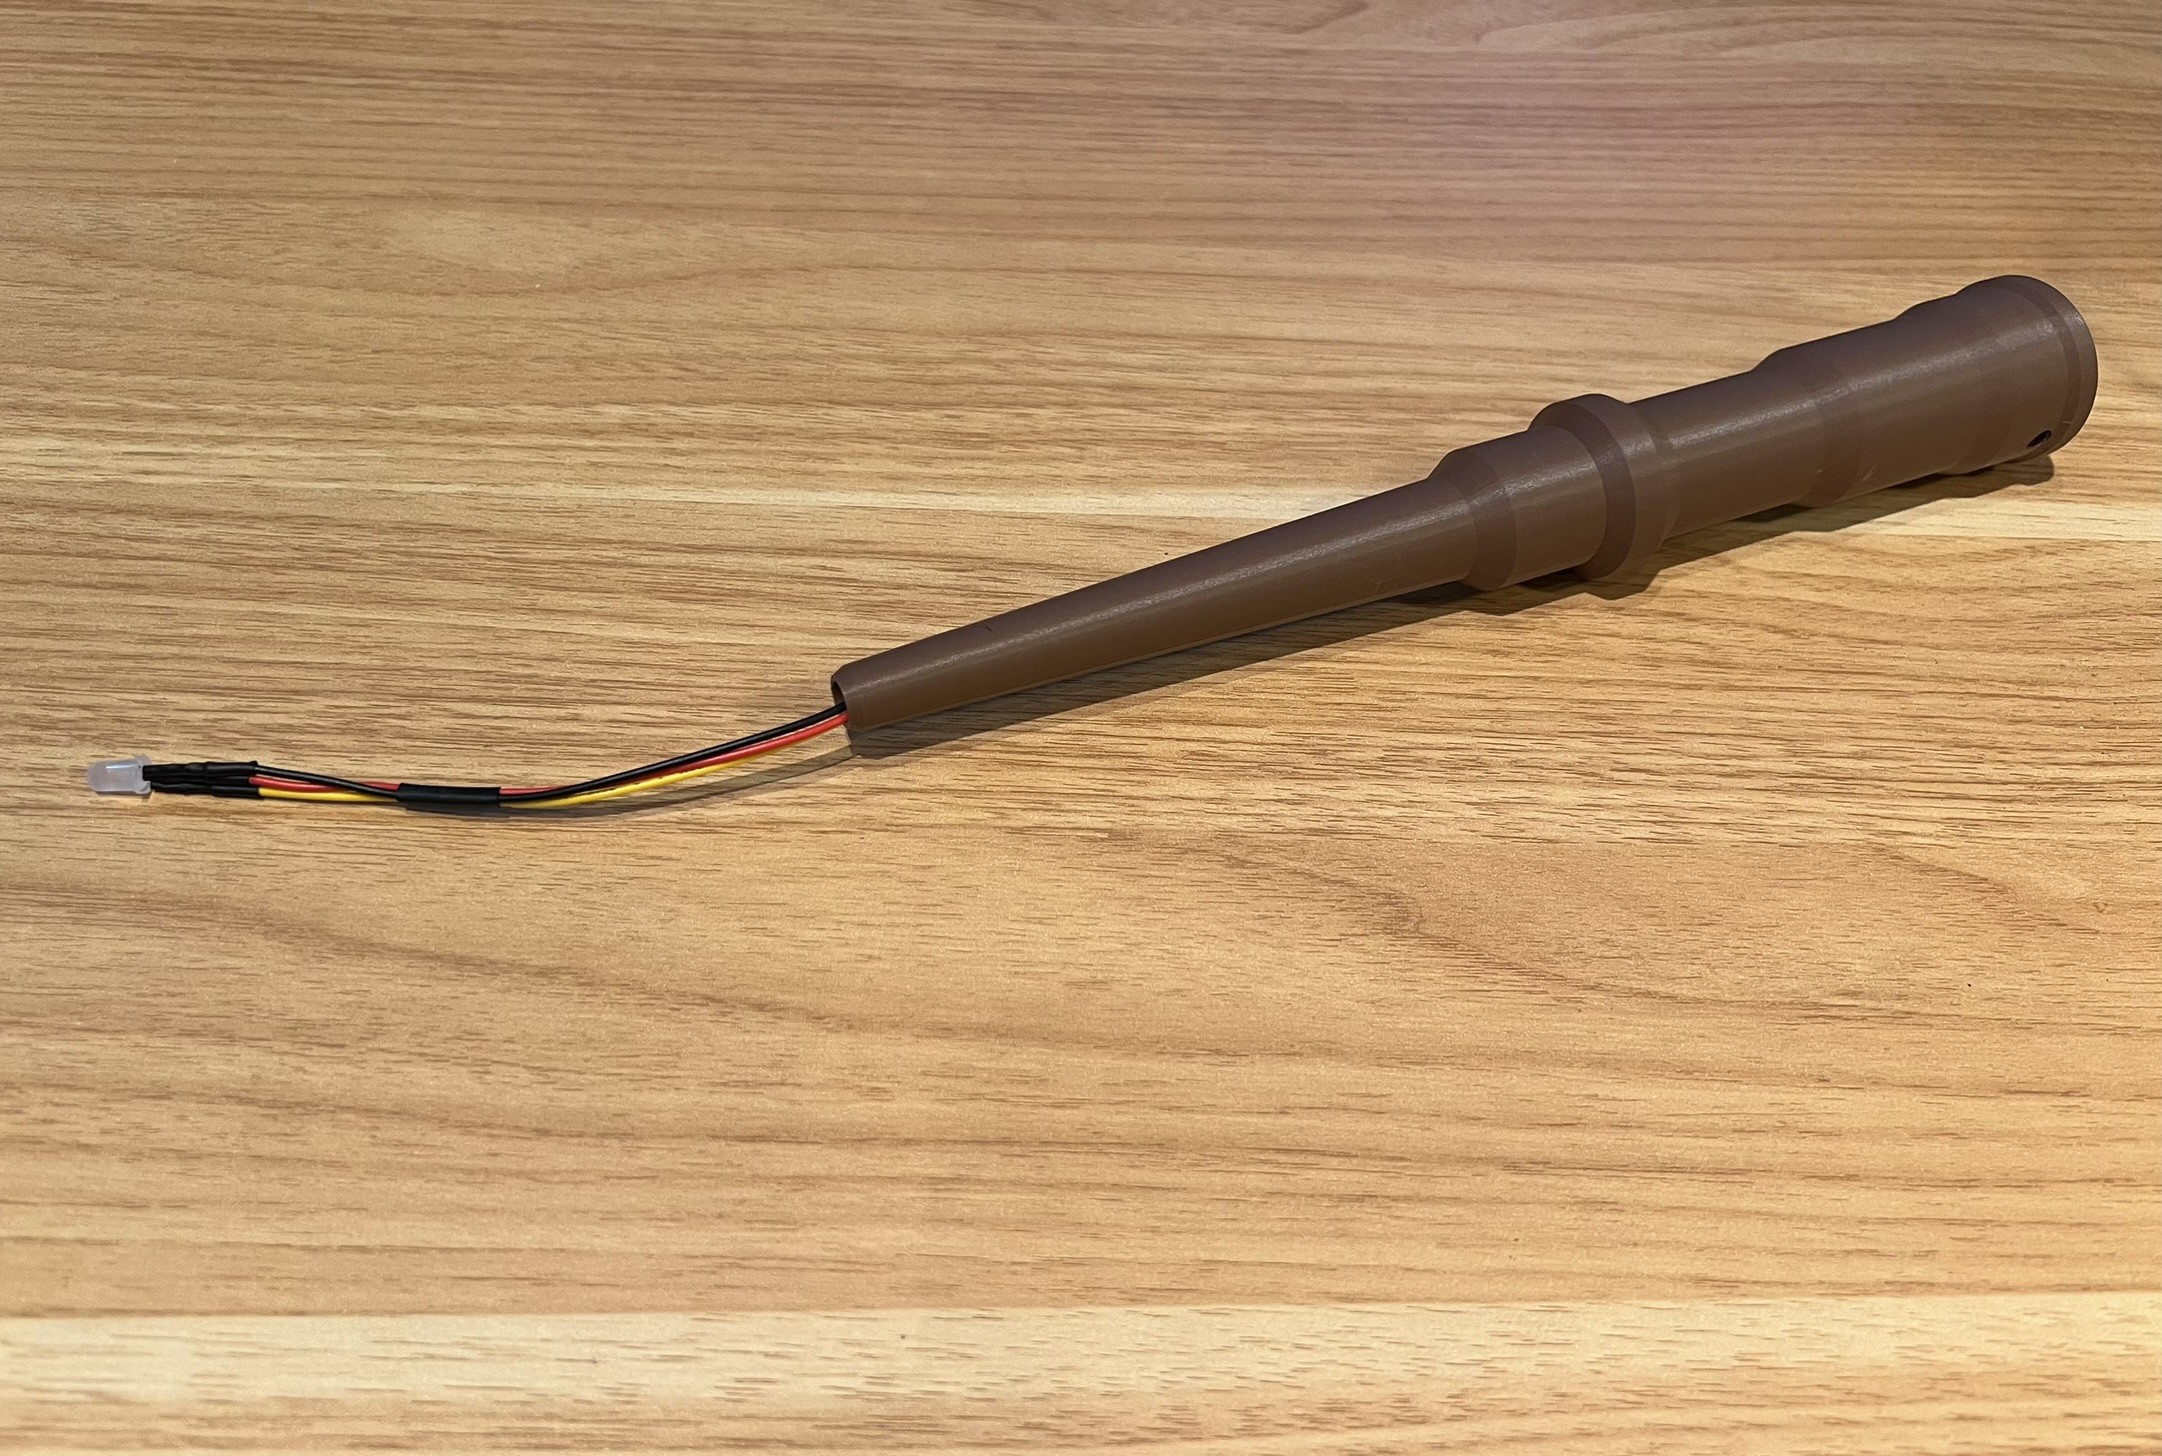
After much deliberation and several redesigns and test prints, I ended up going with a two piece assembly where the wand is essentially an outer shell that includes the Neopixel tip LED and the 18650 battery which then mates with a separate "carrier" piece that contains the Prop-Maker Feather.
The only kinda tricky portion is that wires need to run through the wand from the Neopixel in the tip, past the 18650, to the Feather at the base. However, after some test assembling, this is only a *minor* pain in the a** to assemble.
Software Design
I'm going to do my best to keep the software explanation brief as the Arduino sketch...
Read more »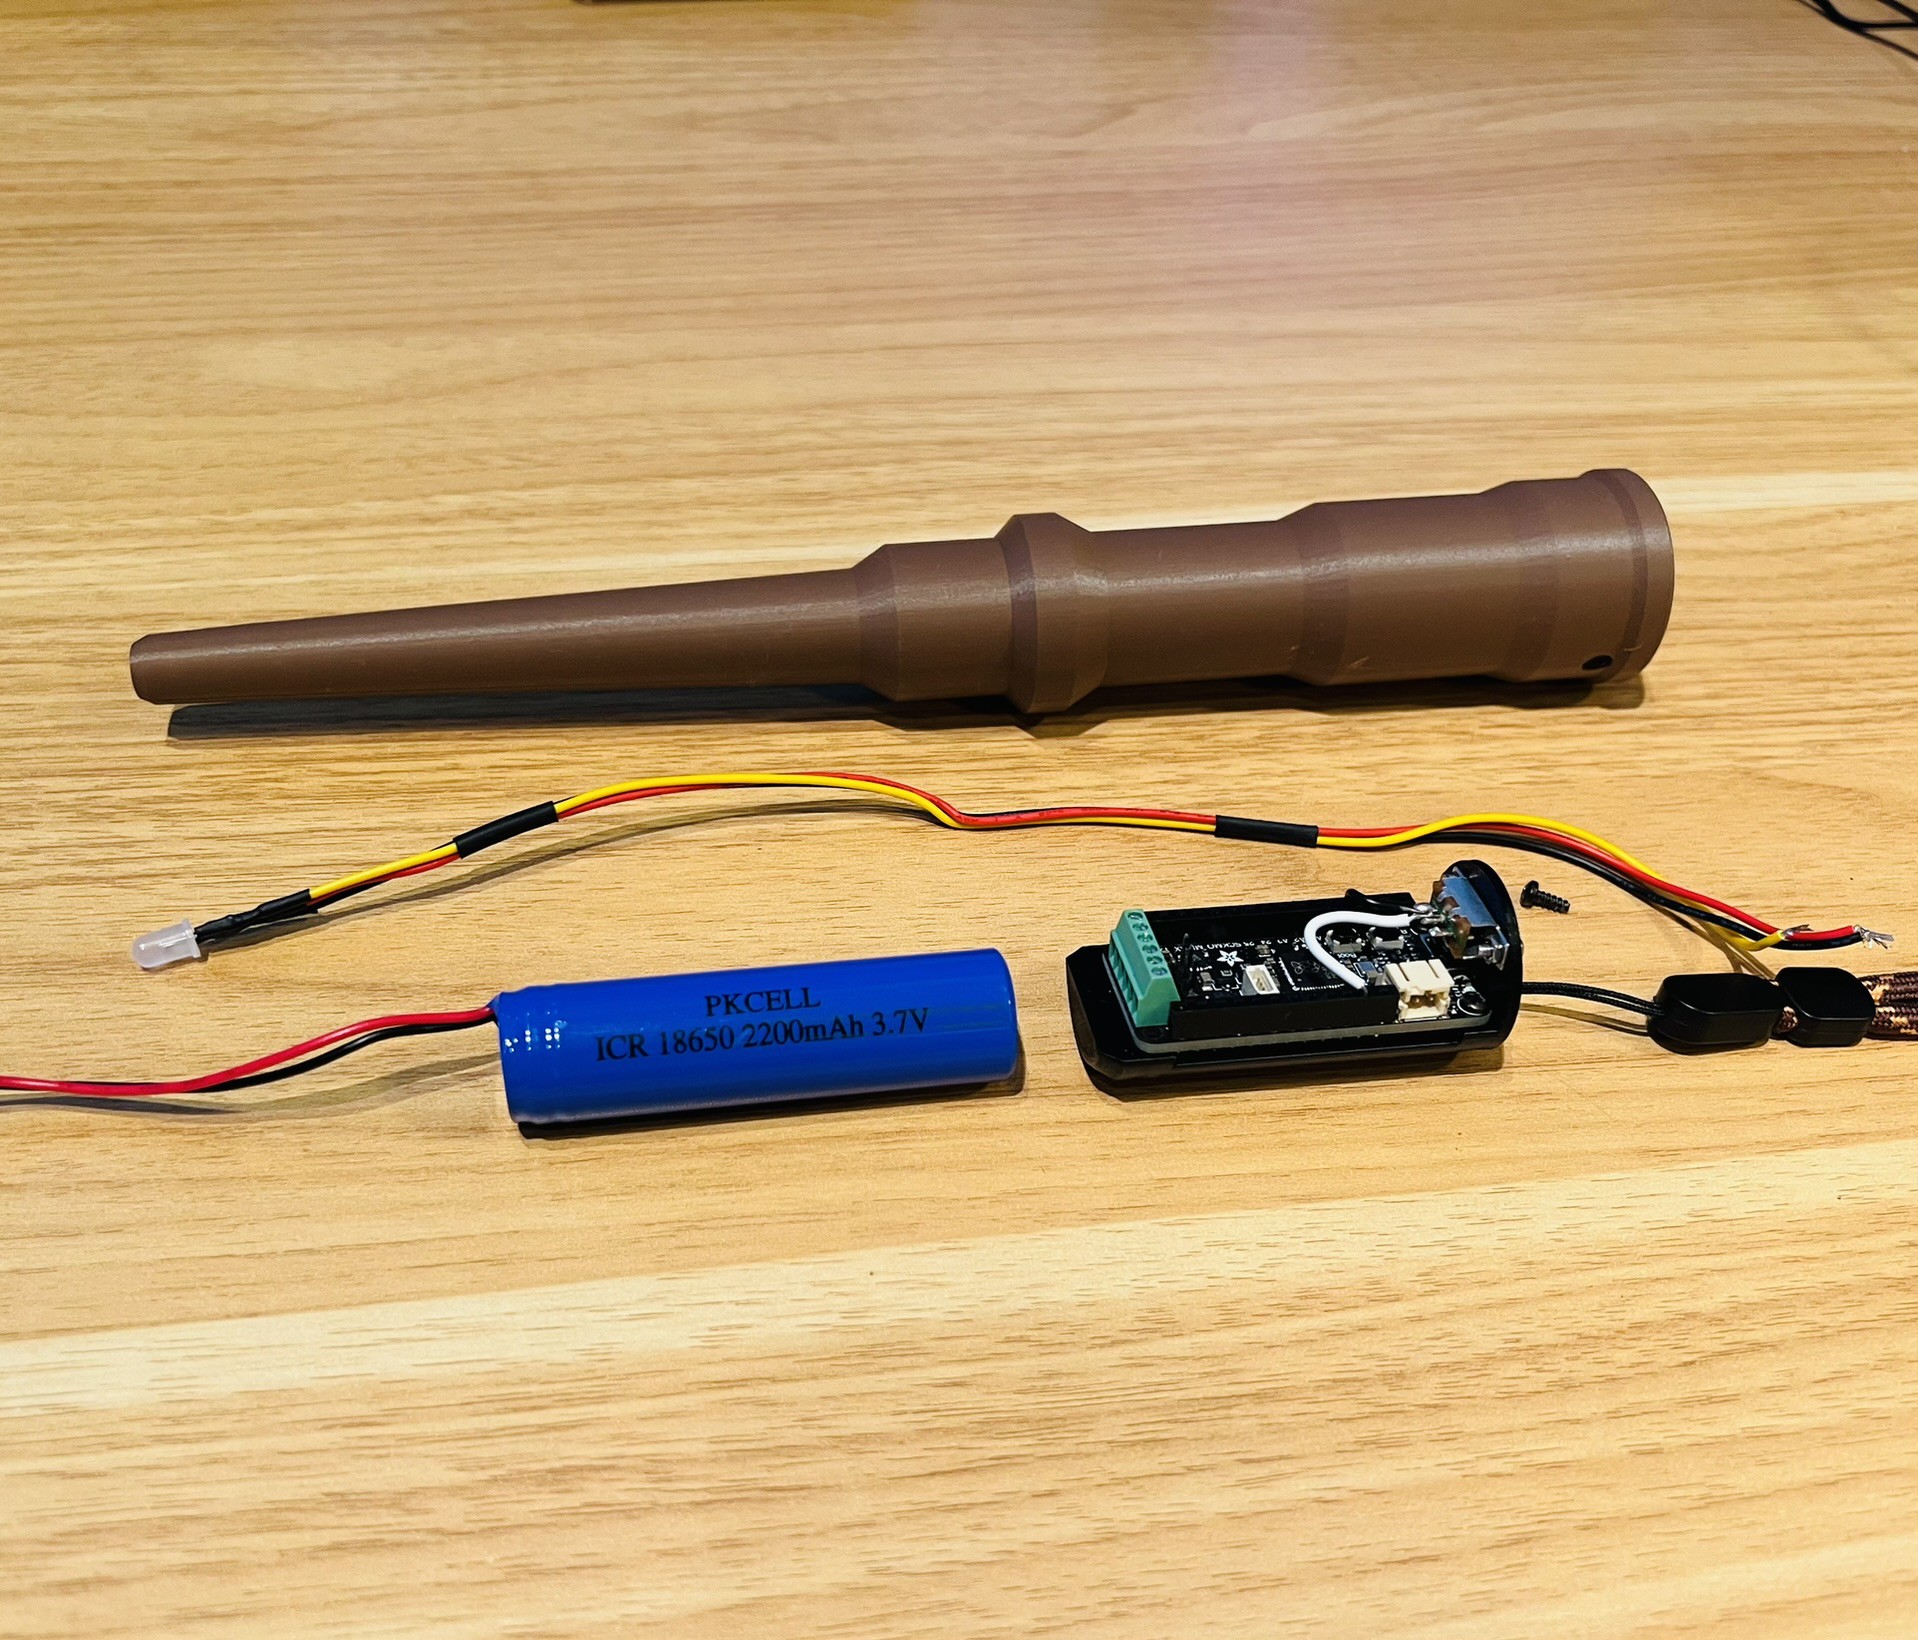


 Austin Marandos
 MakersBox
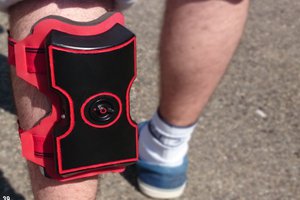
 TAIBHSE DESIGNS
 Arya
Arya