 Mx. Jack Nelson
After building the Haunted Keyboard I decided it was time to take a crack at my second PCB and integrate a more all purpose use AI. While the Haunted Keyboard generates a spooky message in response to typed text, this board will query ChatGPT with whatever I type without the haunted vibe.
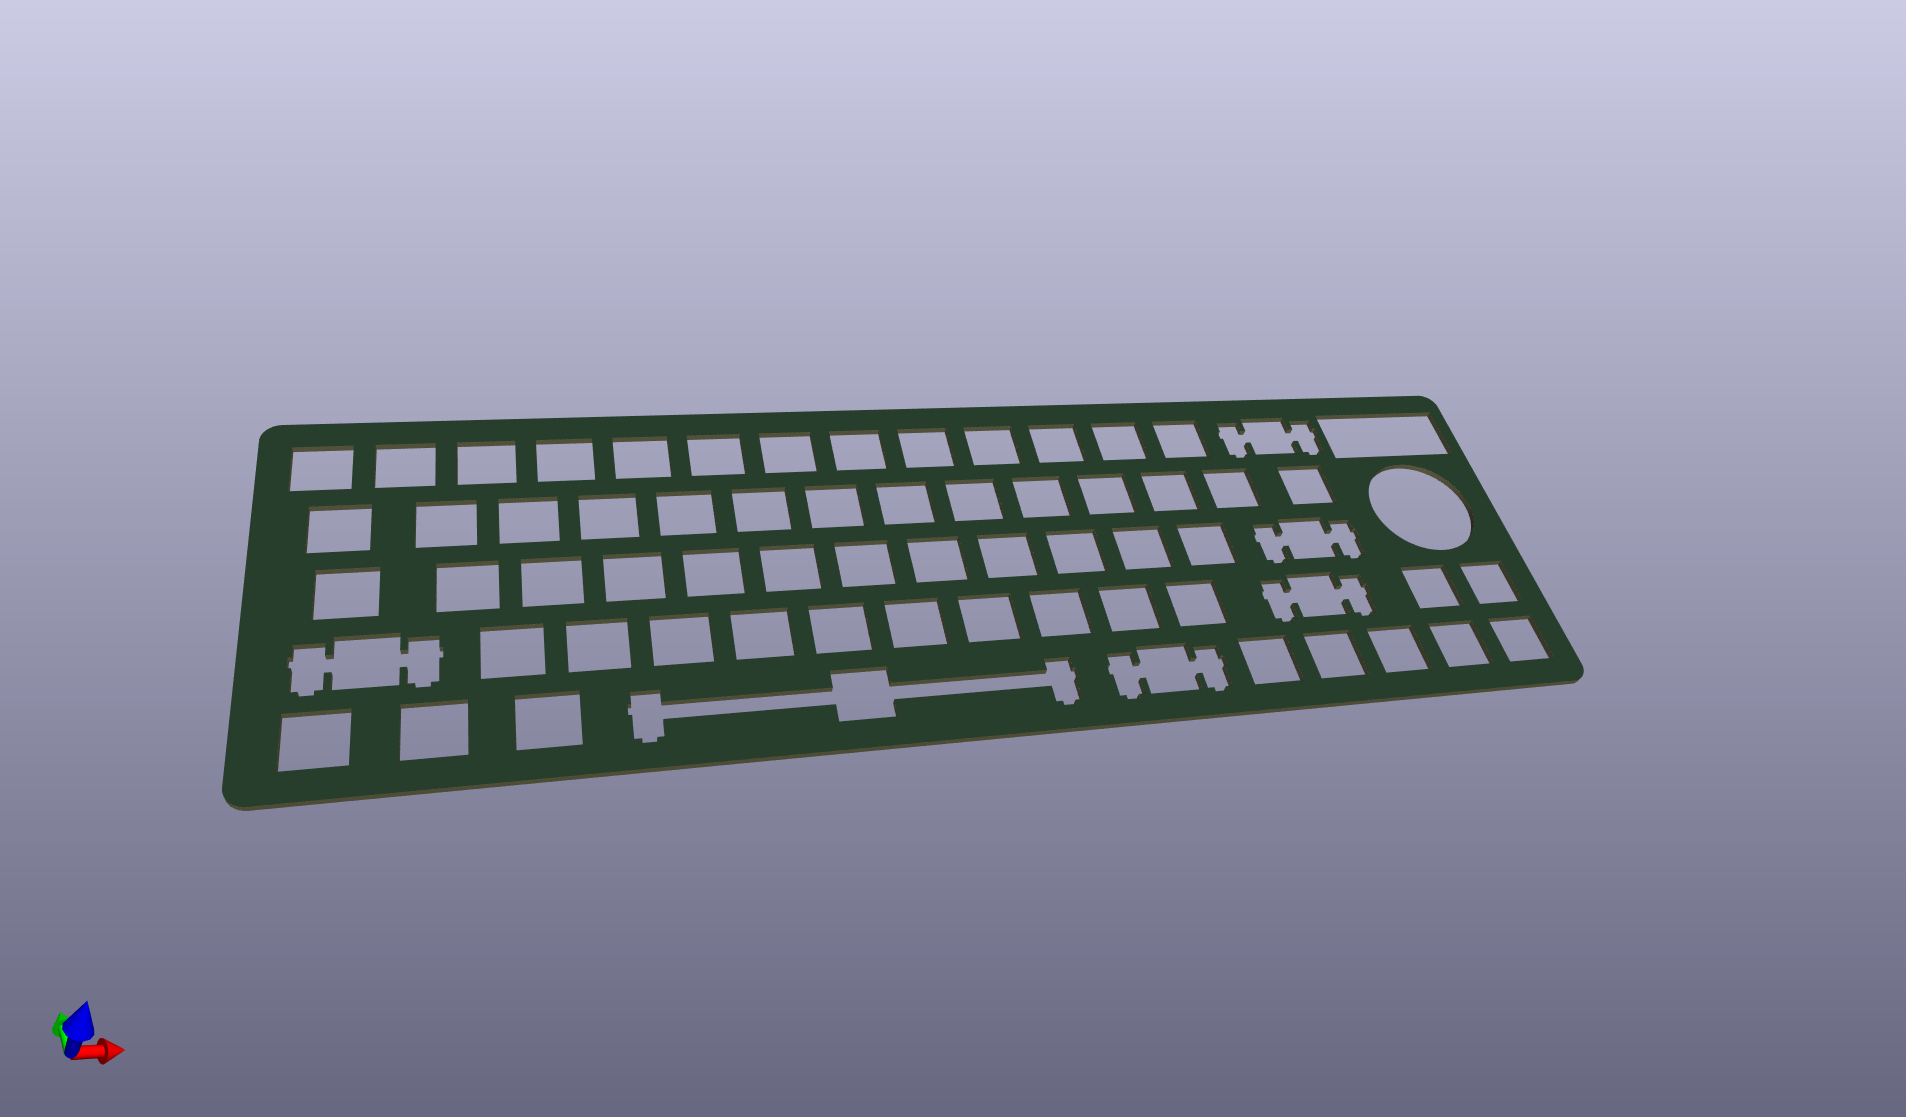
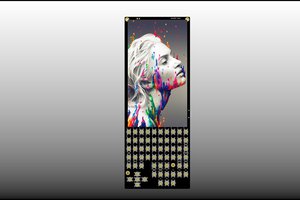
I want to enable and disable the AI element with a dedicated switch. Also this board will have per key LEDs, and at least a 65% percent layout. I may retain the split spacebar, or take up stabilizers. There will also be a plate between the switches and the PCB, probably made out of PCB itself. This board will be black, instead of green, and I'm prepared to wait the extra few days for it to happen.
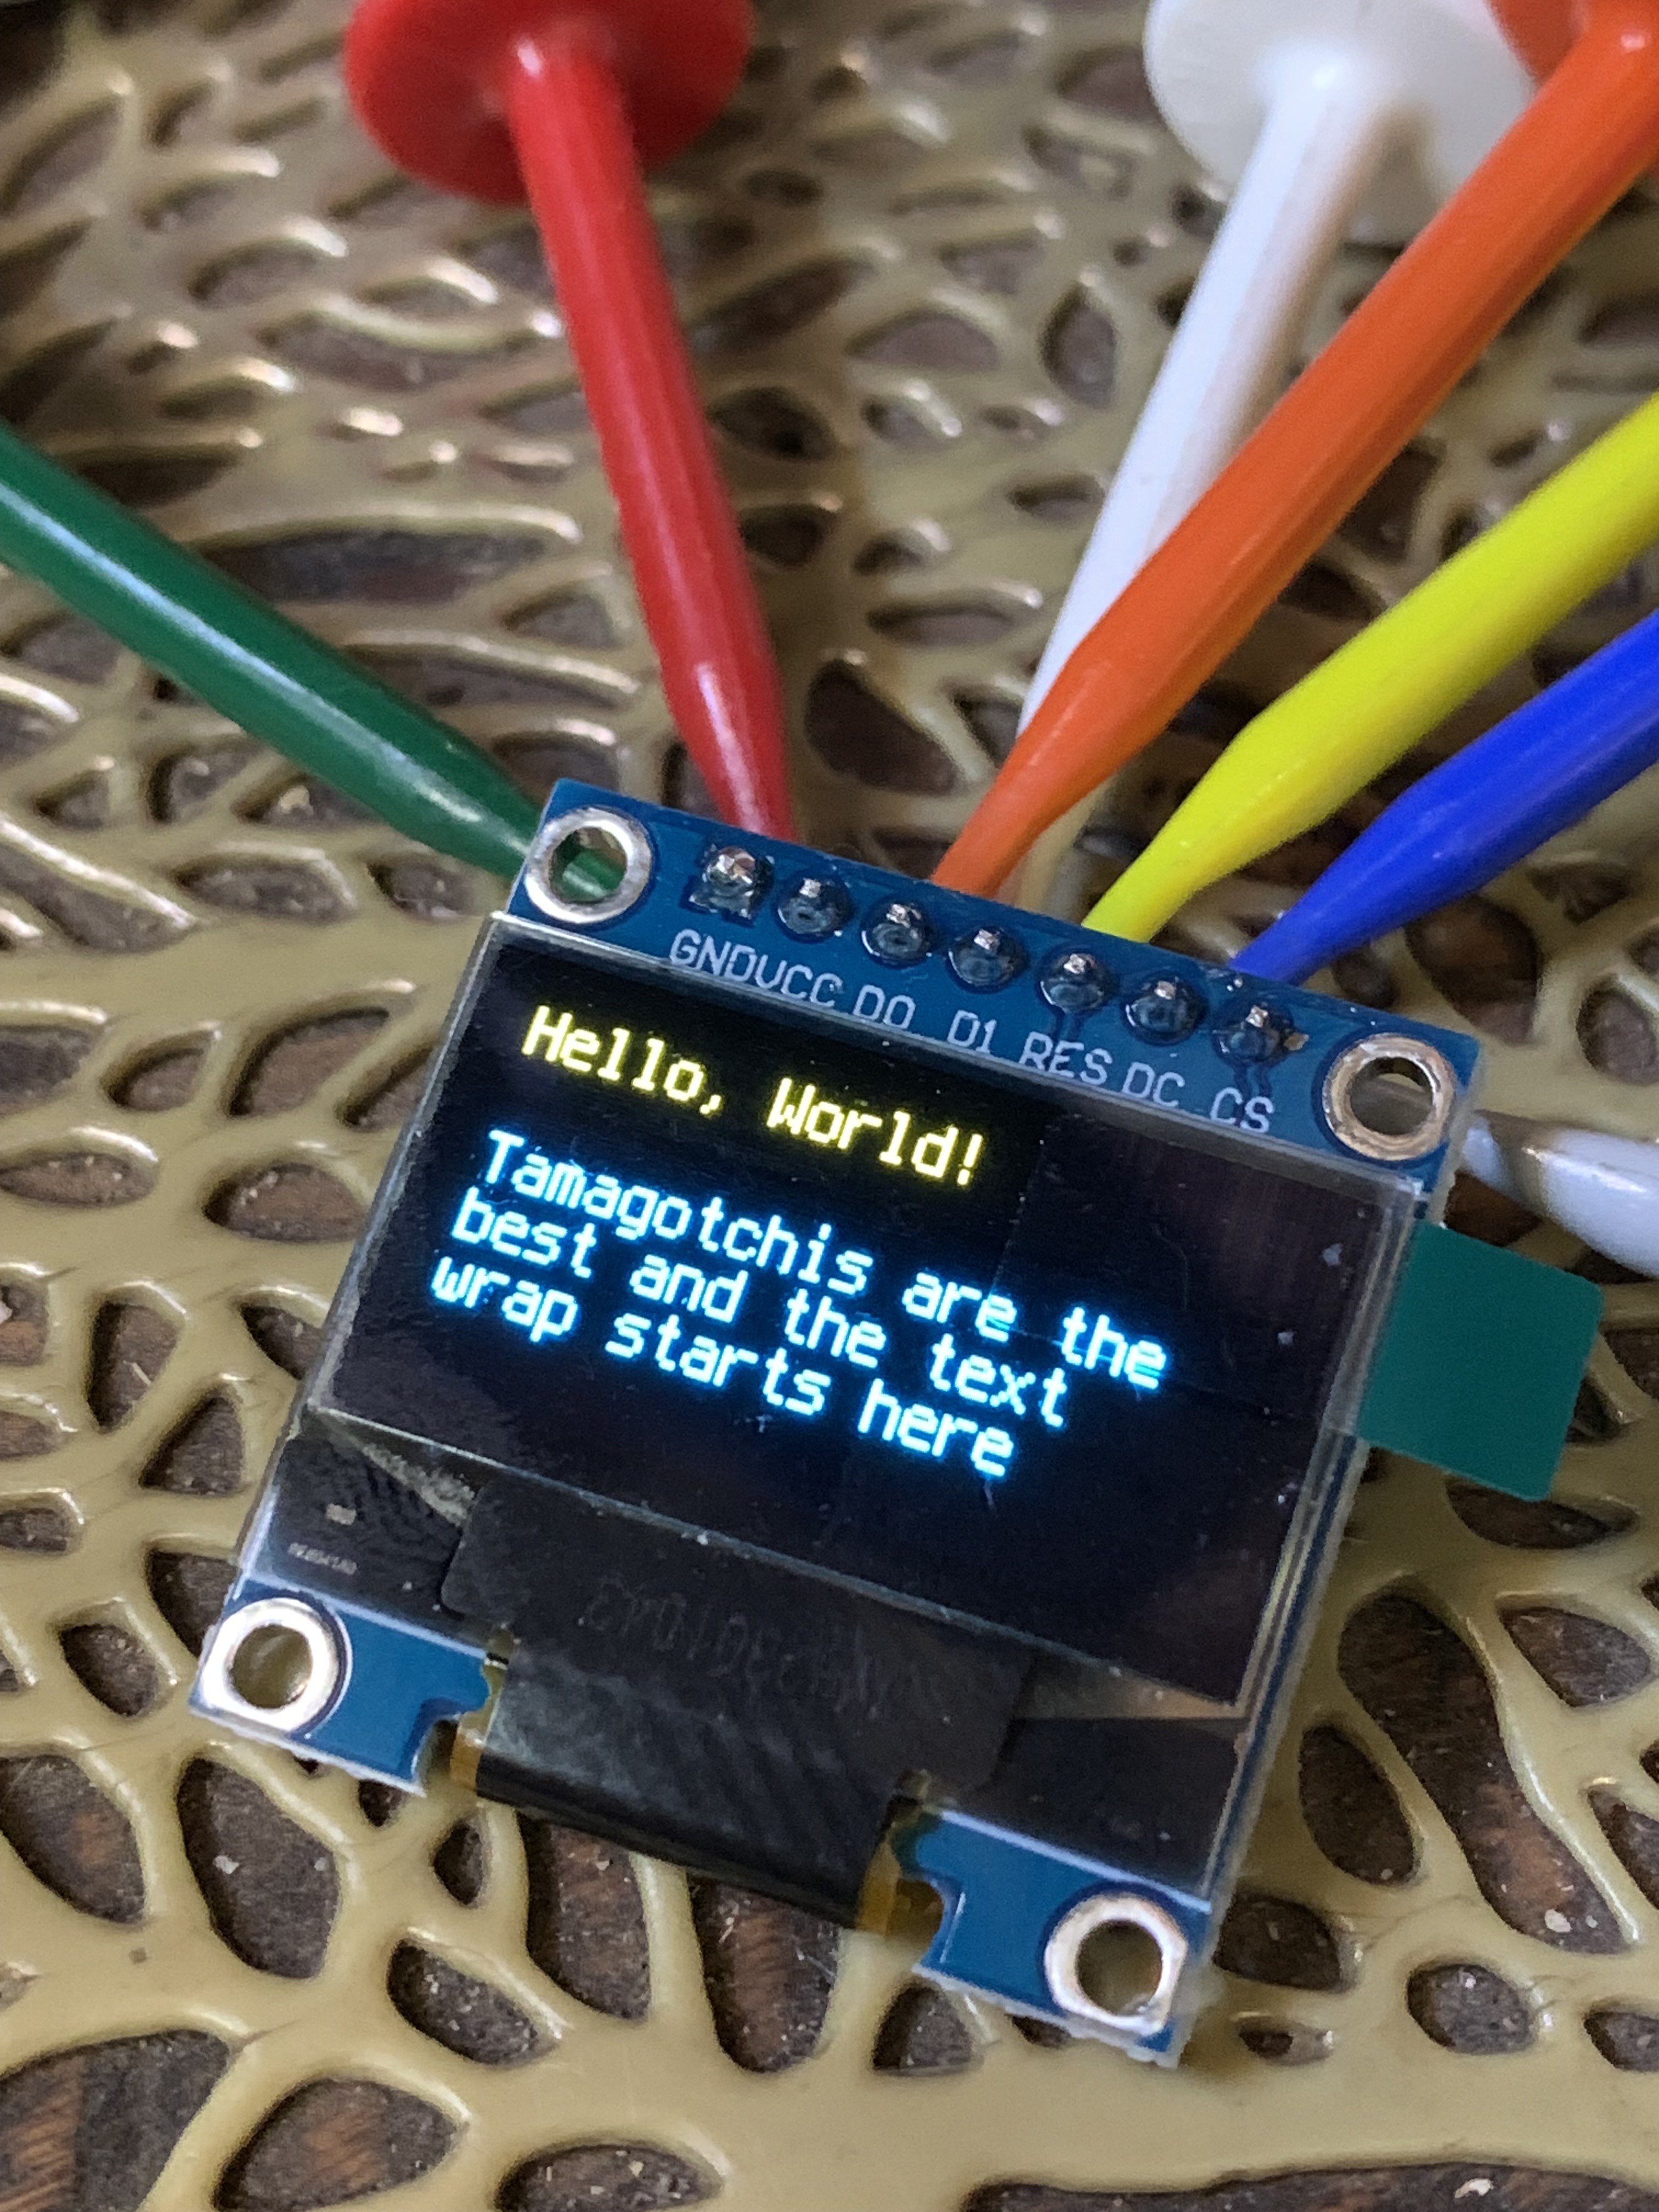
The board will also have a small OLED screen for displaying the AI responses, and a joystick for mouse movement, because I really want one. I'd like to be able to set the keyboard in my lap and type without having to reach over to my mouse for things that I can't navigate to with the keyboard. I think a joystick will solve that issue.
The case will be made out of clear printed resin, I believe. Or it will be black, I haven't decided yet.
List of resources
Everything in the Haunted Keyboard resources list, plus the following.
Hardware:
- Joe Scotto - How to Design Mechanical Keyboard Plates and Cases
- SwillKB Plate & Case Builder
- Noah Kiser - Convert .dxf to Gerbers for FR4 Mechanical Keyboard Plates
- ScottoKicad - A collection of footprints, symbols, and 3D models for building mechanical keyboards with Kicad
- Adeana - Plate-Mount vs. PCB-Mount Stabilizers
 Sergio Costas
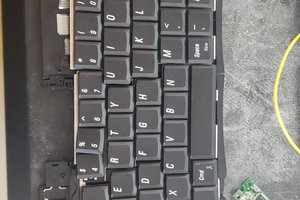
 pcadic