Arielle
Requirements
Hardware
To build your version of this project, you need the following hardware.
- A Raspberry Pi with a microSD card set up following the Raspberry Pi Setup Guide.
- Halloween Animatronic Pumpkin Bowl
- Motor driver
- USB Webcam
- Jumper wires
- 12V power supply for the motor driver
- 5V power supply for the Raspberry Pi
Software
To control your pumpkin bowl programmatically, you need the following software prerequisites:
- An account on app.viam.com
viam-server- Python 3
- pip
- Viam Python SDK
Dissecting the pumpkin
Just like pumpkin carving, don’t be afraid to split your pumpkin (bowl) open and rip out its guts. We want to see what hardware we already have and what we can ultimately upgrade to get it running on an SBC (single-board computer) such as a Raspberry Pi.
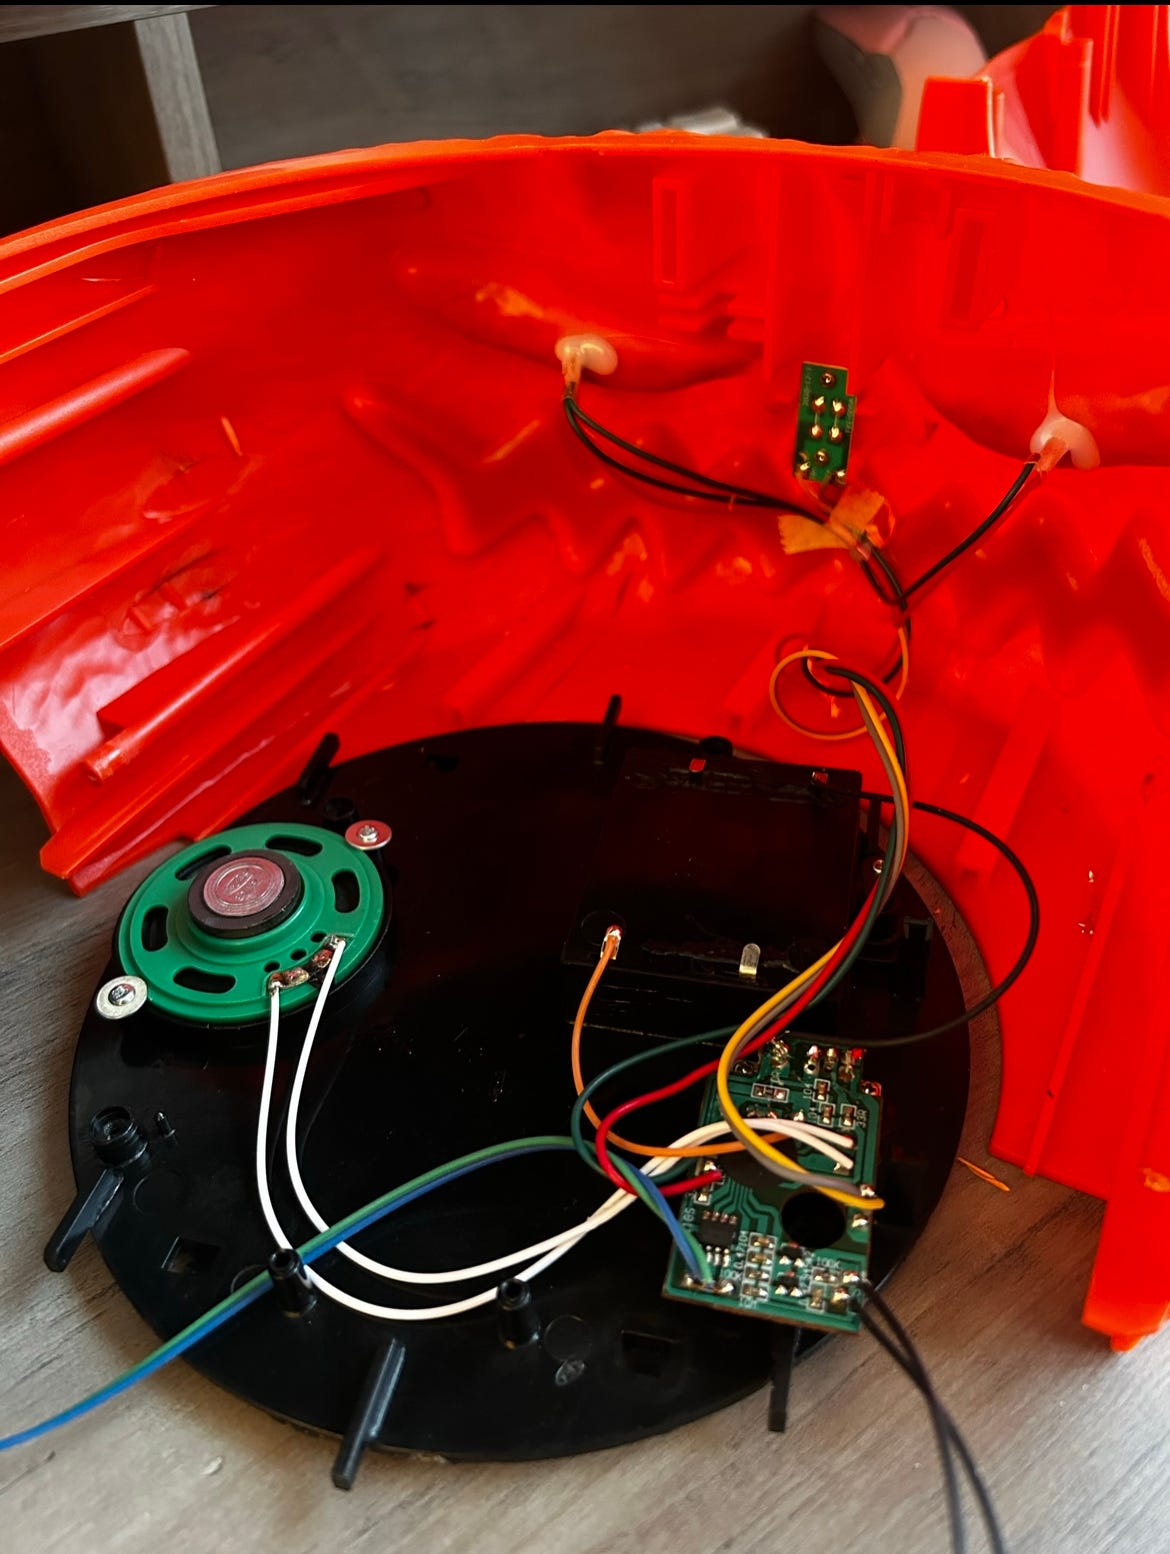
After opening the electronic pumpkin bowl, I can identify some pretty standard components: A dc motor, a photoresistor (serving as a motion sensor for its original functionality), a small speaker, a 5V battery pack, LEDs for eyes, and a custom control board which I assume has the programmed functionality driving the motor and sound effects.
Because Viam is compatible with nearly any off-the-shelf hardware you can think of (you can read more about this here), I know I can use this hardware and simply add a Raspberry Pi and a motor driver to fine-tune the hand movements to upgrade this pumpkin. I also know I can rip out these LED eyes and replace them with a camera to enable the bowl to see its surroundings.
Upgrading the hardware
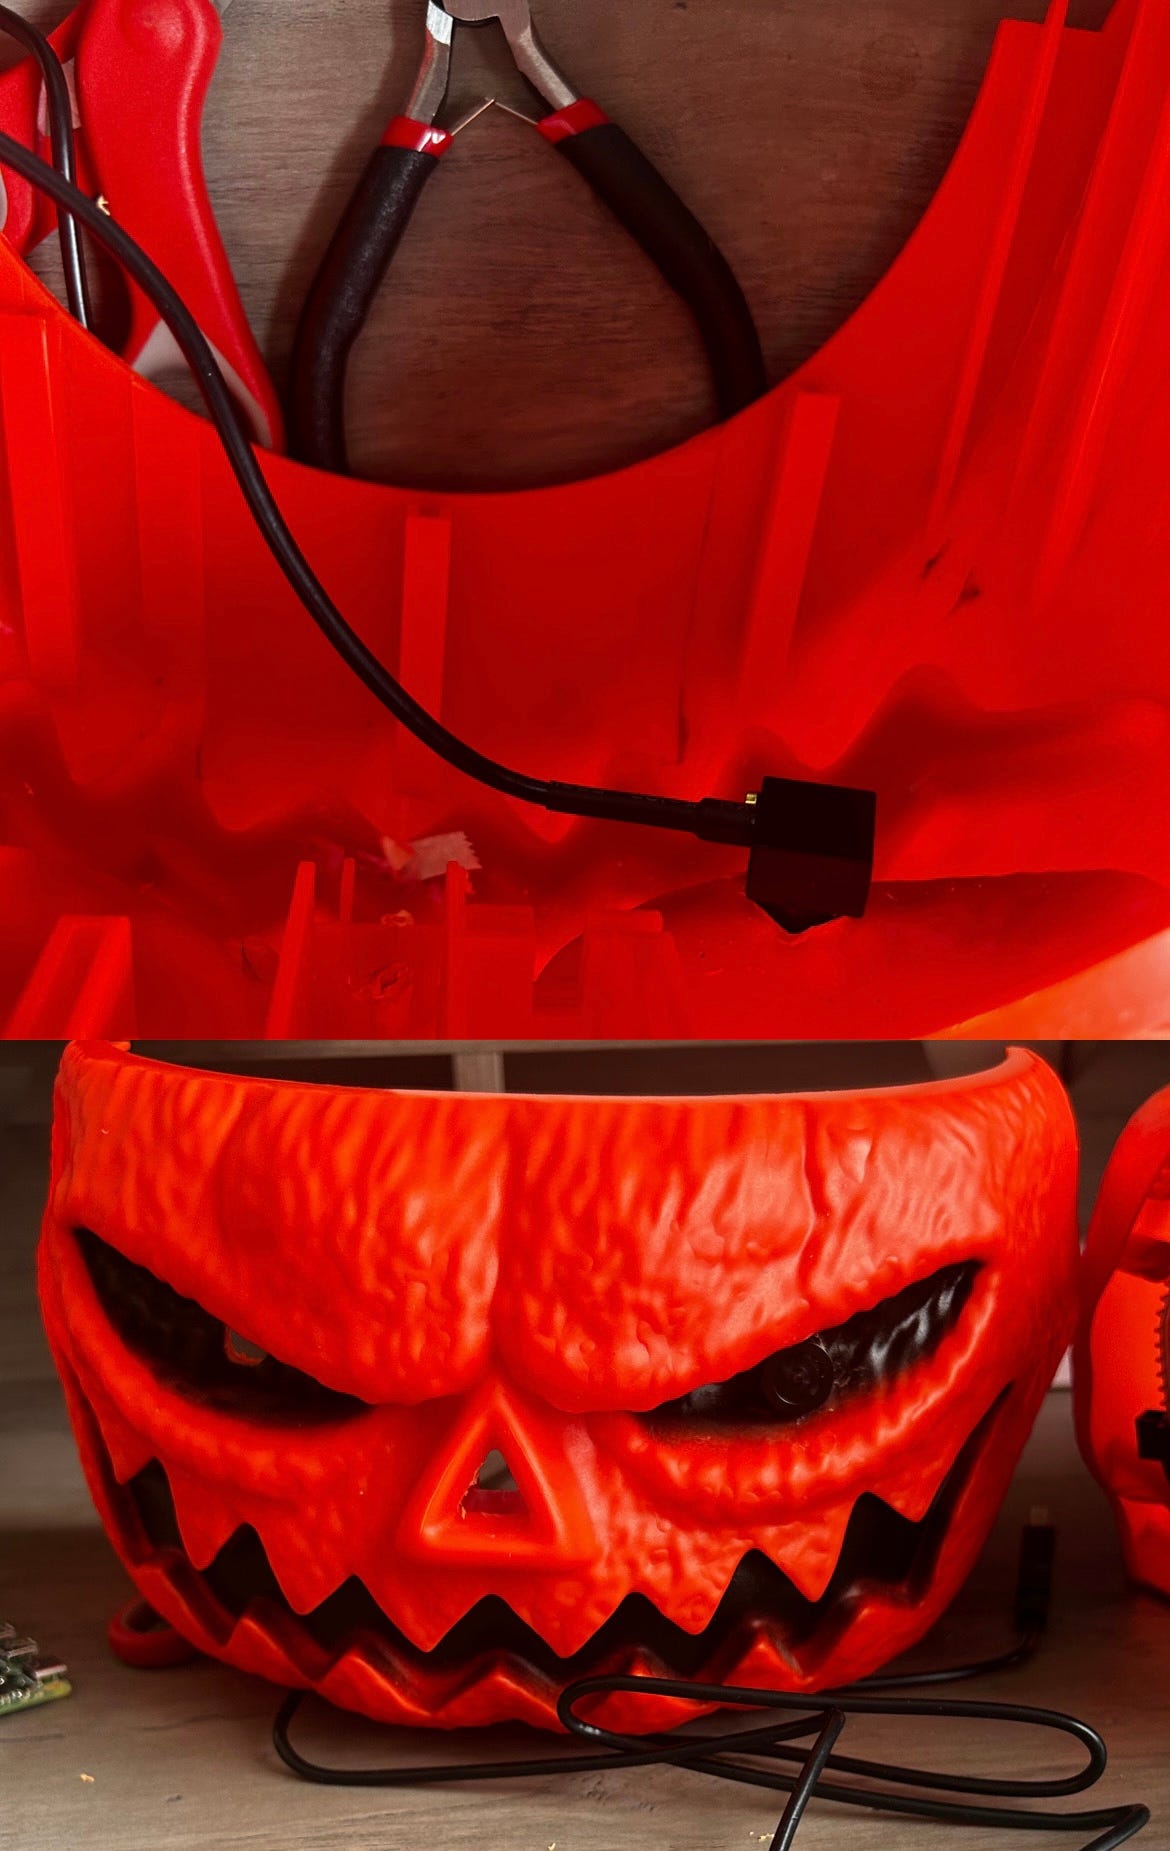
Begin by drilling a larger hole into one of the eye sockets to fit in the webcam lens. If you drill the right size hole, it should fit nicely and snugly so you don’t have to do any additional mounting.
Then, disconnect the DC motor from the board included in the pumpkin leaving the 12V and GND exposed.
After that, I tore out the included board, photoresistor, LEDs, and speaker, and dumped the rest of the hardware in my ever-growing pile of random hardware bits. I recommend you do the same, as you won’t need any of that.

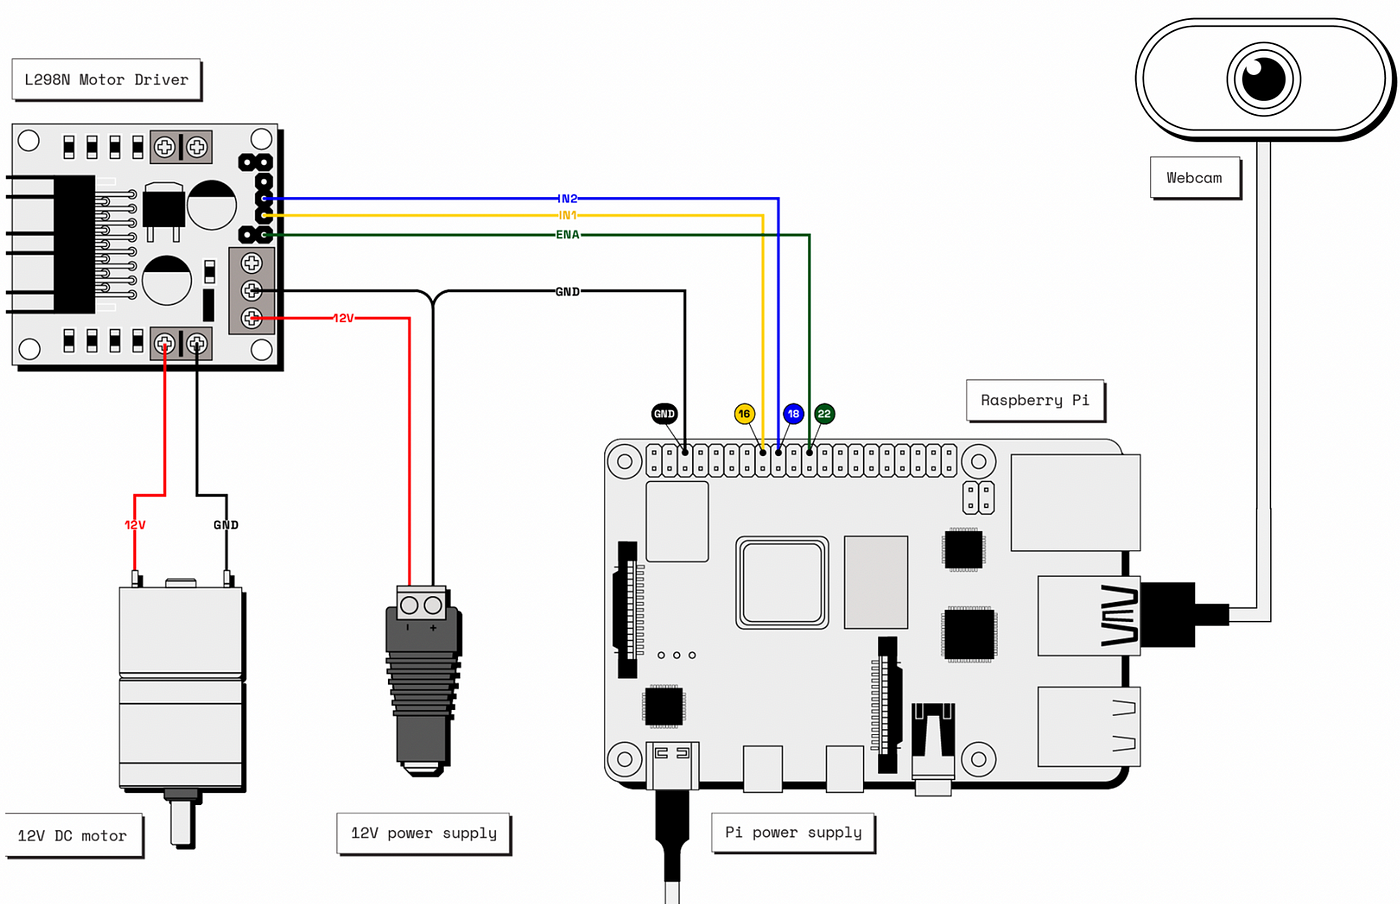
Connect your DC motor to the motor driver and pi according to this wiring diagram. Plug your webcam into one of the USB ports on the pi. Gently close up your pumpkin (without screwing everything shut) and proceed to test your hardware in the Viam app.
Setting up your robot bowl with Viam
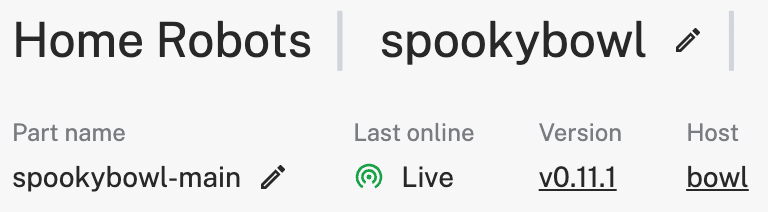
Follow the Raspberry Pi Setup Guide to prepare your Pi to connect your robot to the Viam app. Once your Pi is ready, ssh into it from your computer. I named mine spooky@bowl.local as I felt it was fitting for the project.

In your web browser, log in to the Viam app and create a new robot instance. Name your robot whatever you like and head to the Setup tab. I named mine spookybowl. On your Pi, follow the steps there to download the Viam app config and download and install viam-server. Wait a moment until your robot connects to the Viam app.
Configuring the hardware in the Viam App
Configure the board
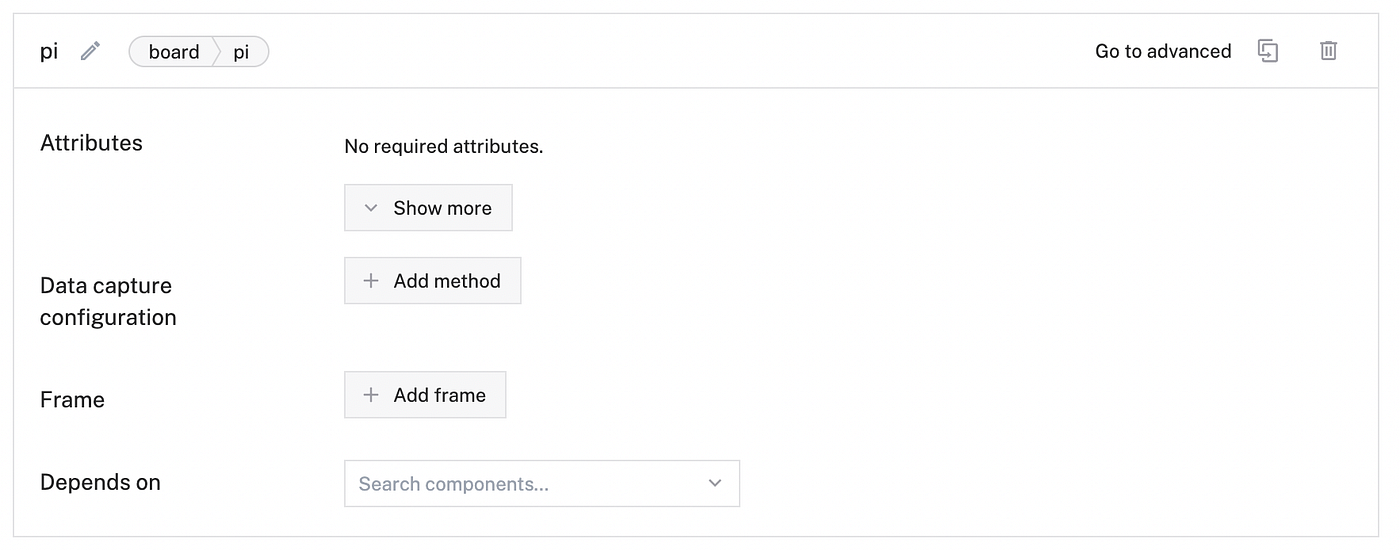
First, configure your board component:
- Navigate to the Config tab of your robot’s page in the Viam app. Click the Components sub tab, then click Create component in the lower-left corner.
- Select
boardfor type andpifor model. - Enter
localas the name for your board, then click Create.
Configure the motor
Next, add a motor component:
- Navigate to the Components sub-tab and click Create component in the lower-left corner.
- Select
motorfor type andgpiofor model. - Enter
dcmotoras the name for your motor, then click Create. - After creating your motor component, fill in...
 Gaultier Lecaillon
 Ted Huntington
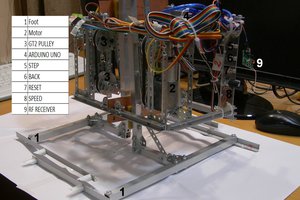
 Sergei V. Bogdanov