-
This is the end!
04/14/2017 at 08:31 • 0 commentsI'm very close to finishing, and I have used the sauna a few times already.
But I'm not continuing this project, because I am going to move house!
What's the biggest lesson that I have learned about building your own sauna?
The most important thing to keep the heat in is to prevent drafts. It is really important to close air gaps.
Secondly, I was worried how hot the sauna stove would be in respect to sitting close by. But that was no problem at all. Due to the double layered metal structure of the stove, I could touch the side of the stove, it was hardly warm. So I can safely make the next sauna smaller.
I am going to dismantle my sauna and rebuild it in the next house. I may make the sauna room a bit smaller still, because it is less work, it will make heating the room easier, it will use less material, and heating will become easier.
-
Sanding, sanding, sanding (and mounting boards)
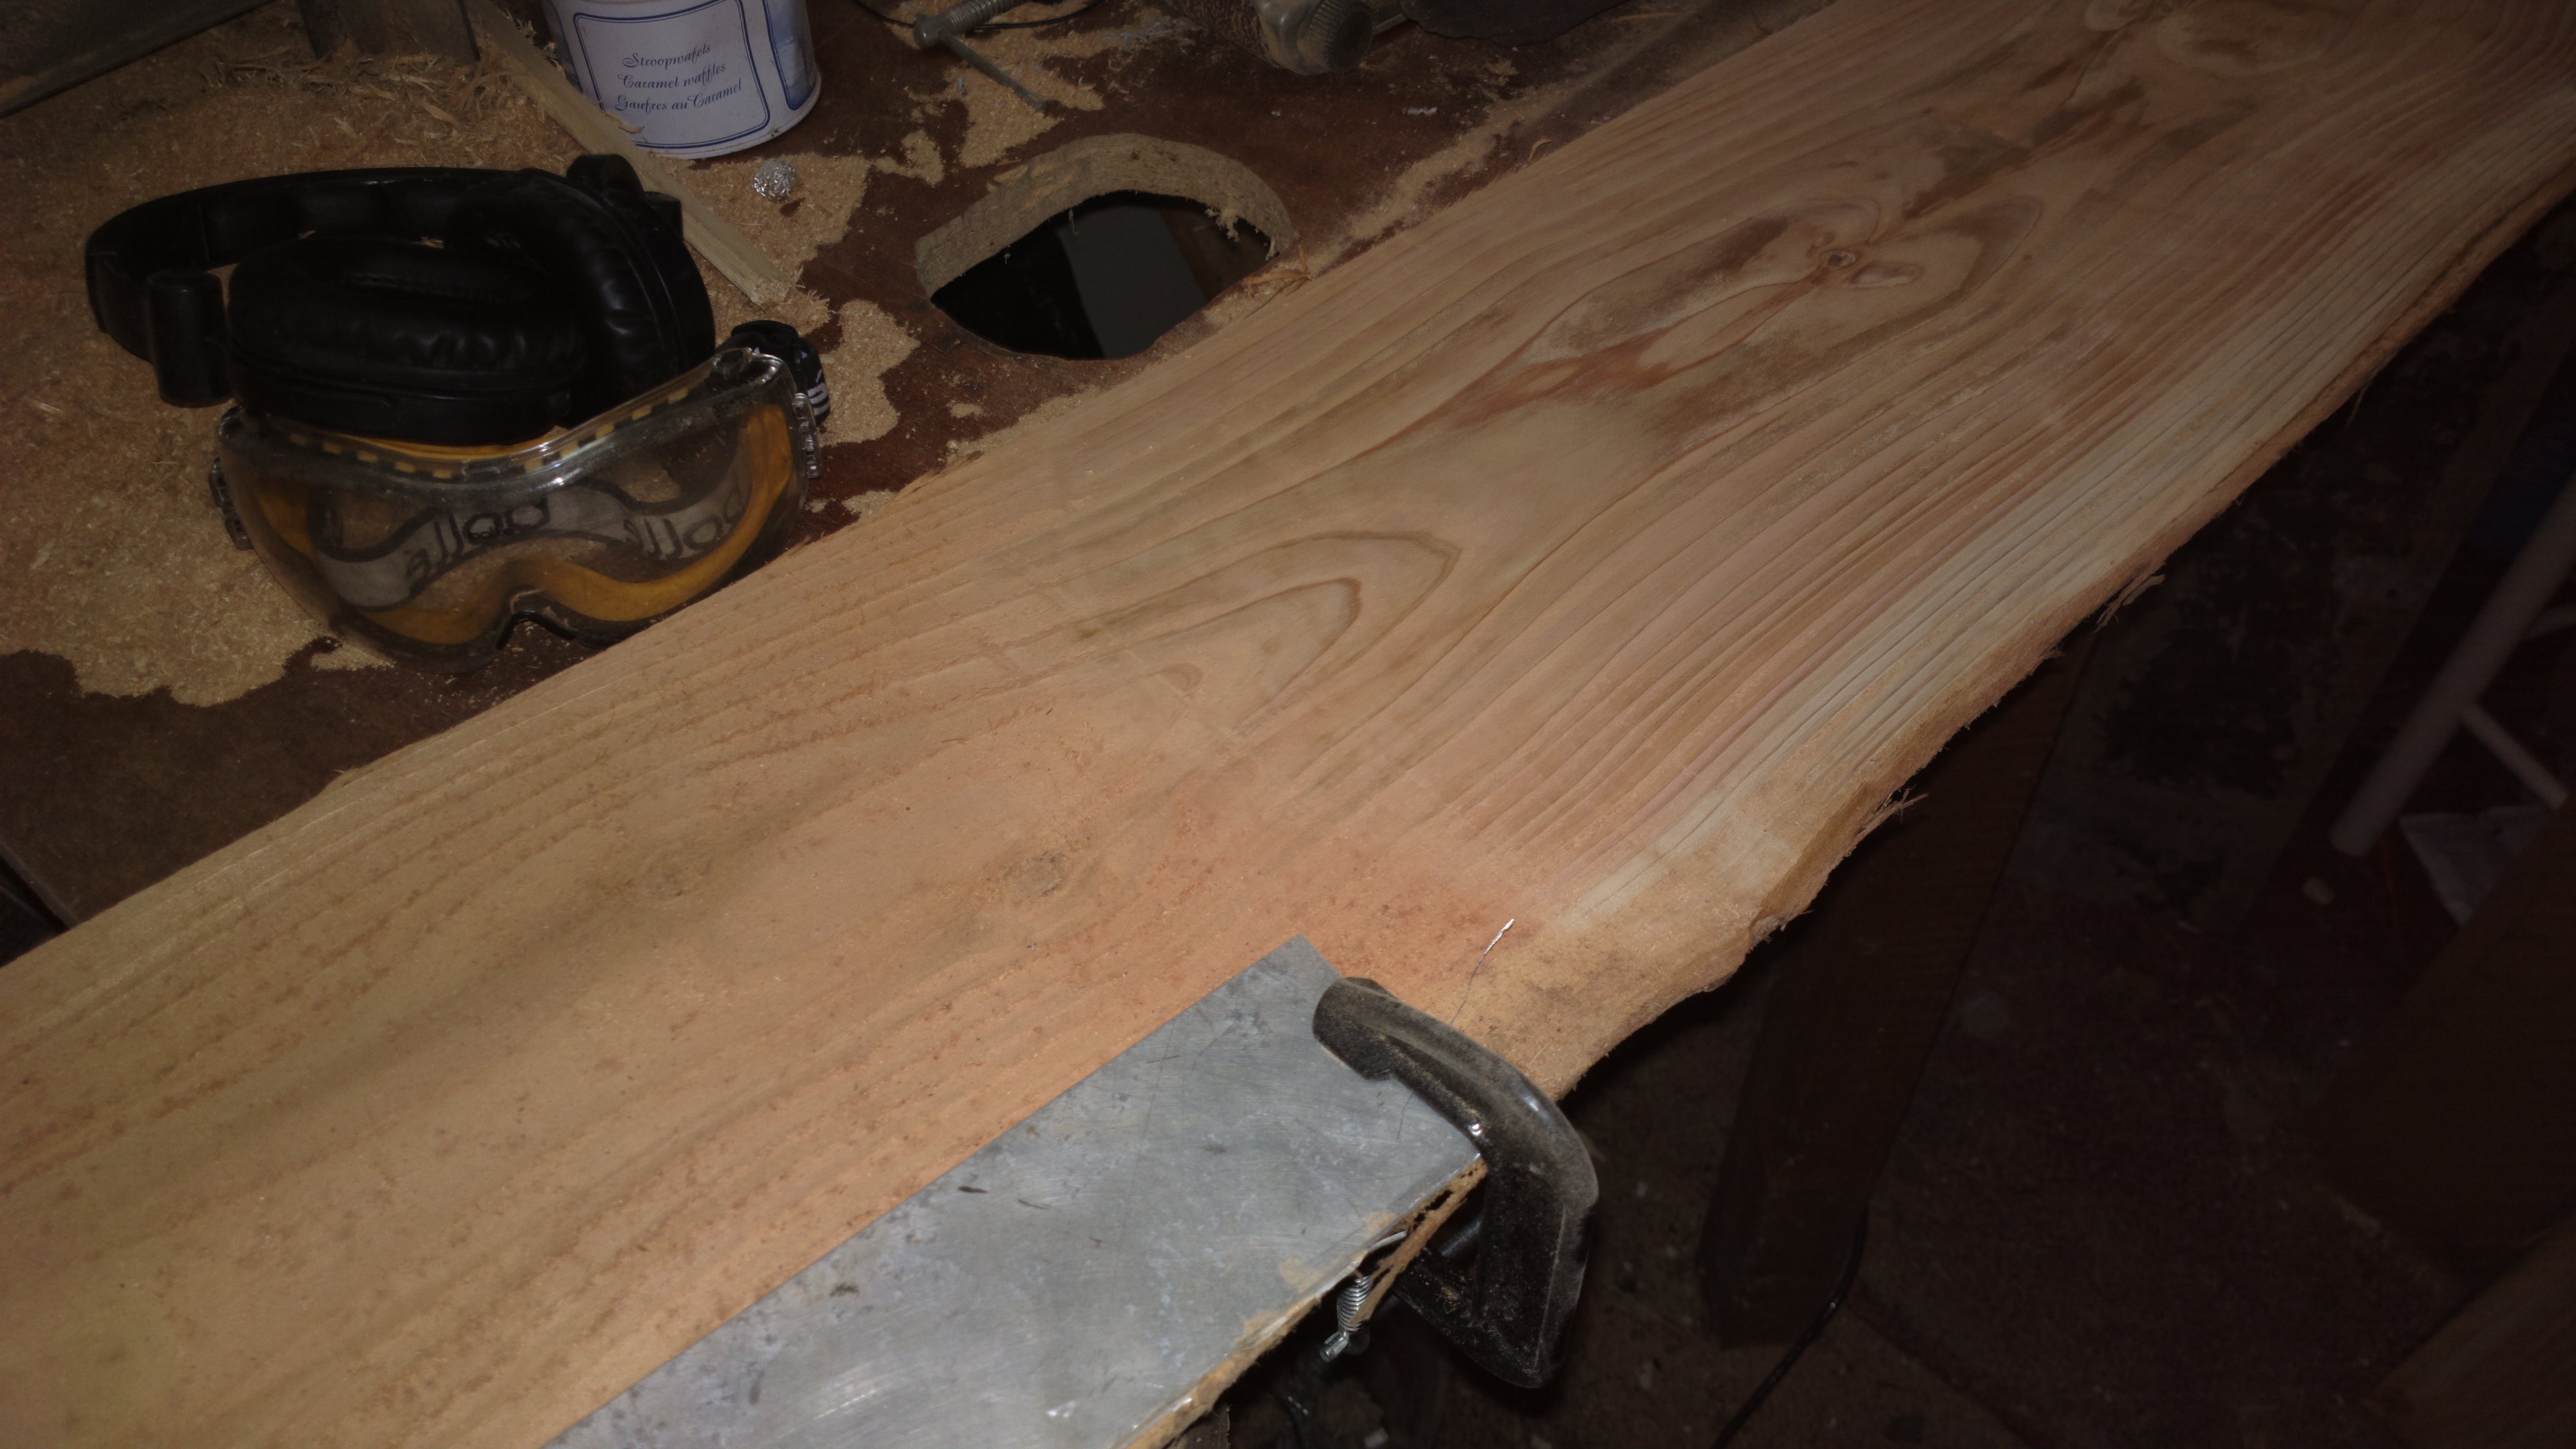
01/31/2017 at 21:39 • 0 comments've started sanding. I've got a nice 1 KW Black & Decker belt sander. But boy, does it take long to sand boards! I wish I had a drum sander!!
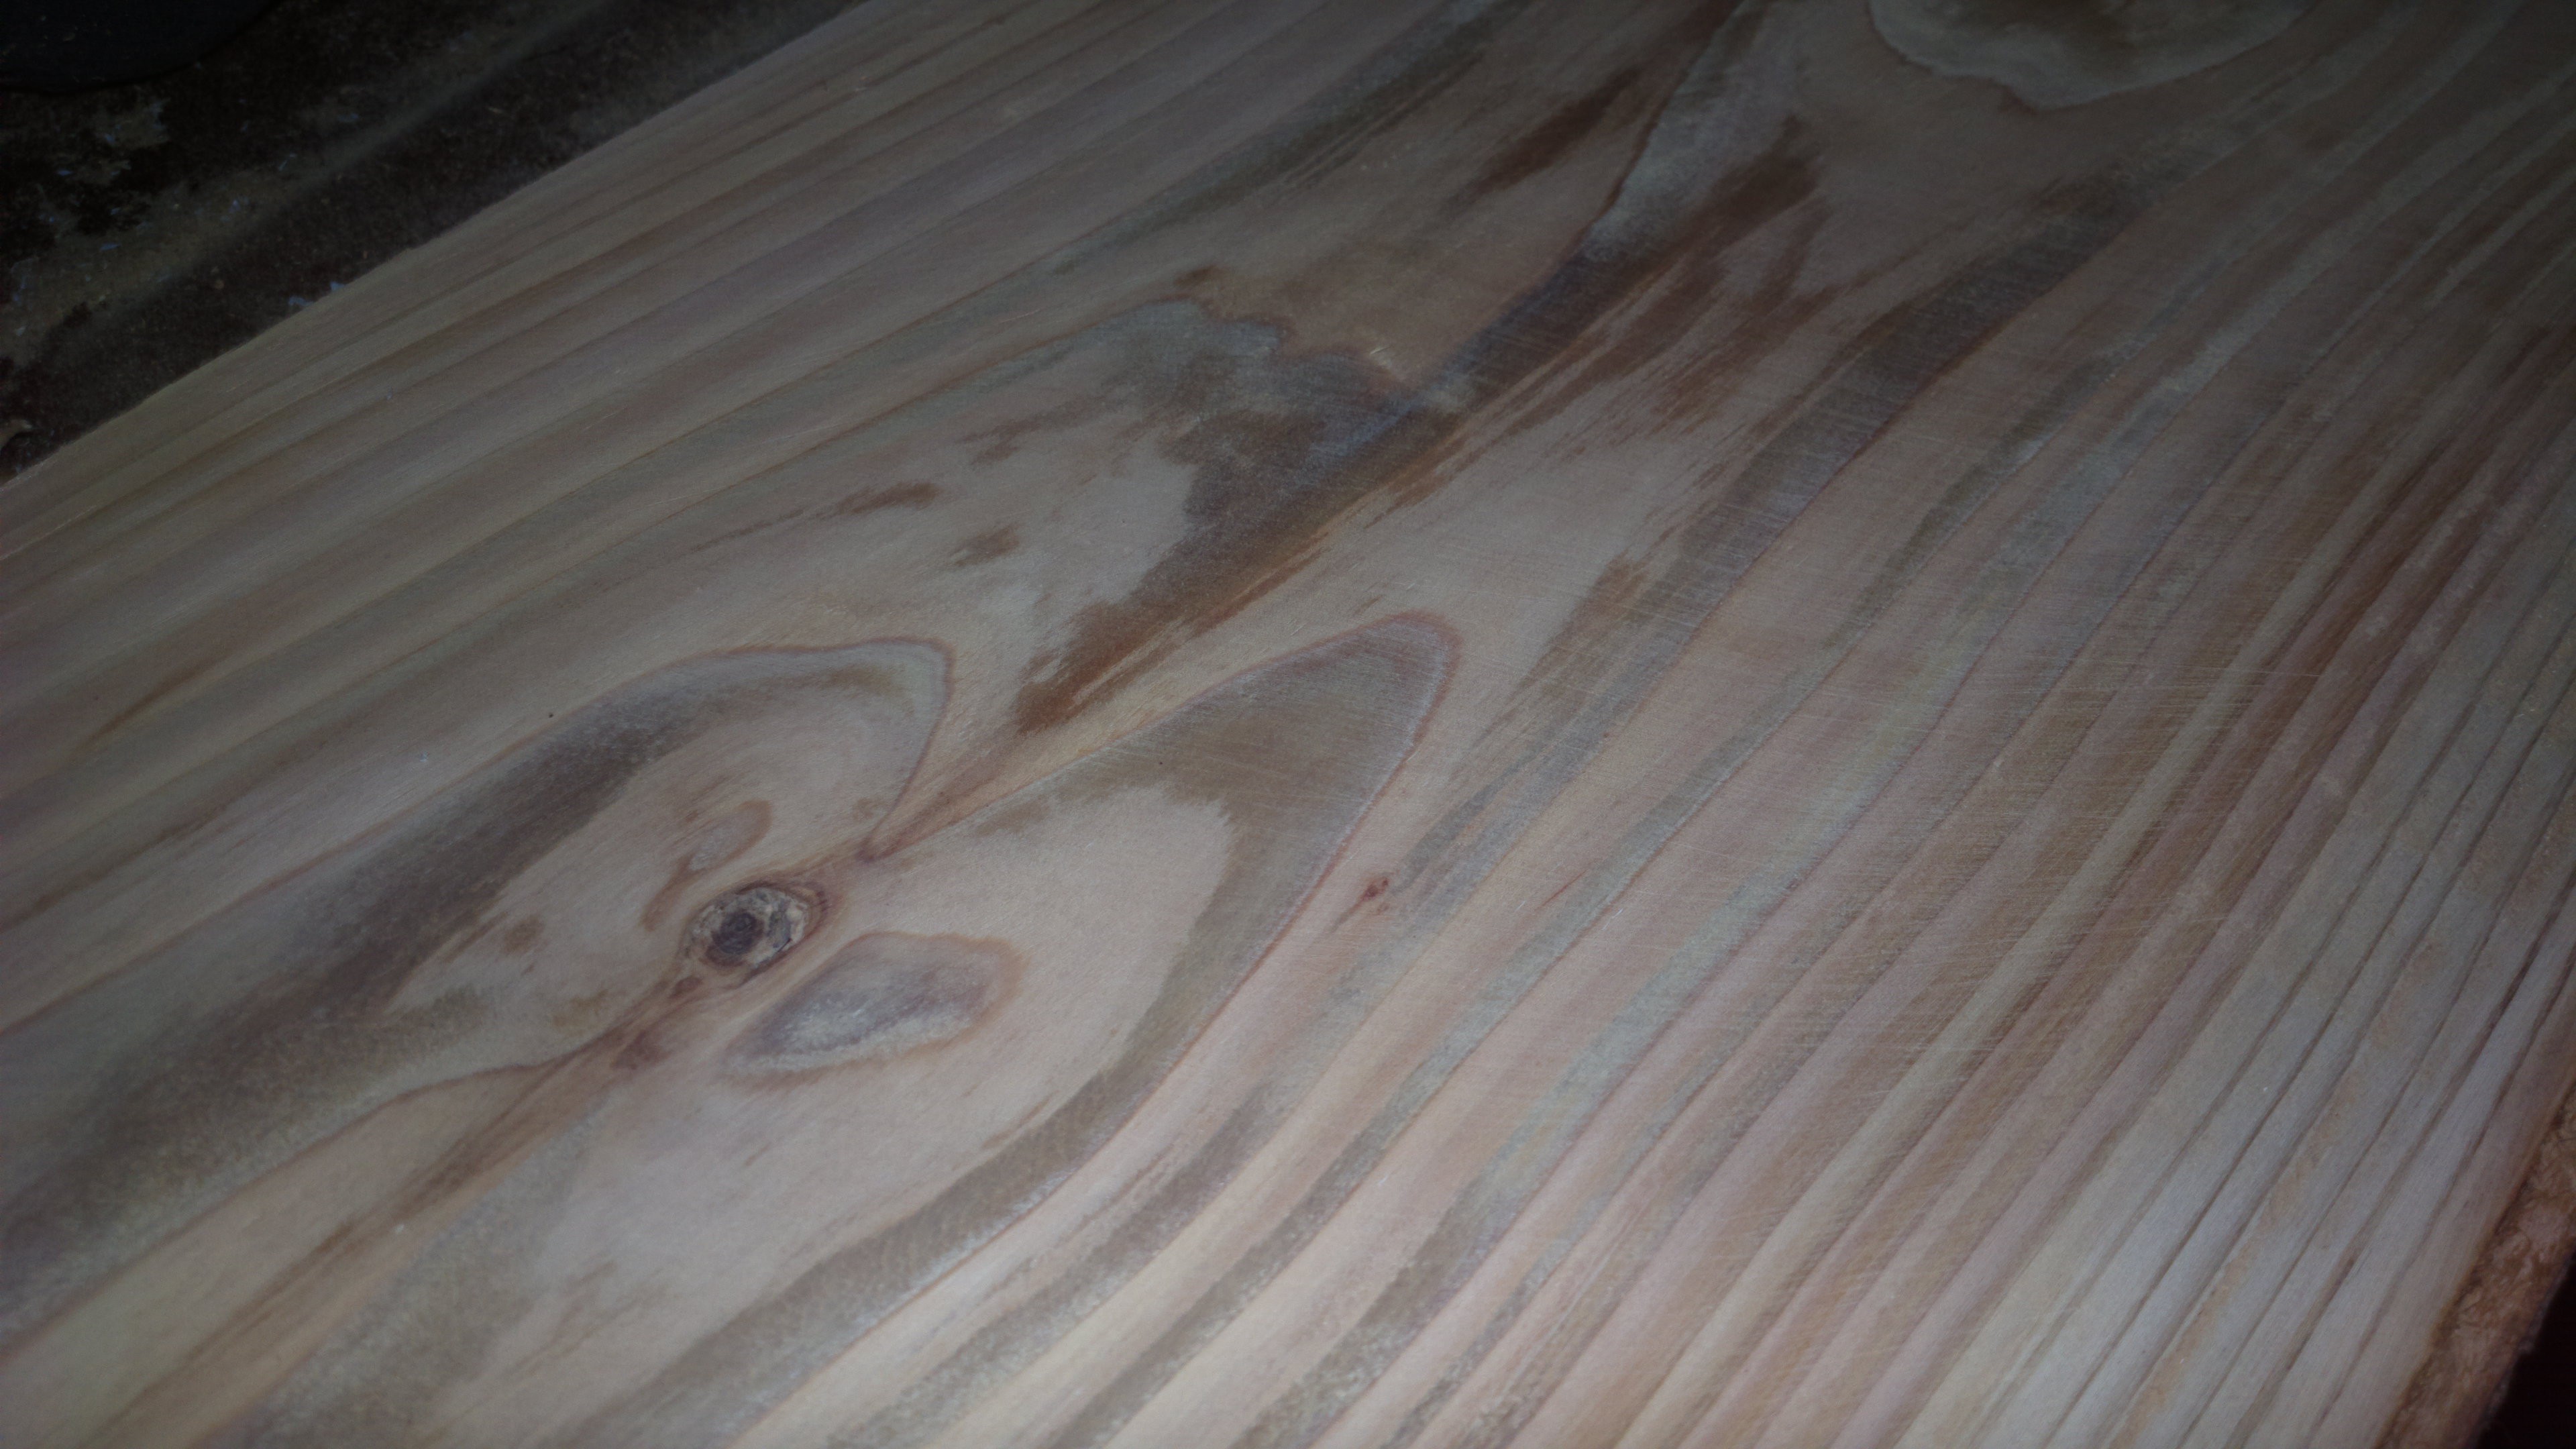
But the grain of the wood comes out really nice: ( left bottom corner: unsanded, top right corner: sanded)
![]()
Cedar has really nice patterns.
![]()
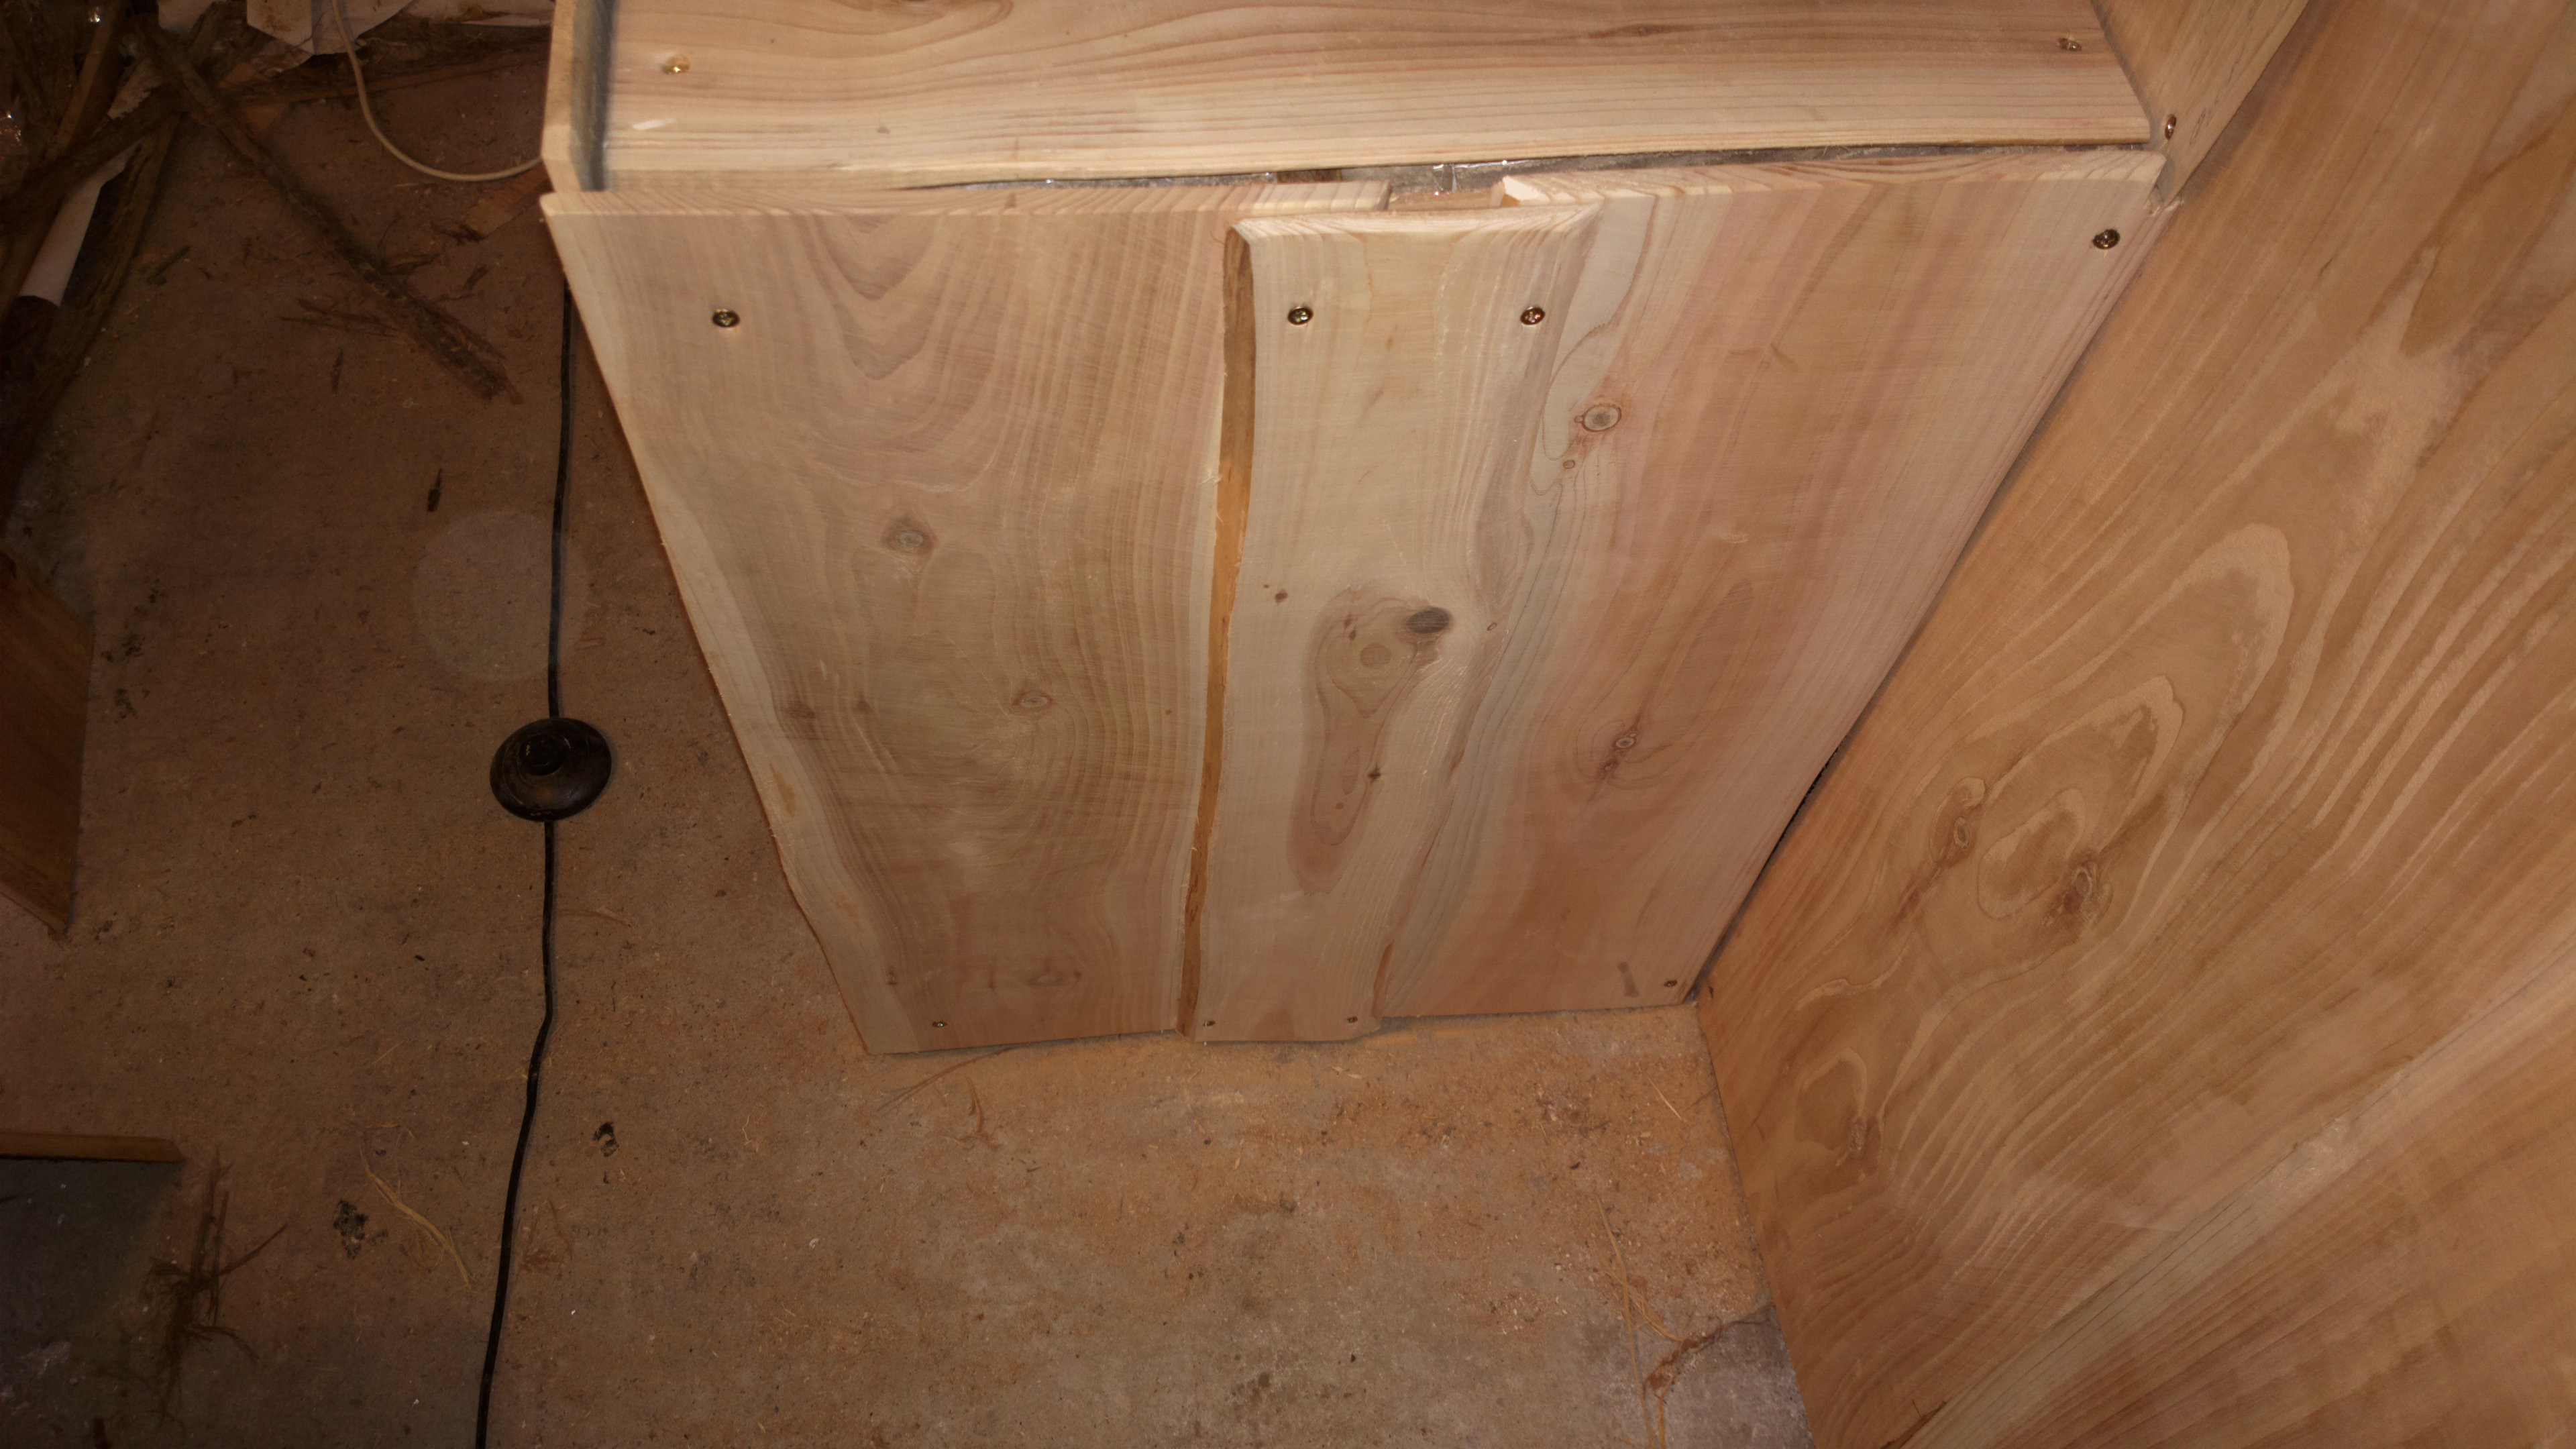
I've started with the largest side wall:
I left 1 cm or so at the ceiling and the floor. The rough edge at the ceiling will be invisible once the ceiling panels are mounted.
![]()
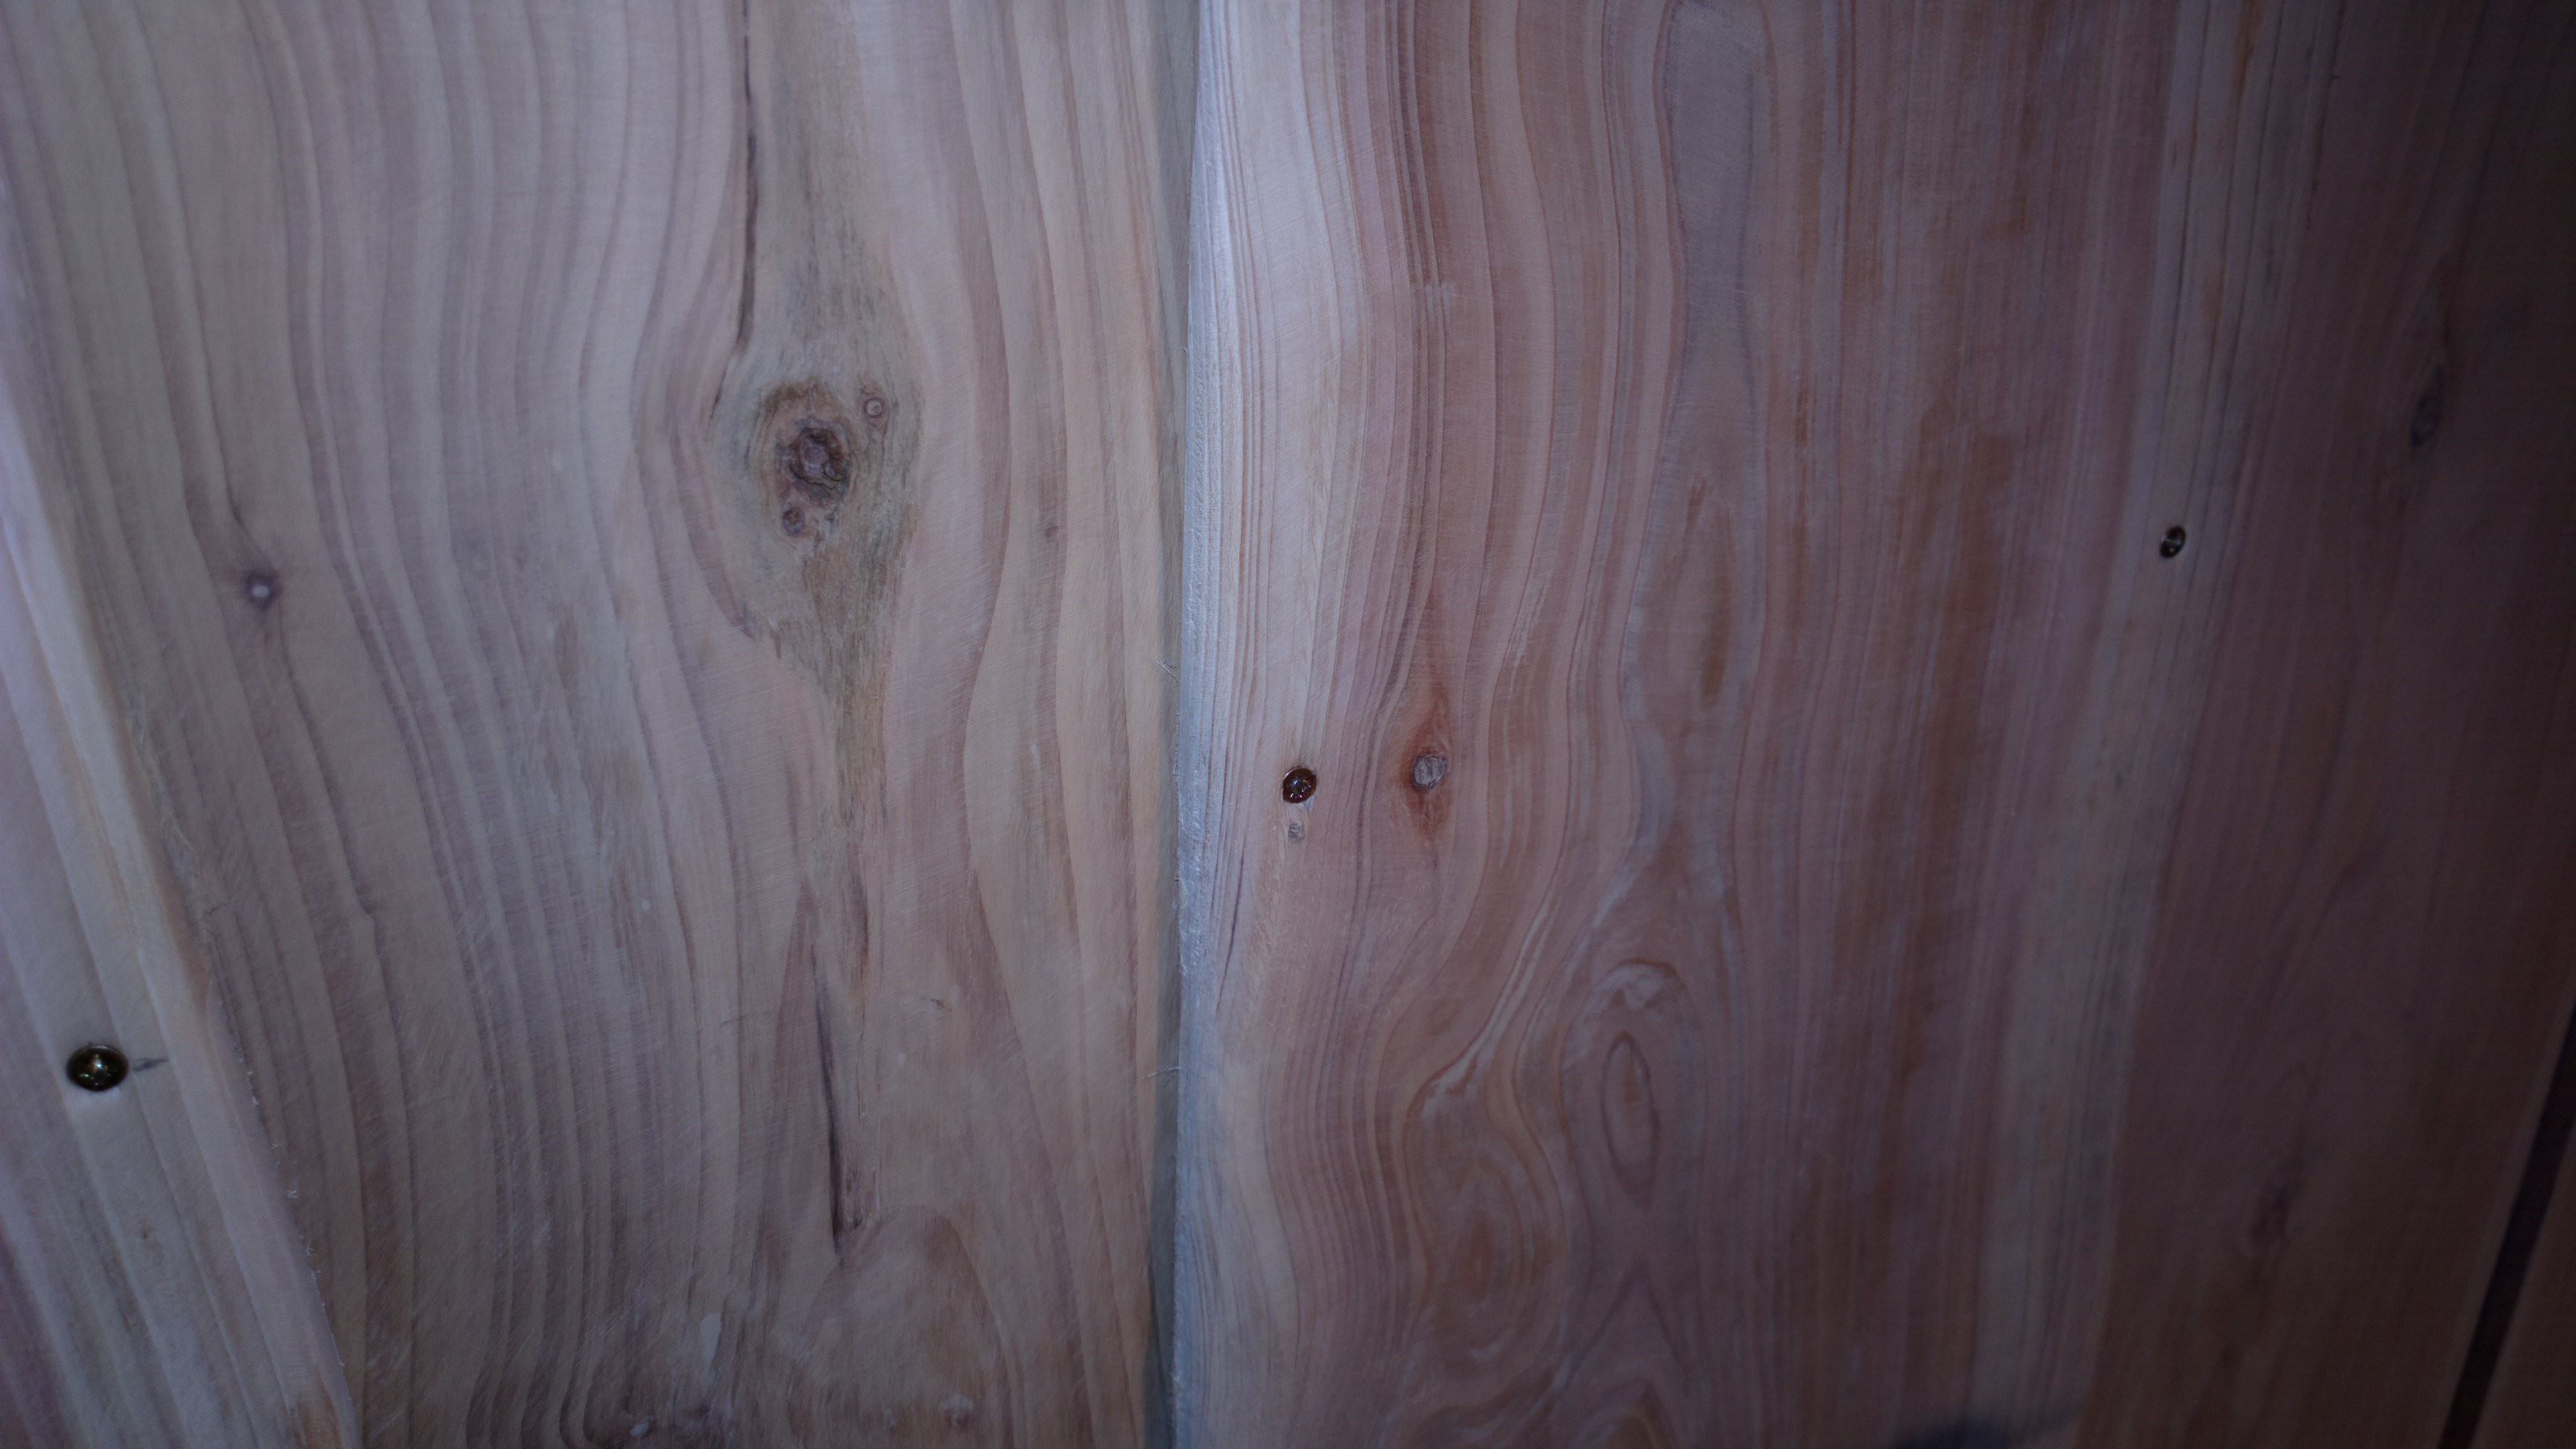
It's a bit hard to see in the picture above, but the boards overlap in this pattern: _-_-_-_
![]()
![]()
I've started on the bench too, but ran out of day... So perhaps some more tomorrow.
![]()
In terms of surface area I've done perhaps 1/3rd, and it took me perhaps 5 hours. :S
I wish I had a drum sander!!
-
Installing the controller (1)
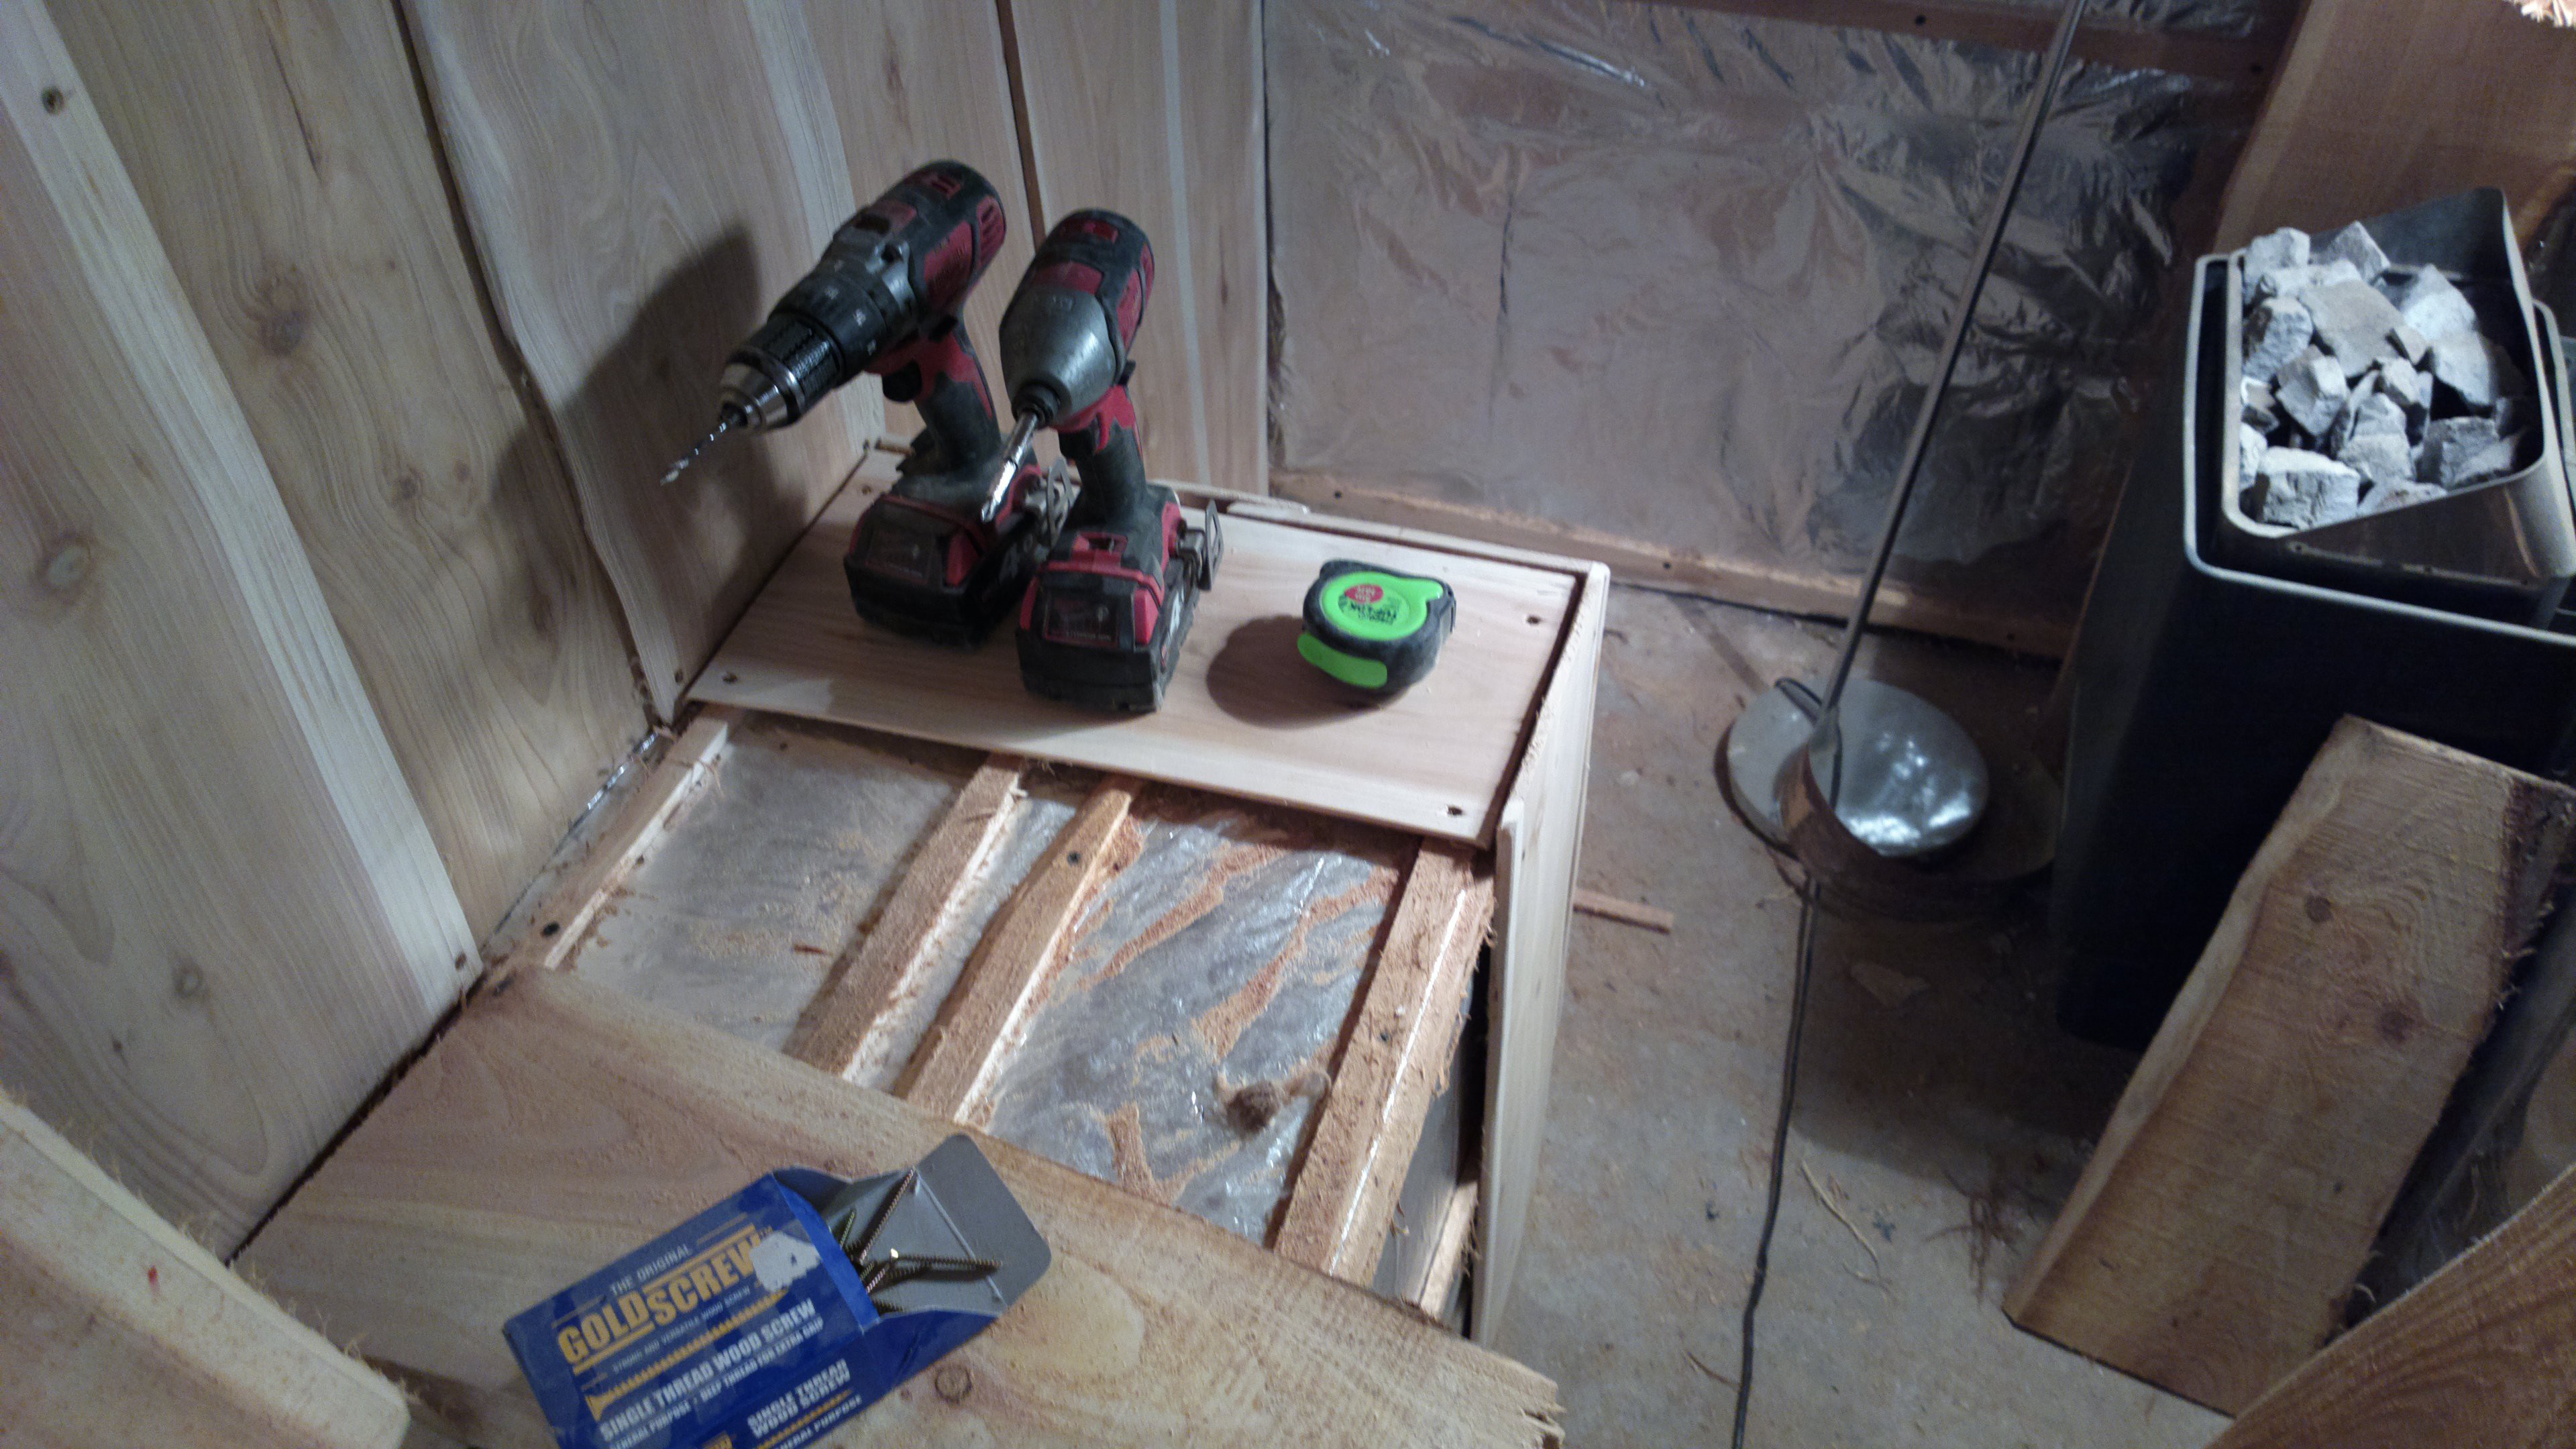
01/29/2017 at 17:13 • 0 commentsToday I installed the temperature regulator. It wasn't that difficult, given that I dry-ran it first. I drilled holes around the square outline of the temperature regulator, and it popped right in. There is plenty of space for the countdown timer.
![]()
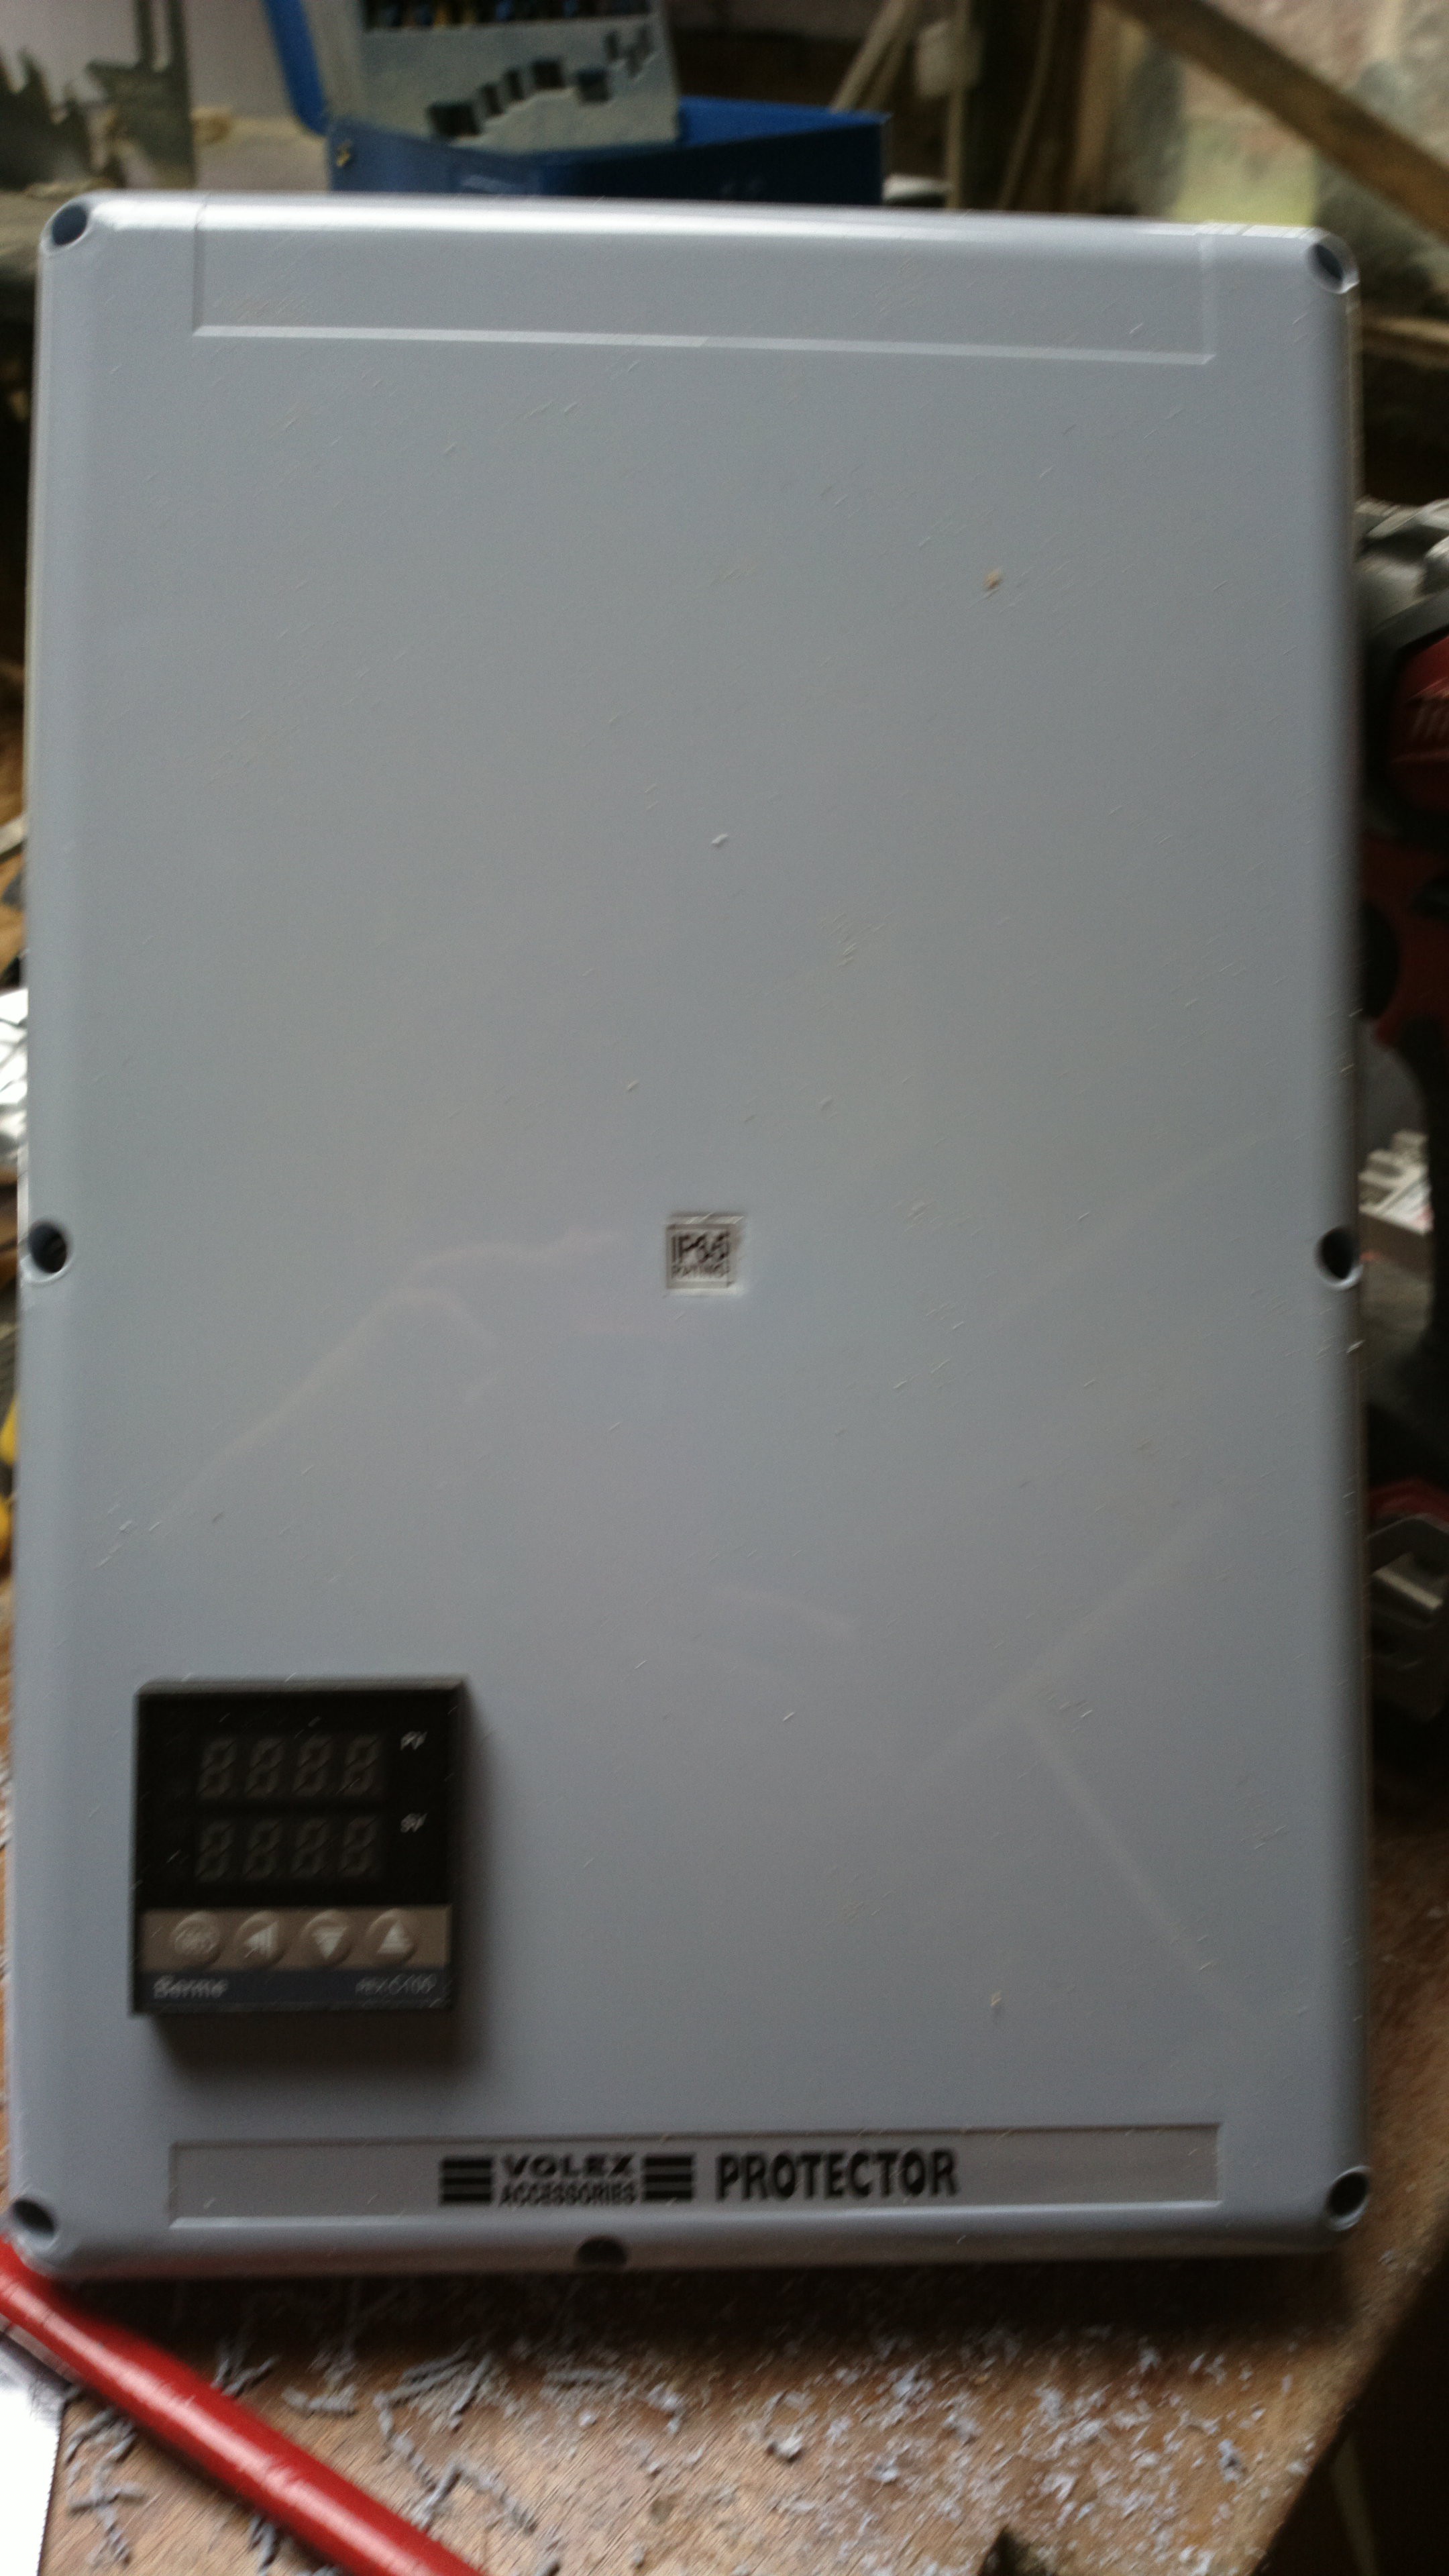
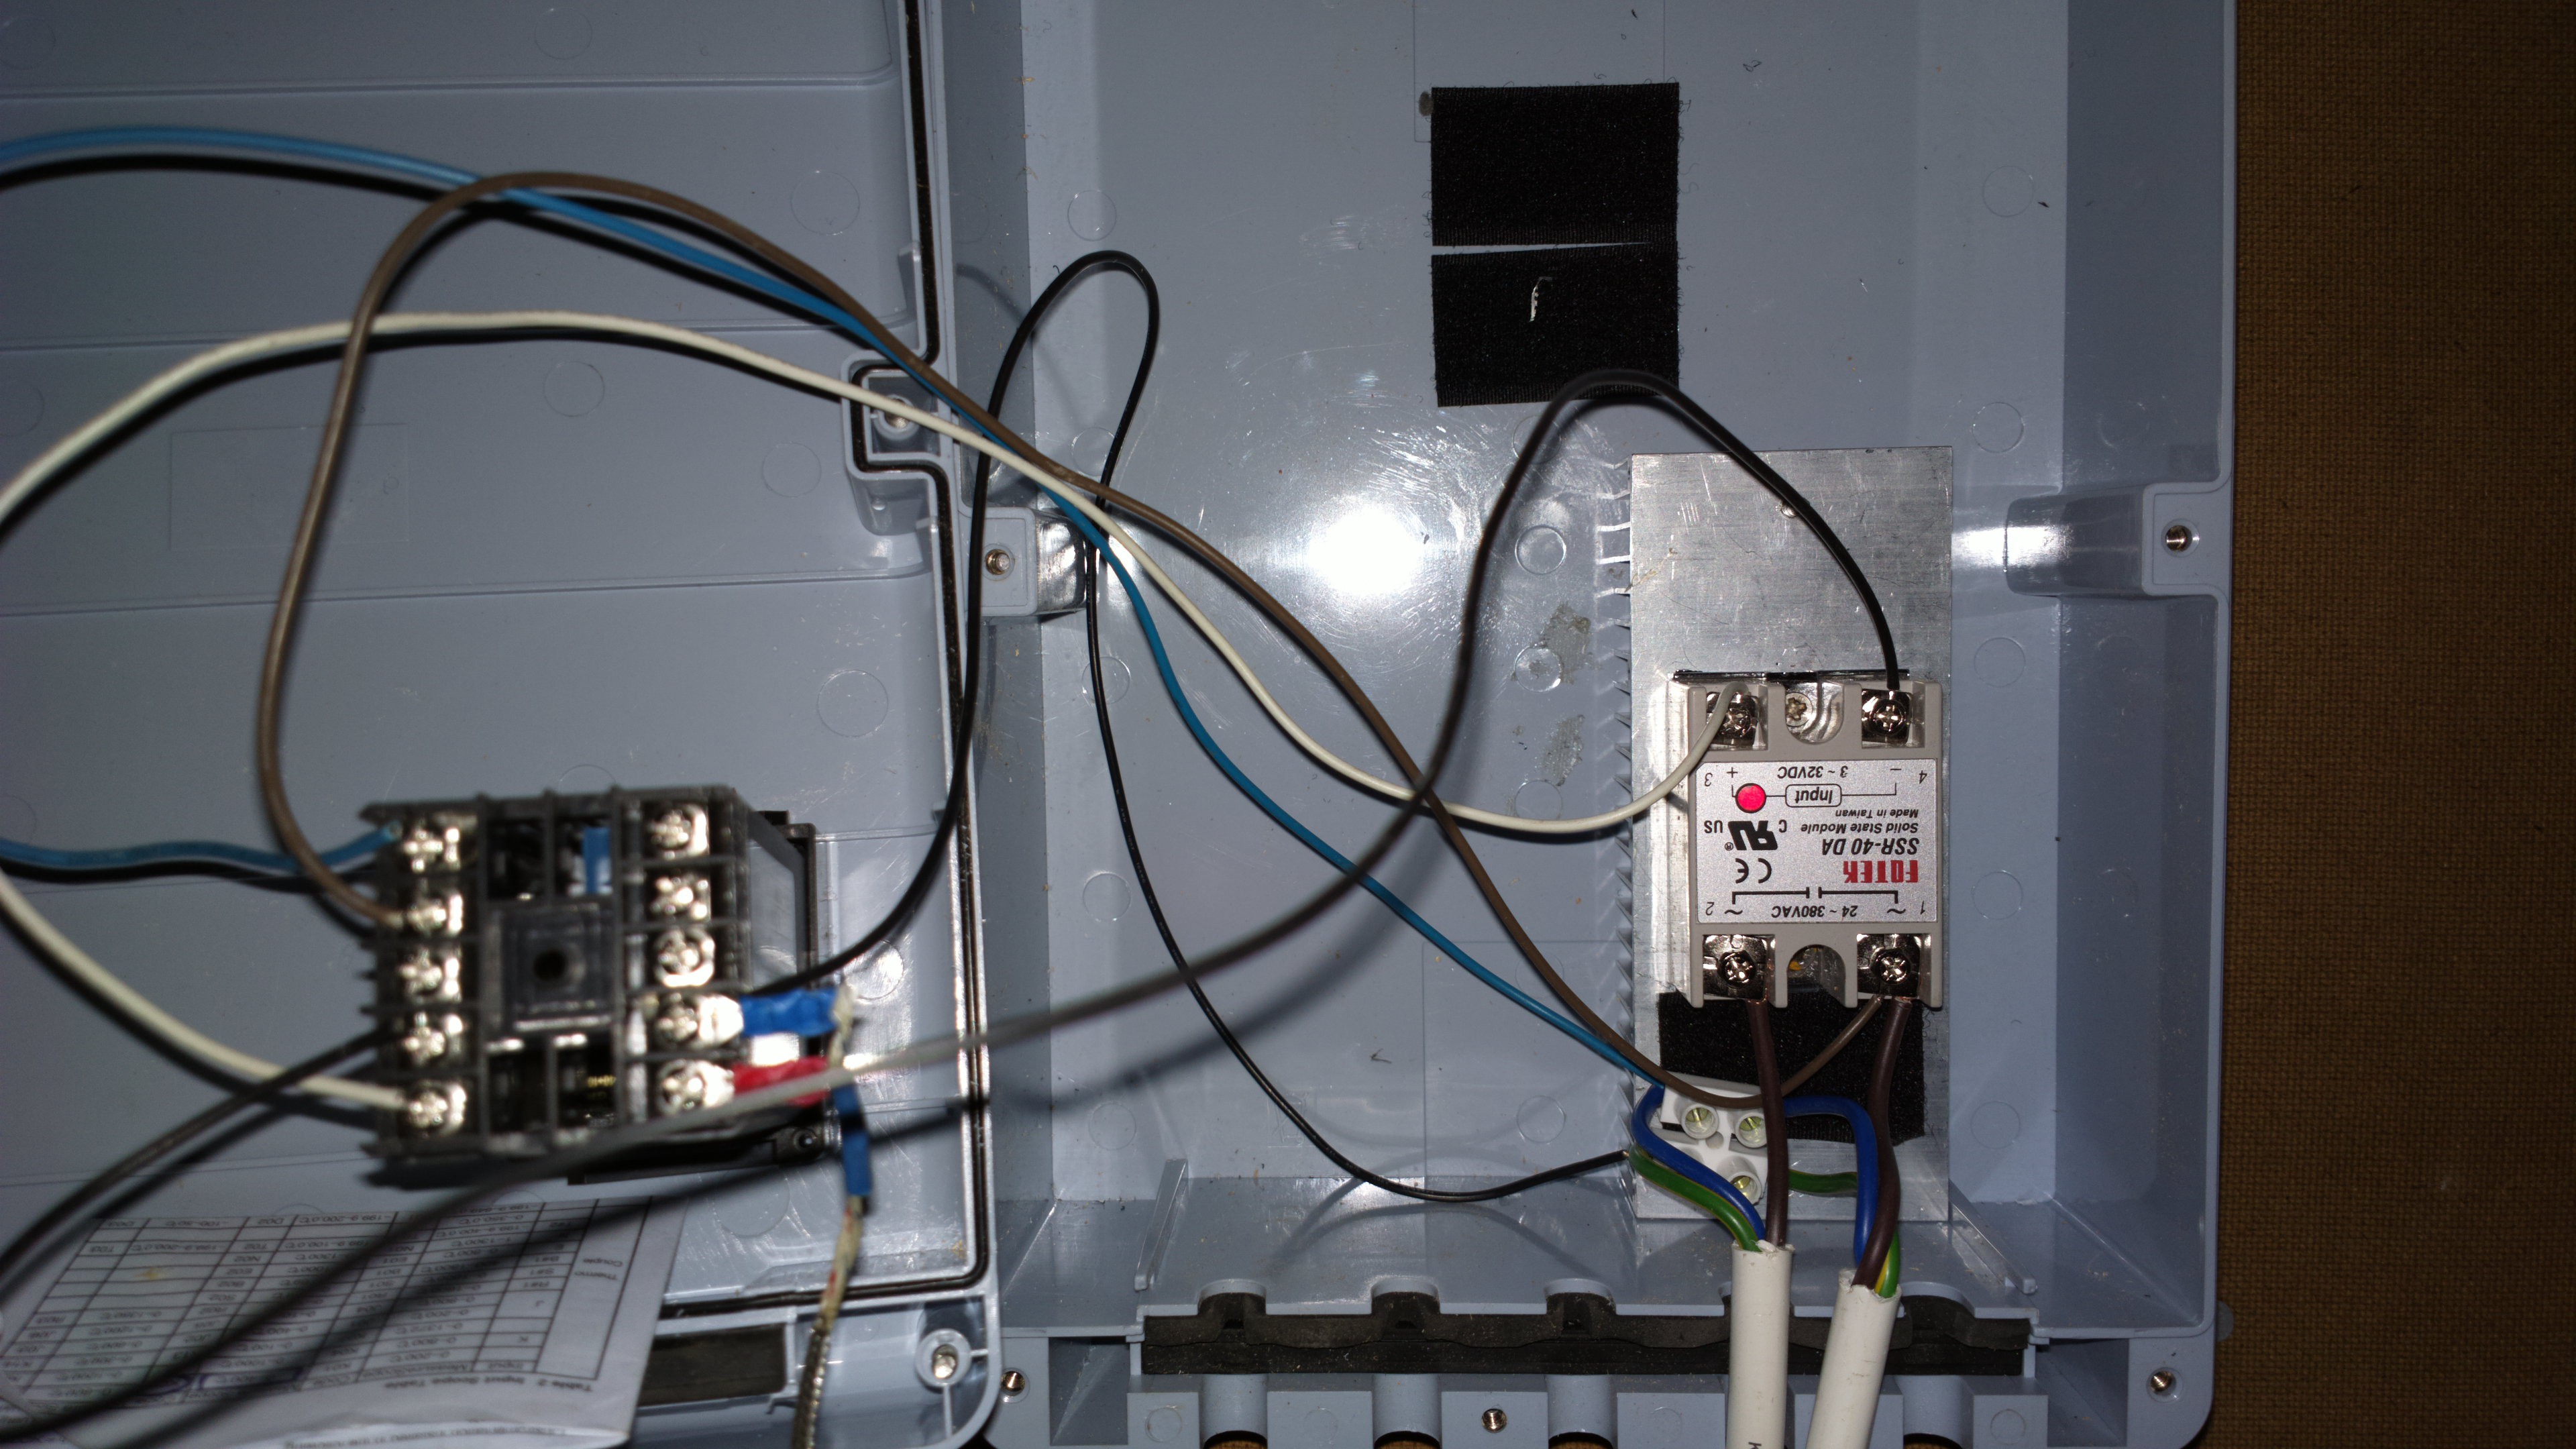
It's a bit of a mess now. There's no point tidying it up now, because some other components will still be added. But here's an idea of how it will work.
![]()
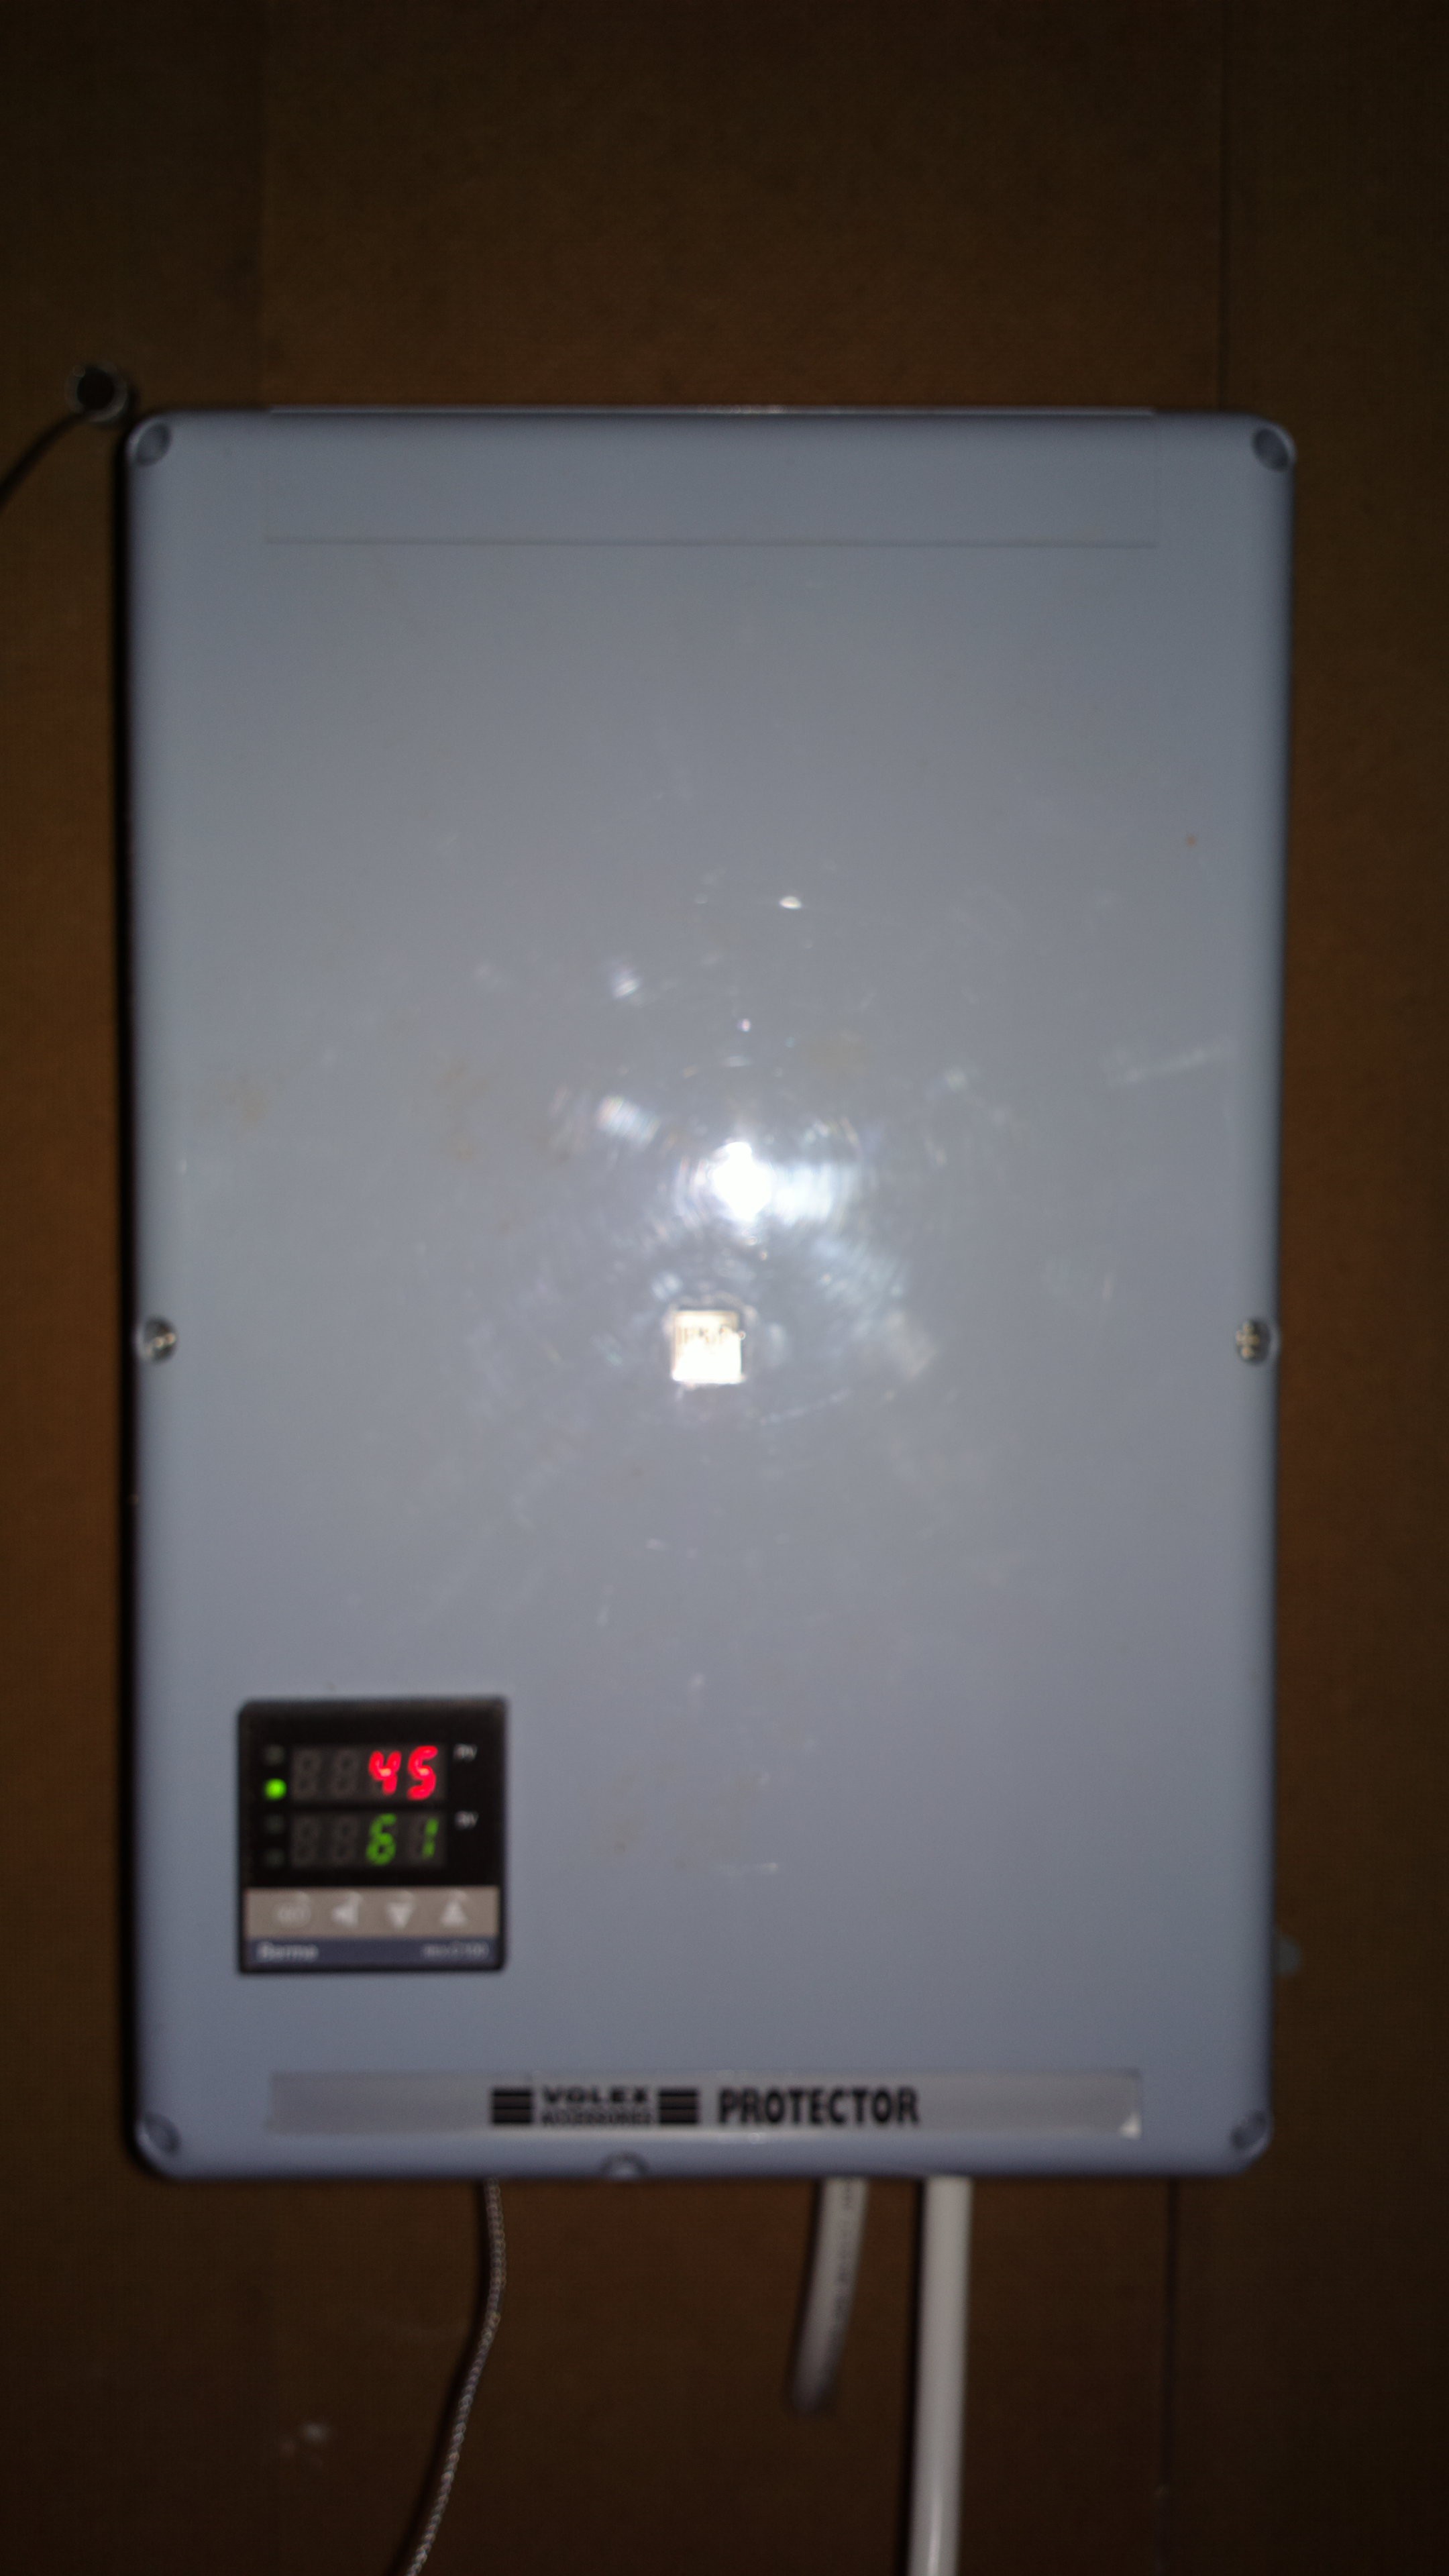
From the front the controller looks more businesslike, with the actual temperature in red, and the programmed temperature in green. A little green LED shows that the SSR is switched on.
![]()
Here are some preliminary temperature measurements:
Time Temperature (degrees Celsius) 0 30 30 min 45 60 min 60 90 min 60 I'd like the temperature to be a get a big higher than 60 degrees, 60 is already in the range to be useful as a sauna.
.
.
Bibliographic Entry Result
(w/surrounding text)Standardized
Result"Sauna." World Book 2005 Ed. "In a sauna, stones are heated on top of a furnace. The temperature in the room ranges from 176 to 212°F (80 to 100°C)." 80–100°C Avalon [pdf]. Electric Sauna Heater Operator's Manual. If sauna heater operates, but sauna room does not come up to sauna temperature (160–185 ° normal Sauna temperature) 71–85°C SaunaGen [pdf]. InfraRed Sauna Operator Manual. 2004. "Set the temperature and time to a comfortable level, normally, 30 minutes at 49 °C." 49 °C The Finnish Sauna Society. 2004. "In the old smoke saunas the temperature varied from about 50 to 75°C (122 to 167°F)." 50–75°C "The recommendation now is 80–90°C (176–194°F) with moderate humidity, but in many saunas today the temperature exceeds 100°C (212°F), at least at the beginning." 80–90°C
>100°Chttp://hypertextbook.com/facts/2005/HimtangWong.shtml
.
.
Once I've cladded the door with cedar the temperature should get higher, because now there is a 1 cm gap all along the side of the door from which heat escapes.
-
Getting wood
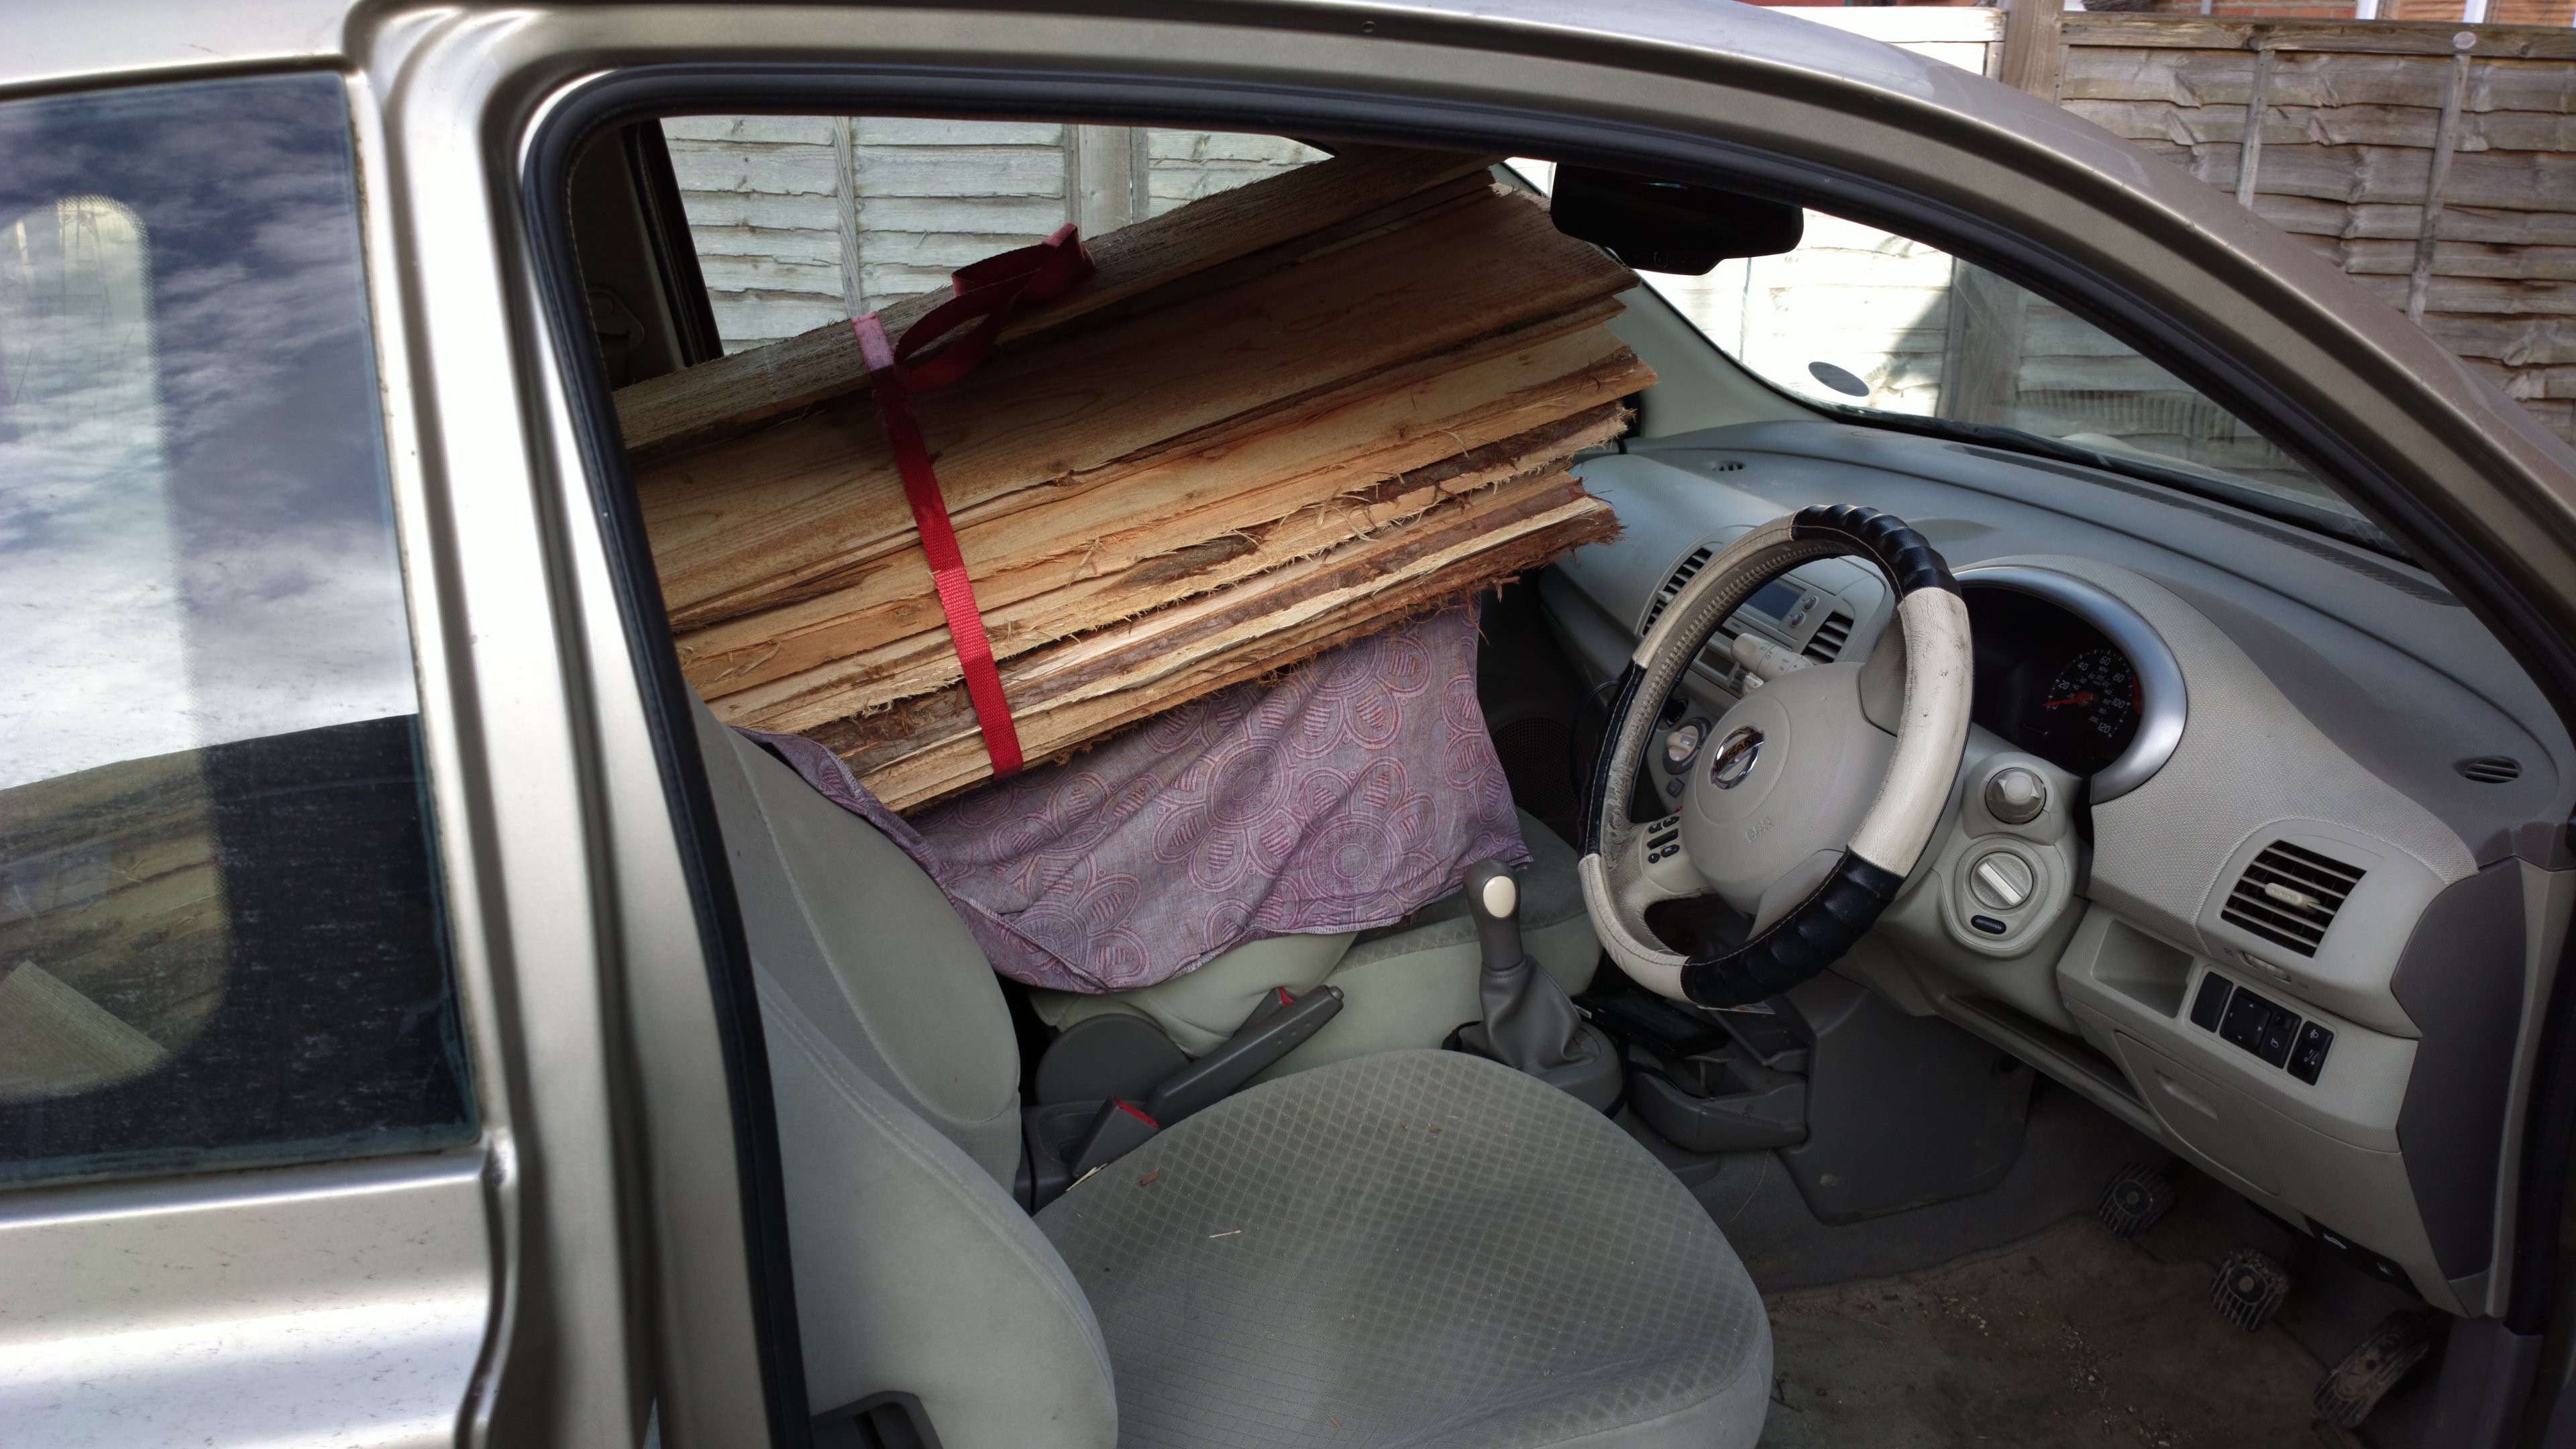
01/28/2017 at 18:16 • 0 commentsToday is the day I bought wood cladding for the sauna. There are several types of wood you can use within a sauna, such as aspen, alder, spruce, and cedar.
Aspen and Alder are most often used for saunas in the EU, but are also most expensive. I've asked for quotes for wood, and they ranged from £300 to £600.
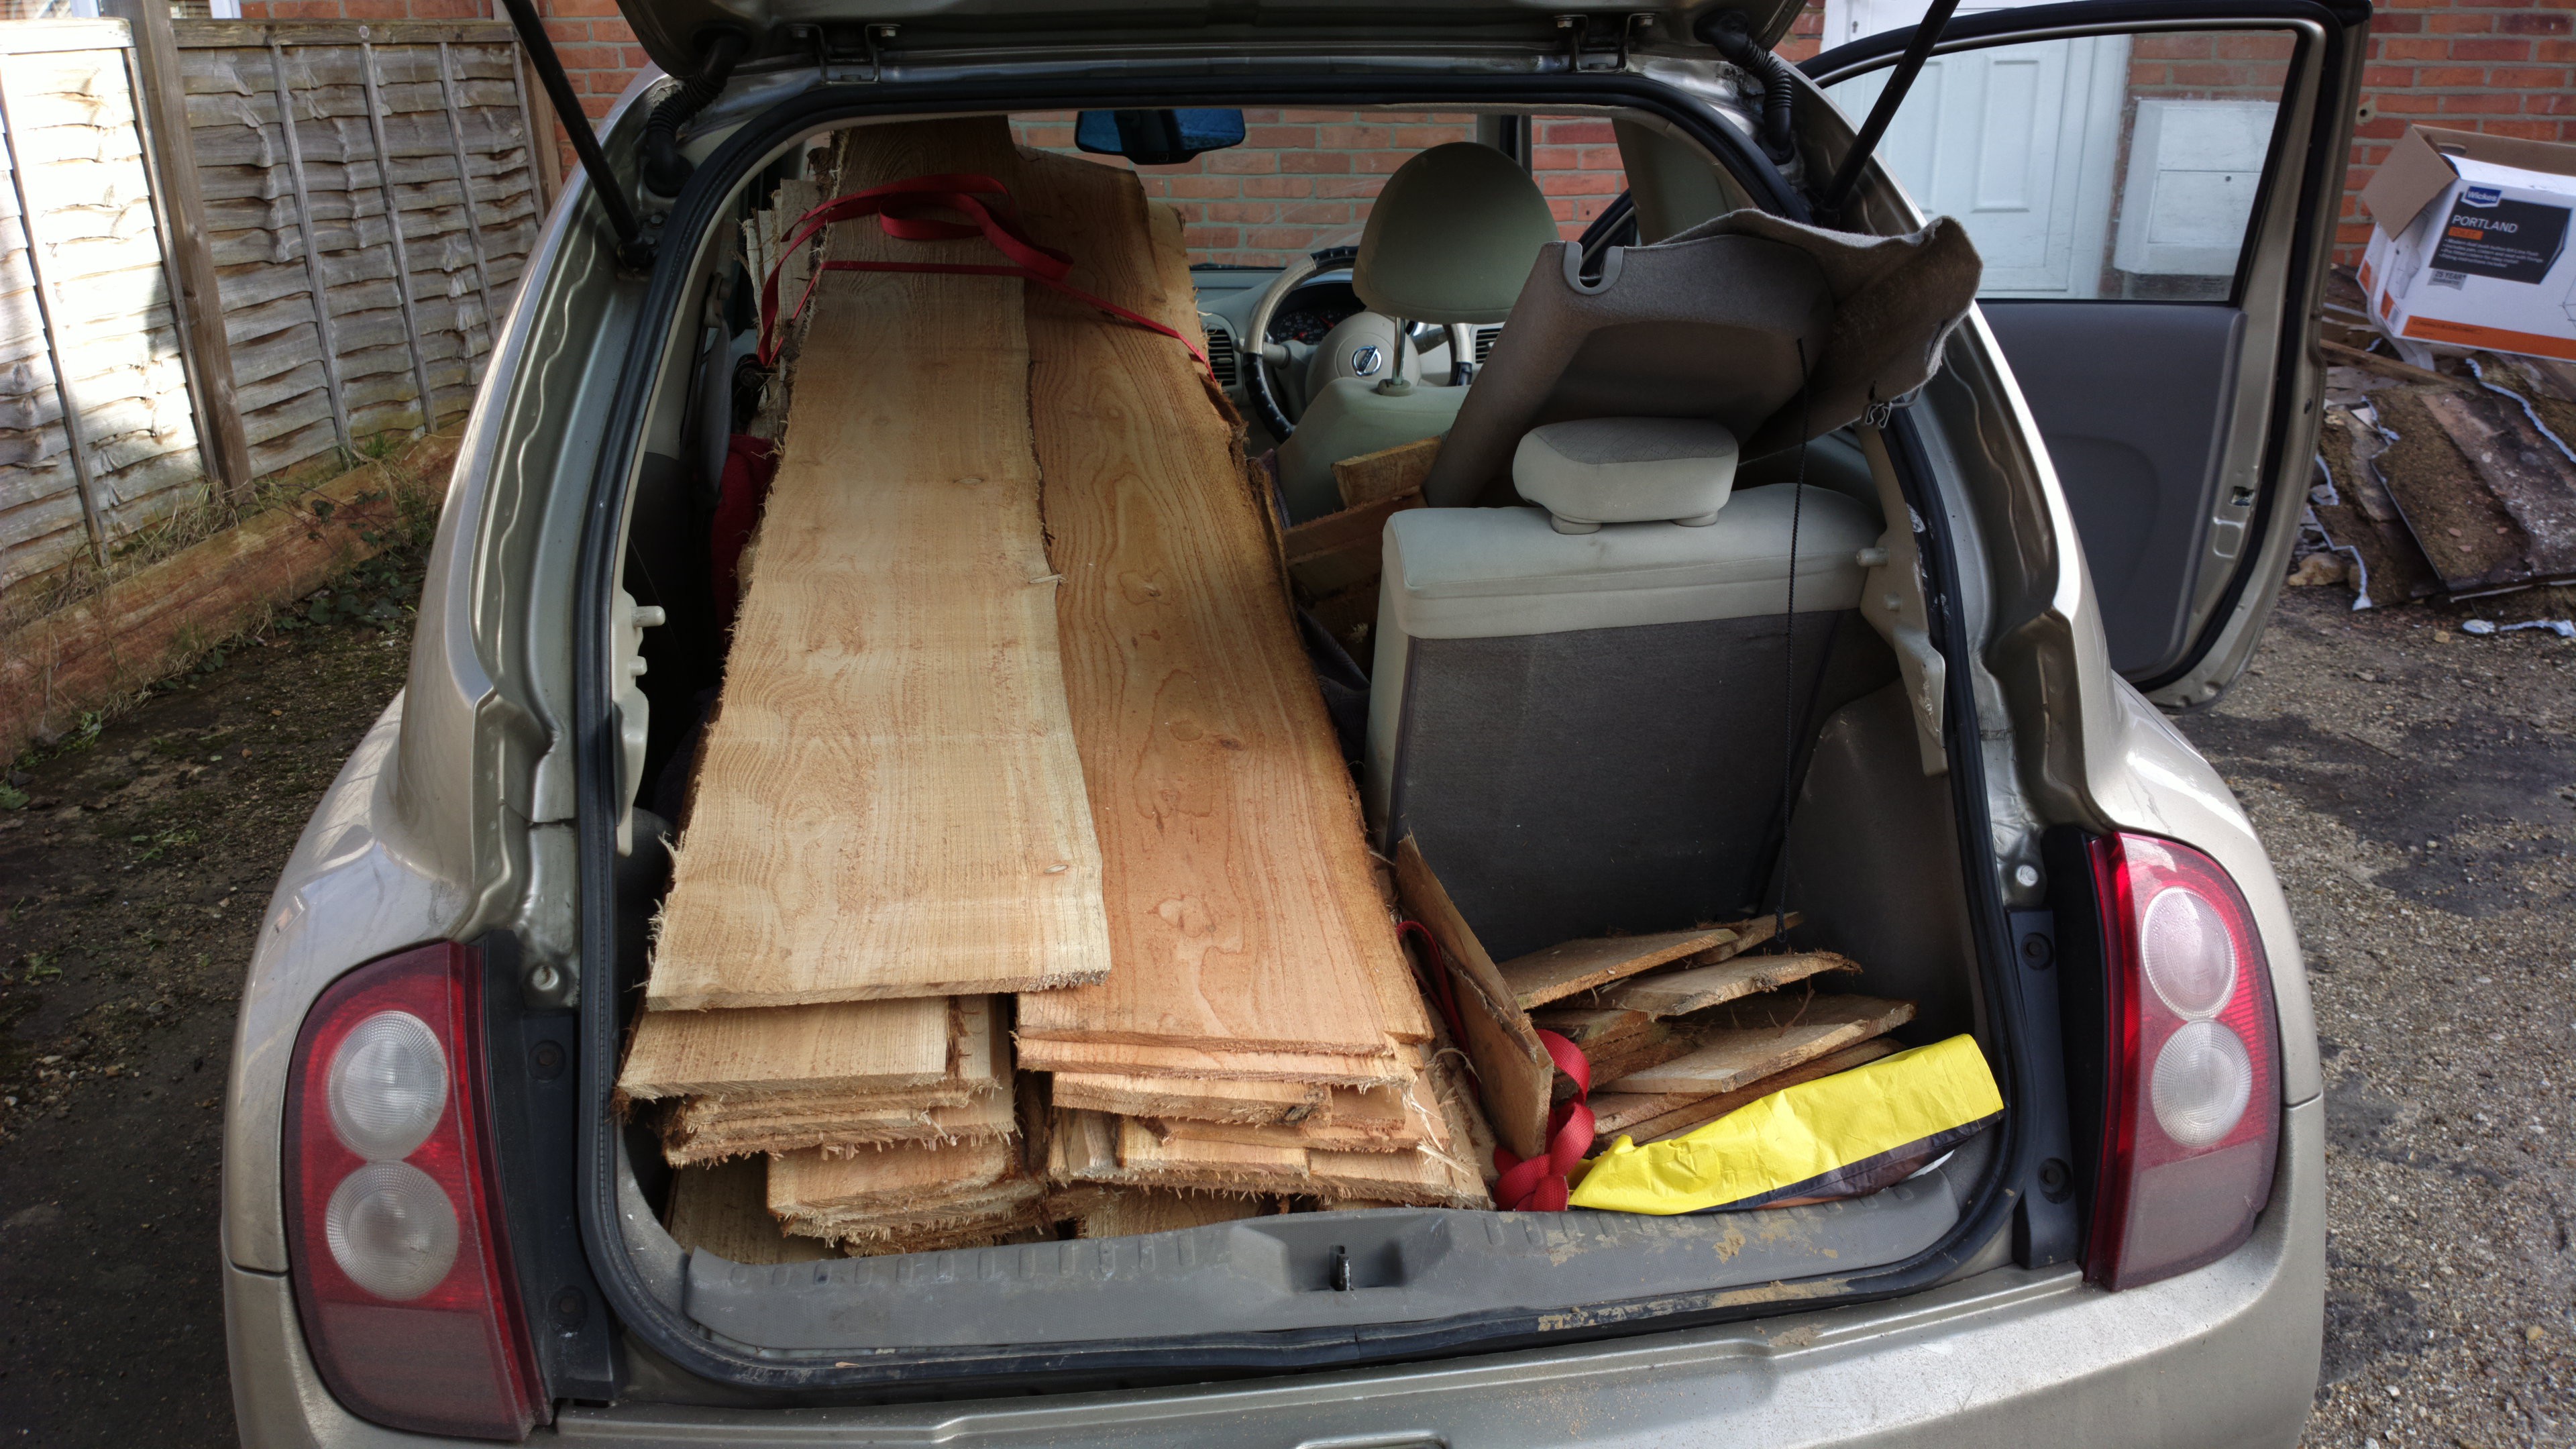
In the end on ebay I found a merchant selling waney cedar wood for £3 per board, 20-30 cm wide, 1 cm thick, and 240 cm long. Perfect! I got a deal for 50 boards between 15 and 30 cm, and he was so kind to saw it off to 2 meters so it fit in the car. This came to the total cost of £100, a bargain!
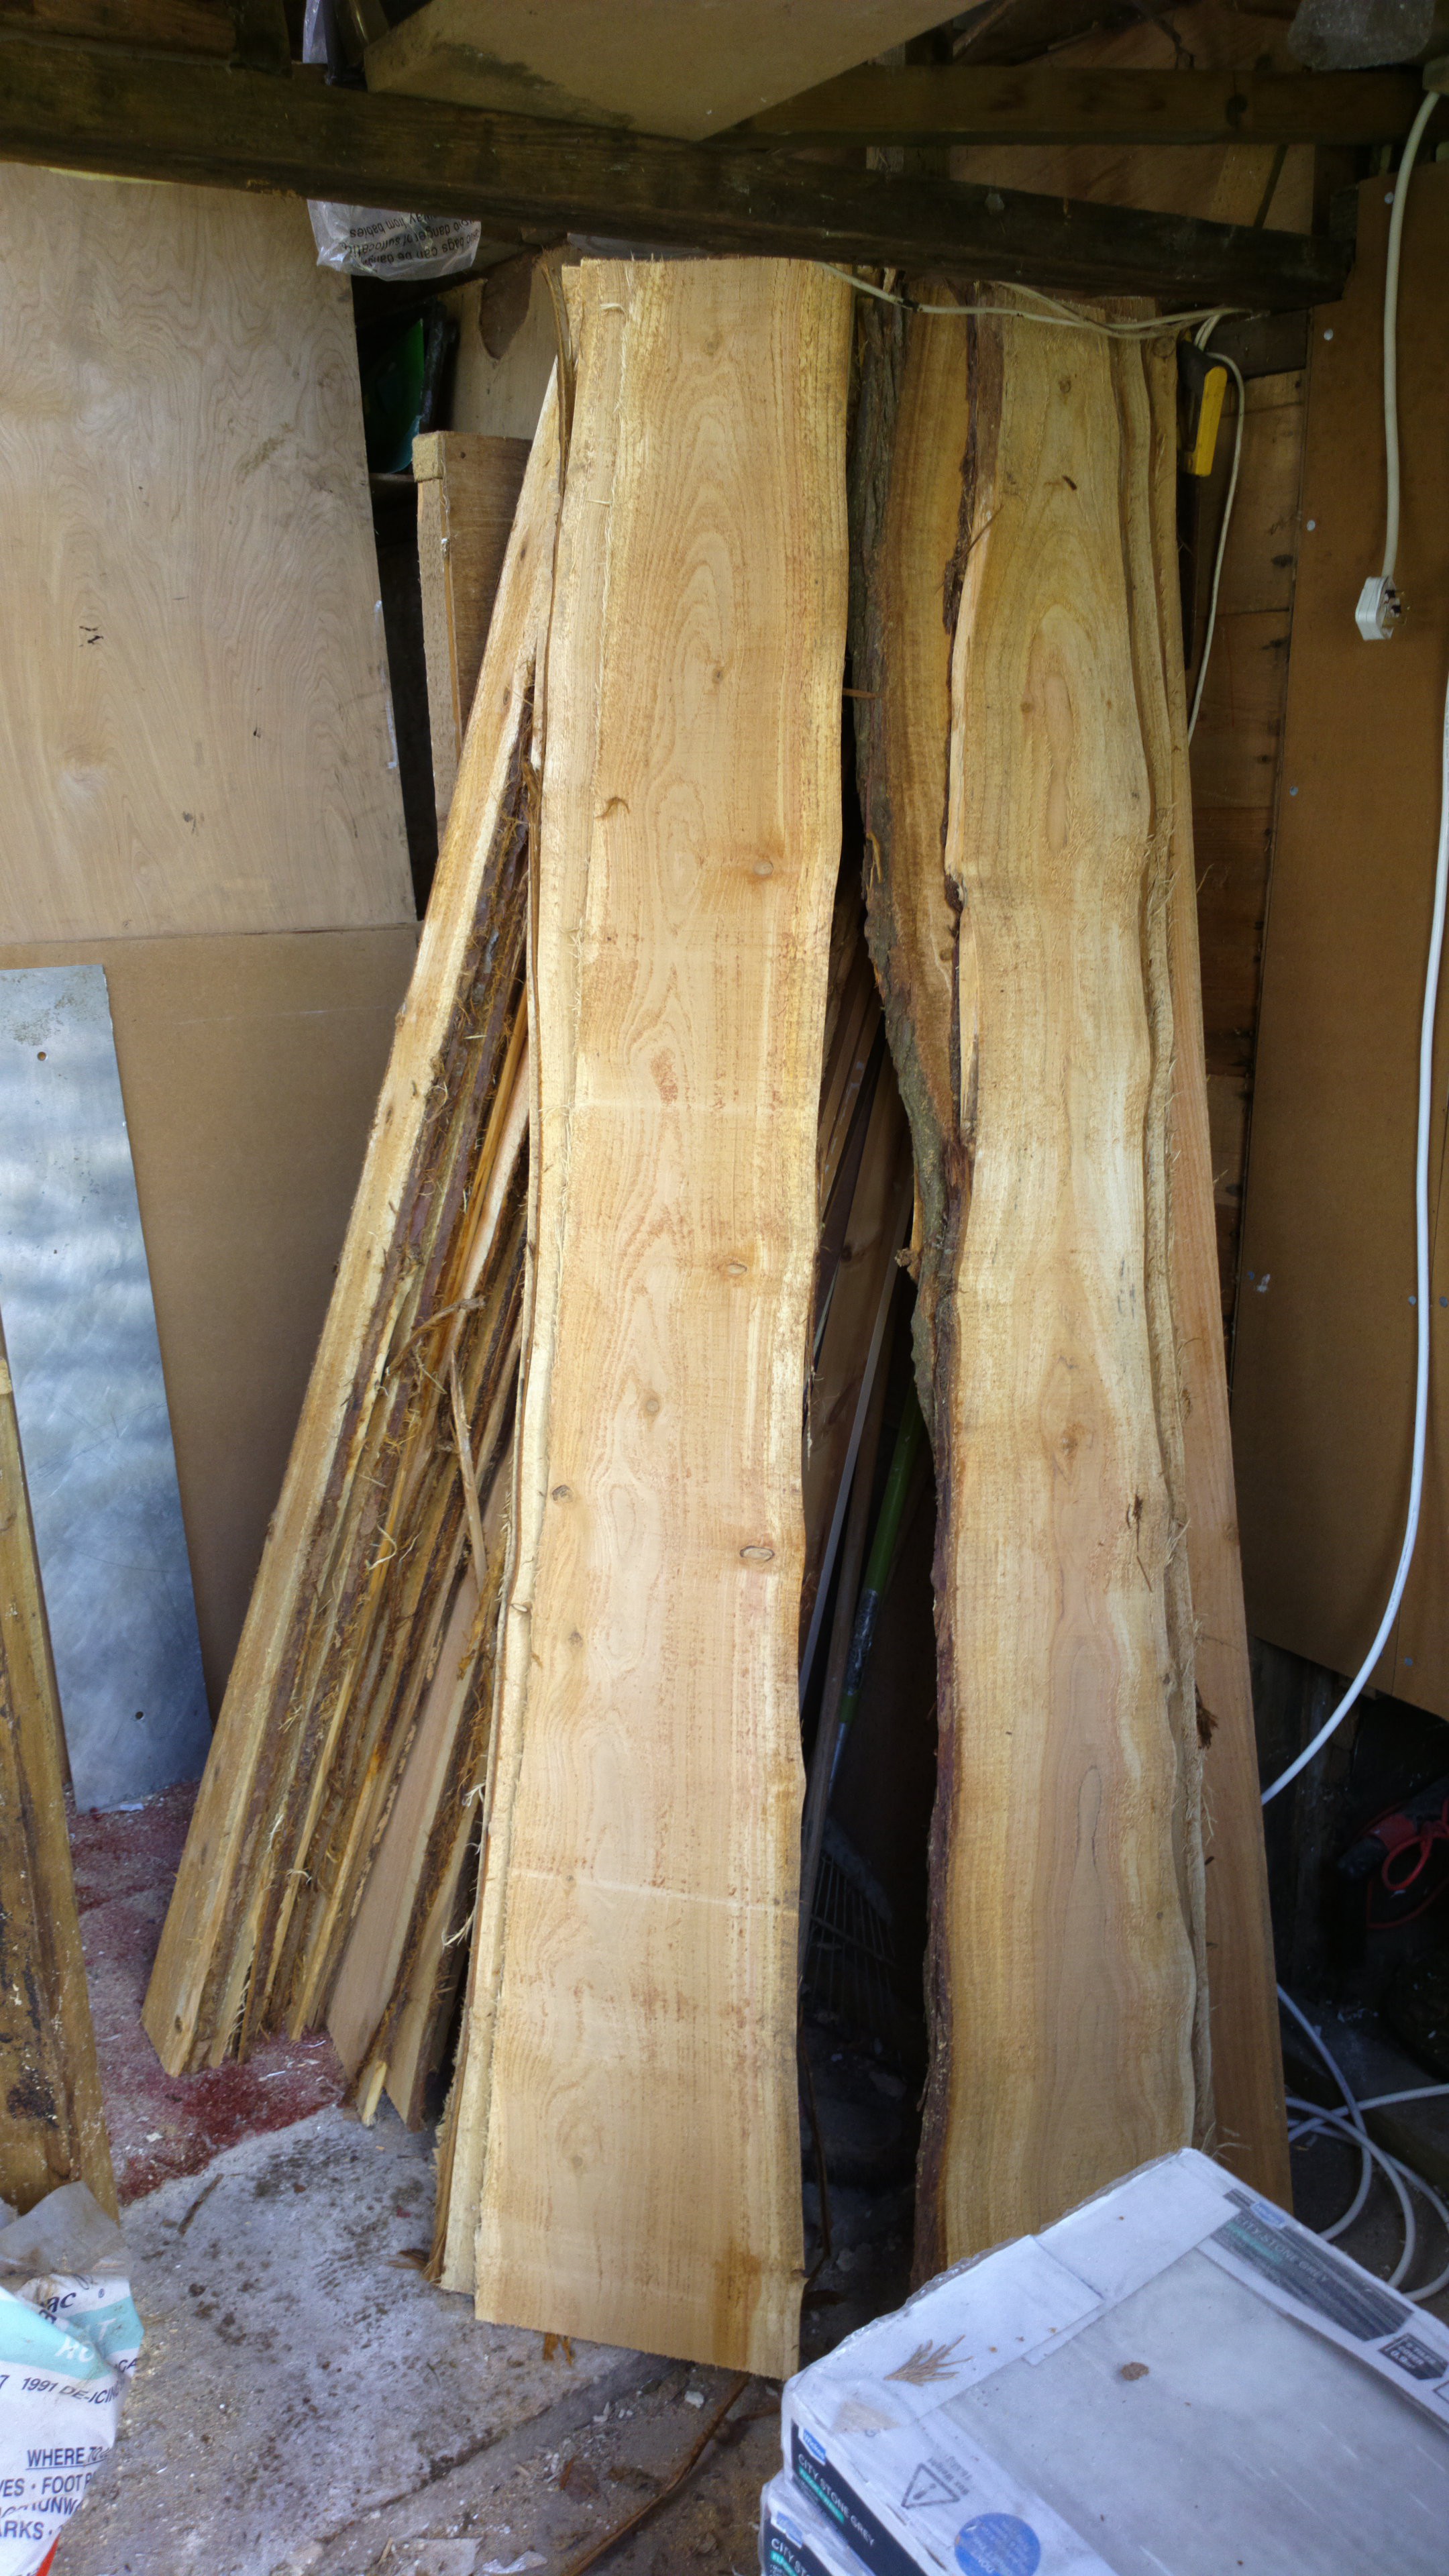
Apparently Cedar is used in the US a lot for saunas. It has natural antifungal and anti-bacterial properties and feels 'cool' when you touch it, very important in a sauna. This type of wood has great patterns.
![]()
It also cost me a total of 4 hours of driving :S but I had an audio book to listen too so that was fine
![]()
Look at these lovely patterns, and it smelled great too, all the way back home.
![]()
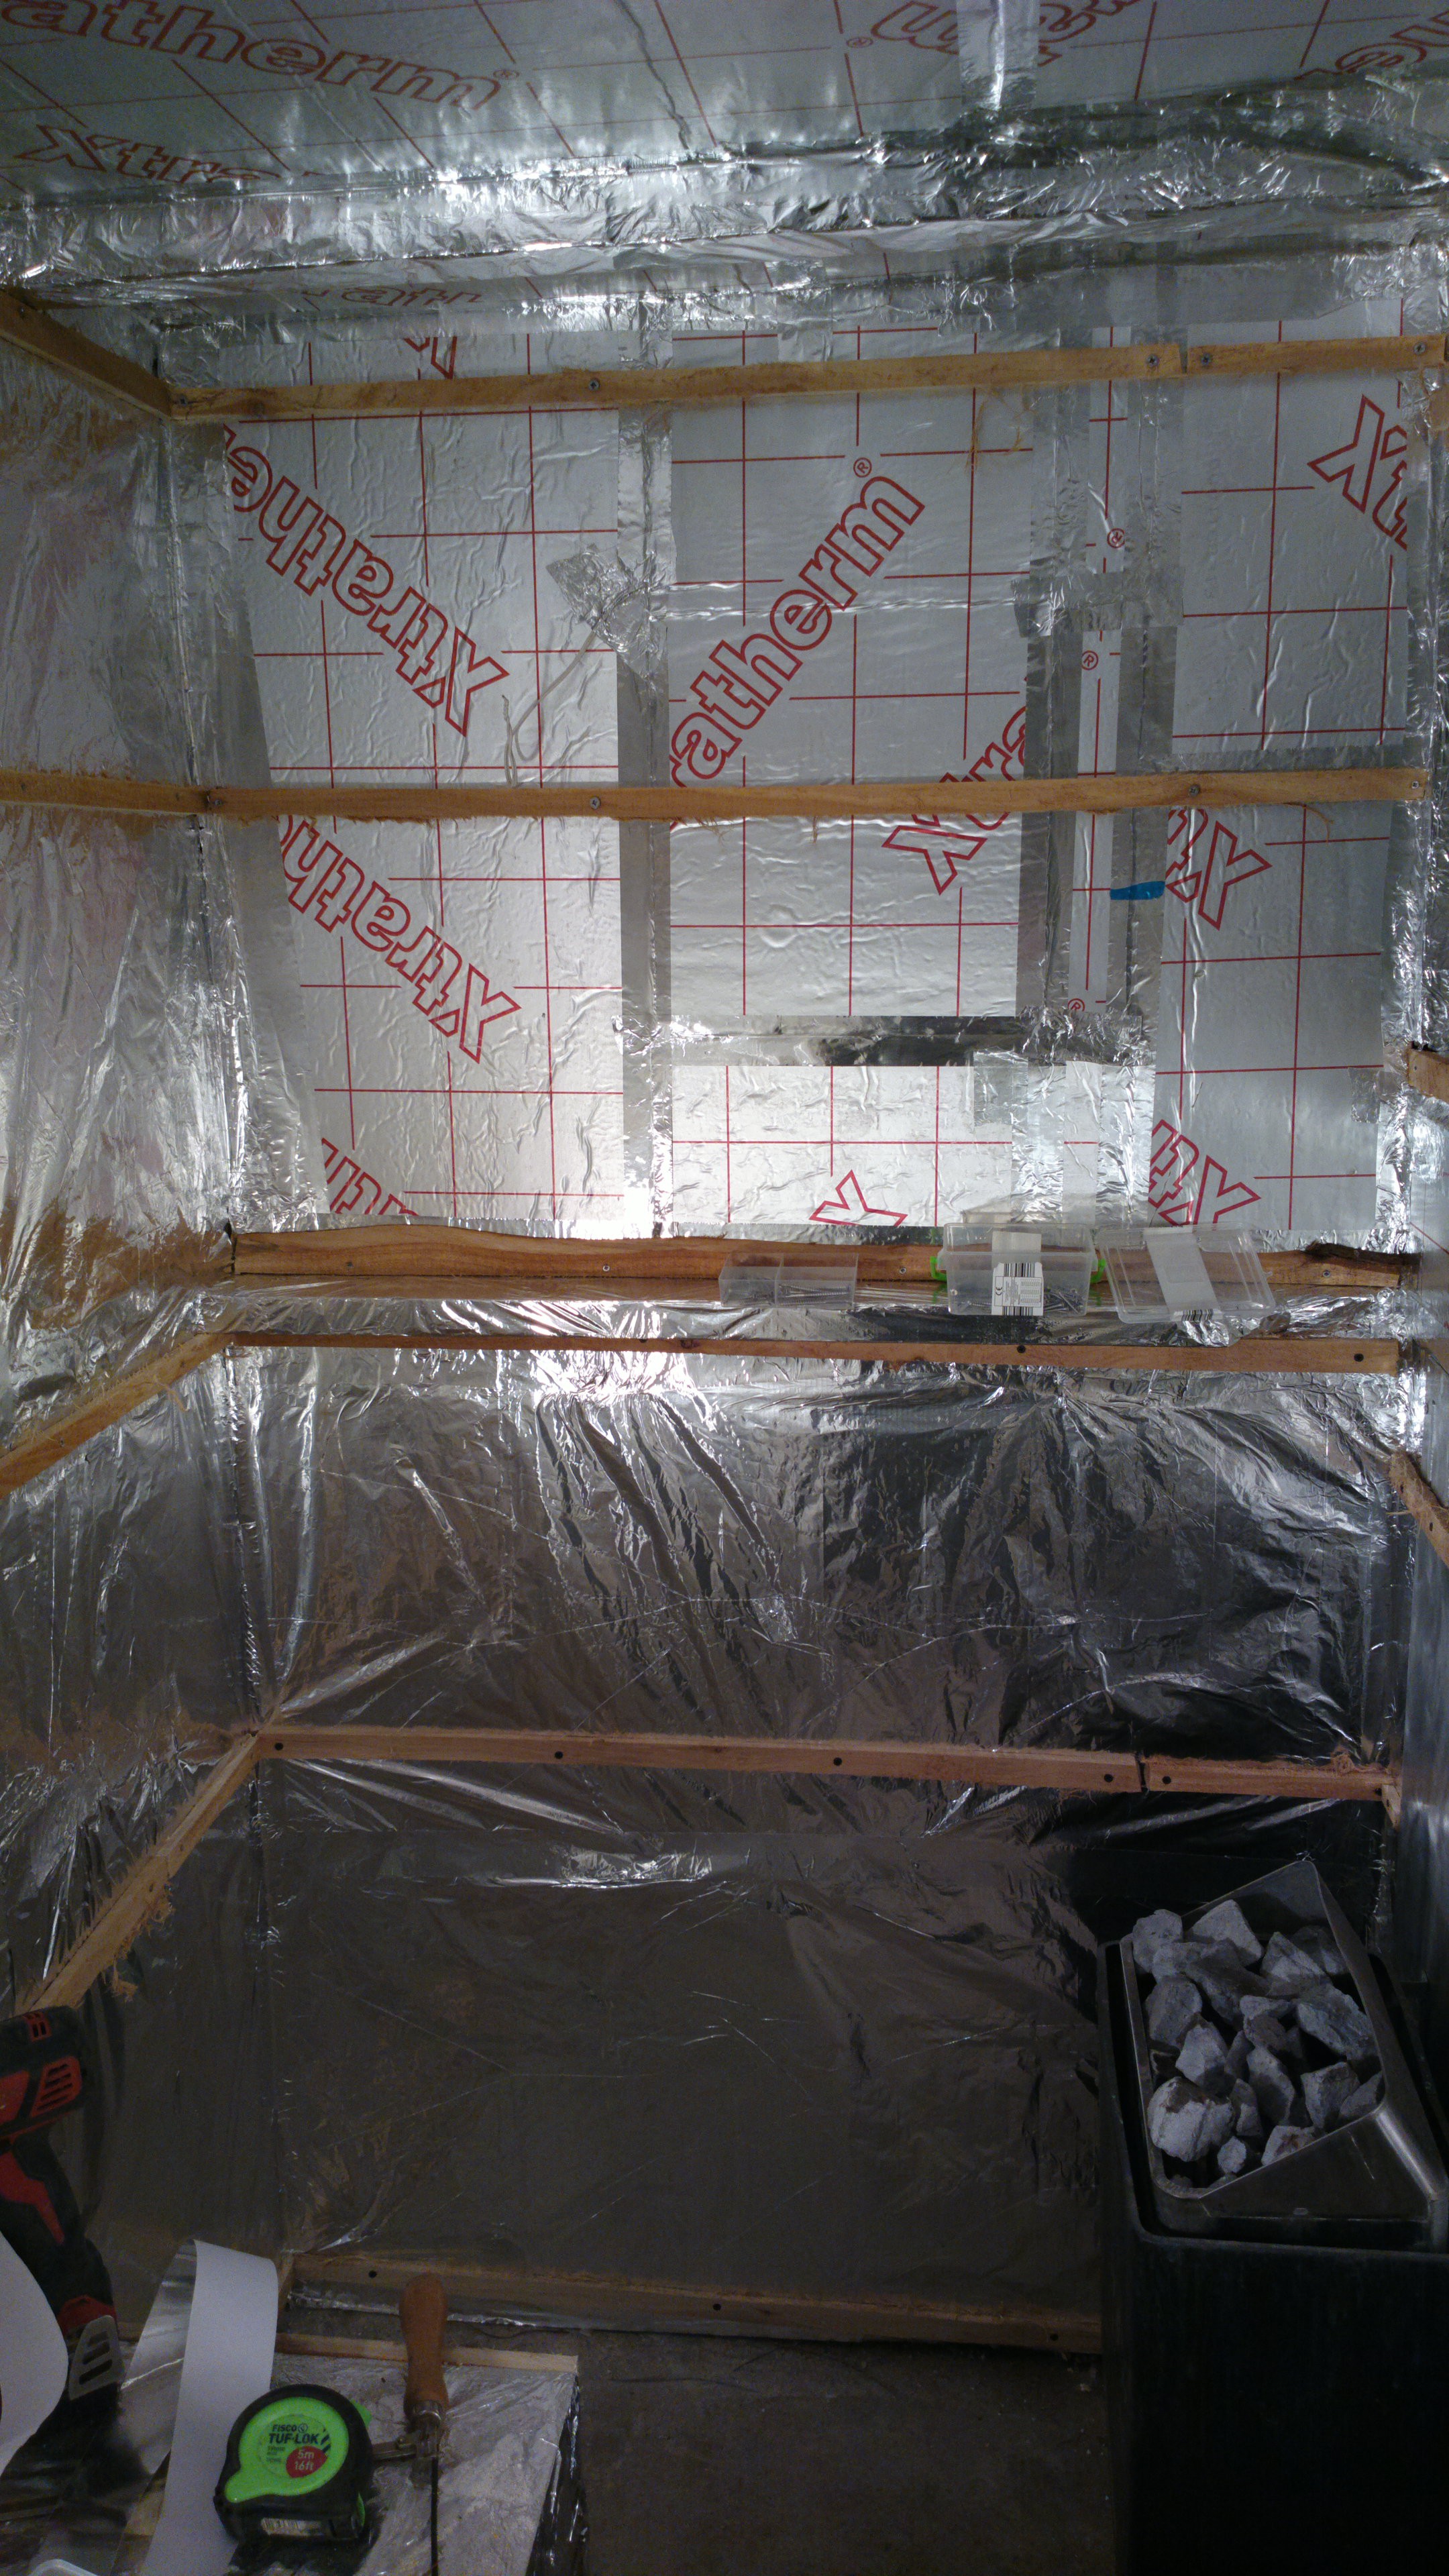
I sacrificed two of the boards to make battens to later affix the wood to. The battens are spaced about 50 cm apart. The idea here is that there is some air behind the wood so that if the boards get wet they also get a chance to dry out again, so that the back of the wood is not wet. If one side is wet and the other dry, then there will be a temperature difference if the sauna is running, and the wood will warp. There will always be a temperature difference of course, but the warping effect should be less if the wood is completely dry through and through.
![]()
The wood is freshly cut, probably some days ago, so it's pretty sappy:
![]()
So ideally the boards should dry for a while before putting them in the sauna, because they will shrink over time. But perhaps I can 'kiln dry' them in the sauna itself by heating up the stove... but that increases the risk of the boards warping. I'll just have to try one to see how it behaves I guess.
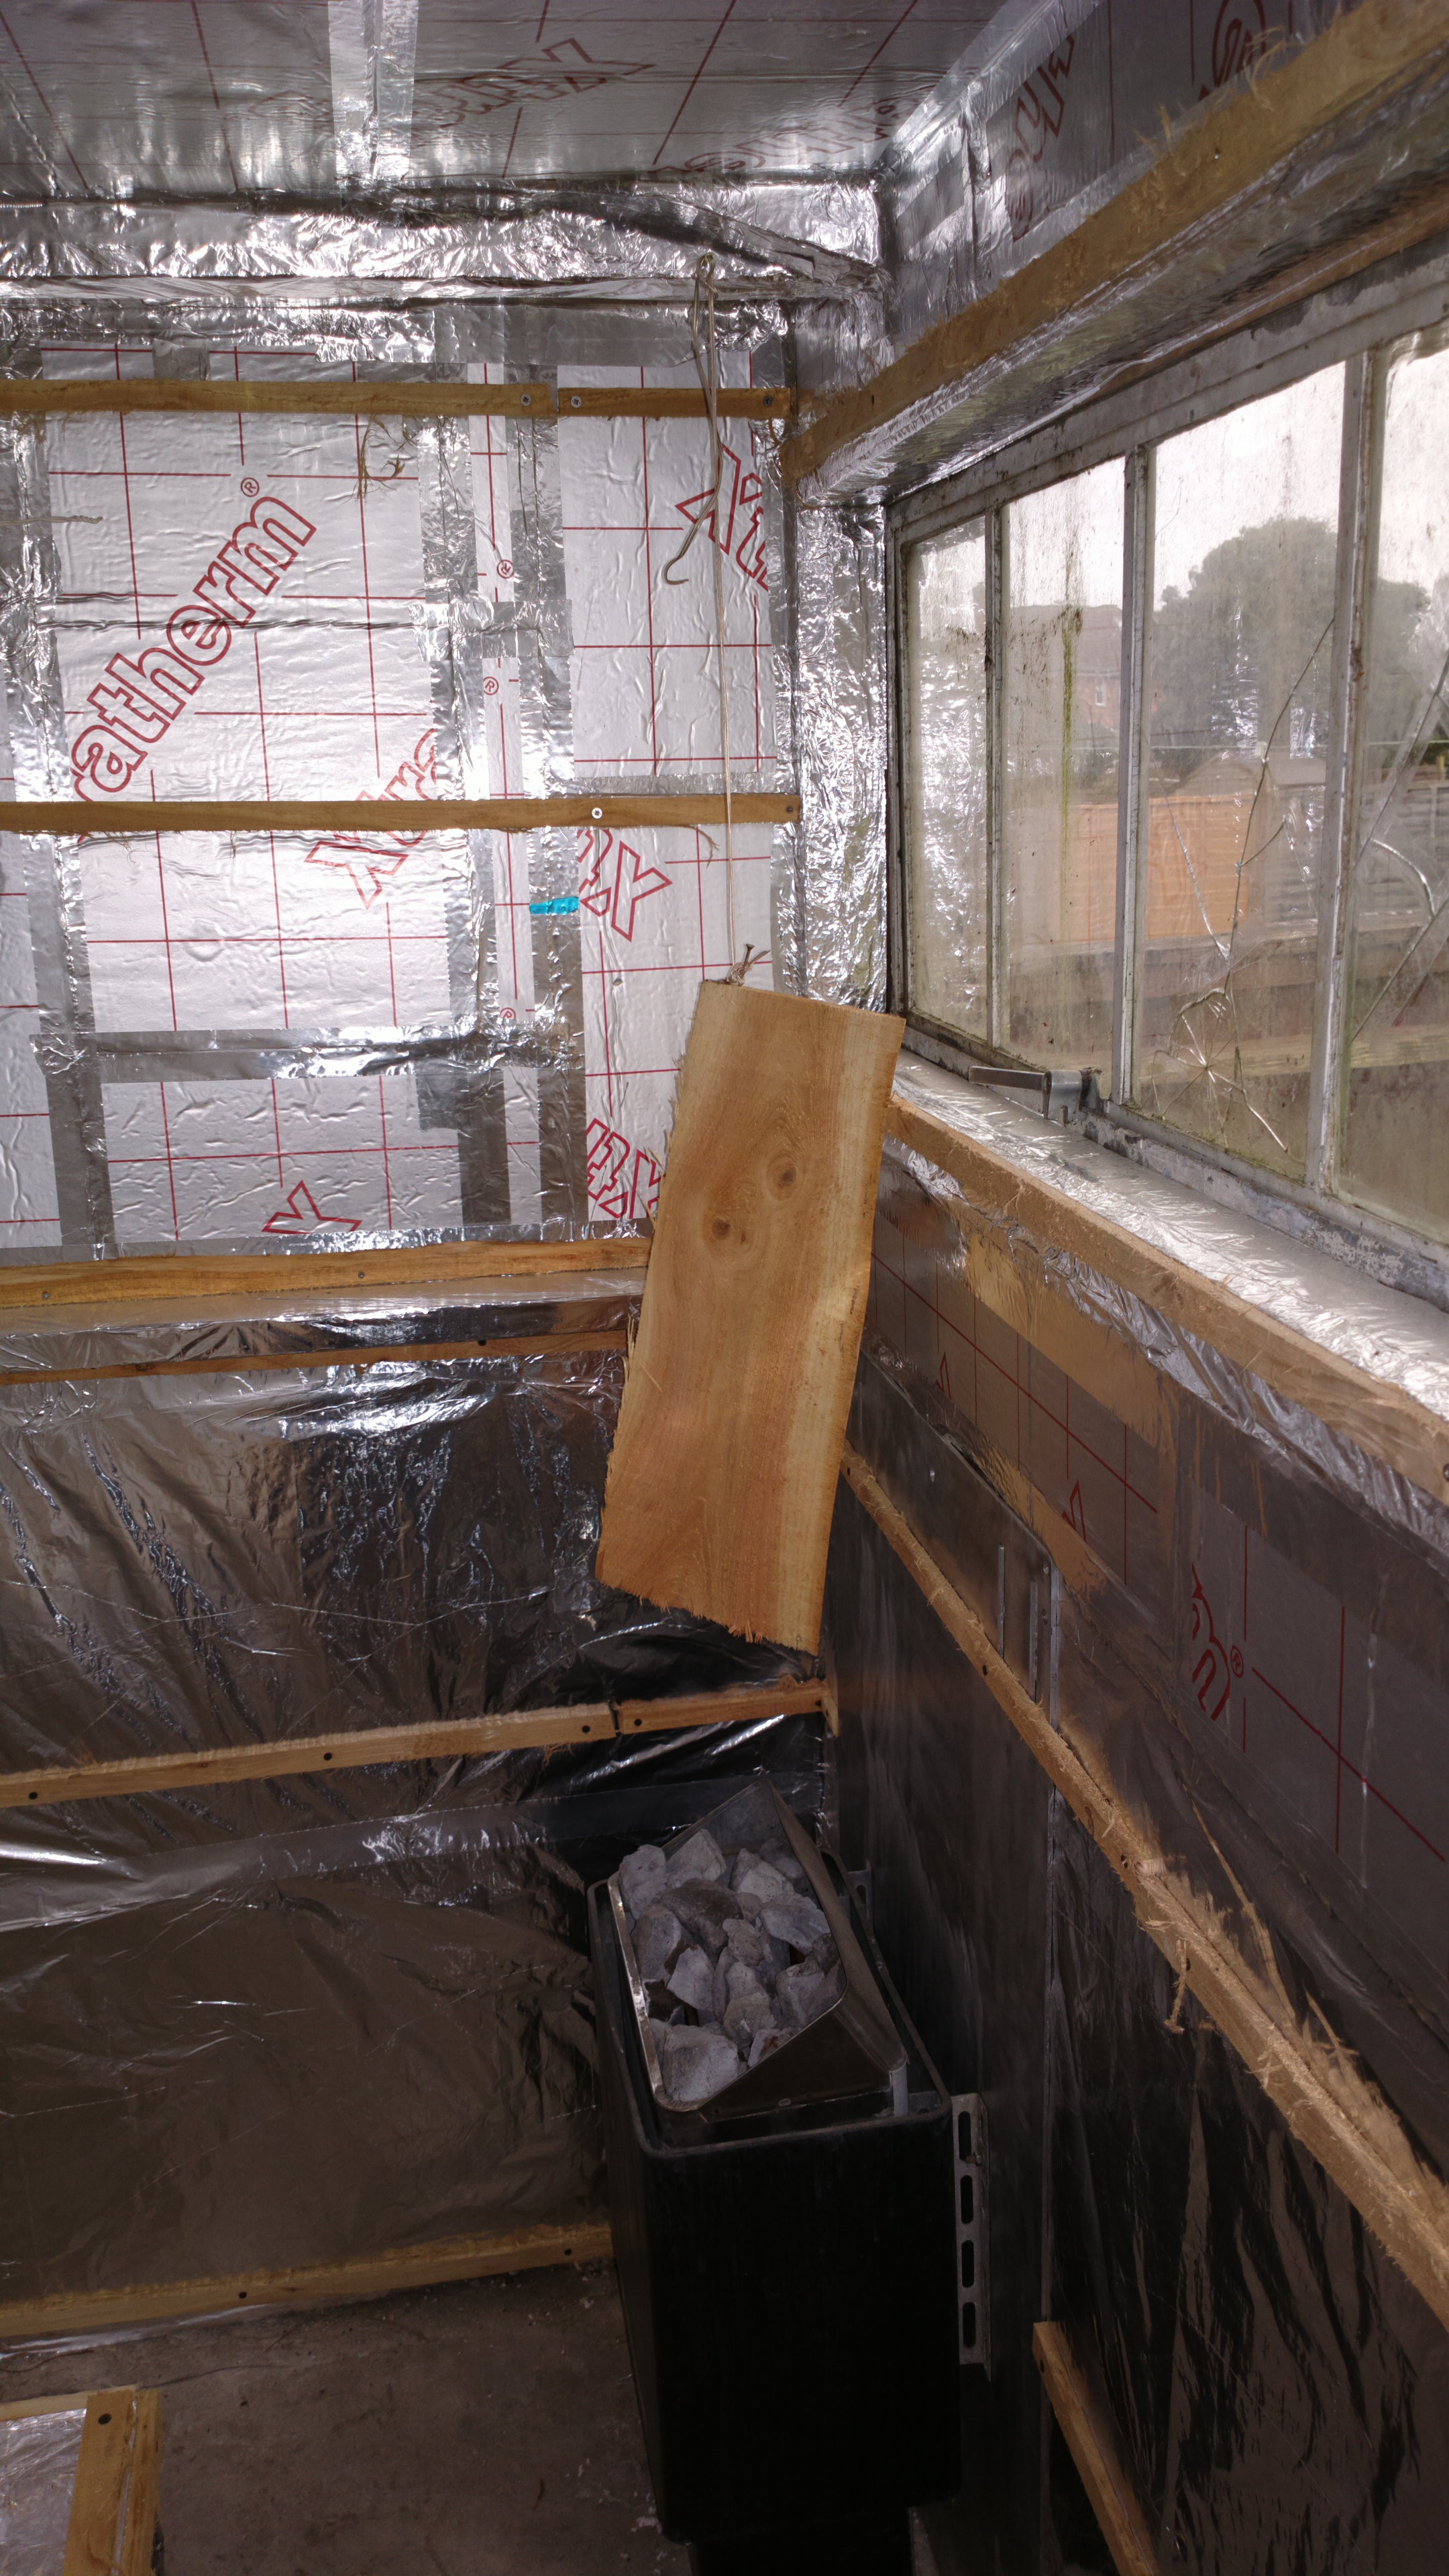
I put up one board to dry above the stove, and I've taken some measurements:
length: 55 cm, width 21 cm, weight 536 grams.
If the wood is wet then it should get lighter over time, and possibly shrink.
![]()
Unfortunately I'll have to wait with sanding down the boards until I've got some new sanding belts.
-
Installing the heater
01/14/2017 at 19:03 • 0 commentsIt's time to mount the heater.
As I mentioned before, I'm only going to use one of the heater elements of the heater, so that it's 2 KW max power.
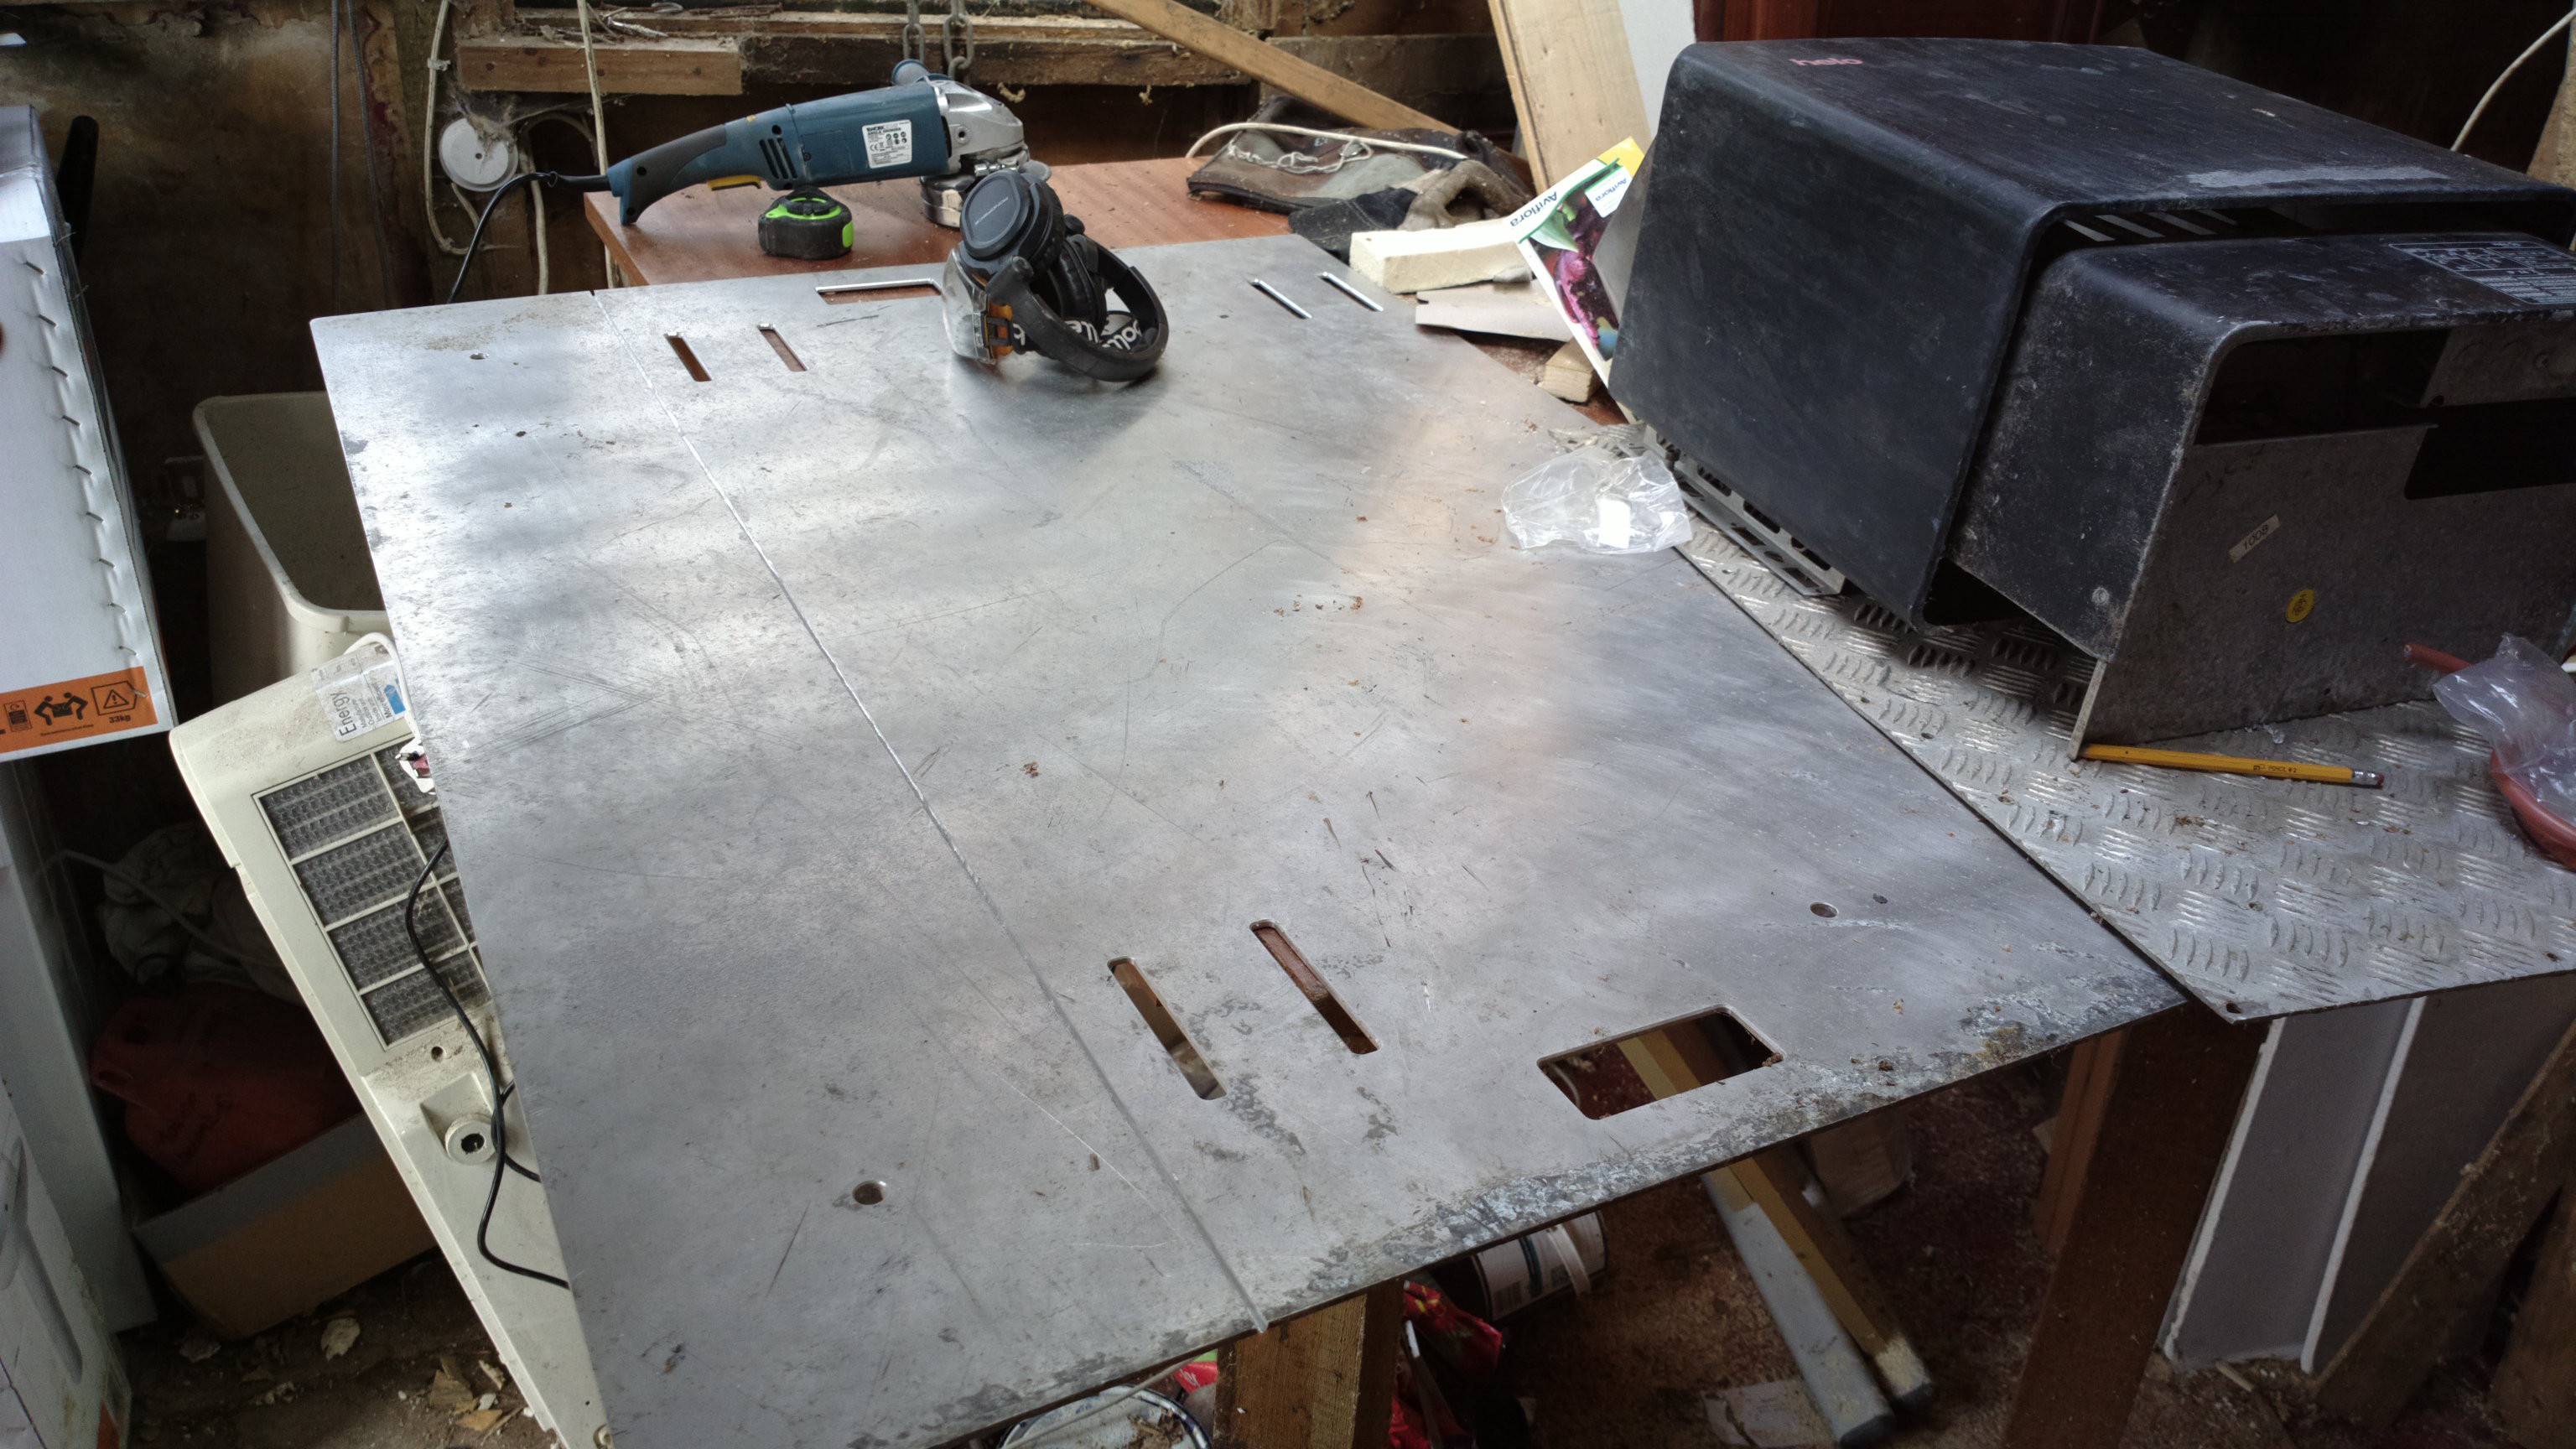
The wall behind the heater is just plasterboard and behind there insulation material. So to mount the heater I'm using a 5mm thick aluminium plate. It will protect the wall behind from heat, and it will also provide a sturdy base to hang the stove from.
I happened to have the 5 mm plate already (taken from a skip), but it was a bit too wide, so I used an angle grinder to cut it to size.
![]()
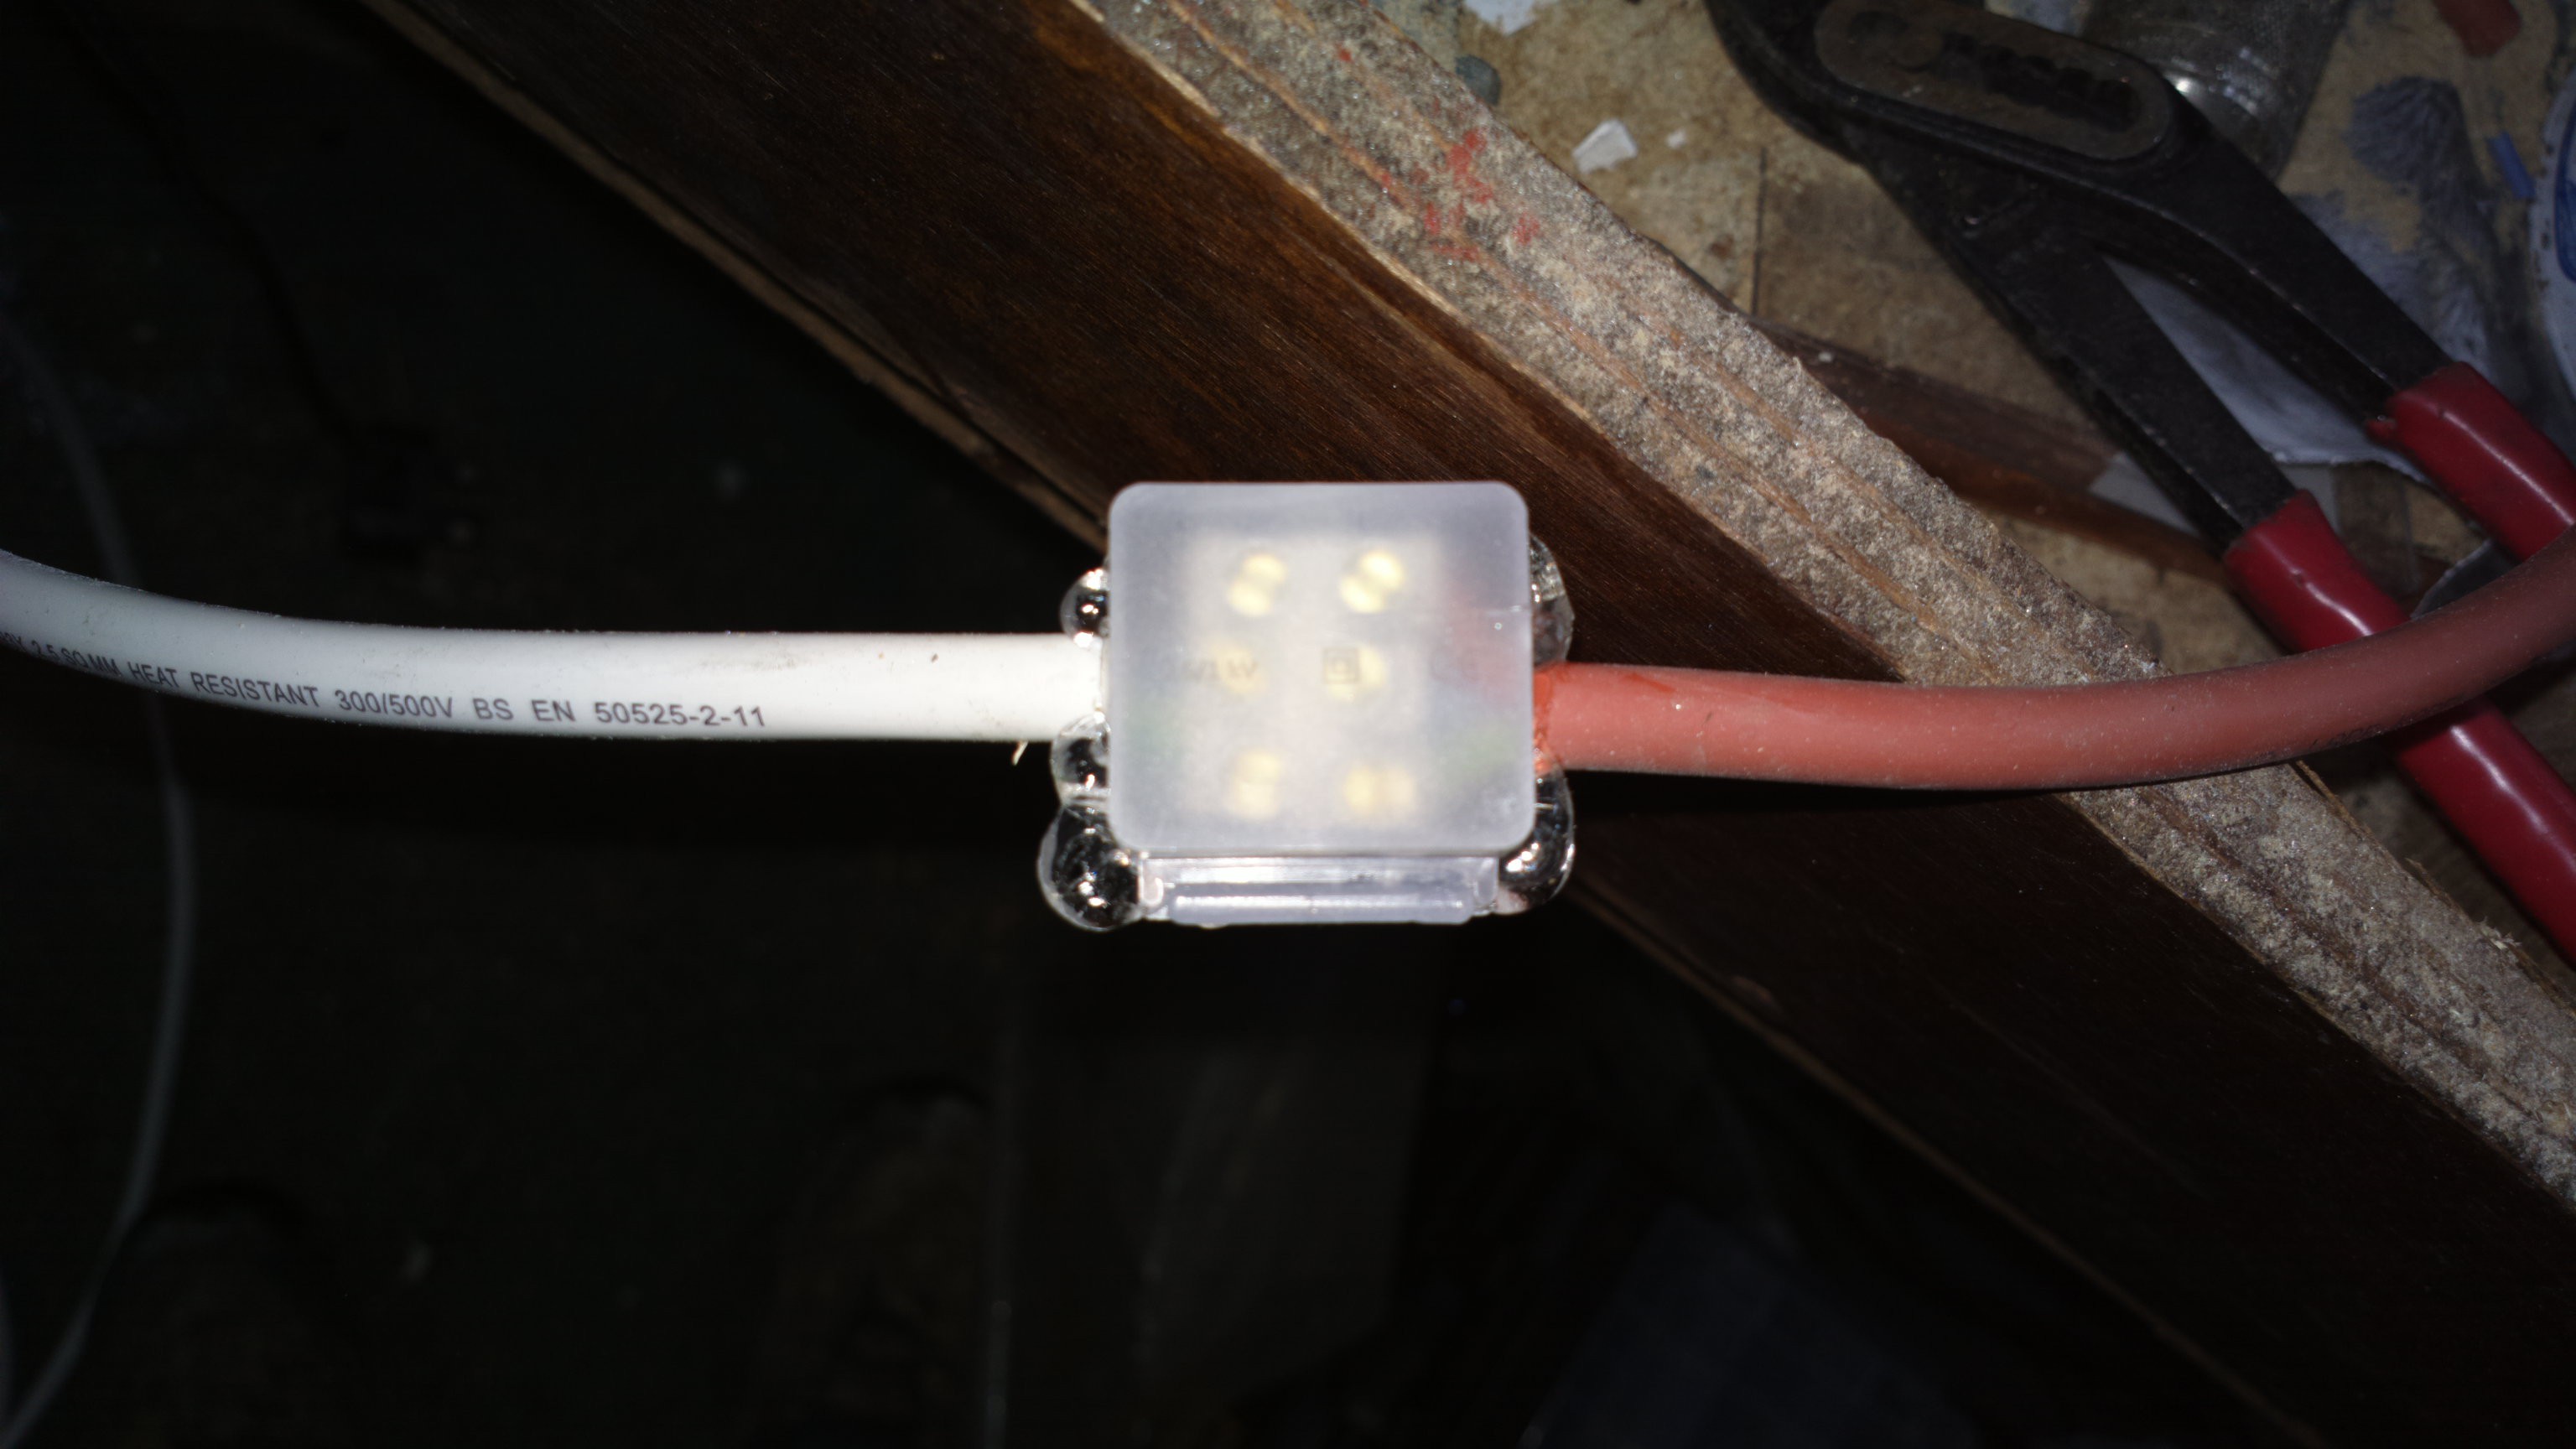
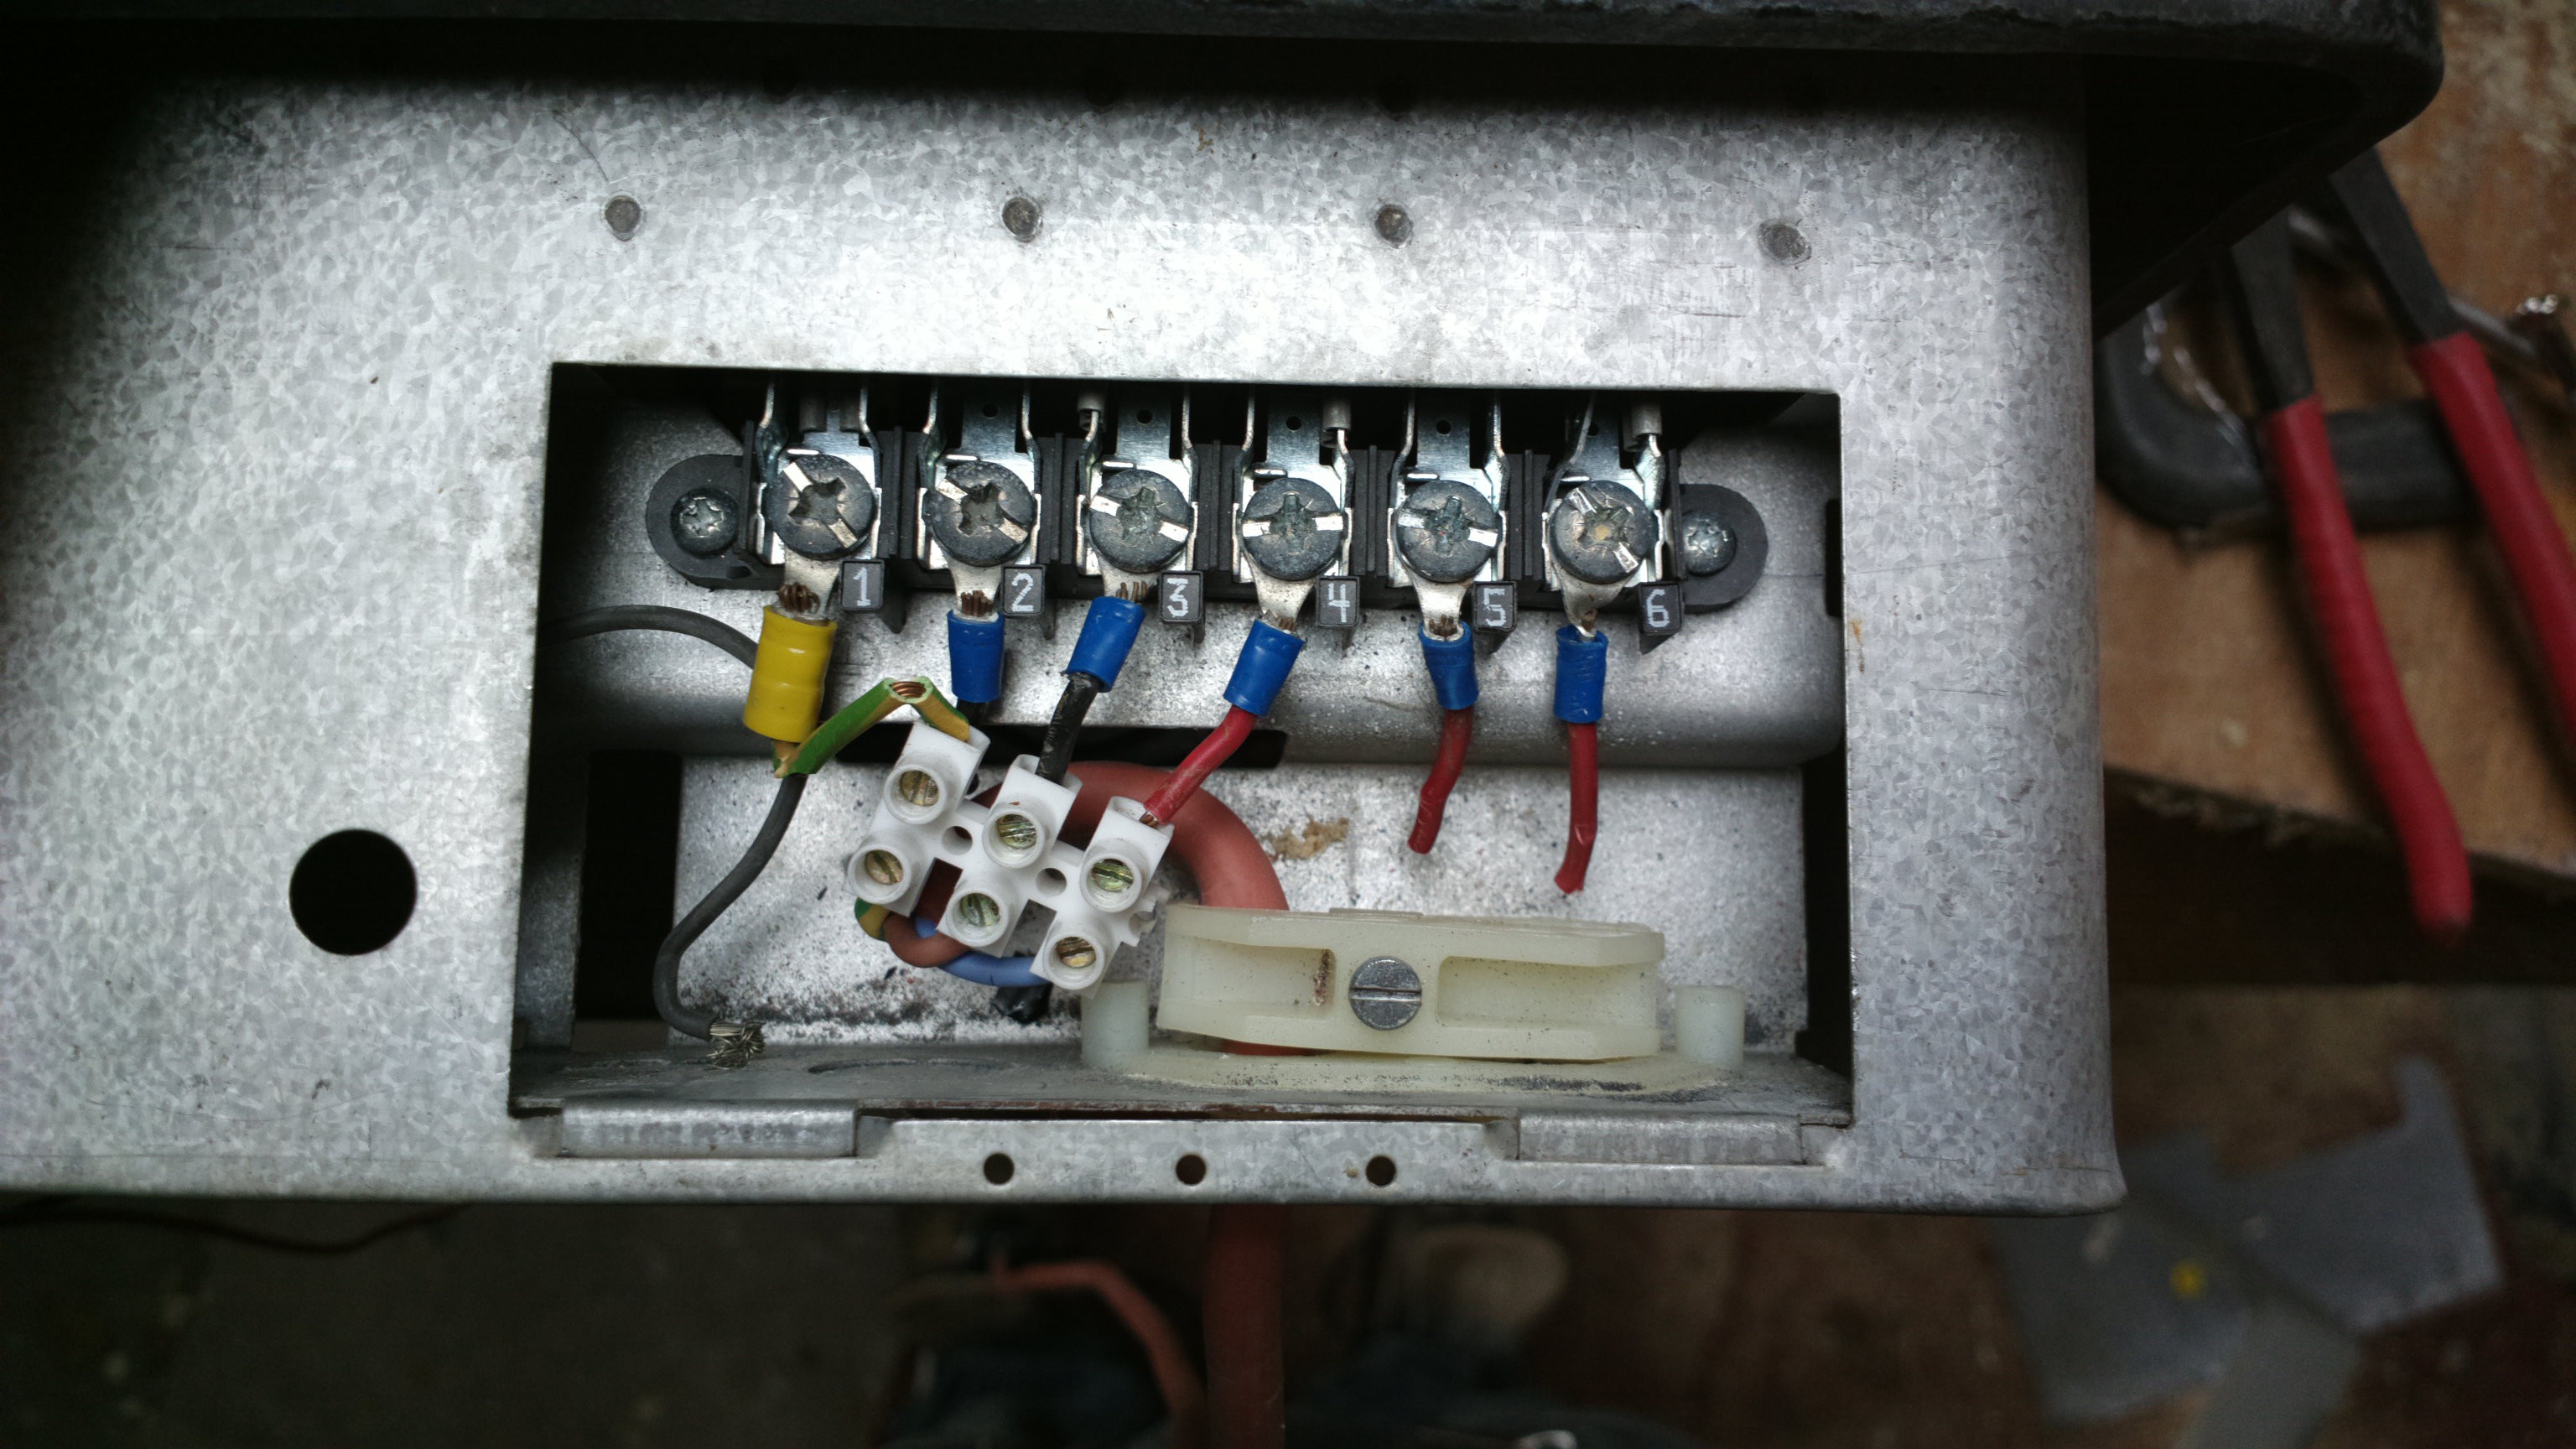
For the last meter of the power cable I used some special 180 degrees C resistant cable, as often is advised in saunas. This type of cable will not get brittle insulation material when heated over boiling point. I used some new mounting method that I didn't know of before, that uses some sticky slime to insulate the connection. I wrapped some extra electrical tape and a tie-wrap around, because the goo kept opening up the box.
![]()
Using a 13 mm drill, I milled a slot in the plasterboard for the cable to run through, and then I taped everything back up with aluminium tape.
The electrical hook up is a piece of cake: earth, neutral and phase. I double checked everything several times with the multimeter so that there was no connection between earth and neutral, and earth and phase, and that there was only 26 ohms between neutral and phase.
![]()
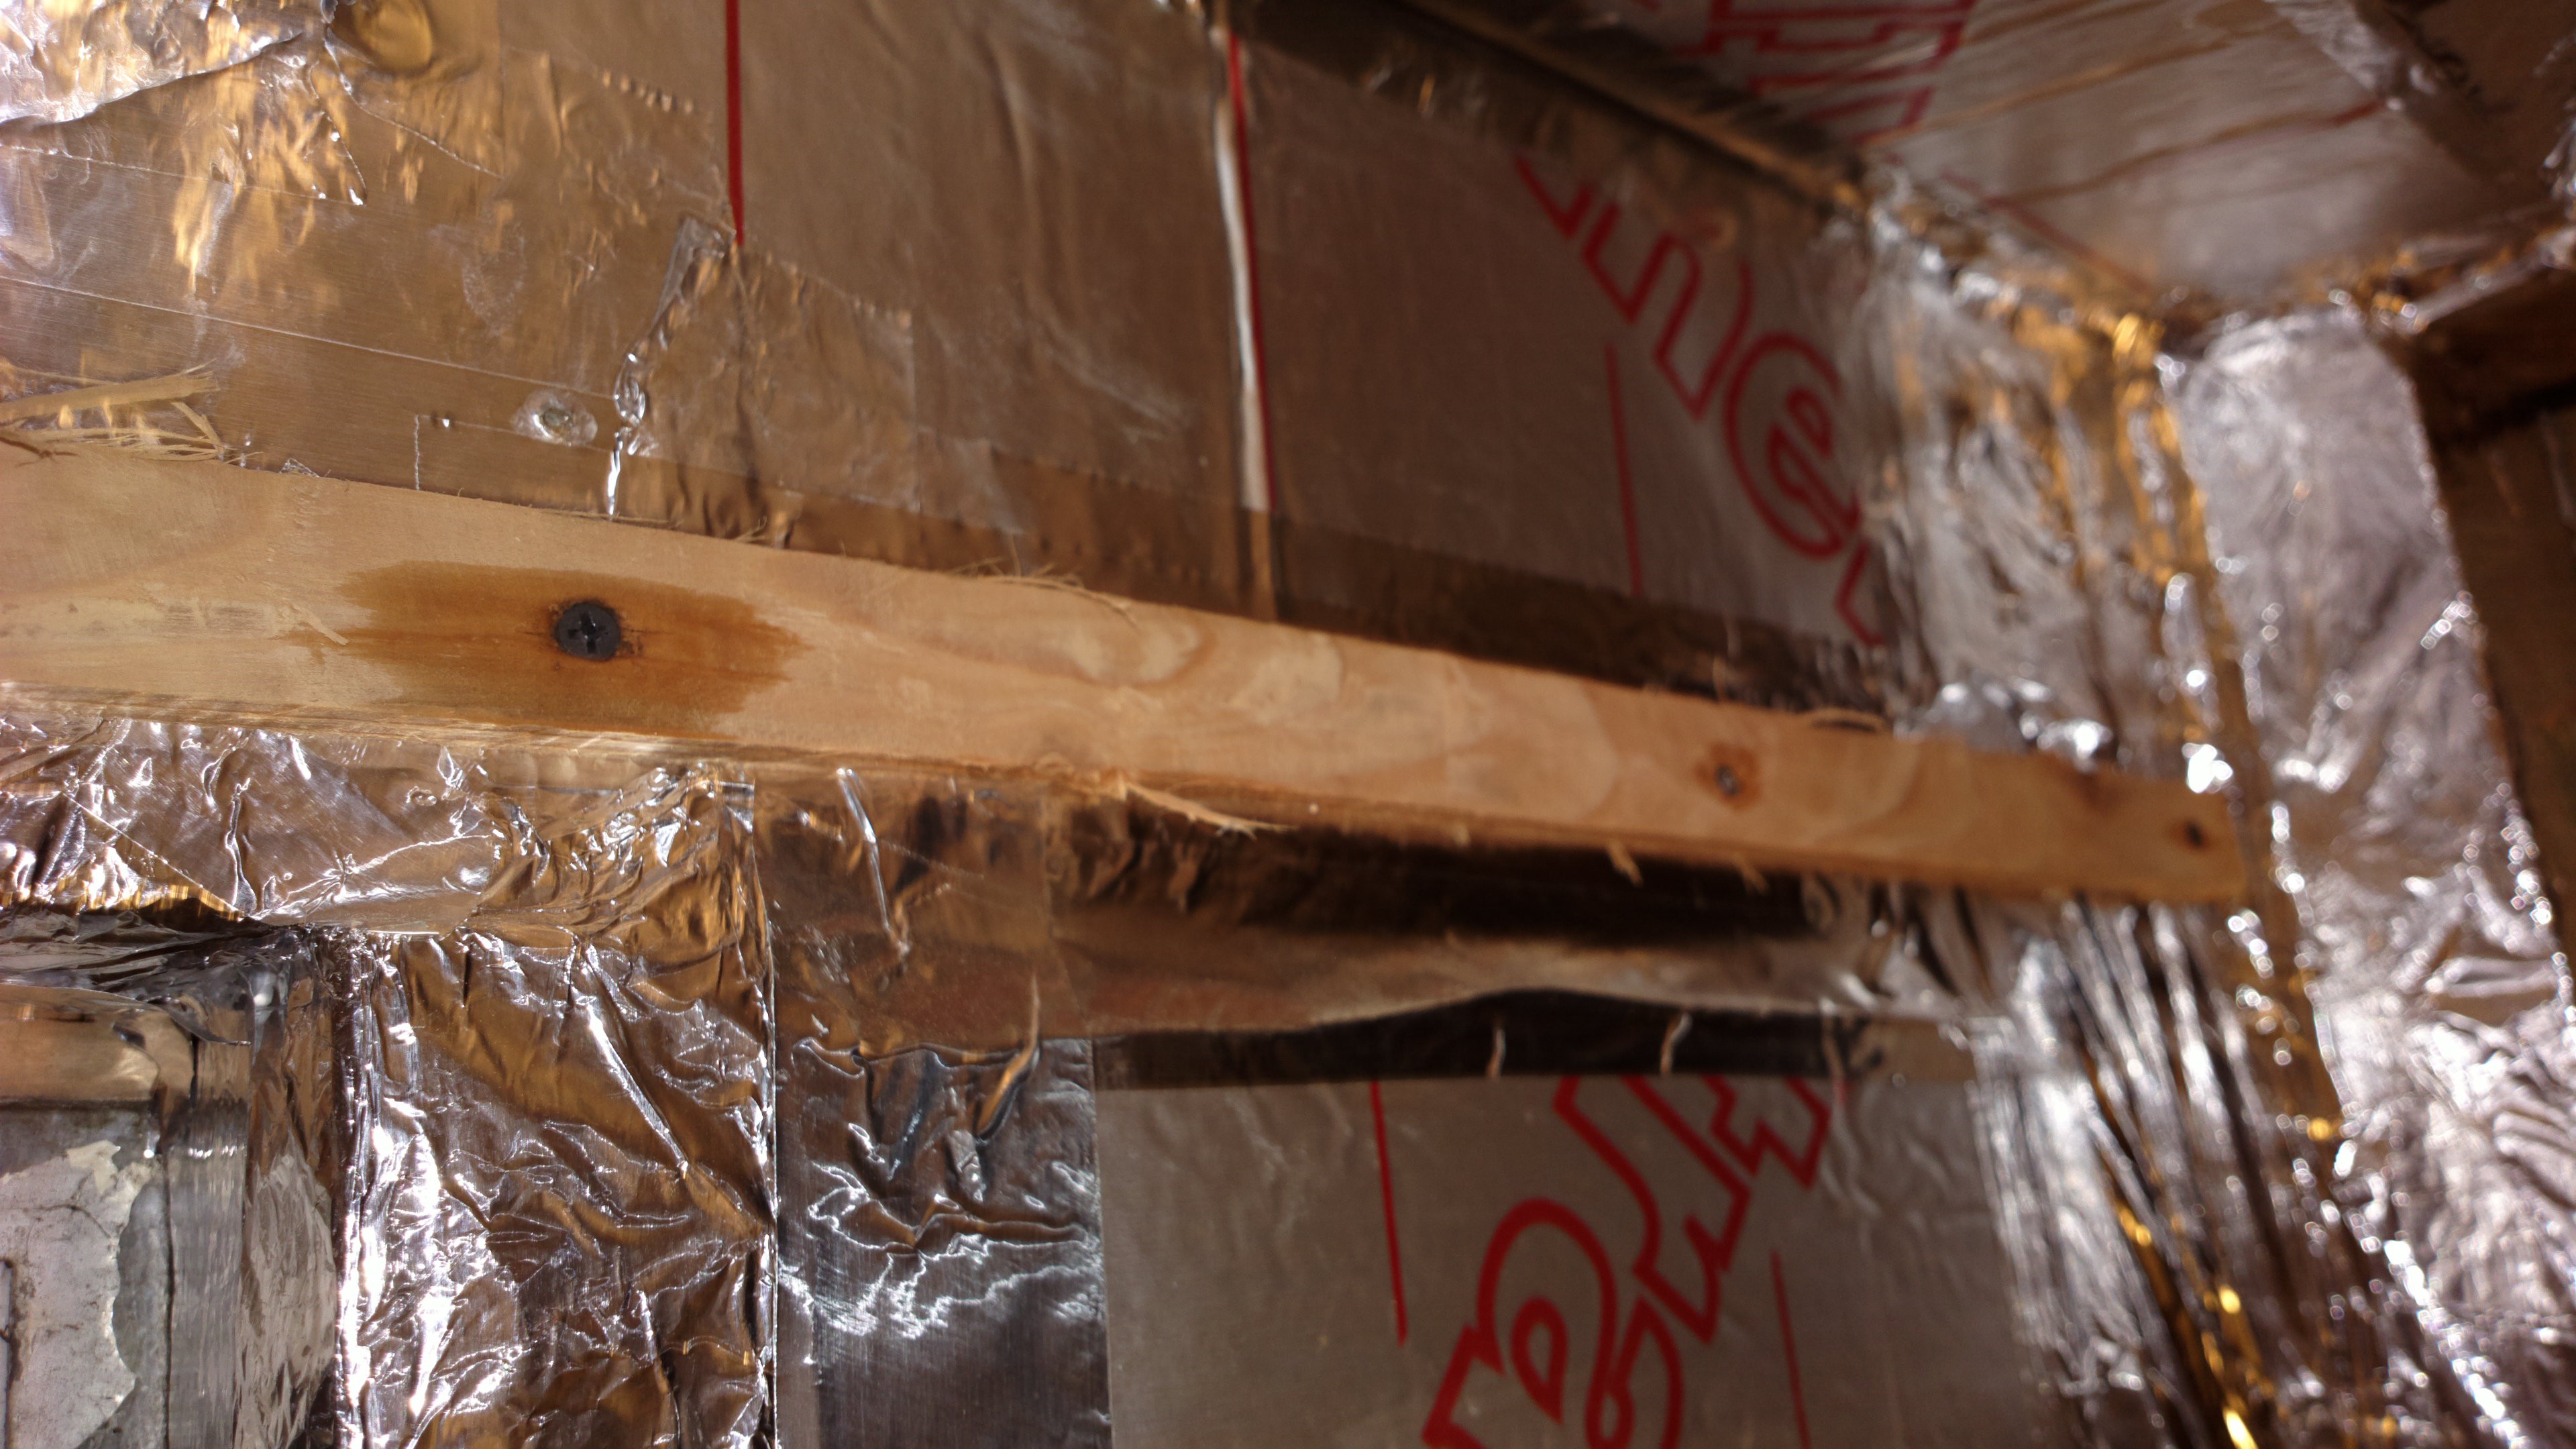
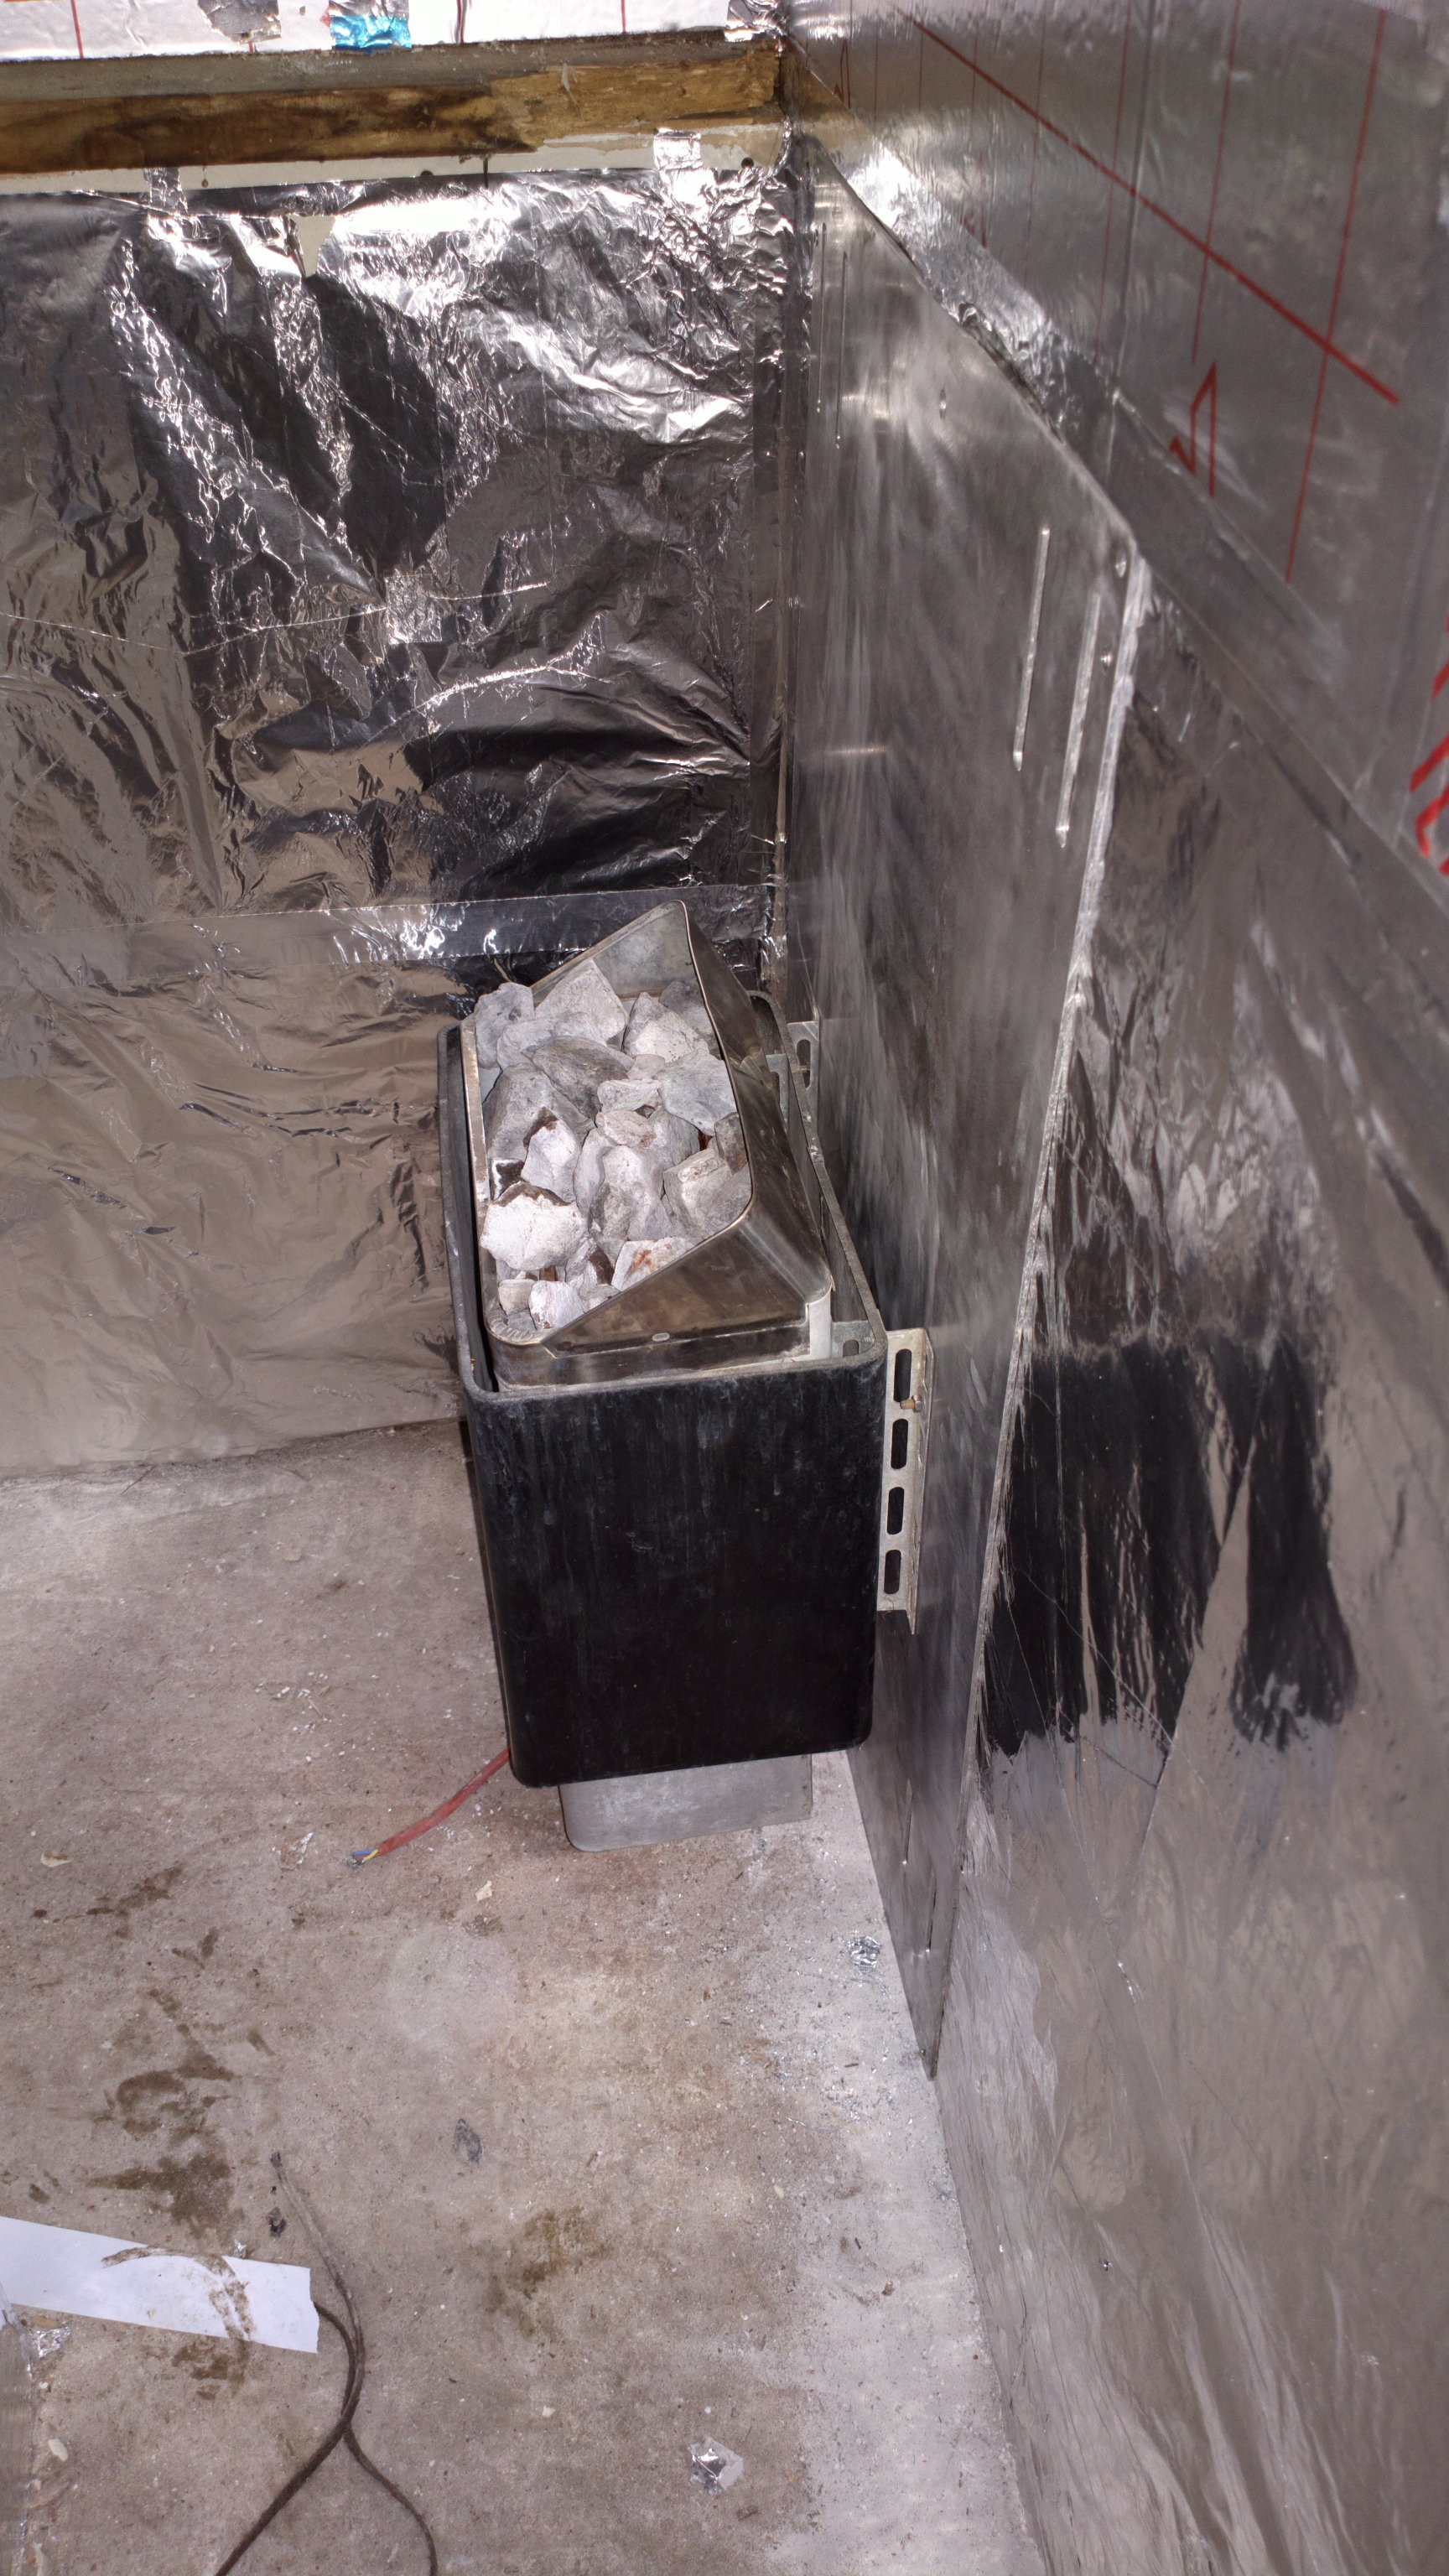
The aluminium plate is only held to the wall with two 50 mm screws in the top. There is no weight on those screws, because the aluminium plate is resting on the floor. The stove and the rocks together are about 25 kg.
![]()
My stove required a distance of at least 120 mm above the floor. In the image above it may look like the stove is standing on the floor, but it is hanging 140 mm above the floor.
![]()
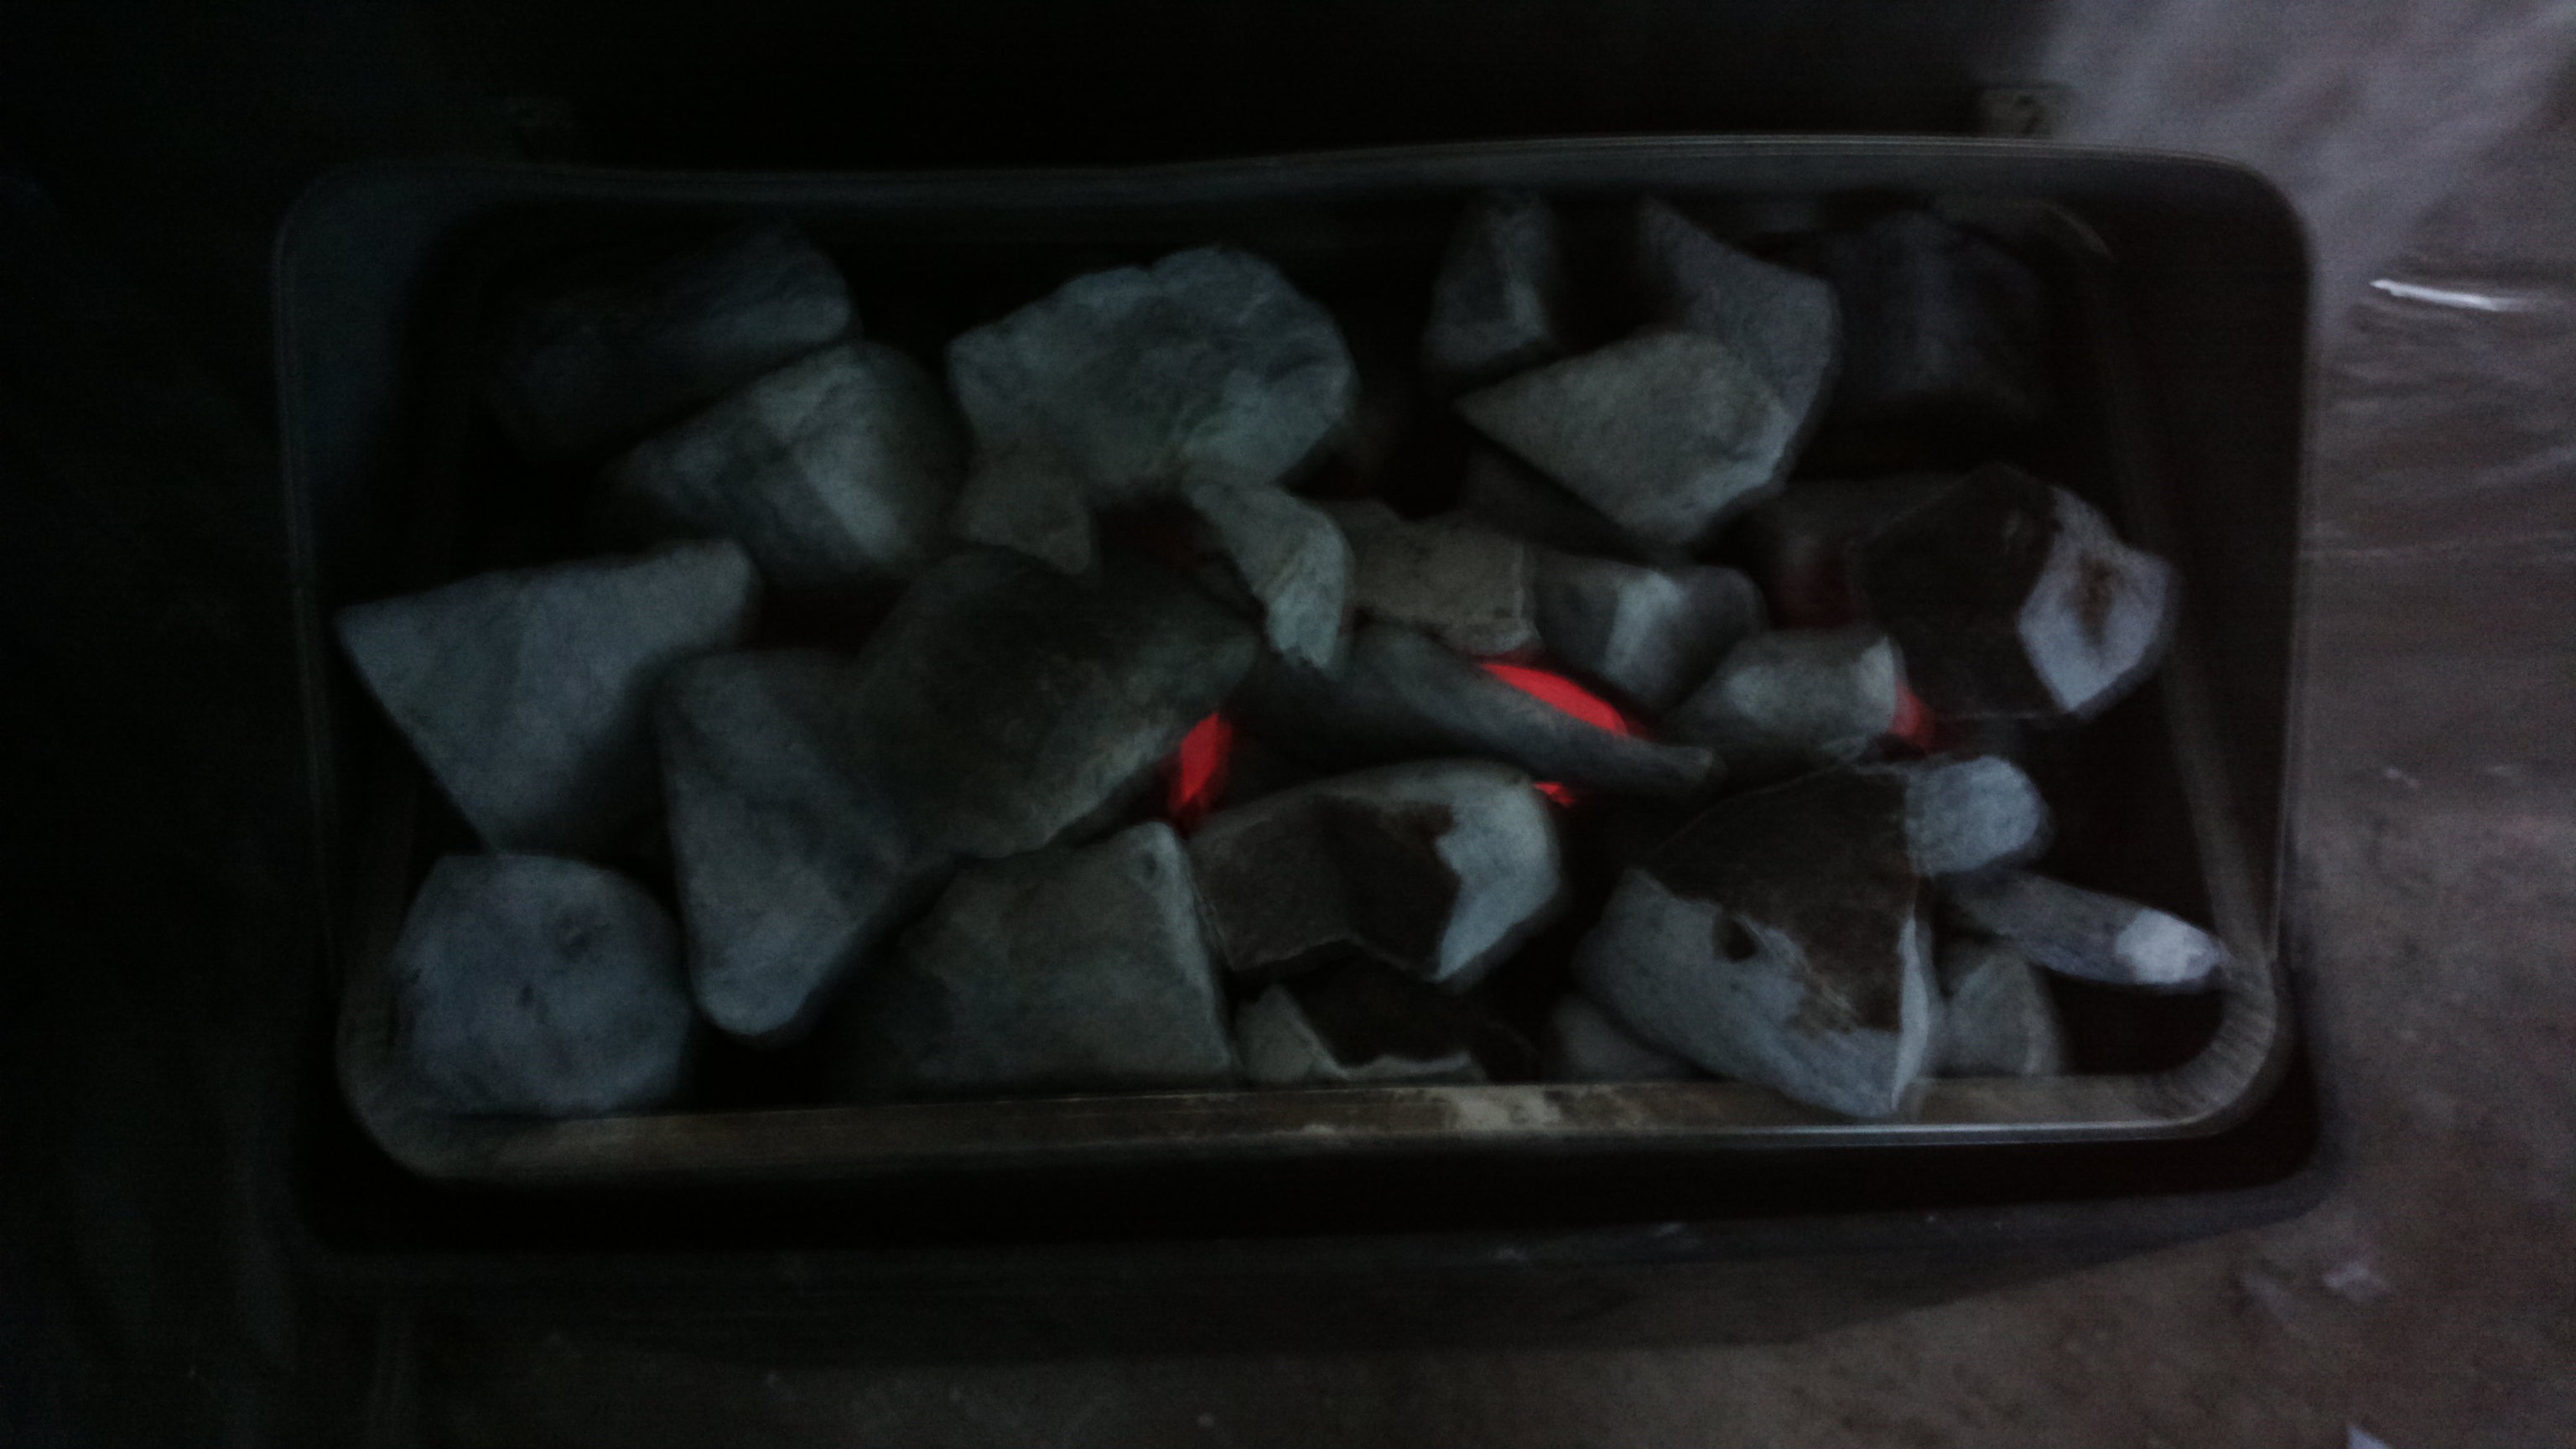
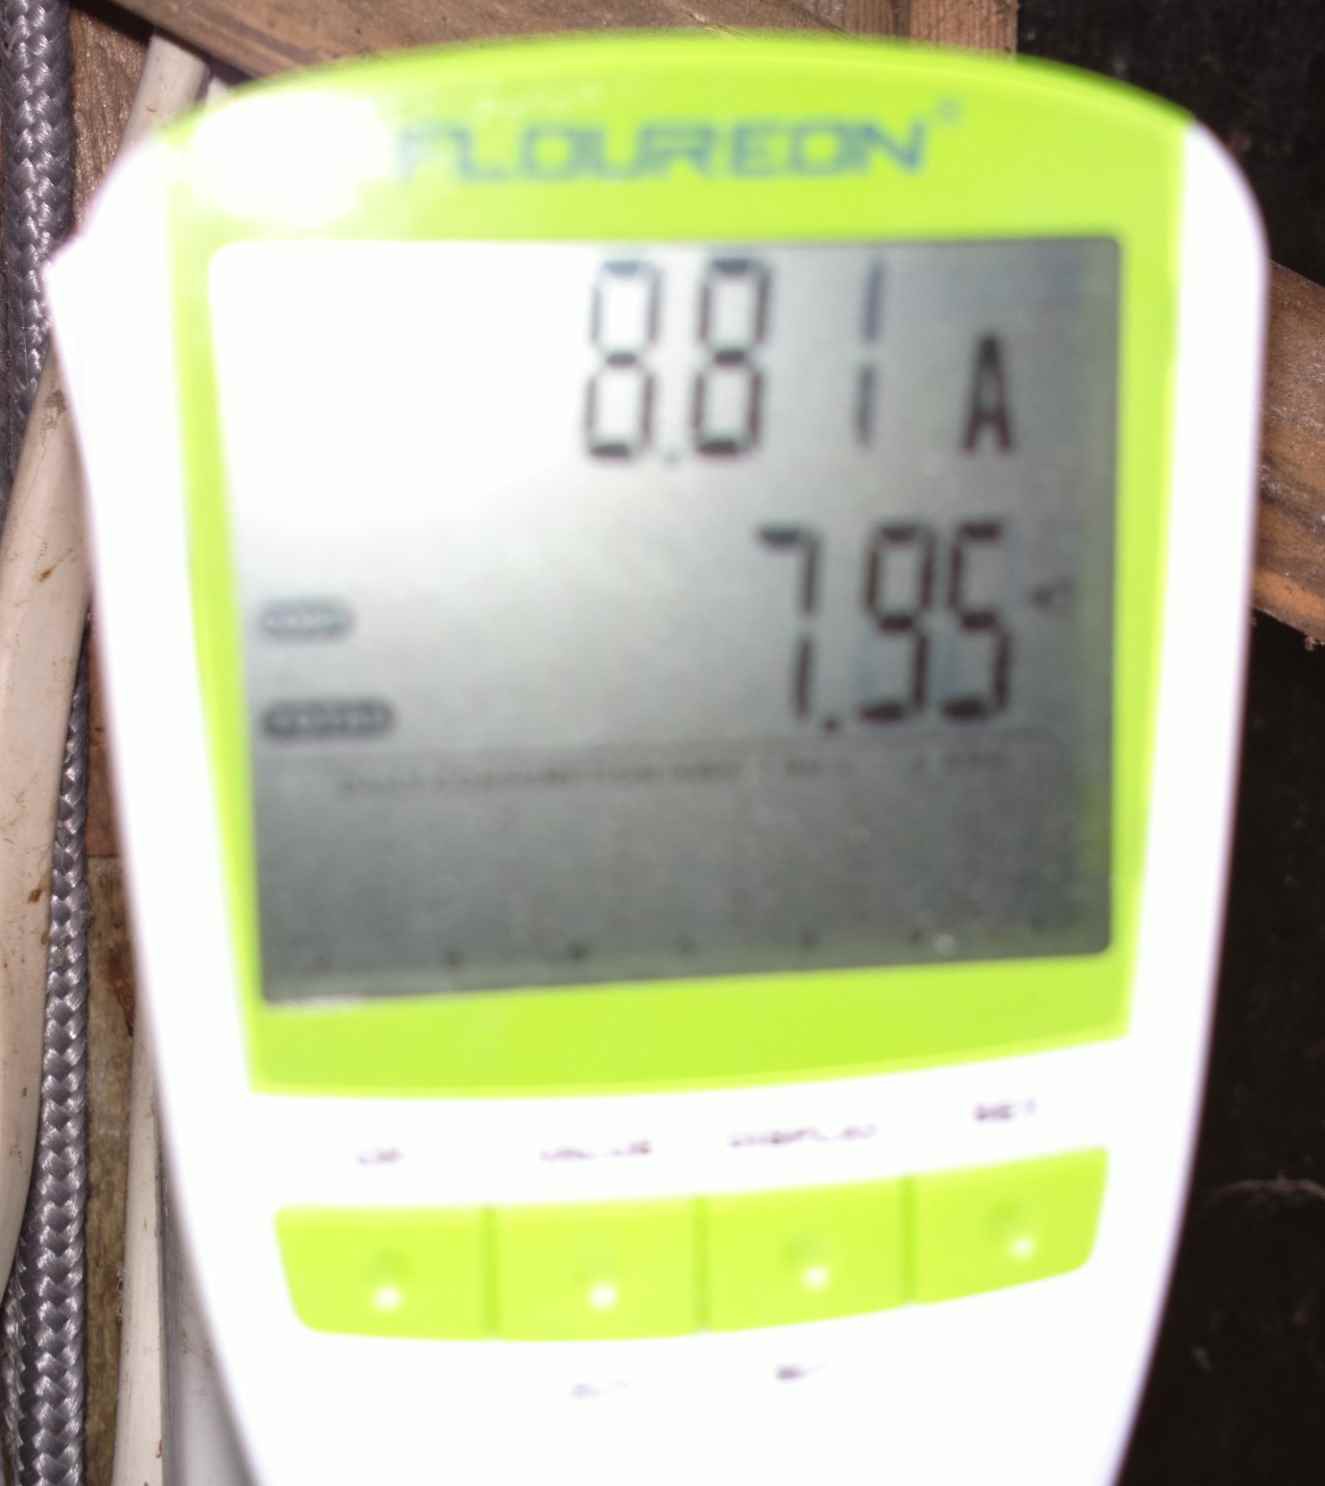
Time to test! It clearly works.
![]()
It's drawing close to 9 amps, or 240 * 9 = 2160 W.
![]()
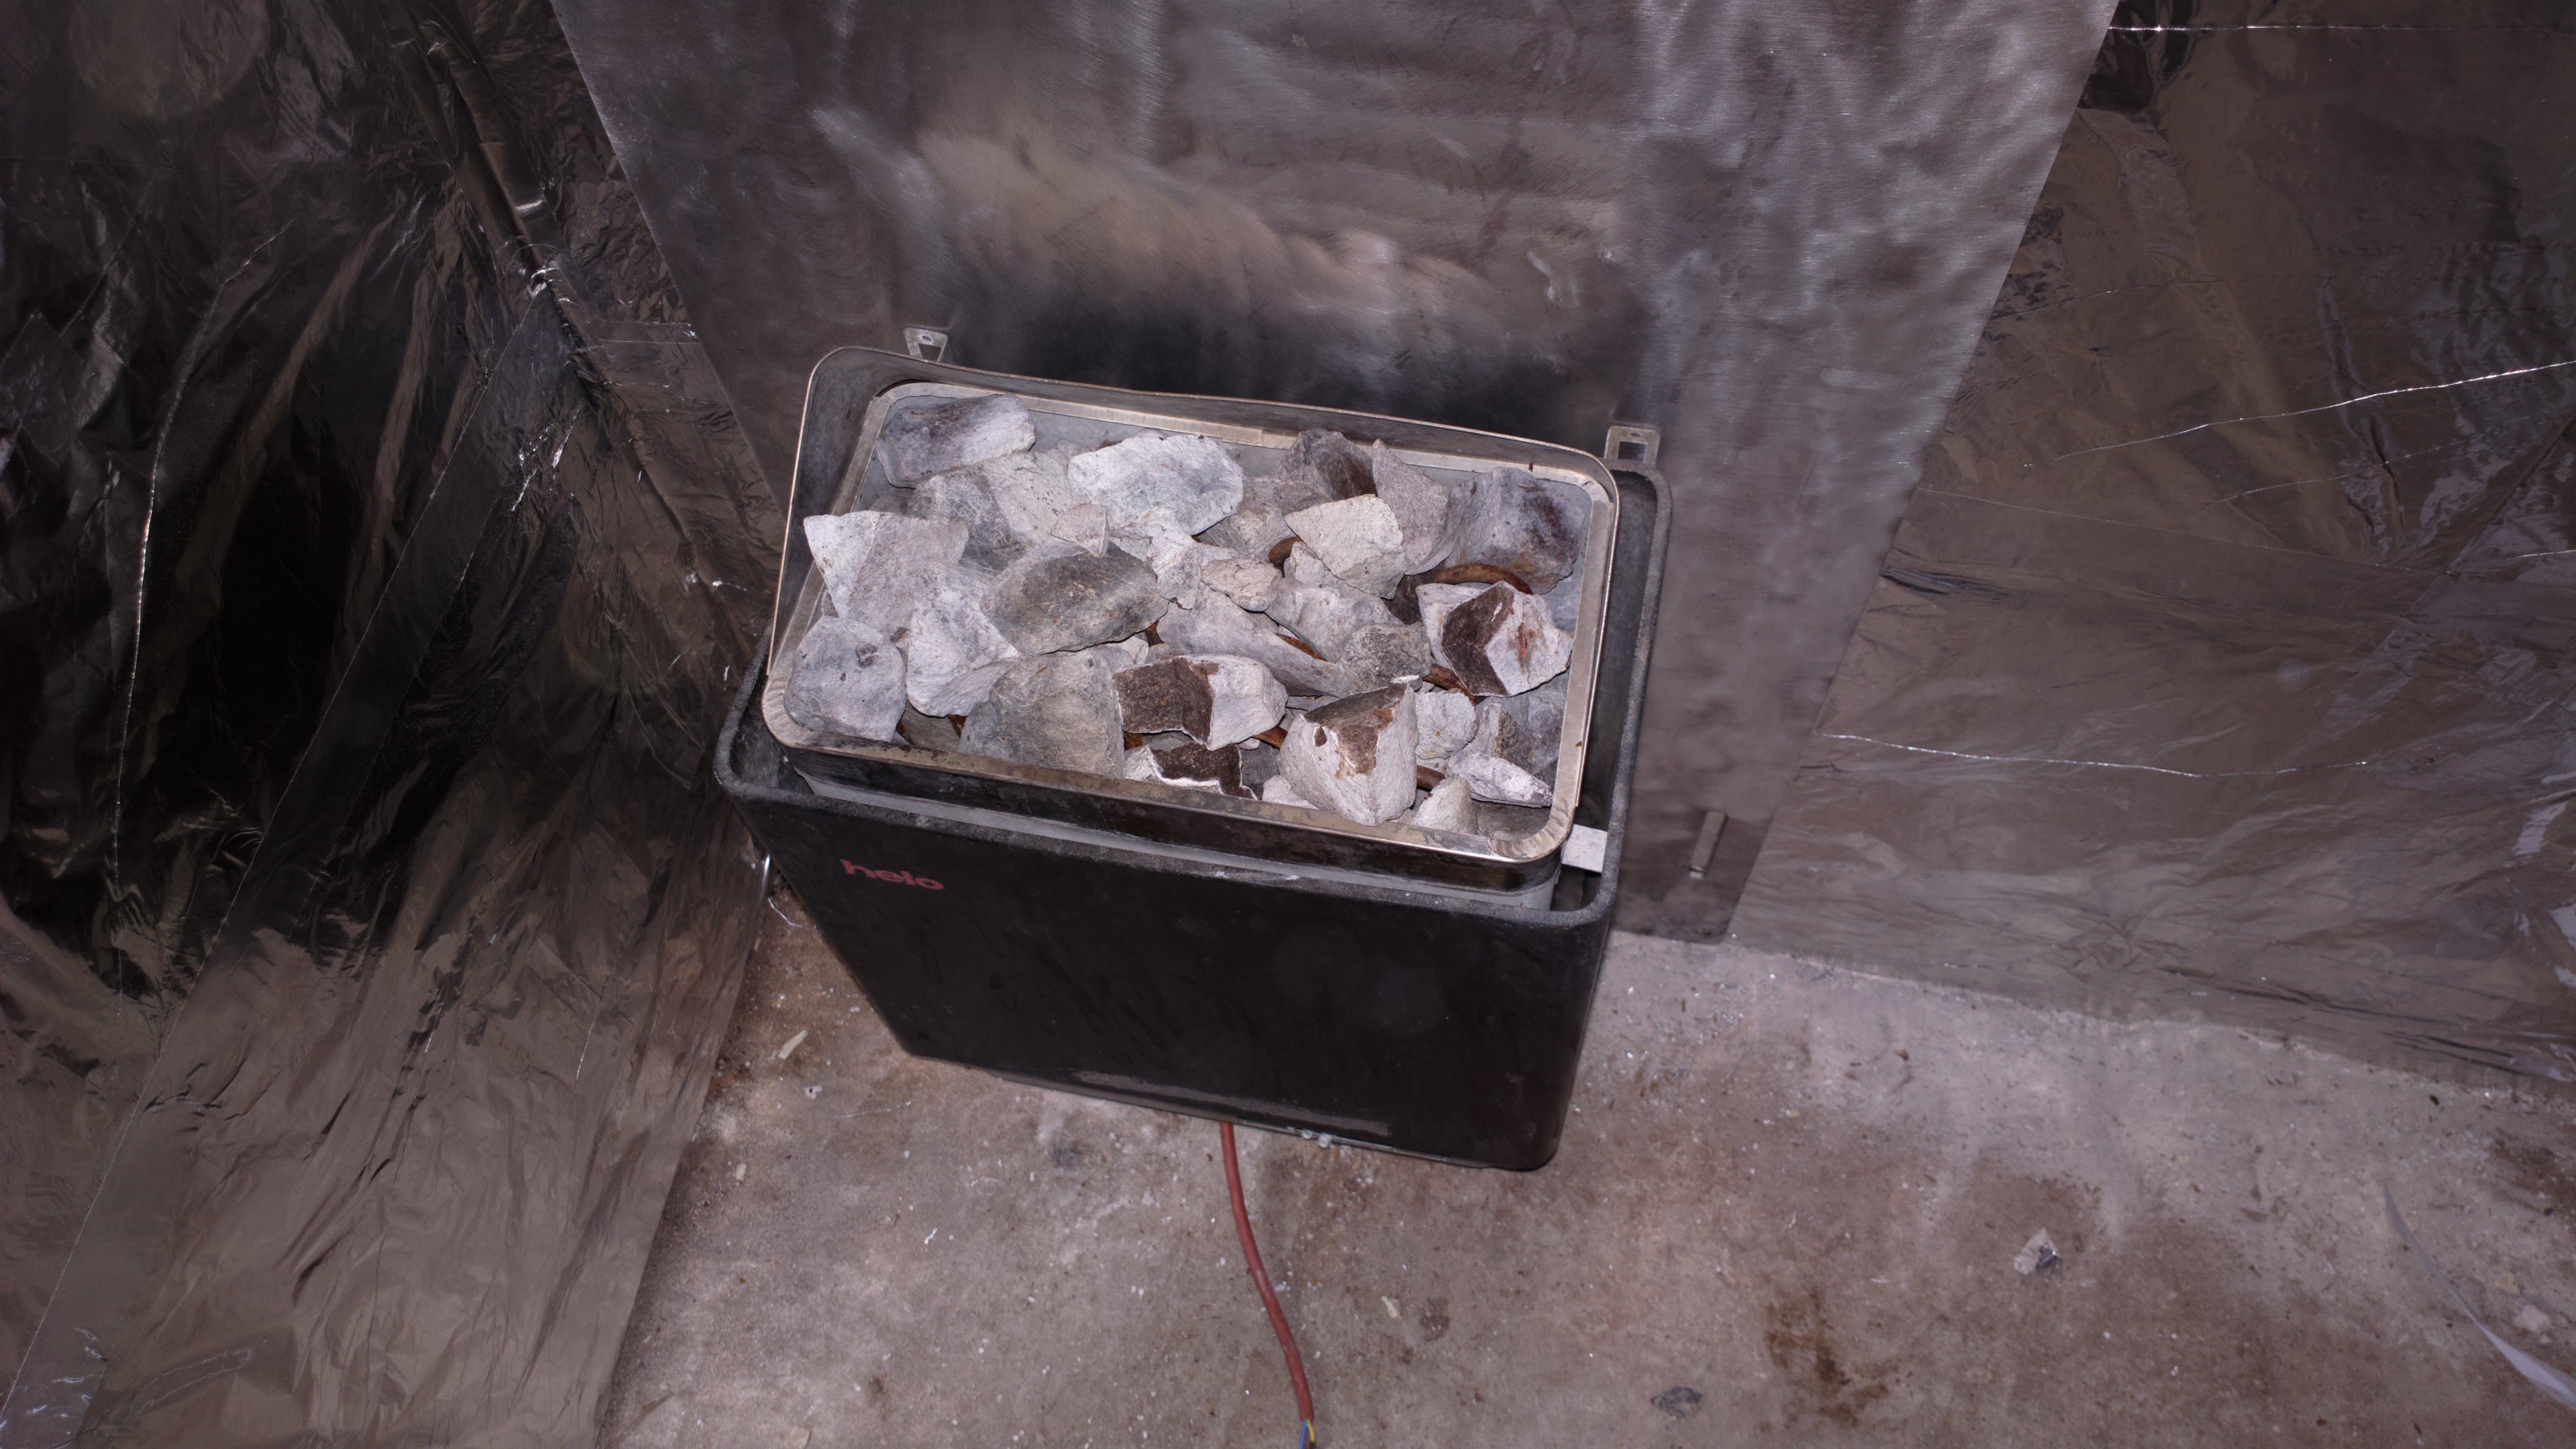
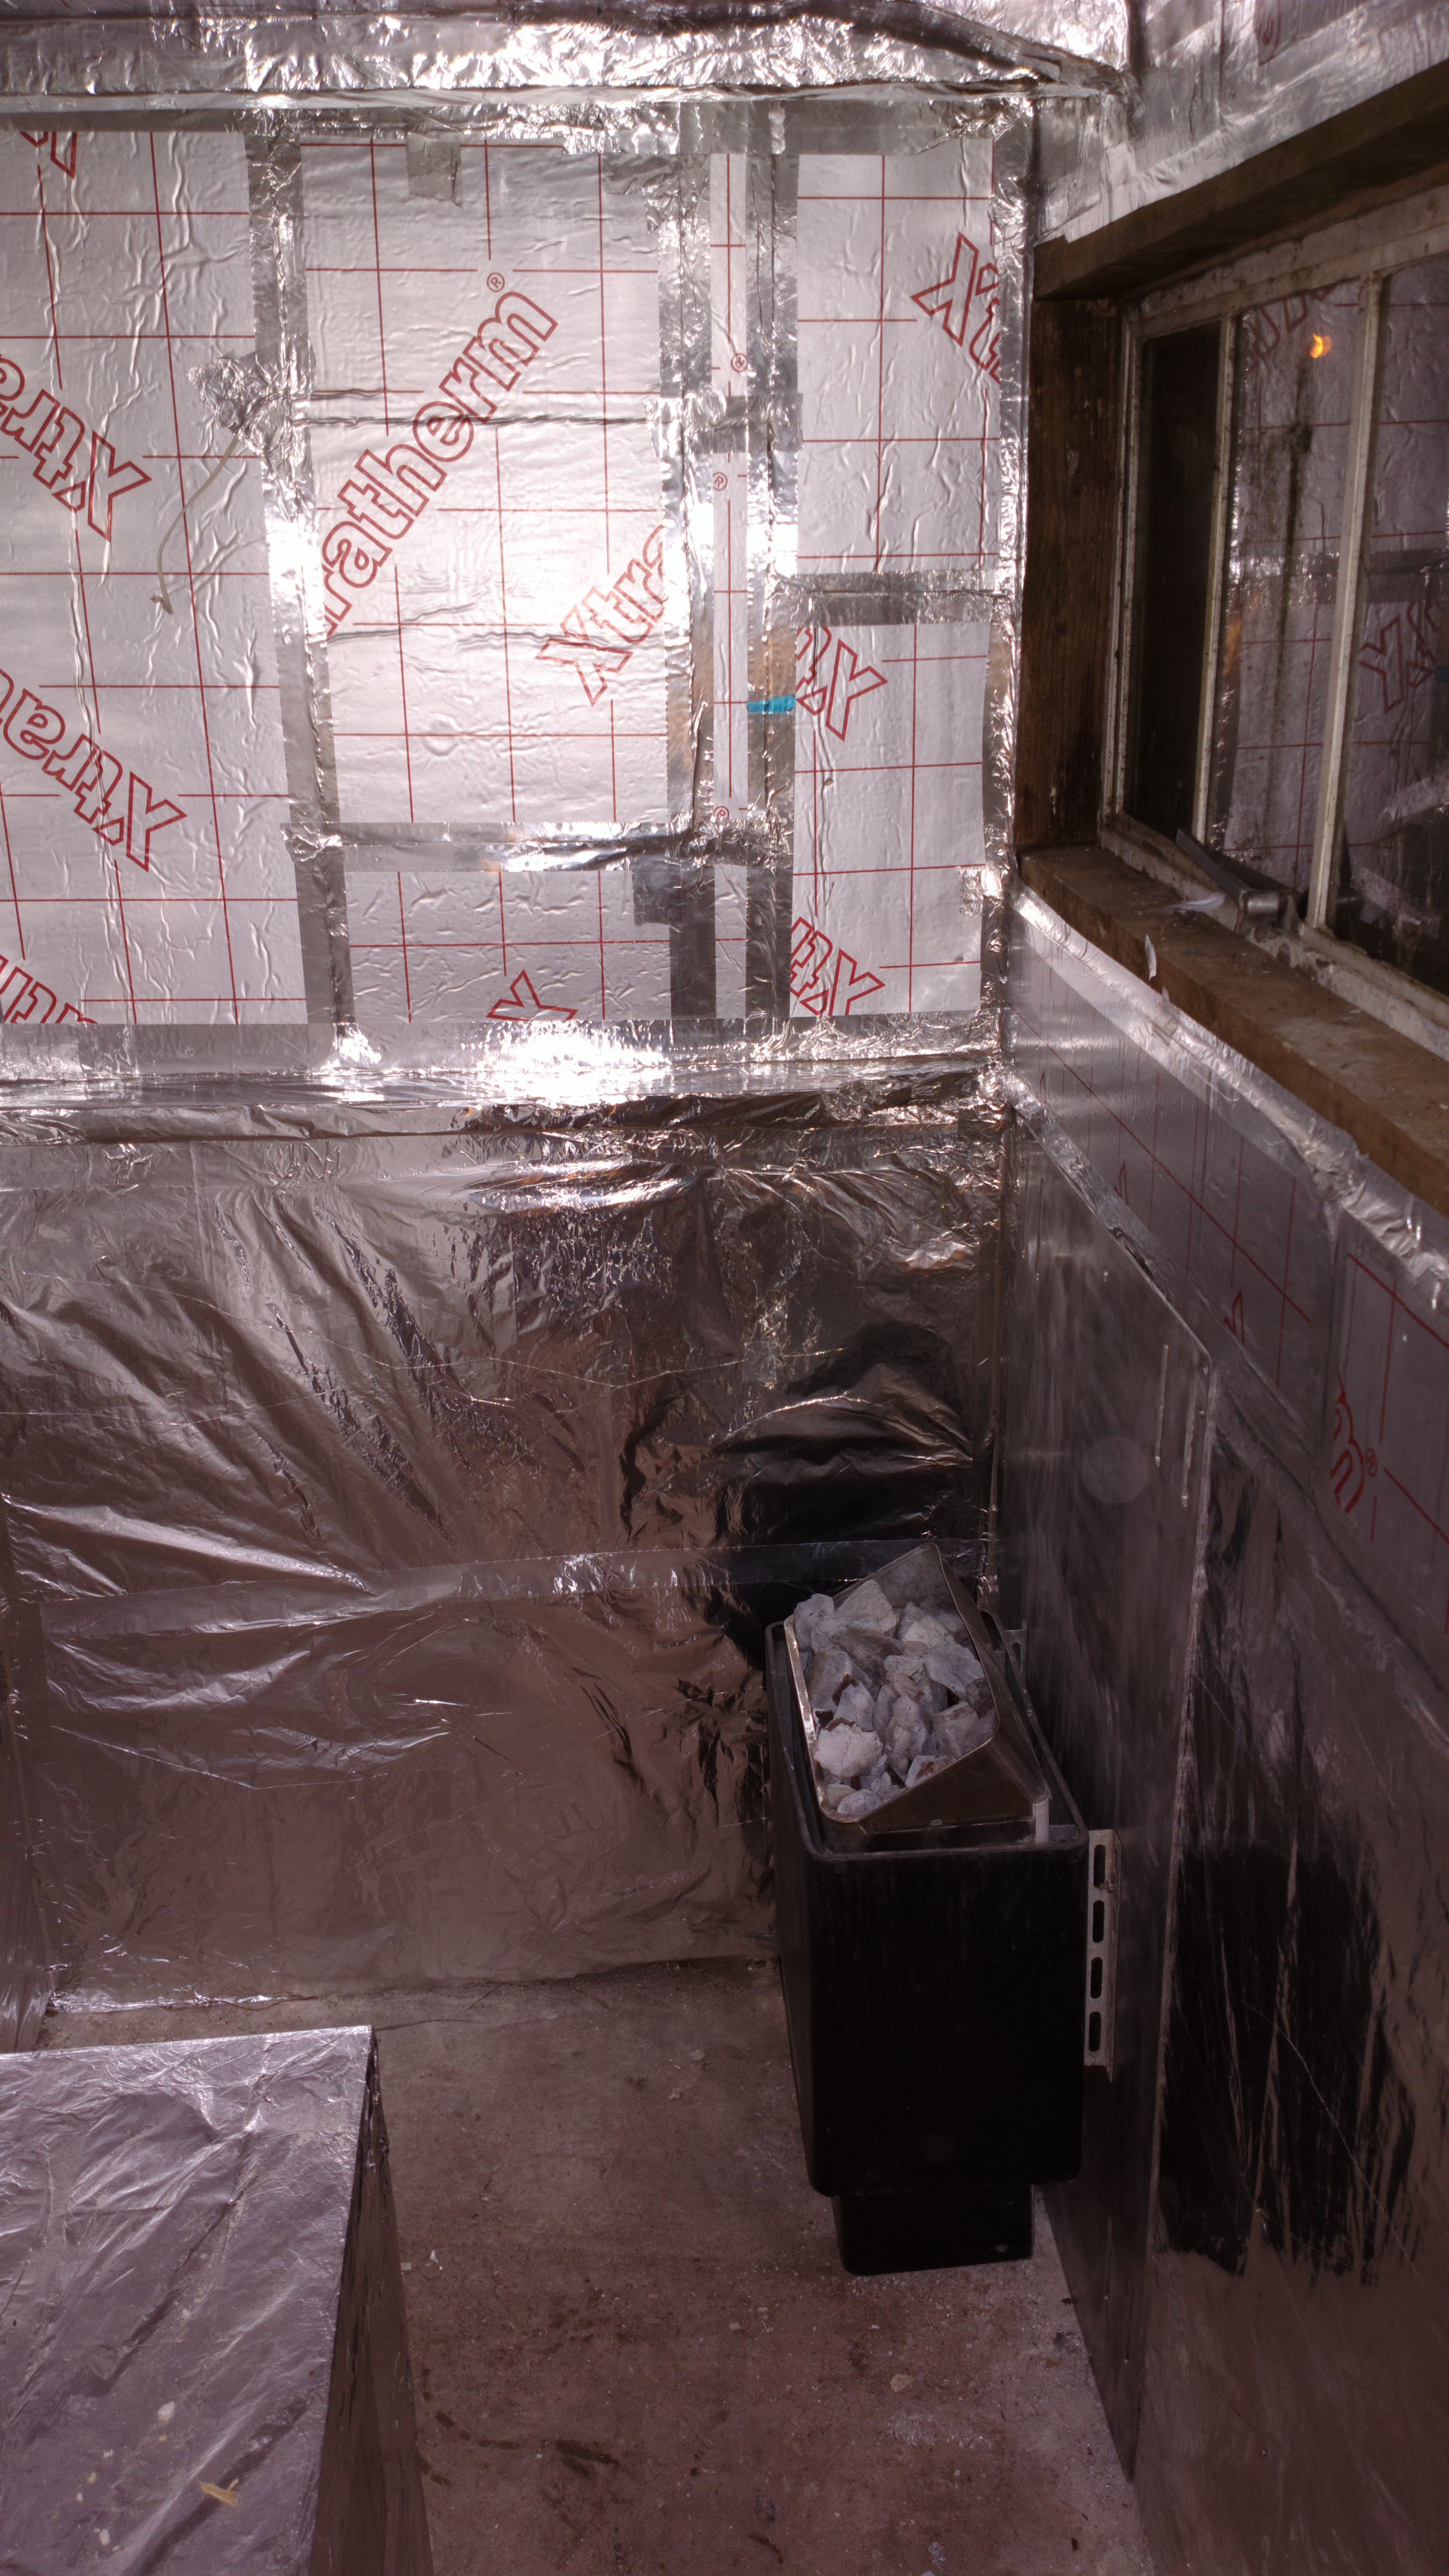
It's looking pretty good, and it heats up the room nicely. I haven't tested to what temperature it brings the room, but I'm pretty confident it will be hot!
![]()
Things left to do:
- mount the controller
- clad the room in wood
- mount an extra window (pane).
DIY electrically heated sauna
I'm building a sauna as cheaply as possible, and the only item I won't be building myself is the heater. It will have regulated temperature.