 dwuhls
This project was inspired by this excellent, well-documented project by lmarzen: https://hackaday.io/project/189708-esp32-e-paper-weather-display
Most of the work for this project was software rather than hardware. When I first followed lmarzen's project, I wanted to add a few extra data fields and move some elements around. I managed to add 1 field before I gave up. UI design in C++ was entirely too cumbersome for me, so instead I decided to add in 4 or 5 unrelated technologies to the stack to 'simplify' things. By making the UI a web dashboard, I could lean on all the hard work that browser devs have done for the last few decades and just mess around with CSS instead of C++, or so I thought.
I used serverless everything for this because the ESP32 is only on for 20-30 seconds out of every 30 minutes.
Technical Approach
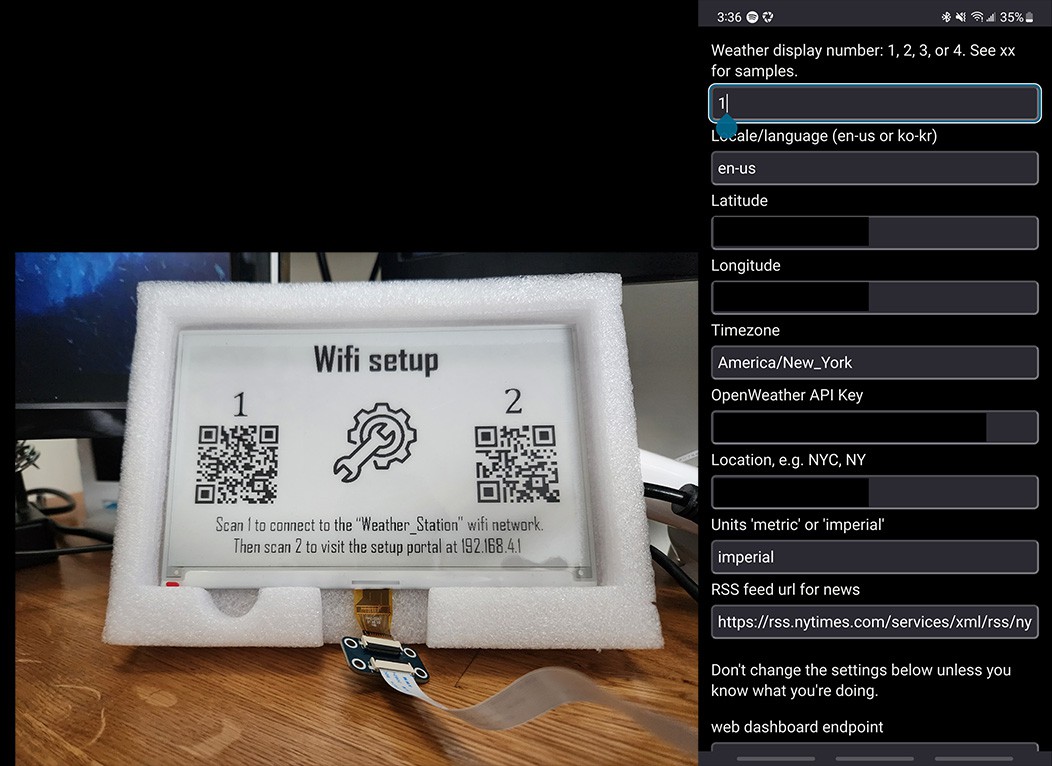
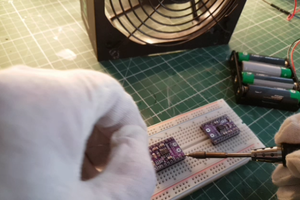
For the hardware, I followed lmarzen's build linked above and reused much of his code for the ESP32. I added code to use the WifiManager library so that I could change settings for the display without having to reflash the device.
Dashboard design
Figma and AWS Amplify
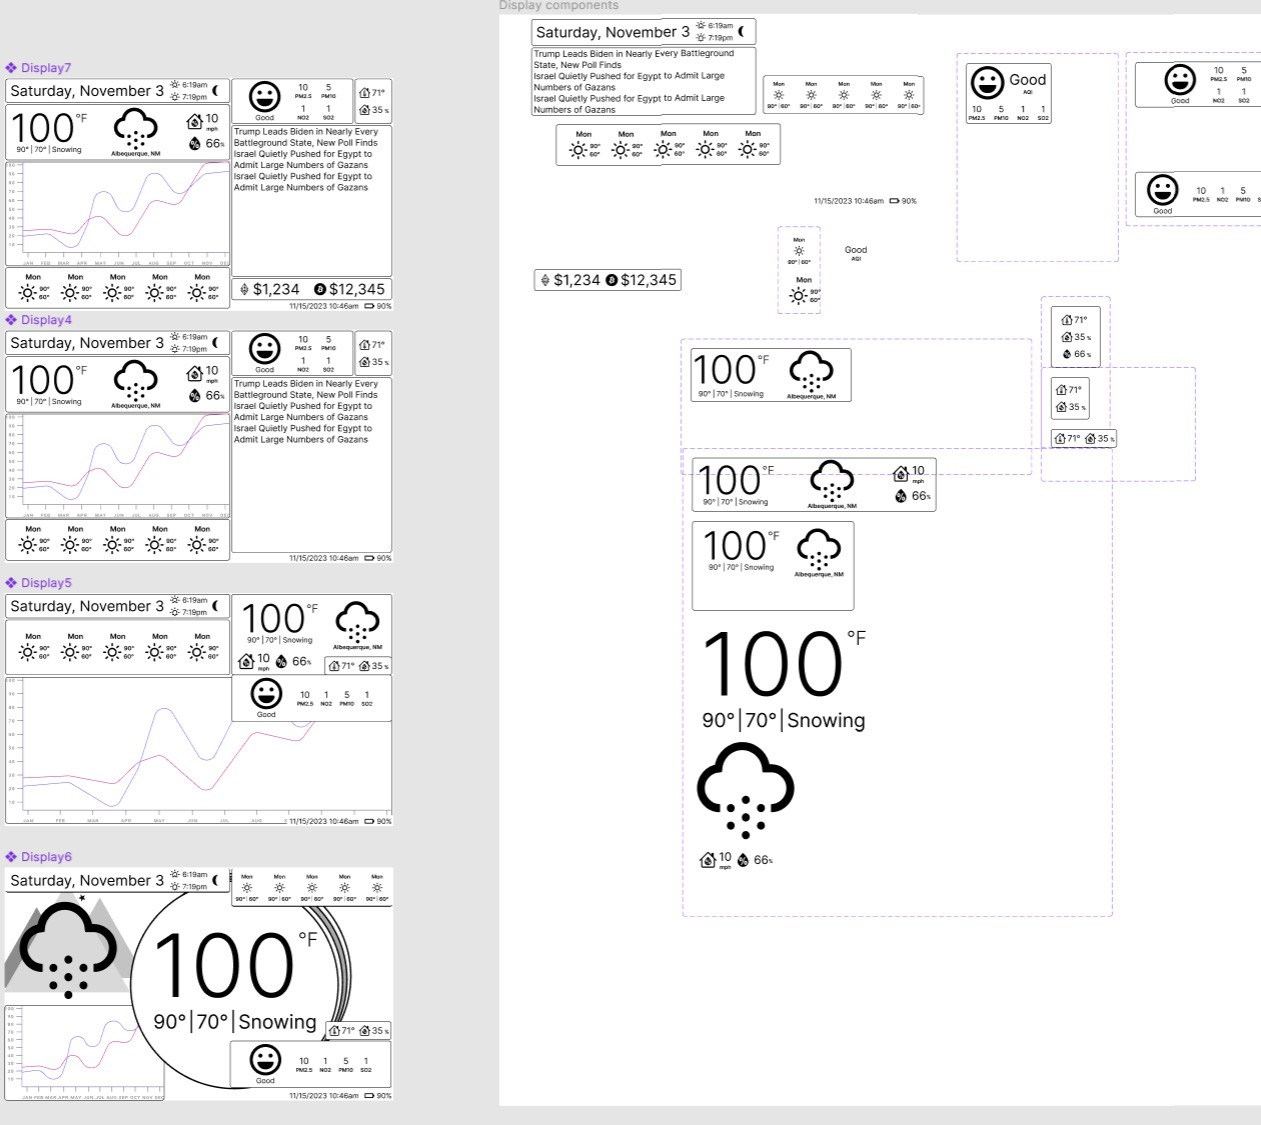
For the UI, I used Figma for design and AWS Amplify to convert these designs into React code. This method allowed me to visually design the dashboard and then automatically generate the React code needed. Amplify advertises it as pixel-perfect transition. It's not, but it's pretty good once you get it working.
Web dashboard
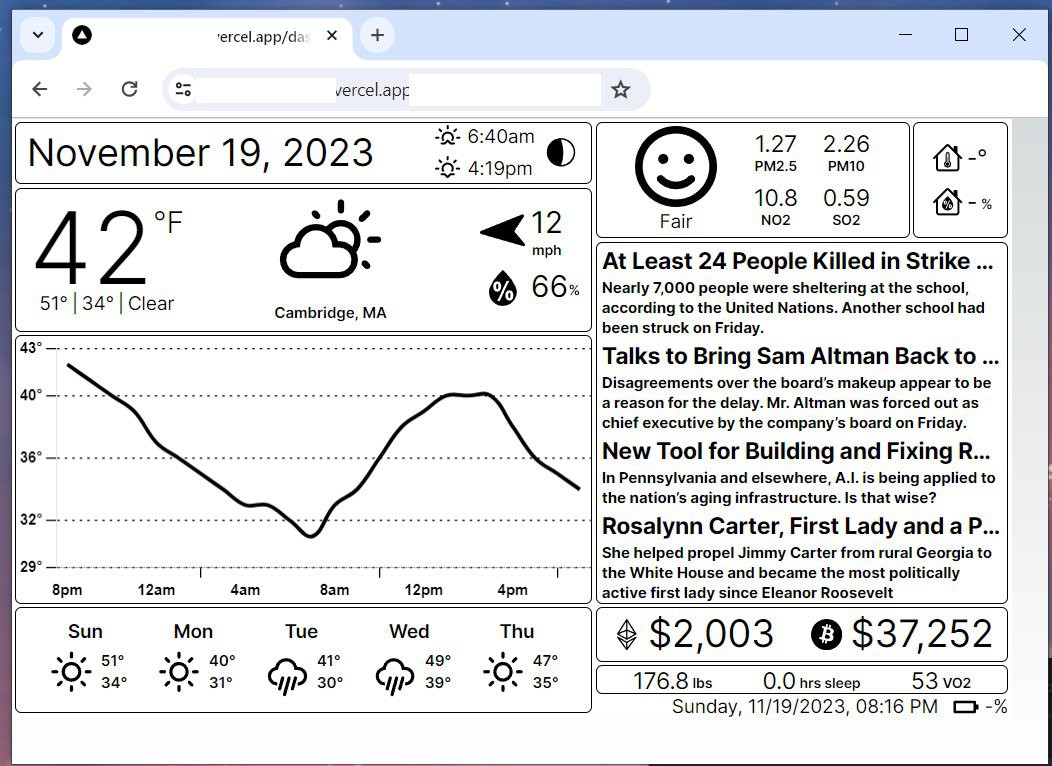
Once I had the React code, I added some API calls to gather data and threw it into a free Vercel project. The dashboard runs on a free Vercel server and is scraped by a Lambda function to display on the E-Ink screen.
Using Figma made it really fast and easy to draw out different UI designs and React made integrating external APIs and libraries like Chart.js for a temperature chart much simpler than coding in C++.
Lambda
The screenshot lambda uses node.js because I need a headless browser to visit and render the dashboard. Puppeteer and Chromium fit this role.
The other lambda functions (Garmin API, RSS feeds) are in Python because I prefer it to javascript, and this project is already a strange amalgamation of tech.
Challenges and Learning
This was basically my first time using an ESP32, React, Figma, Lambda, and Amplify. The learning curve was quite steep, especially with AWS services and Figma. The connections and syntax needed to make Figma/AWS Amplify/React work together are not very well documented and again, I had no idea what I was doing, so my code was quite clunky and inelegant.
I also feel that the overall project lacks the elegance that the original e-paper weather display project has. Instead of a neatly packaged ESP32 C++ project, this project uses Figma, AWS Lambda (python and Node), AWS Amplify, and the React app is actually hosted on Vercel instead of AWS because Vercel has faster cold start times.
But it works. And with the workflow I've set up, I can create an entirely new UI in Figma and see it on the e-ink display within minutes. So at least there's that.
Next Steps
- Publish code to github
- Make web dashboard publicly available (bring your own screenshot service)
Done
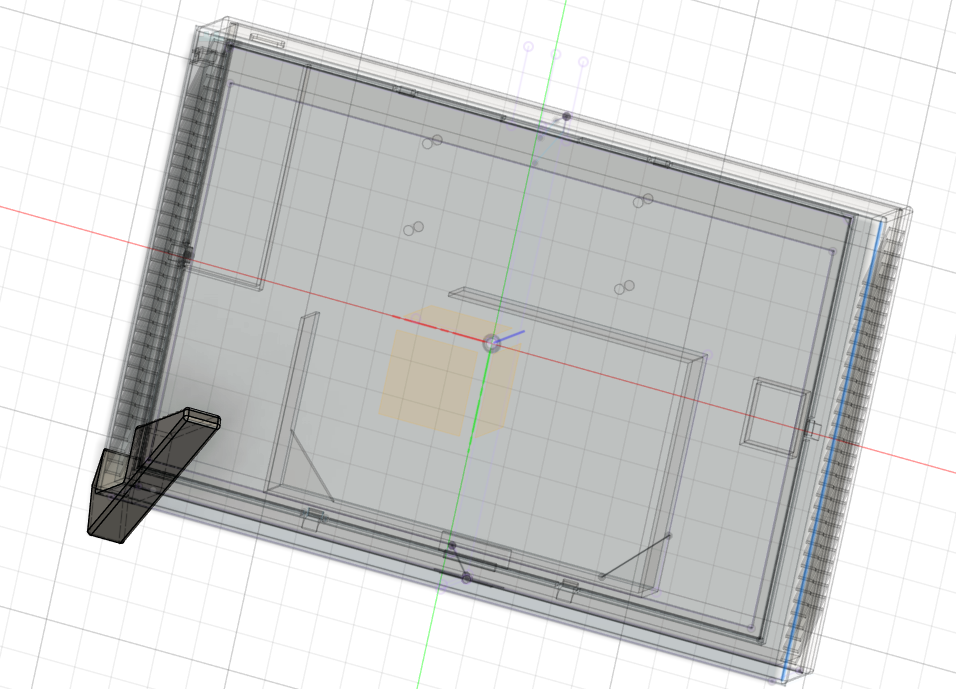
- 3D printing a frame or stand for the display.
TODO, maybe
- Add dithering to handle grayscale
- Add a rotary encoder with detents to easily switch between UIs
- Run screenshot on a cronjob and save .bmp to S3 for faster ESP32 loading/shutdown

 Debinix
 Martin Fasani
 CiferTech
Beautiful work, just love the crispness of the e-ink display. I need to build something like this too -- thanks for the inspiration!