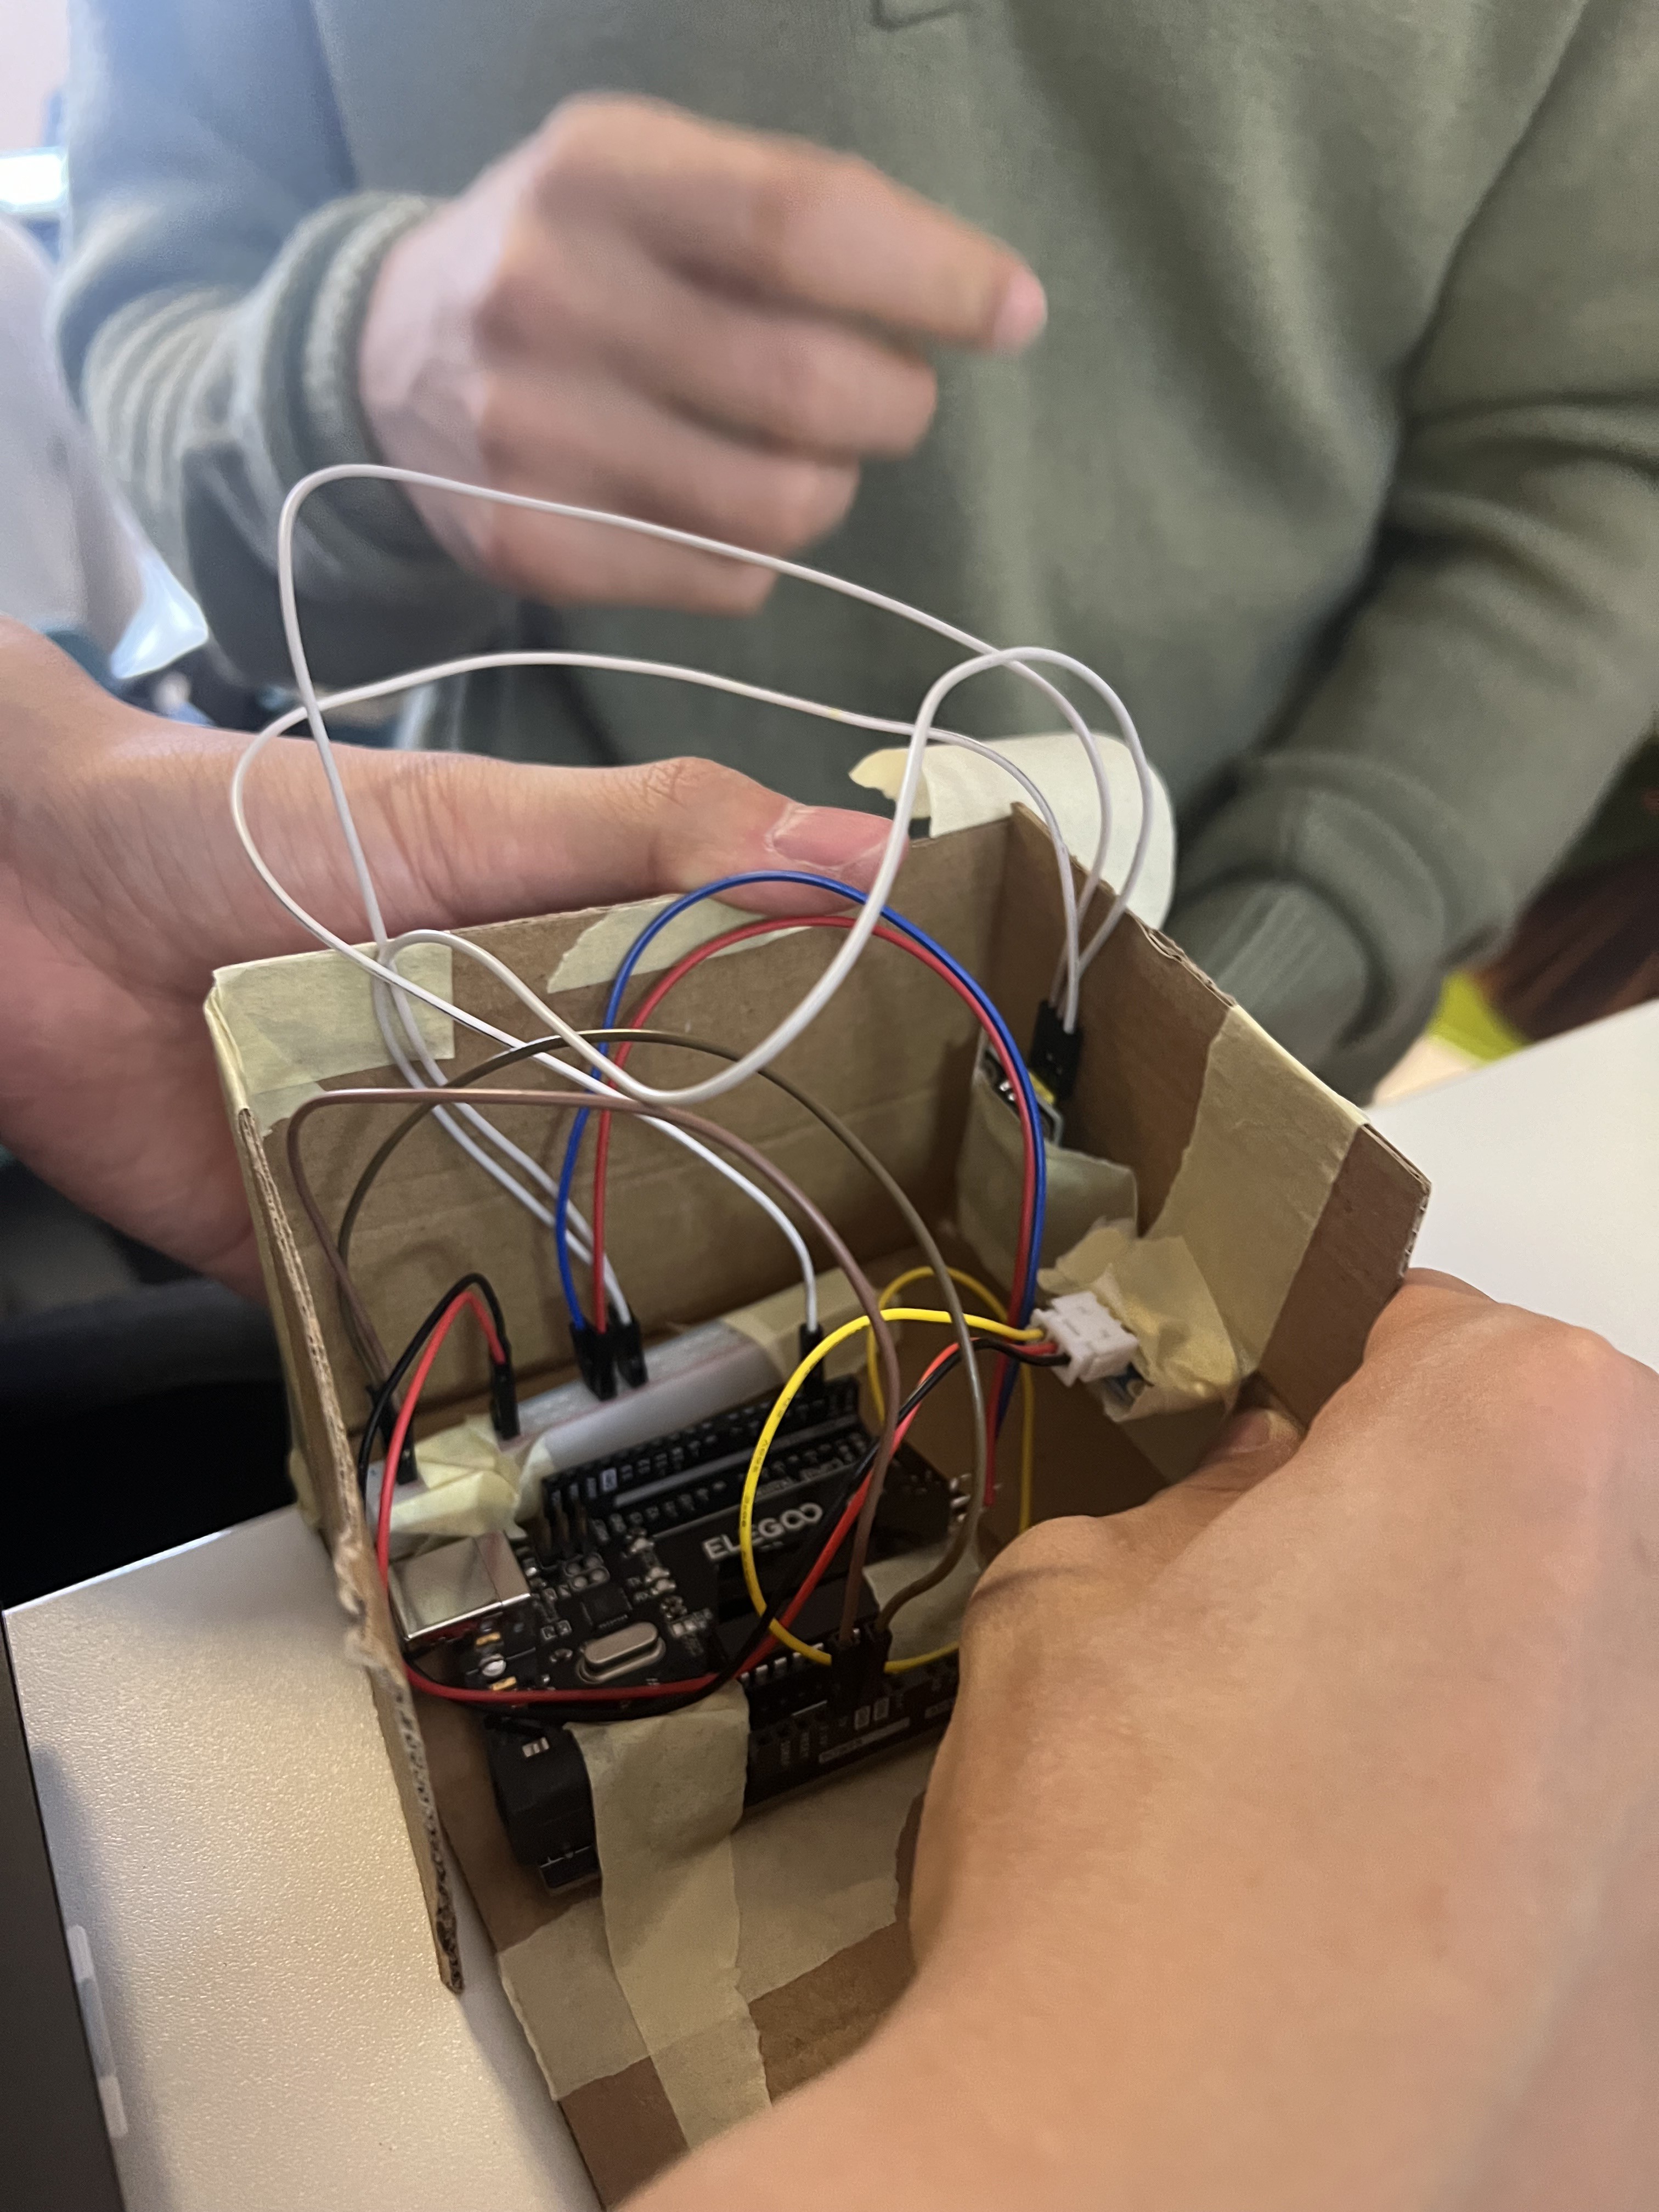
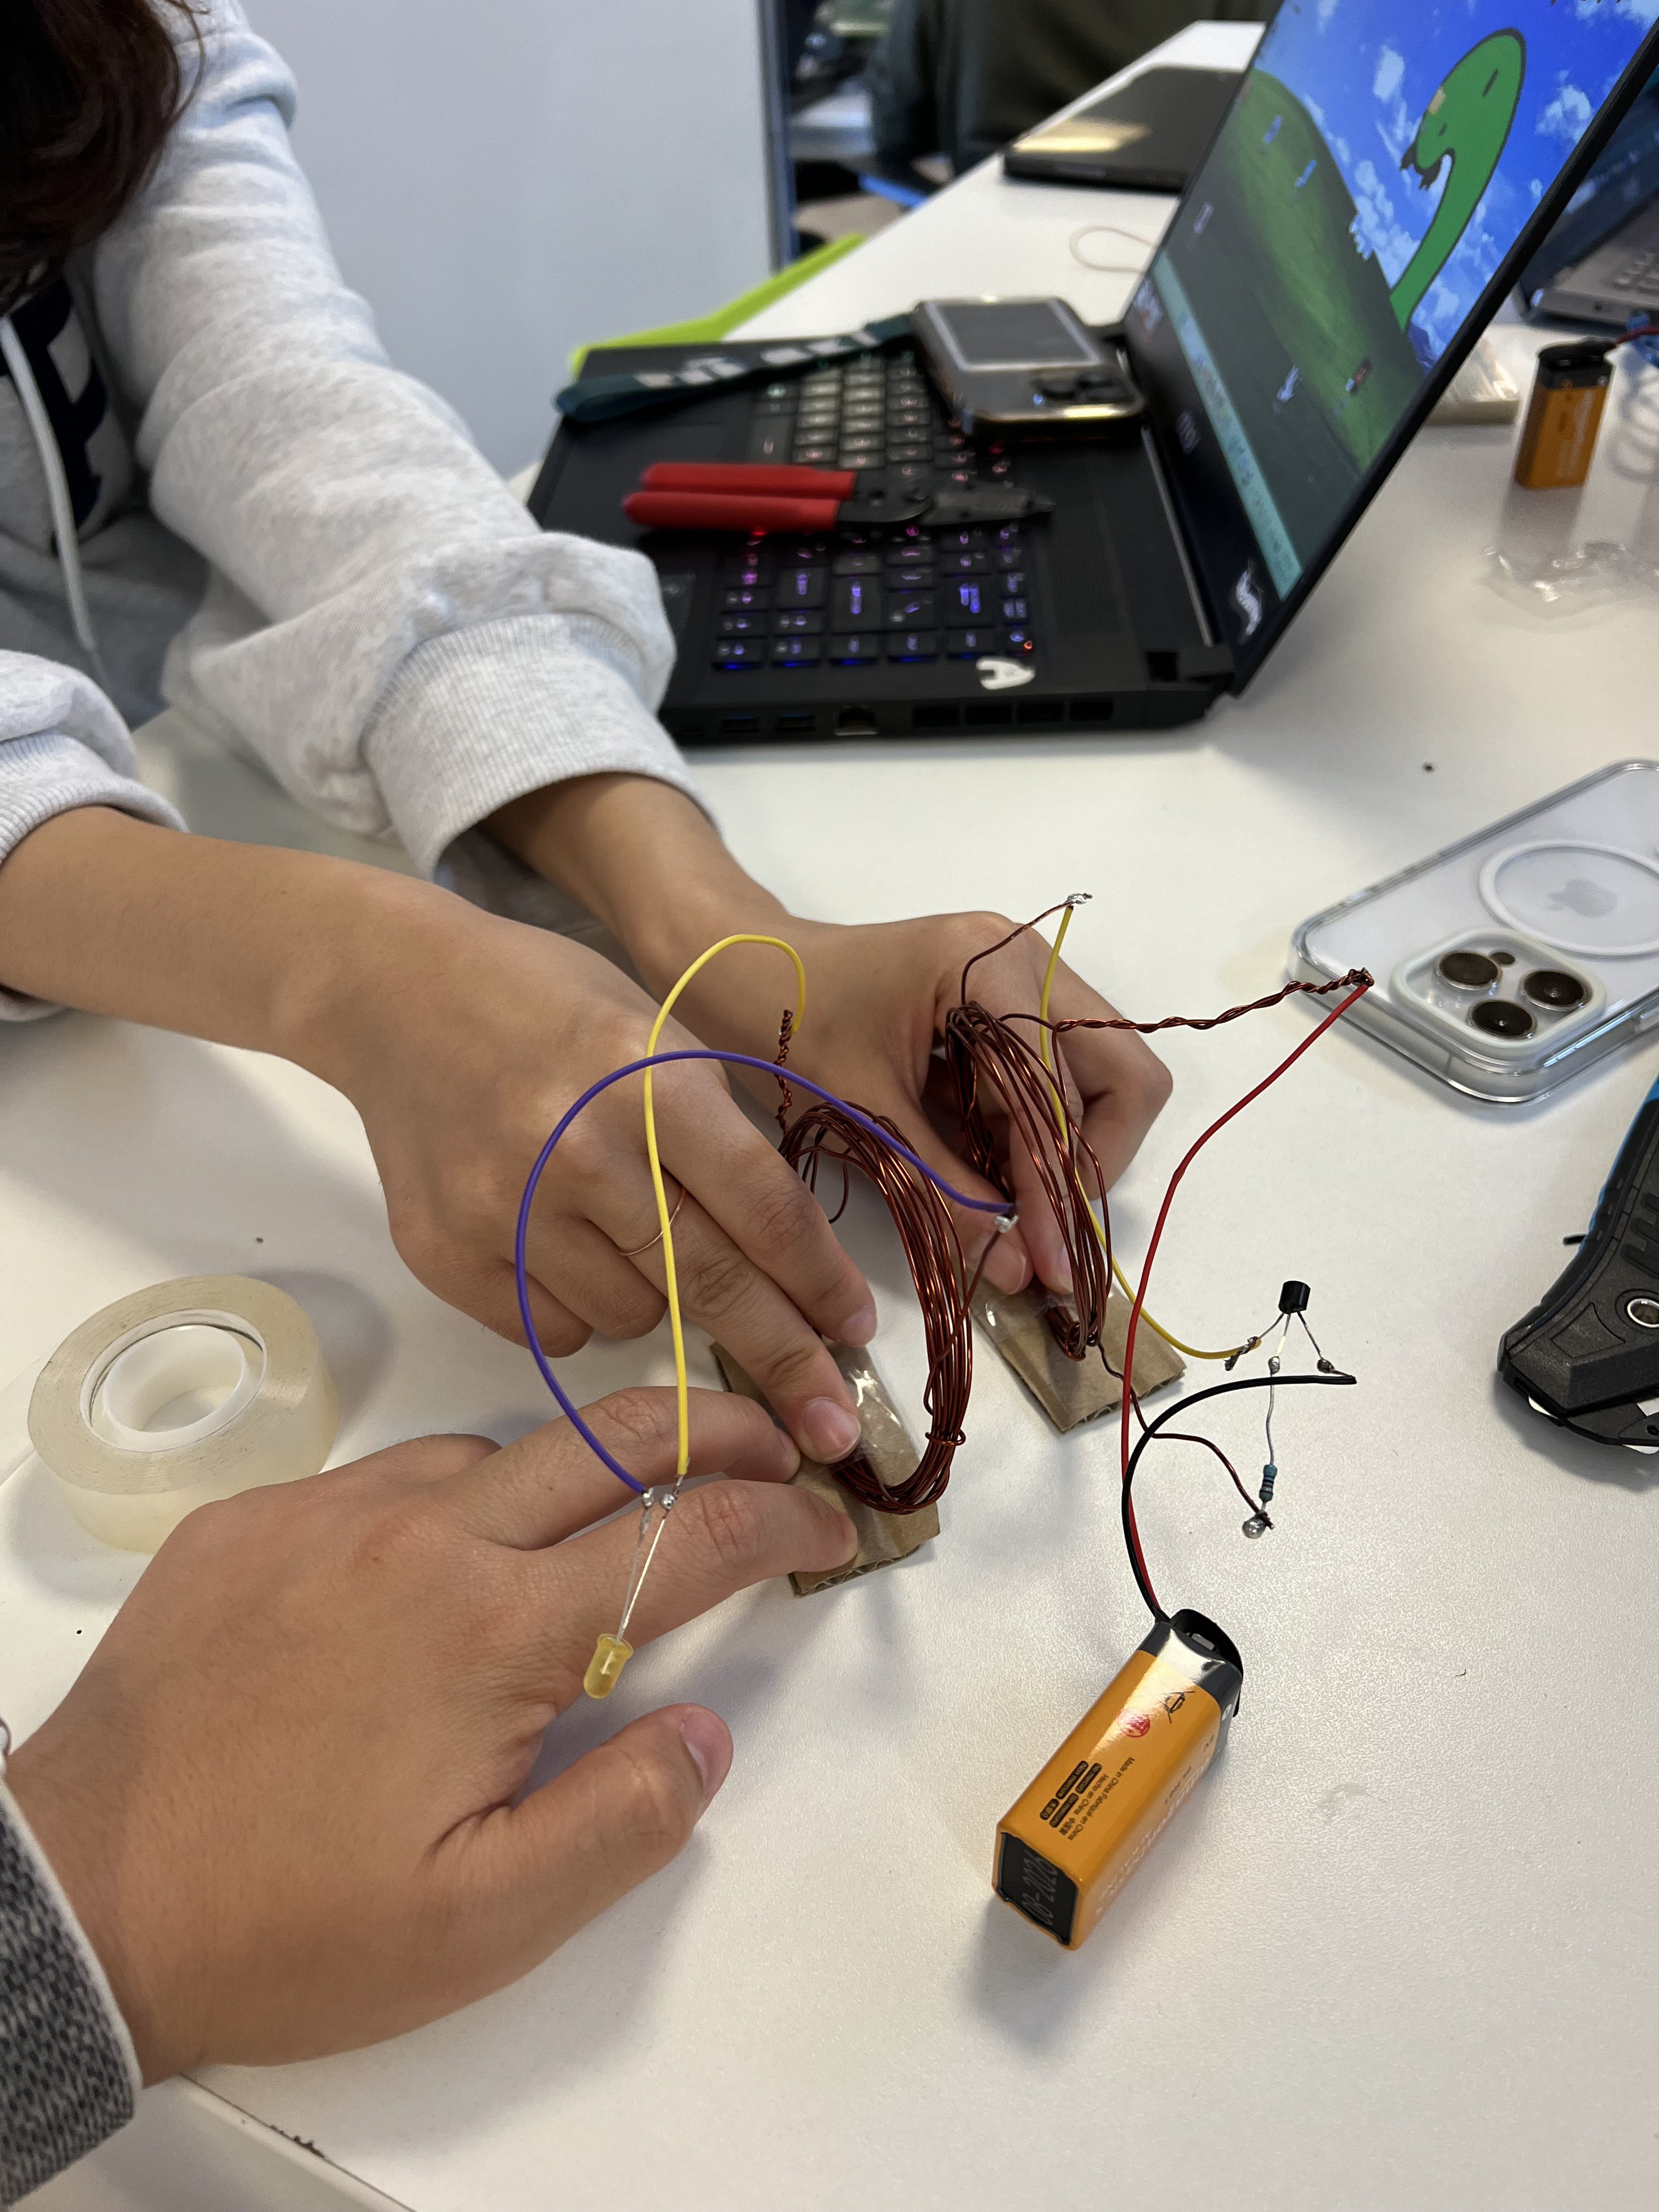
Using Arduino provided the advantage of freely connecting desired sensors and components and implementing functionalities through coding.
We tried to achieve the following two functions:
1. Control the power of the lights by detecting clapping sounds (loud noises).
2. Change the color of the cloud section of the light based on the environmental temperature.
We aimed to implement a switching function that responds to clapping sounds, and details are outlined below.
There are many ways to distinguish sounds, but we distinguished them by adding our own condition. They were trying to grasp the characteristics of only the clapping sound through the ratio between each measured value. As a result of comparing numerous experimental values, it was found that the ratio within a specific range of clapping sounds was the main focus. In general, it could be confirmed that clapping has some characteristics.
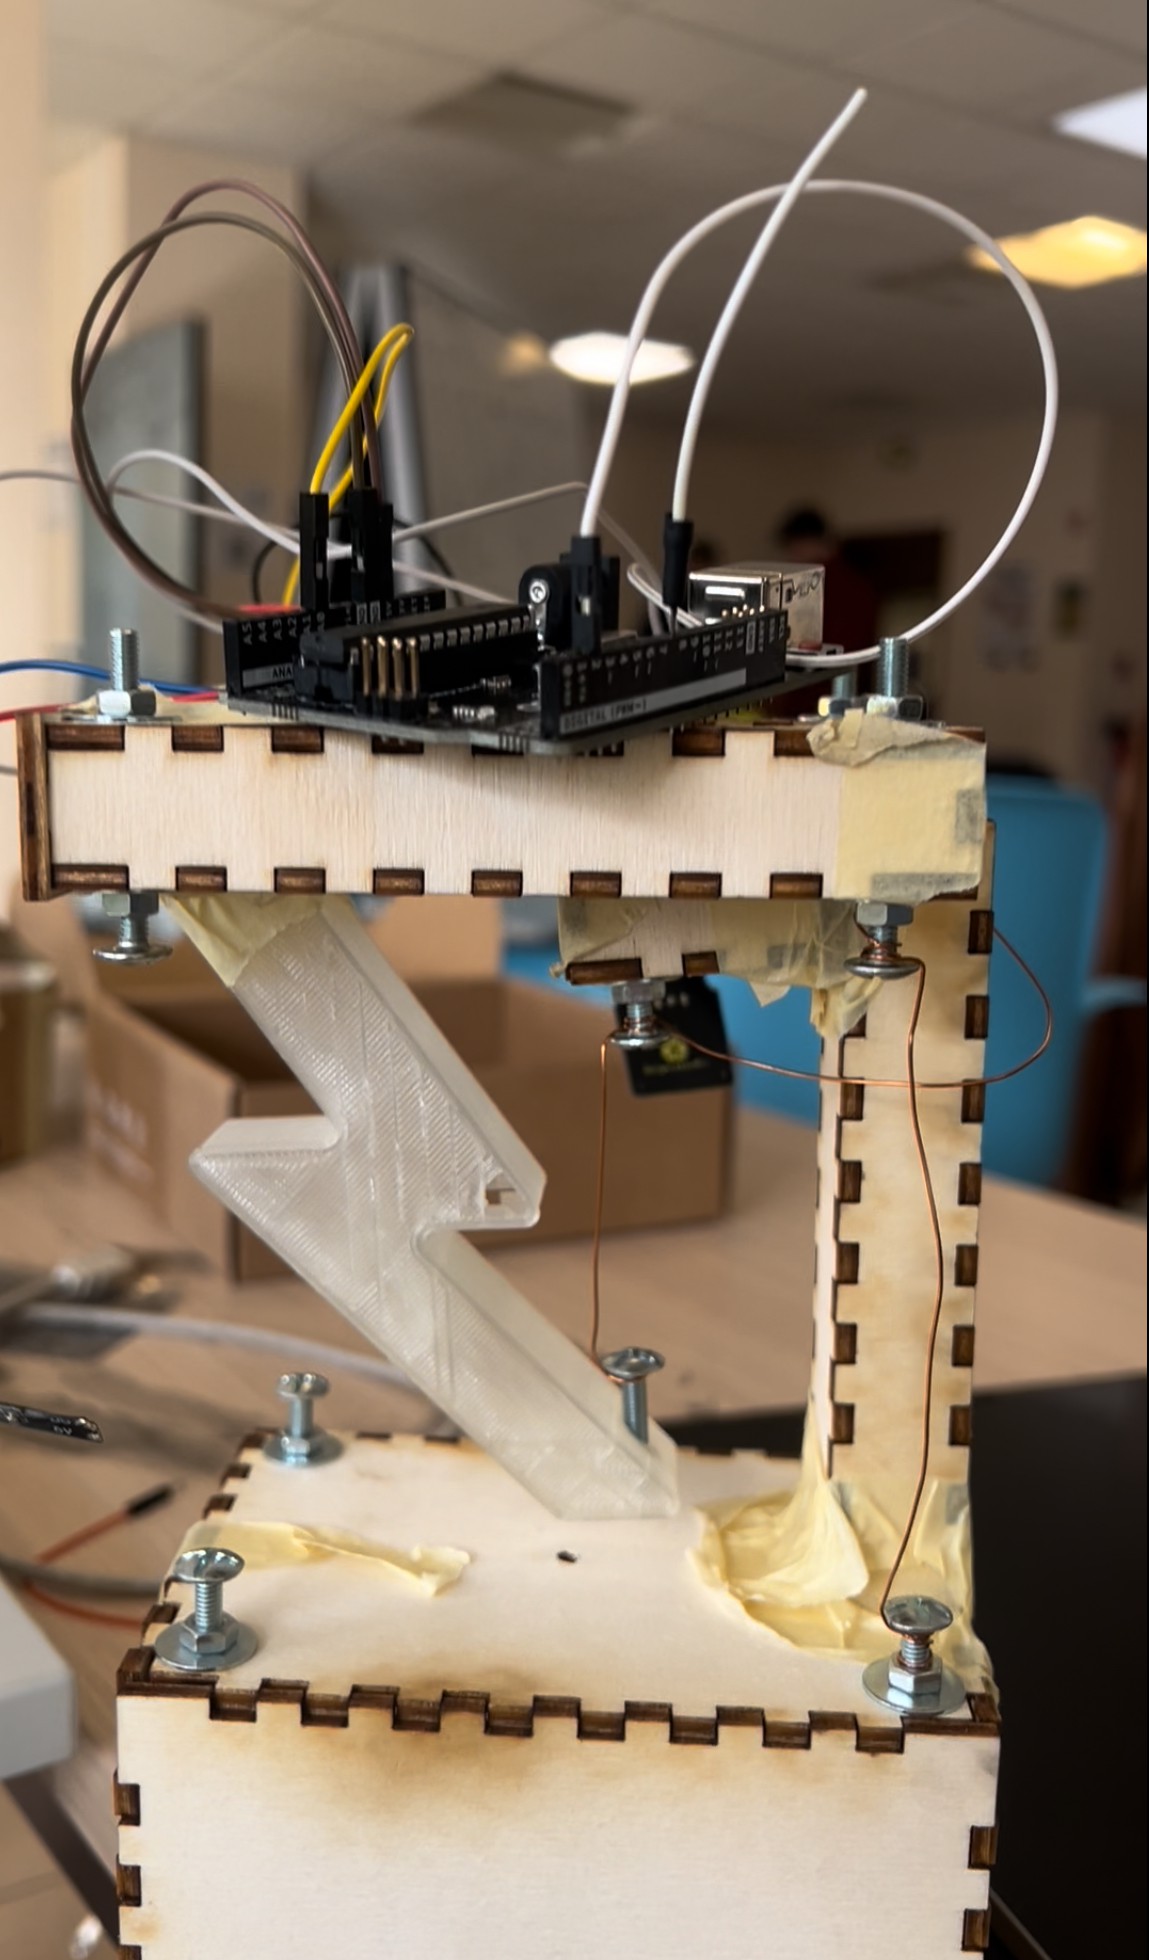
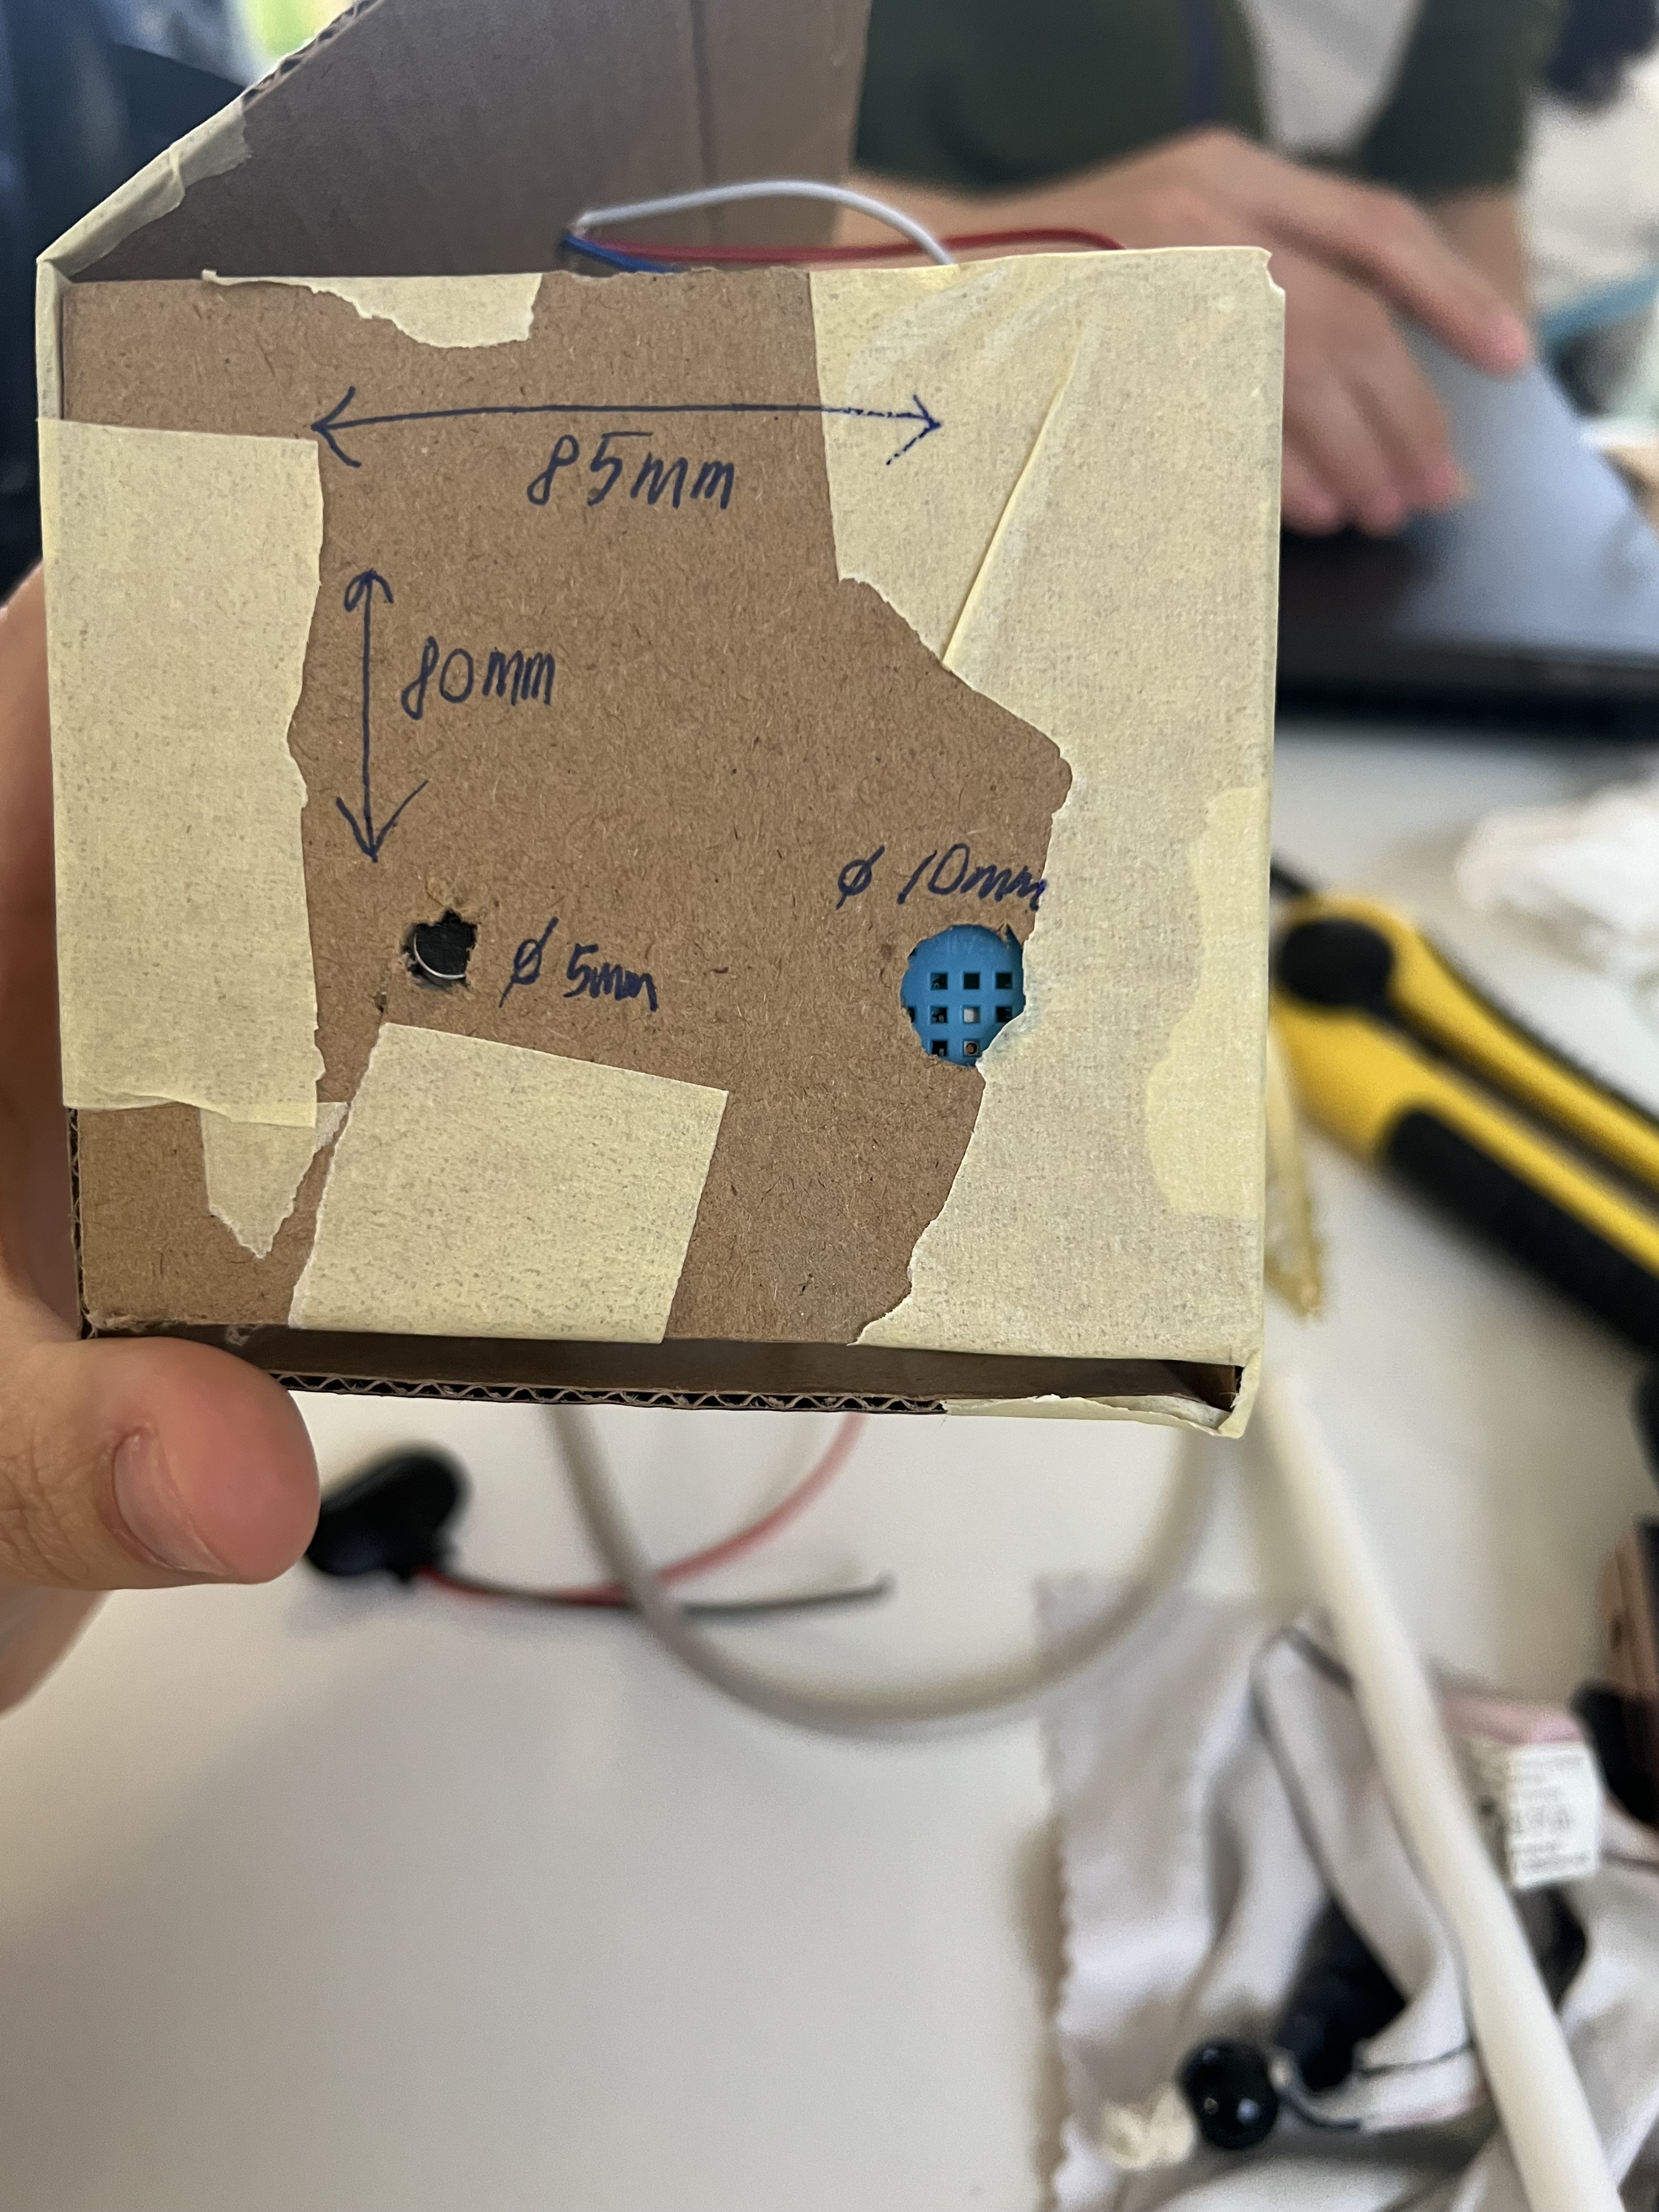
To achieve the second function, we used the DHT11 temperature/humidity sensor. The DHT sensor retrieves temperature and humidity data once every second (1Hz sampling rate) according to its specifications. Detailed functionality implementation is described below. DHT11’s power consumption, 0.3mA (measuring) 60uA (standby), General Sound Sensor’s power consumption, 20mA), we determined that there were no issues supplying power directly to the Arduino via a USB cable.
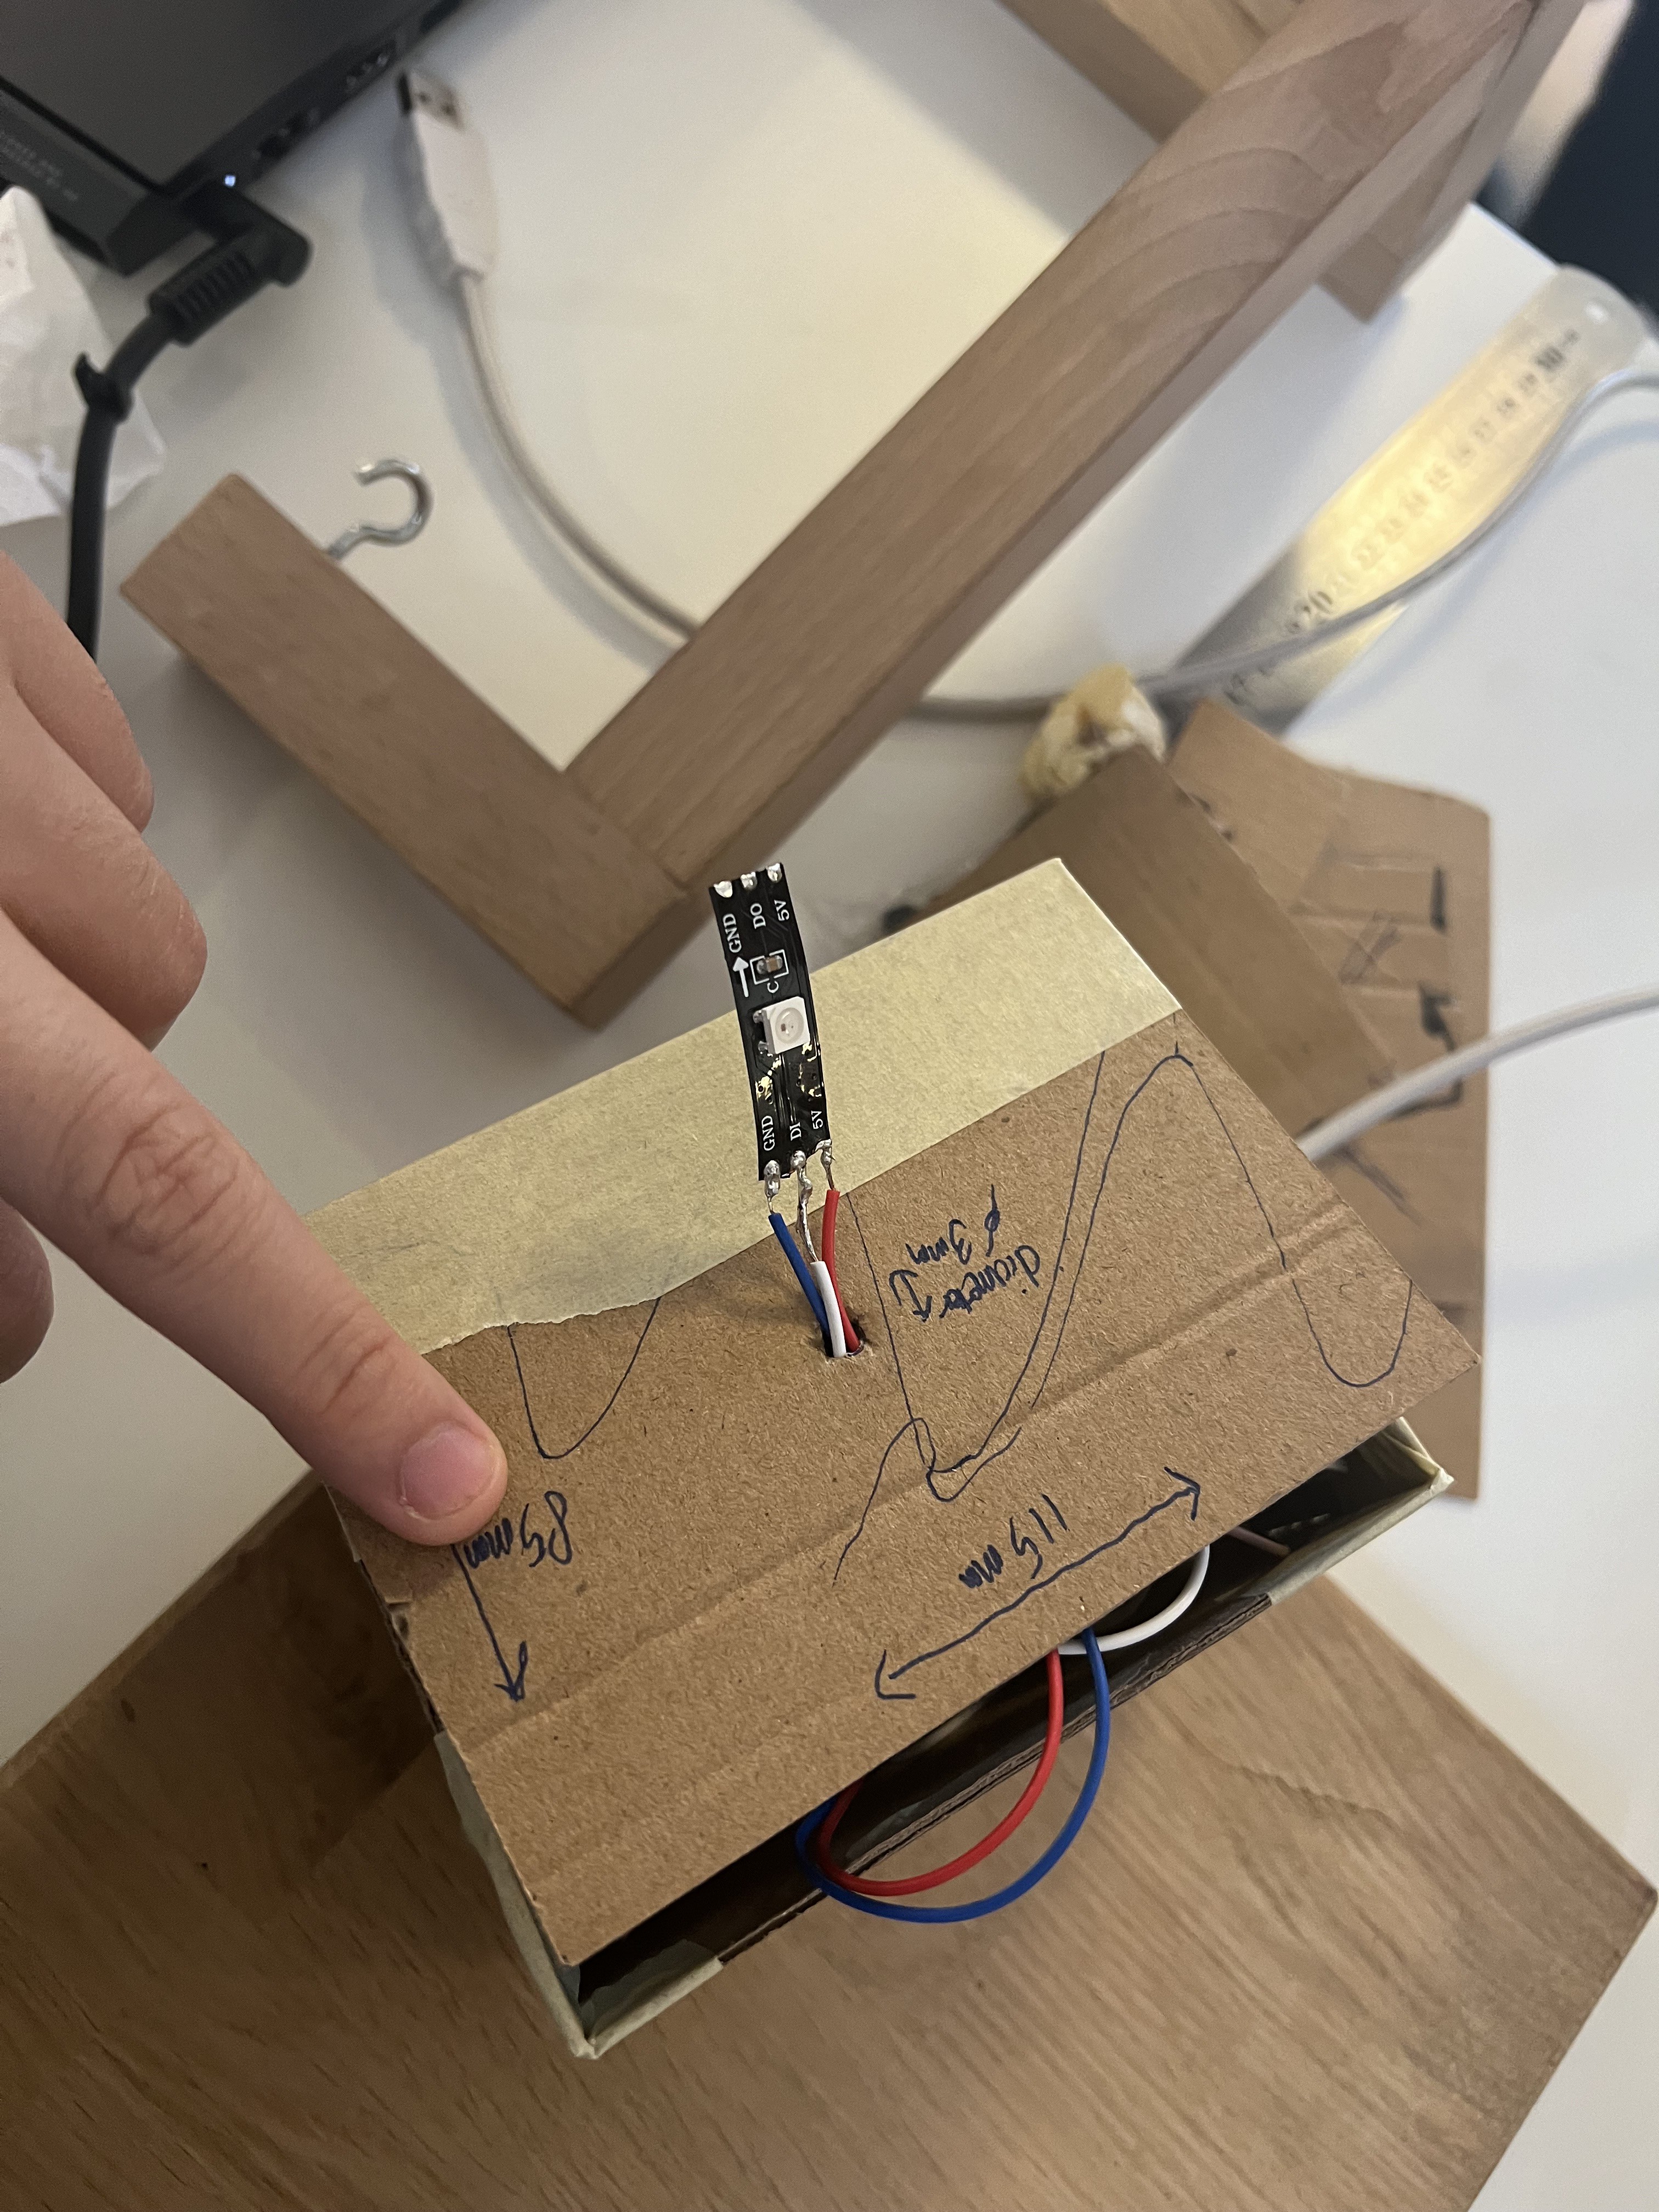
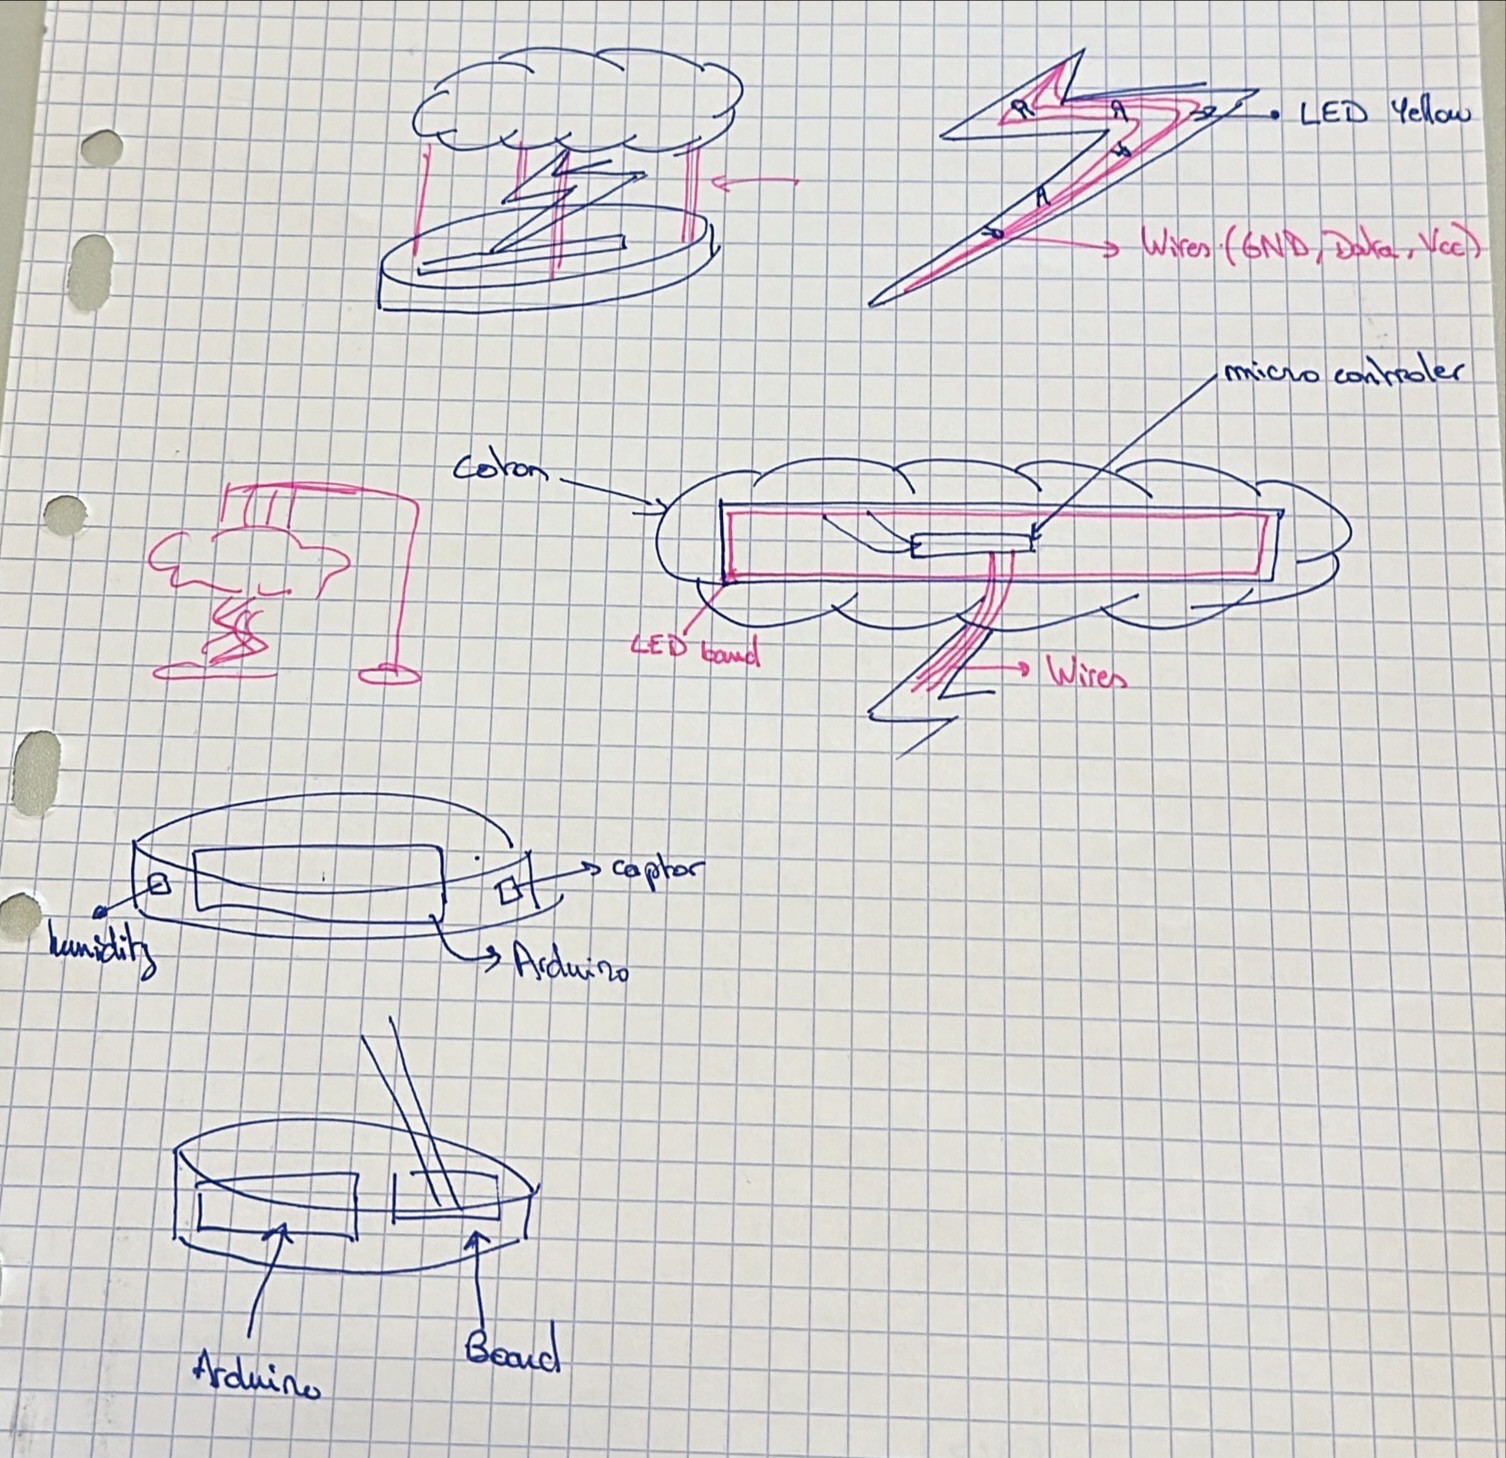
Since the power consumption of the LED strip, ring, and the whole system we used was not very high (The LEDs we use are of the 5050 specification, drawing approximately 18mA of direct current per unit. With approximately 30 LEDs in use, the total power consumption from LEDs is calculated as 5V * 0.5A = 2.5W.
Our system had to change color according to temperature. To achieve this, we used a DHT11 temperature and humidity sensor. It's easy and efficient to use the data it captures. As a reminder, our lamp is designed for home interiors. The conditions we set for color change are as follows: Below 18 degrees, the color is blue Above 23 degrees, the color is red And in between, the color will be white, indicating a temperature suitable for interiors.
Power by: supply power through commonly available USB output adapters from various electronic products or via PC USB cable connections, which most households have.
Rated Power input: 10W (5V 2A USB output).

 johnowhitaker
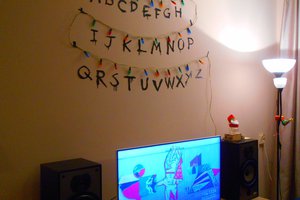
 Enrico
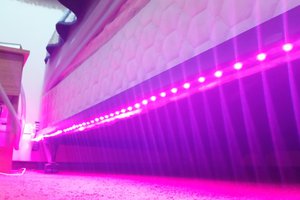
 Scott Clandinin
 Frank Piesik