The circuit schematic, Gerbers and BOM for the PCB can be found in the Github project.
Uses piezo sensors under your keyboard to sense harsh typing and warns you with the flash of a LED. Helps to guard against OOS.
To make the experience fit your profile, pick a username and tell us what interests you.
We found and based on your interests.
The circuit schematic, Gerbers and BOM for the PCB can be found in the Github project.
Programmer.jpgJPEG Image - 3.33 MB - 01/27/2024 at 01:19 |
|
|
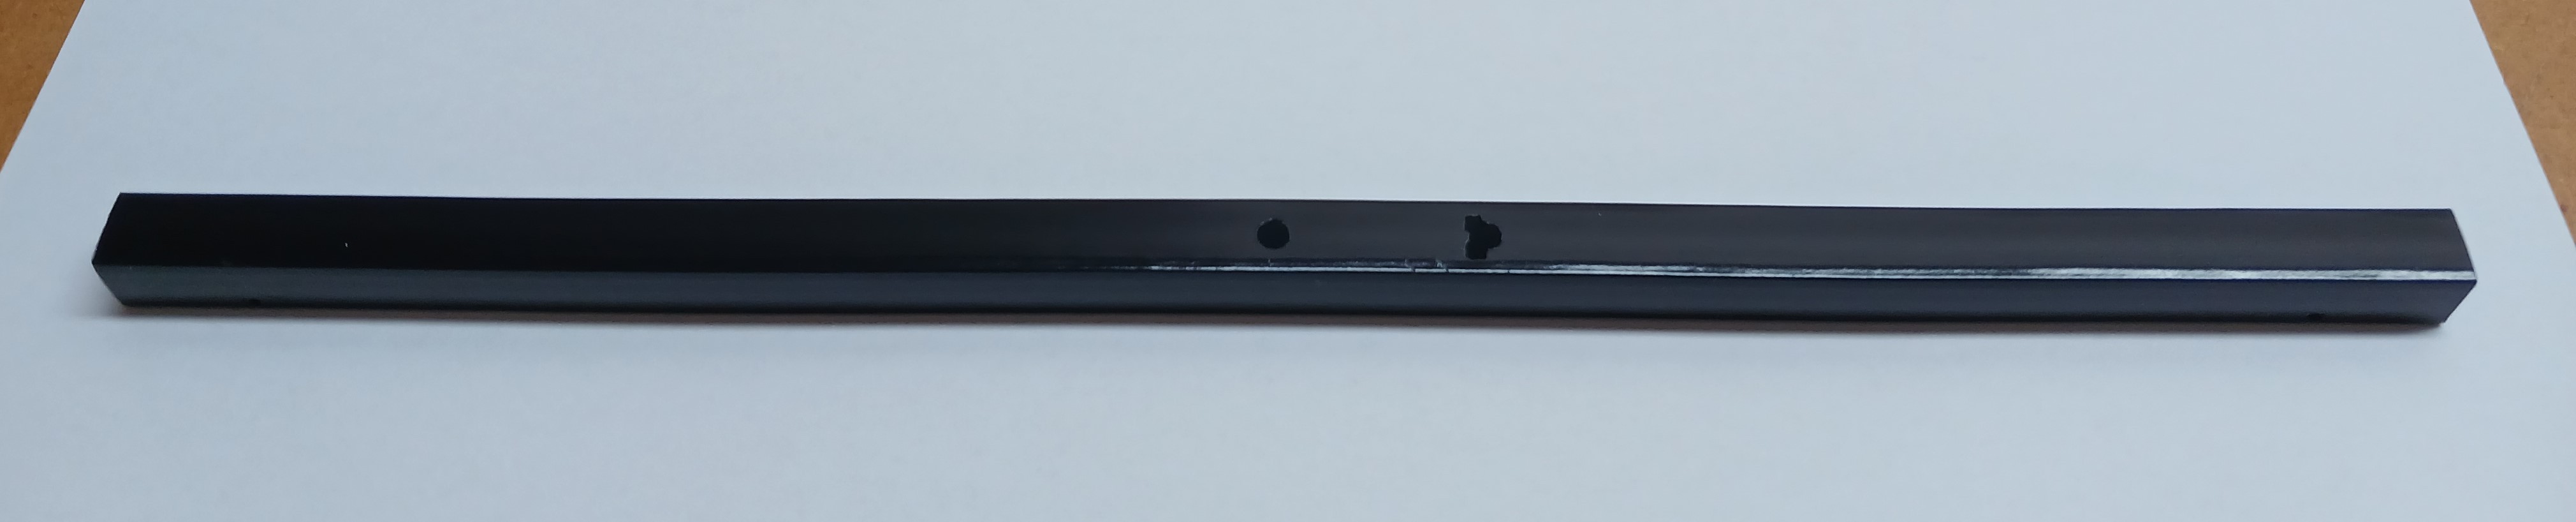
I cut the PVC tube to match the width of my keyboard (256mm), then drilled the following holes:
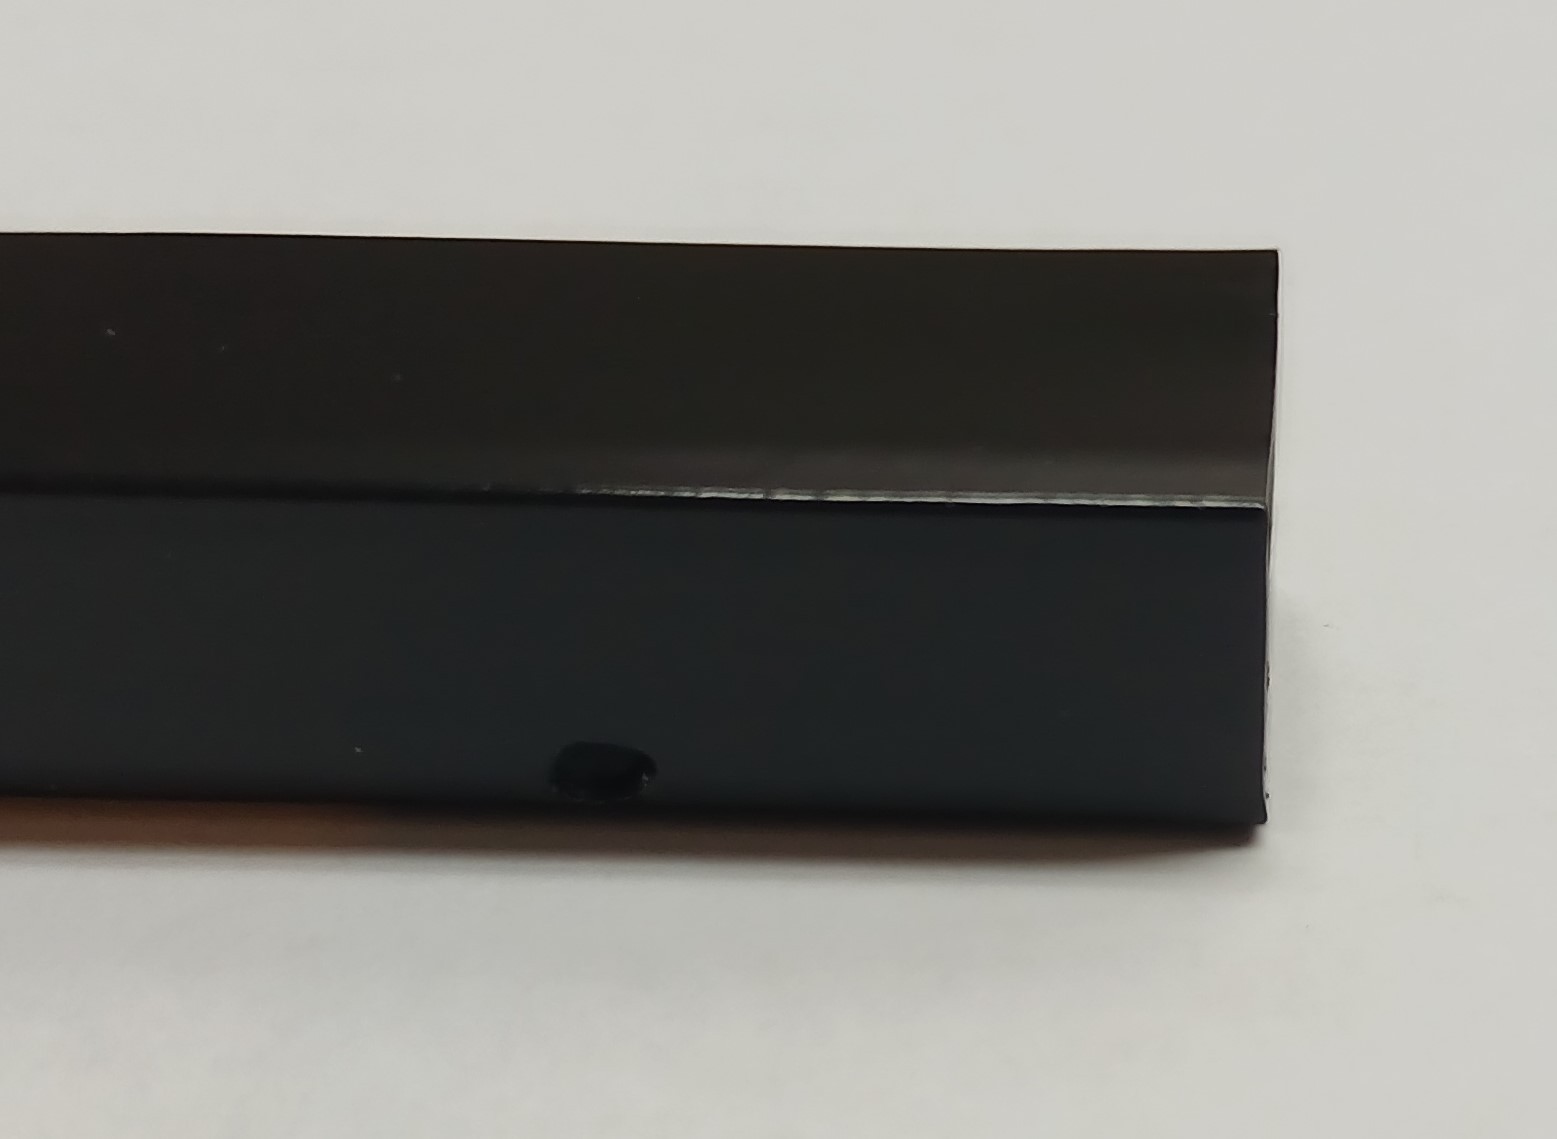
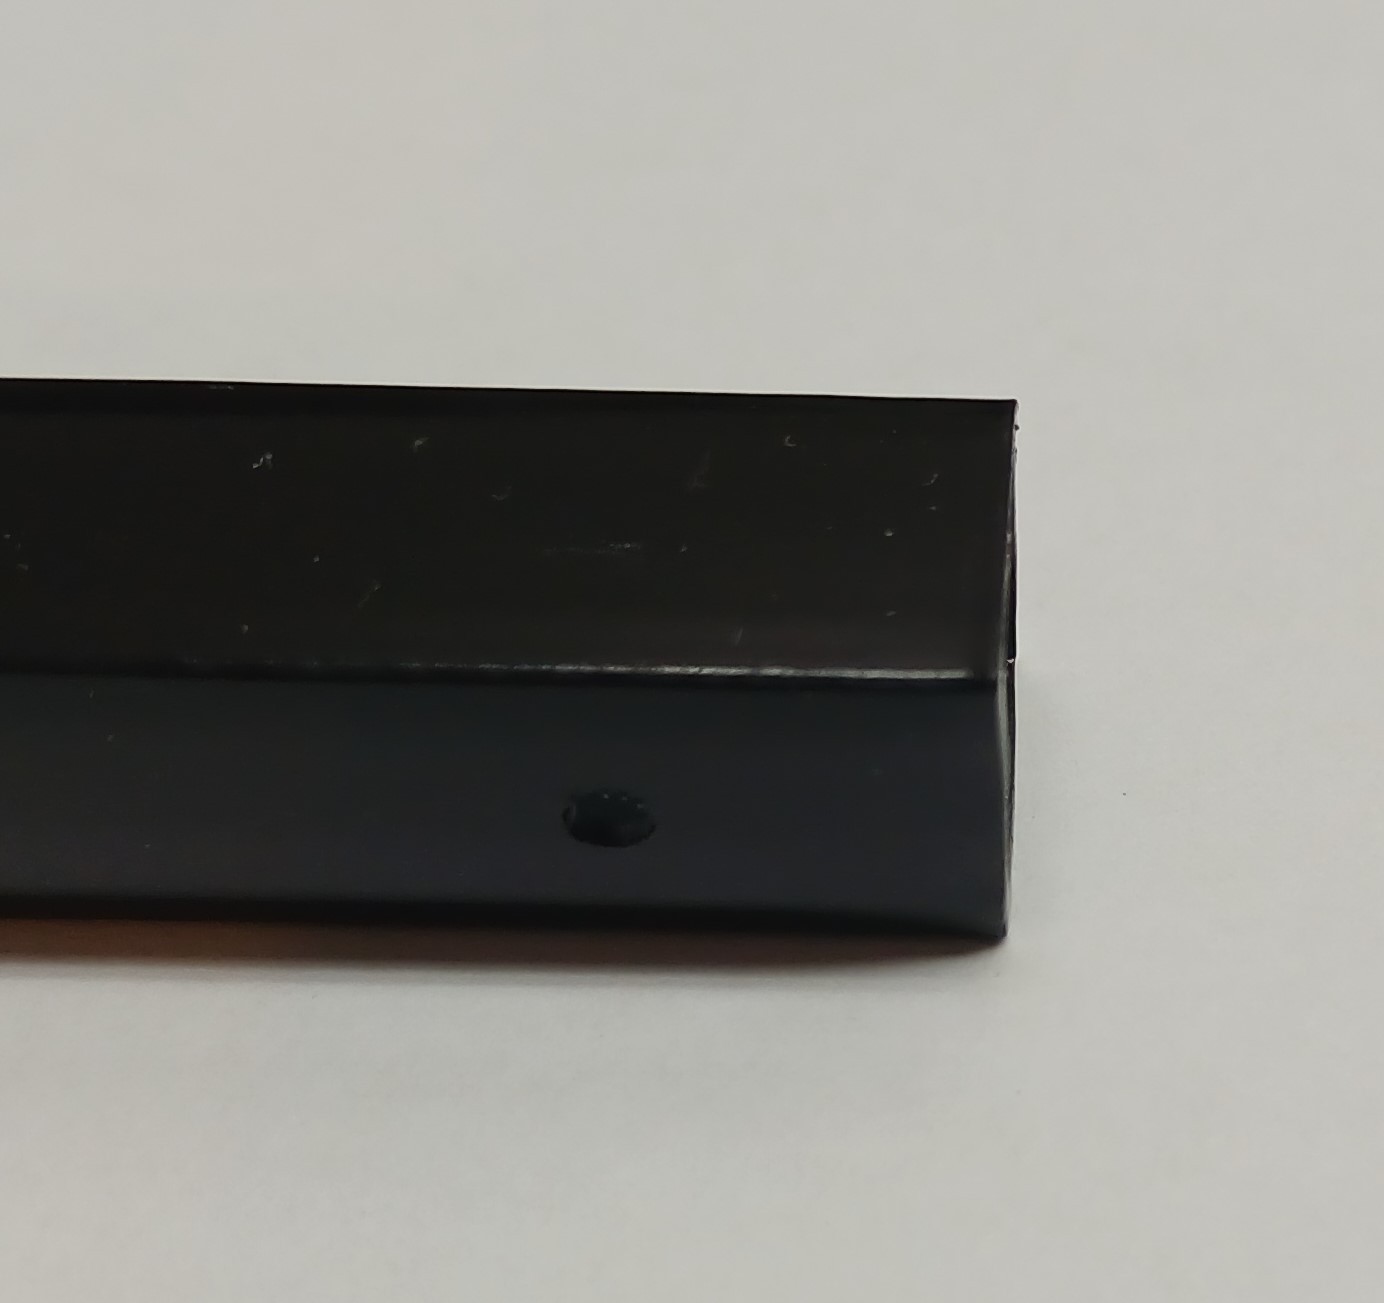
I sprayed the tube with matt black enamel paint to match my keyboard. Some pictures:
For this a bought an IWISS IWS-3220M crimping tool from Aliexpress as cheap alternative to the official crimper. Given the small size of the SH connector I recommend buying plenty of the SH contact (SSH-003T-P0.2-H), I bought 100 and got through a quarter of them before I had mastered the art of crimping. Instructions come with the tool and very detailed steps and pictures can be found in the official documentation from JST (CHM-1-2146).
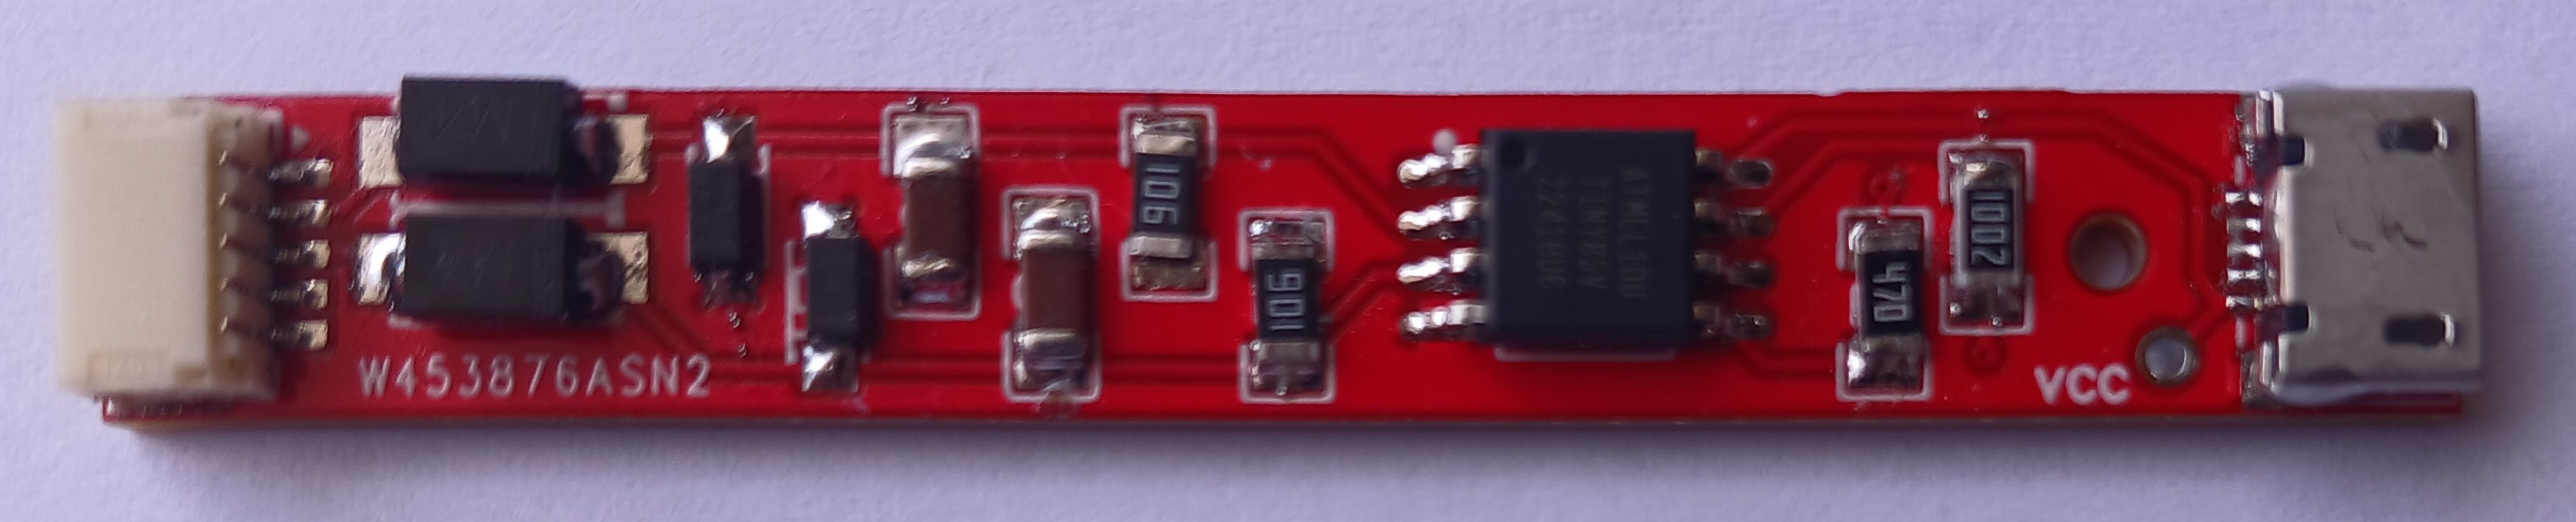
My process was as follows:Here is the completed PCB; I soldered all the components using solder paste and a soldering iron.
Next stage is to wire up the JST SH plug.
I had a few problems assembling the PCB into the PVC tube, this was because I had not thought in detail about two things:
* how to solder on the wires, so that afterwards the PCB could be pushed into the tube.
* how to secure the PCB in the tube.
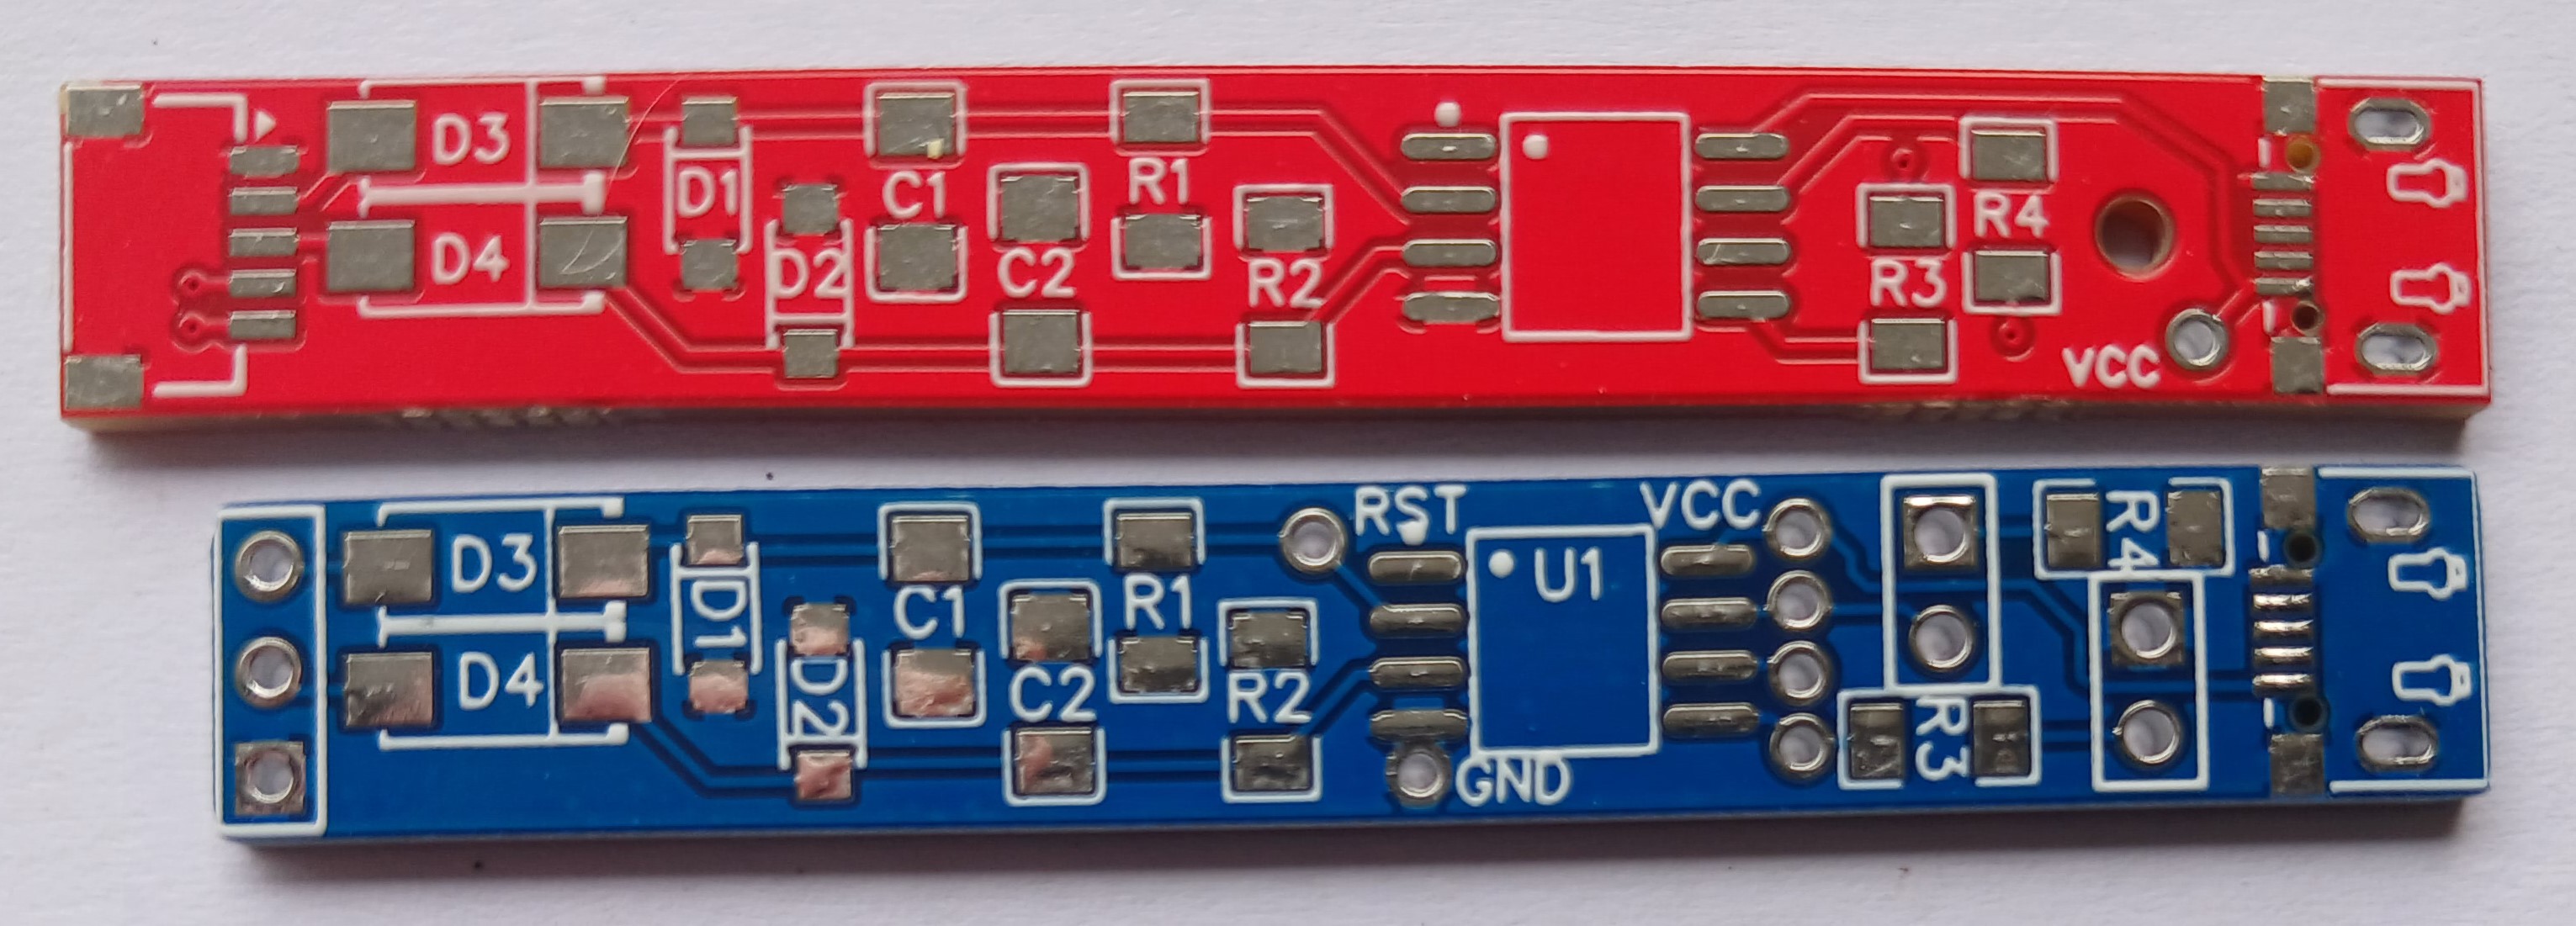
When I had an offer from PCBWay to sponsor another iteration I decide to do something about these issues by redesigning the PCB. I made two changes:
* Added a JST SH 5 way socket so I could plugin in a connector with all the wires.
* Added a hole in the PCB just behind the USB socket, so that I could use a small screw through the PVC tube to secure it.
I also removed the extra connection holes around the Attiny85 for programming, as the programming clip worked so well I never used these.
I had not used PCBWay before, so it was interesting to try a new service. The online order page is well organised with help available under the ? for each specification item. I read the excellent capabilities page in conjuction with filling in the specification to make sure I understood what was possible and that these lined up with the settings in my PCB design tool.
For my simple PCB only three specification items needed to be changed from the default values:
* Size
* Quantity
* Colour
If you are just beginning with ordering a simple PCB this will almost certainly be the case for you too. Online chat is available if you do have questions.
Once I went ahead with the order, the progress through the review, manufacturing and shipping process was clearly displayed and I received an email at each stage. Production took about 4 days and shipping with DHL ($20) took less than a week, so a very efficient service!
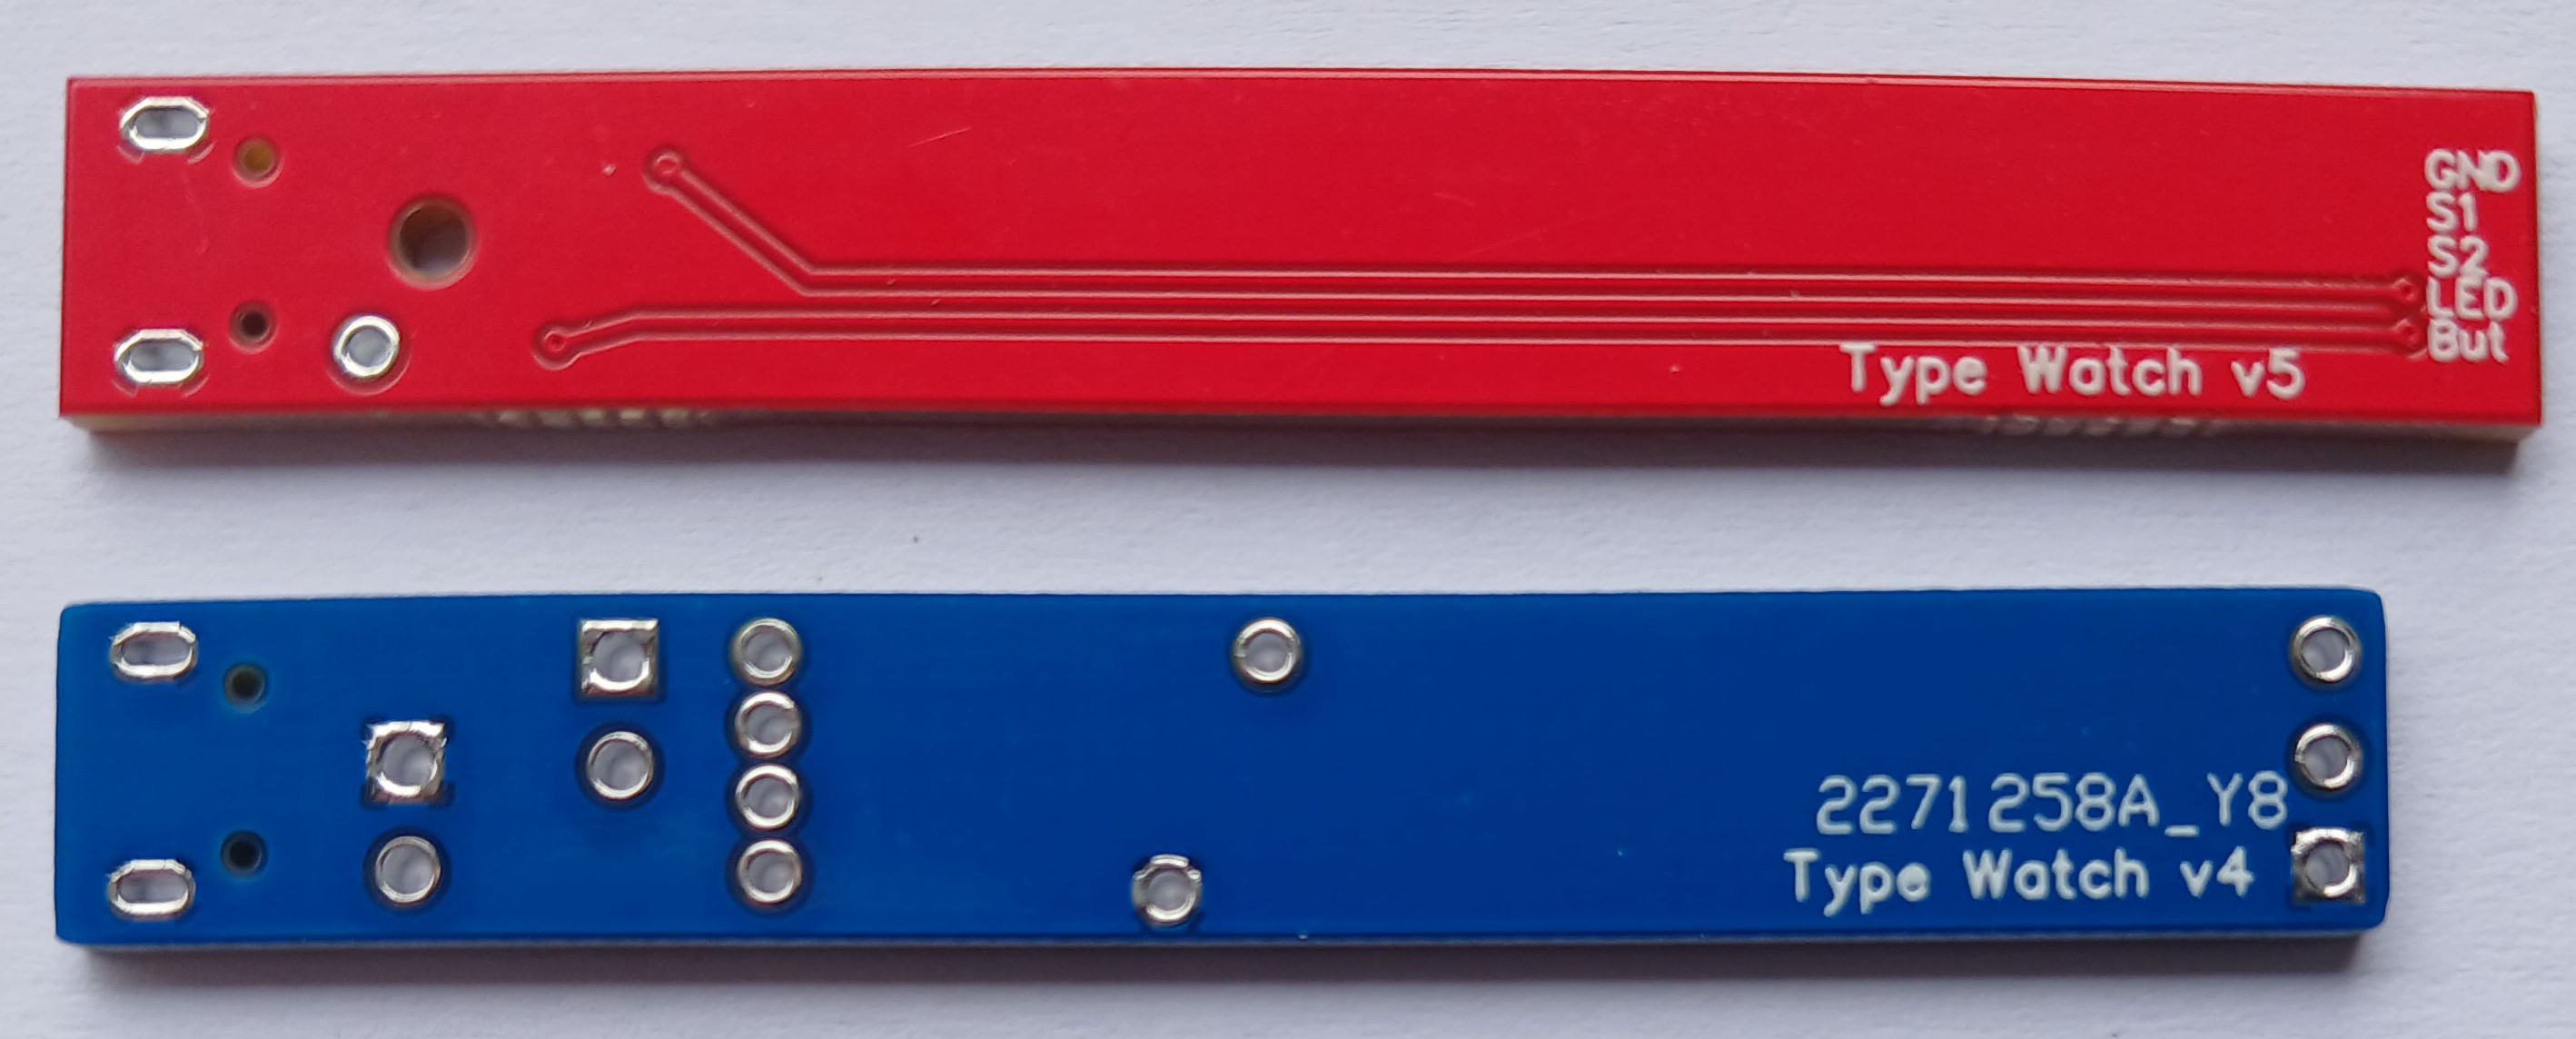
Both sides of the old (blue) and new (red) PCB versions are shown below.
On the back of the new PCB the labels for the connections are the minimum supported character height of 0.8mm, these are very clear and readable, something I have found not as good from other manufacturers.
Next step is to solder on the SMD components, I will report on this shortly.
Ultra fine wire was used to connect the LED, button and sensors due to limit space available. To assemble, the wires were threaded through the holes in Polystrene tube first, then soldered to the PCB. Finally the wires protruding from the holes were cut to approximately 5cm in length and the external components solder to them. The wires could then be pushed into the holes as the components were located in their final positions.
A Sparkfun Tiny Programmer and clip were use to program the Attiny85. There are several ways to program the Attiny85 documented on the internet if you do have this hardware.
Create an account to leave a comment. Already have an account? Log In.
Become a member to follow this project and never miss any updates
About Us Contact Hackaday.io Give Feedback Terms of Use Privacy Policy Hackaday API Do not sell or share my personal information