 Makerfabs
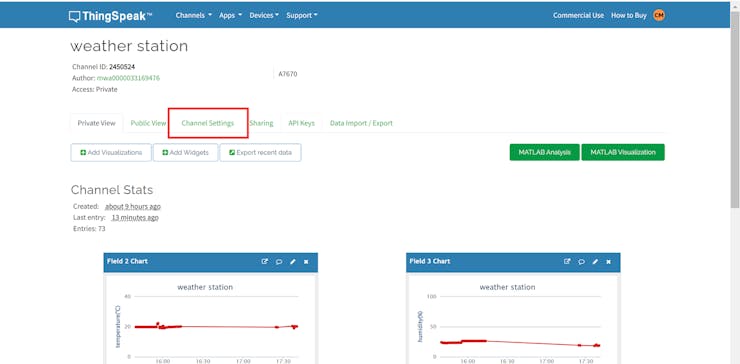
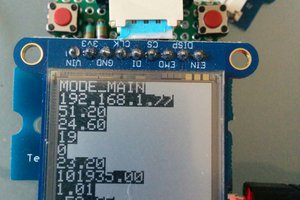
From the private viewing interface of TingSpeak, we can monitor the weather of the office cubicle in real time, for example, right now, it shows that the light is relatively strong, so I'd better put on sunscreen and go out, the humidity is also low, so I have to put on moisturiser, the temperature is good and there is light wind, so I wear a moderately thick long-sleeved shirt, now, let's leave to work happily.
0%
0%
Weather Station With A7670 -- Remote Monitoring
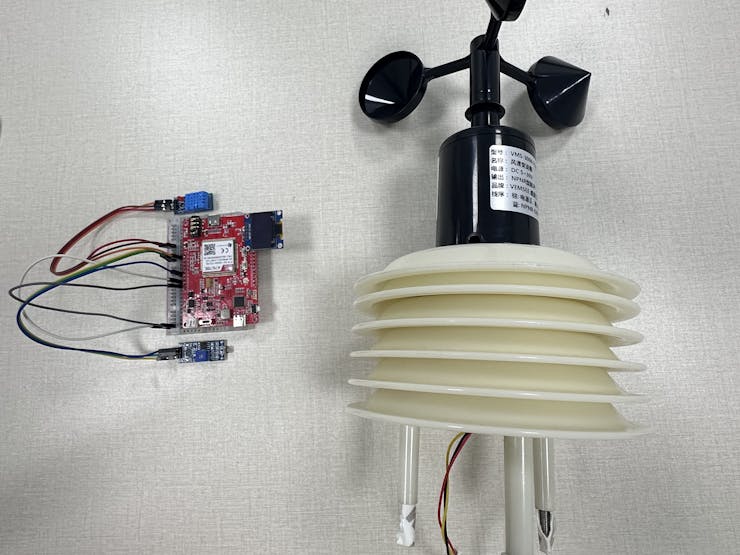
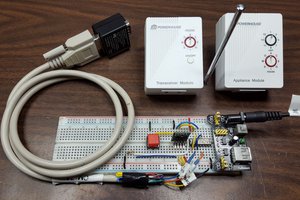
A weather station with Maduino Zero 4G LTE(CAT1 A7670), which support HTTP, and can transfer
Become a Hackaday.io member
Already have an account? Log in.
Just one more thing
To make the experience fit your profile, pick a username and tell us what interests you.
Pick an awesome username
hackaday.io/
Your profile's URL: hackaday.io/username. Max 25 alphanumeric characters.
Pick a few interests
Projects that share your interests
People that share your interests


 Hari Wiguna
 Quintin Balsdon
 thjubeck