0%
0%
Home automation on the cheap
Using an esp8266, arduino nano, a salvaged usb power supply, and a couple relays you can automate anything
 thjubeck
Become a Hackaday.io member
Already have an account? Log in.
Just one more thing
To make the experience fit your profile, pick a username and tell us what interests you.
Pick an awesome username
hackaday.io/
Your profile's URL: hackaday.io/username. Max 25 alphanumeric characters.
Pick a few interests
Projects that share your interests
People that share your interests


 M.R. Inc
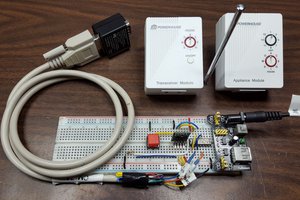
 Hari Wiguna
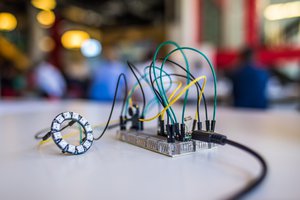
 Richard Hogben
I miss drive transistors for the relays! Normal Microcontroller outputs have not enough drive strength for relays (>=100mA). A small NPN or NMOS transistor is necessary.
It would also possible to omit the extra Arduino. You need only 4 IO Pins. There are libraries to program the ESP8266 itself like an arduino. It contains already a 32bit CPU.