 Justin Cole
Once I had fully thought through the project I ordered both the meteorite and the box.
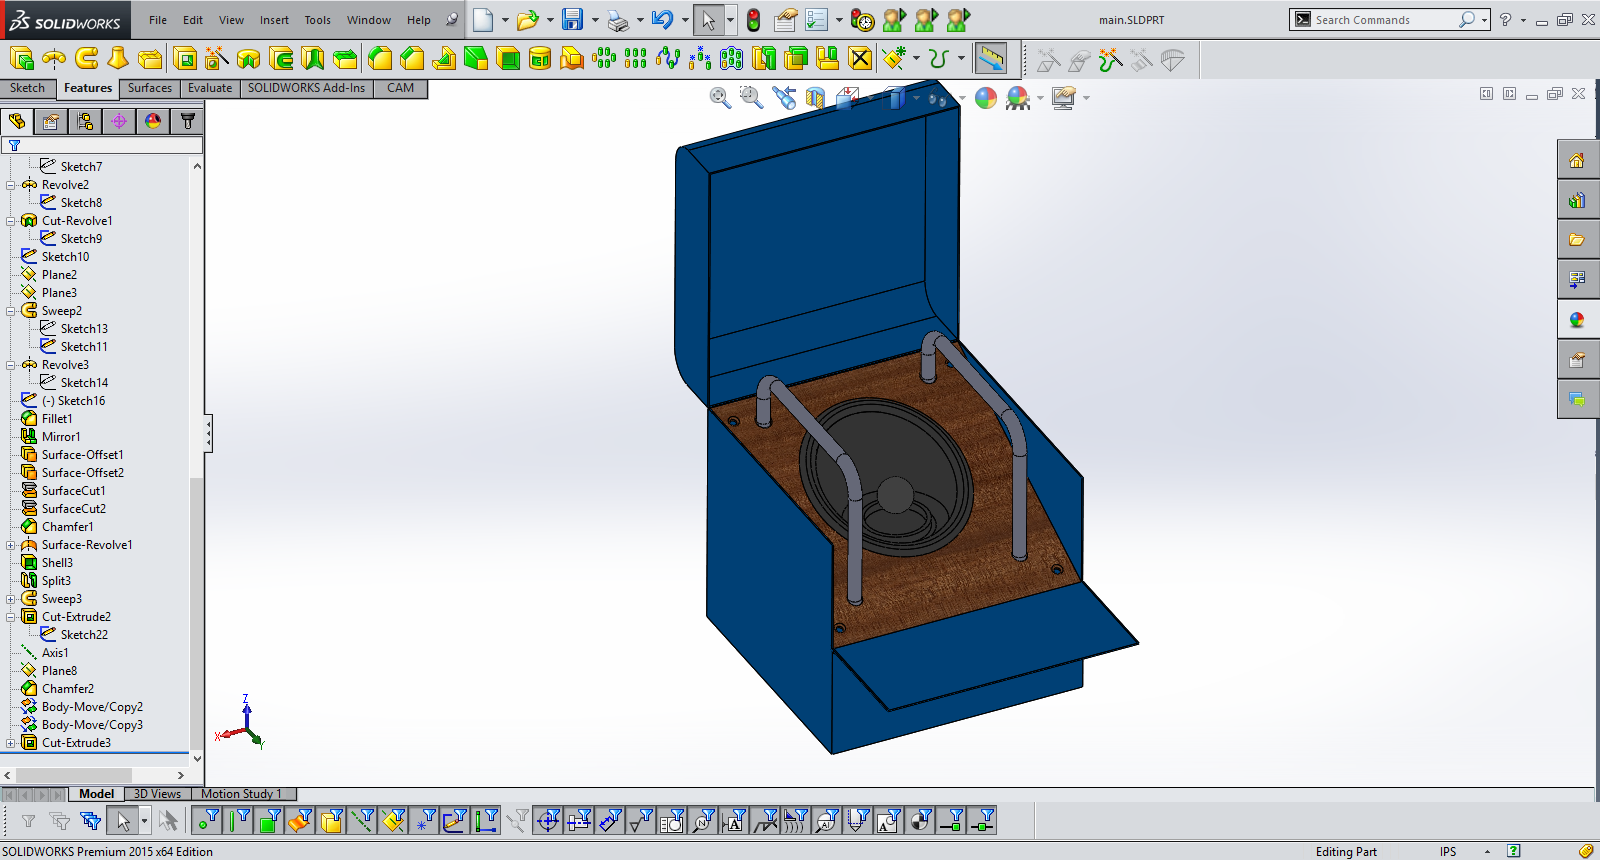
When everything was ordered, I began to build out the features. Using the box's rough dimensions, Solidworks was used to layout the placement of the rock.
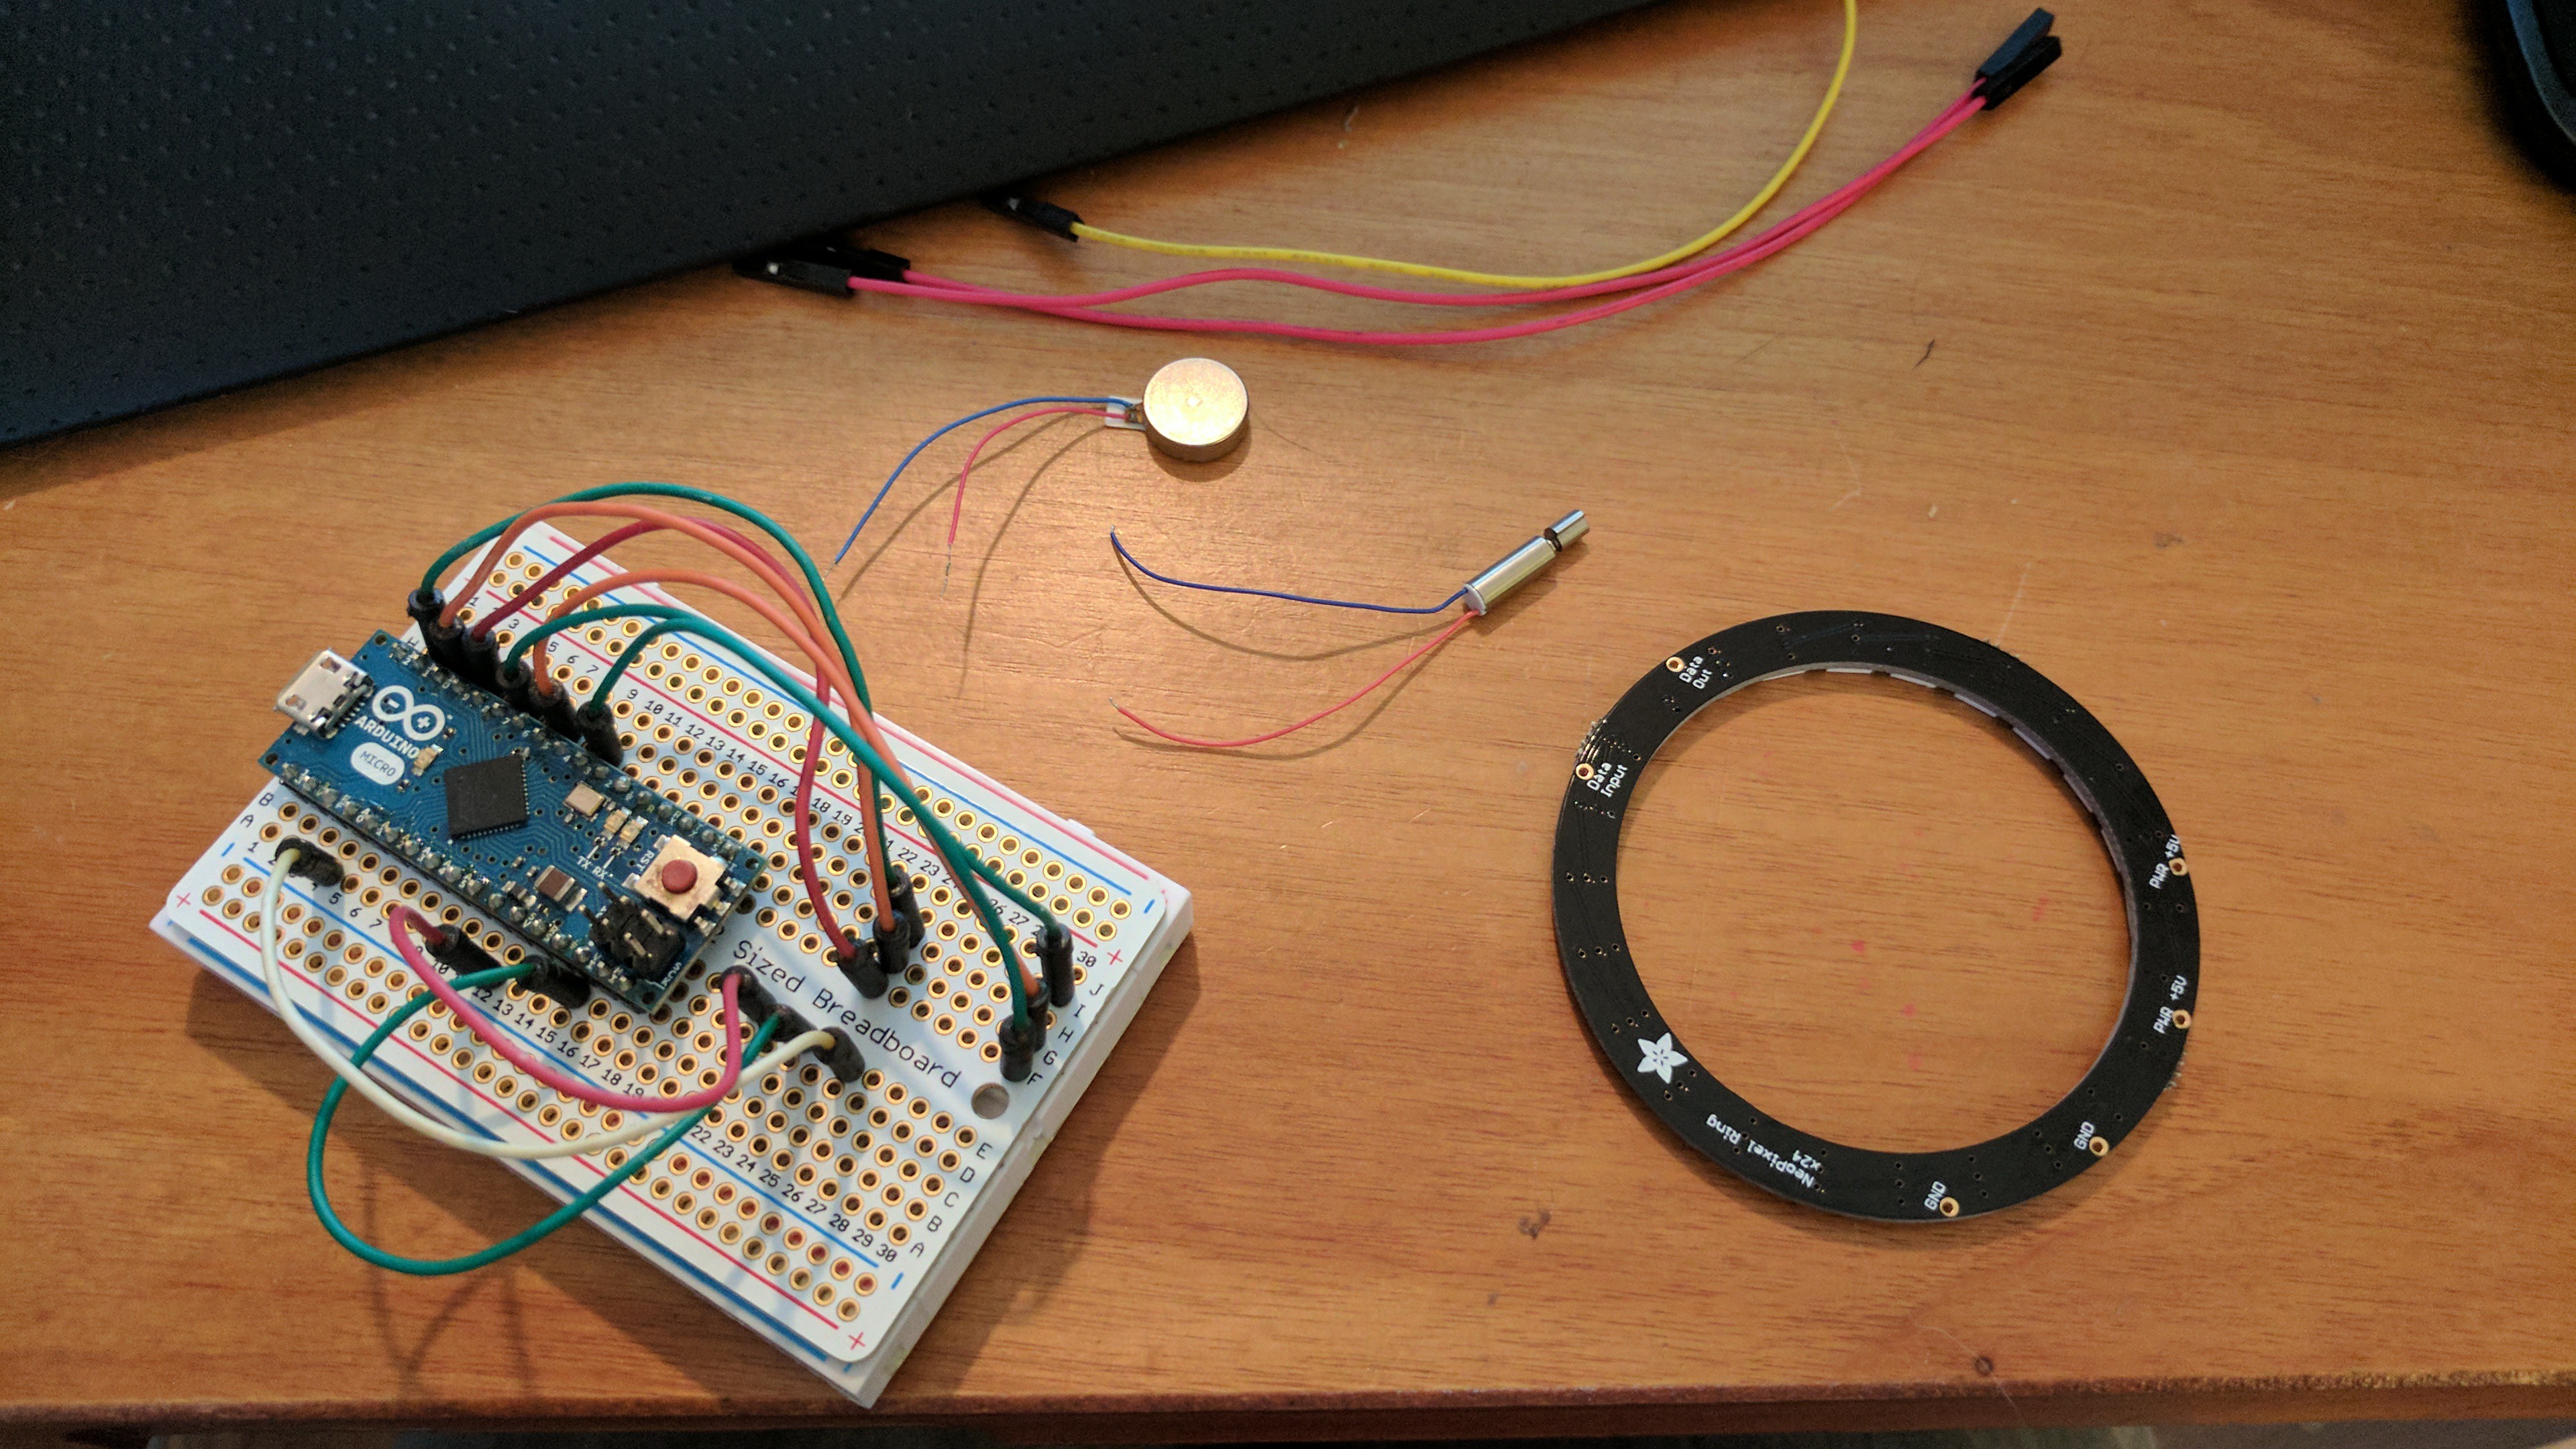
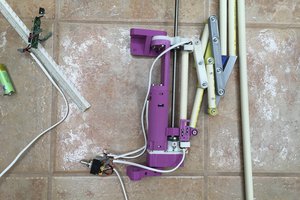
When the CAD was finished, I started wiring the arduino, motors, and leds. I tested multiple levels of vibrating intensity and finally settled on noticeable but not vibrating across my desk. Instead of using a motor controller, the motors were small enough to be powered directly from the arduino's pwm pins. They used approximately 150ma max so I attached each motor to 3 pwm pins to source the current. In the code I just bundled these three together to allow all of them to update at the same time.
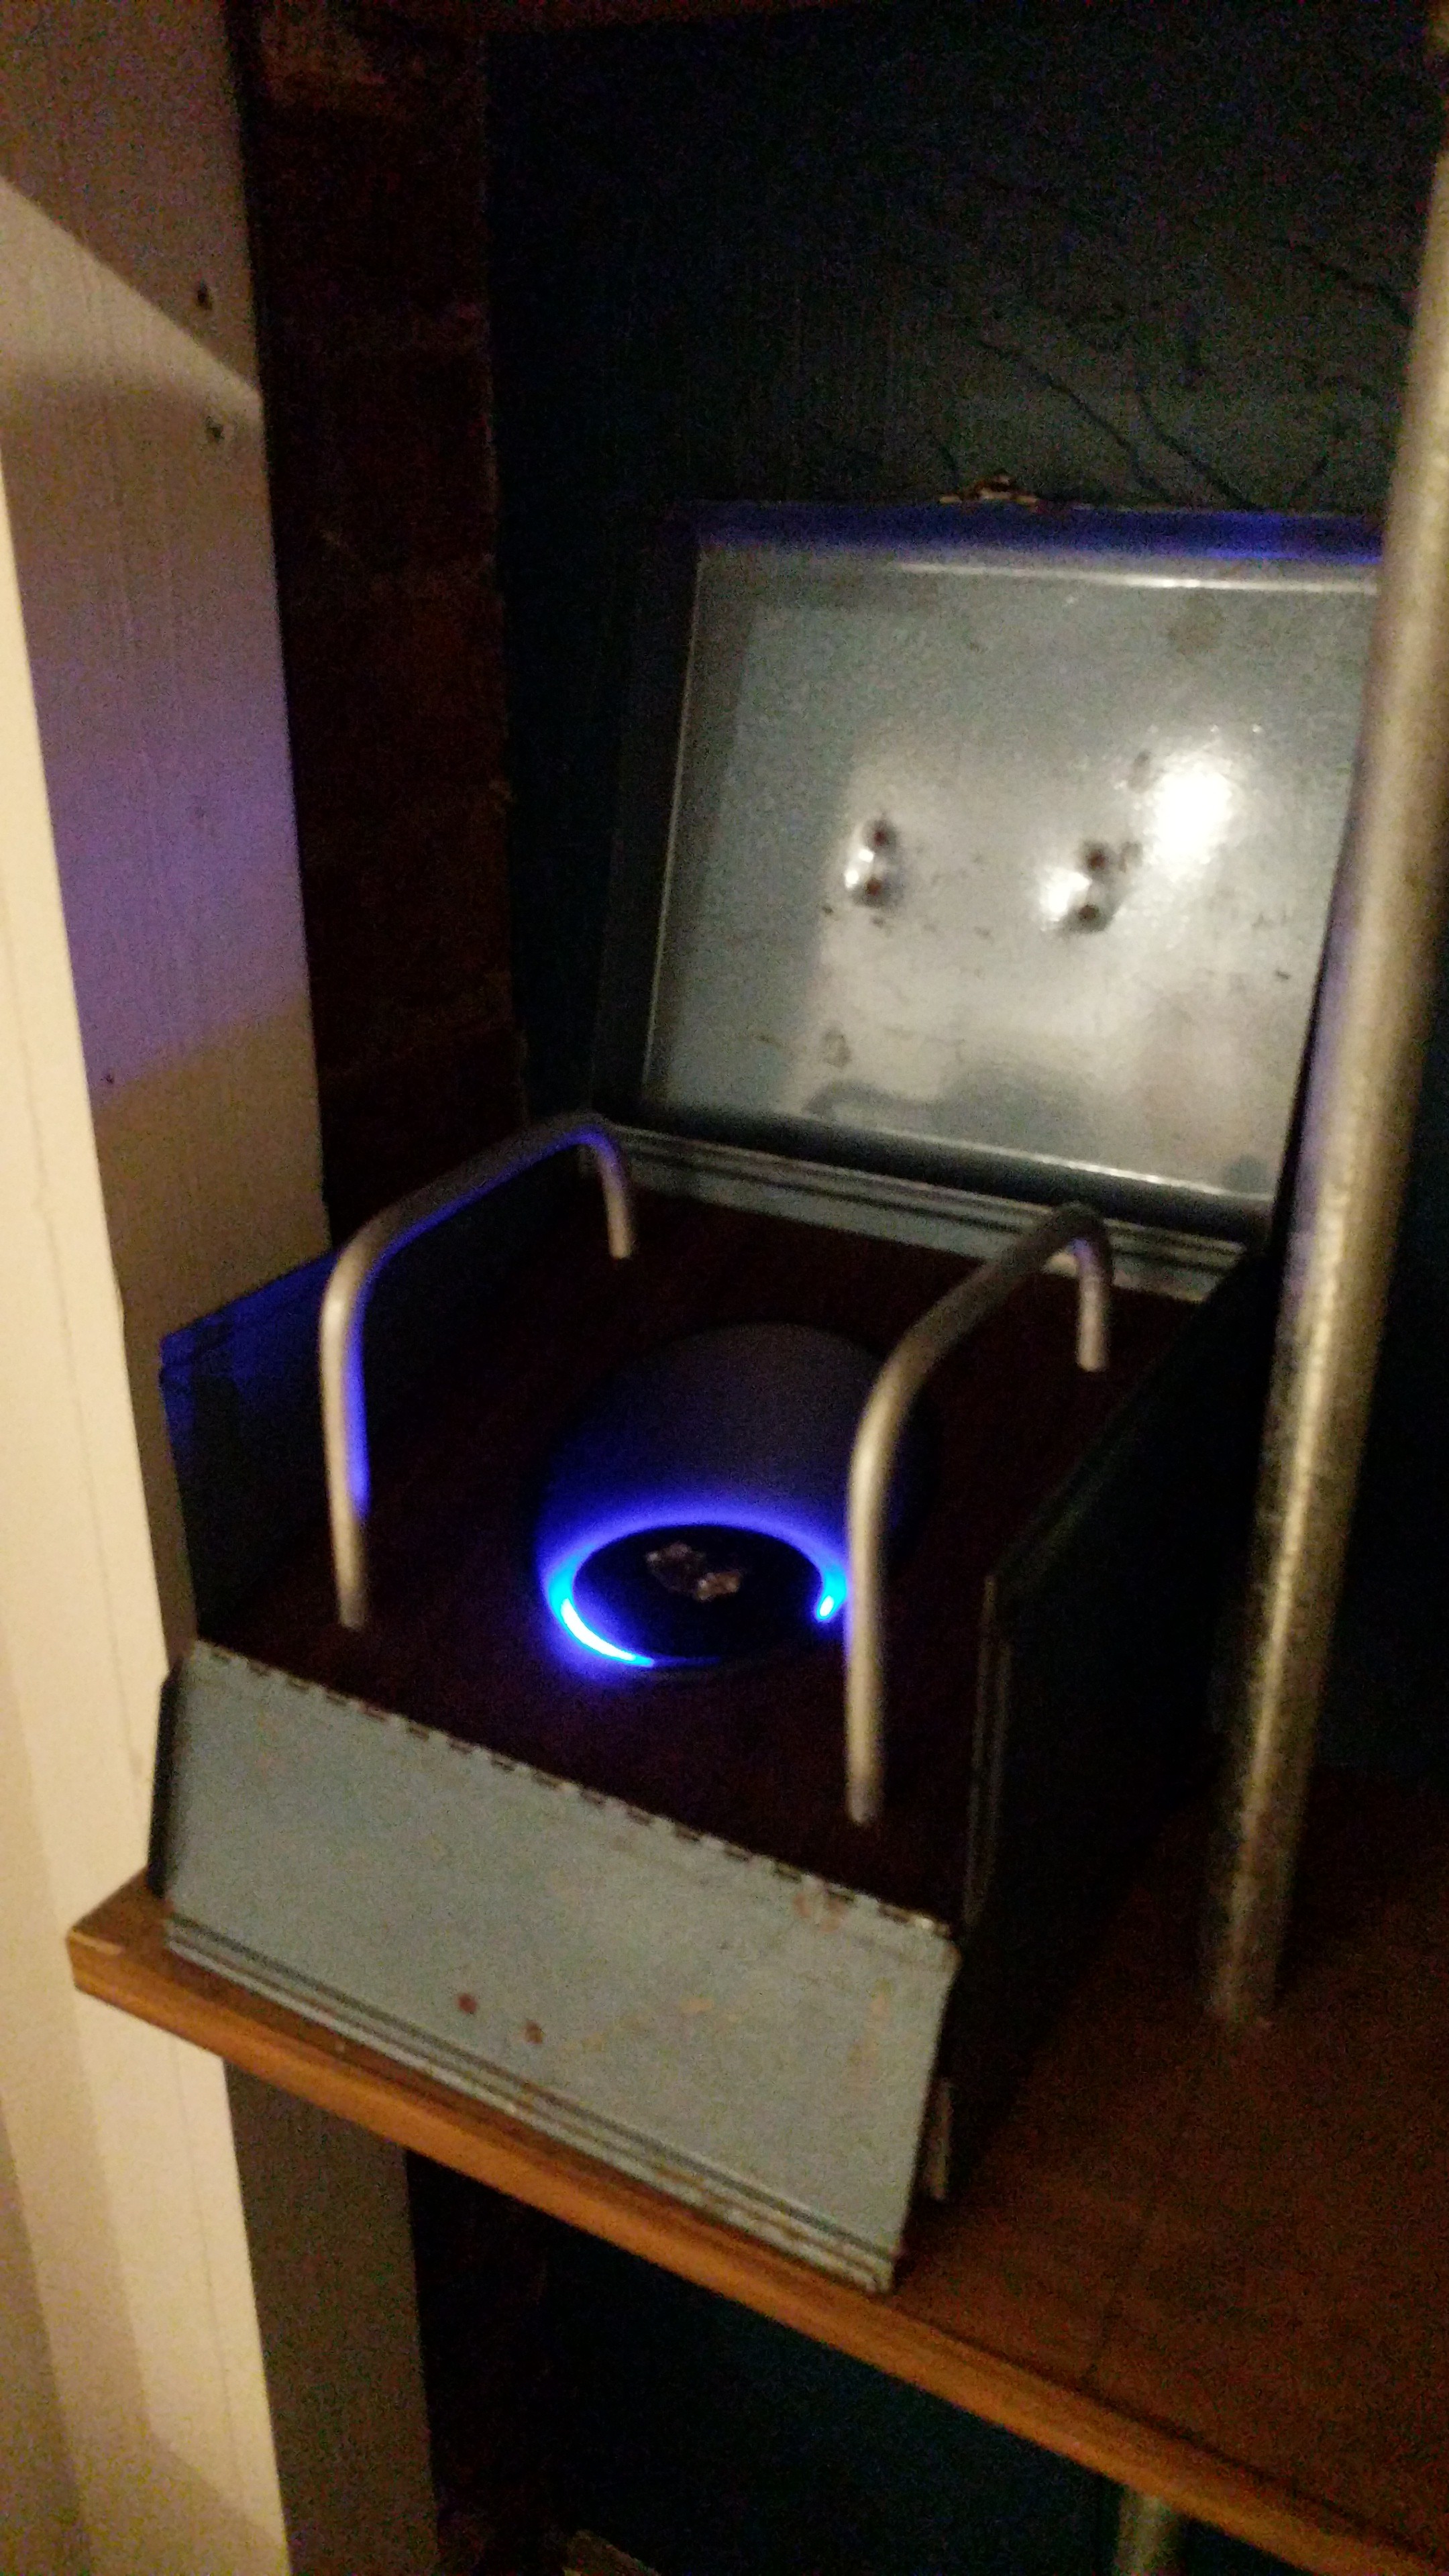
The neopixel ring initializes to purple when turned on and increases brightness from 0 to 50%. It then jumps straight to red because I never got around to smoothing that out. While on it uses the rainbow function set to a slow cycle speed.
In normal operation one haptic motor is constantly on and the other pulses with the neopixel cycles so there is a slight increase in vibration.
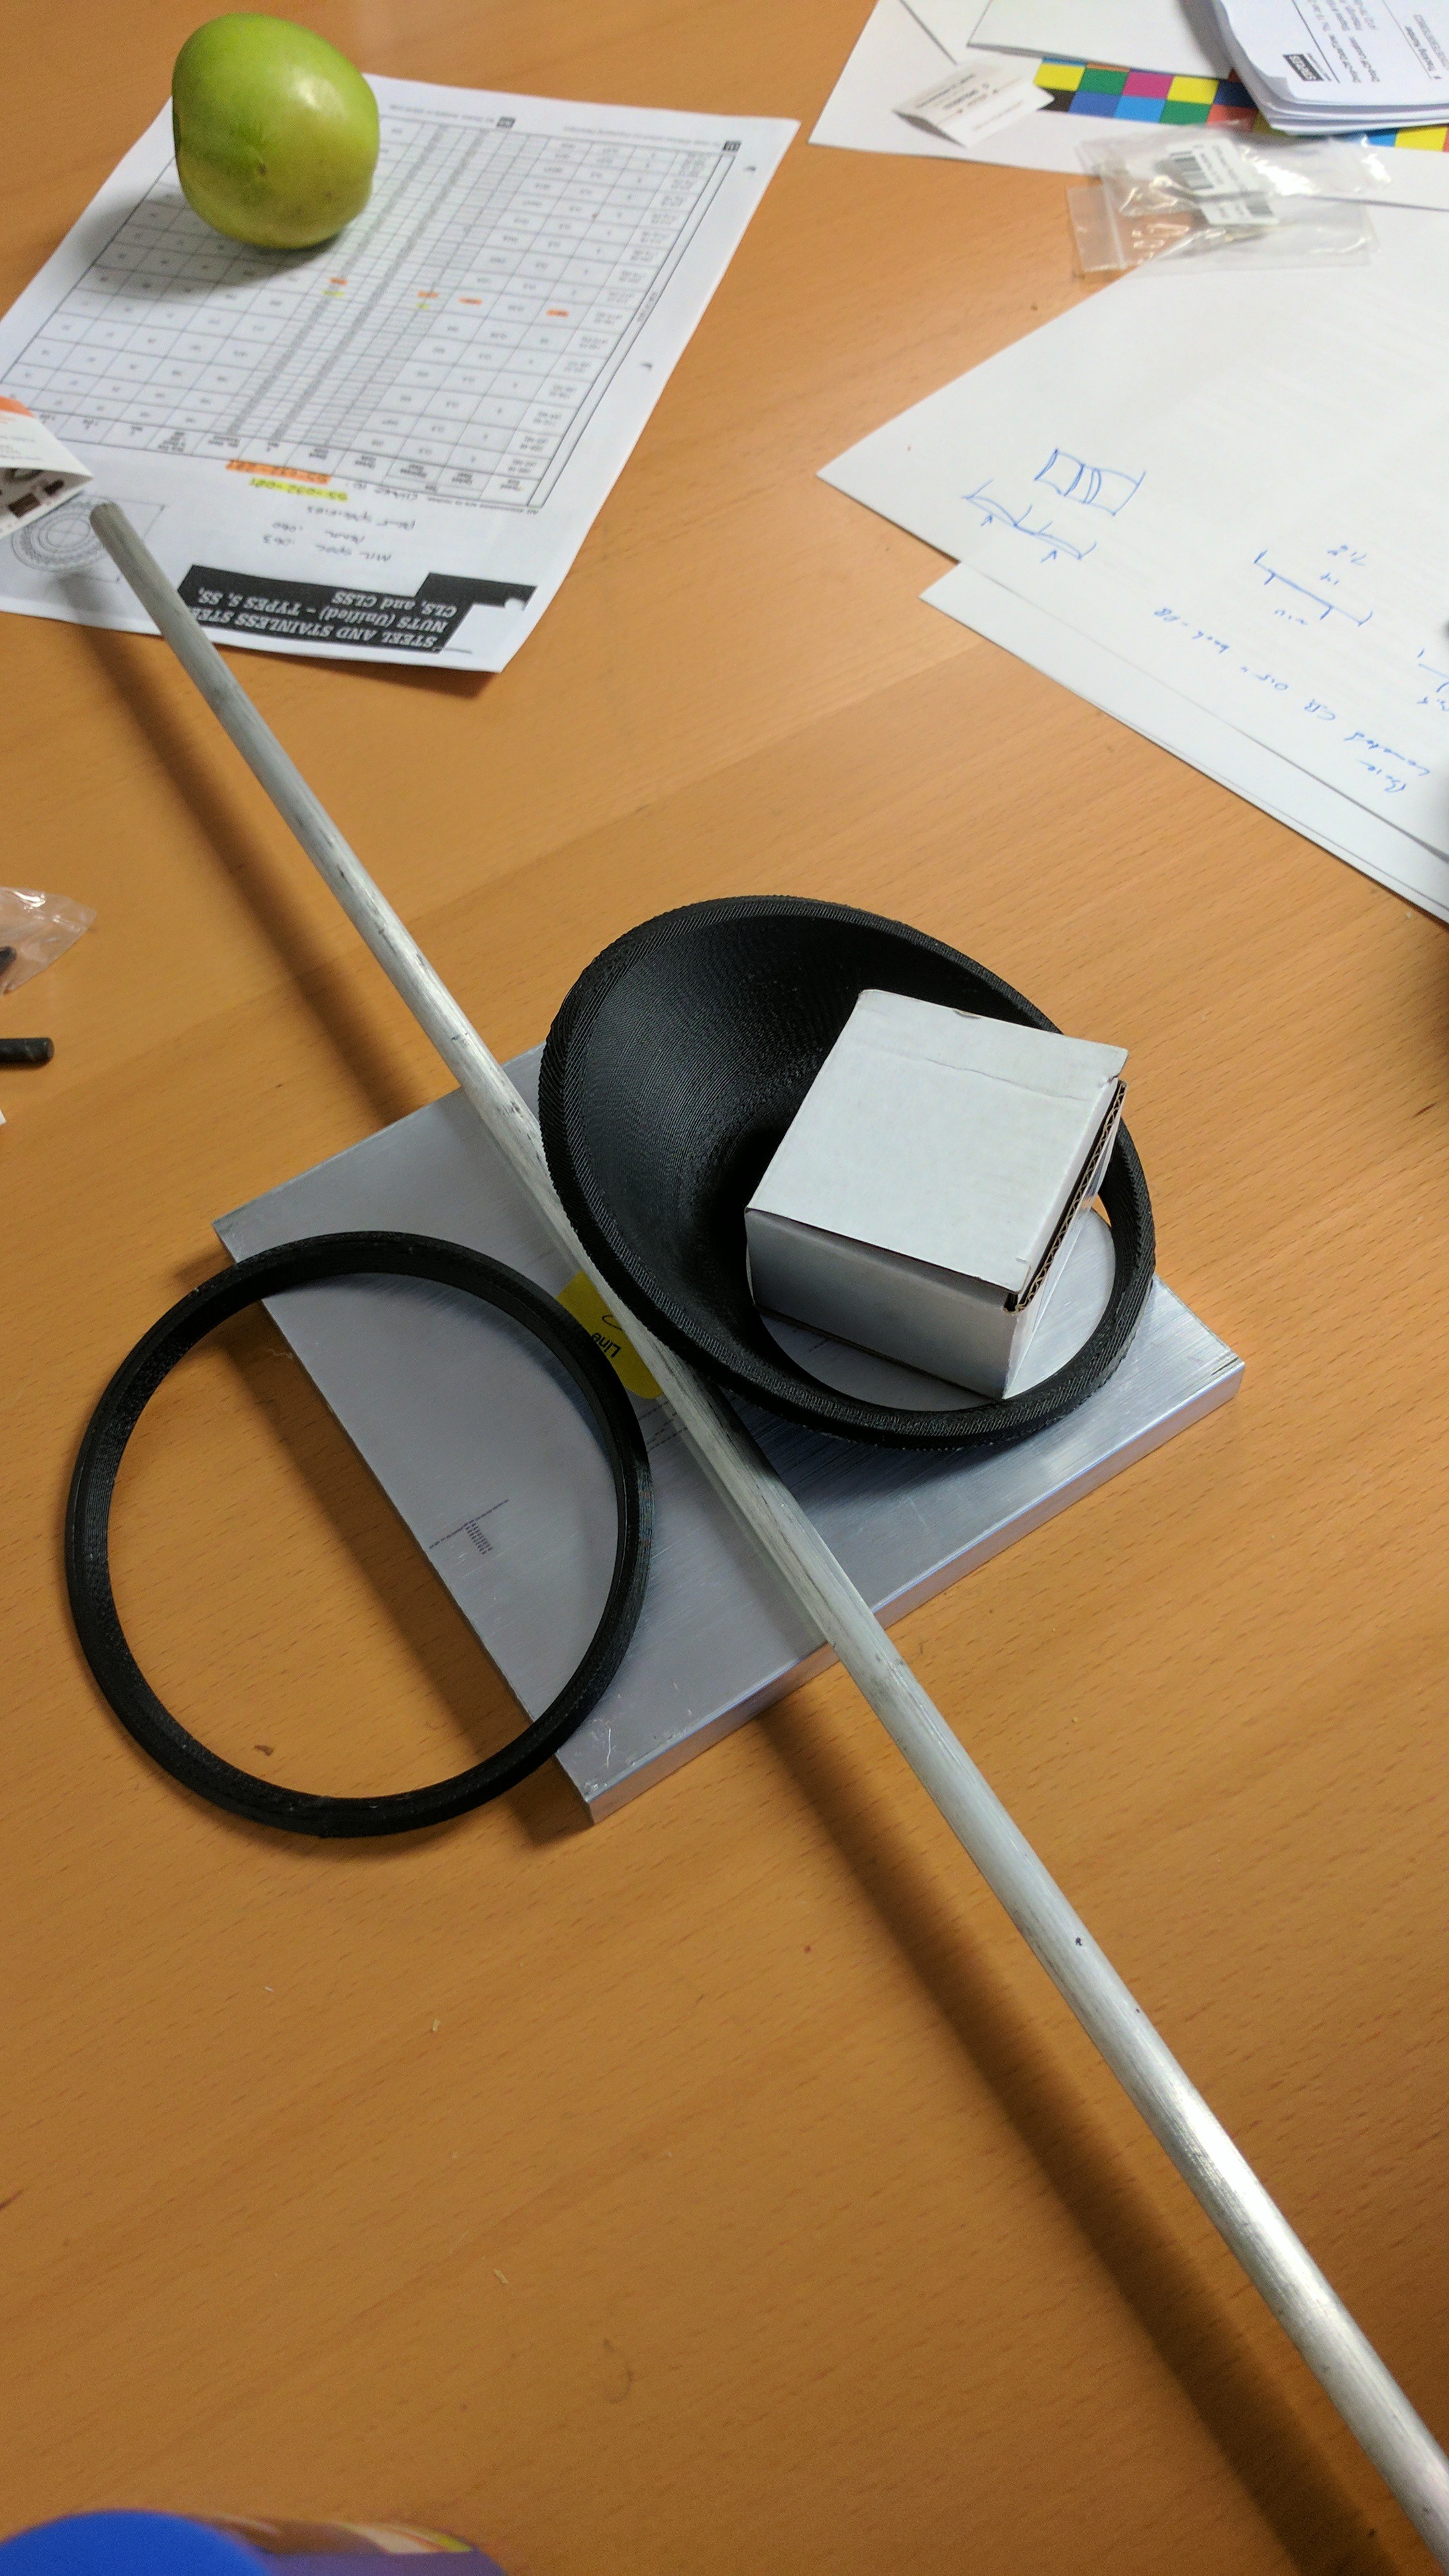
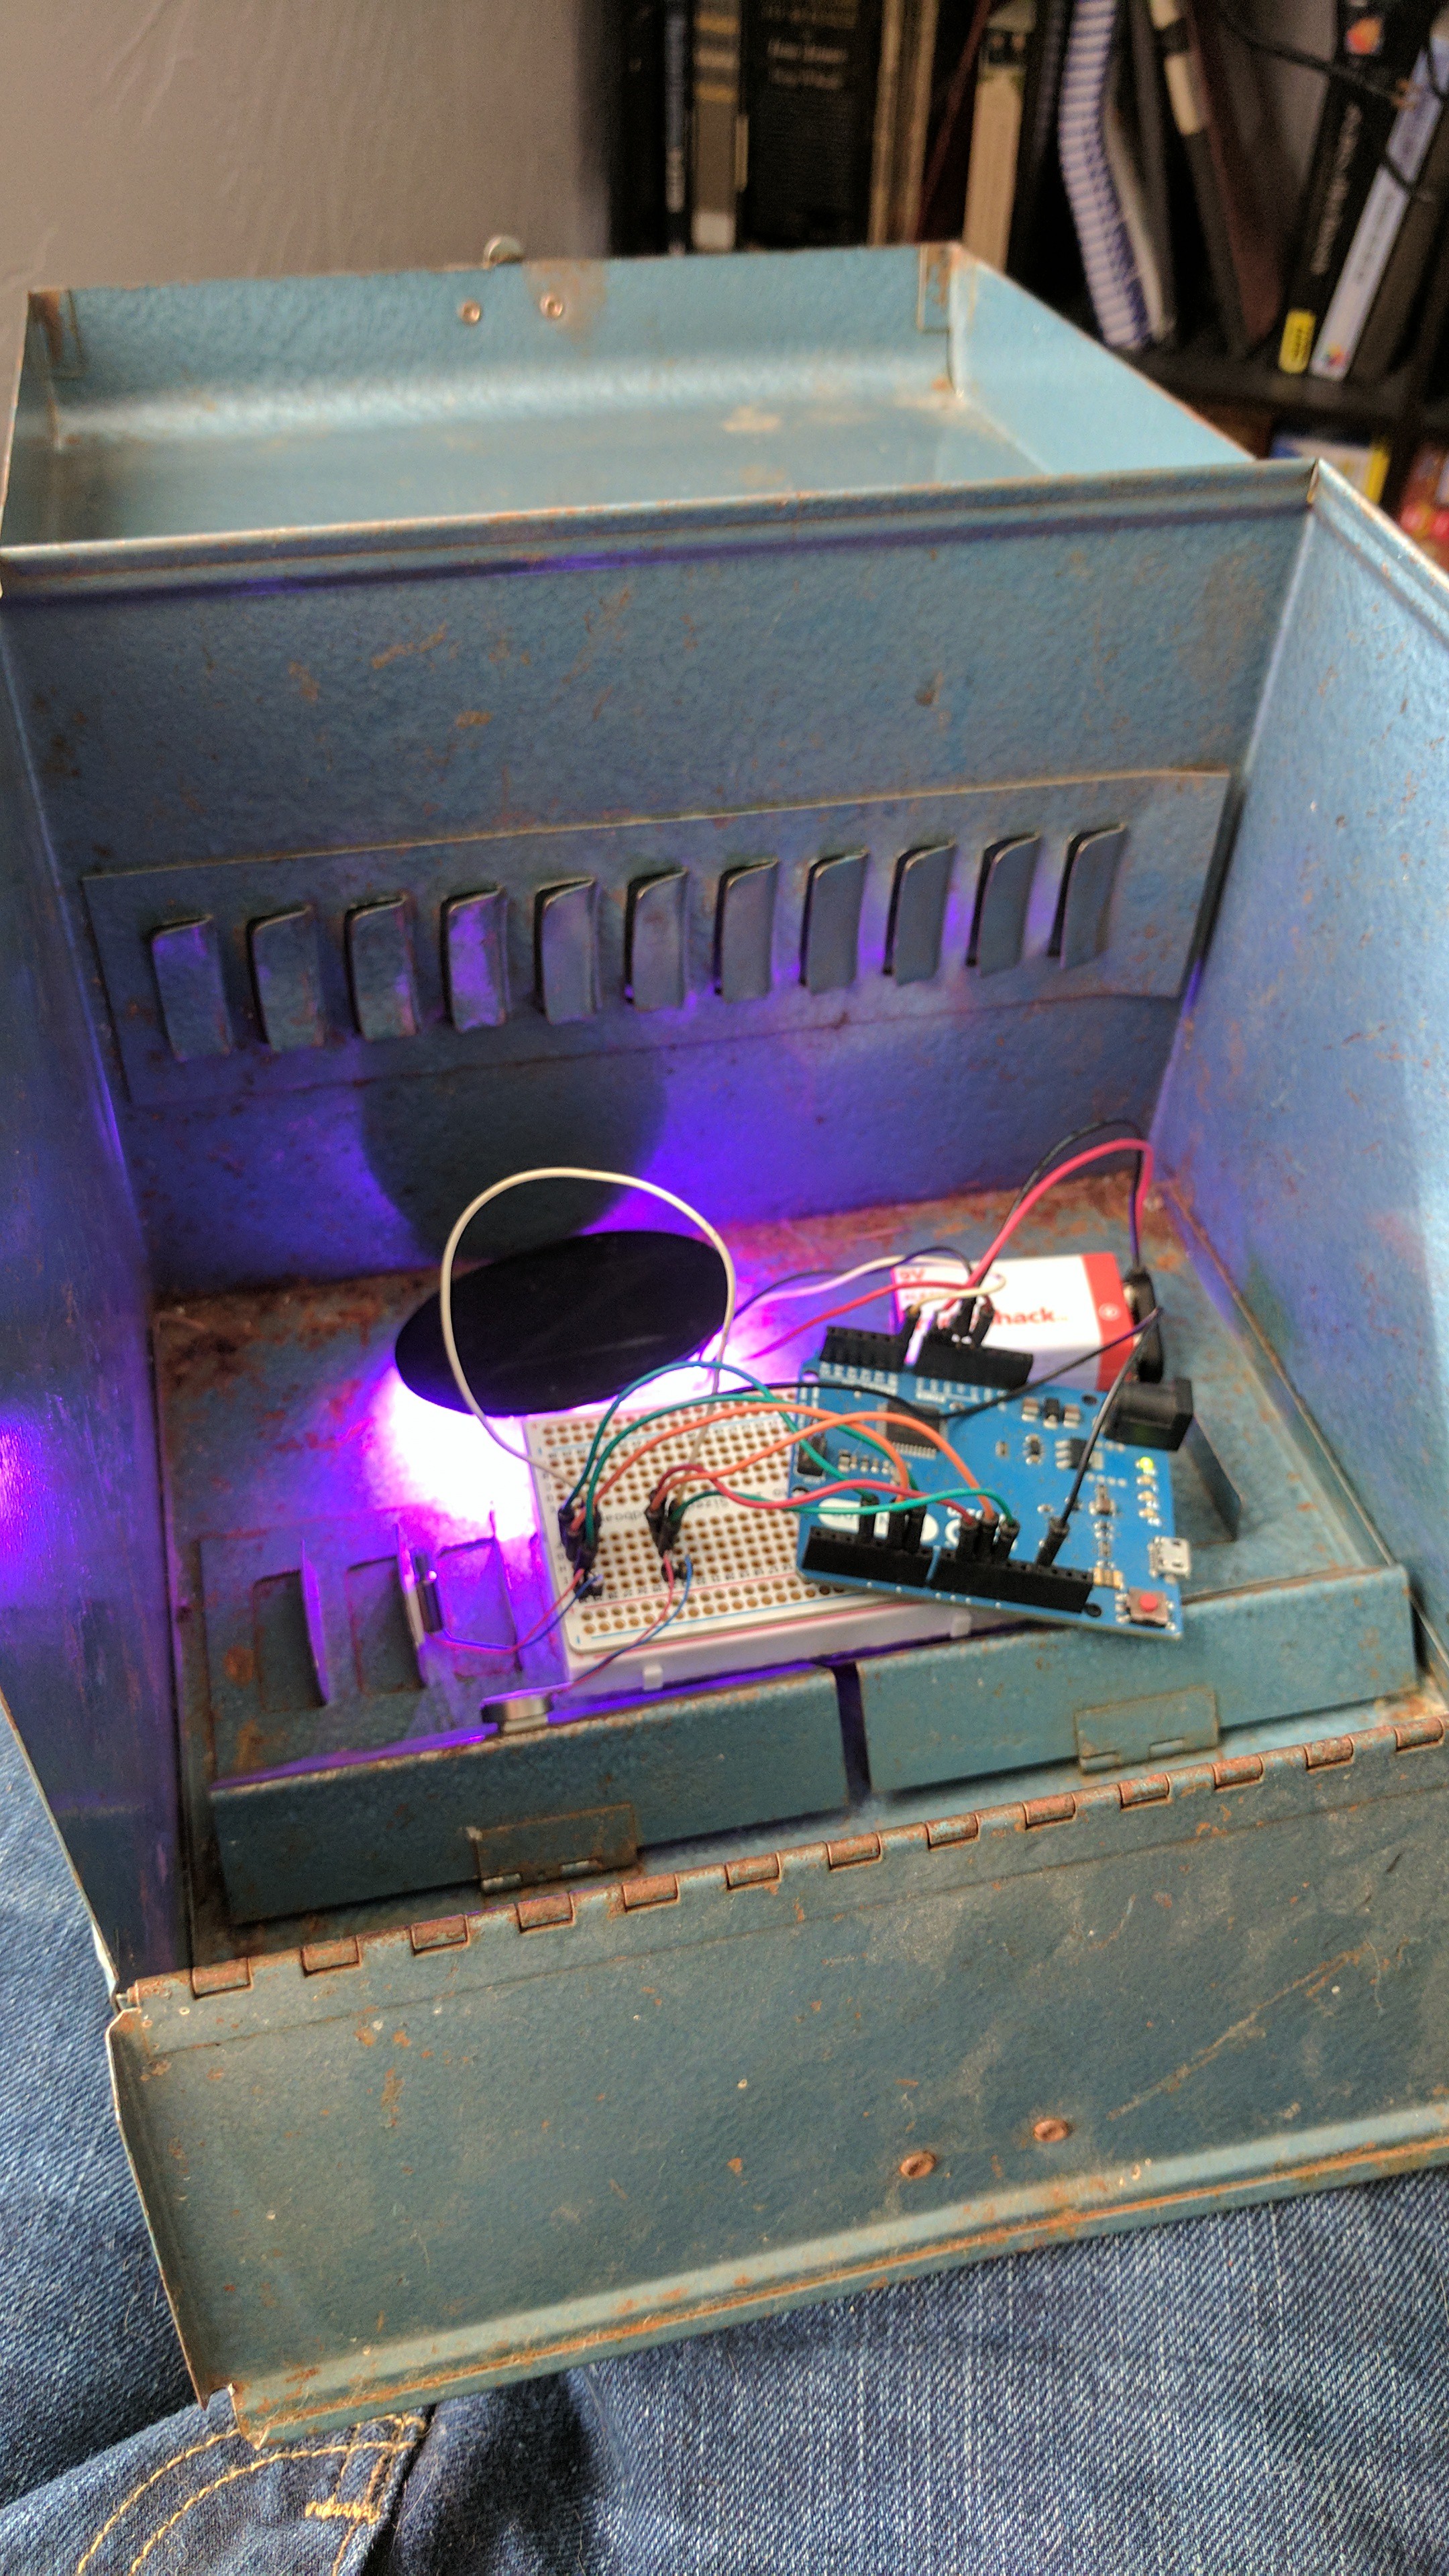
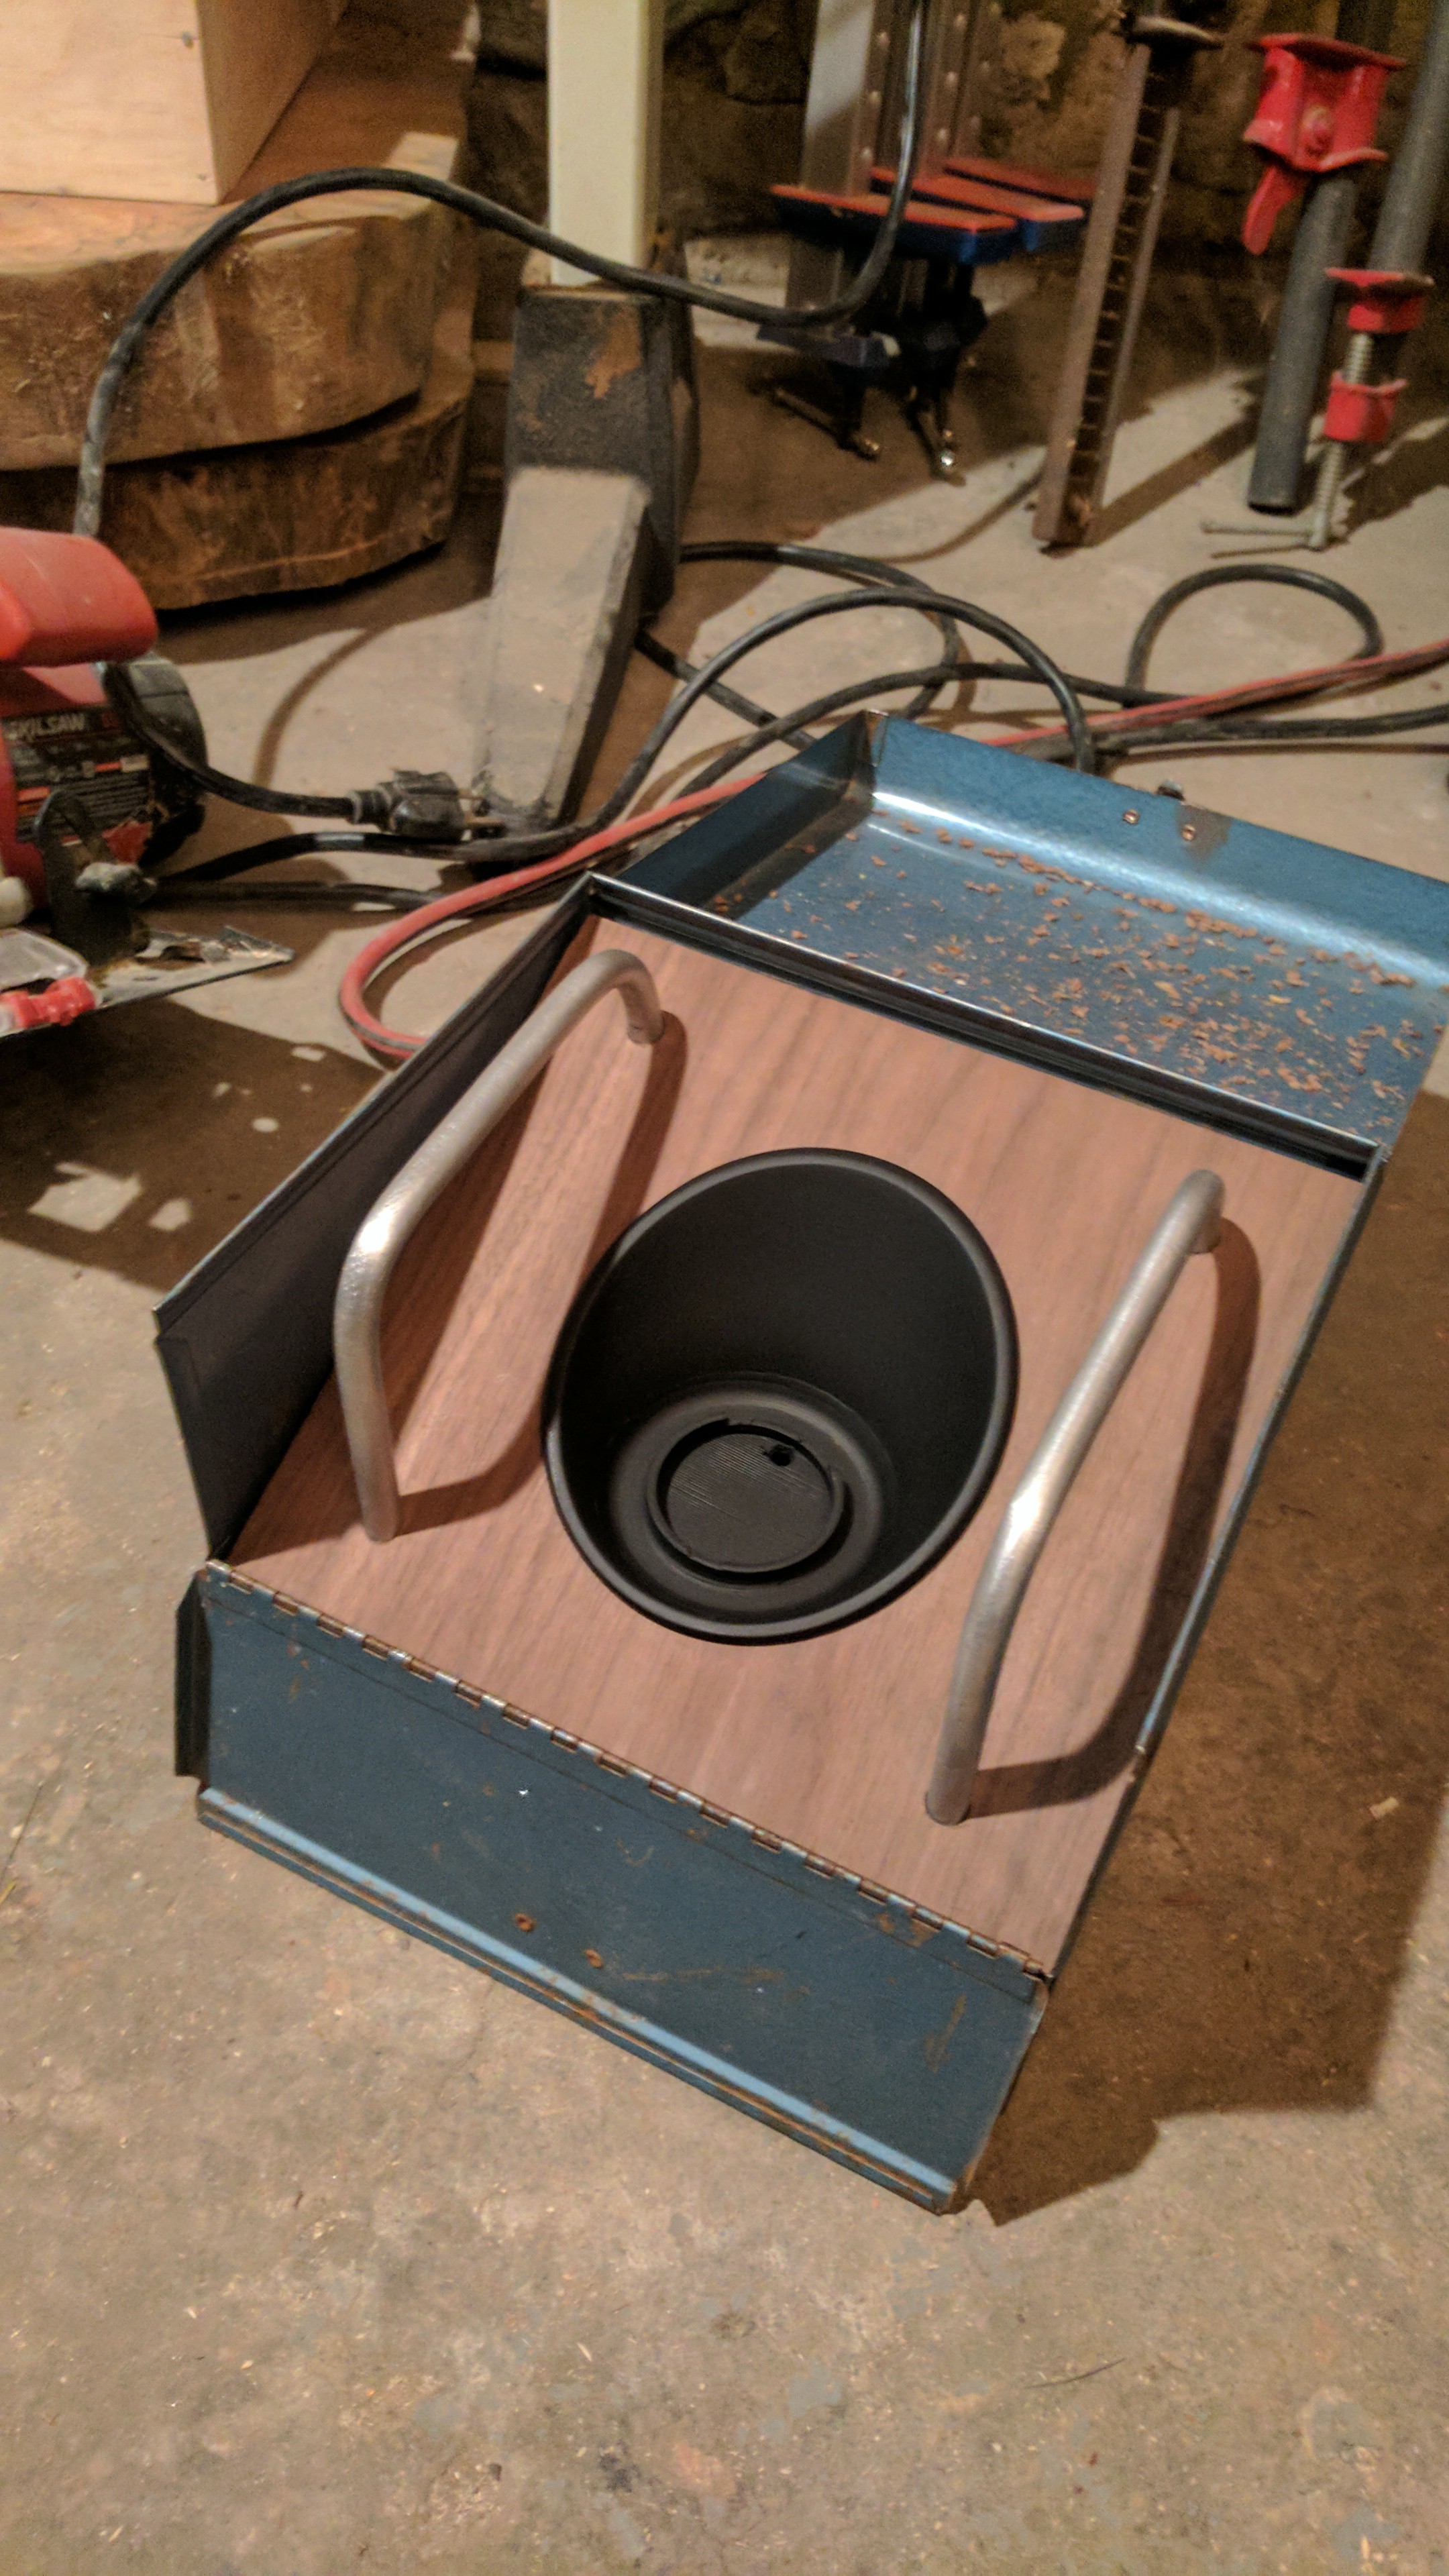
I printed the cone and a copy of its trim piece. The aluminum plate is just a weight that I used to give the box some mass. I know I could have used less steel but it was quick and easy. Also in the box is the magnet for the meteorite since its mainly iron. I don't have any photos of bending the rod, I just used my vise and a 1 - 1 scale screen cap to get the bends close and the overall center to center distance right.

Sanded and primed cone and bent rails.
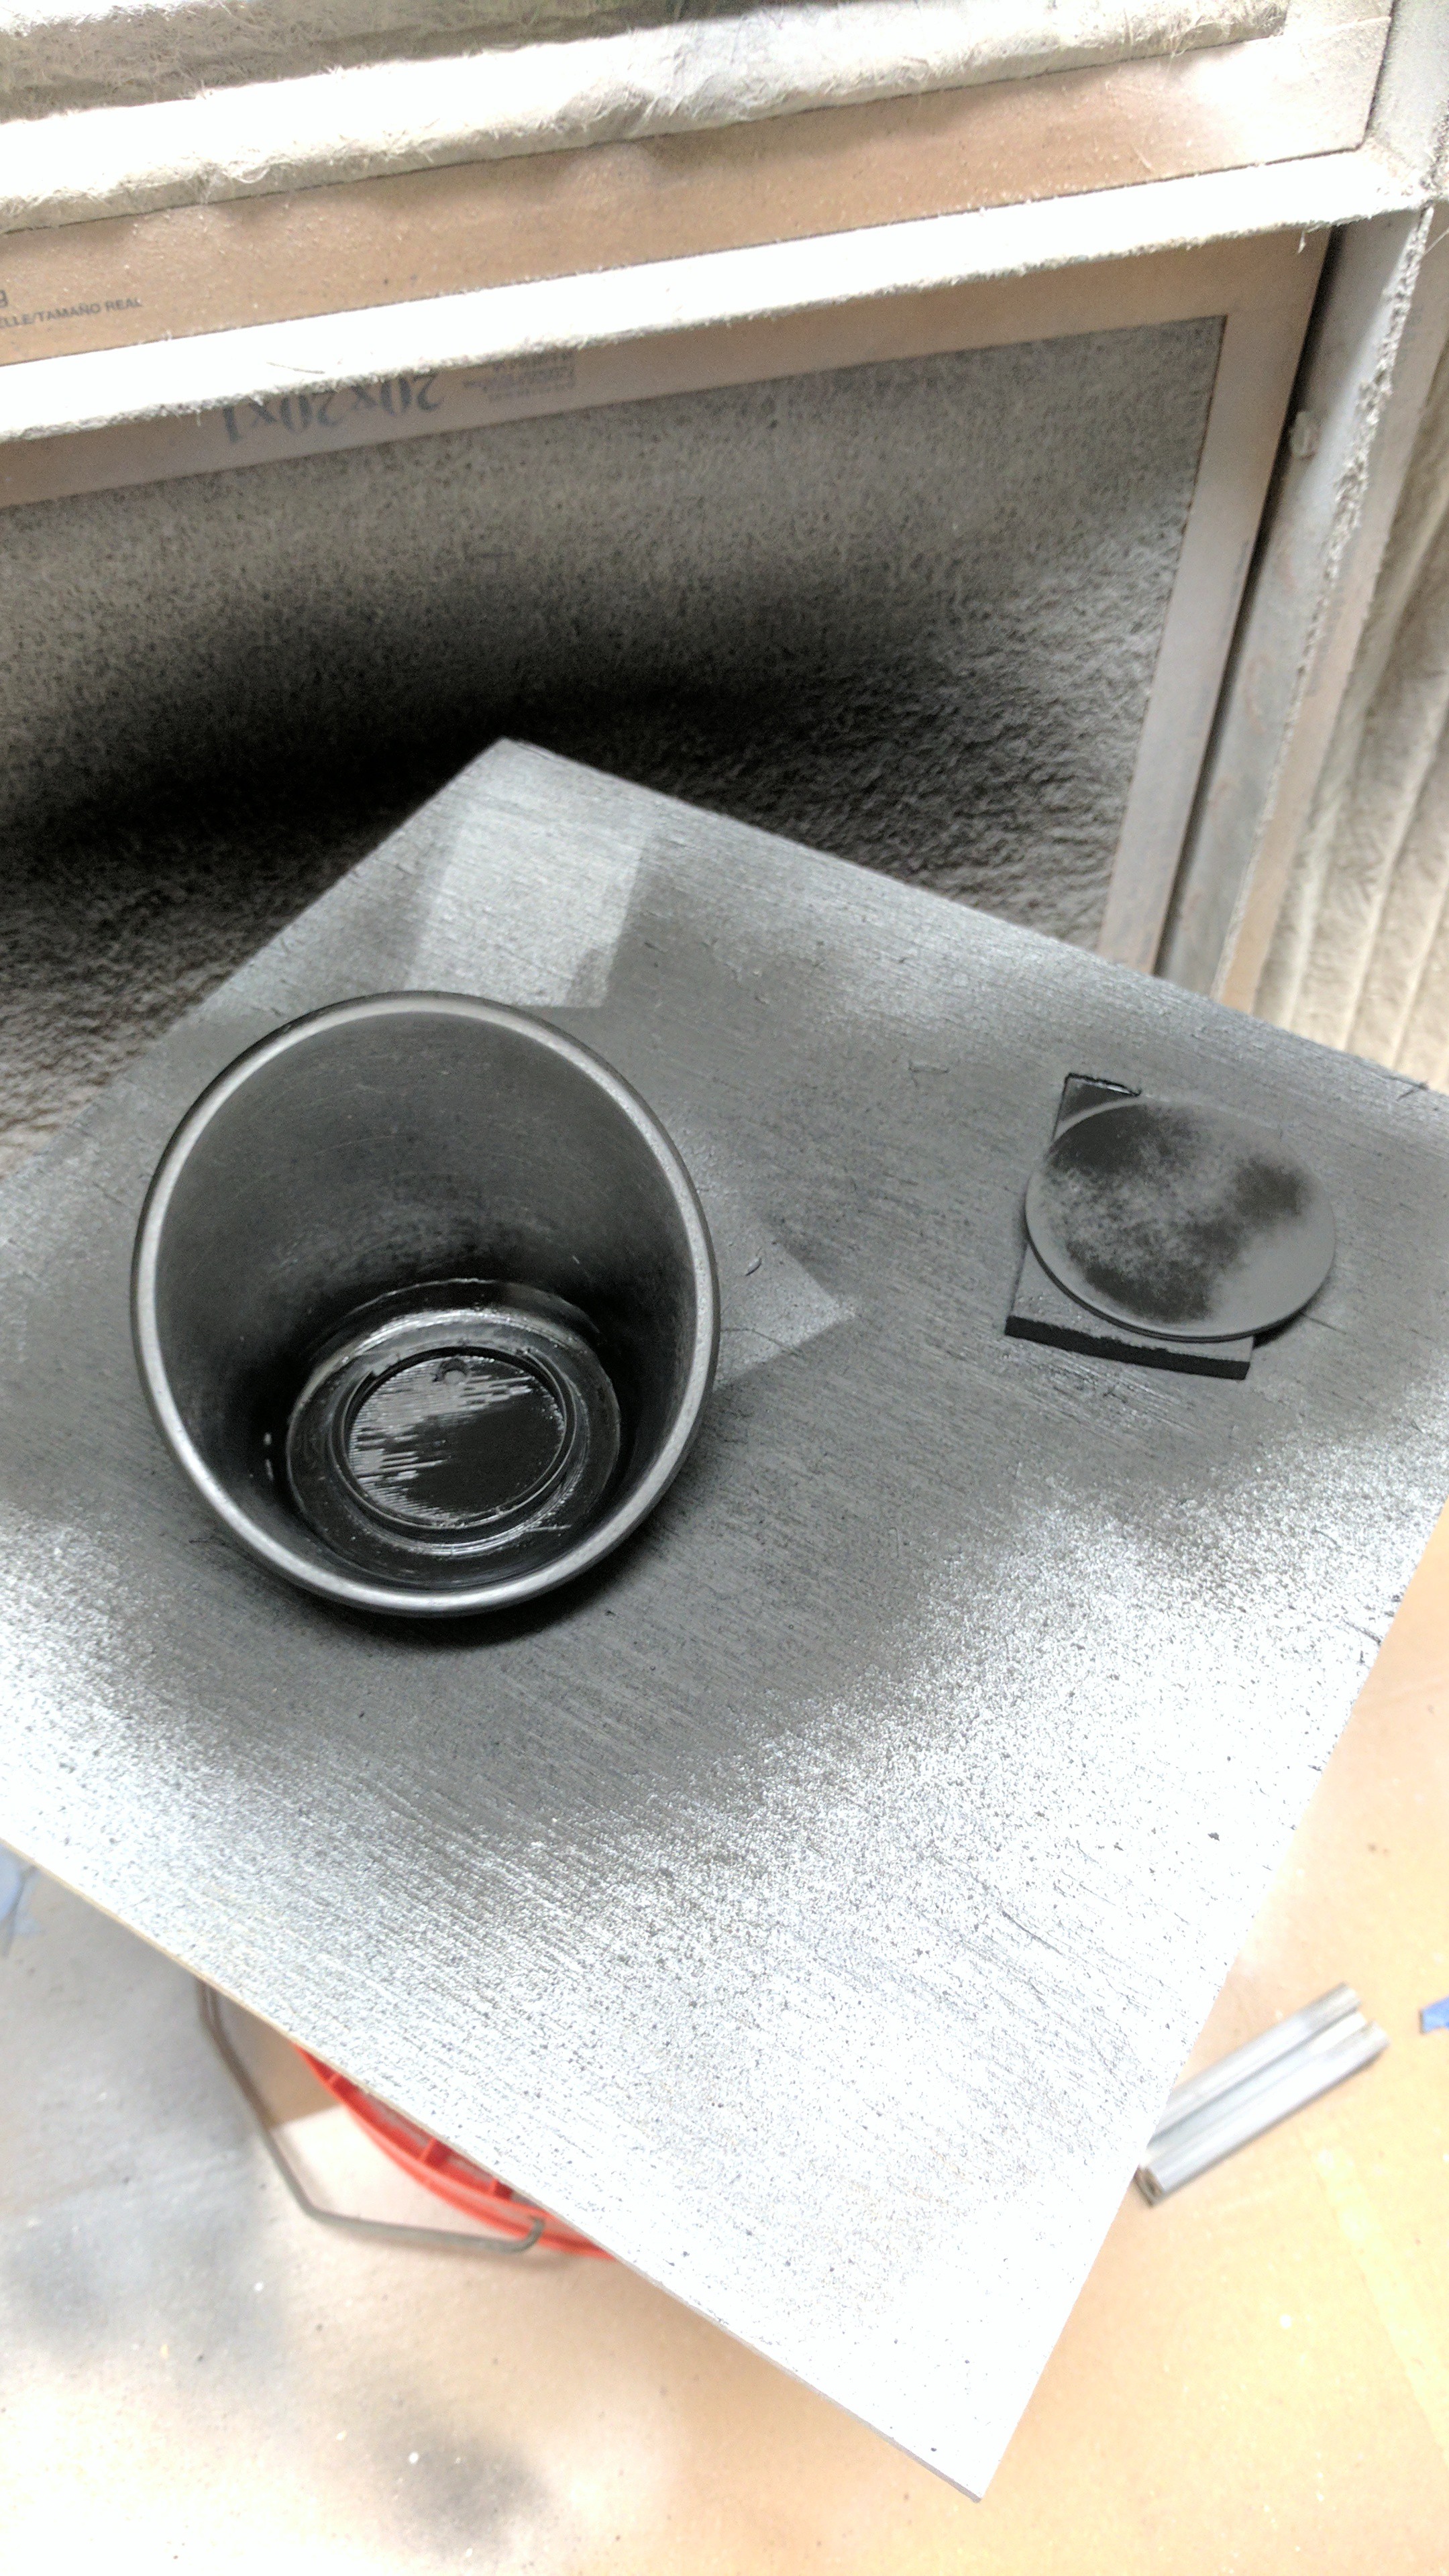
Painting cone and rock pedestal.
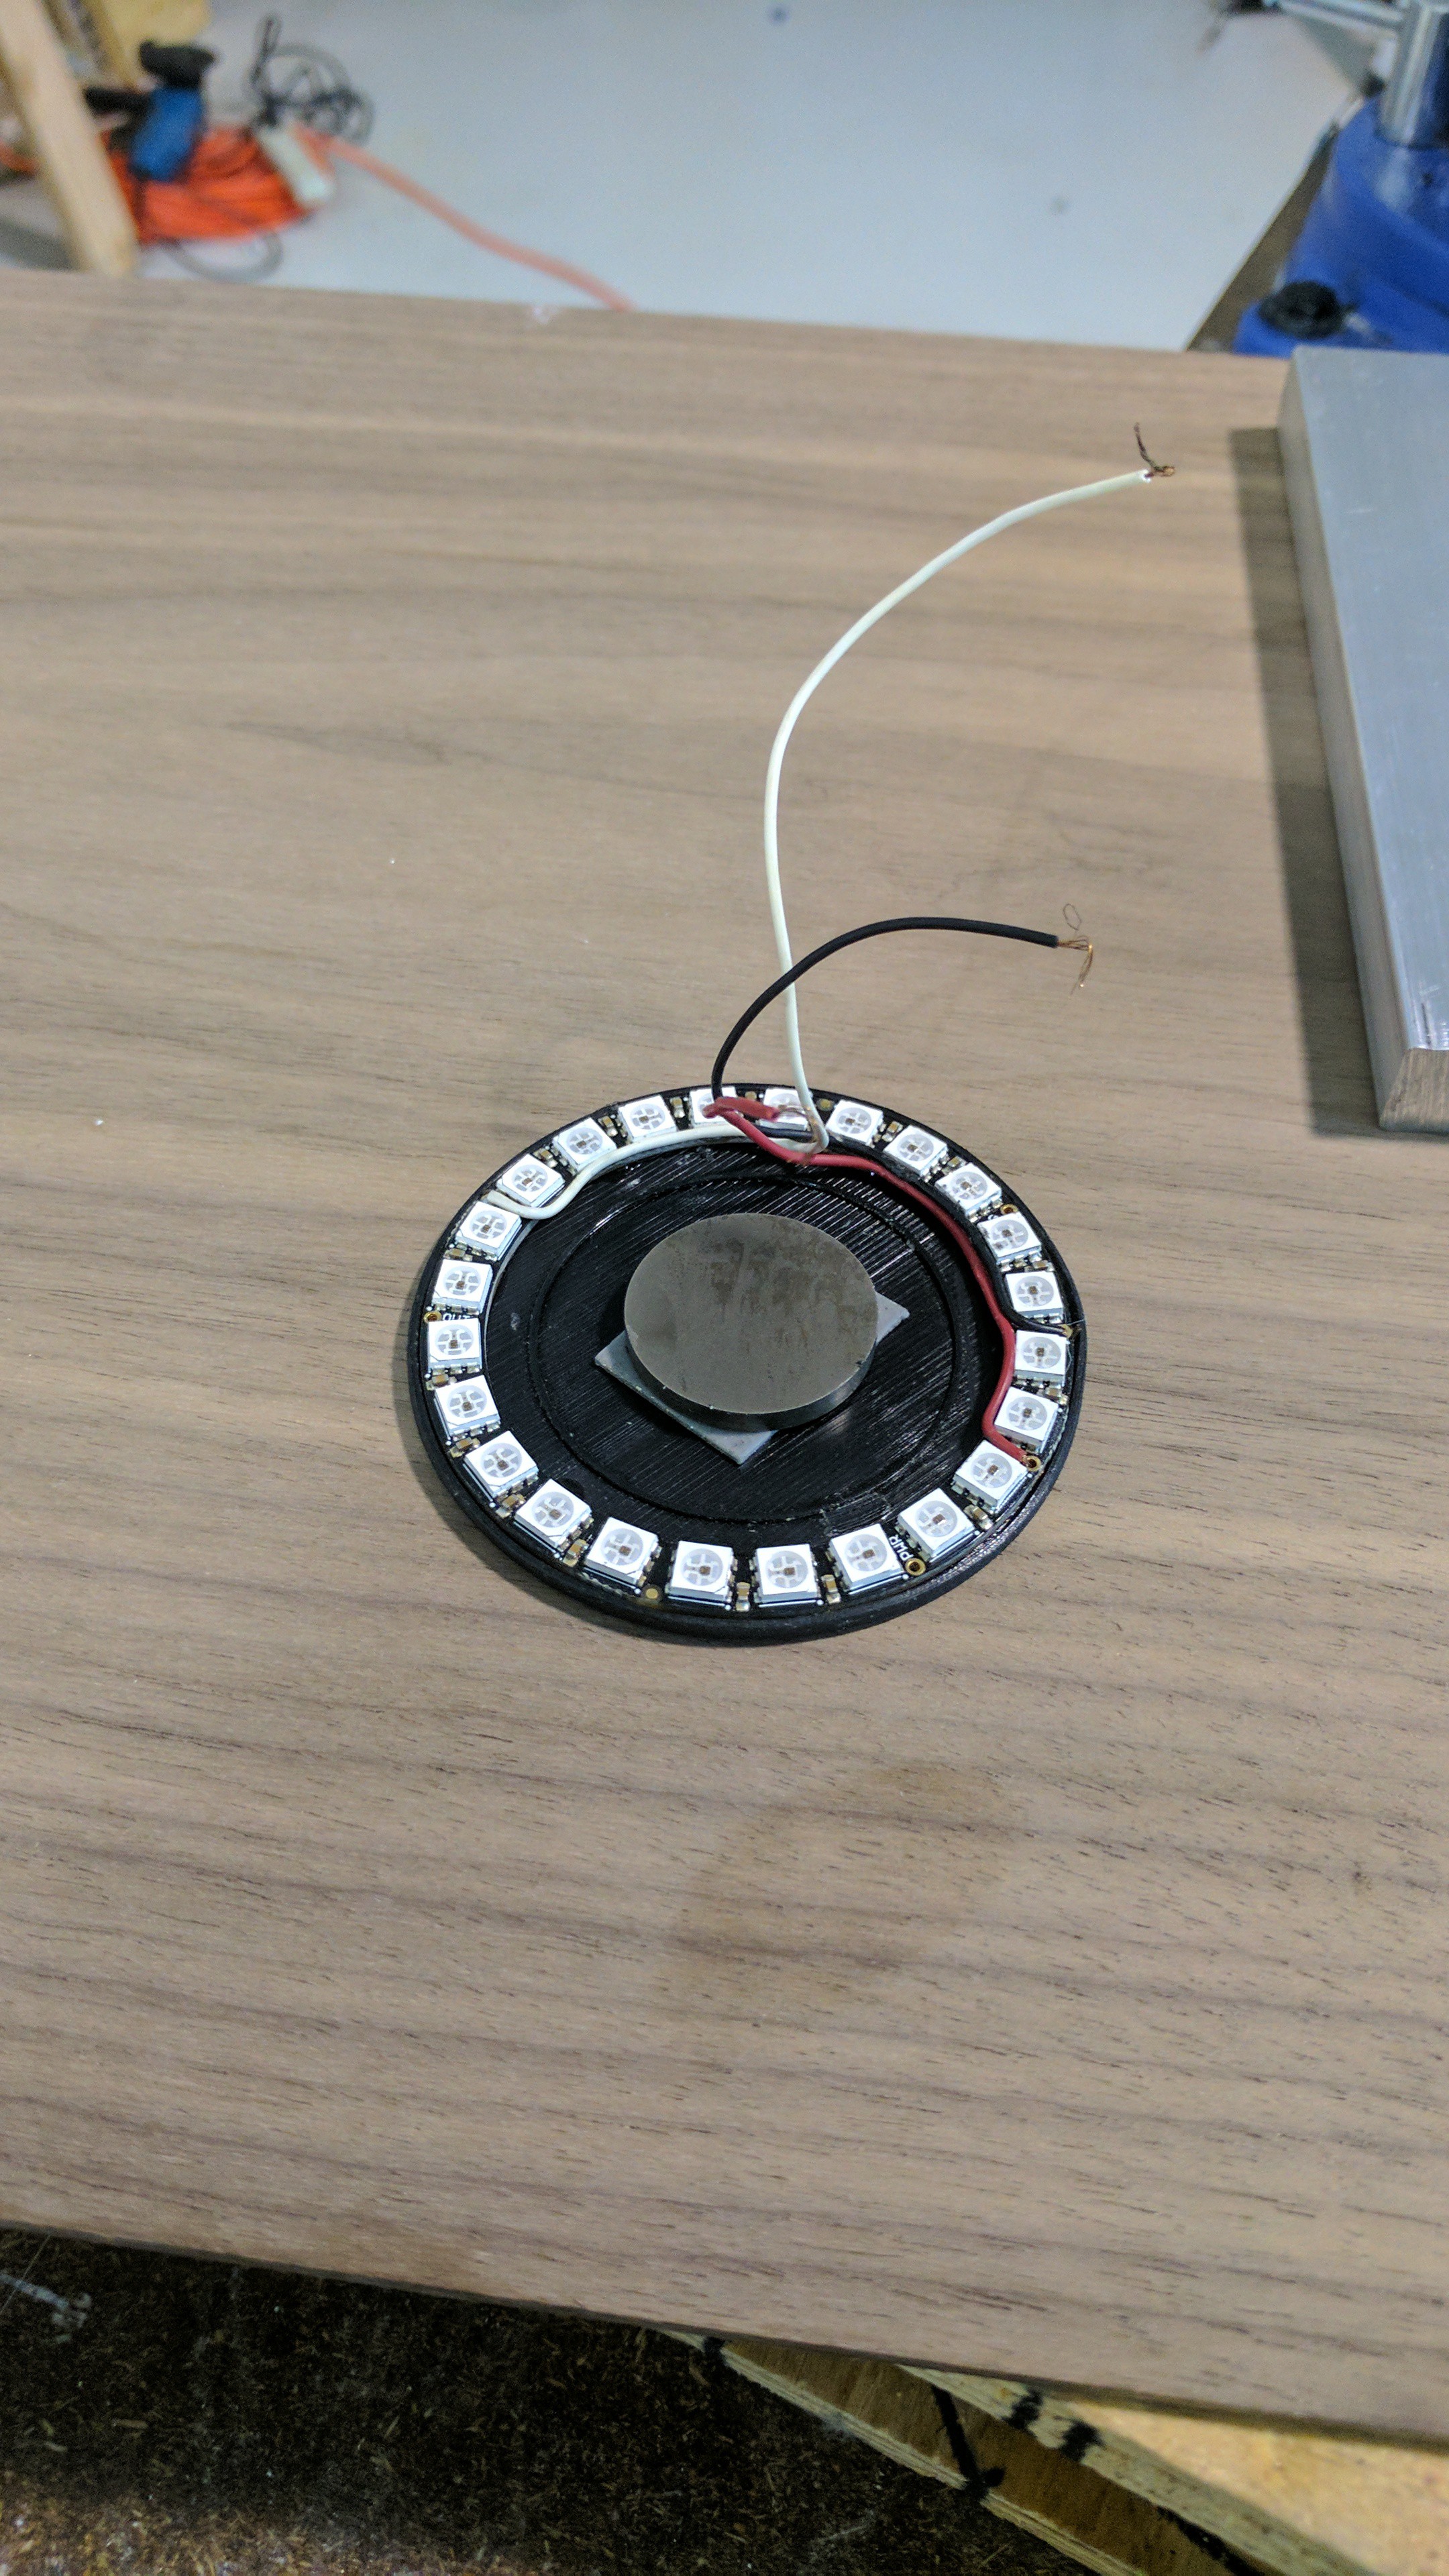
double sided tape for the magnet on the underside and the neopixel ring was a press fit thanks to the build lines of the print.
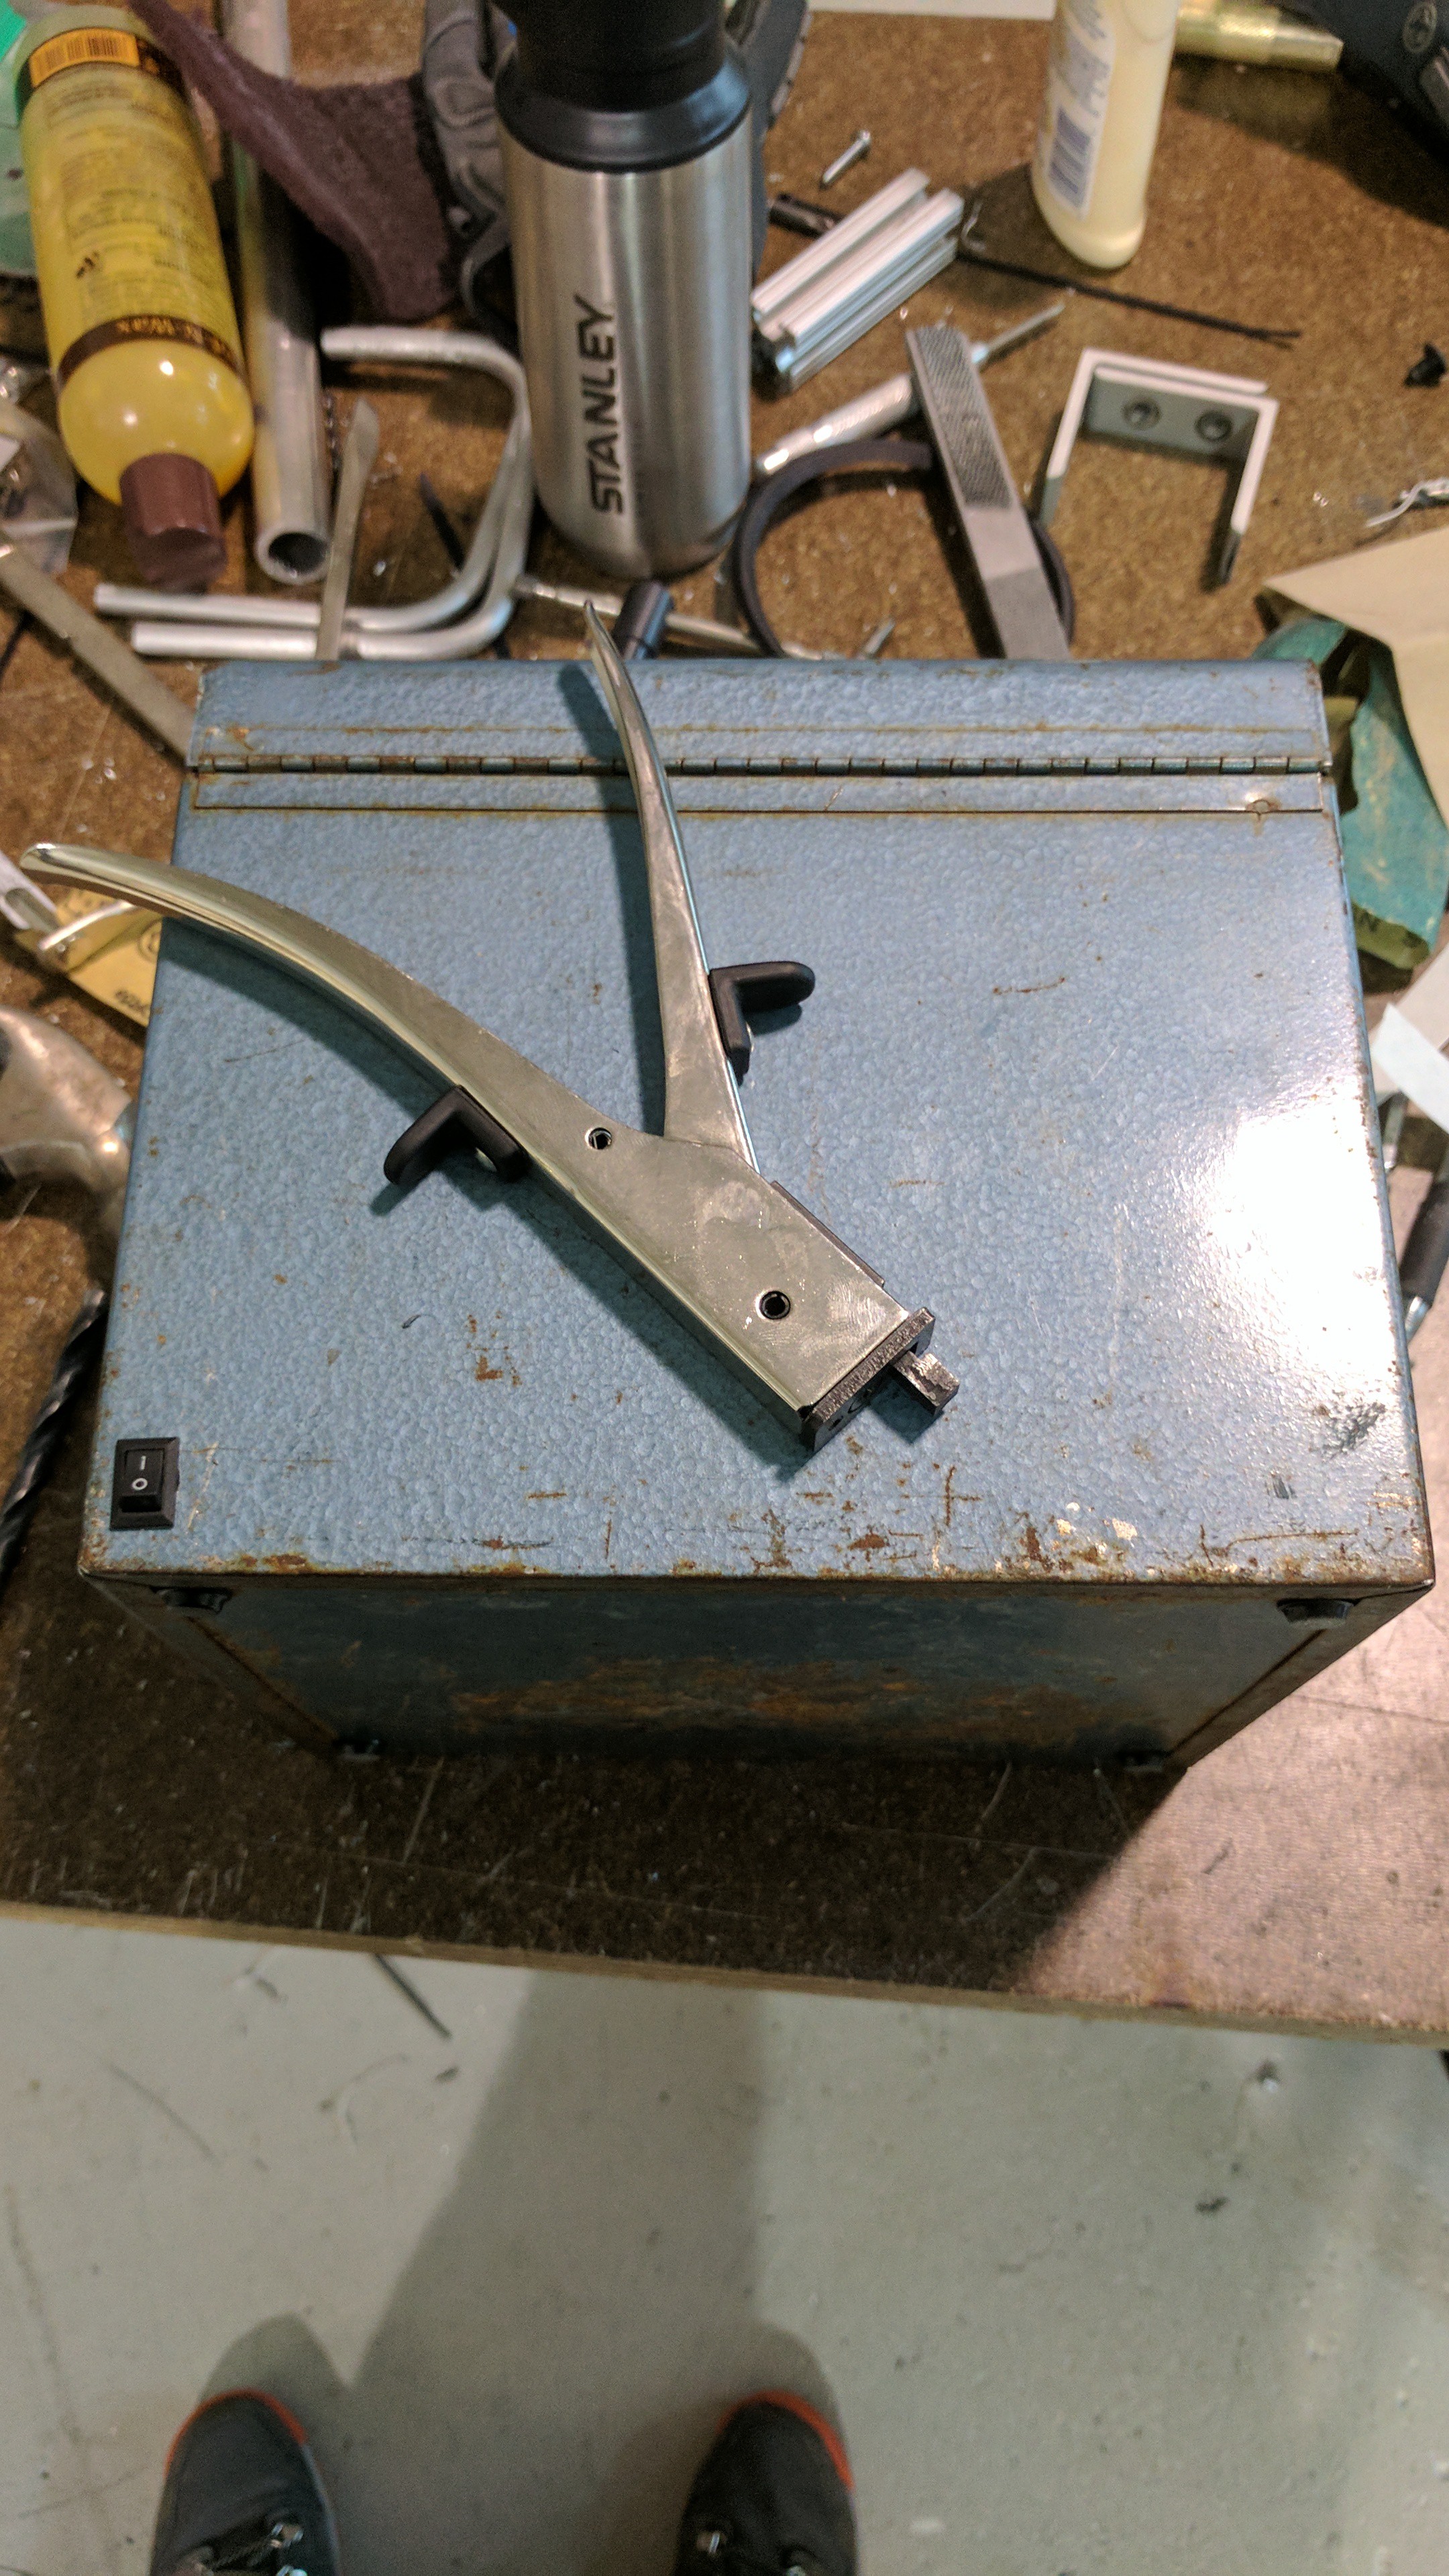
I went with a simple on off switch so there wasn't a need for a contact switch when the lid was opened. I wanted it to be on when I handed it to her all wrapped up. I drilled a small hole and used my nibbler tool to get it rectangular.
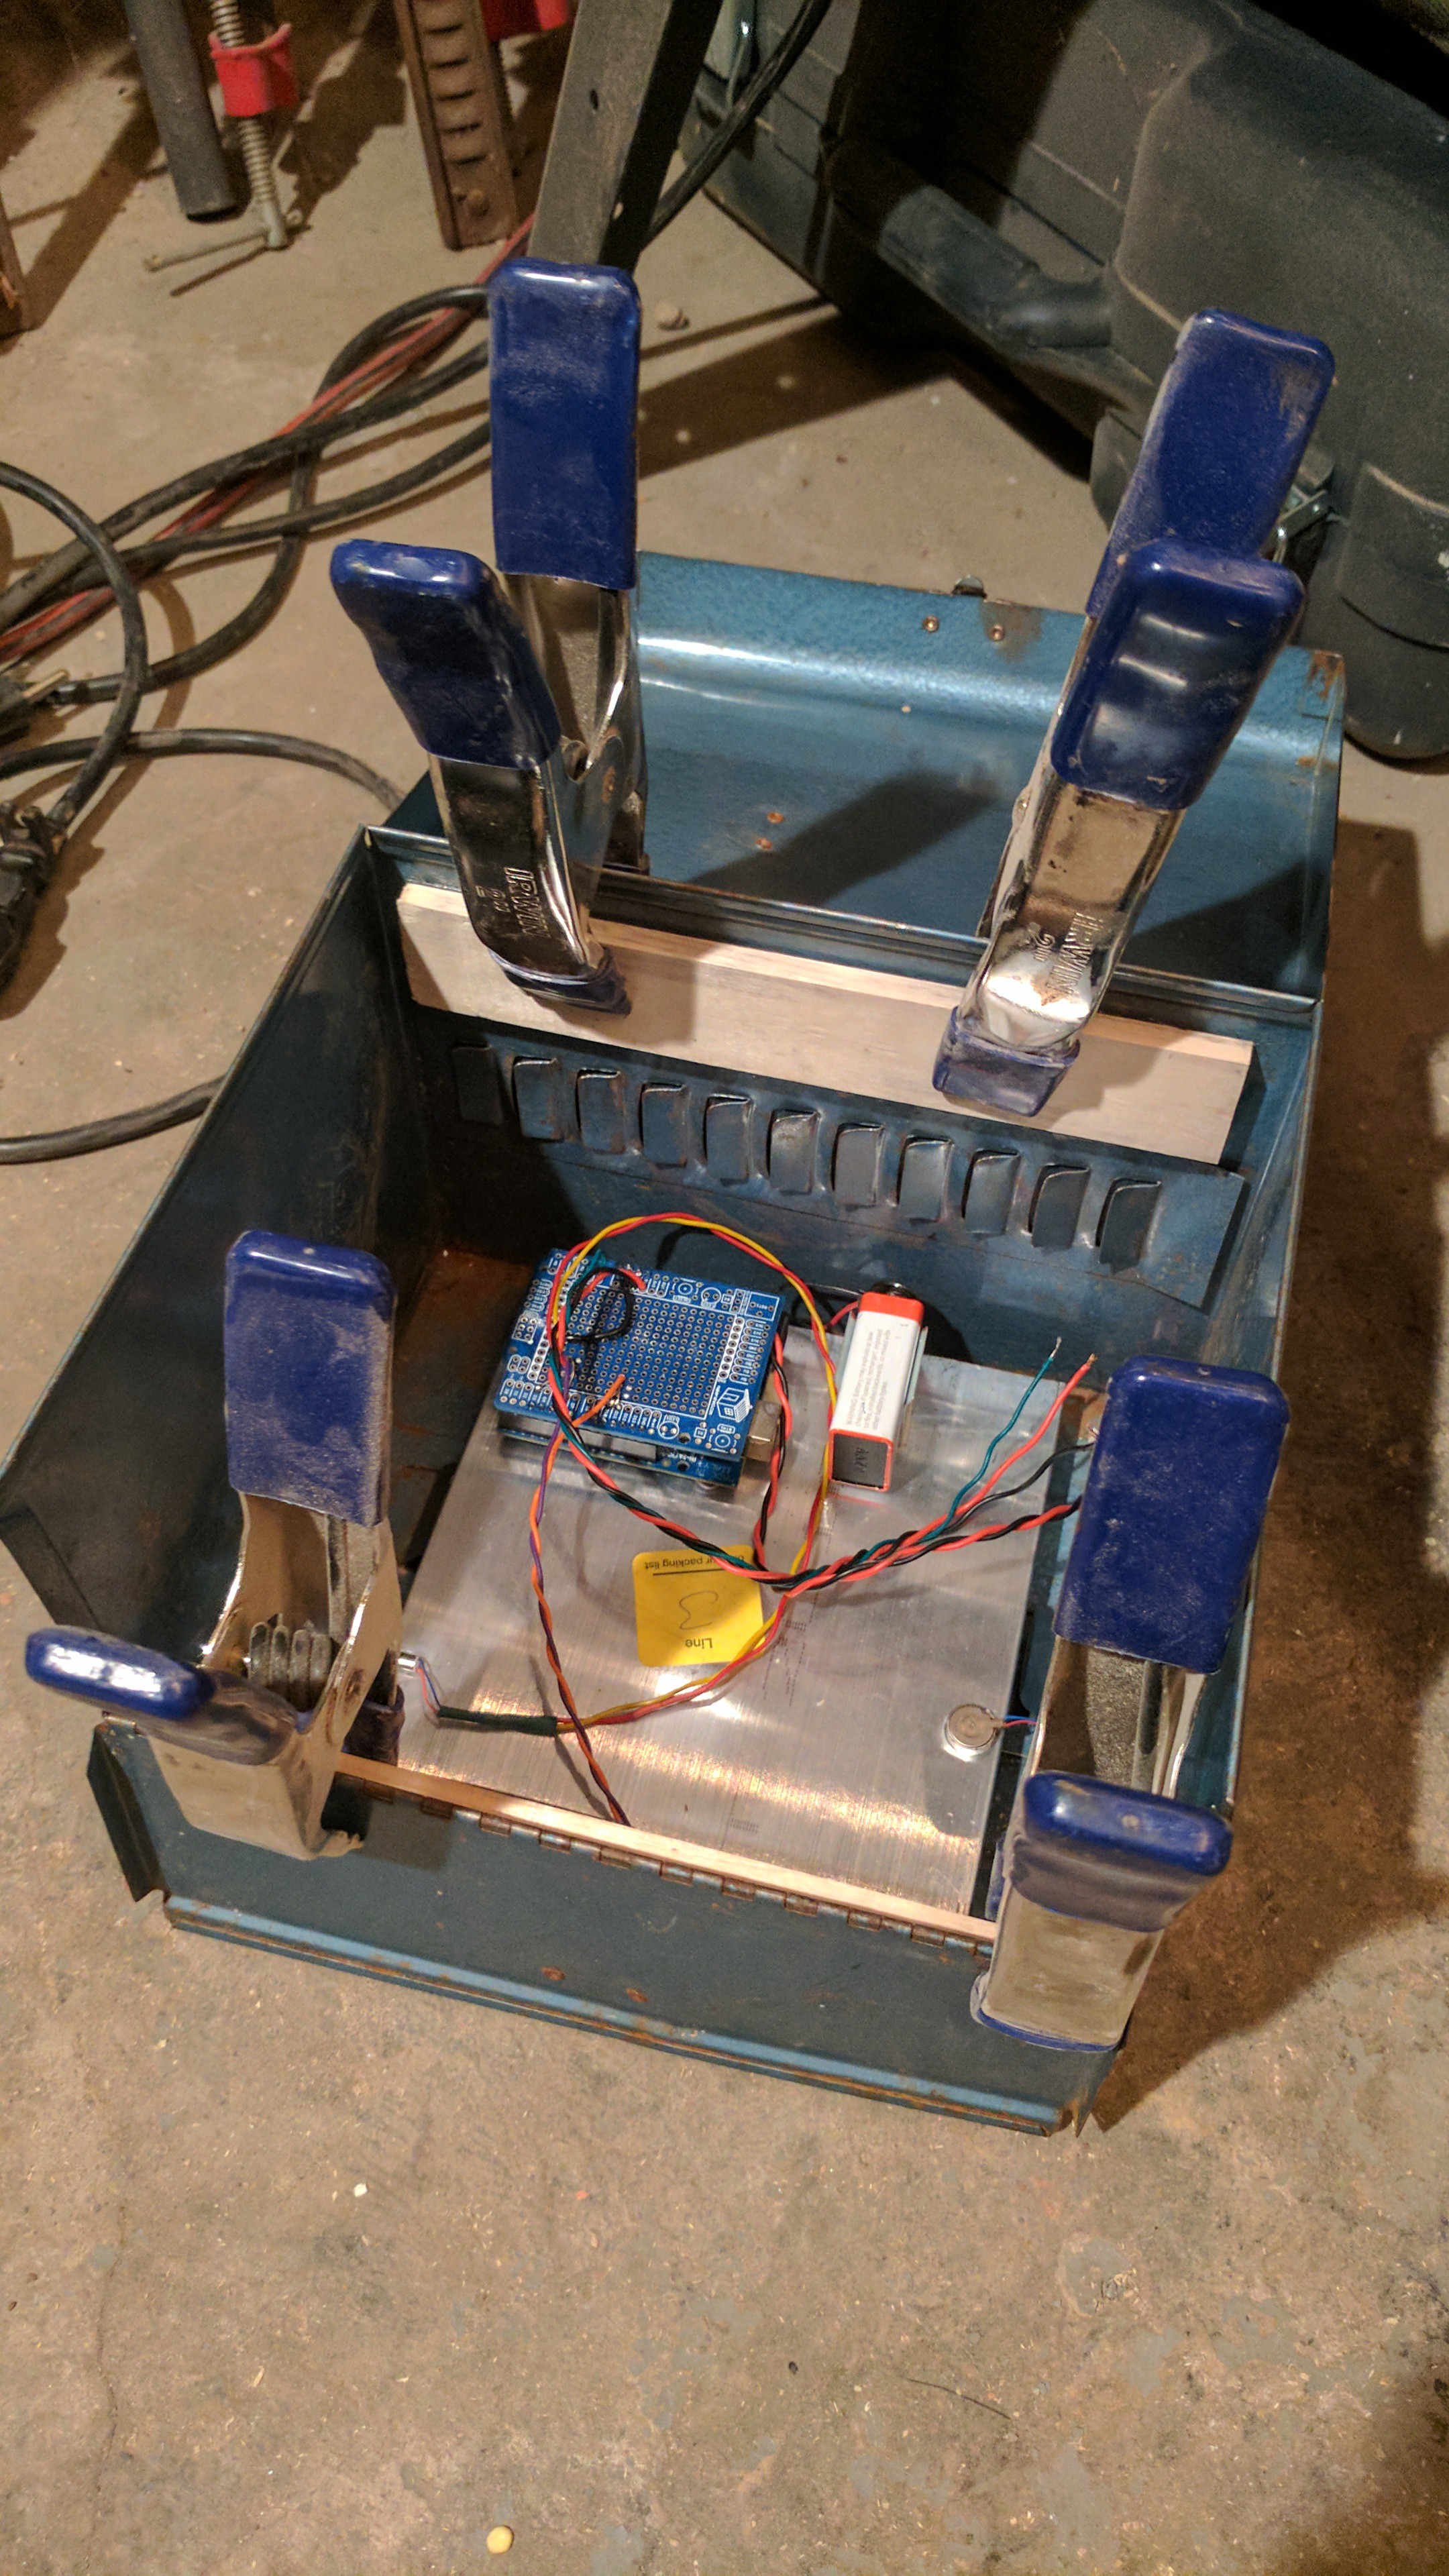
I used some scrap wood and double sided tape to give main plate something to sit on. I thought about fastening it down but went with removable so that I could eventually show her the guts on how to work.
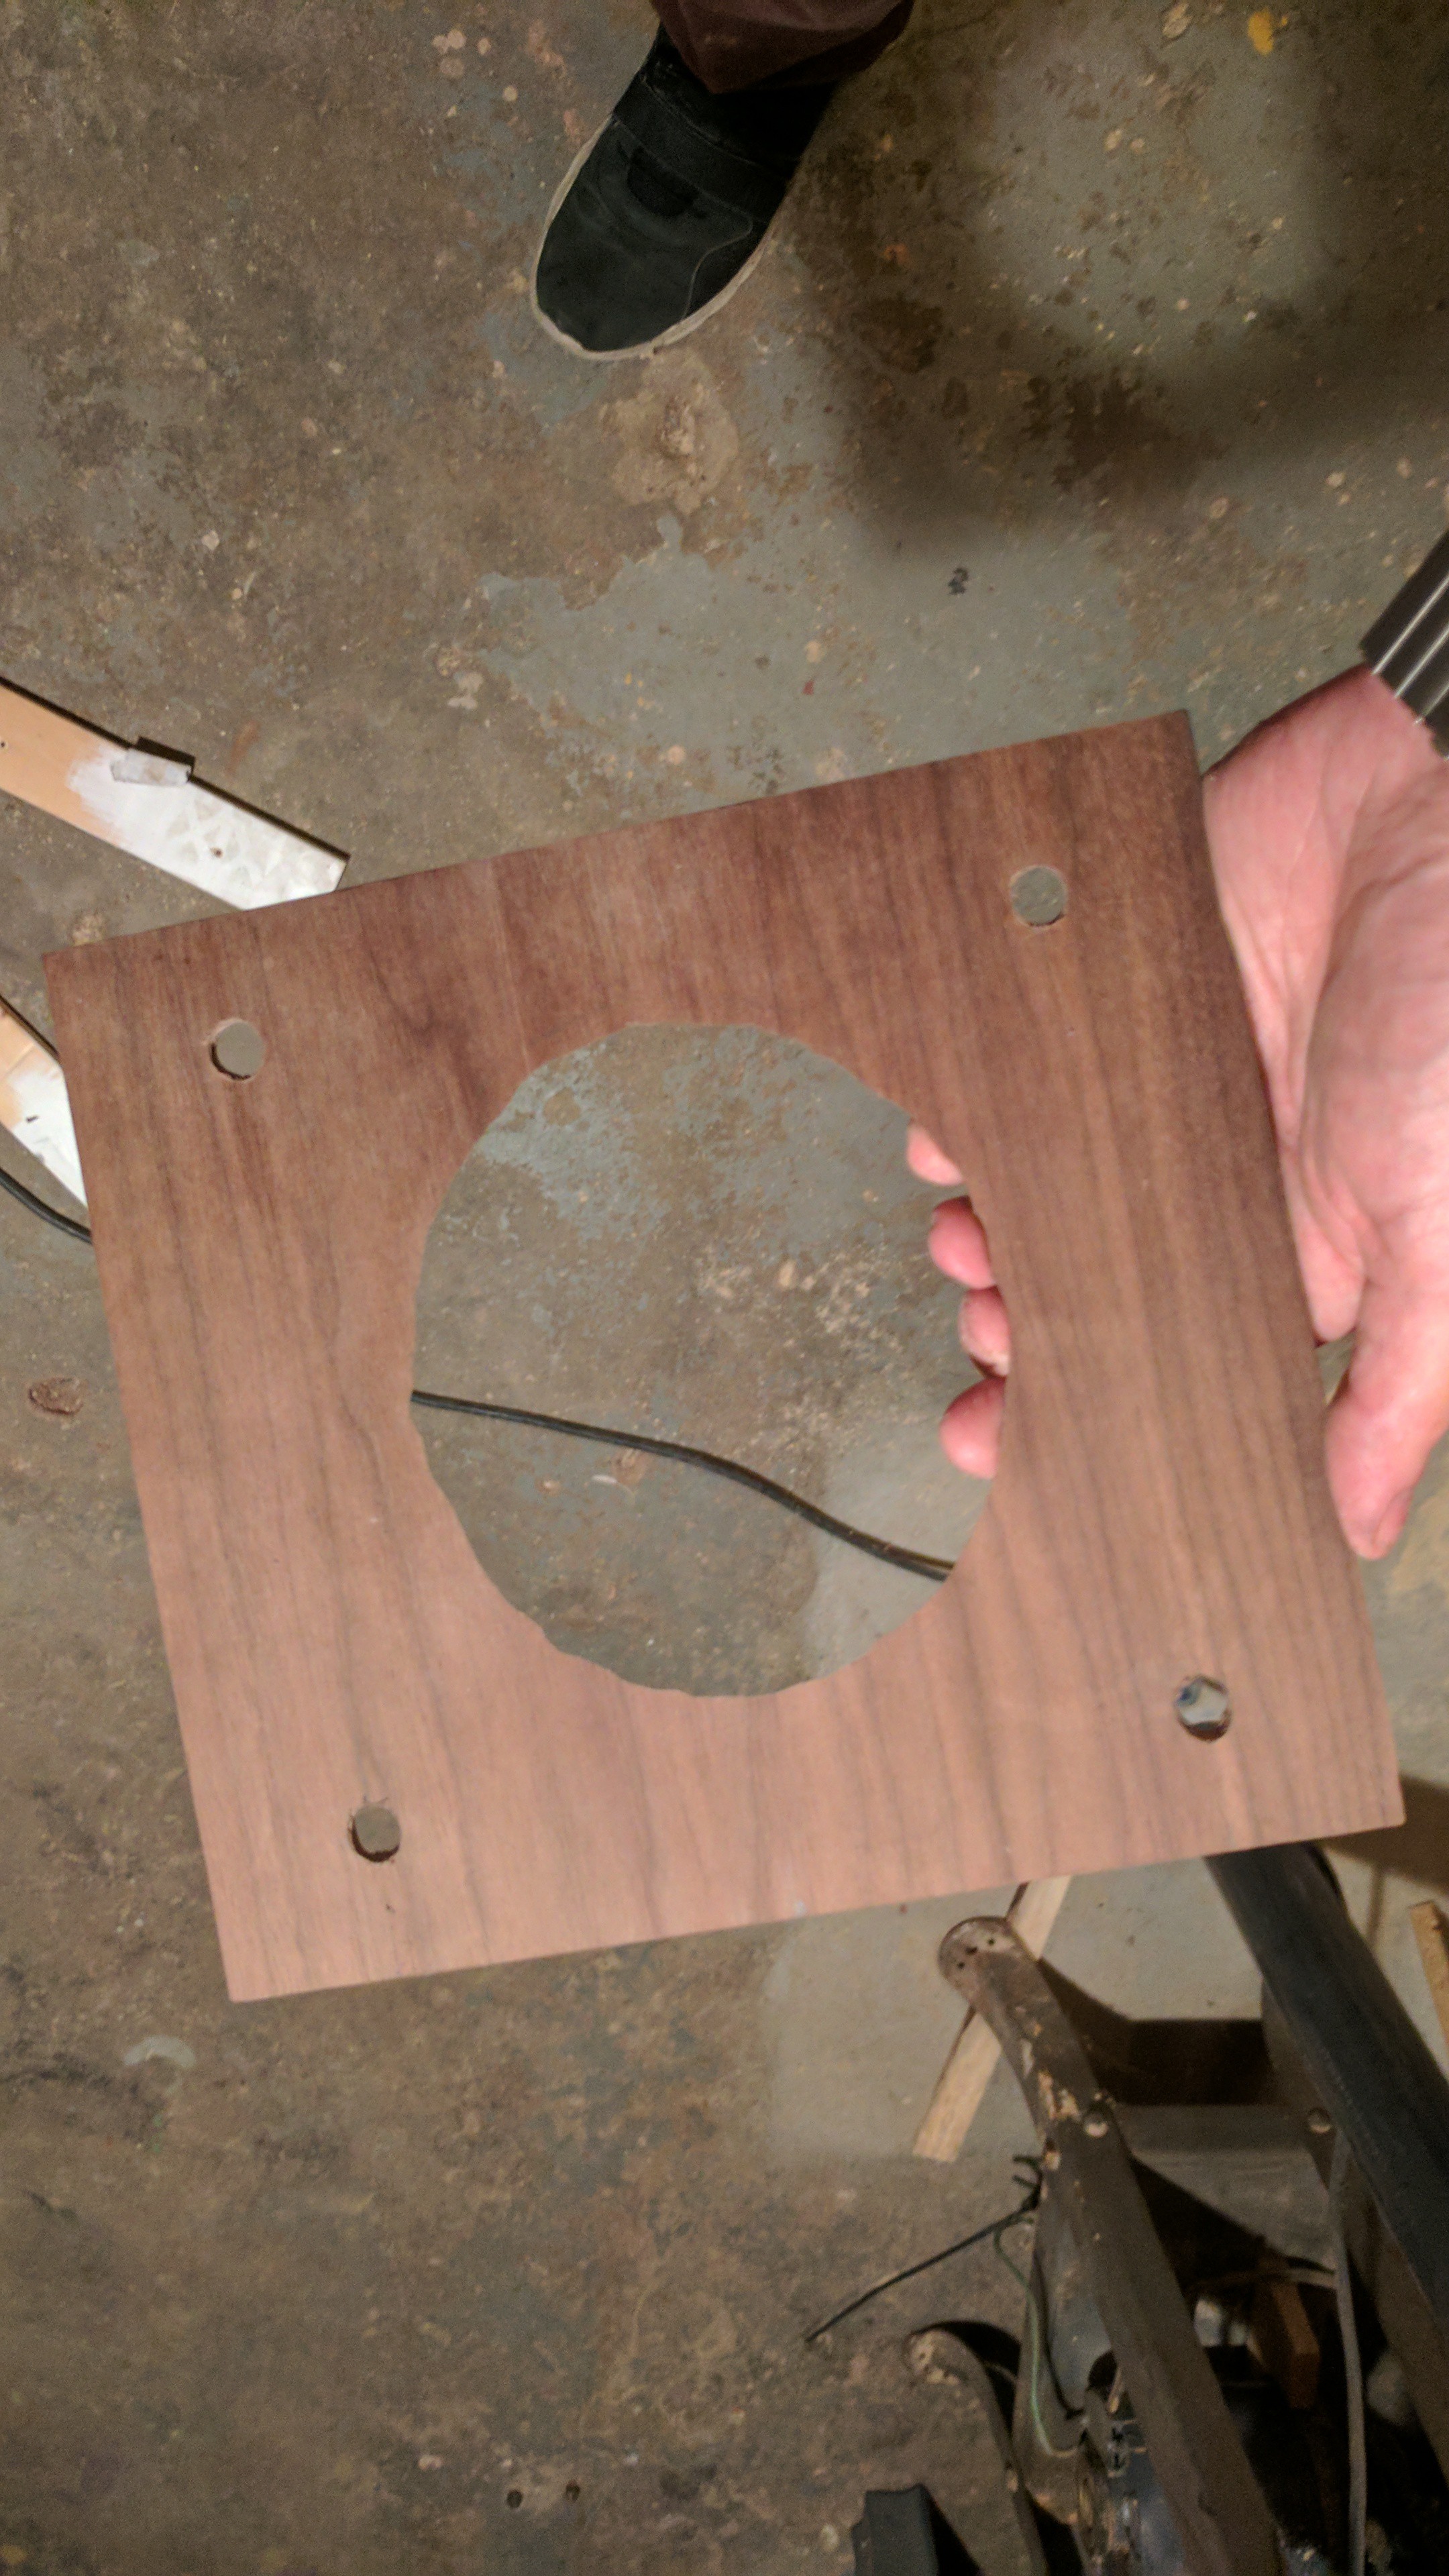
Here is the 1/8" walnut plywood that I roughly cutout the shape after using the template of the cone to trace its outline. The cone had an edge to cover the cutout so I knew it didn't have to be perfect. I used some Feed'n'wax to finish the walnut. We had it and I like the smell of the citrus.
Testing all the fits.
(Not shown is the caps I printed to hold the rod in place under the plywood.)
Finished product.


 willbaden
 Nathan Peterson
Especially like how you themed the box to be an old russian one since the piece of meteorite is from russia. That adds a ton of atmosphere. It's almost as if you've created a small world for a possible story to be told about that meteorite. Very, very cool!