 Ryan Beltrán
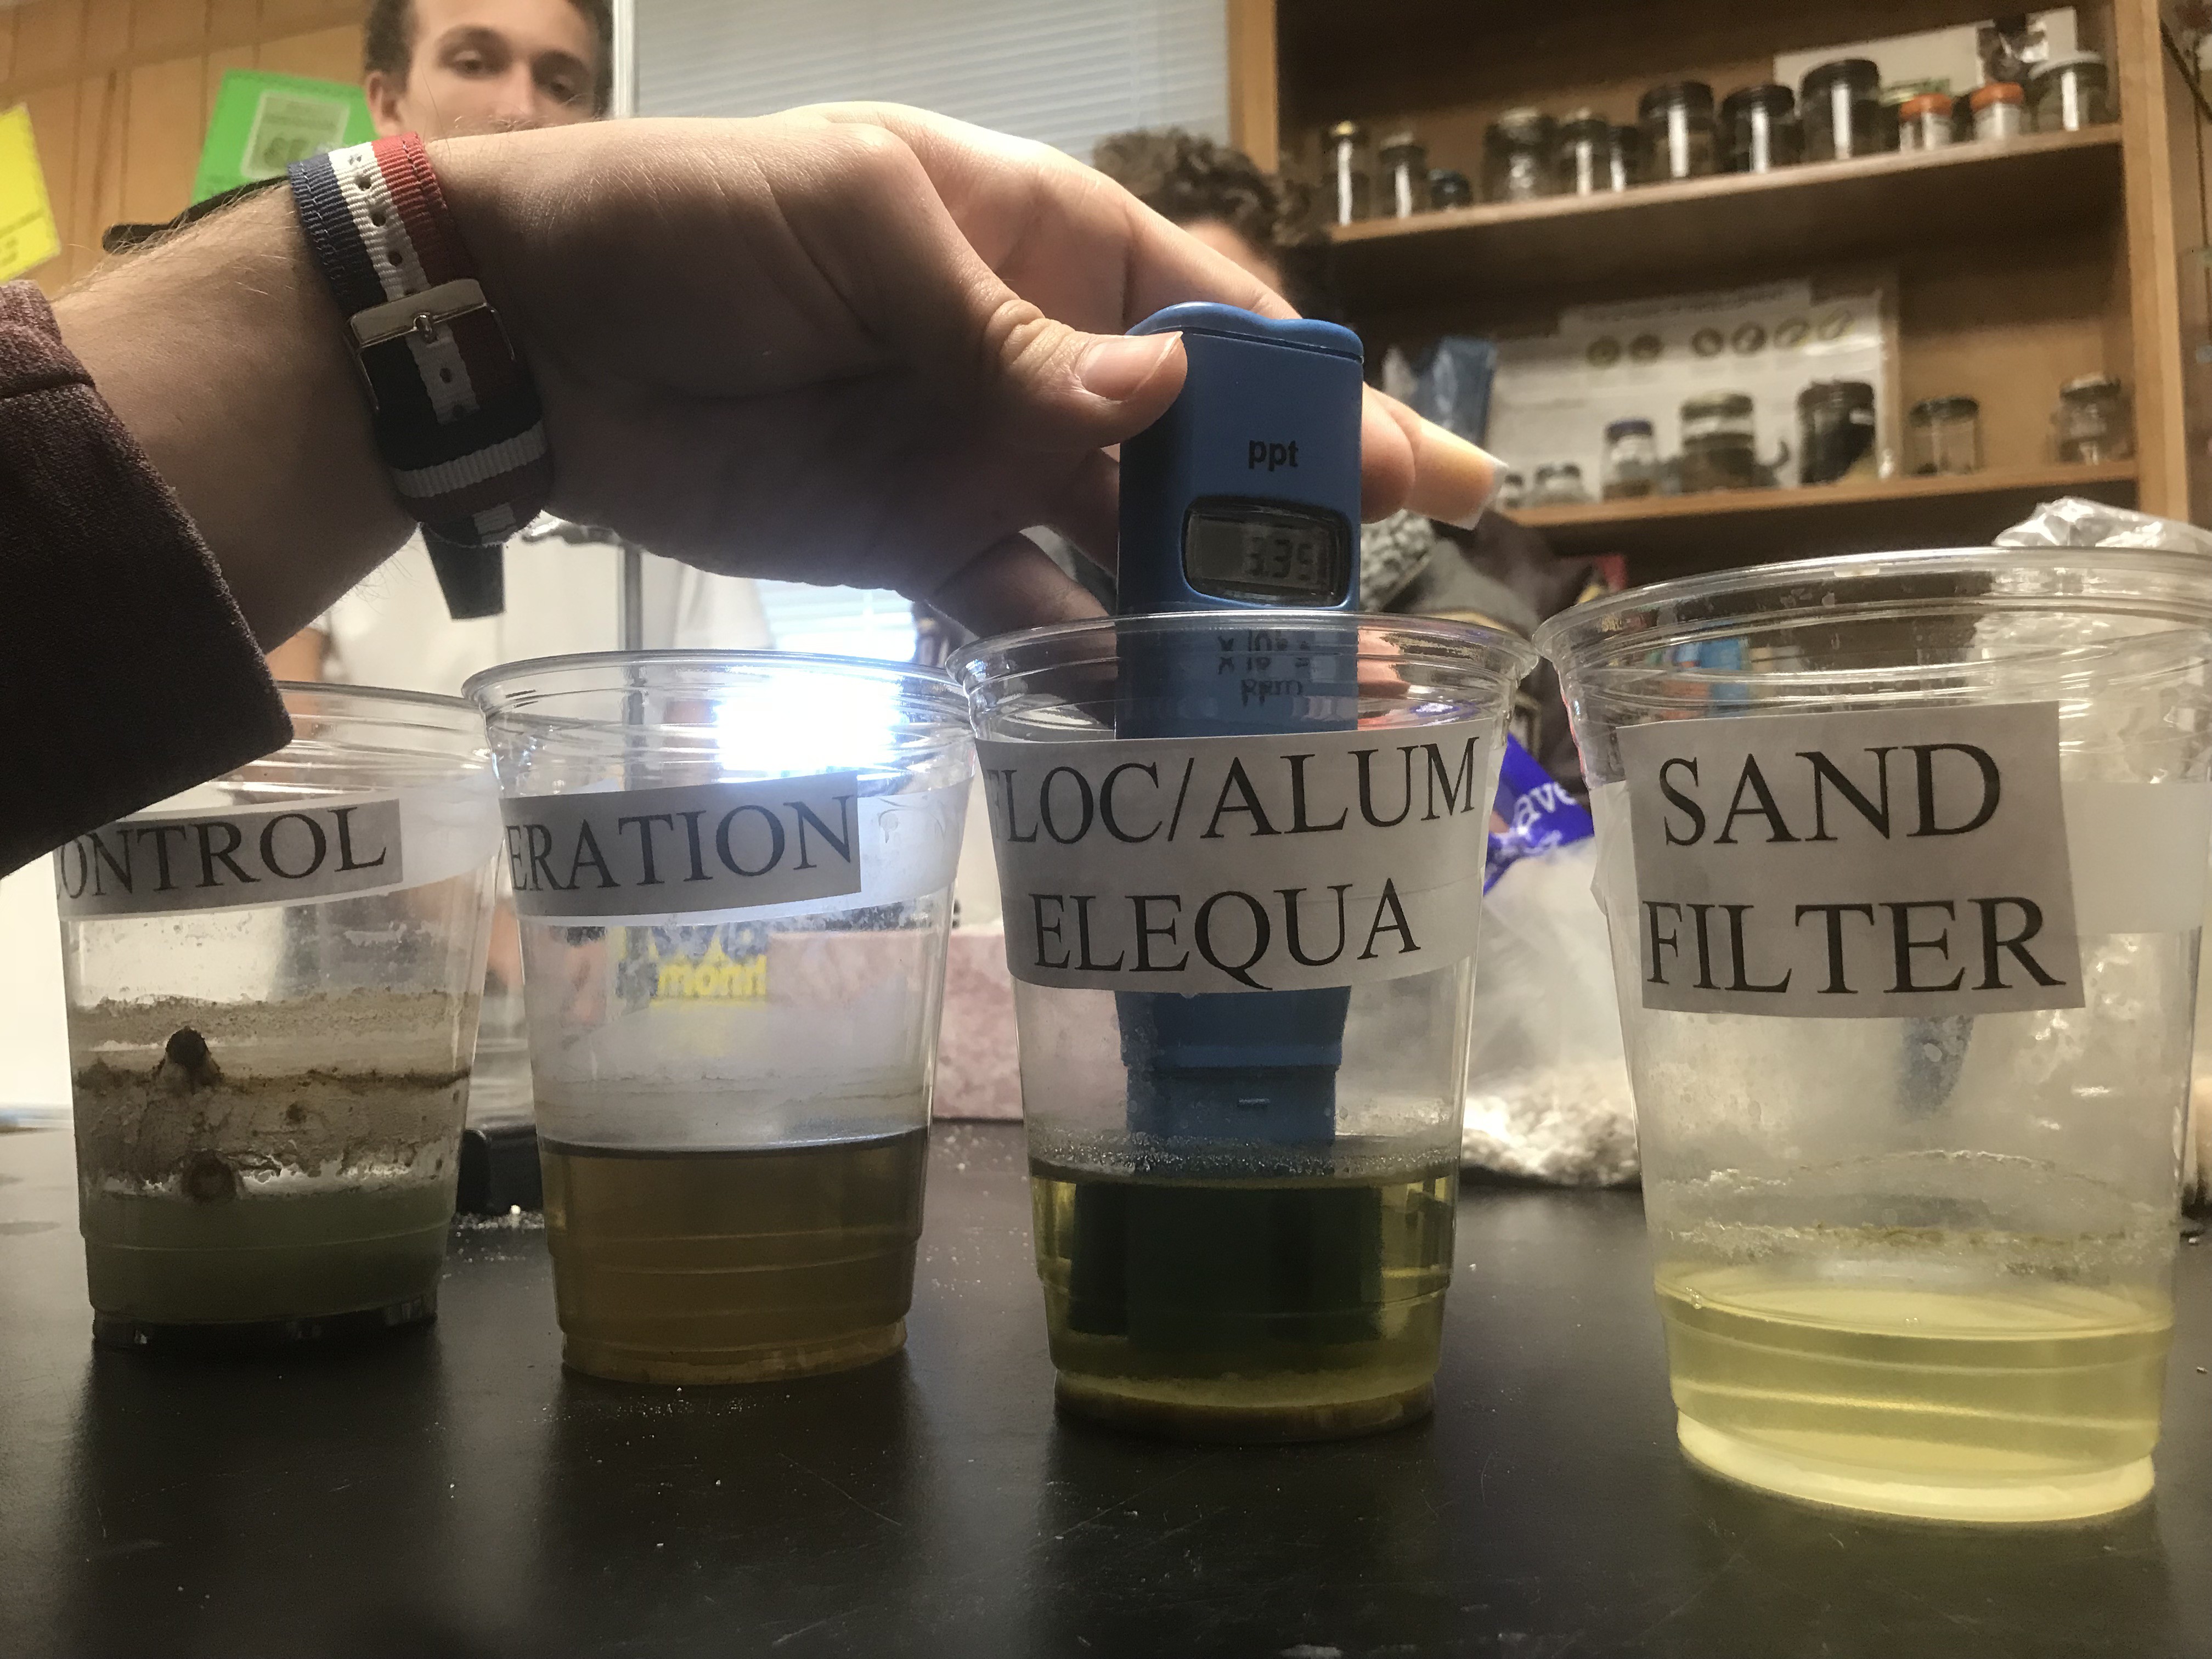
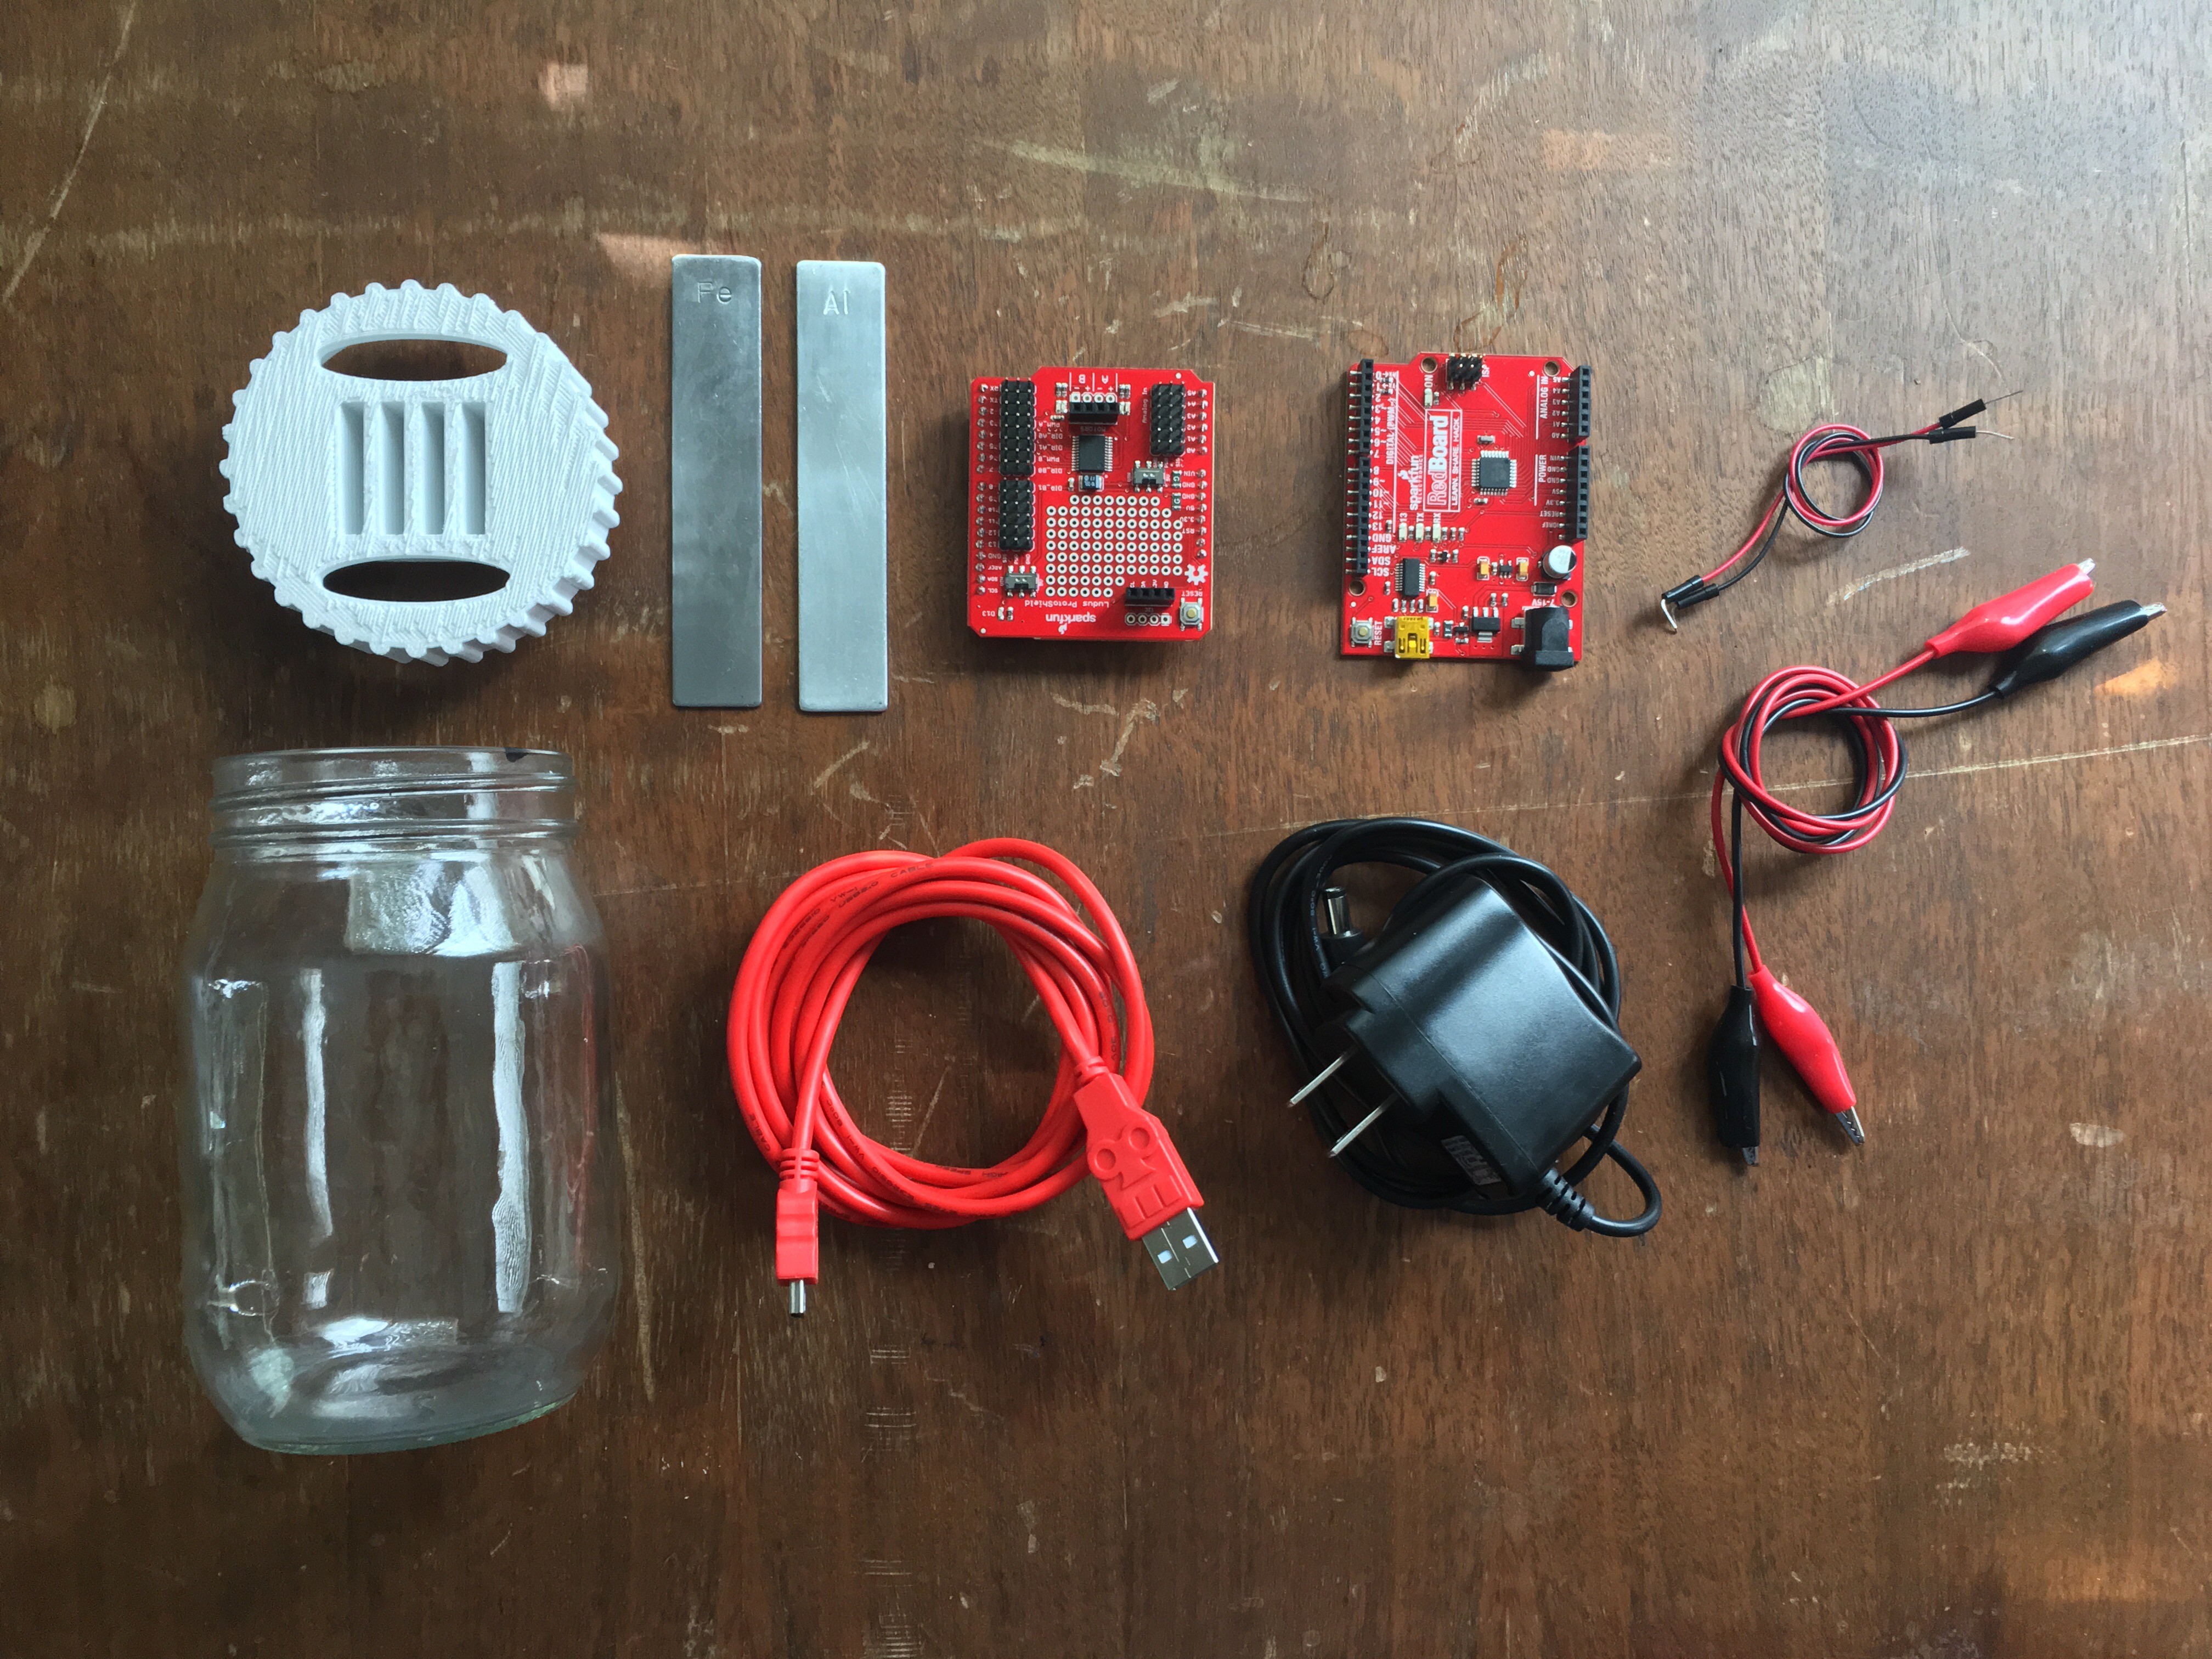
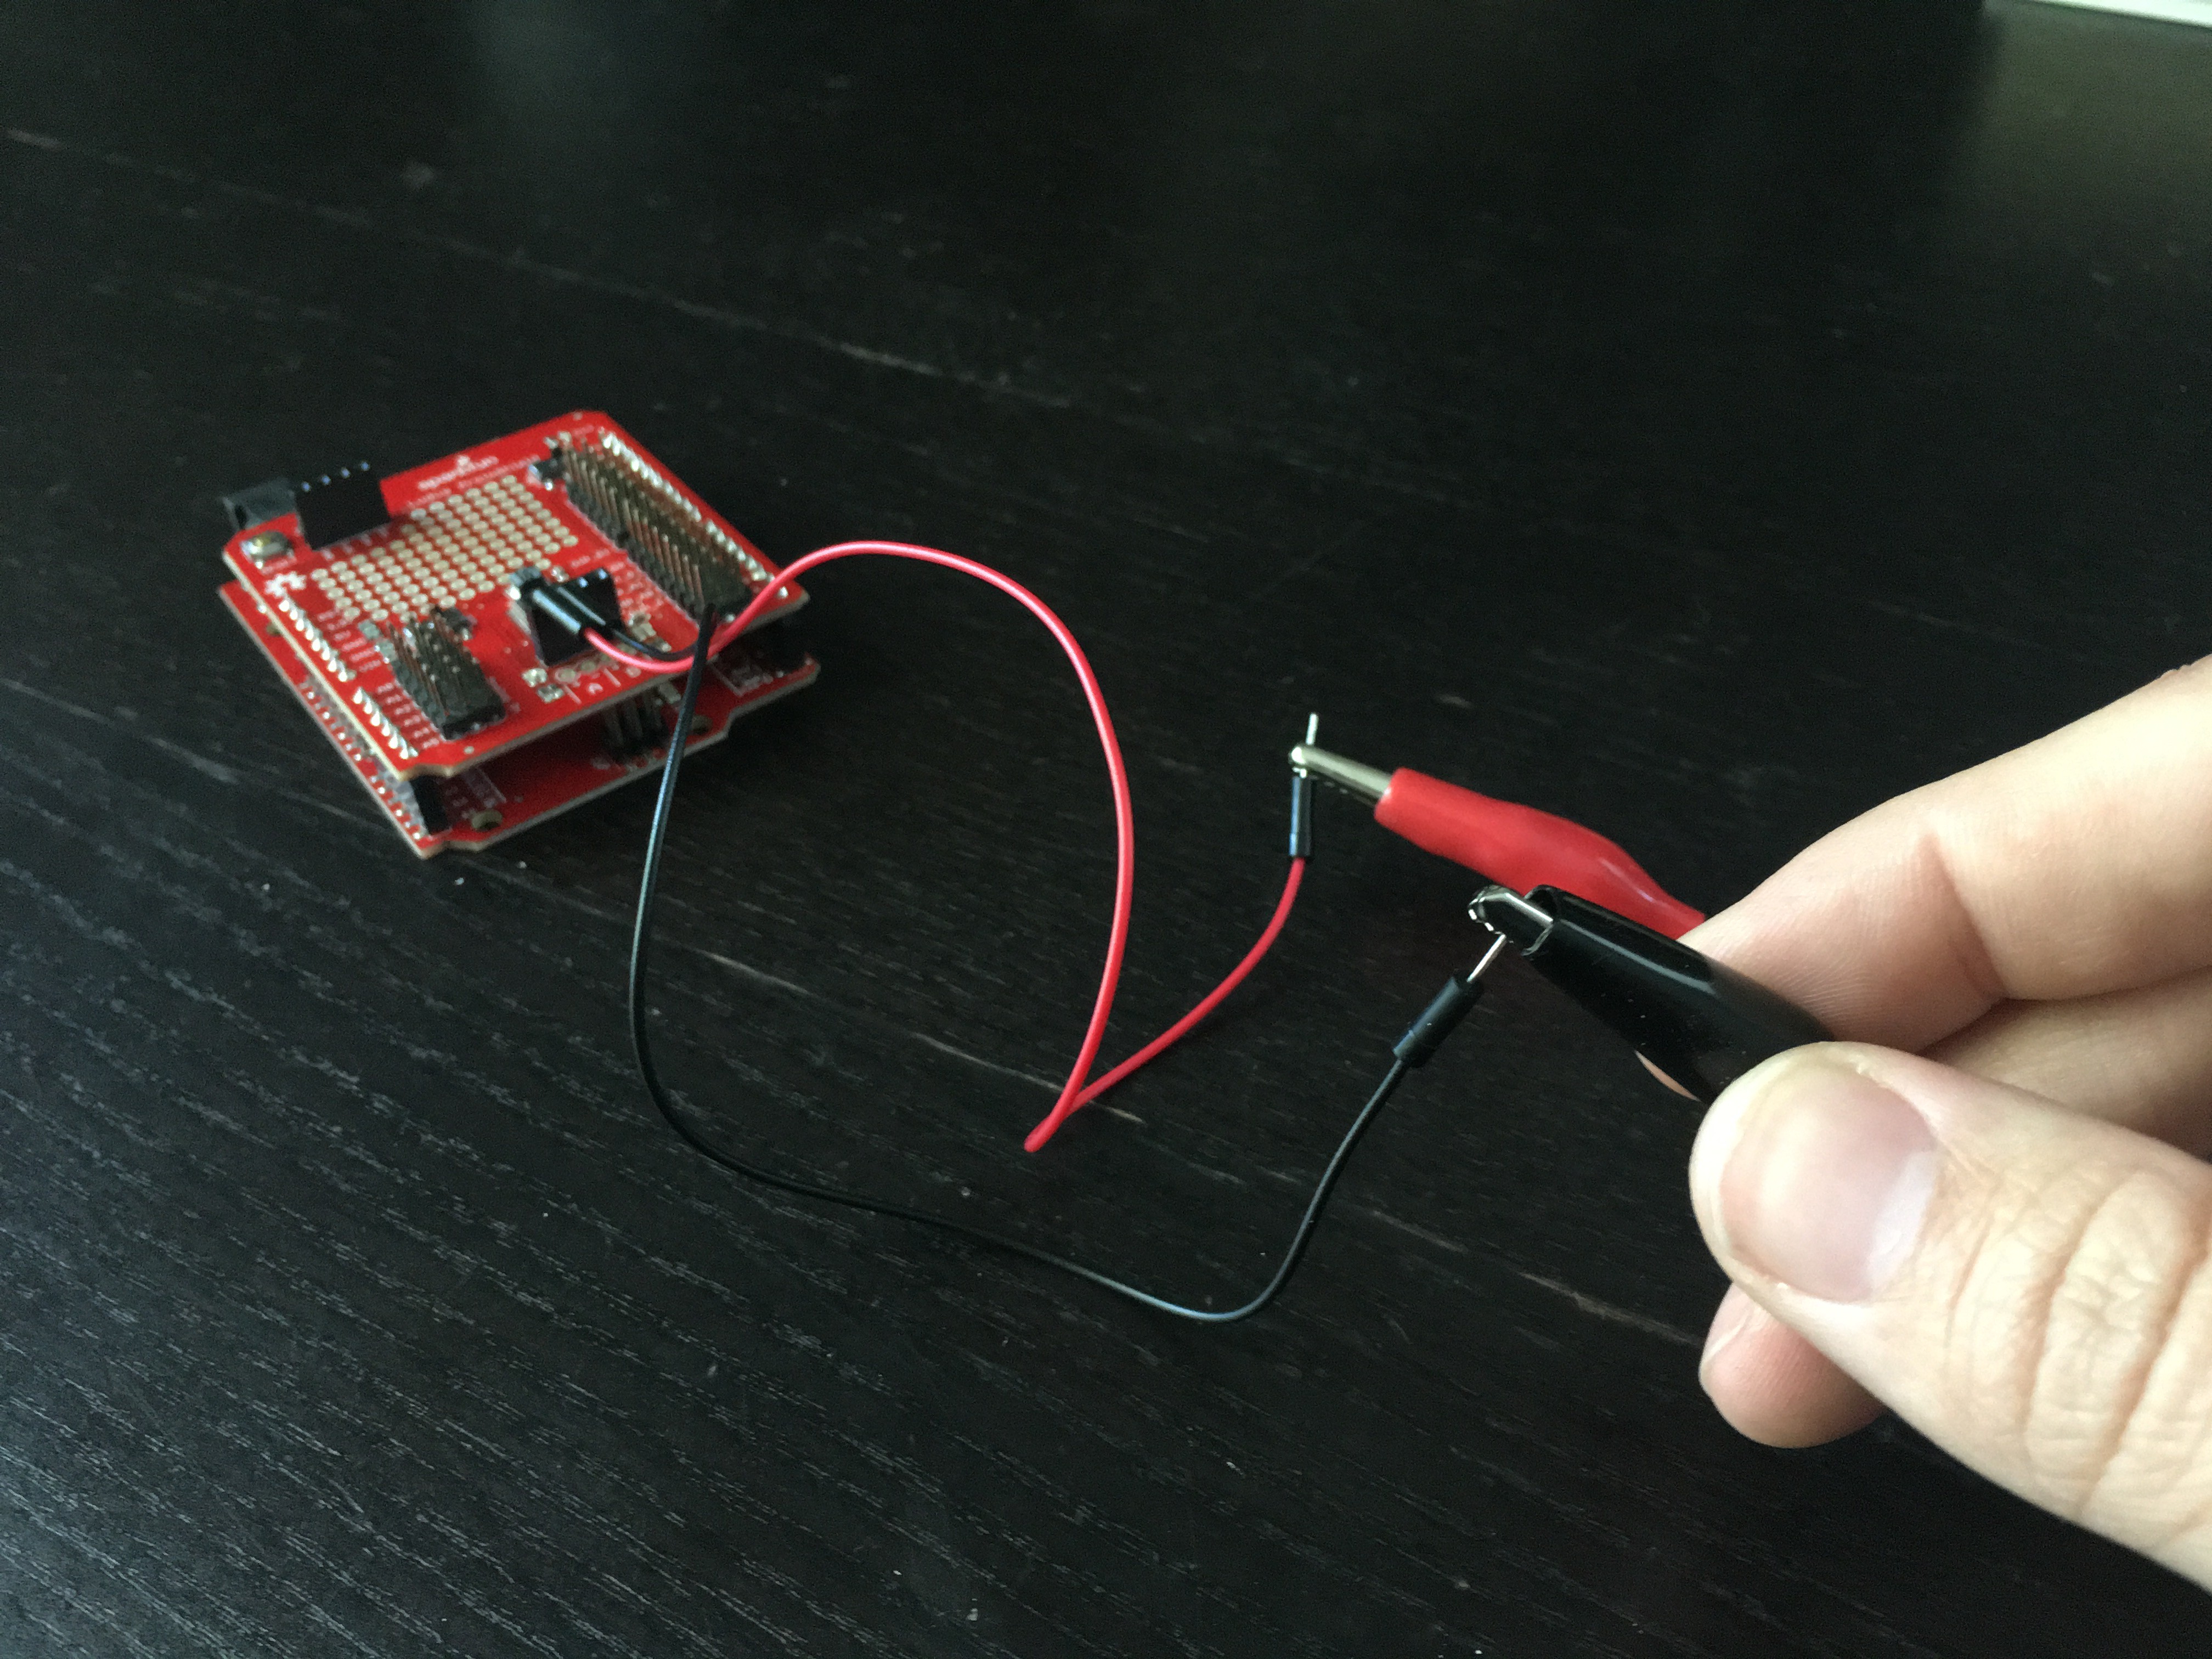
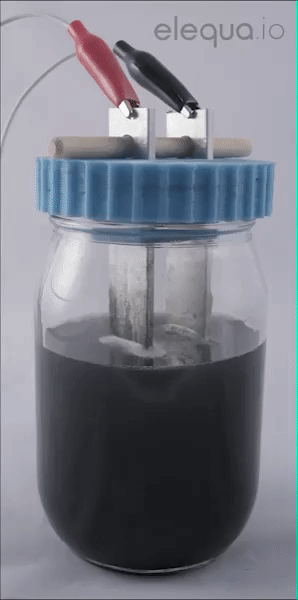 | Electrocoagulation is process which utilizes electrolysis to bond pollutants in water until they are large enough to easily filter out. Goals
|
Thank Yous!
A big thank you to Les Hall. We wouldn't be this far in our project if it wasn't for his guiding light and mentorship. He introduced me to arduinos, 3D printing, and coding. He was there since the beginning when we had this idea to make small manageable coagulator kits for others to use and test and learn from.


 Julius (Mr. Seeker)
 ProgressTH
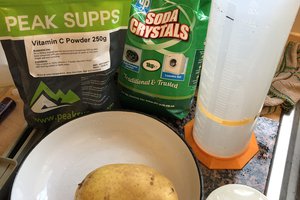
 m.kelsall
 jlbrian7
Everyone please check out our updated coagulator page and like it to participate in the contest! https://hackaday.io/project/165346-coagulator-kit-make-water-season-3-4