Close
0%
0%

Real-Time Weather Dashboard

See what it's like outside, without ever having to go outside!

Similar projects worth following
Monitor current and forecasted weather data with littleBits and a little coding. These customizable and modular weather boxes display current temperature, the forecasted high and low temperatures for the day, and the forecasted conditions for the day (i.e. sunny, cloudy, precipitation).

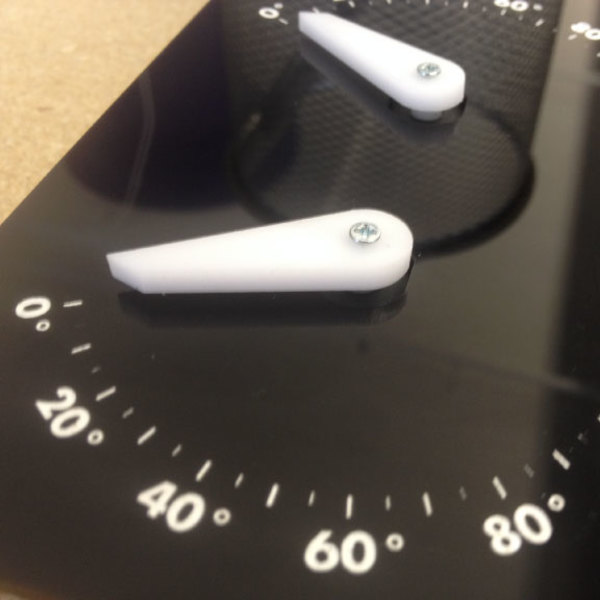
We wrote a short program that gets information from Weather Underground and sends that data through the littleBits cloud to a cloudBit. Every 30 minutes the program asks Weather Underground for the current temperature and the forecasted high, low, and conditions for New York, NY. Then it converts this information into a voltage* which is sent to each cloudBit, adjusting the angle of the servos (the servos must be set to turn mode for this to work). We've posted the code for our program here.

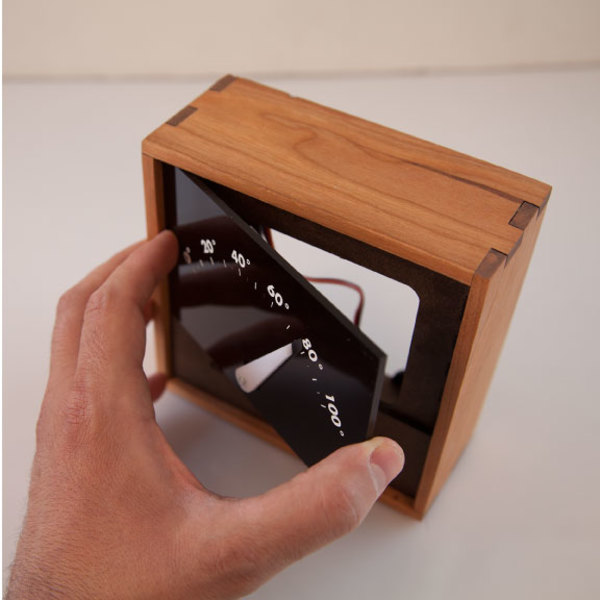
*The program does not specify the volts, rather it sends a value from 0 to 100 which tells the cloudBit what percentage of the total power (5v) to output.

  • 3 × cloudBit
  • 3 × servoBit
  • 3 × usb powerBit
  • 3 × wireBit
  • 1 × splitBit

View all 14 components

  • 1
    Step 1
    1. Set up your cloudBits if you haven’t done so already. Instructions for setting up the cloudBit can be found here.
    2. Assemble the case:

      Add a little glue to the edges of each plate (A­1 through A­6) and press fit them together. You’ll want to use some masking tape or clamps to hold the plates together while the glue dries. Be sure to wipe away any excess glue that squeezes out when you press the plates together.

    3. Glue on the wooden panels:

      Glue the wooden side panels onto the edges of the case and clamp until the glue dries.

    4. Finish the wooden panels: If you would like to add a finish to your wooden panels, sand them once the glue has dried, then apply the finish. We sanded them first with 150 grit sandpaper, then 220 grit. After wiping off the dust, we applied Danish Oil according to the manufacturer’s instructions.

    5. Add graphics to the display panels: 

      To get the white graphics painted on the black acrylic, we first etched the images onto the acrylic sheet using a laser cutter. Before we peeled the protective paper of the sheets, we gave the etched portions a couple of coats of white acrylic paint. Once the paint was dry, we peeled of the paper to reveal our graphics.

    6. Mount the servo:

      Mount the servo motor on acrylic plate C­3 using the two #4 machine screws. Glue C­2 to the top of C­3. Glue the mounted servo to the back of C­1, the display panel.

    7. Attach arrows:

      Using the xxx screw, attach the arrow to the servo. If you plug the servo into a power module, the servo will go to its 0% power position and hold there. Align the arrow to 0 degrees and tighten the screw.

    8. Add faceplates to the case:

      Place some double sided tape or glue dots to the back of the acrylic plate (C­1) and the label plates (A­7). Press each into place on the case.

    9. Add the circuit:

      Create the circuits shown in the image above and add them to each case. We used the adhesive shoes to hold the circuits in place.

    10. Create your code: Write the program that will read the data from the Weather Underground API and pass that information on through the littleBits cloud to each of your cloudBits. You can check out our example on gitHub: (https://github.com/littlebits/project-cloud-weather-dashboard)


      *Note: You will need your own API key for Weather Underground. To get your cloudBit's access token and bit ID, look under the bit's settings in Cloud Control.

View all instructions

Enjoy this project?

Share

Discussions

Similar Projects

Does this project spark your interest?

Become a member to follow this project and never miss any updates