April 2020 I was working like a maniac juggling 3 embedded consulting gigs. Then COVID-19 hit, and I could no longer network for new gigs. Was looking forward to using the down time to work on my HaD and other projects, but in May, I went to see a doctor about a lump in my neck that I'd had since December, which turned out to be....no kidding.....throat cancer.
Took them 2 more months to reach a conclusive diagnosis, and then I went through the horrible 7-week treatment that ran late July through early September. Weekly 6-hour chemo and radiation 5 days a week. Couldn't eat, lost 50 pounds, survived on vanilla Boost and bottled water, supplemented with IV fluids at the chemo clinic. I just started back on solid food a couple of weeks ago, but due to the radiation, everything tastes bland and I don't have much saliva, so not very enjoyable.
On a more positive note, another consulting opportunity materialized, about the time treatment ended. It's full time and runs through December. Right now it's about all I can do to just to work my gig and get by.
I'm selling my house and moving out of state next April, and will be living full time in an RV for at least a year after that. There's a ton of work to do over the next 6 months to get the house ready to sell, move 2000 miles across the country, and transition to living in the RV. Everything I own except clothes and basics will be going into a large metal shipping container that will be co-located with the RV. Once I get situated, I hope to set up a makeshift work area inside the container. This project probably won't be updated until then.
Wow, another year come and gone with no visible activity. Honest, this project is not dead, and I know that to be so, because it continues to take up a huge chunk of bench space!
I picked up a low cost Smoothieboard work-alike which is a much better solution than a Mega and a screw terminal shield. 32 Bit ARM cortex-M3 LPC1768. MOSFETs. RAMPS sockets. USB and Ethernet. SD Card. GUI with touch panel.
Baby step 1: wire up the steppers and limit switches, and get the axes moving. Worry about spindle, coolant, VFD, etc later..
Wow, no updates in over a year, that sucks. Sorry!
After being MIA from HaD for most of this year, I would like to announce "no, this project is not dead".
Long story short: life and other projects intervened. One project in particular paid quite handsomely, and the gig lasted for several months, but it took 100% of my time and energy.
Anyway, here's the deal on the 6040 CNC project....
I recently got a mini-mill, a mini-lathe, metal bandsaw, and tooling, so I now have in-house manual machining capability. I definitely intend to continue with the 6040 CNC rebuild, and the new gear might be helpful, but setting up and learning the machines is highest priority right now, and there are many other projects waiting for attention, so the next update on this project could still be a ways off.
"Never, never, never give up." - Winston Churchill
"It does not matter how slowly you go, as long as you do not stop." - Confucius
It's been quite a while since the last update. Sorry about that, but life intervened and I had to deal. I'm hoping to get back to work on this project within the next month or so, so stay tuned!
LSW17 brings together entrepreneurs, wanna-preneurs, intrapreneurs, creatives, techies, inventors, business owners, and investors of all ages to connect and inspire. Over the course of five days, multiple networking events, panels, fireside chats, and guest speakers will be hosted at unique venues throughout Longmont, showcasing Longmont’s entrepreneurs in advanced technology, I.T., bioscience, creative arts, culinary, and more. All events are FREE to attend and provide outstanding learning and networking opportunities.
I tried to work out how to fit all the components inside the blue box, but decided that it was just too crowded. Instead, I am going to mount everything on a 24" x 12" wood backboard.
Also will make two aluminum panels, one for LED status indicators, the other for machine cable connections. The status panel will mount vertically at the right side of the backboard, the connector panel will sit horizontally along the bottom, with the cables exiting downward.
I'm using FreeCAD to create 3D parts and the backboard and panel layouts. I will post everything in the files section.
I decided to remove the DB25 connector on the stepper board. The rationale was that this would make it easier to reverse engineer the internal parallel interface circuitry, and the DB25 connector wouldn't be needed anyway. I cut the DB25 off more or less flush using an oscillating multi tool, and desoldered the pin stubs. Easy peasy, no muss no fuss.
Then I grabbed the meter and started beeping out traces. I didn't get very far before I realized that this was going to take a fair amount of time, because there is a ton of discrete SMT parts on the bottom side. Also, there is a good chance of errors creeping in, because, hey, I'm only human.
This led me to wondering what happens if this board fails. I'd have to buy an equivalent replacement, and if it isn't identical (very likely), repeat the reversing effort, at least in part, and redo the patch wiring. During that down time, I wouldn't have the use of the machine, and that would make me sad. :-(
So I took a break from reversing and did some googling on this particular stepper board (JP-3163B). Turns out there are a lot of folks out there who have had problems with it missing steps or just plain dying an early death.
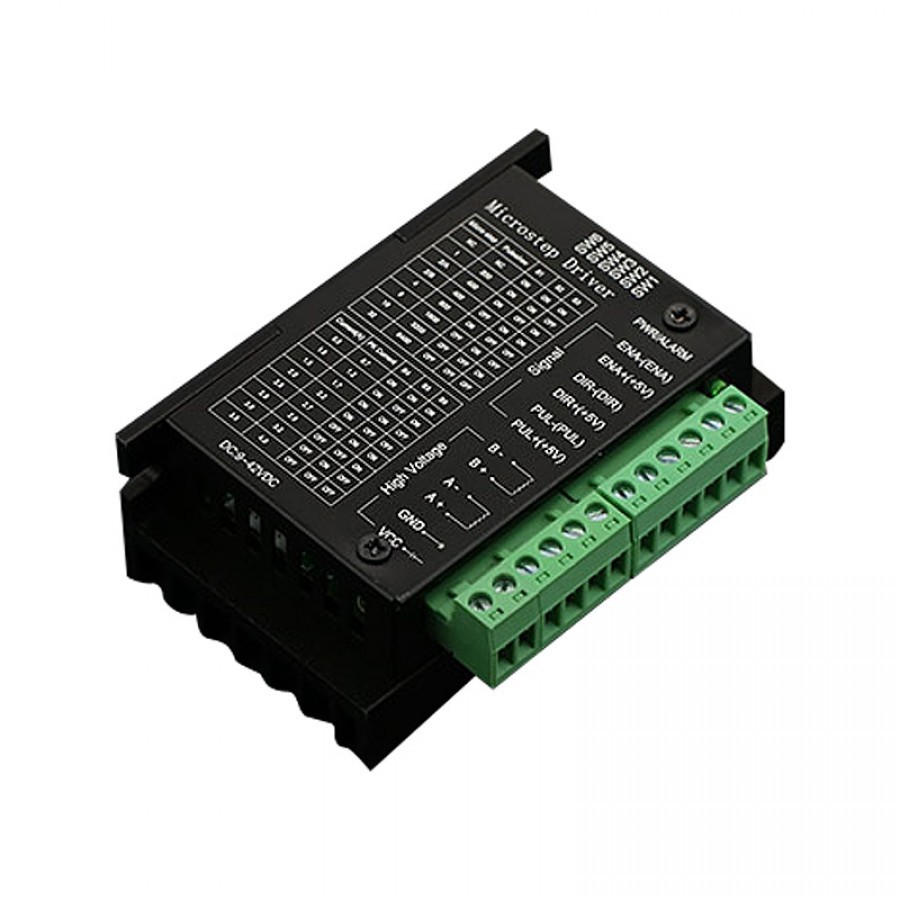
I also noted that single-axis "TB6600" controllers are only $15, and available from multiple sources. So, rather than waste time reversing an obsolete board with no documentation, no drop-in replacement, and possible performance and reliability issues, I decided to plunk down $45 and replace the stepper board with three single axis controllers. The new controllers are scheduled to arrive Monday July 10.
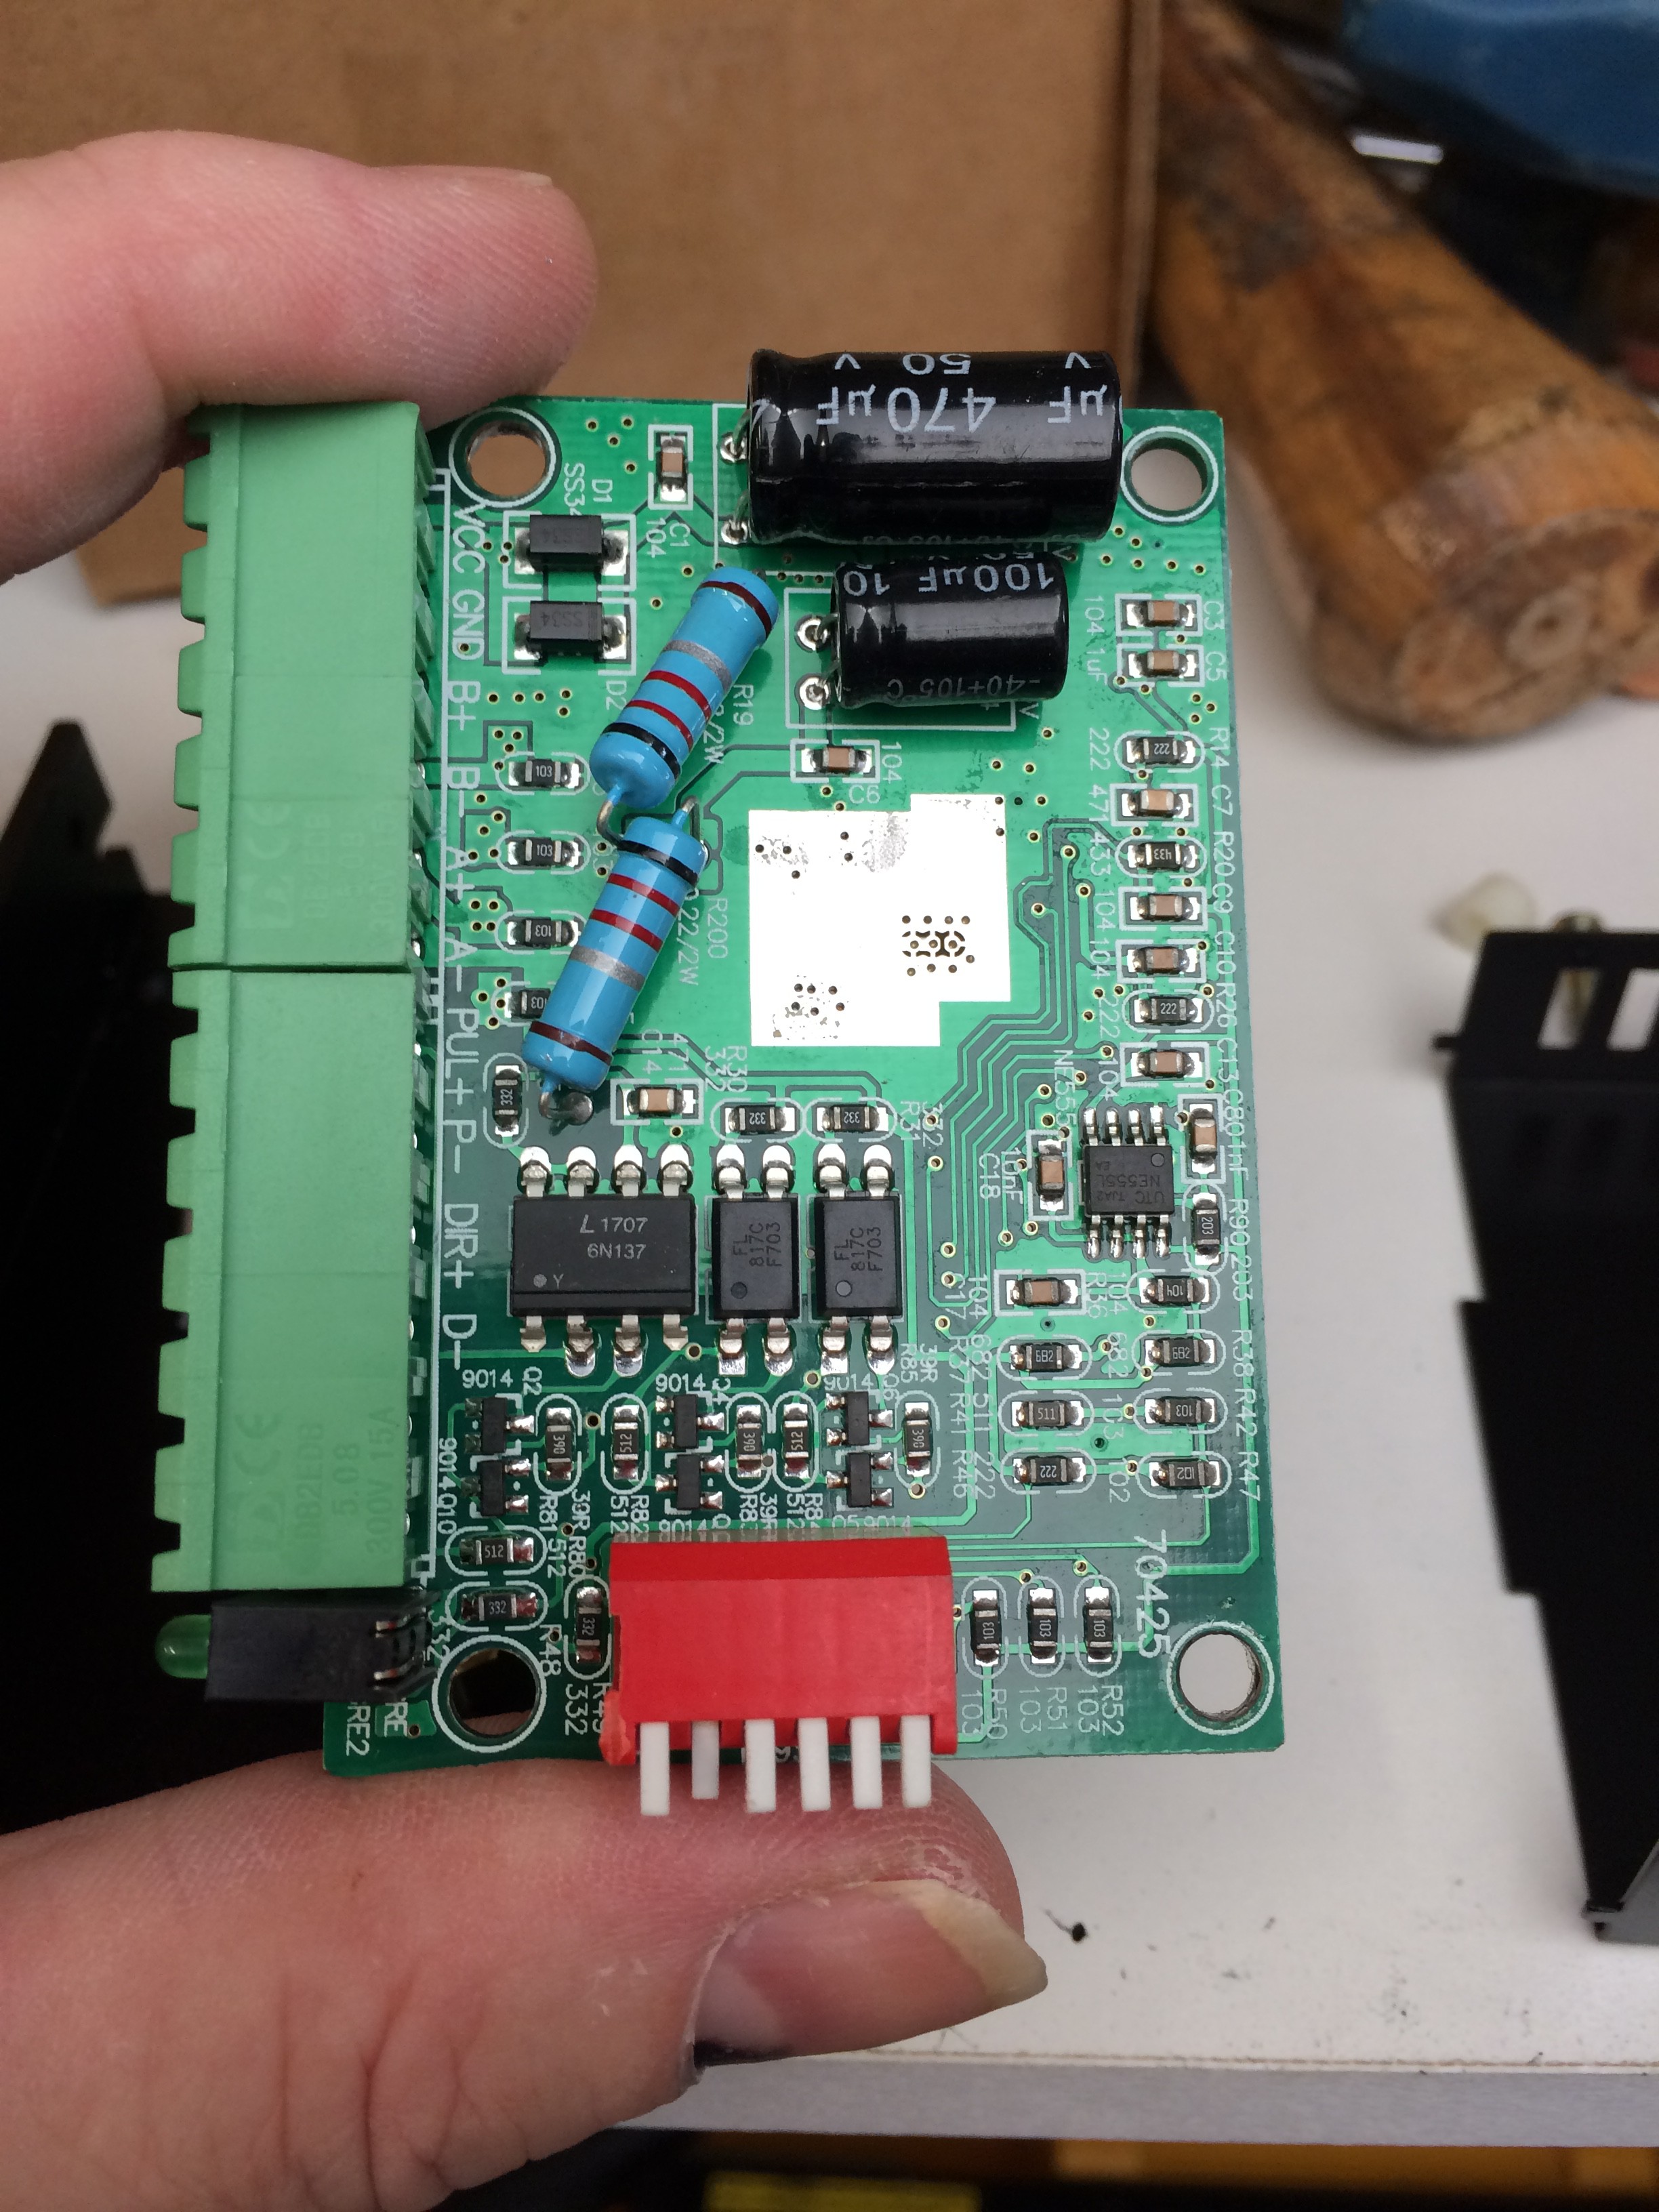
WARNING: A lot of these lower-cost "TB6600" stepper controllers don't actually have a Toshiba TB6600 chip, they have a TB67S109 instead, which is not as powerful.
From the Toshiba datasheets:
abs max motor current
recommend operating current
clock input freq
TB6600
5.0A
4.0A
200KHz
TB67S109
4.5A
3.0A
100KHz
My motors are 3A, and grbl max rate is only around 30Khz, so these should work fine.
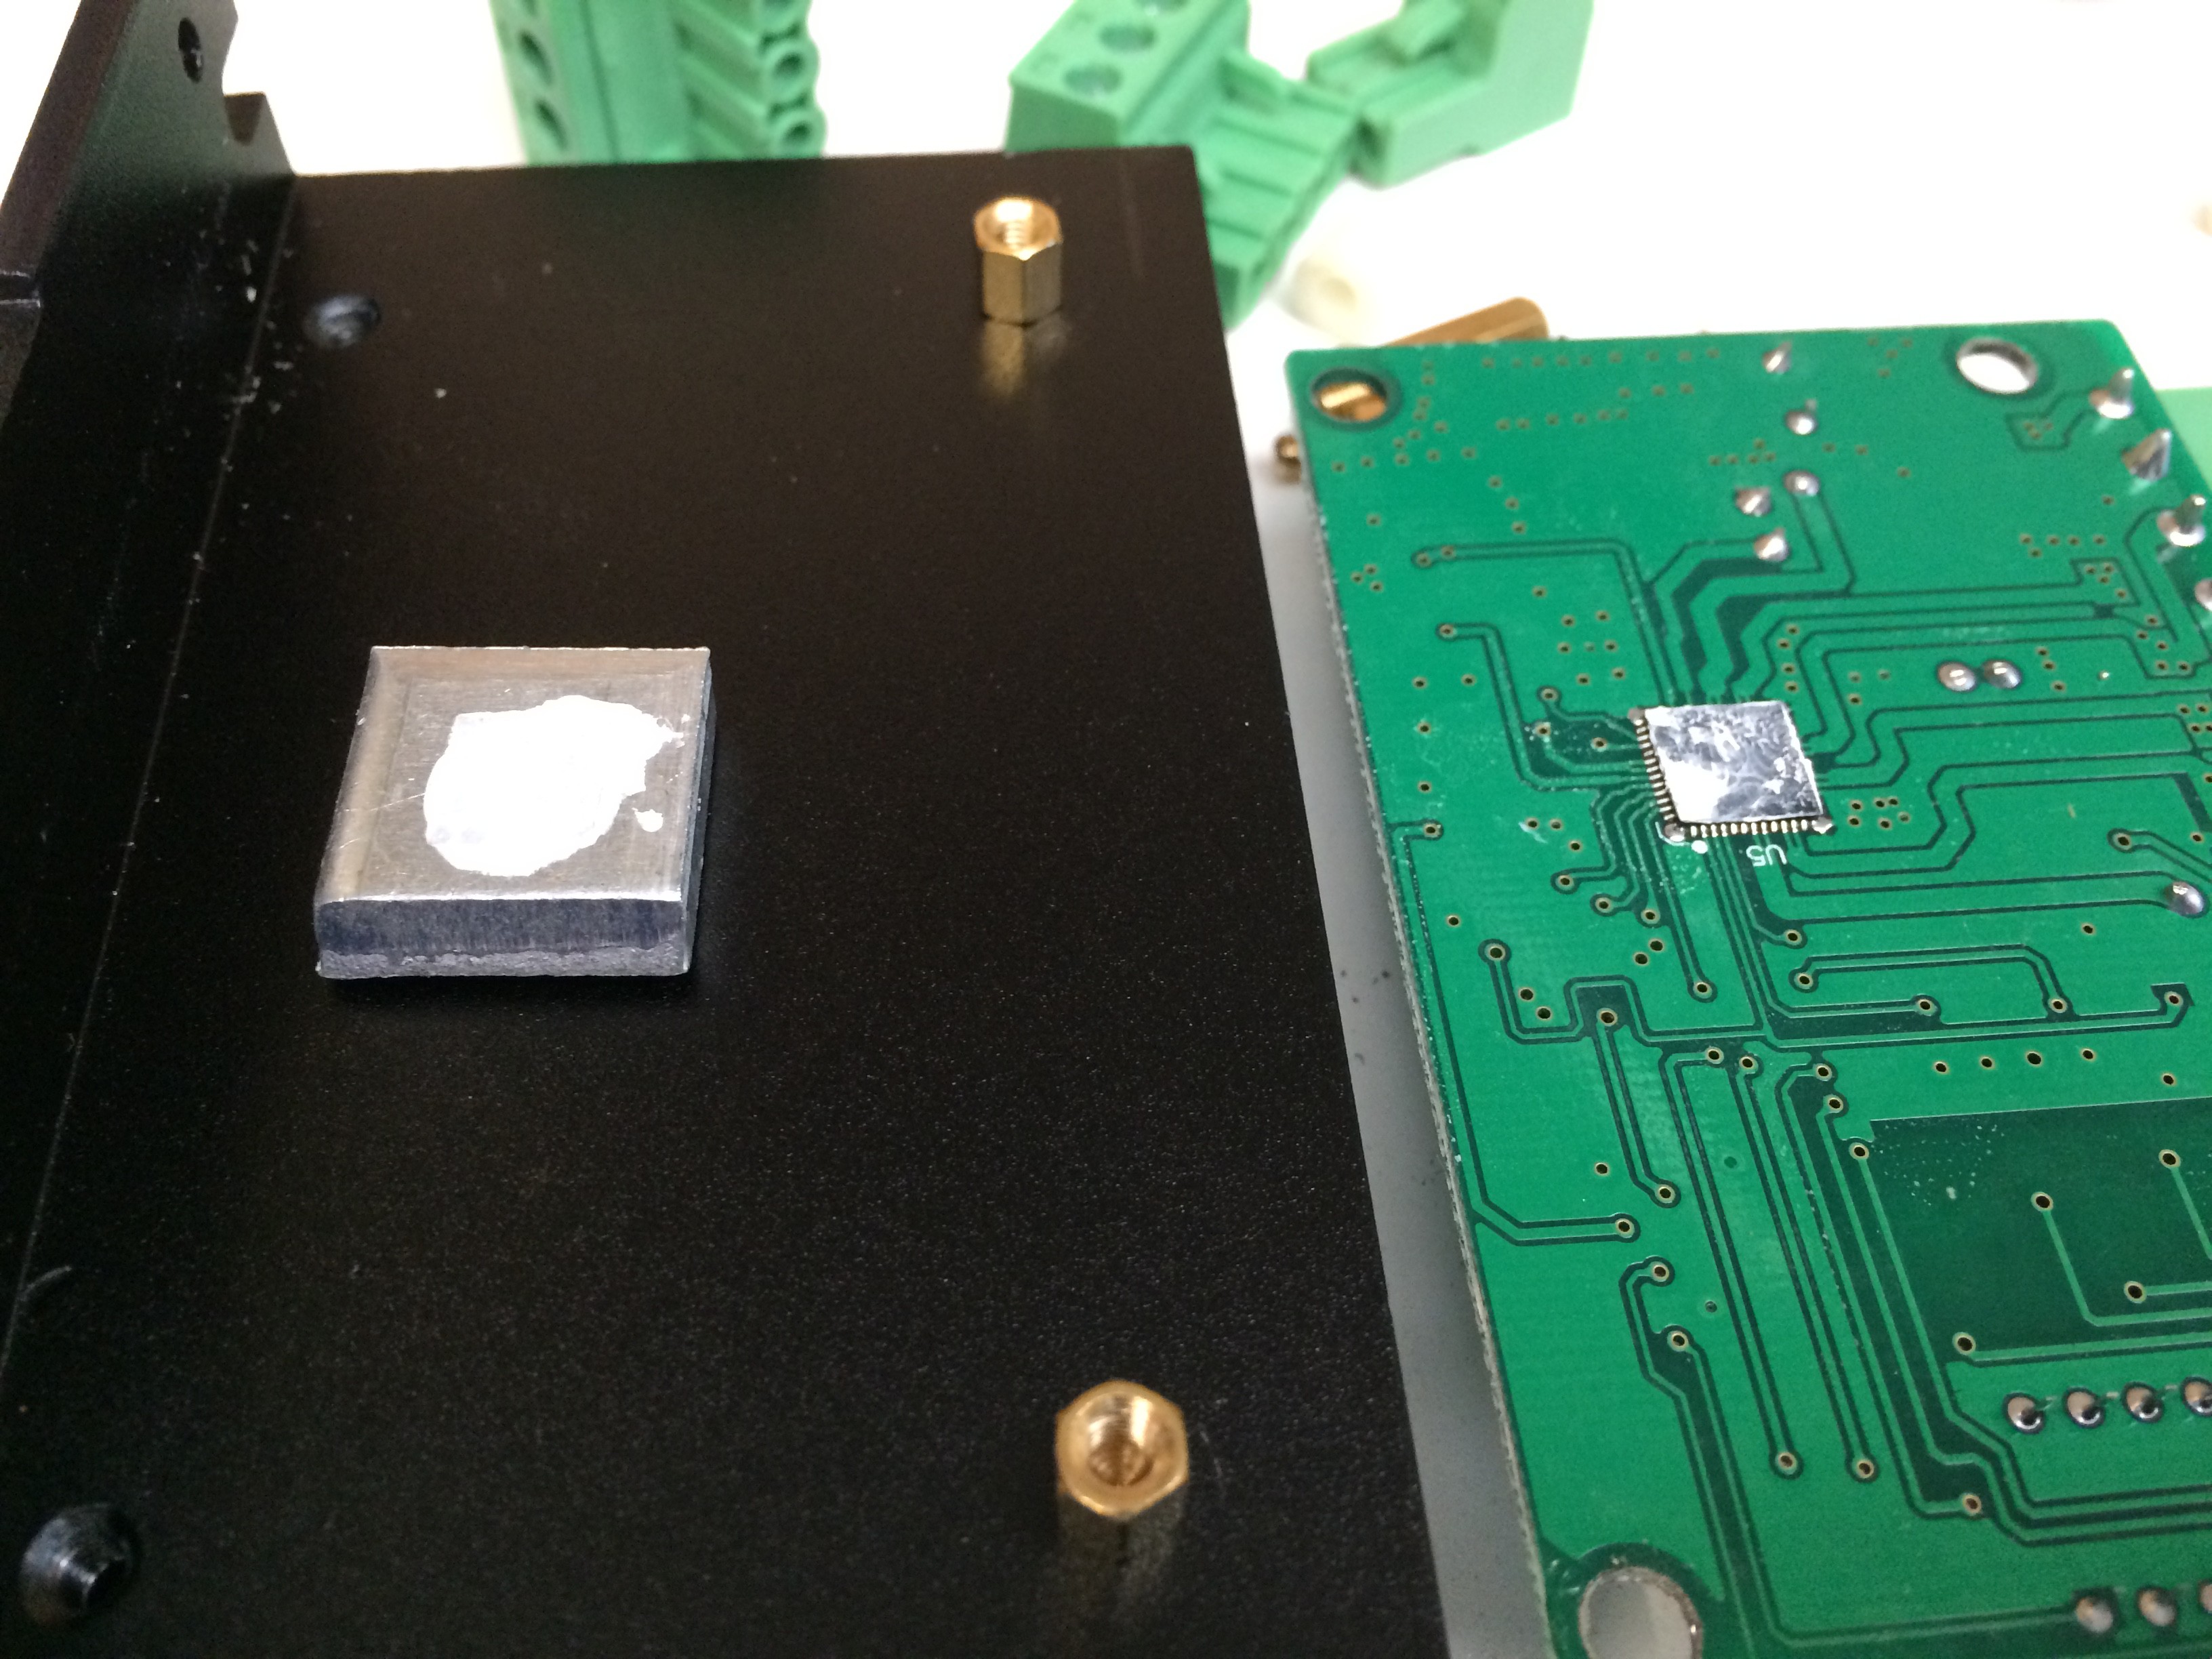
I disassembled one of the units to have a look - Toshiba TB67S109 QFN package mounted on bottom, thermally coupled to heatsink with a chunk of aluminum. No grease between the chunk and the heat sink, so I'm going to add some.
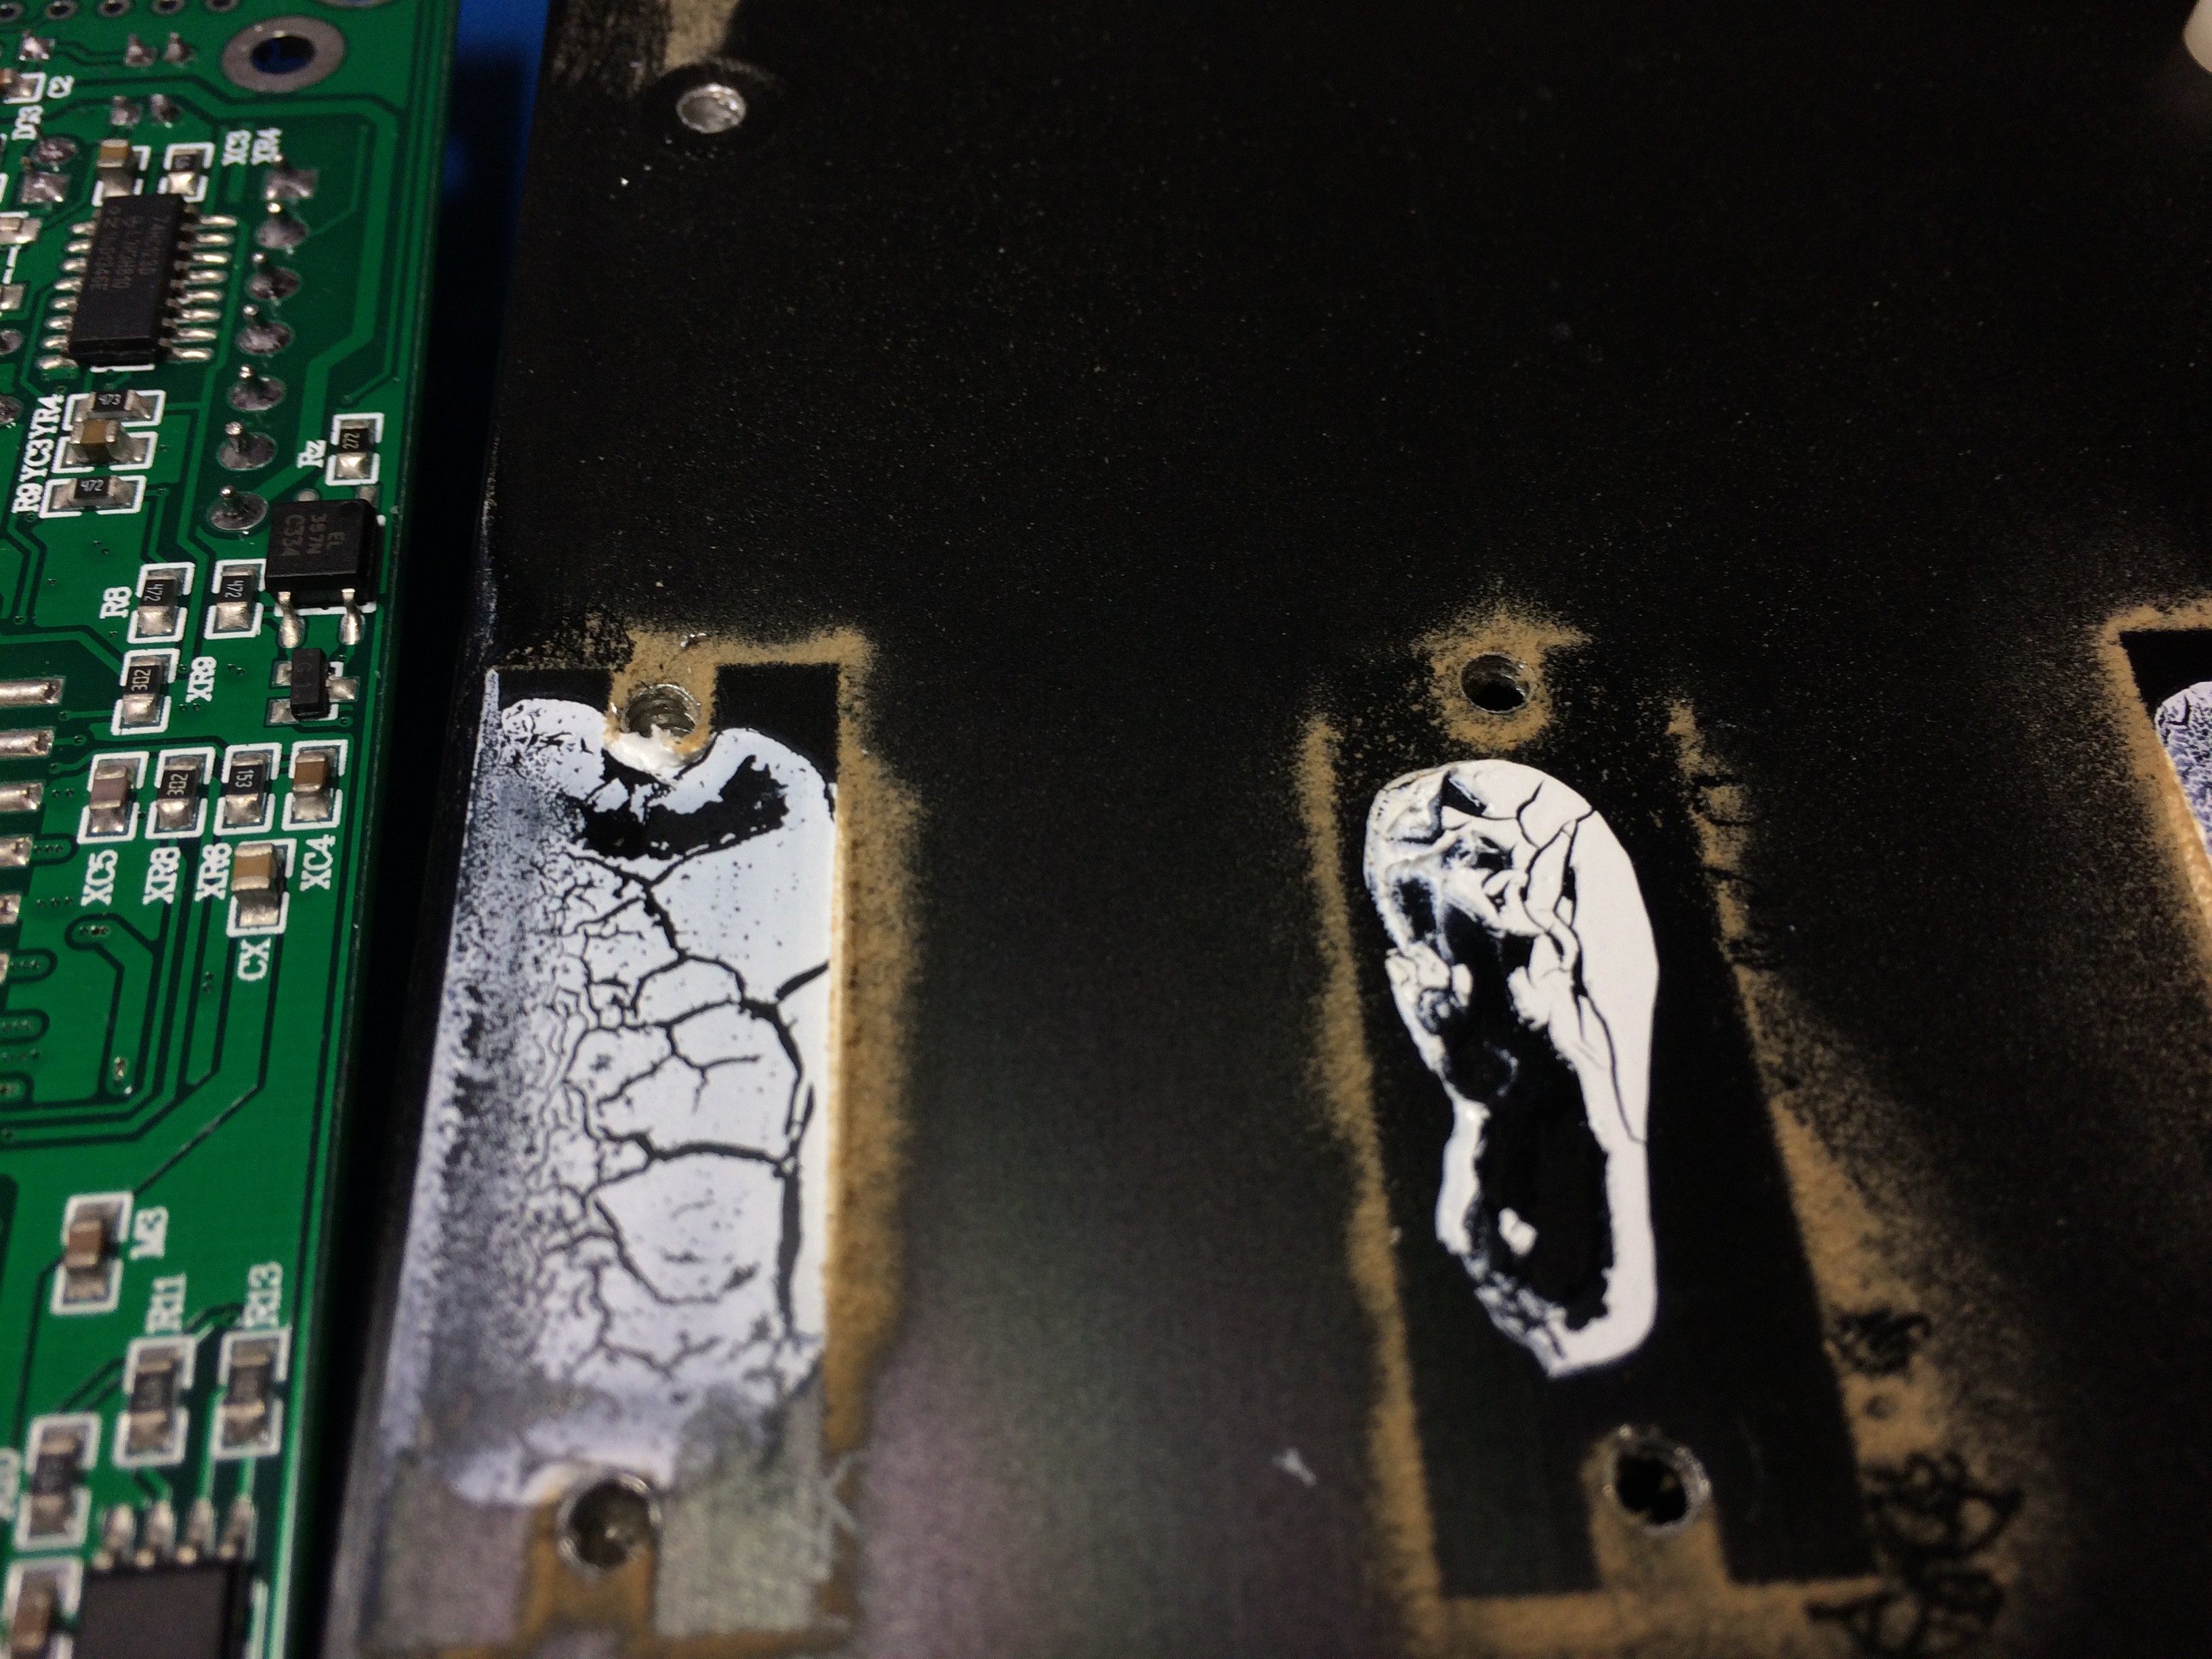
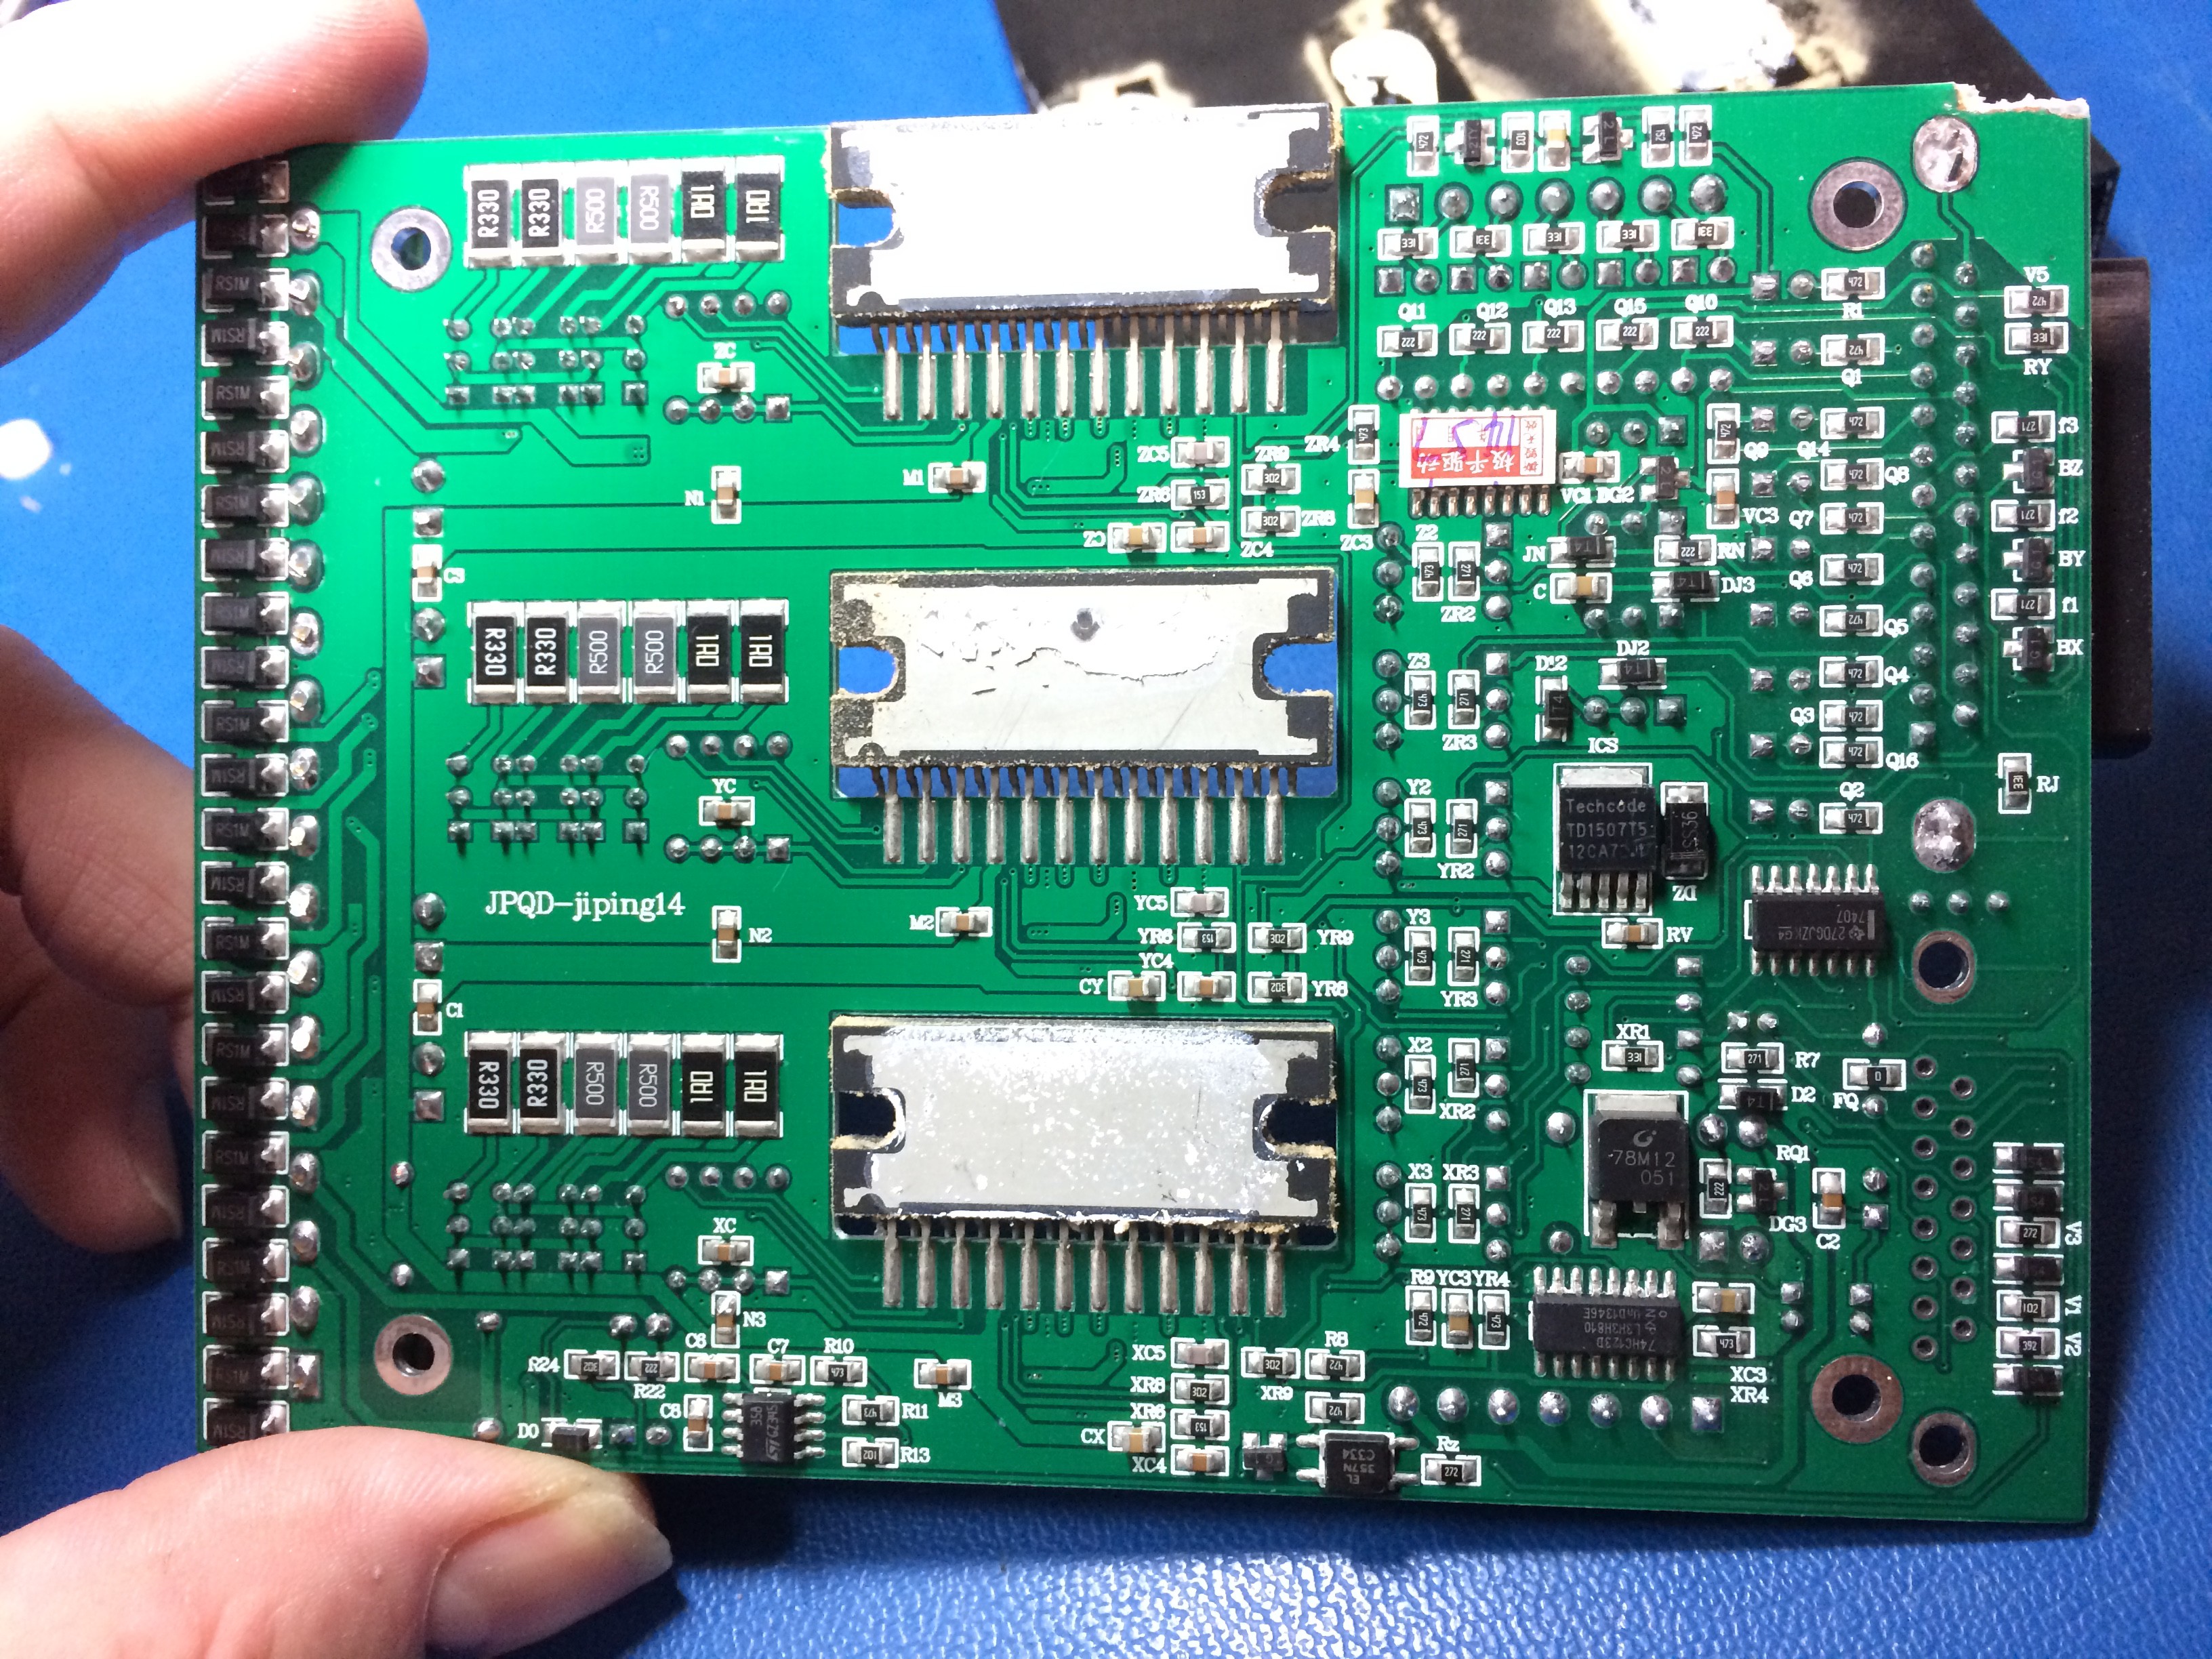
I pulled the stepper control board out of the blue box to clean, inspect, and identify suitable PCB locations to patch in the Mega2560. There was a small amount of caked-on sawdust, and the heat sink compound was dried up.
The back side of the stepper board is rather unremarkable. Note the snubber diodes on the left side, directly underneath the motor connectors. Good PCB layout choice.
I noticed that the corner of the stepper board was "trimmed" to fit the inside corner of the box.
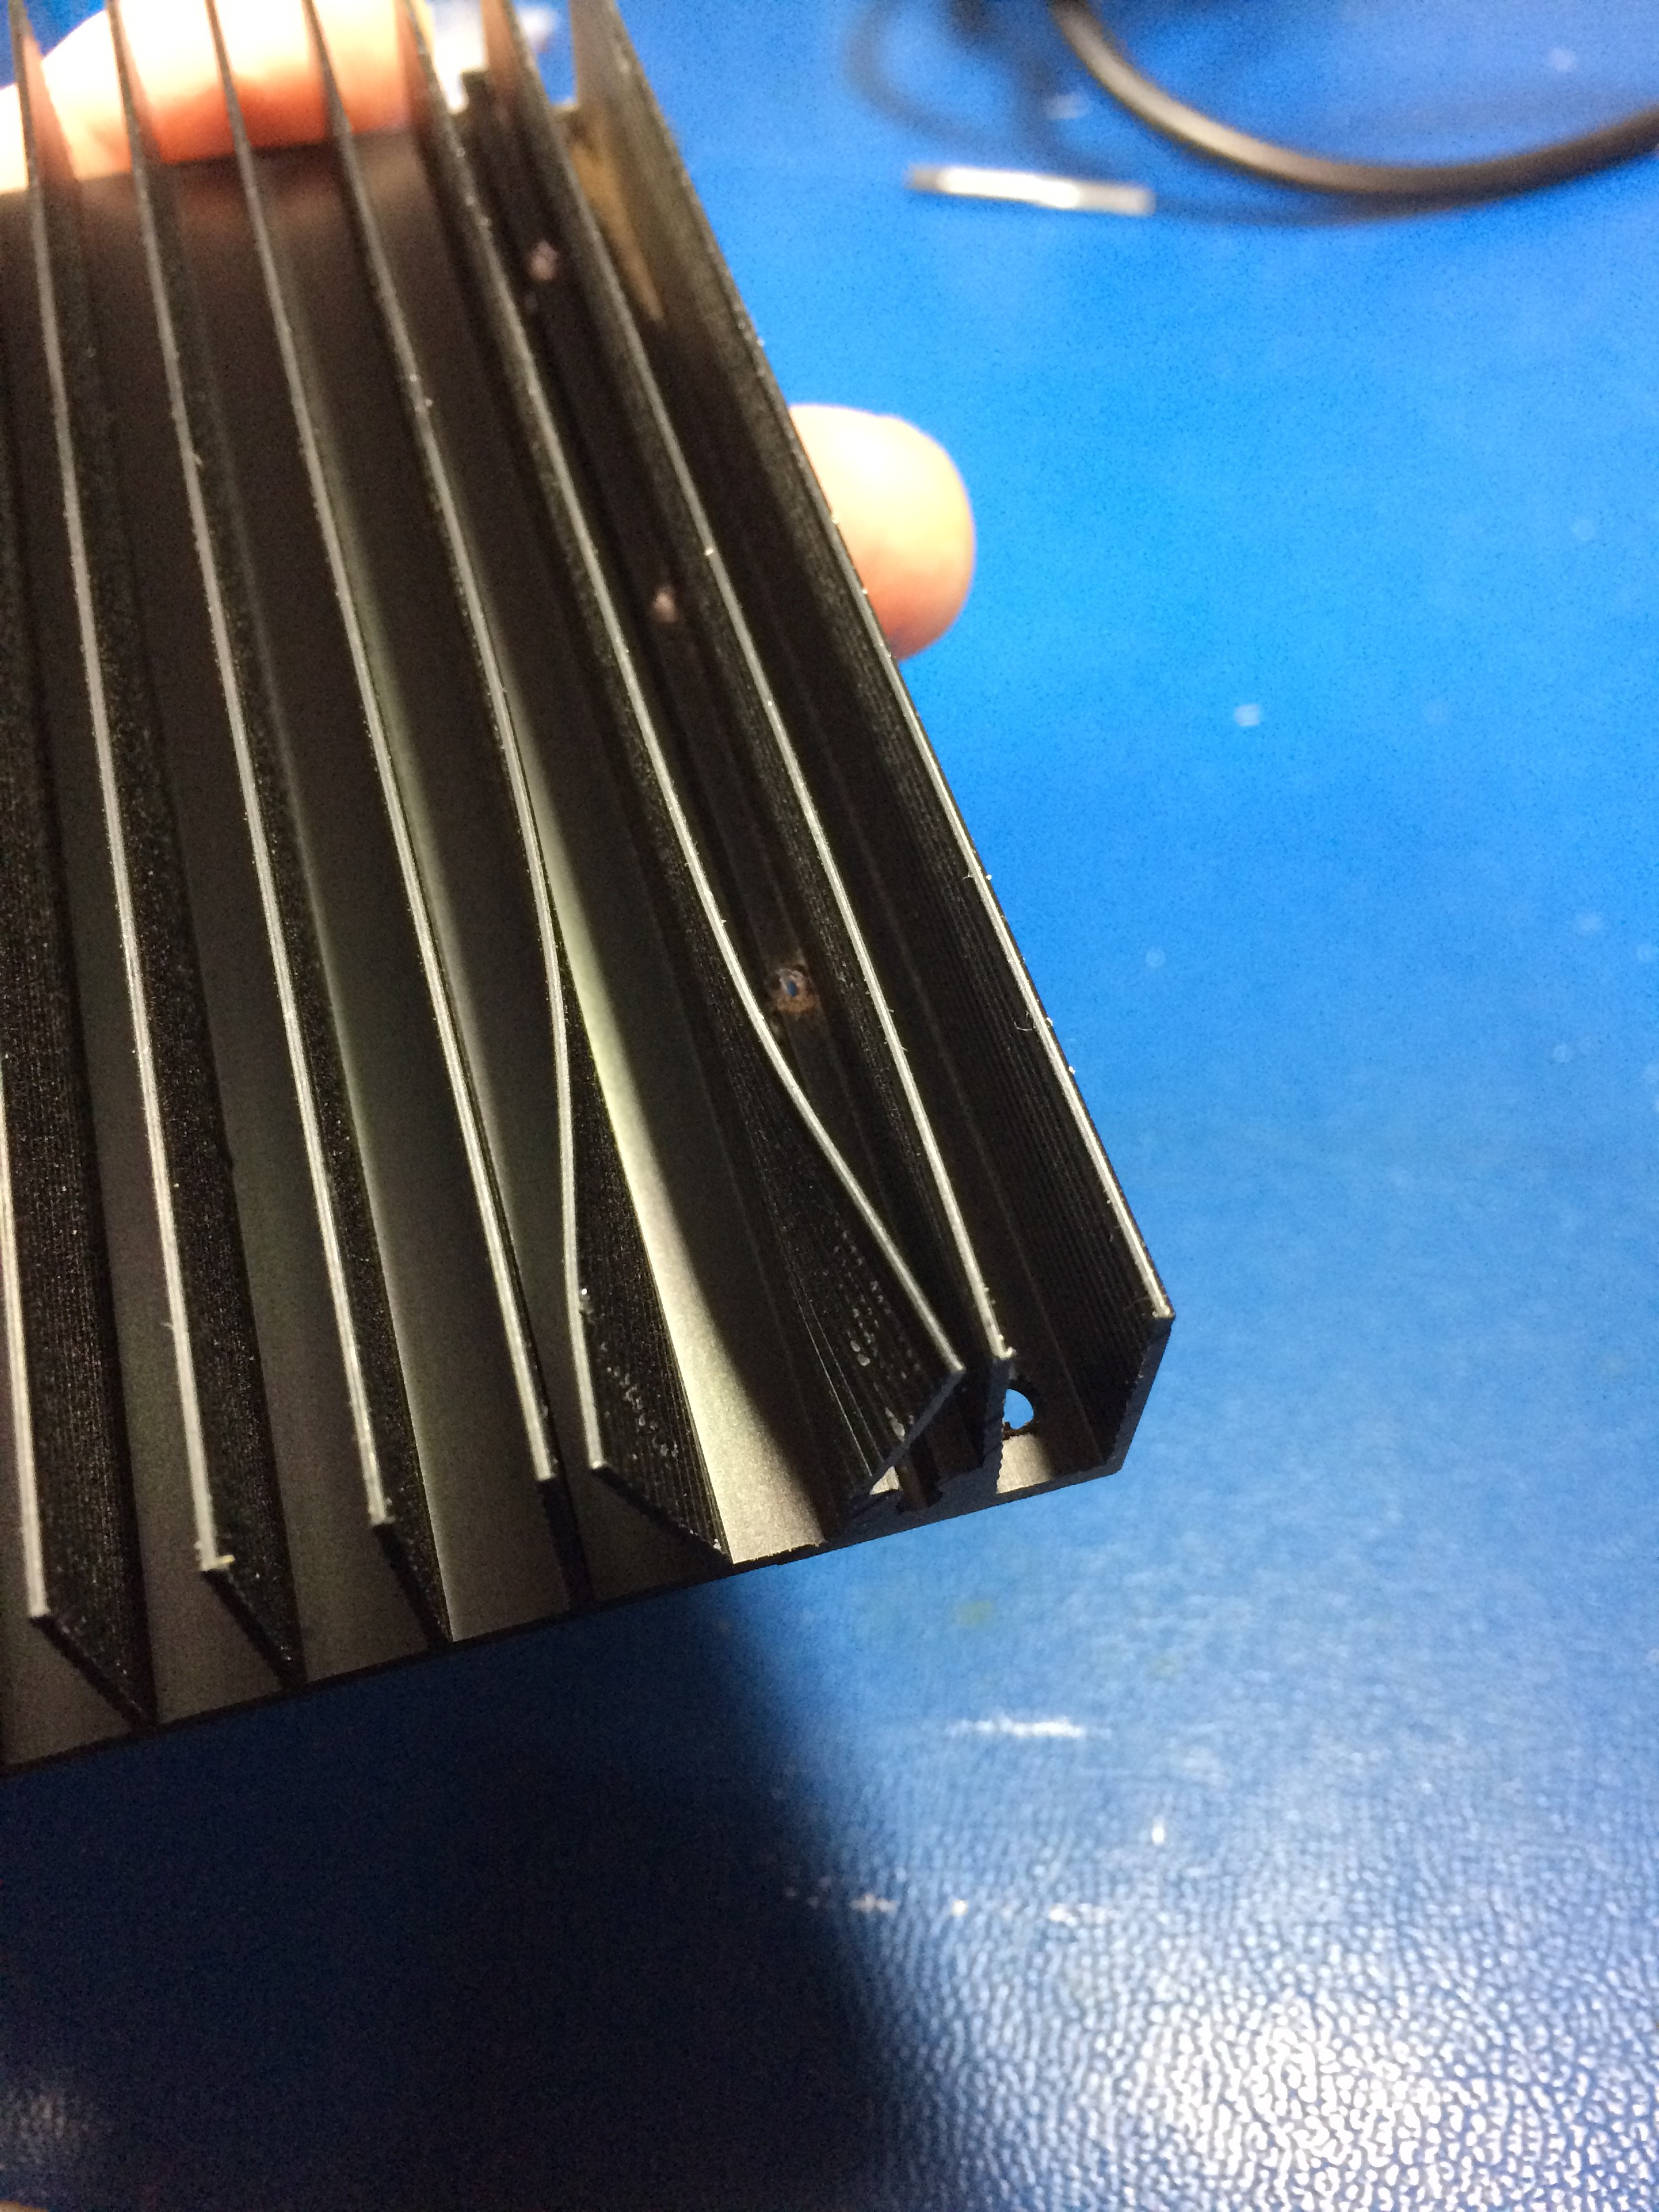
Also, the heat sink was "modified" to clear the plastic foot screwed into the underside.
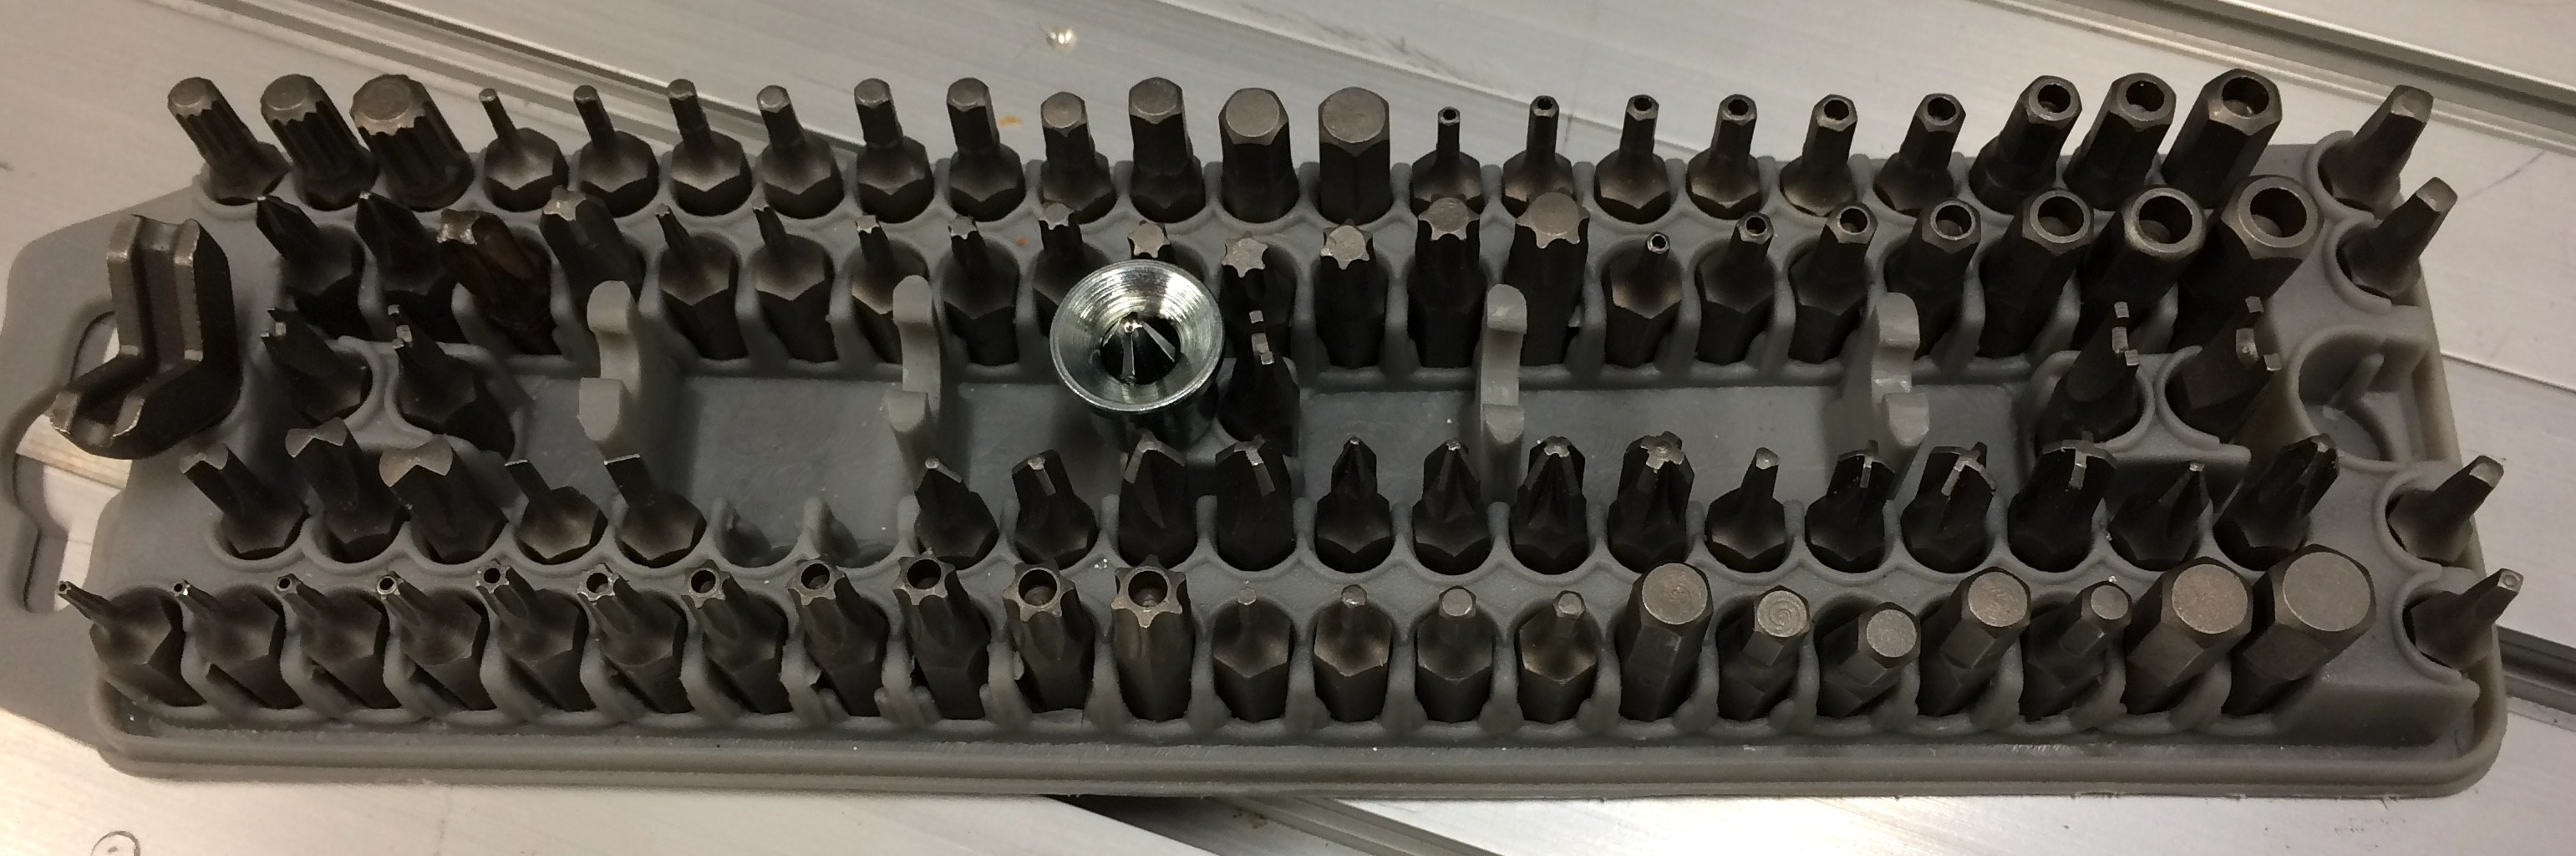
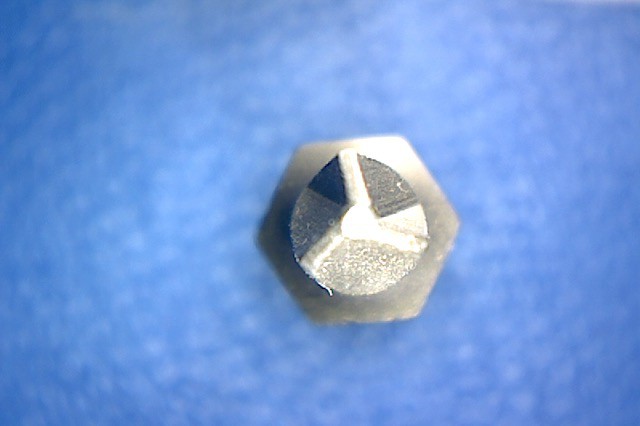
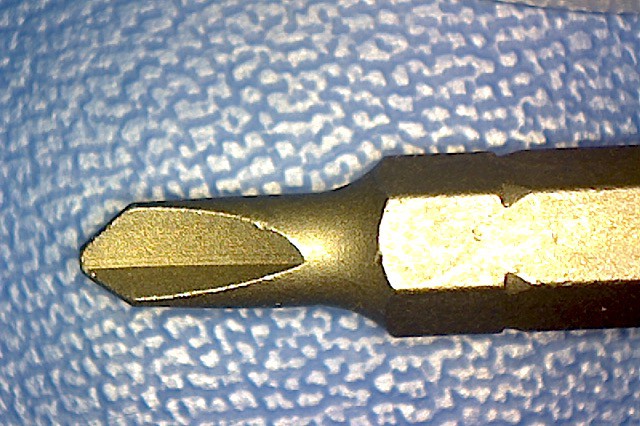
Note, the driver chips are mounted to the heat sink with a triangle head screw, so you'll need a driver tip that looks like the following. I have a driver bit mega-kit that included one Alternately, you could remove with needle nose vise grips, and use Philips head screws.
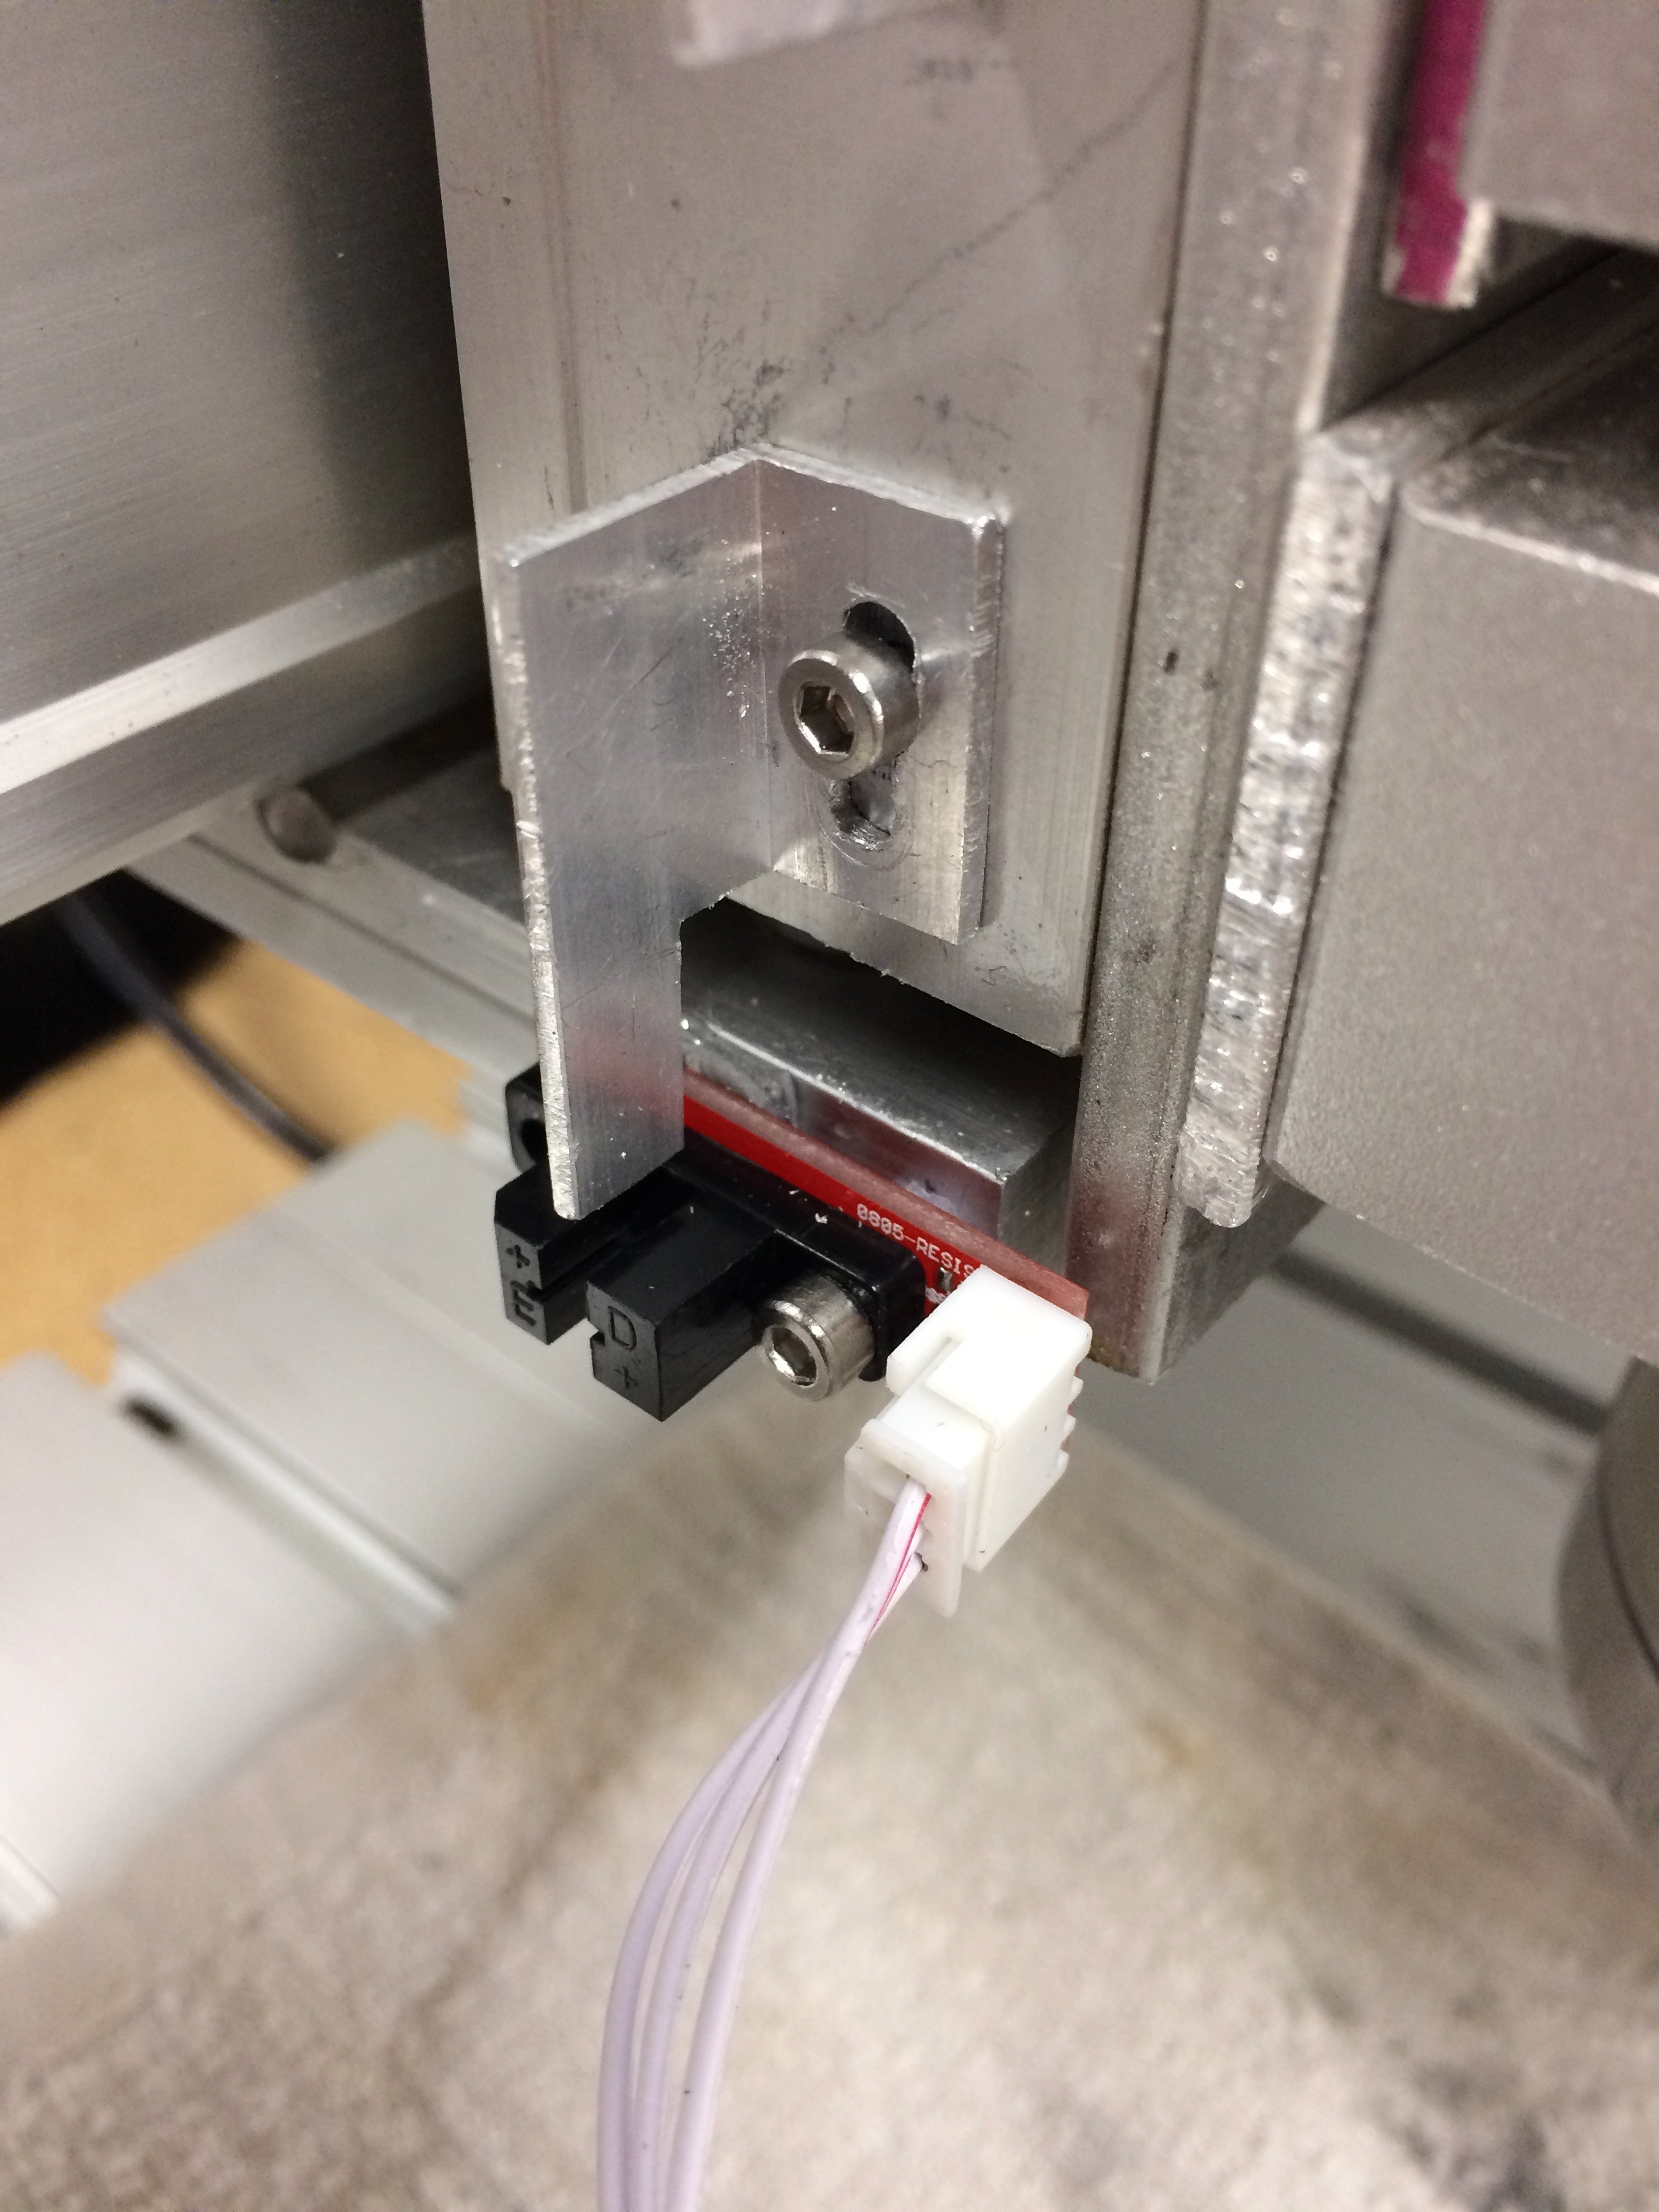
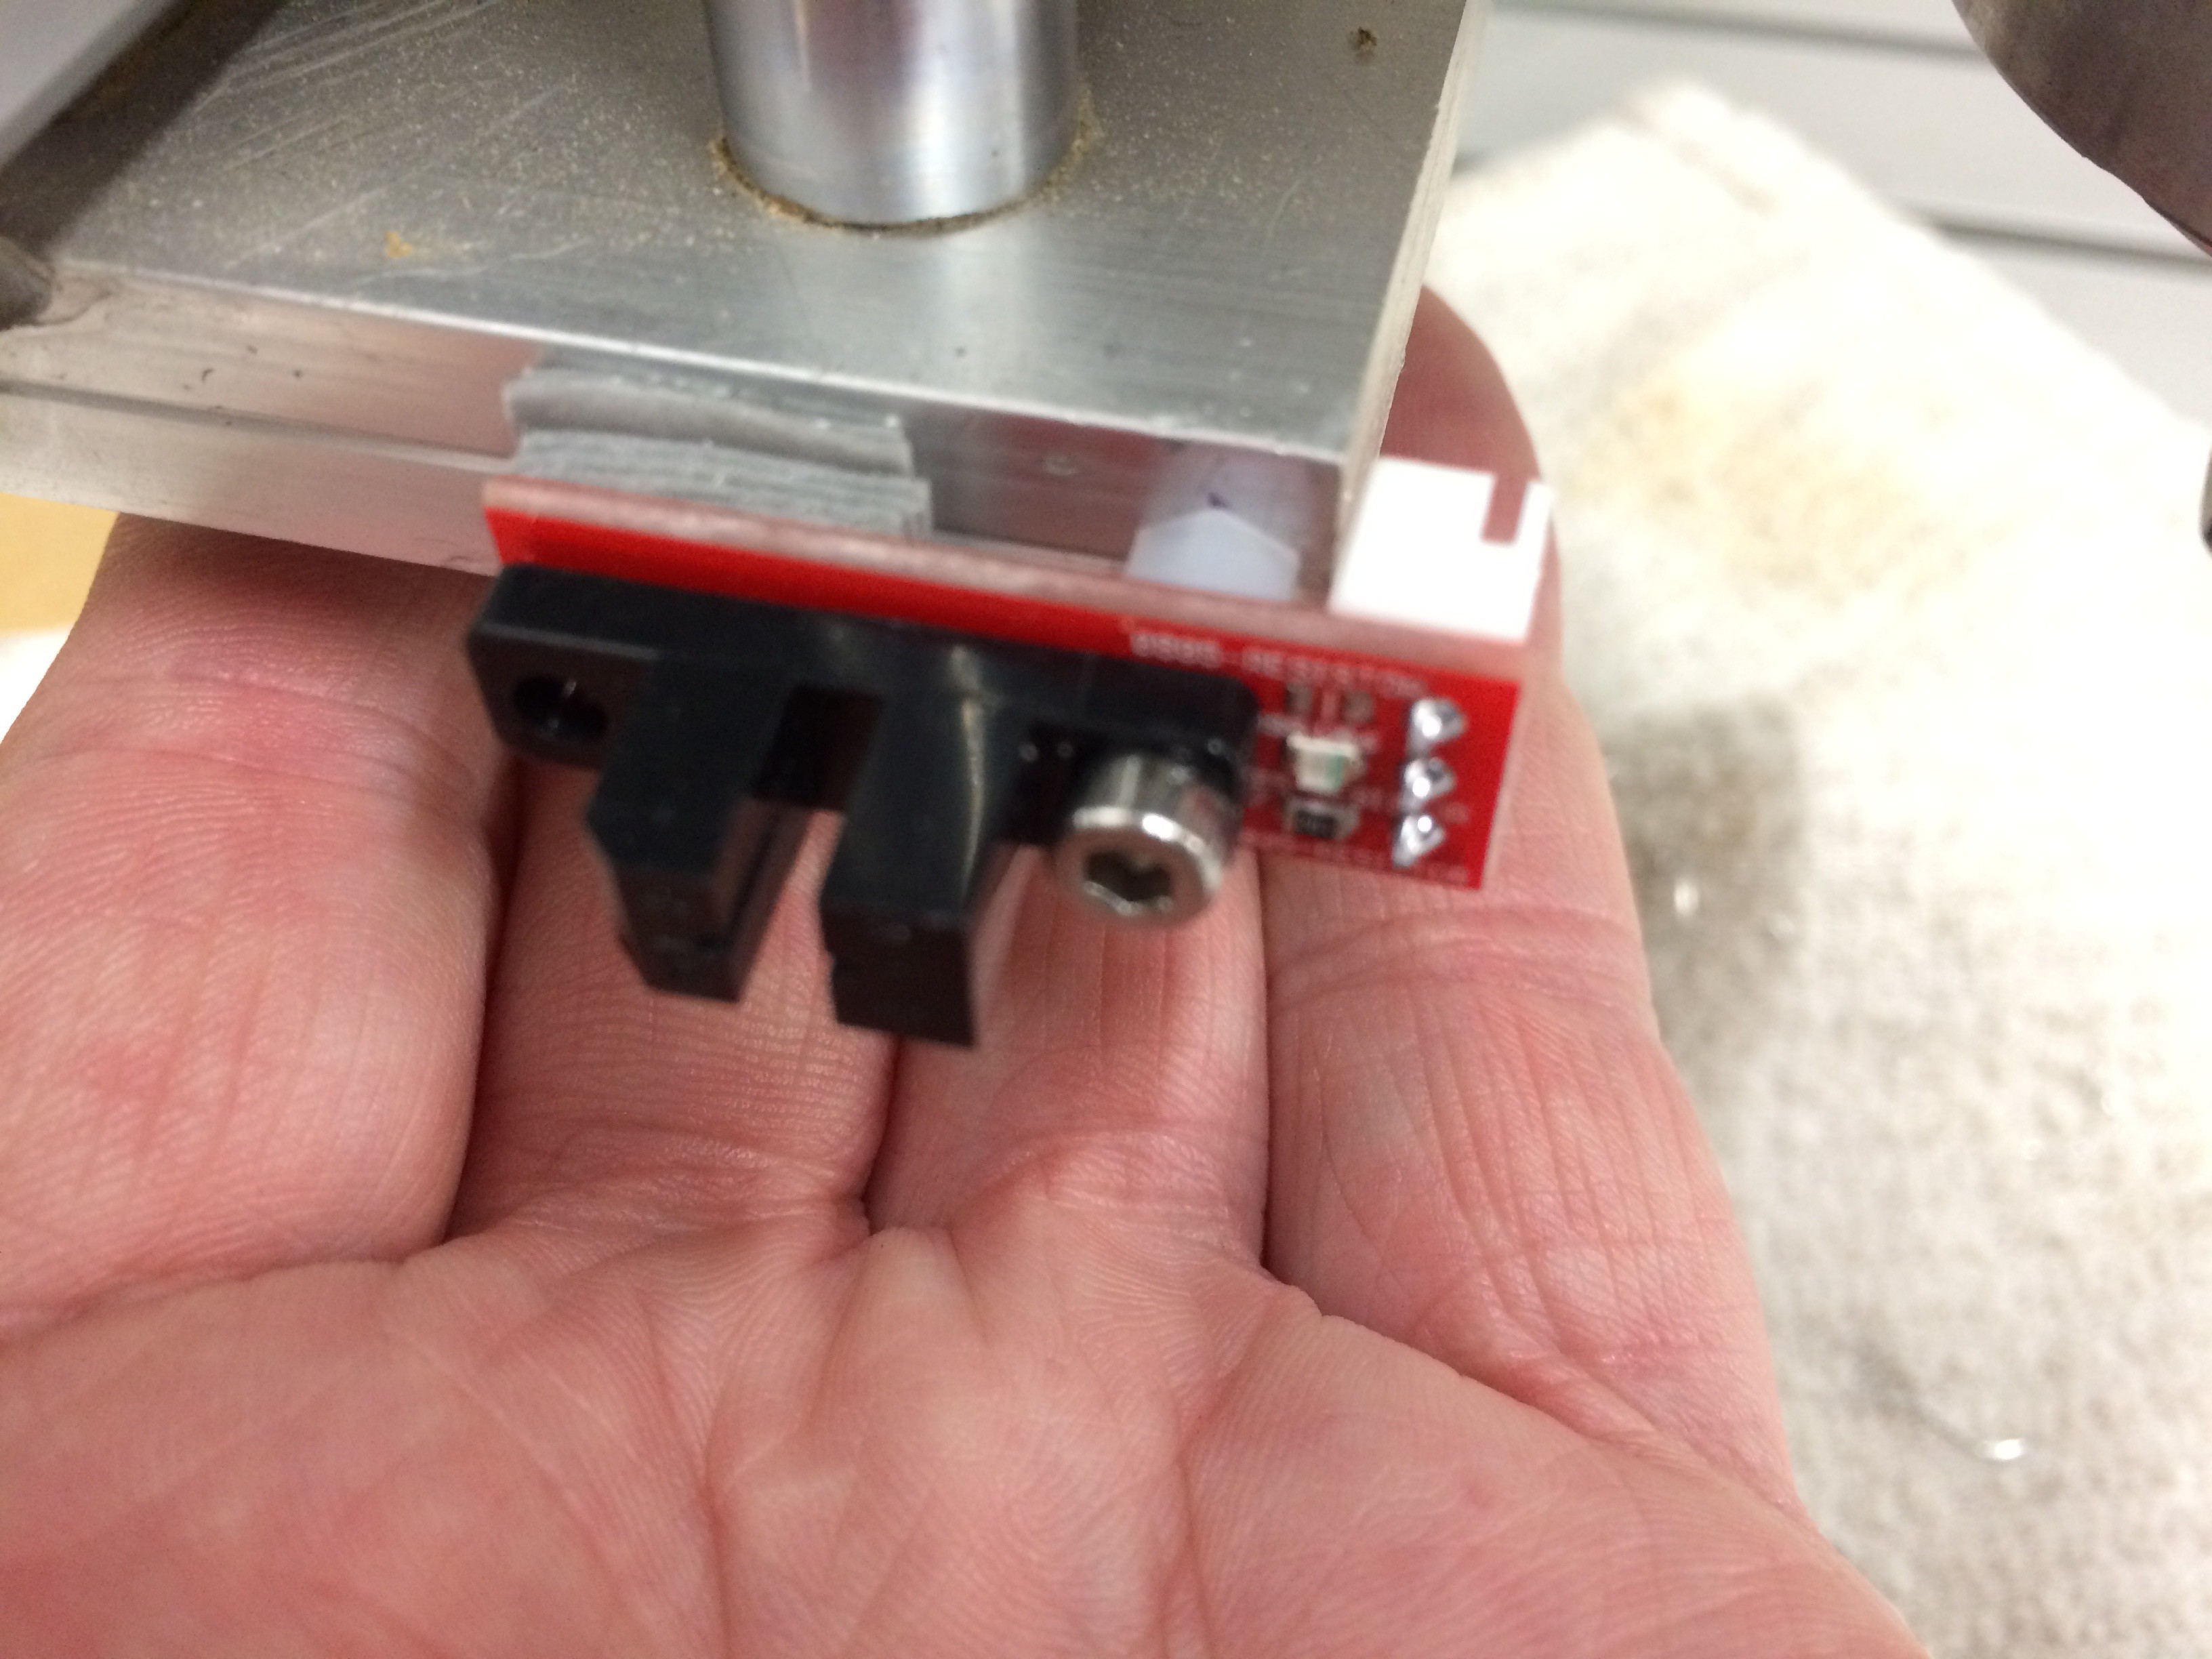
Here's a video of the Z axis lower limit optical detector in operation. Upper is similar. On the lower, I had to swap the 3-pin connector to the outside, else the router base plate would hit it on the way down.
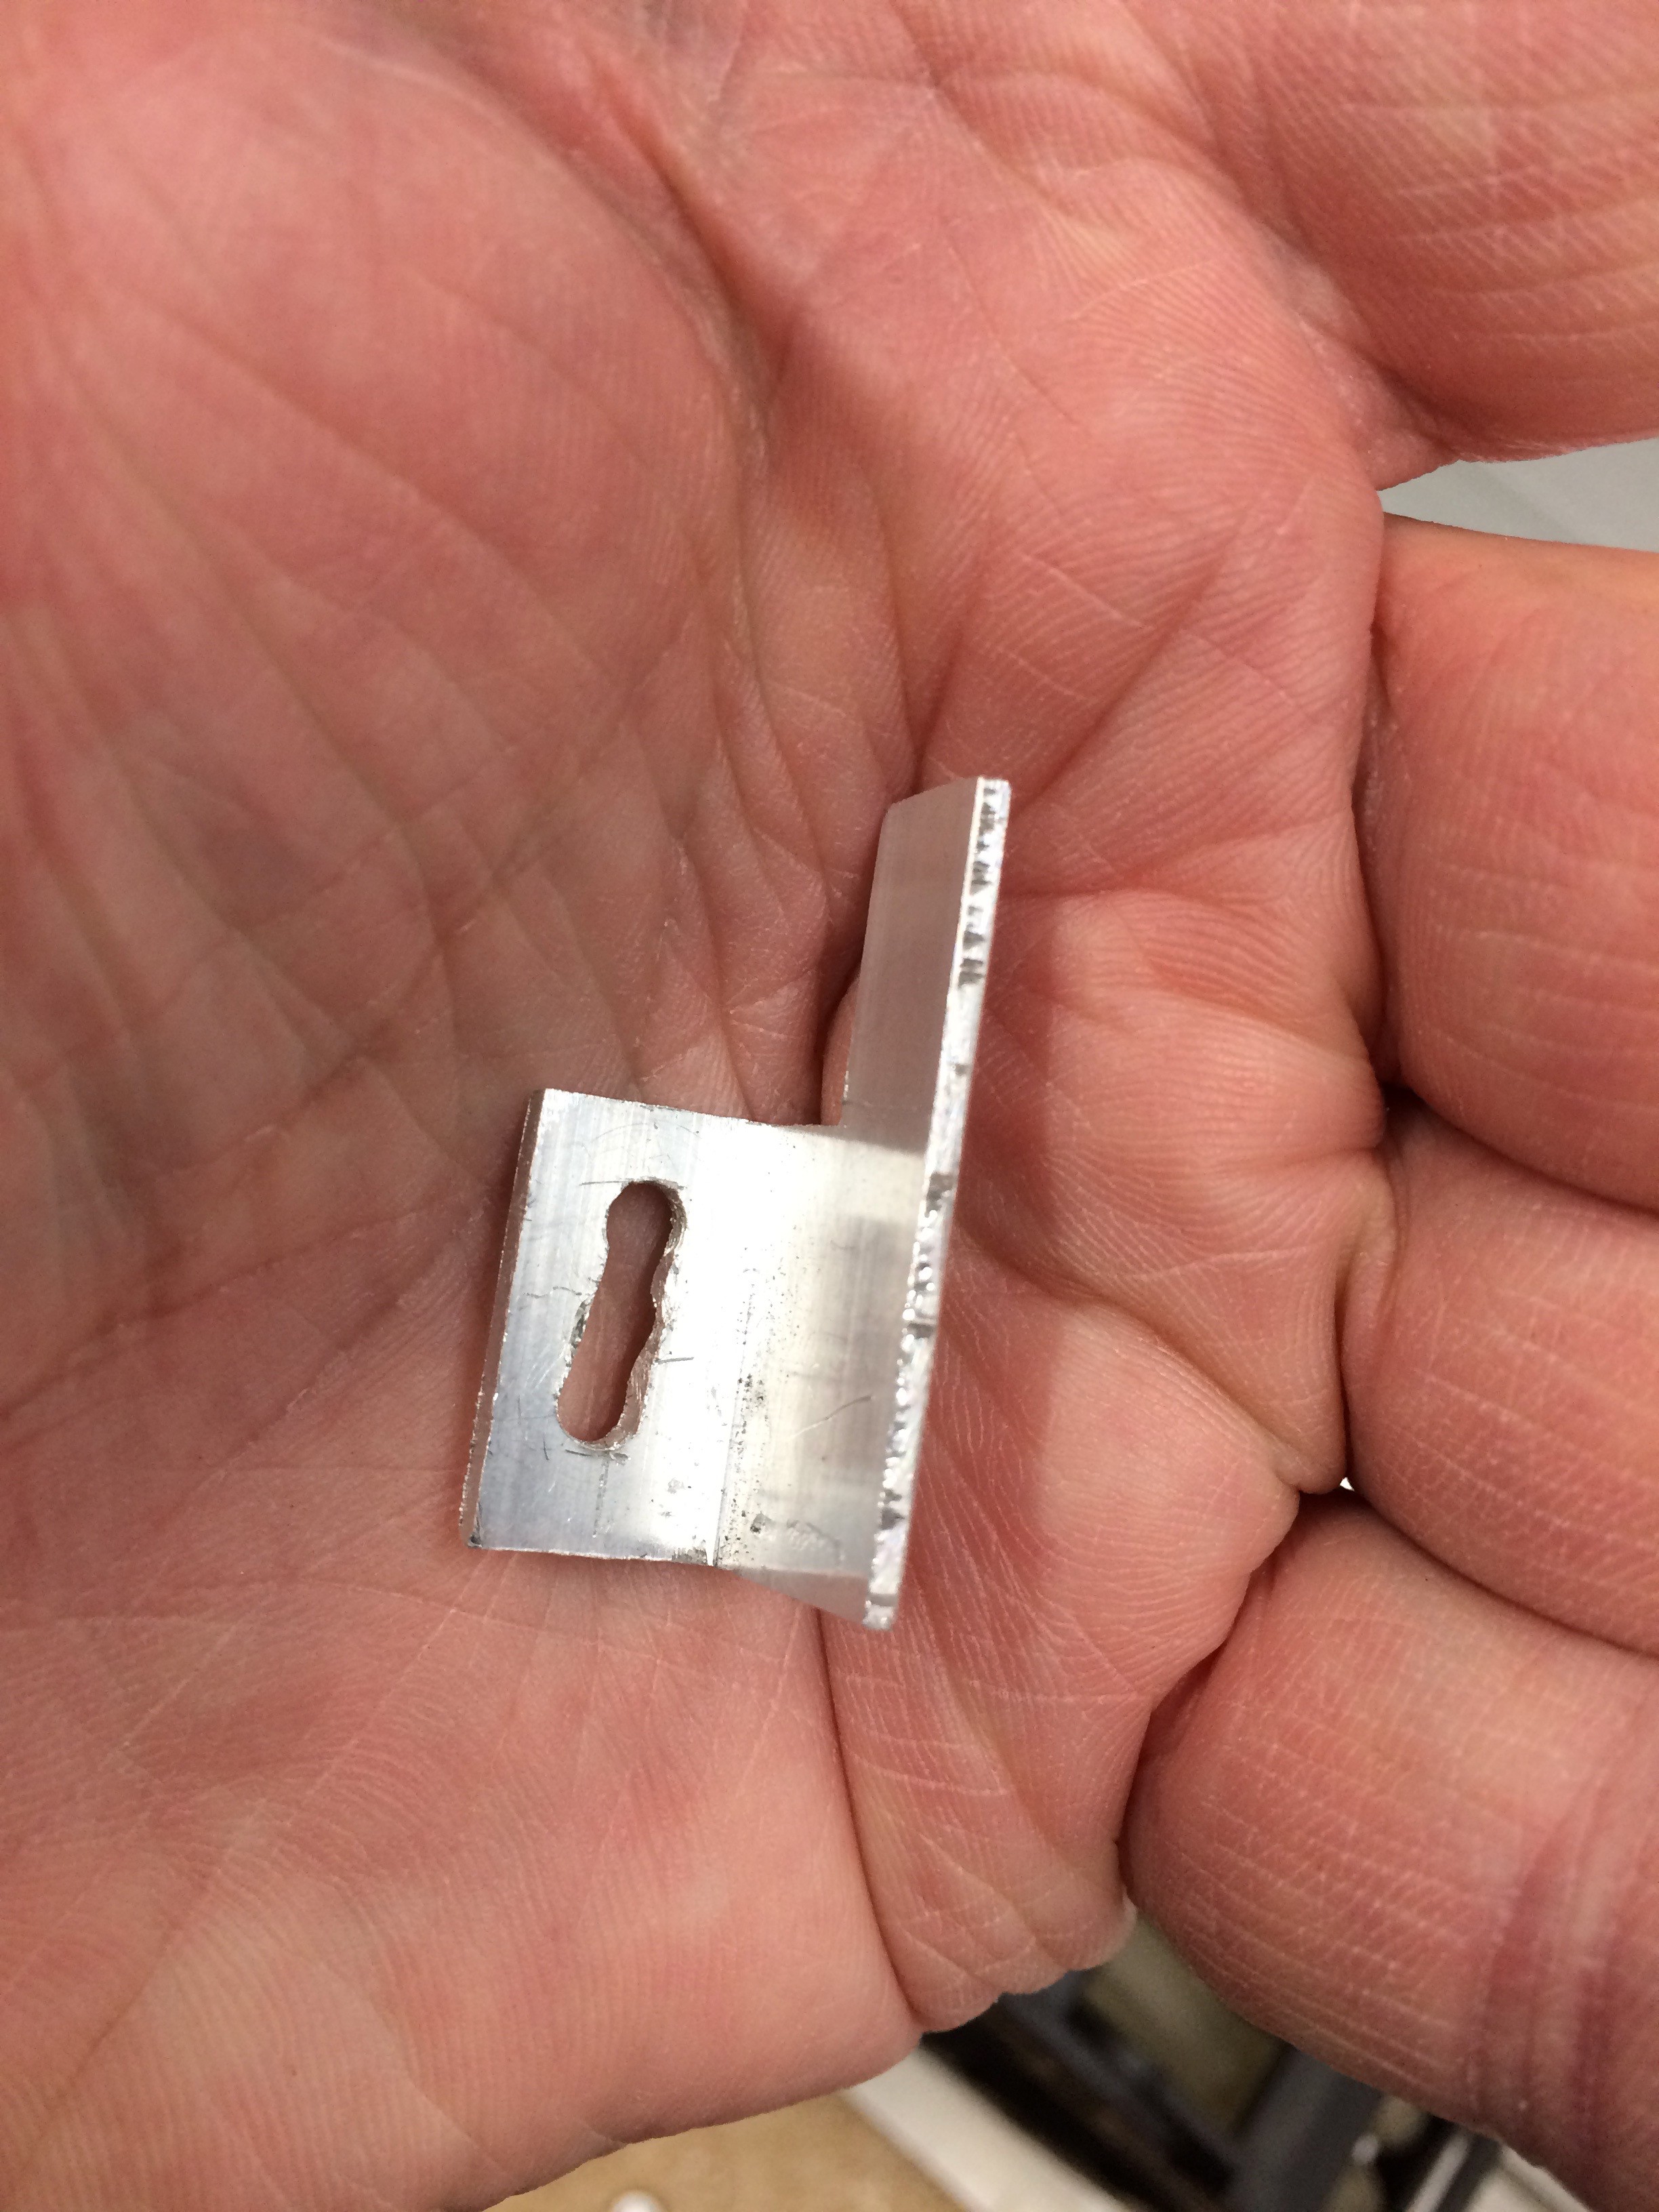
I made the interrupters from 3/4 x 3/4 x 0.06 aluminum angle with some careful bandsawing (14 TPI blade) and hand filing. Yeah, the slot is crooked, sorry. I center punched, but the wimpy carbon steel 1/8" bit still walked around on me. Ugly but fully functional. I really need to order some machinist-quality drills, all I've got is Home Depot Ryobi junk.
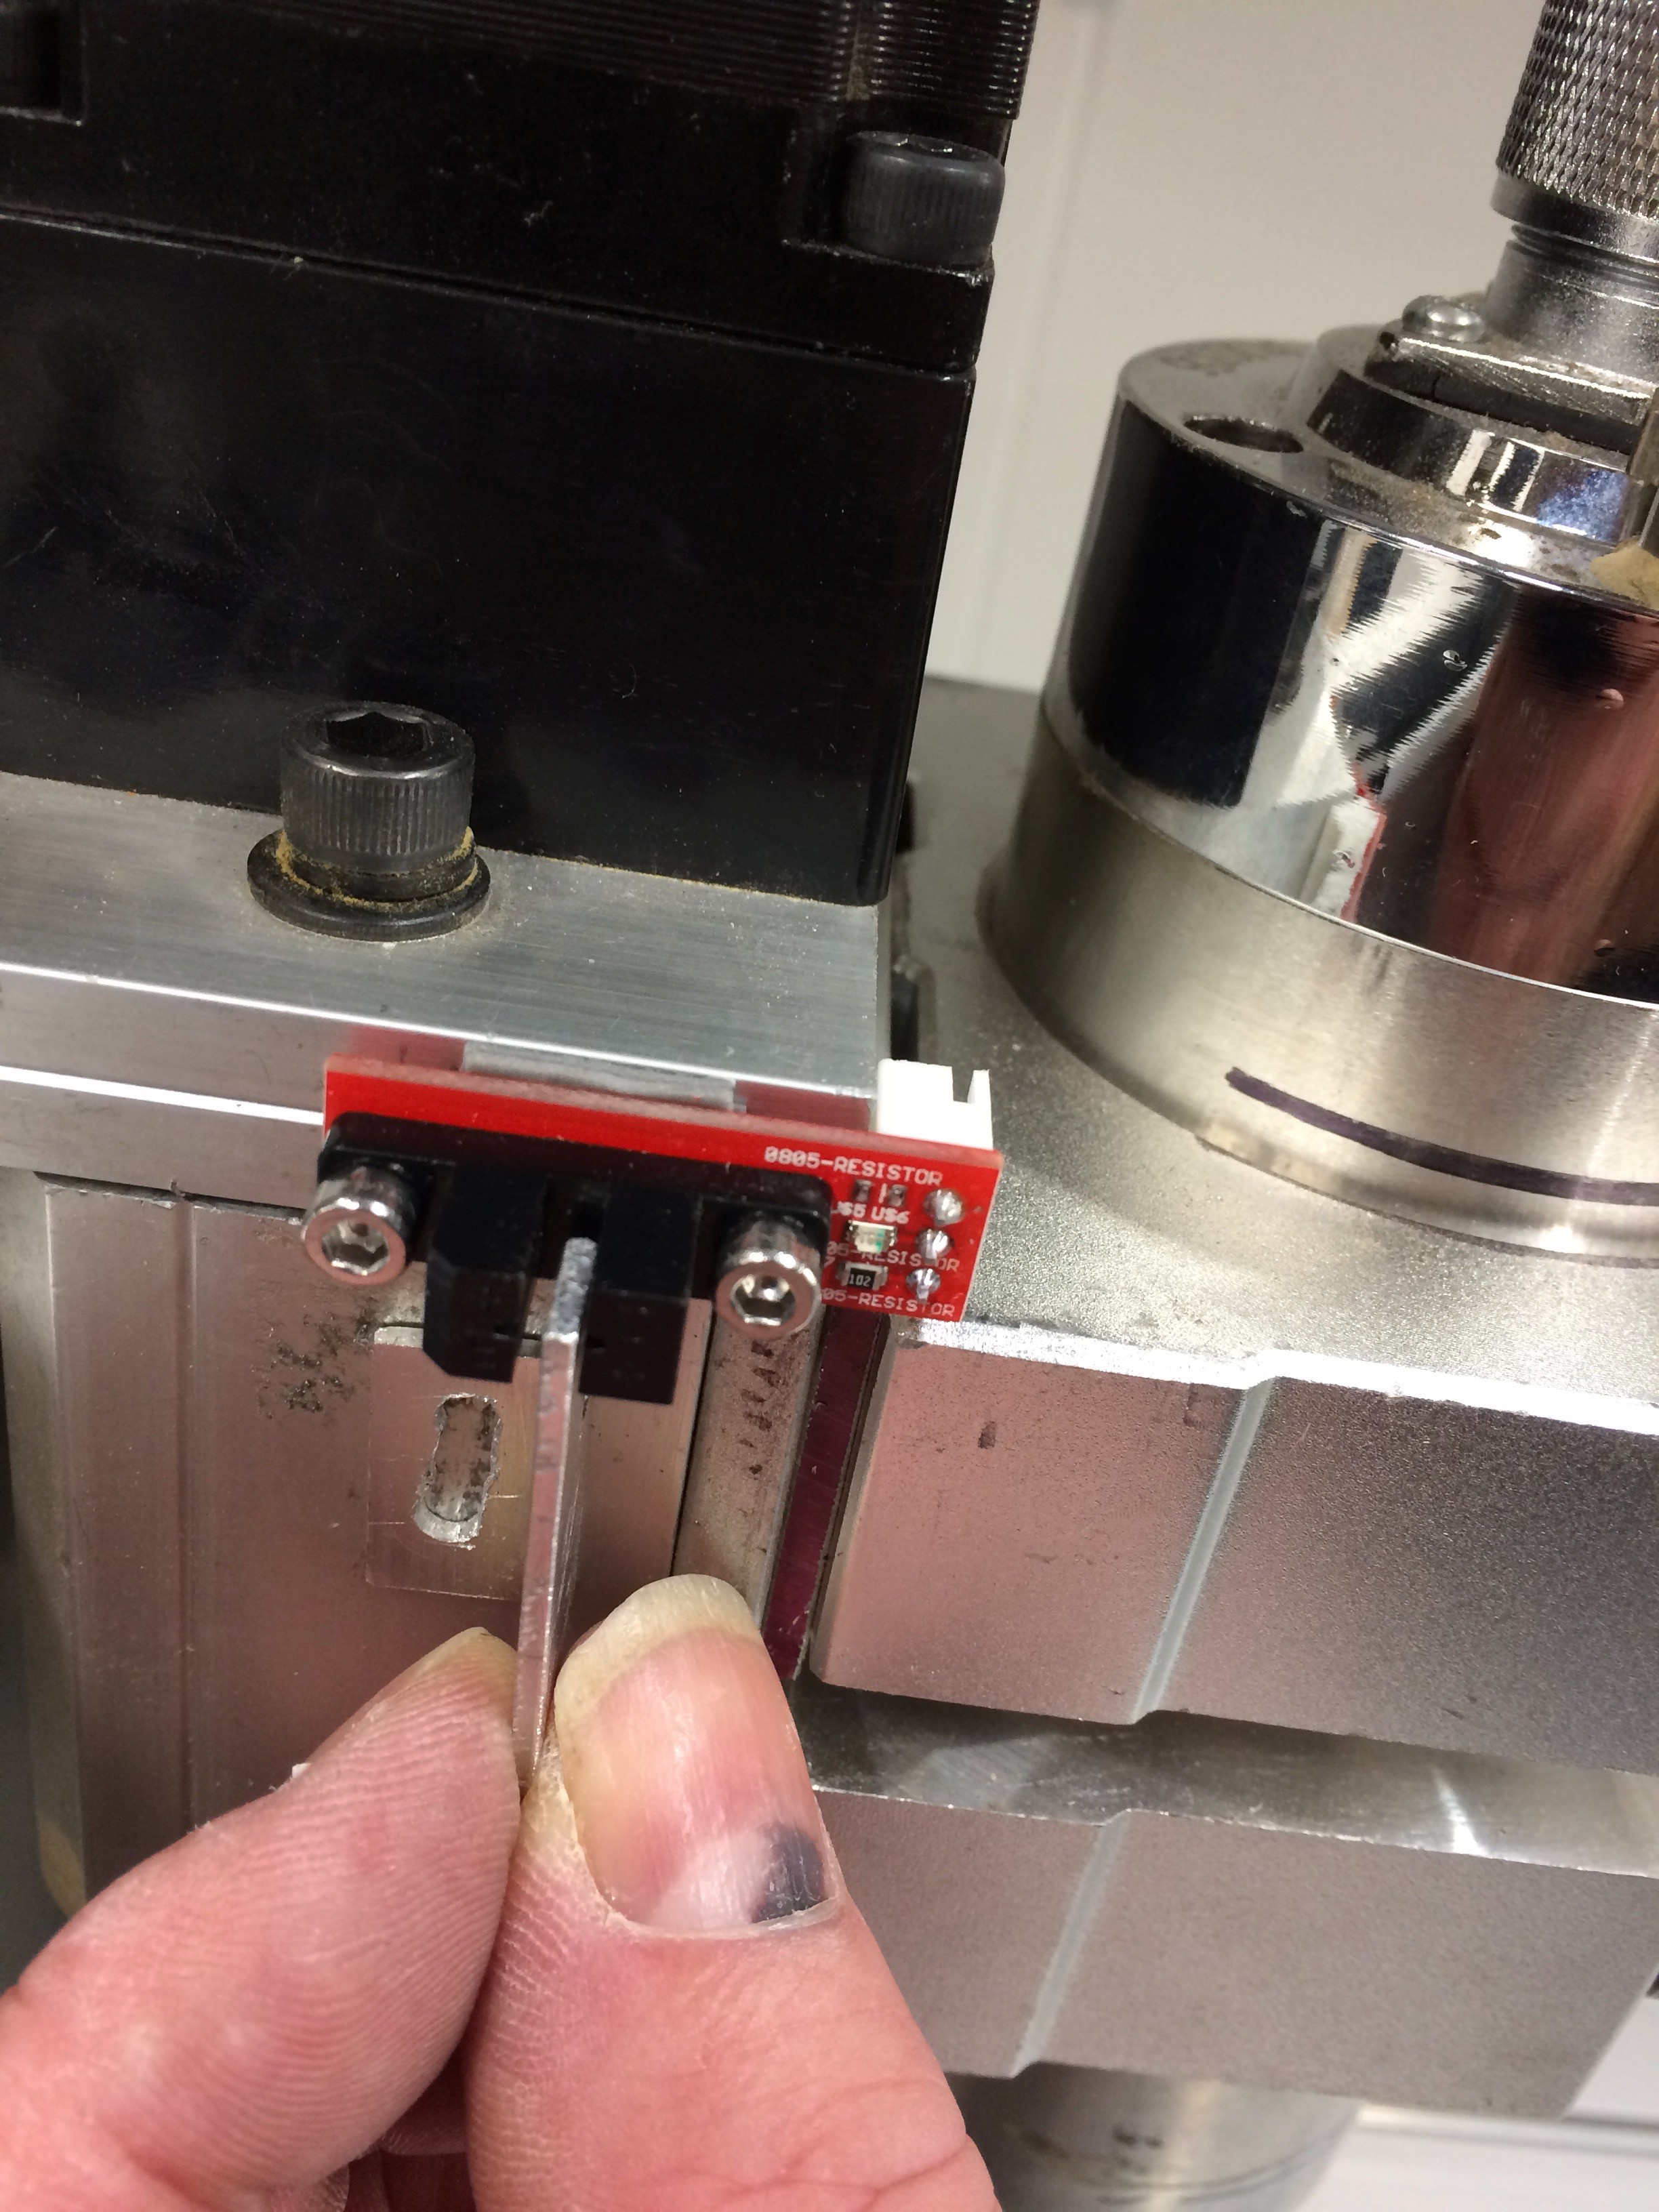
Locating the interrupter for the Z axis upper limit detector.
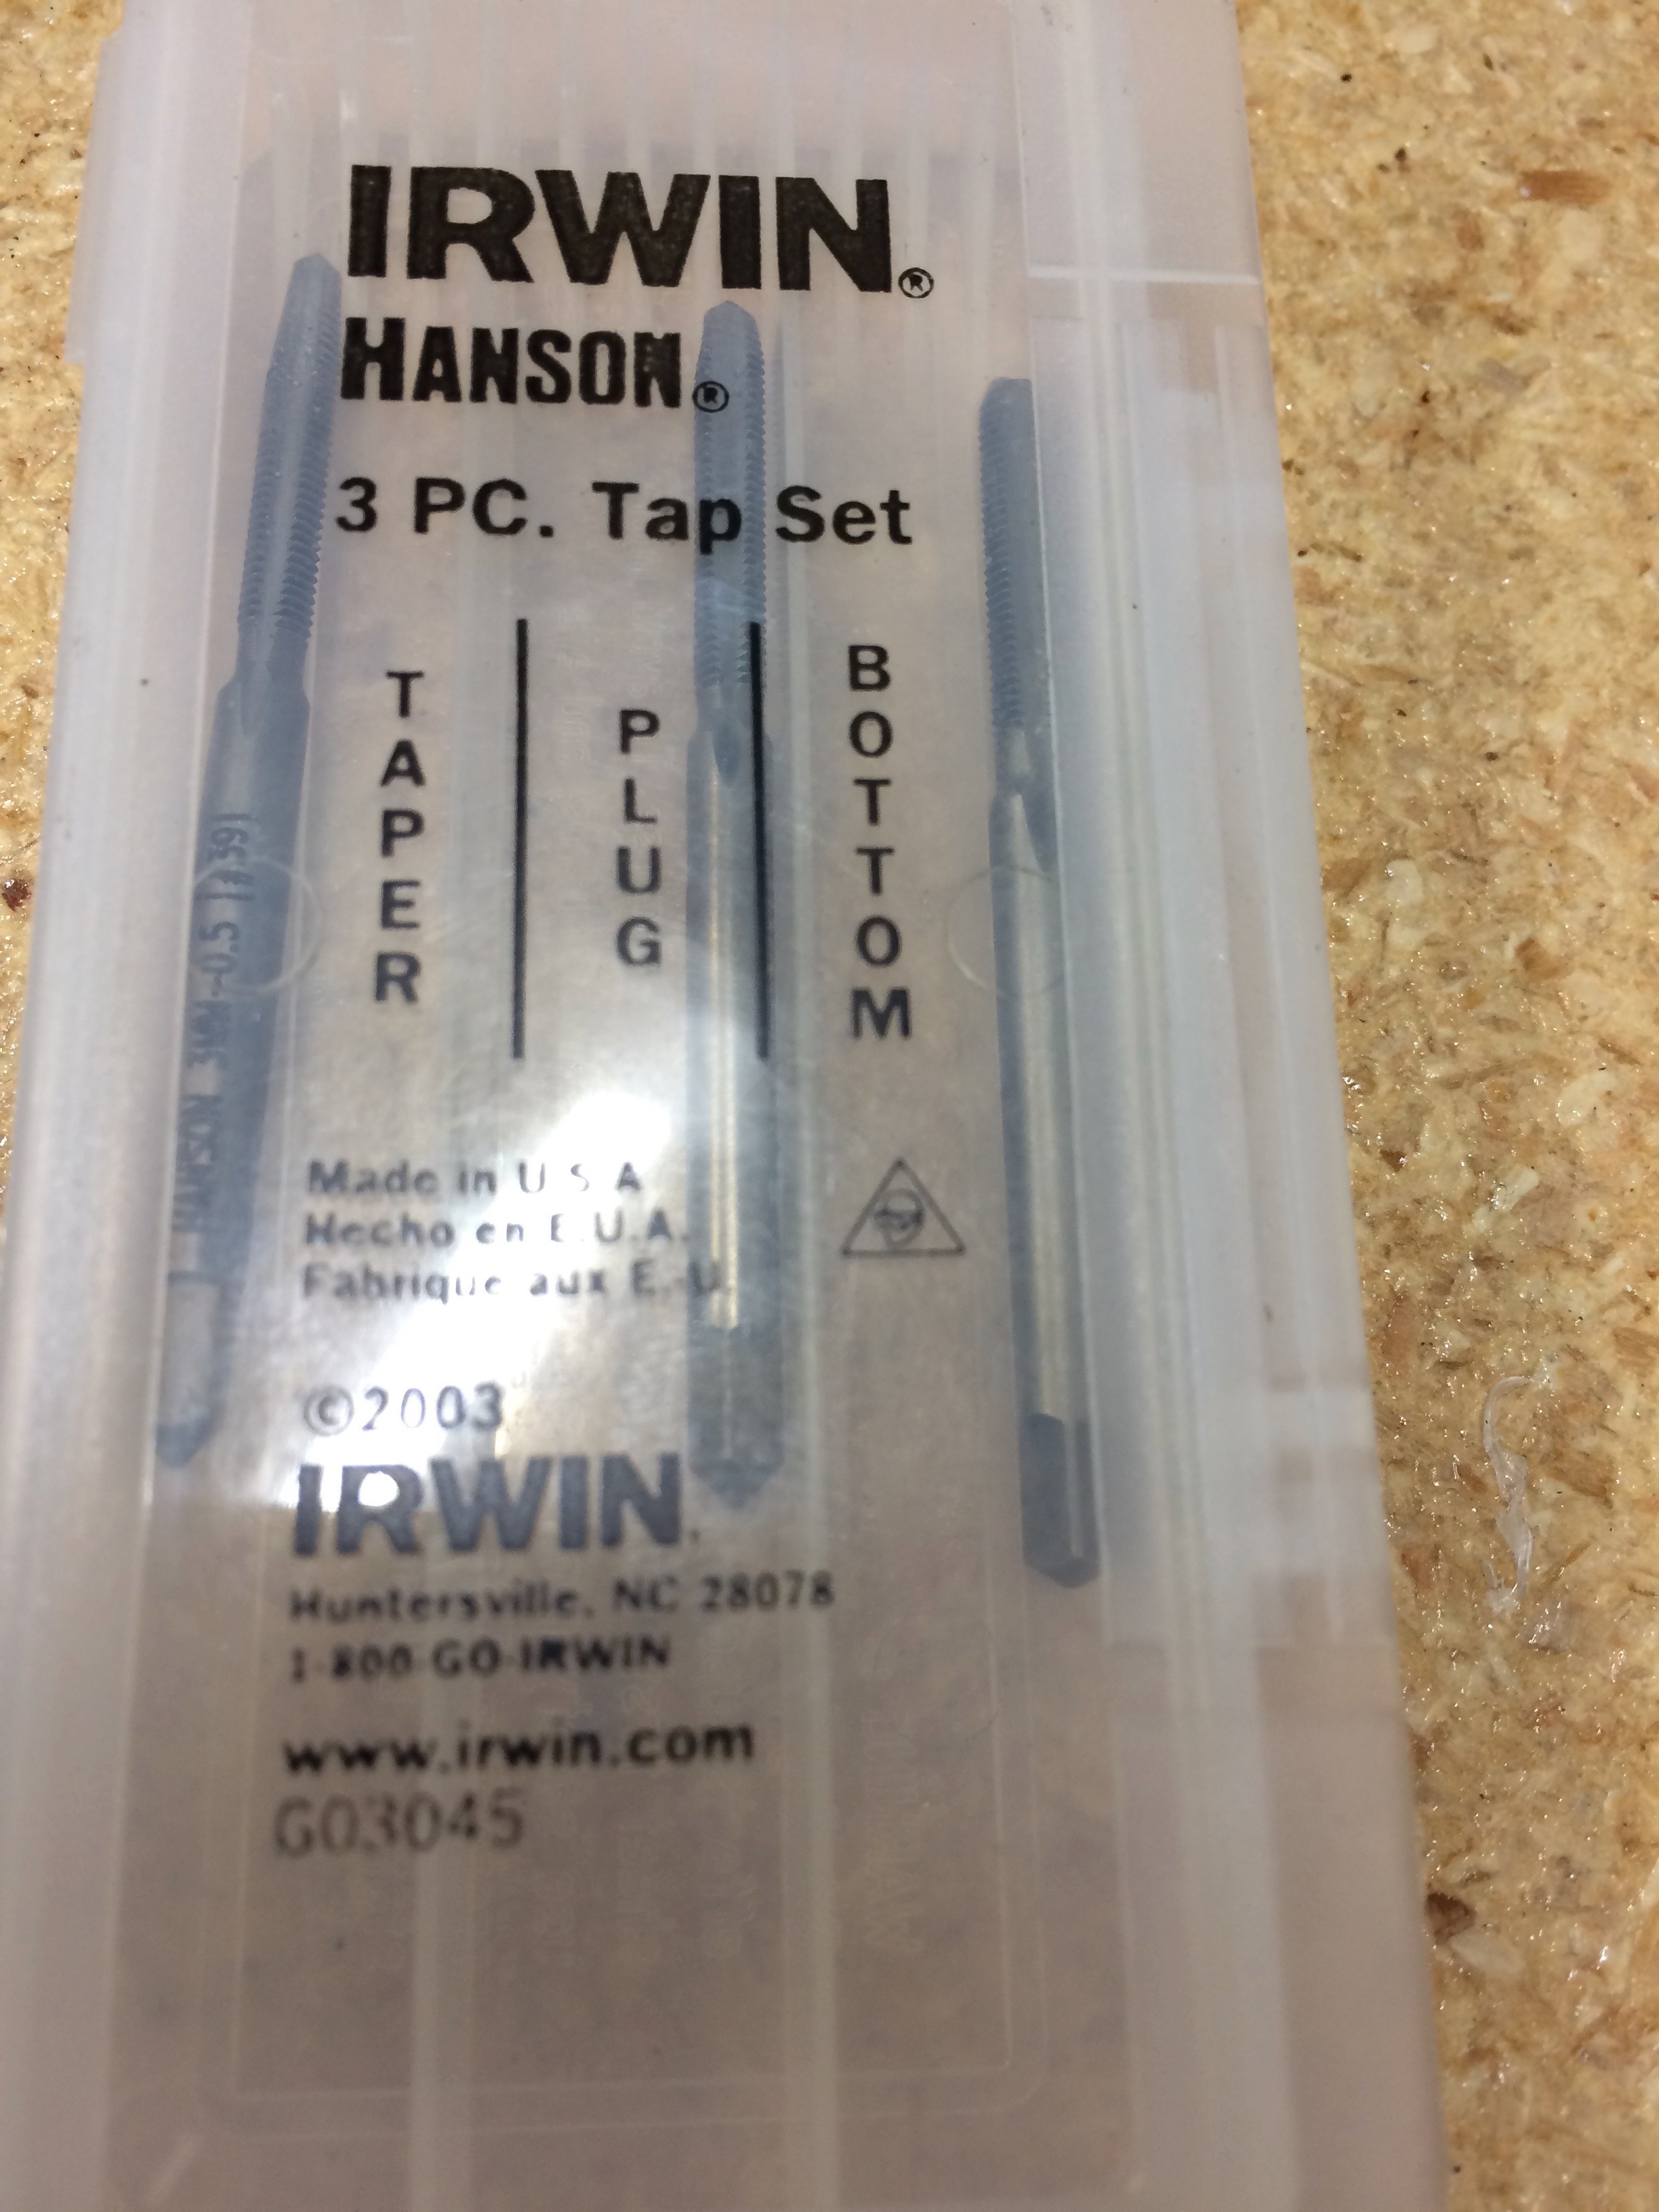
Some commentary on the taps.... The M3 x 0.5 taps arrived late yesterday. Matching set of 3 - plug, taper, and bottom. Comments on http://www.hobby-machinist.com/threads/irwin-taps.55387/ suggest that Irwin quality isn't all that hot, but the package says "Made in USA" and these didn't break off under normal careful usage, unlike the cheapo $40 Chinese set.
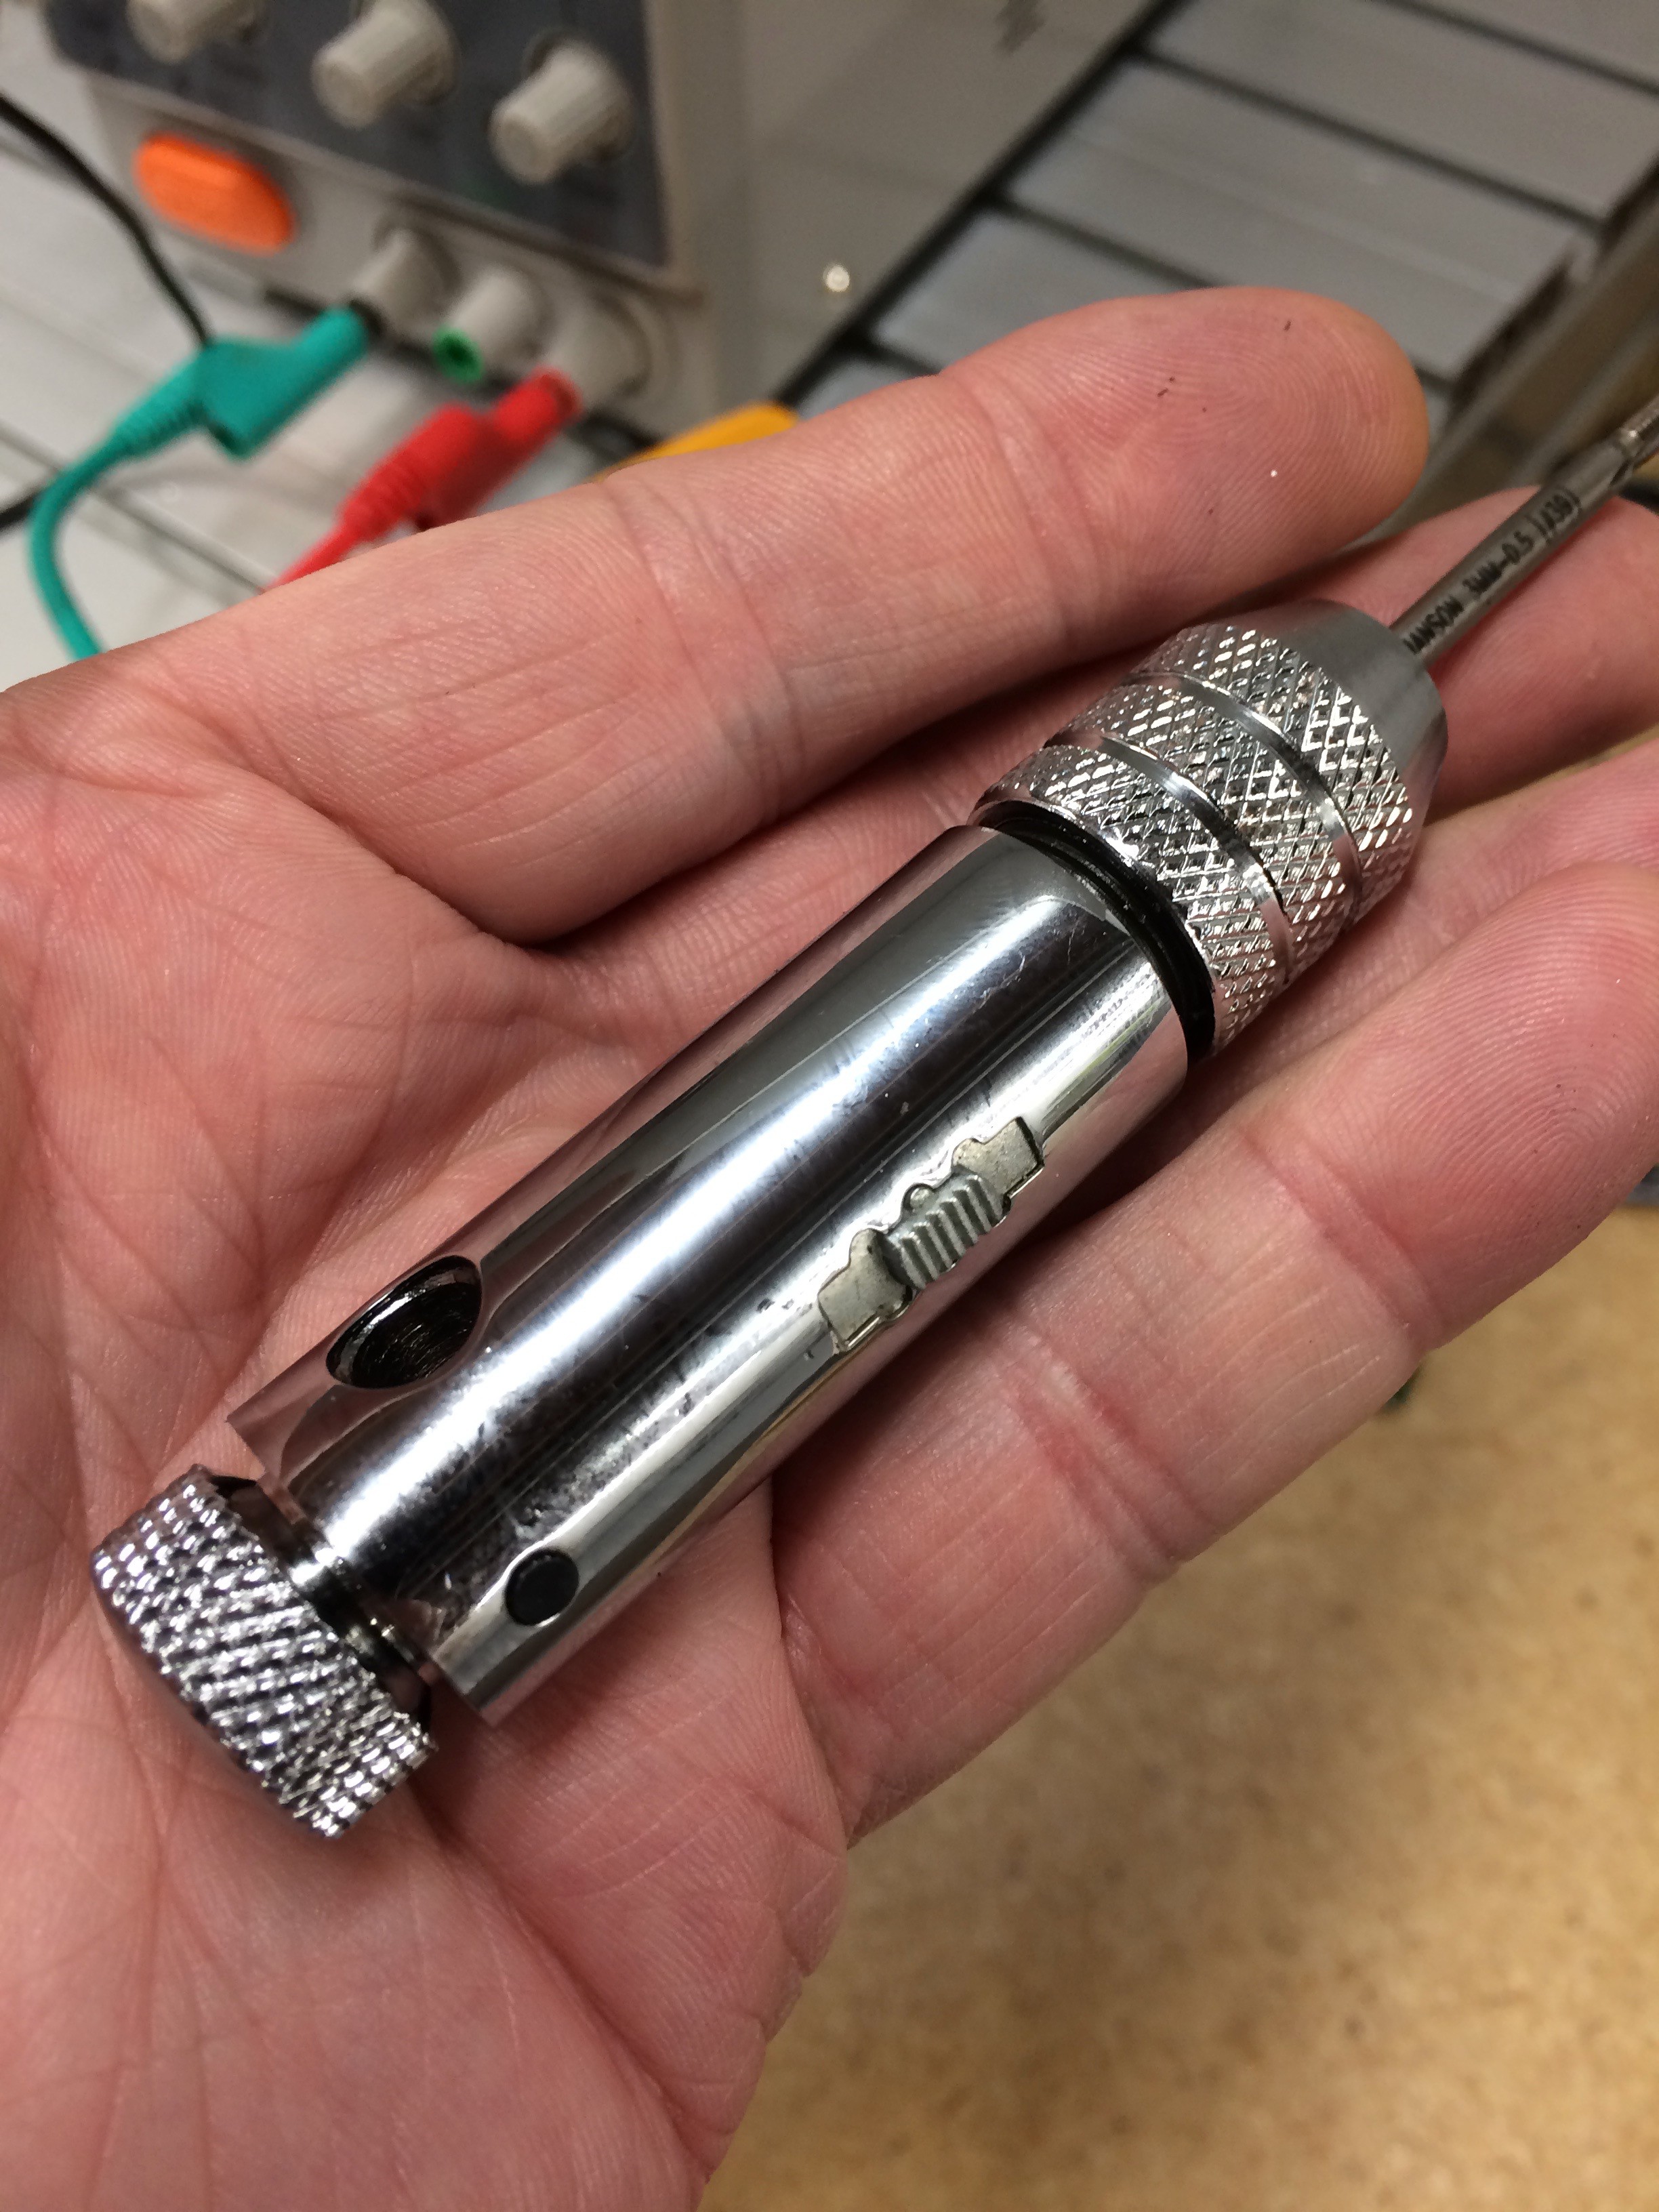
Also got a pretty nice ratcheting tap wrench with knurled grips, since the wrench in the cheapo tap set wouldn't fully tighten on the smaller diameter taps. :-( However, because you have to go in and out when cutting, the ratchet feature is more annoying than useful. Might be convenient when backing the tap out.
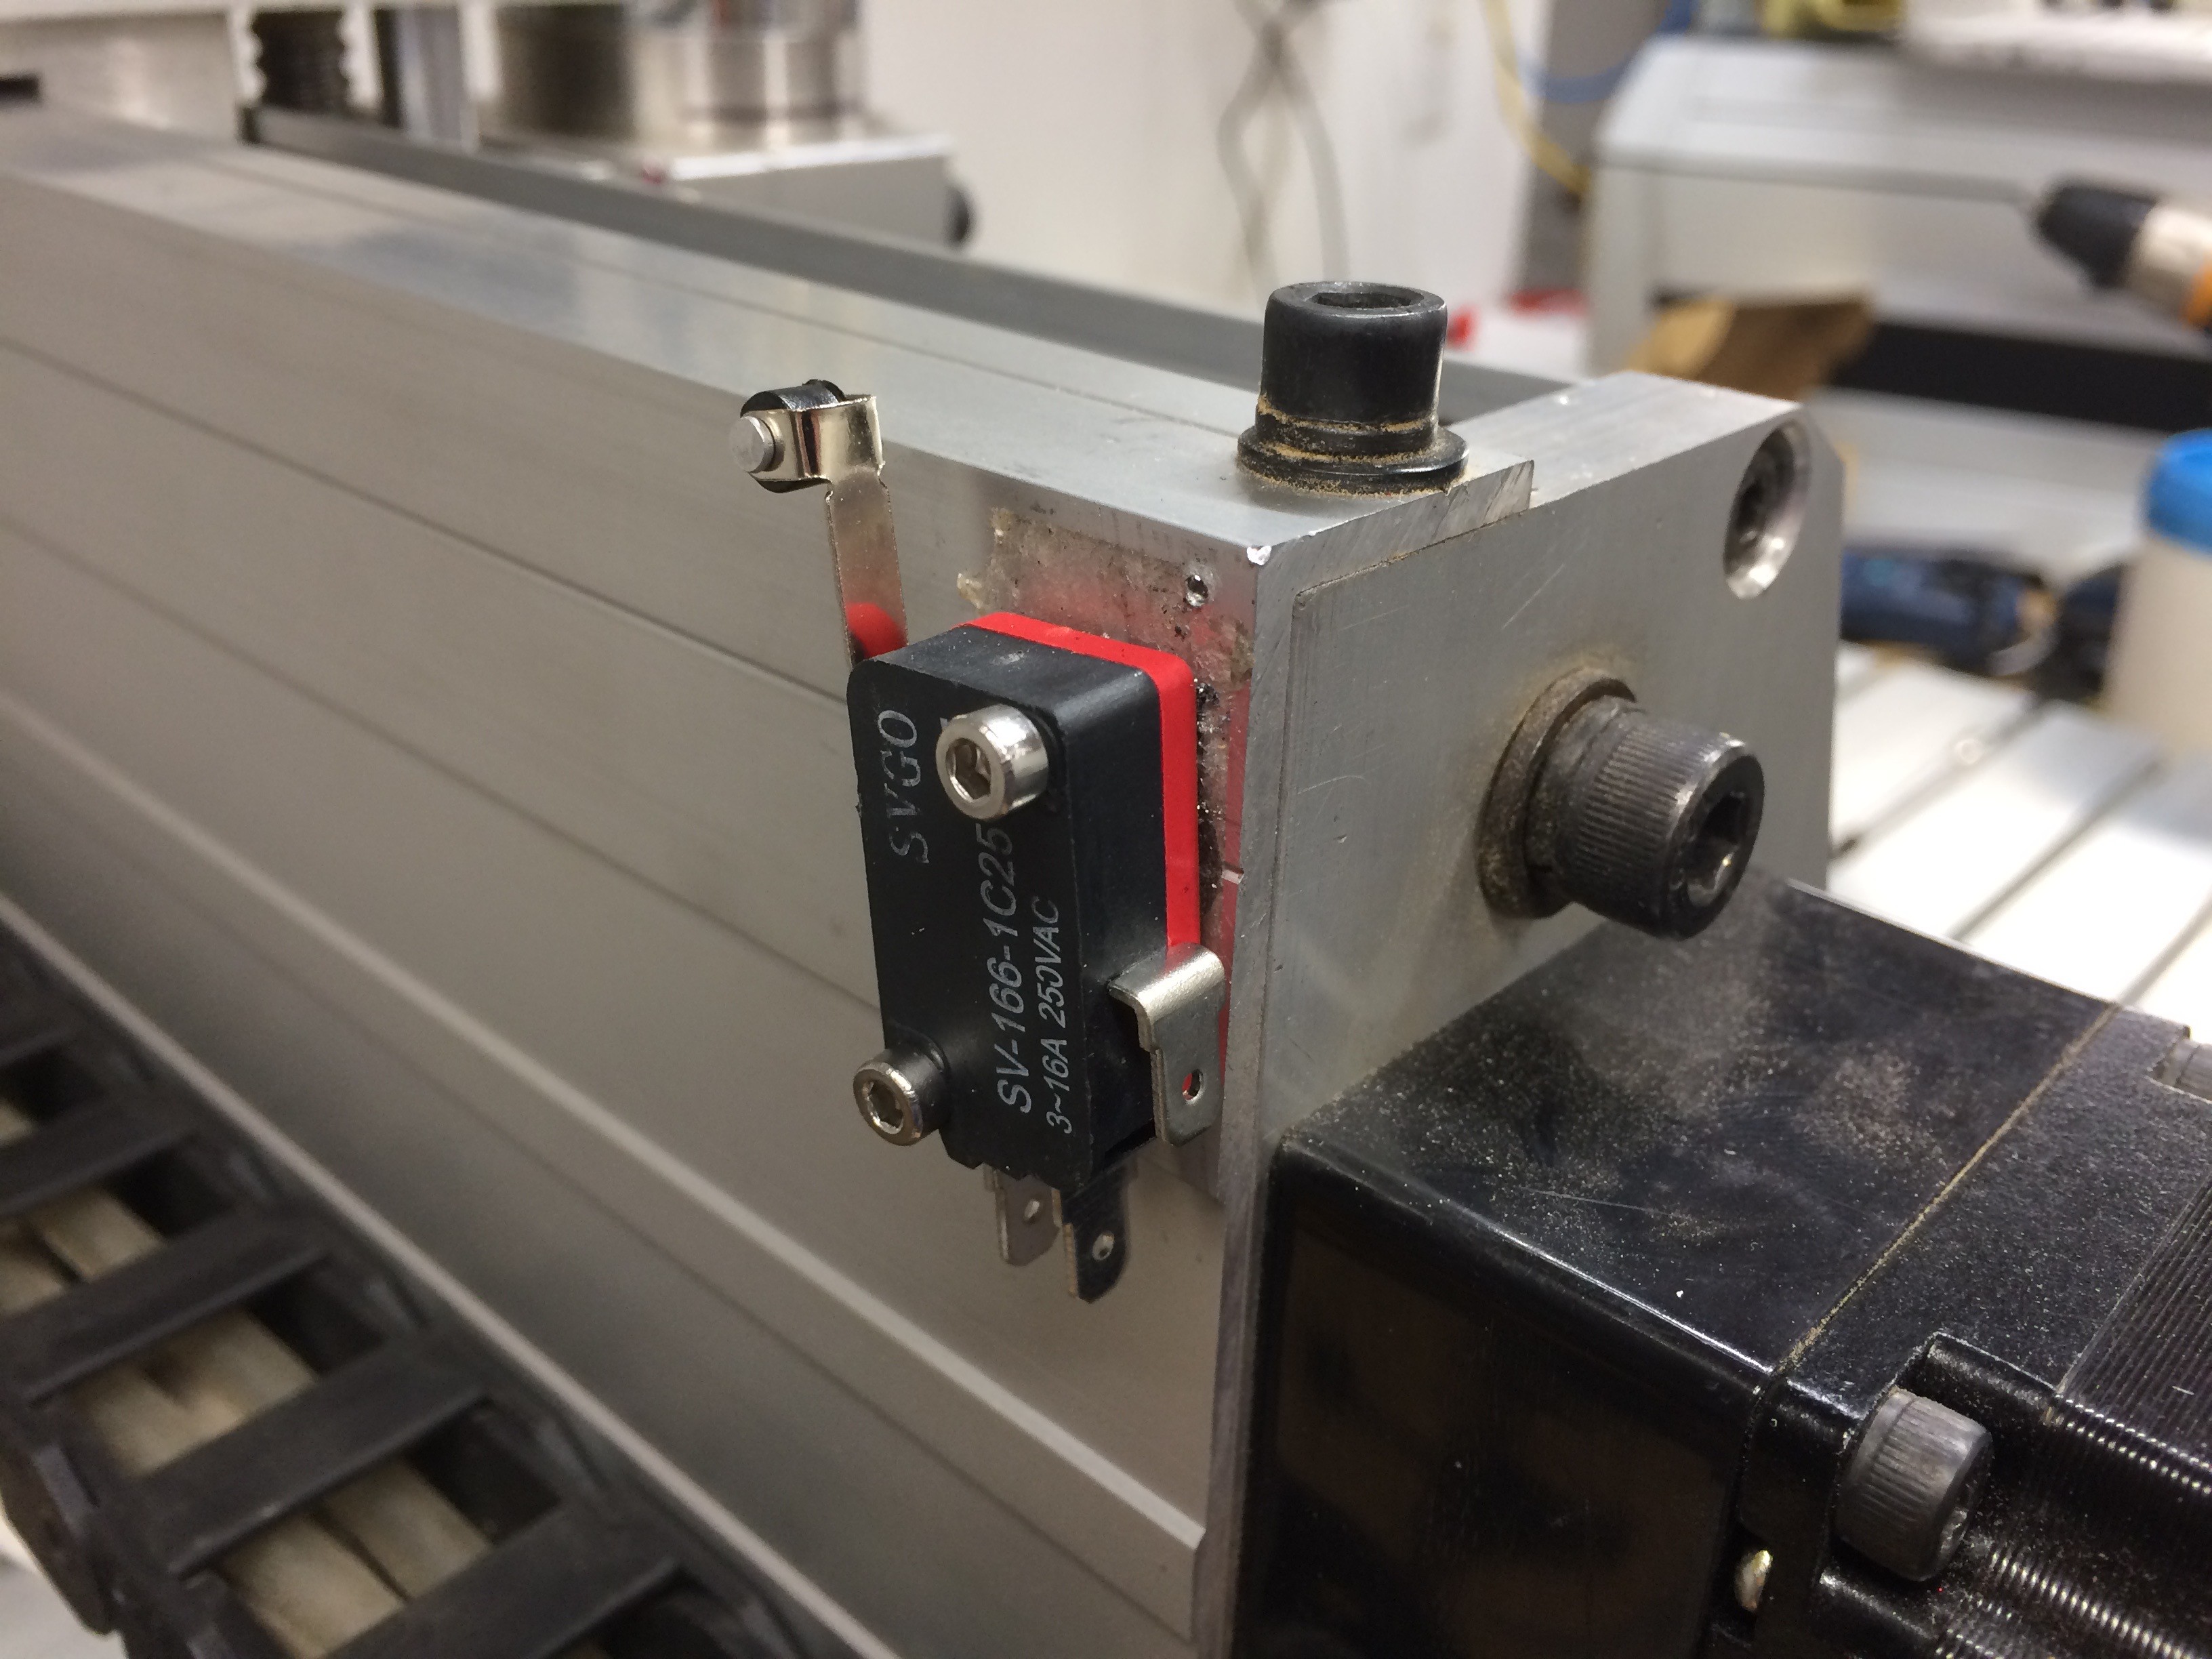
A couple of days ago I started installing the limit switches. I went with electromechanical micro switches with roller actuators for the X and Y, two per axis, and optical interrupter detectors on the Z axis, again 2 per axis.
I got the two X axis switches installed no problems - drilled and tapped 4 M3 x 0.5 holes.
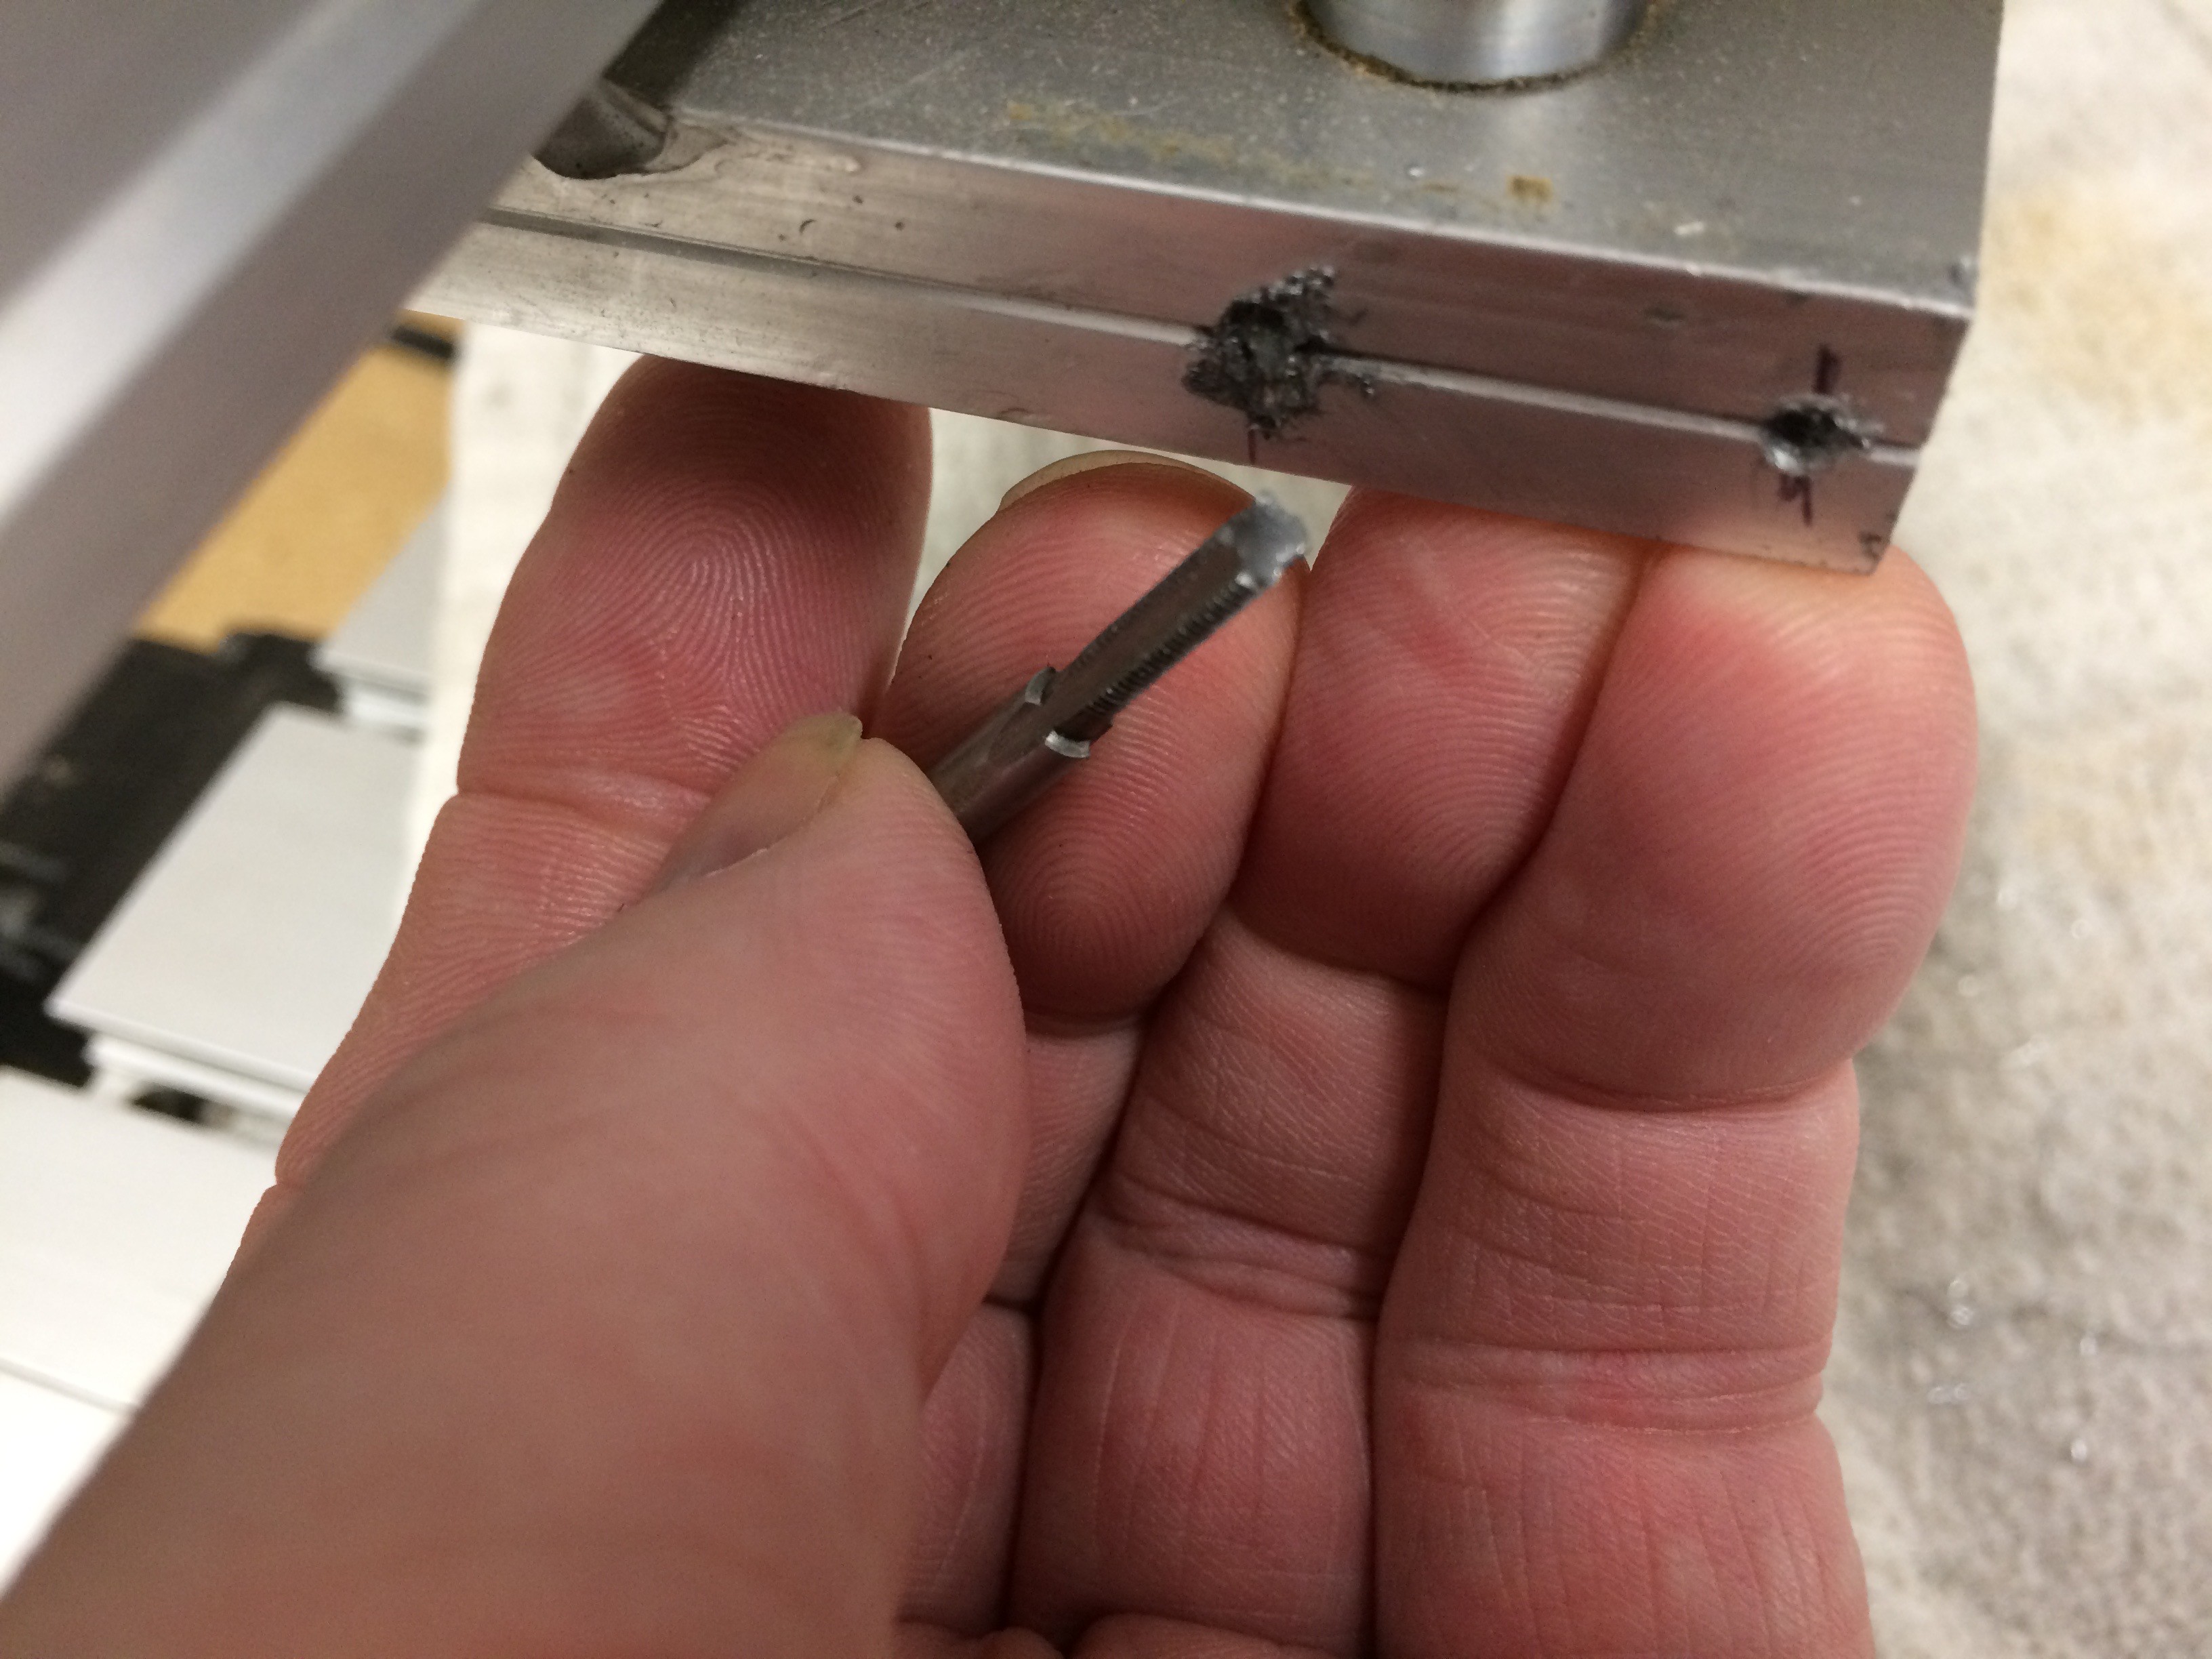
Alas, tragedy struck on the lower Z axis plate - the tap broke off.
ARRGGHH!
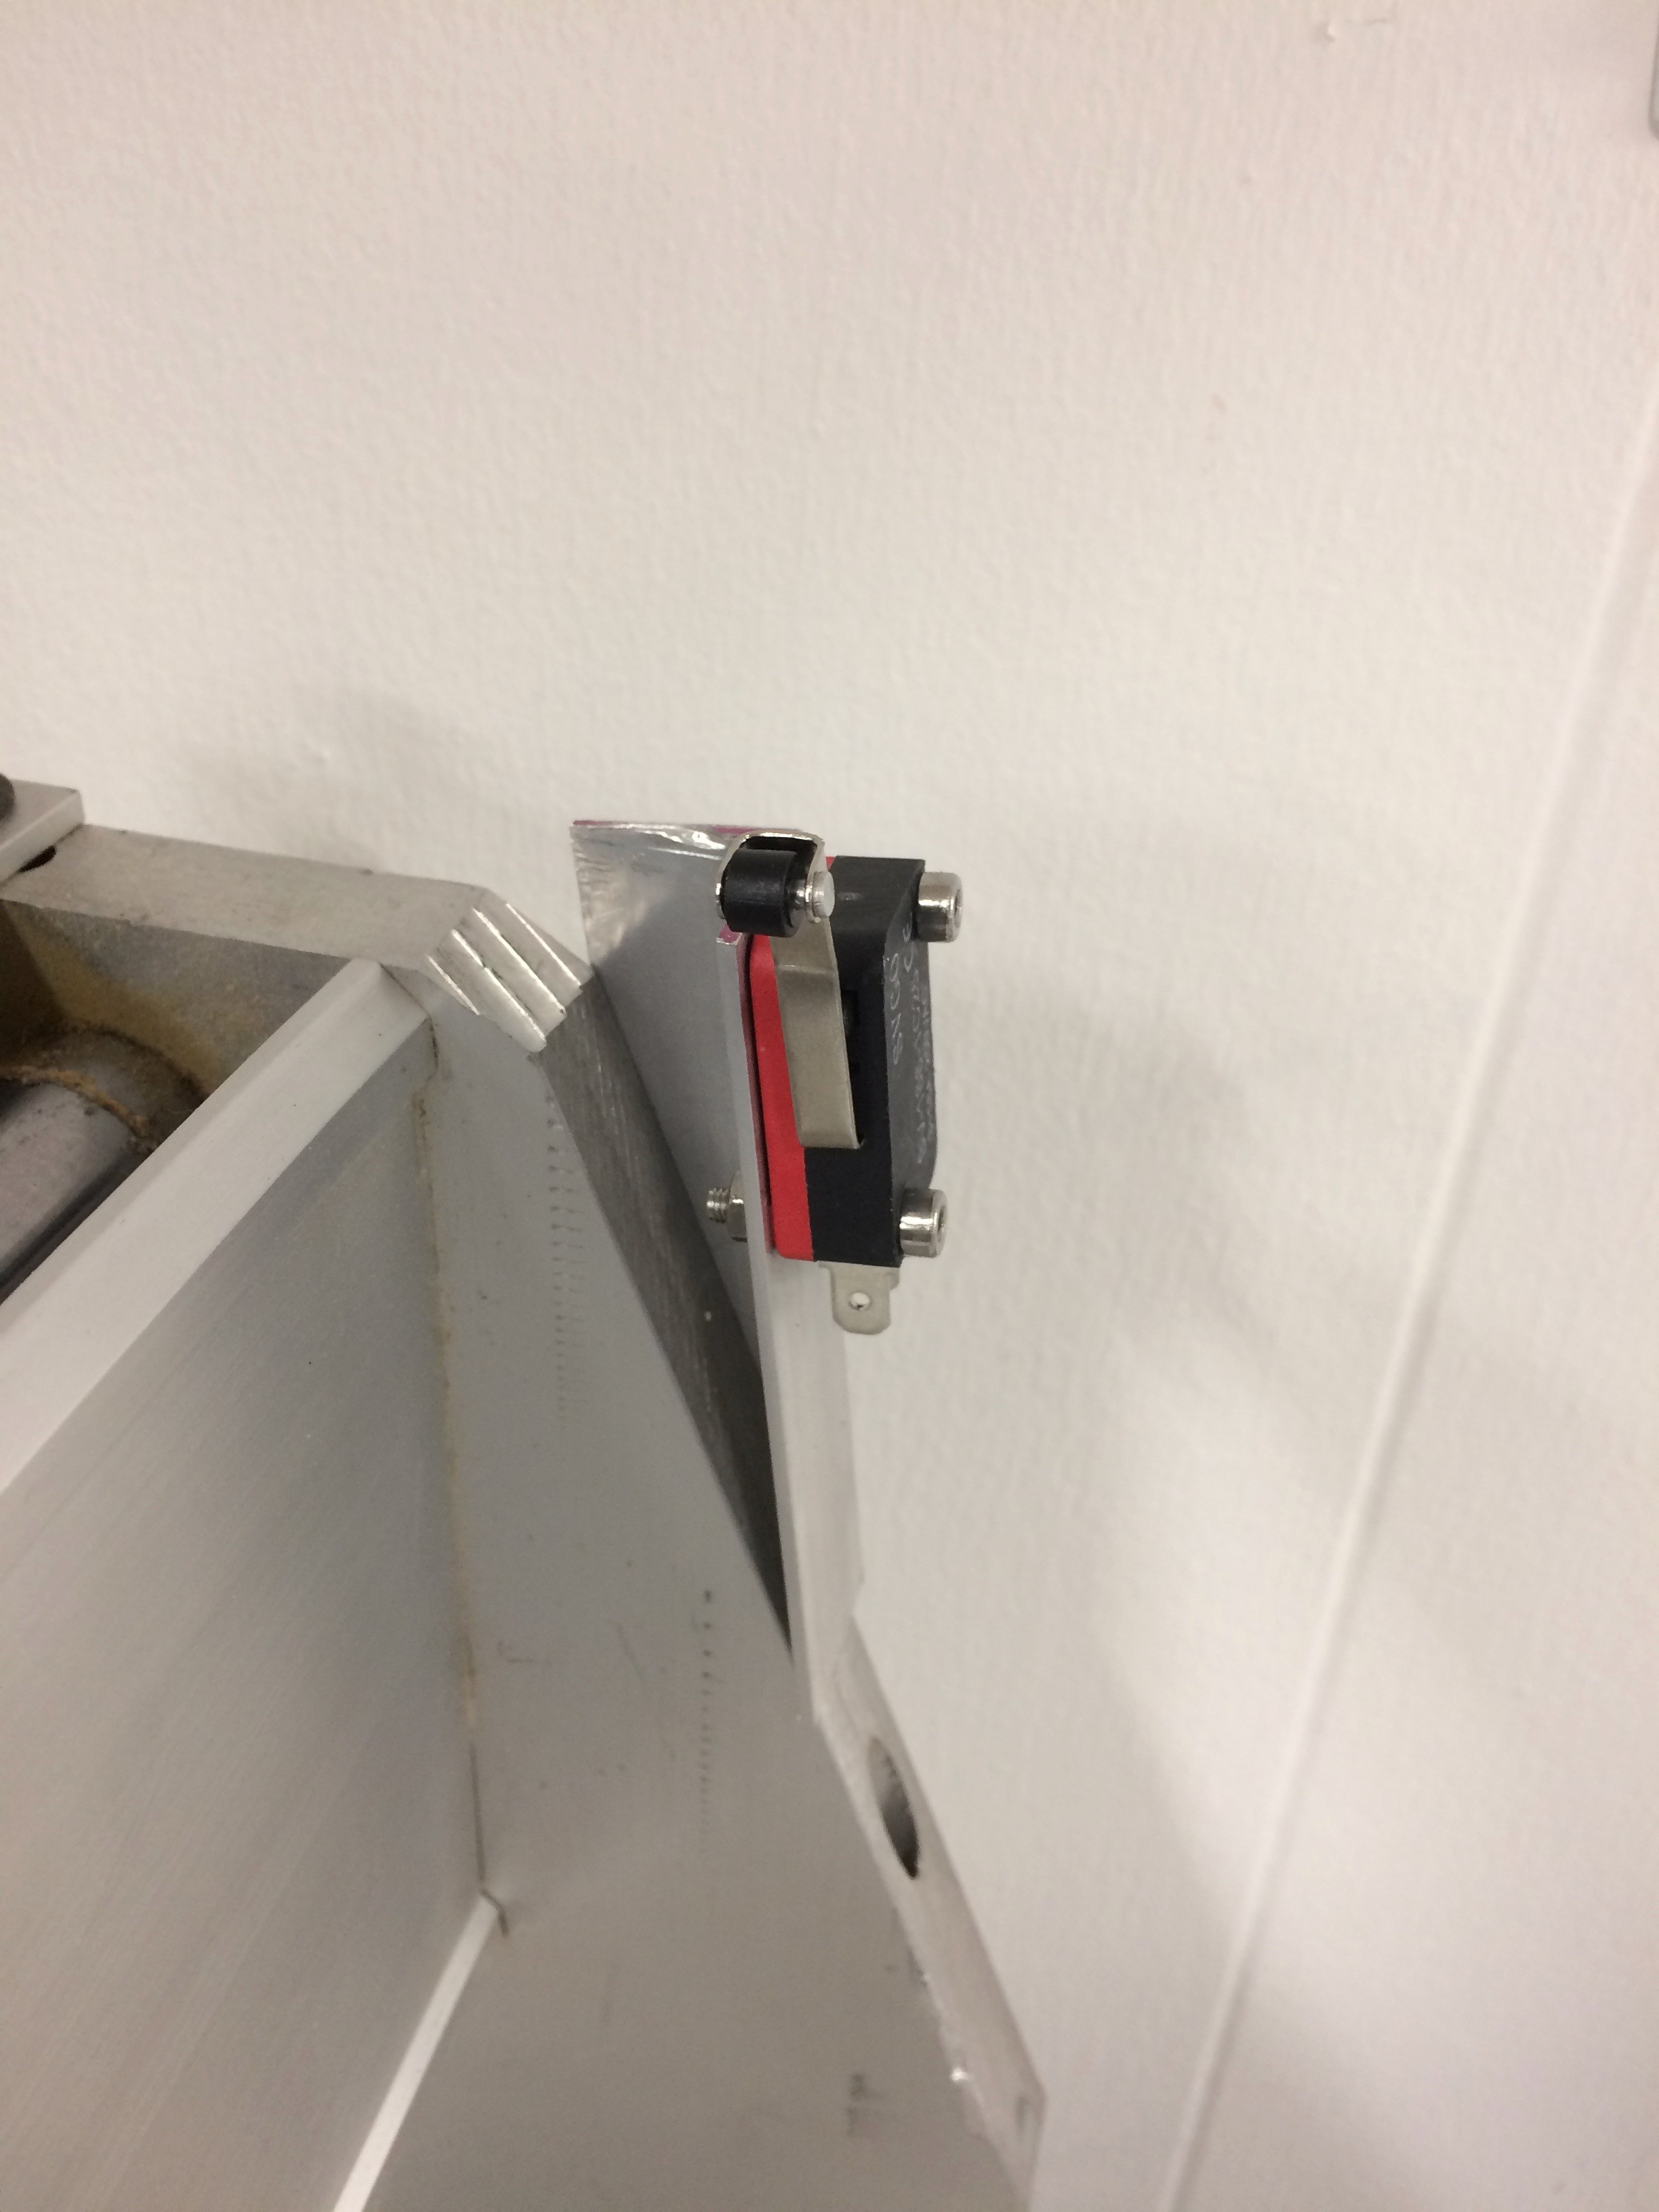
The tip is embedded about 10mm deep, with a small <1mm shard sticking out above the surface. I tried spinning it with a vibrating engraver tool, but as the pic shows, all that did was bugger up the aluminum. So instead of fussing with removing the broken tip, I just used one screw and some 3M VHB double sided adhesive foam. No mechanical force, so it should be fine.
Problem is, I can't continue because I don't have another 3mm tap. It was part of a cheap tap/die set. Lesson learned: spend the money for high quality individual taps. I ordered some good ones online, should arrive this coming Wednesday July 5.
Meanwhile, I'm going to work on patching the Mega2560 into the stepper board and hopefully get the motors moving under GRBL.
 dar.ryl