 muzi
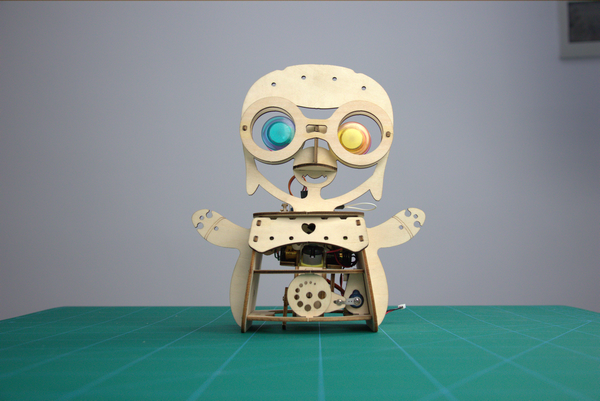
muziSummer comes with increasing heat, as a diligent DIY fan how could I do nothing but just eat ice cream?I need to design a small present to you and myself, something cute and interesting, how about a small penguin? Guess that it stands in front of you and winks, sayin‘ May I help you?

Besides its look, one of important features is the special penguin step, which makes the robot lovely. Therefore, I stress the wobbly step a lot. Fortunately, I found here comes with chirps when the robot shakes its head, the friction between gear and wooden structure during the working progress. The natural penguin-style sound helps me a lot.
Come to check my work!
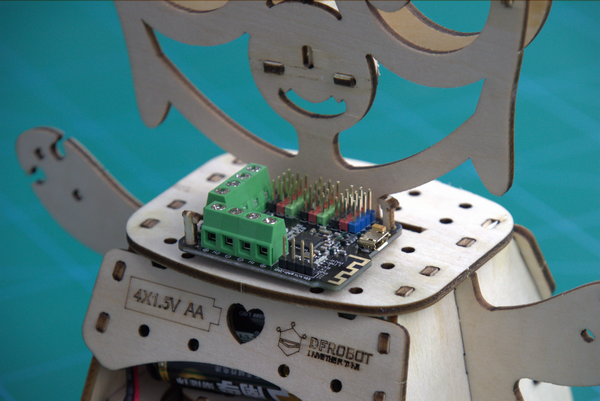
I used to choose normal Arduino UNO as the main board in the beginning. However, Arduino UNO does not have in-built motor drive chip and it is too large, I have to buy an extra motor drive expansion board, which is expensive and hard to connect. Luckily, I found Romeo BLE mini board is so appropriate for my project. The mini board is fully compatible with Aruino UNO and with in-built motor drive chip, small and easy to install. In the result, I chose Romeo BLE mini board as the core board without any hesitation.
Hardware in need:
1. Romeo BLE mini - Small Arduino Robot Control Board with Bluetooth 4.0
(The board compatible with ArduinoUNO and integrats 2 way DC motor driver, independent power supply of Bluetooth and gear, becoming more powerful)
2. TowerPro SG90C 360 Degree Micro Servo (1.6Kg)
3. TT Motor with Encoder (6V 160RPM 120:1)
4. Wooden infrastructure component
5. Colorful connections printed by overlord 3D printer ×2
*Click here to download document for 3D printing.
*Click here to download 3D design sketch.
*Click here to download CAD document for laser cutting.
The penguin robot can promoted to test temperature with DS18B20 Temperature Sensor and LCD display screen.

The penguin robot can promoted to test temperature with DS18B20 Temperature Sensor and LCD display screen.
Working Process:
1. Take wooden infrastructure component.

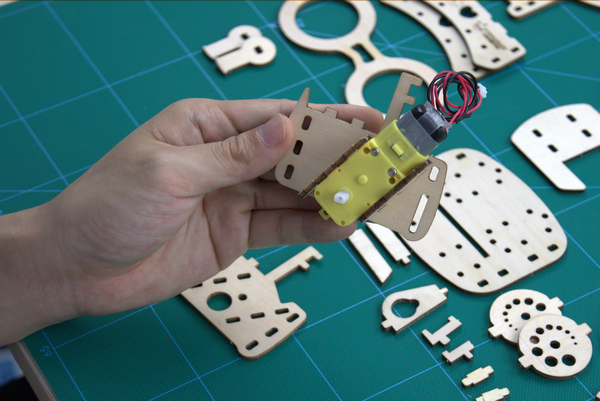
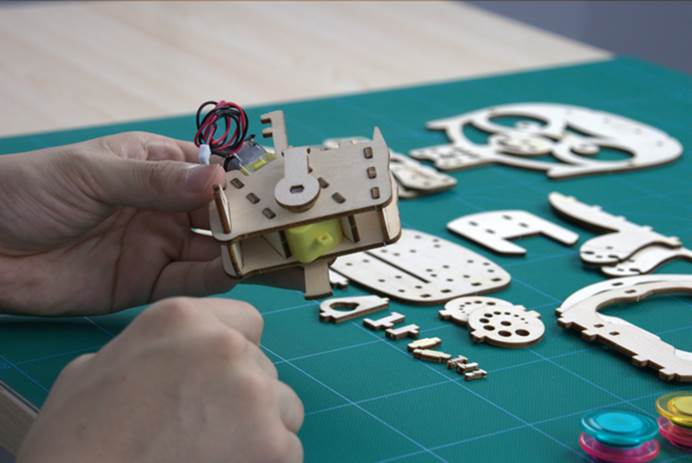
2. Build motor parts.


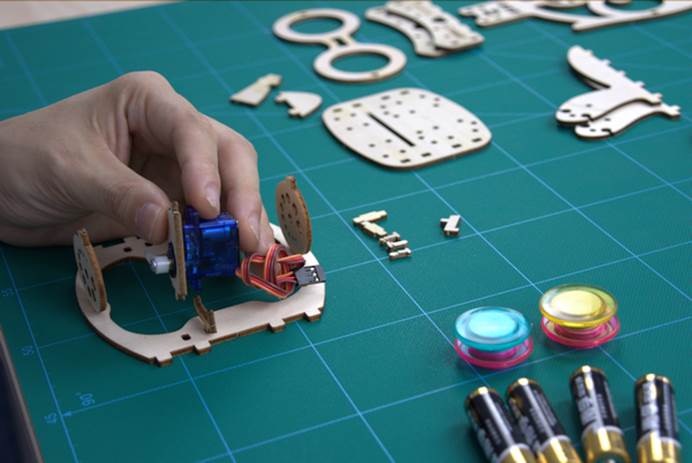
3. Make direction control parts.


4. Complete machine assembly.


5. Complete robot penguin look.
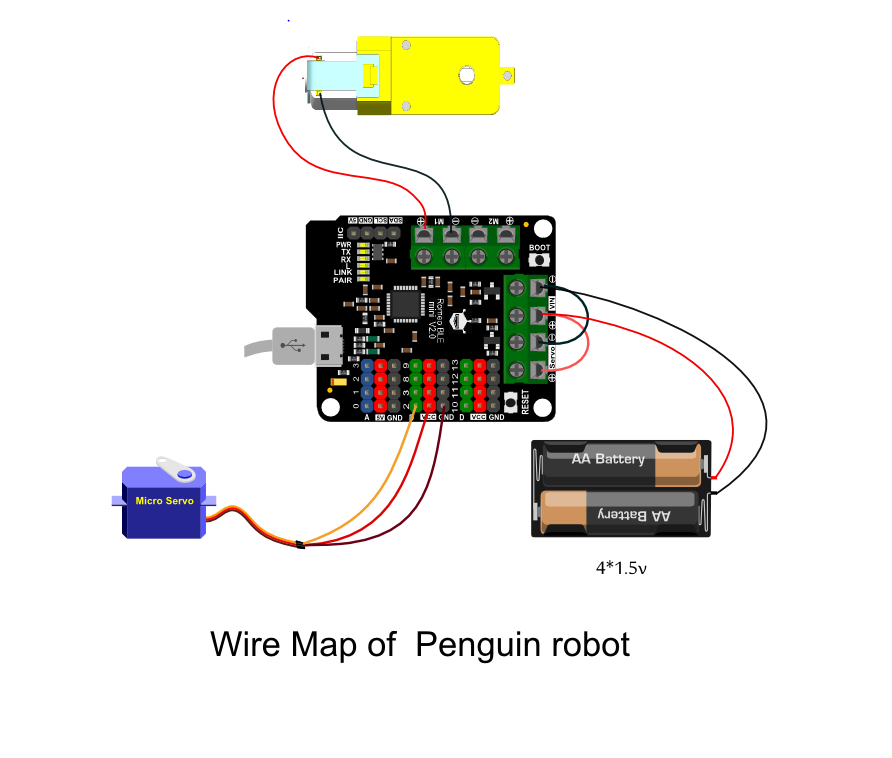
6. Connect electric circuit.
The code in need is as below:
/*!
 * @file PenguinROBOT.ino
 * @copyright  [DFRobot]([url=http://www.dfrobot.com]http://www.dfrobot.com[/url]), 2017
 *
 * @author [sc.mingyang]
 * @version  V1.0
 * @date  2017-07-7
 */
#include
Servo myservo;

void setup() {
   pinMode(3,OUTPUT);
   pinMode(5,OUTPUT);
   myservo.attach(2);

   digitalWrite(3,LOW);
   digitalWrite(5,HIGH);
}

void loop() {
for(int x=1; x<10; x++) {
     myservo.write(75);    //[/b][b]experimental result[/b][b]
    delay(500);
    myservo.write(135);
    delay(500);
     myservo.write(115);
    delay(500);
     myservo.write(115);
    delay(500);
   }
    myservo.write(75); //Turn right
    delay(3000);
    myservo.write(135);//Turn left
    delay(3000);
    myservo.write(105); // Go straight
    delay(8000);

}
 Jack Najarian
 Arcadia Labs
 Miguel Wisintainer
 Mihai Oltean