 Jordan Lau
Here are some quick tips for when you build you first drone that I wish I knew ahead of time.
- Bind the receiver to your controller before you stuff it into you frame.
- Save yourself the hassle of getting an external on screen display (OSD) chip like the minimosd as it is just a pain to try and fit it in and flash it properly. I suggest buying the RunCam Swift 2 which has an OSD built in.
- When flashing the Naze32 you can't have anything connected to the tx and rx ports.
- Forgo the process of having both a PDB and Flight Controller since nowadays there are good AIO PDB's with Flight Controller's so you end up saving a lot of space on your builds and don't need to go to crazy lengths stuffing in wires and mounting the flight controller to the roof of the frame.
- Practice flying your drone in a simulator first before you go do the real thing. Use a usb to trainer port cable to connect your RC transmitter to your computer.
- Buy more than one battery since these things only last 2-5 minutes in the sky.
- The Turnigy9x is outdated, cumbersome, and can be a pain to use. Instead, look at the brand new FrySky Q X7 which is probably one of the best transmitters for people looking to get serious about drones but don't want to spend on the more expensive but standard FrySky X9D.
- Purchase the FrySky XSR receiver to go along with the FrySky Q X7 the XSR is a very compact and small receiver that will work with tight builds and you won't have to take a casing of shell apart like I had too.
- Learn to love the process!
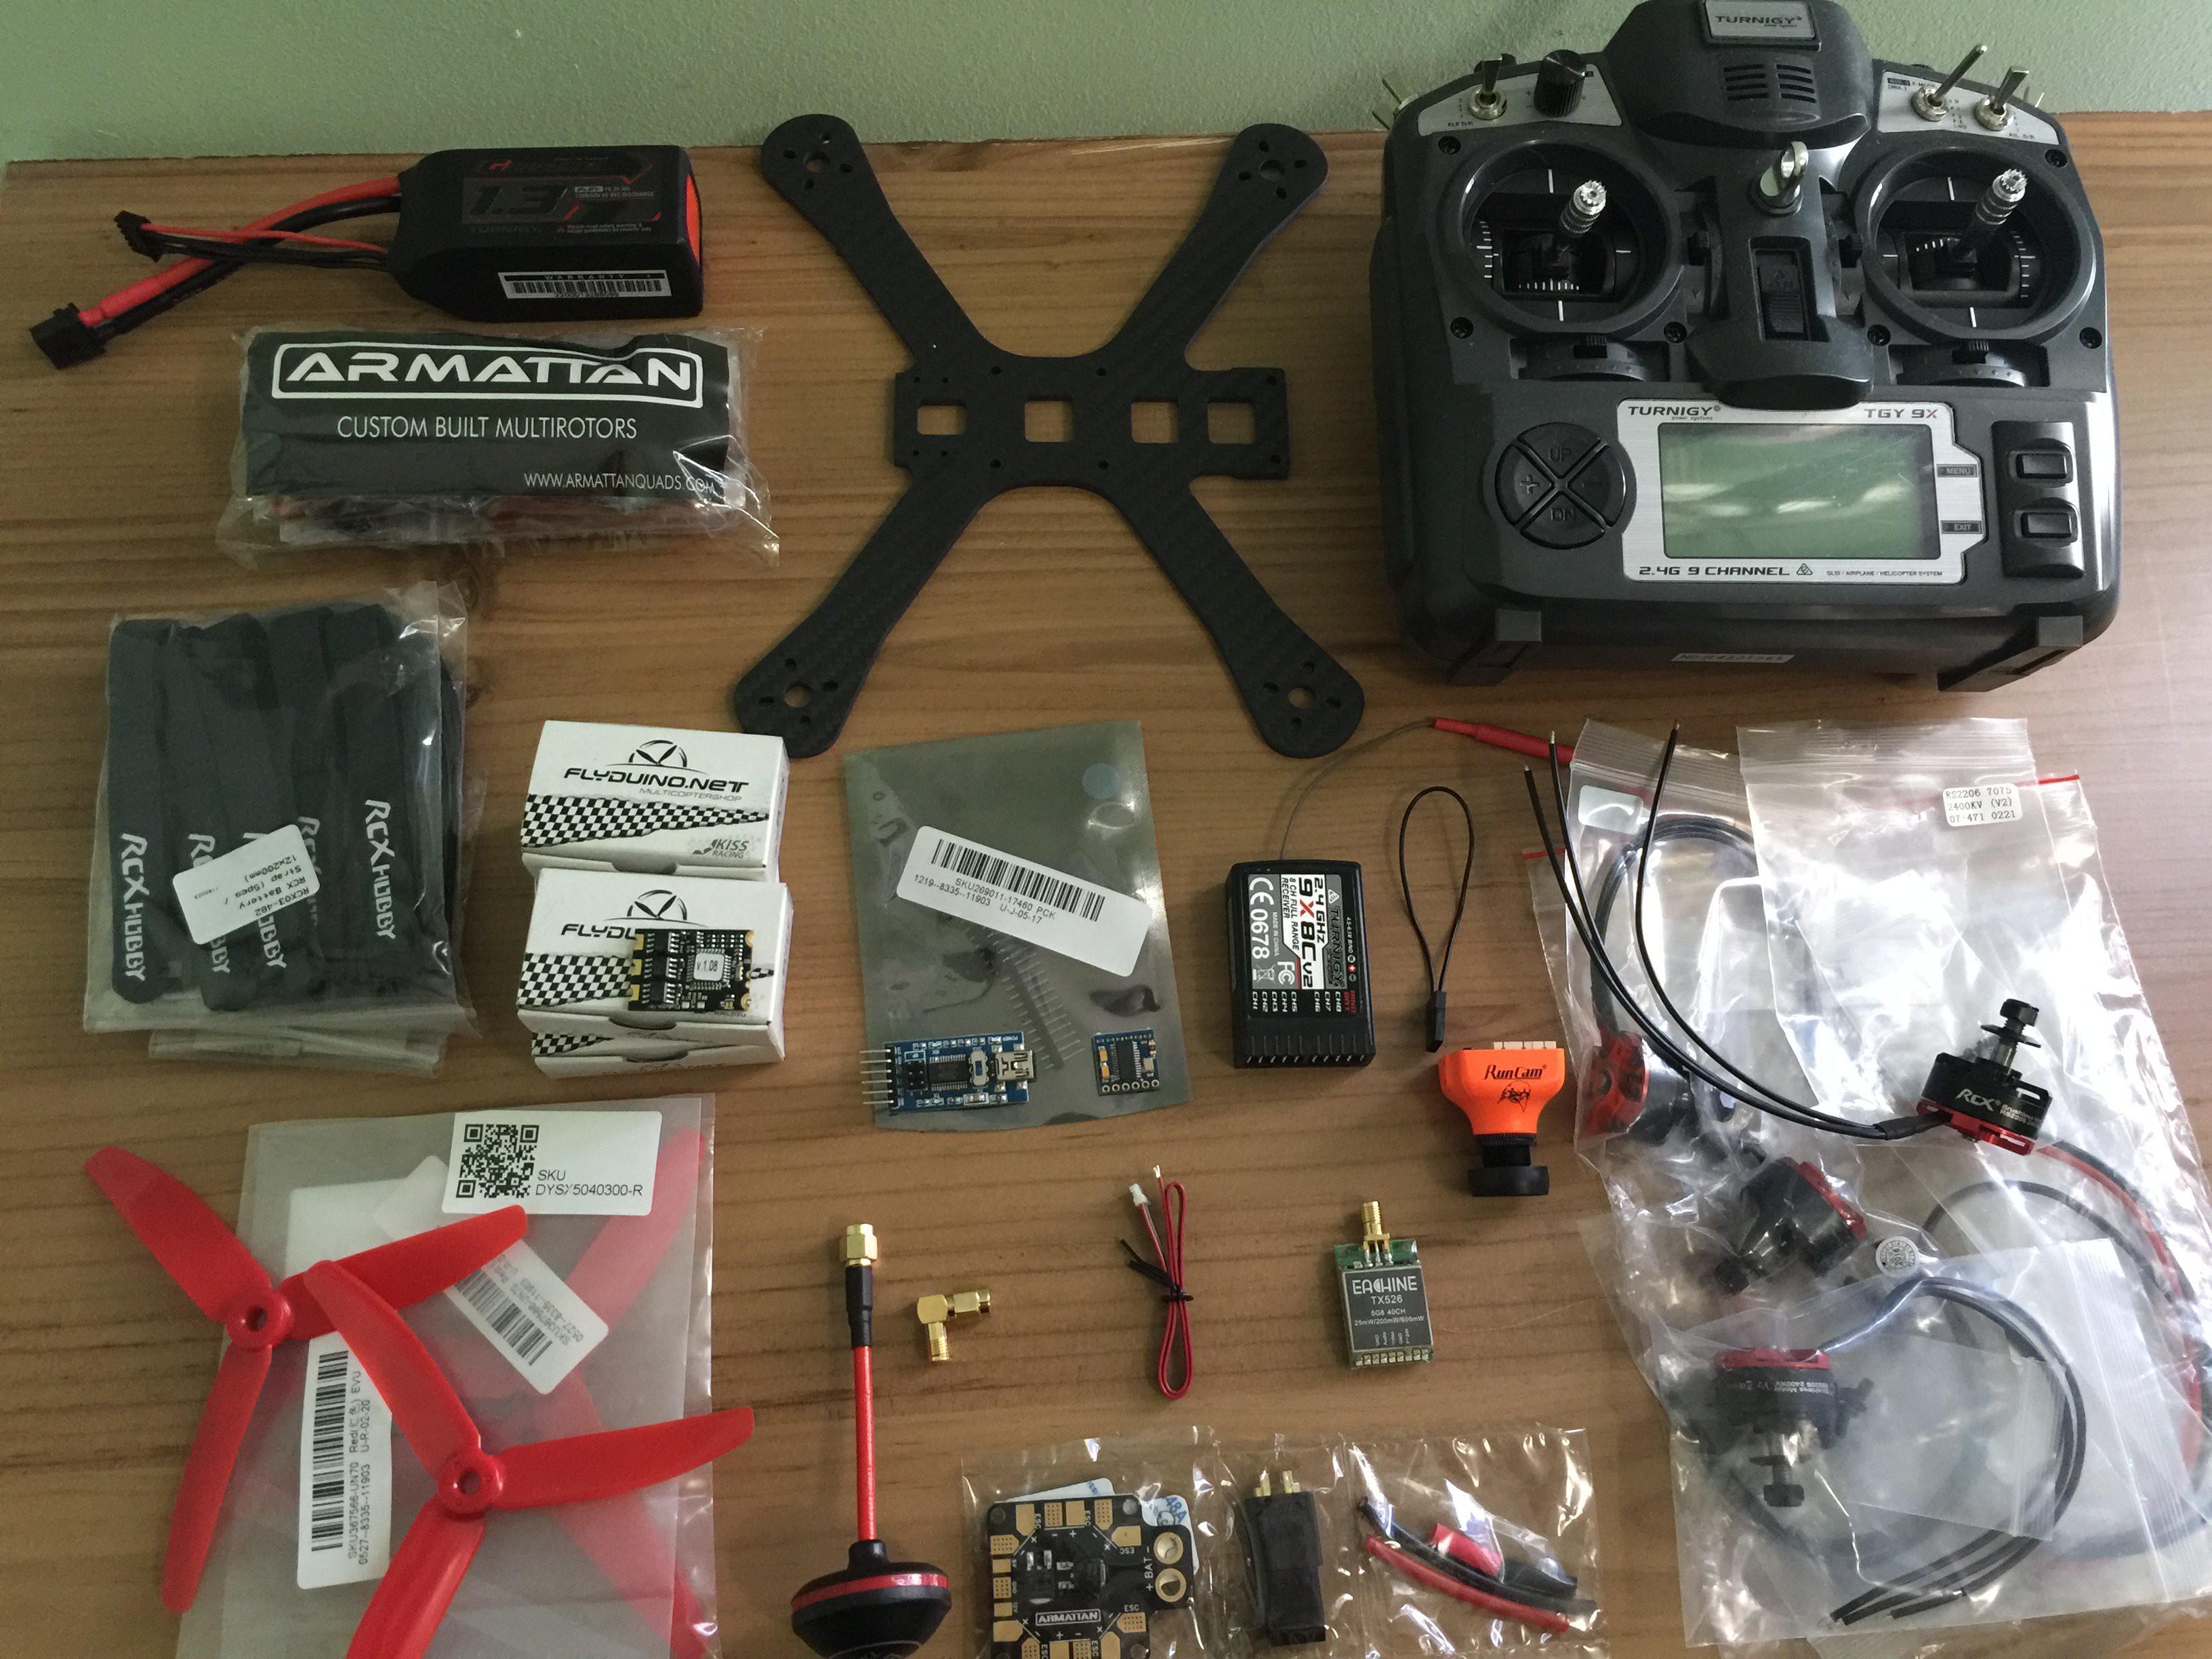
First thing I did after researching all the parts was to order them and it took me anywhere from 2-5 weeks to receive all the different parts. Here is a picture showing off most of the parts that I would use to build my drone. *Not featured in this picture is the FPV headset which if you want to utilize the FPV camera you need to buy one.
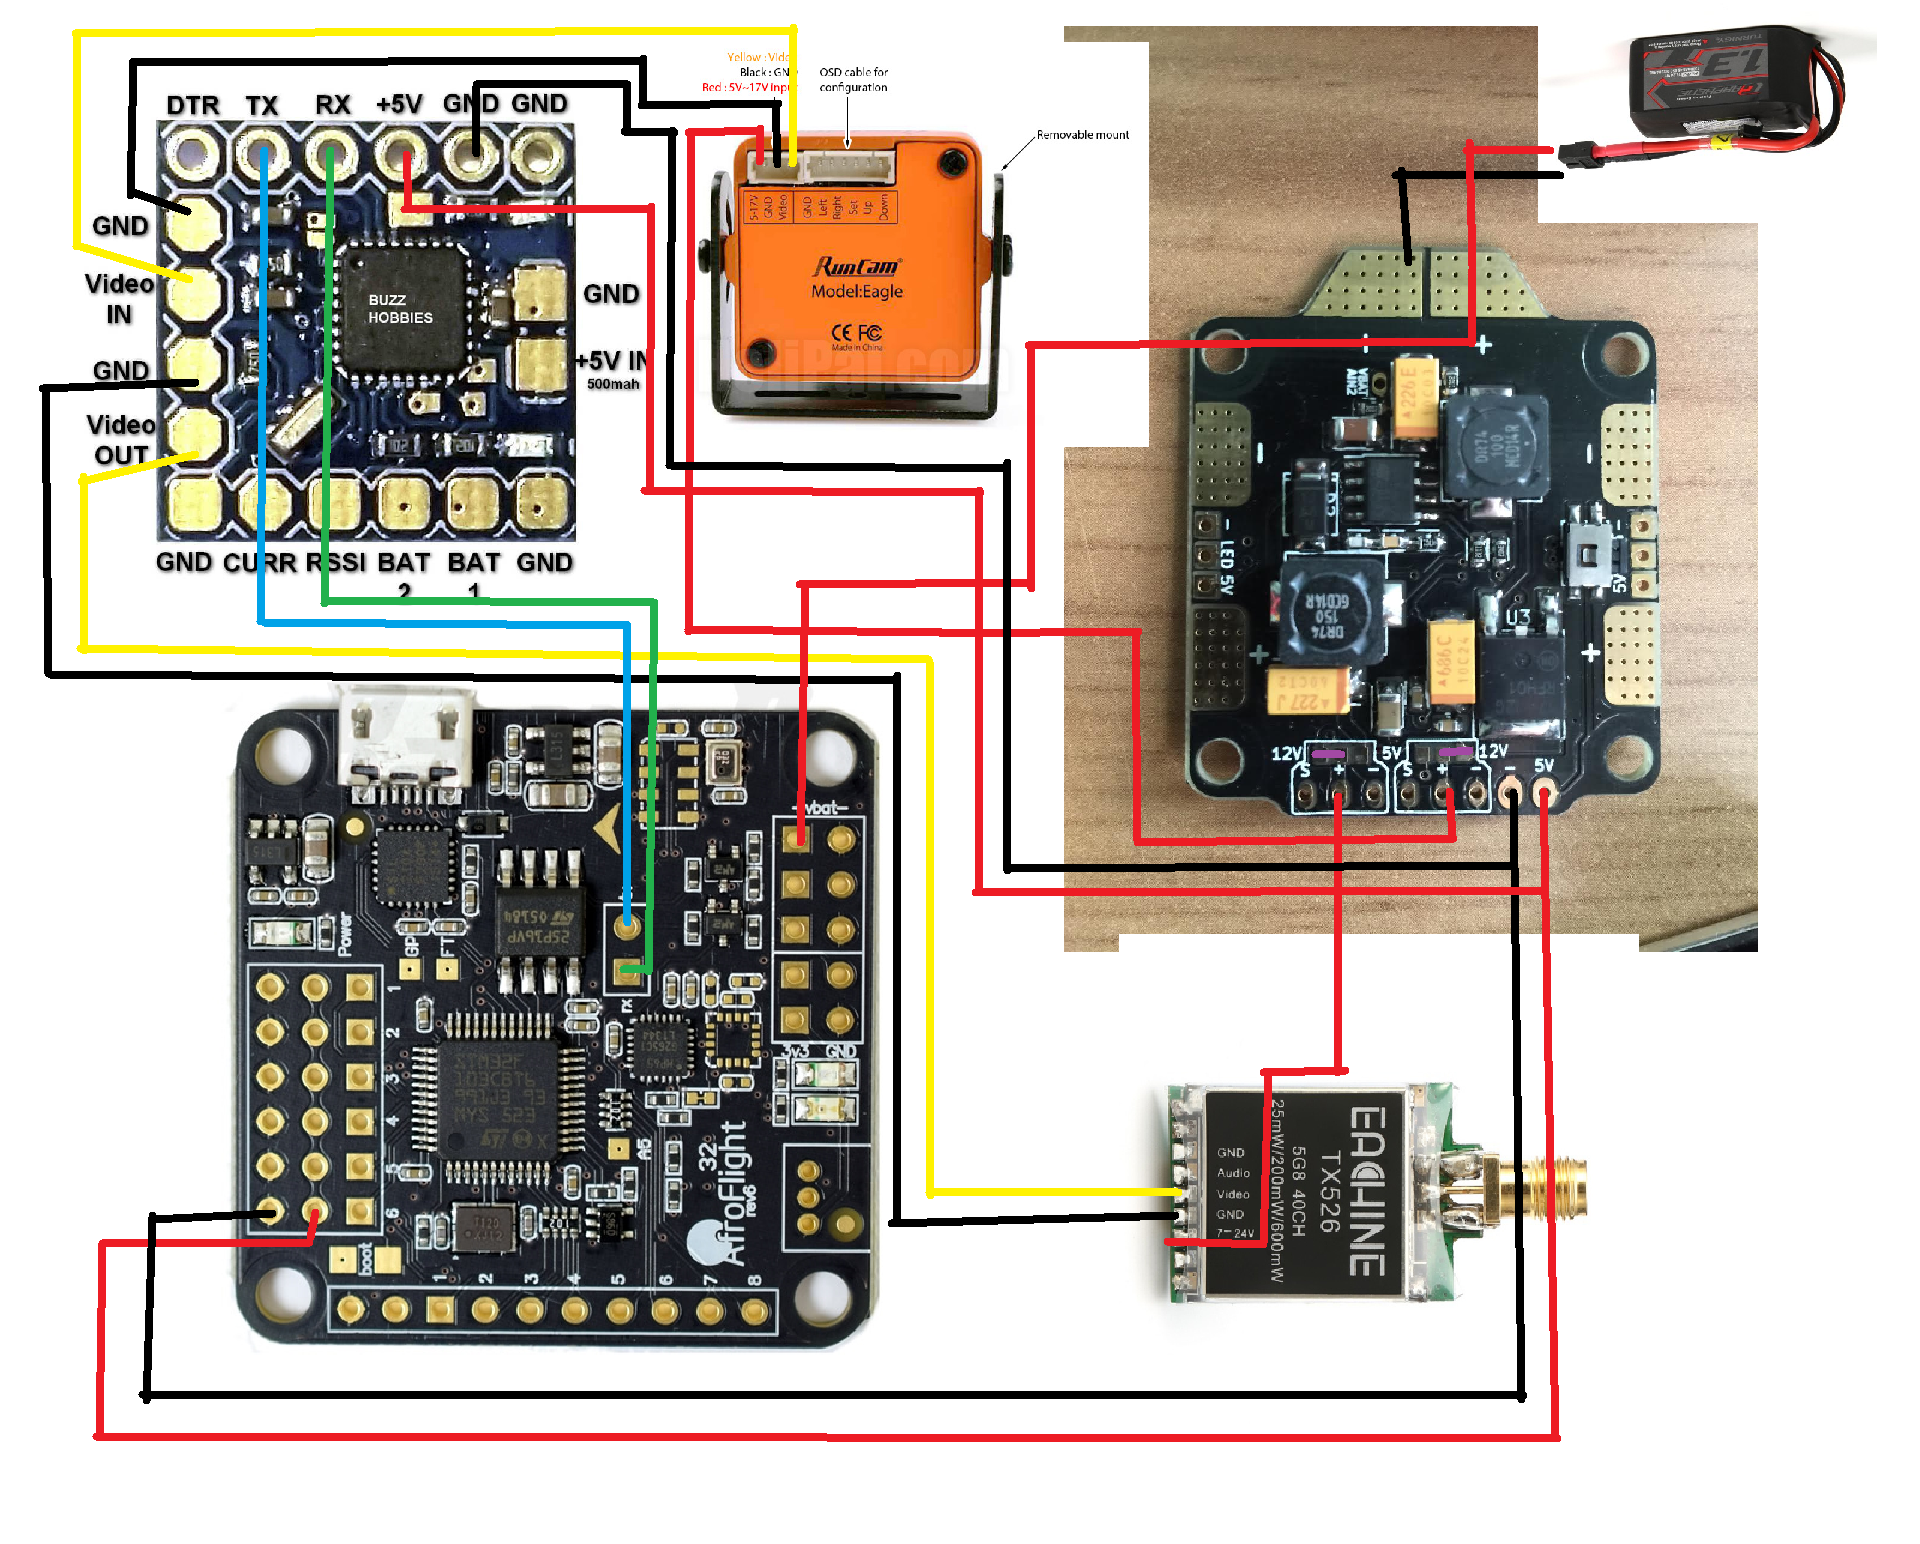
To help me understand where to solder each part and how everything was to connect together I made this very basic wiring diagram.
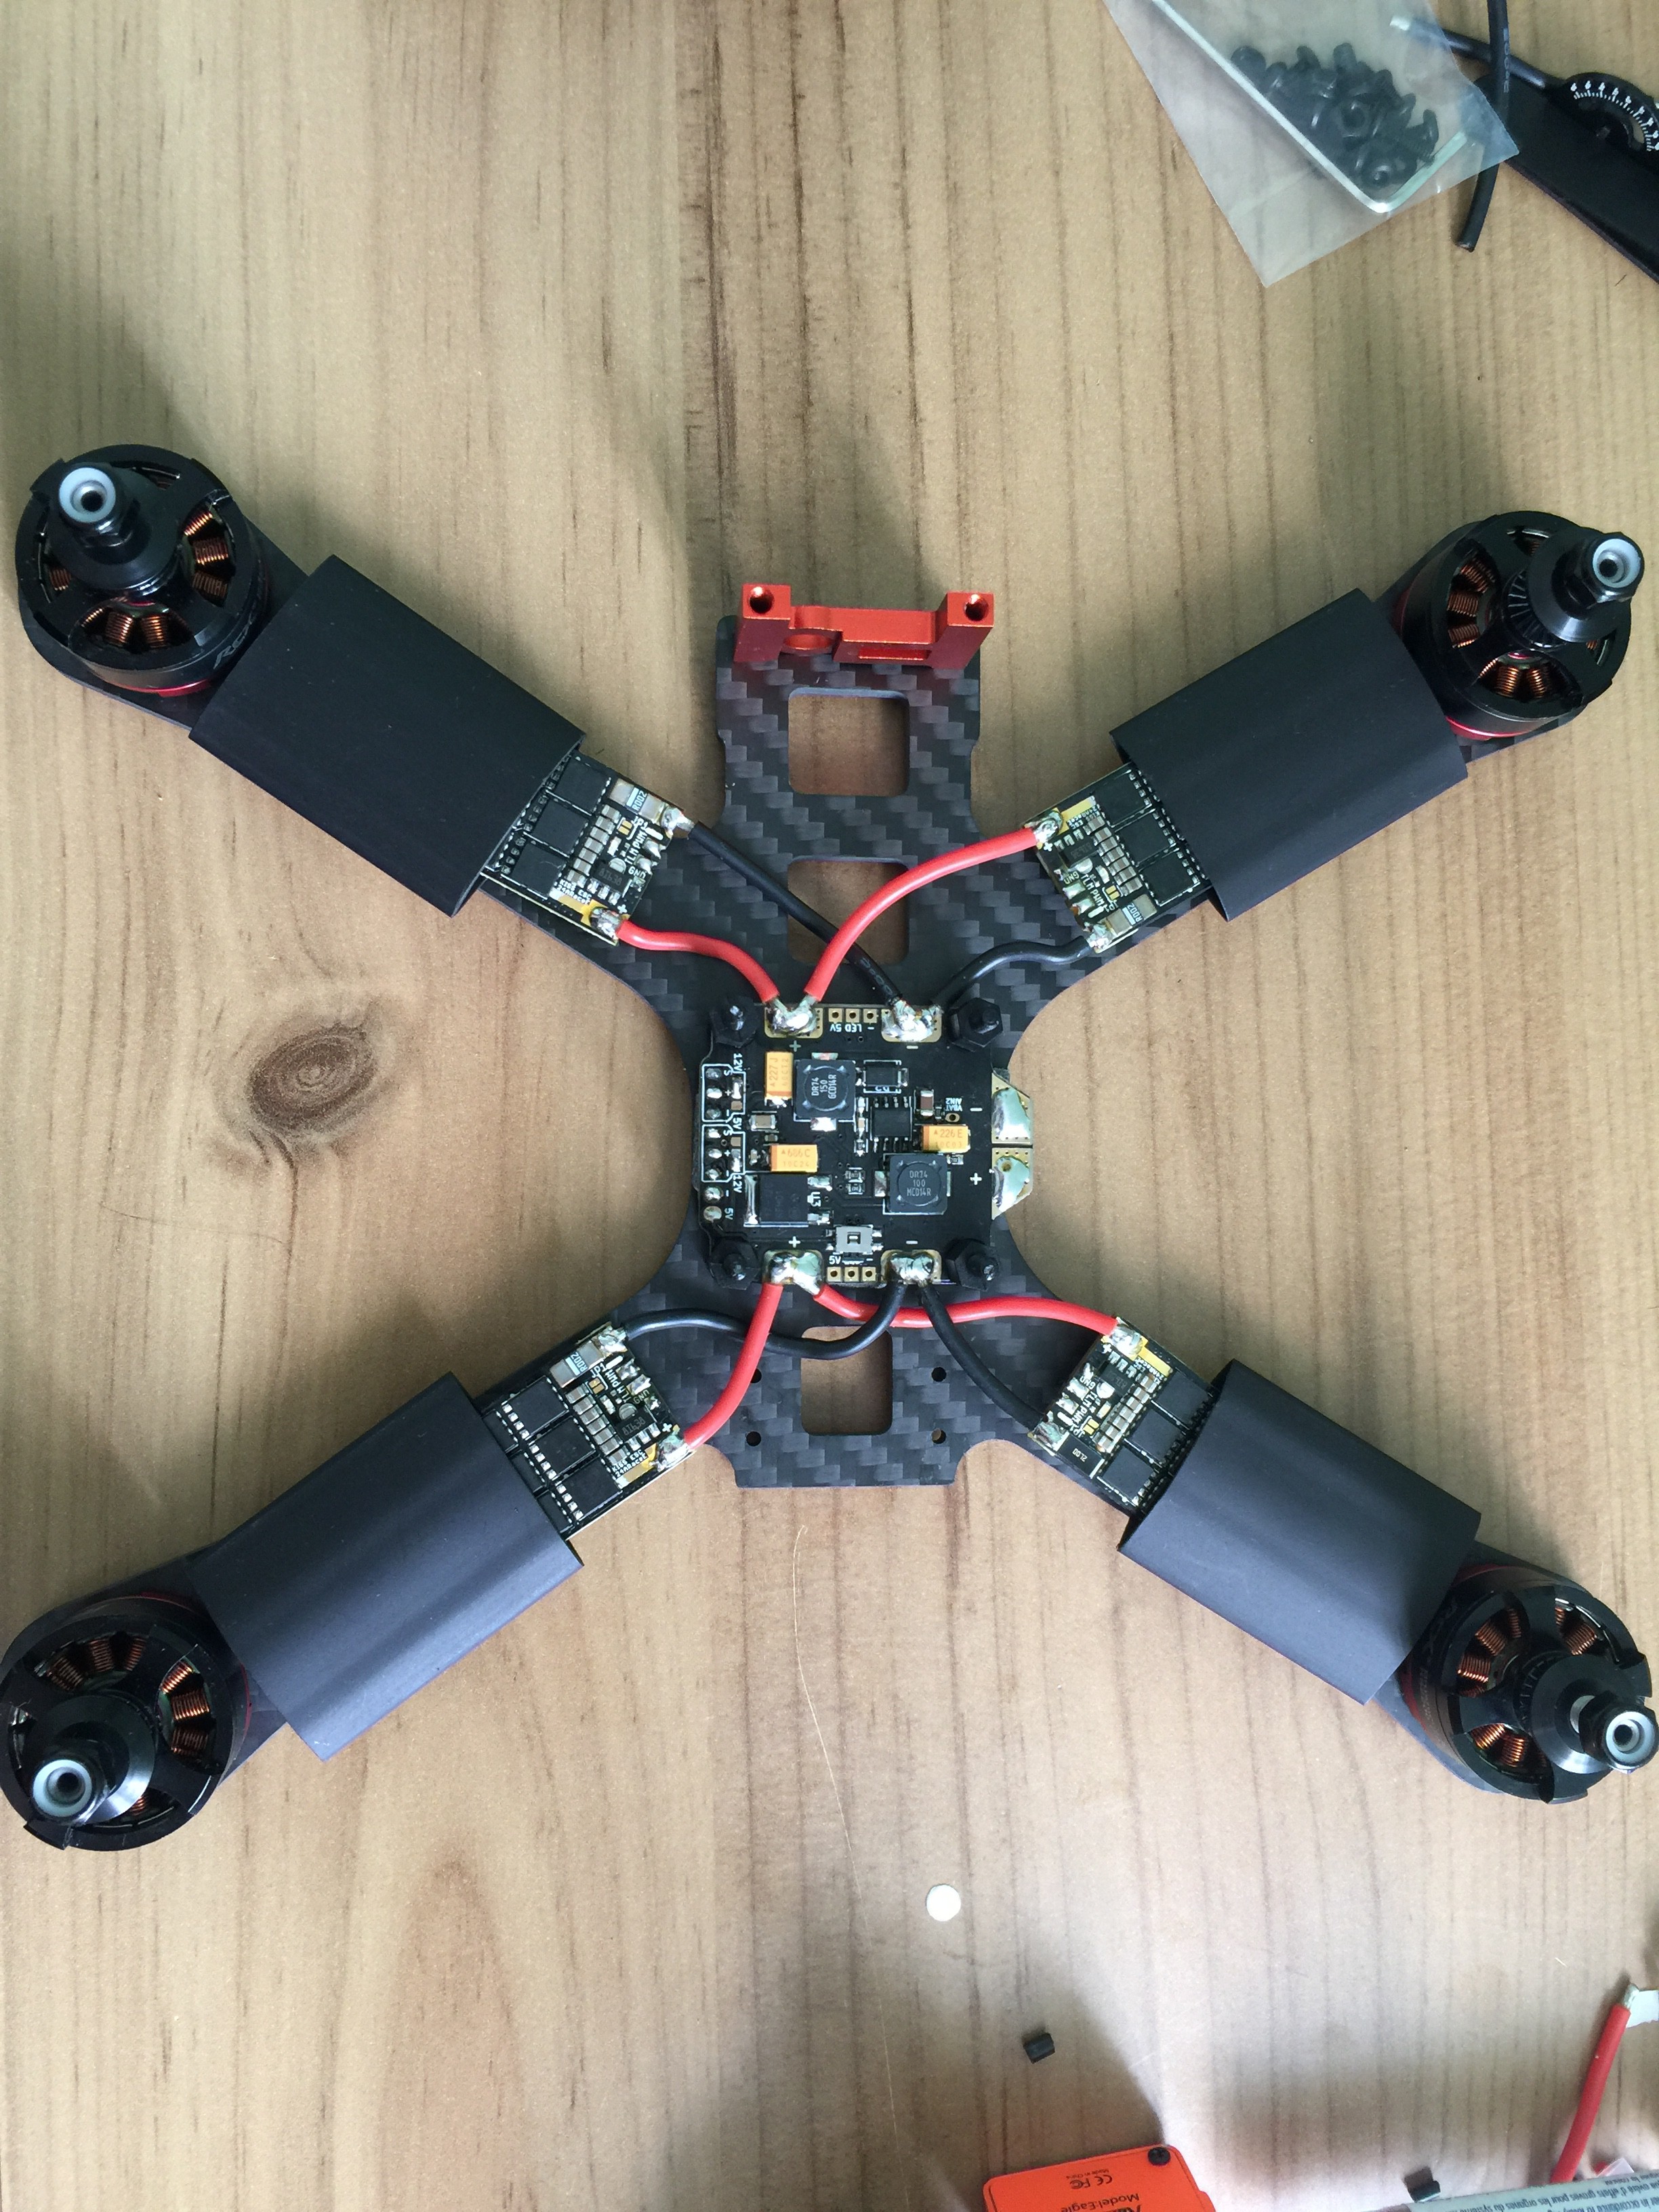
Then I went ahead and attached the motors to the frame and soldered them to the ESC's and PDB.
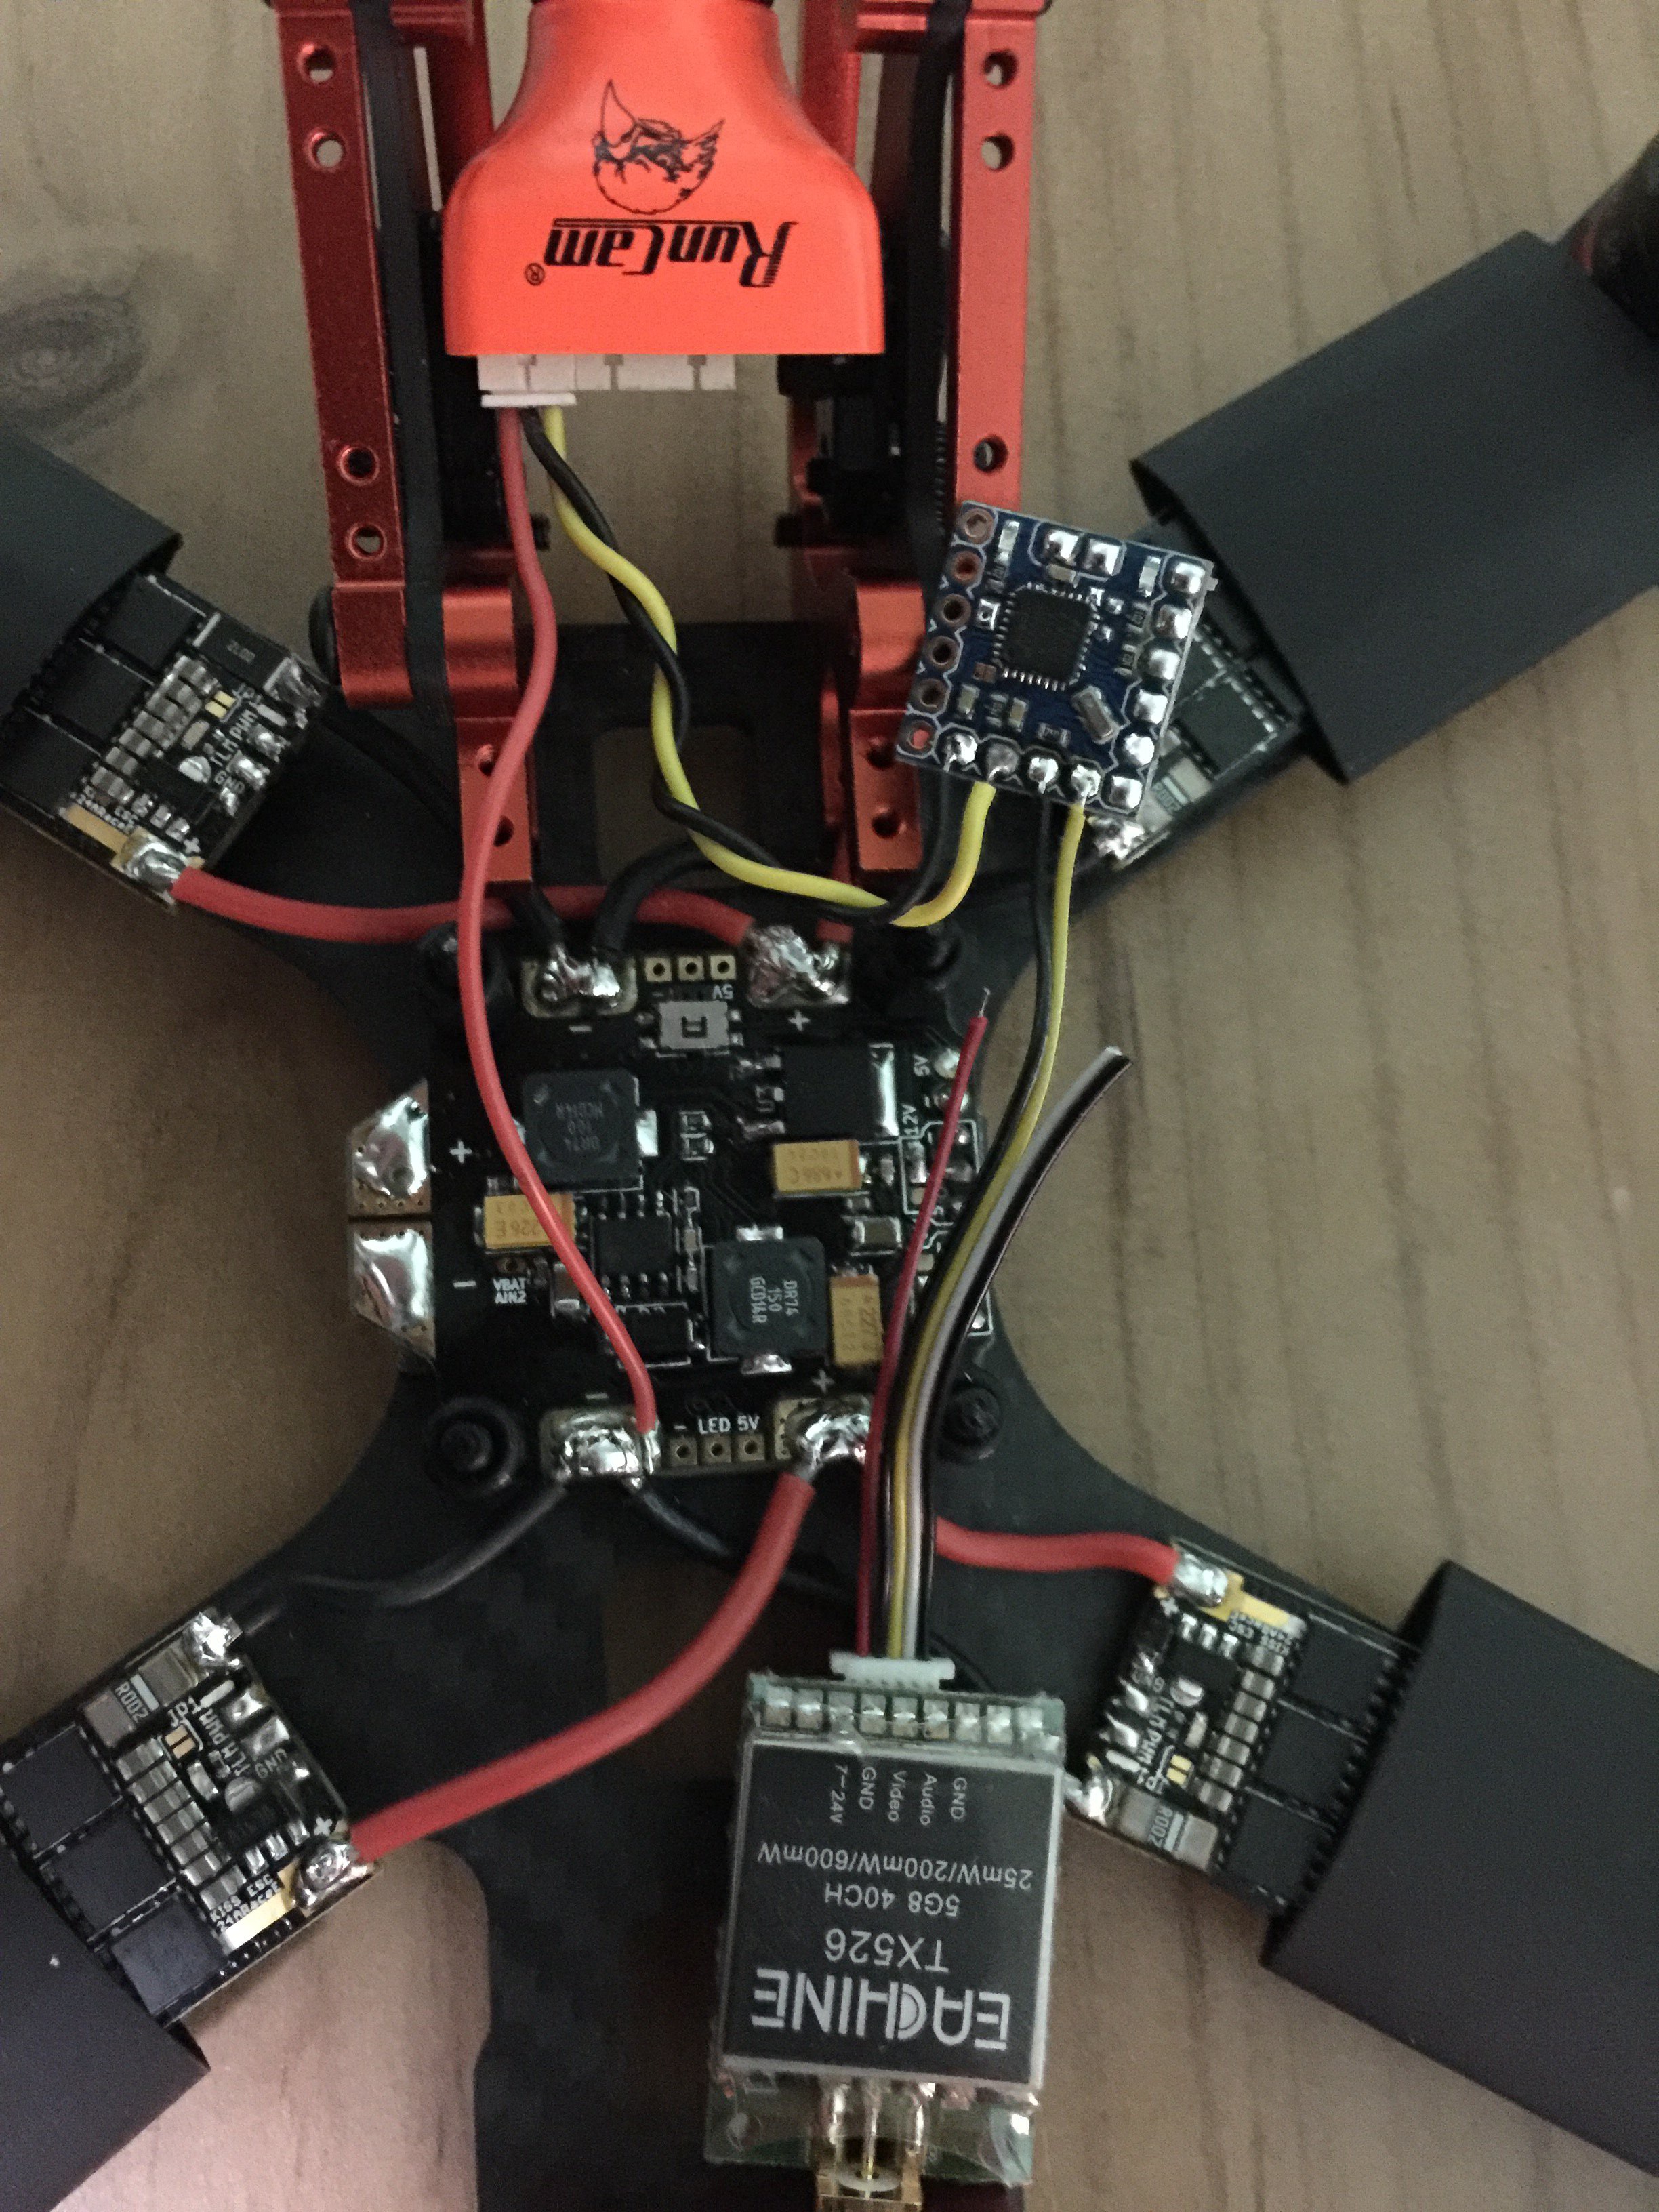
In this picture you can see the minimosd being connected to the Runcam and video transmitter.
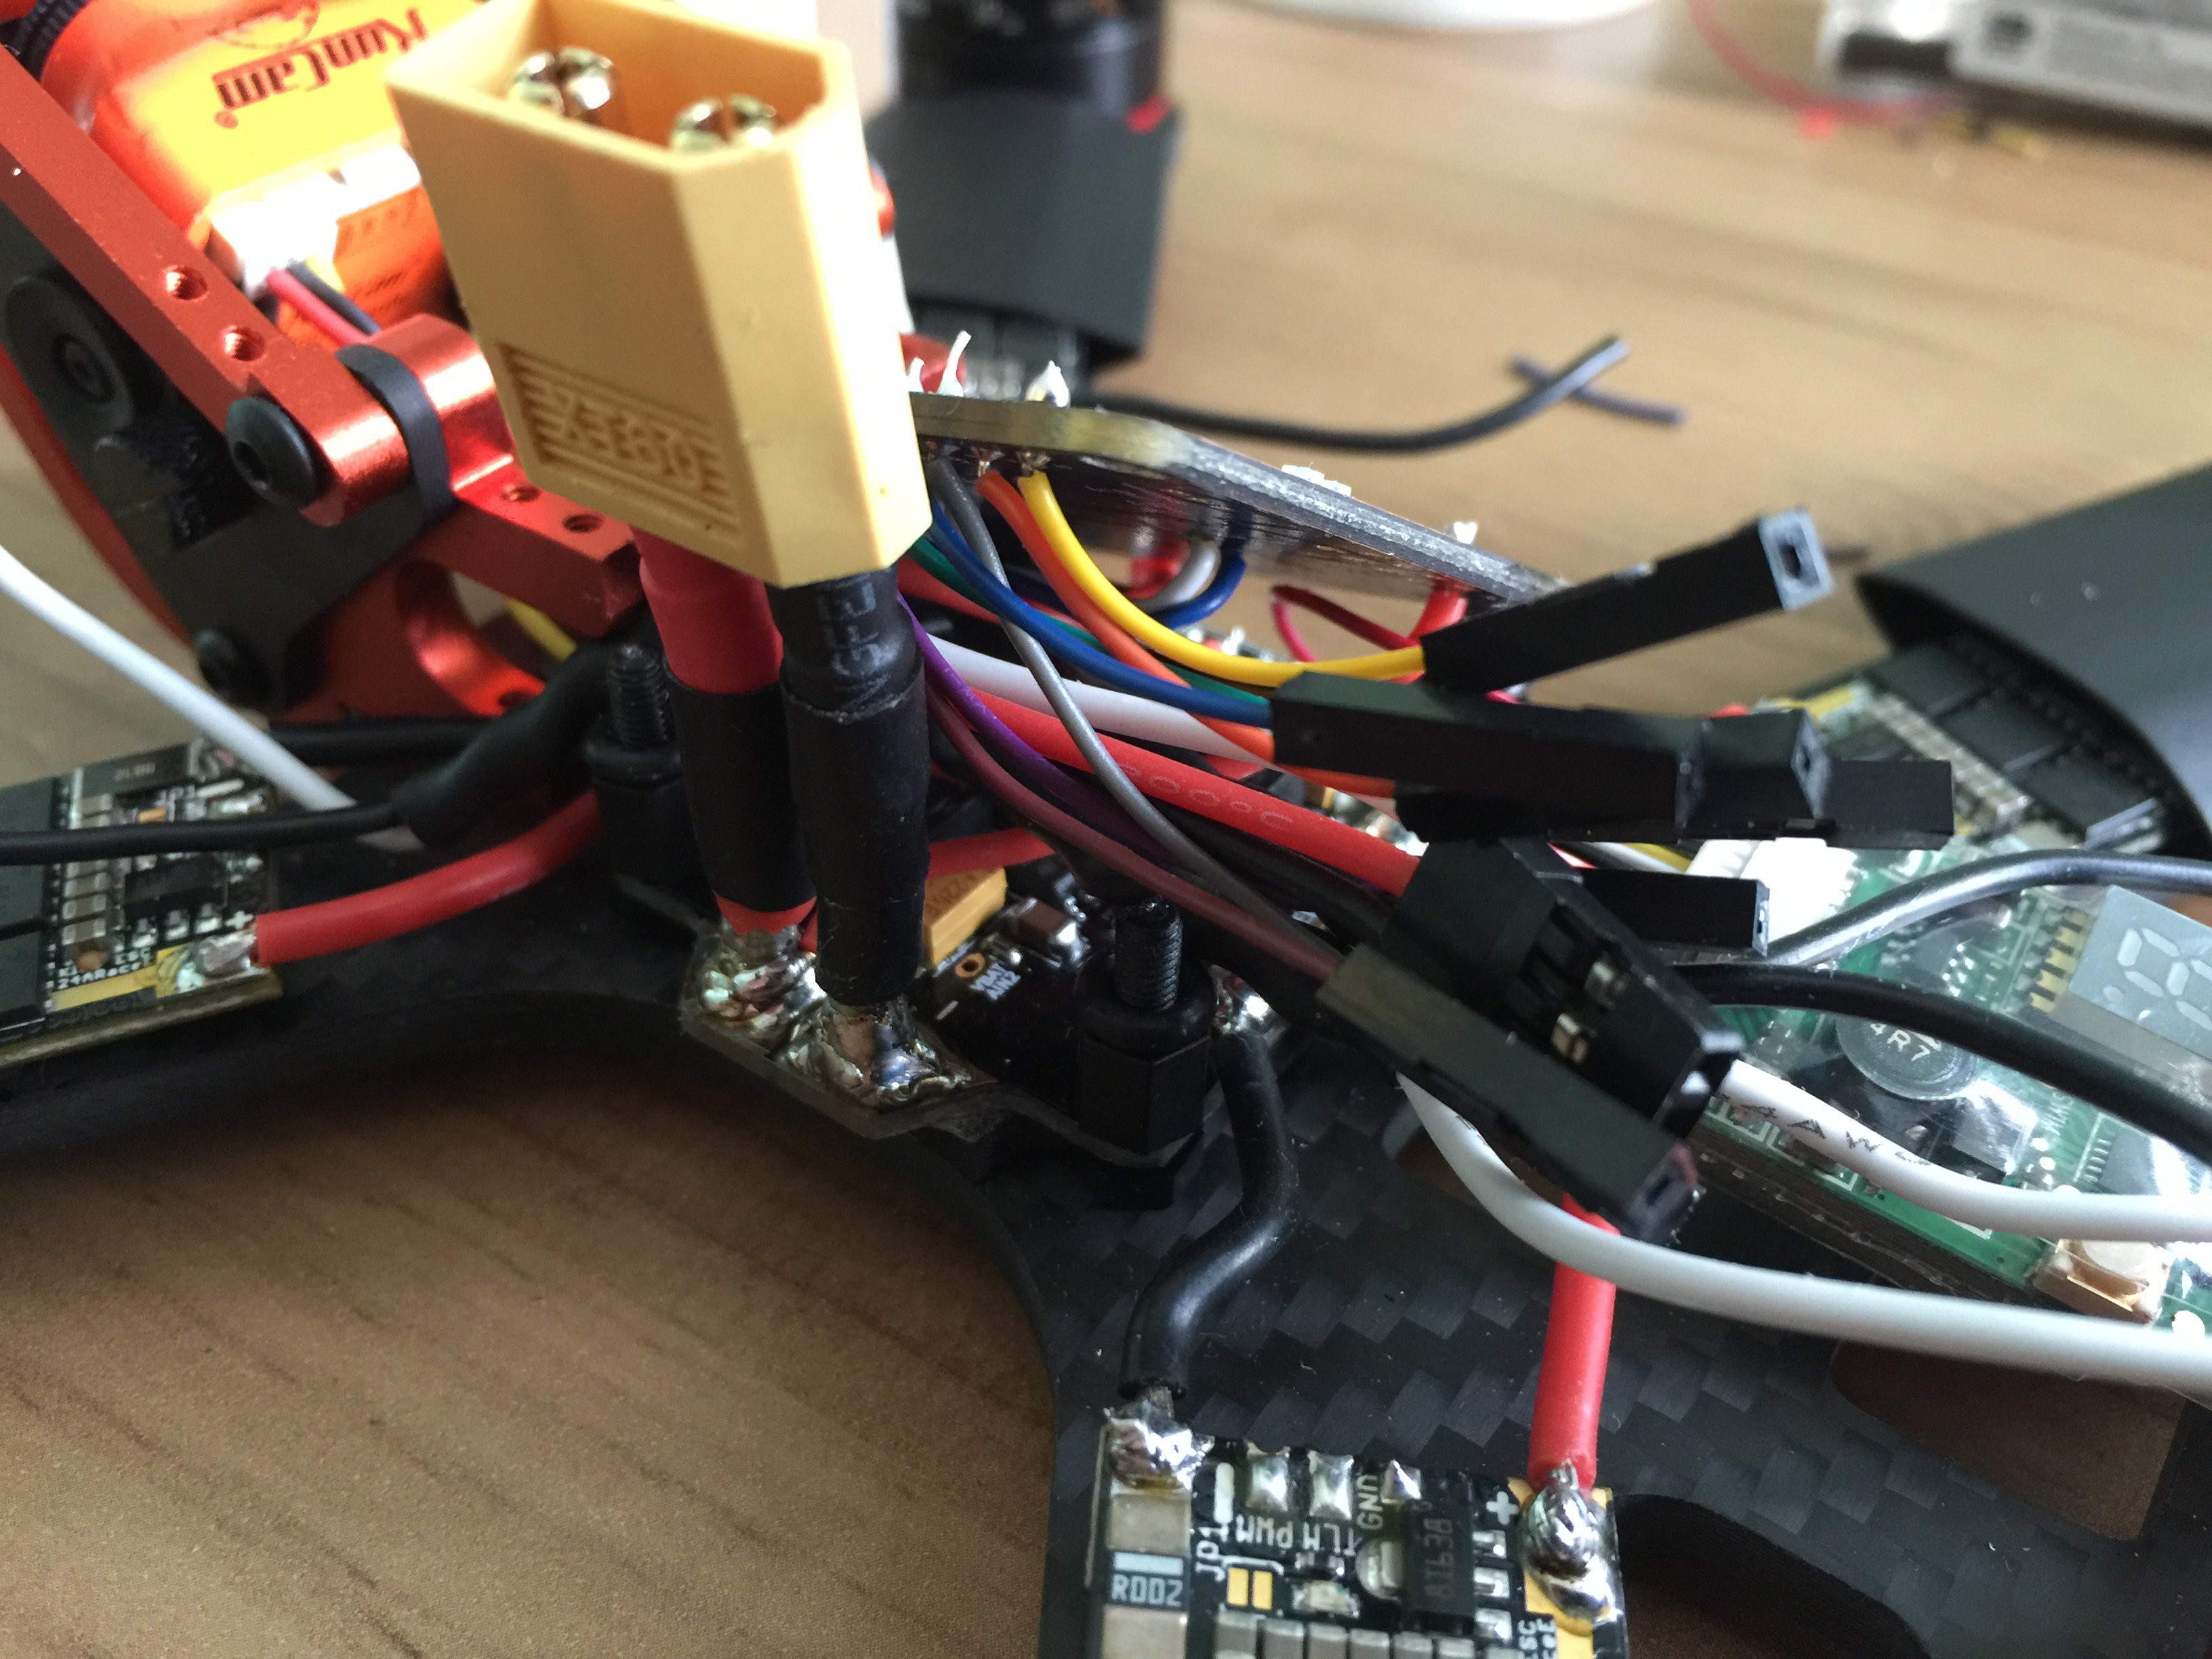
At this point I realized that space was going to be an issue and decided it would be best I soldered the wires to the Naze32 flight controller before I attached it to the board. The wires soldered to it at the moment are the signal wires going to the ESC's and the signal wires going to the radio receiver.

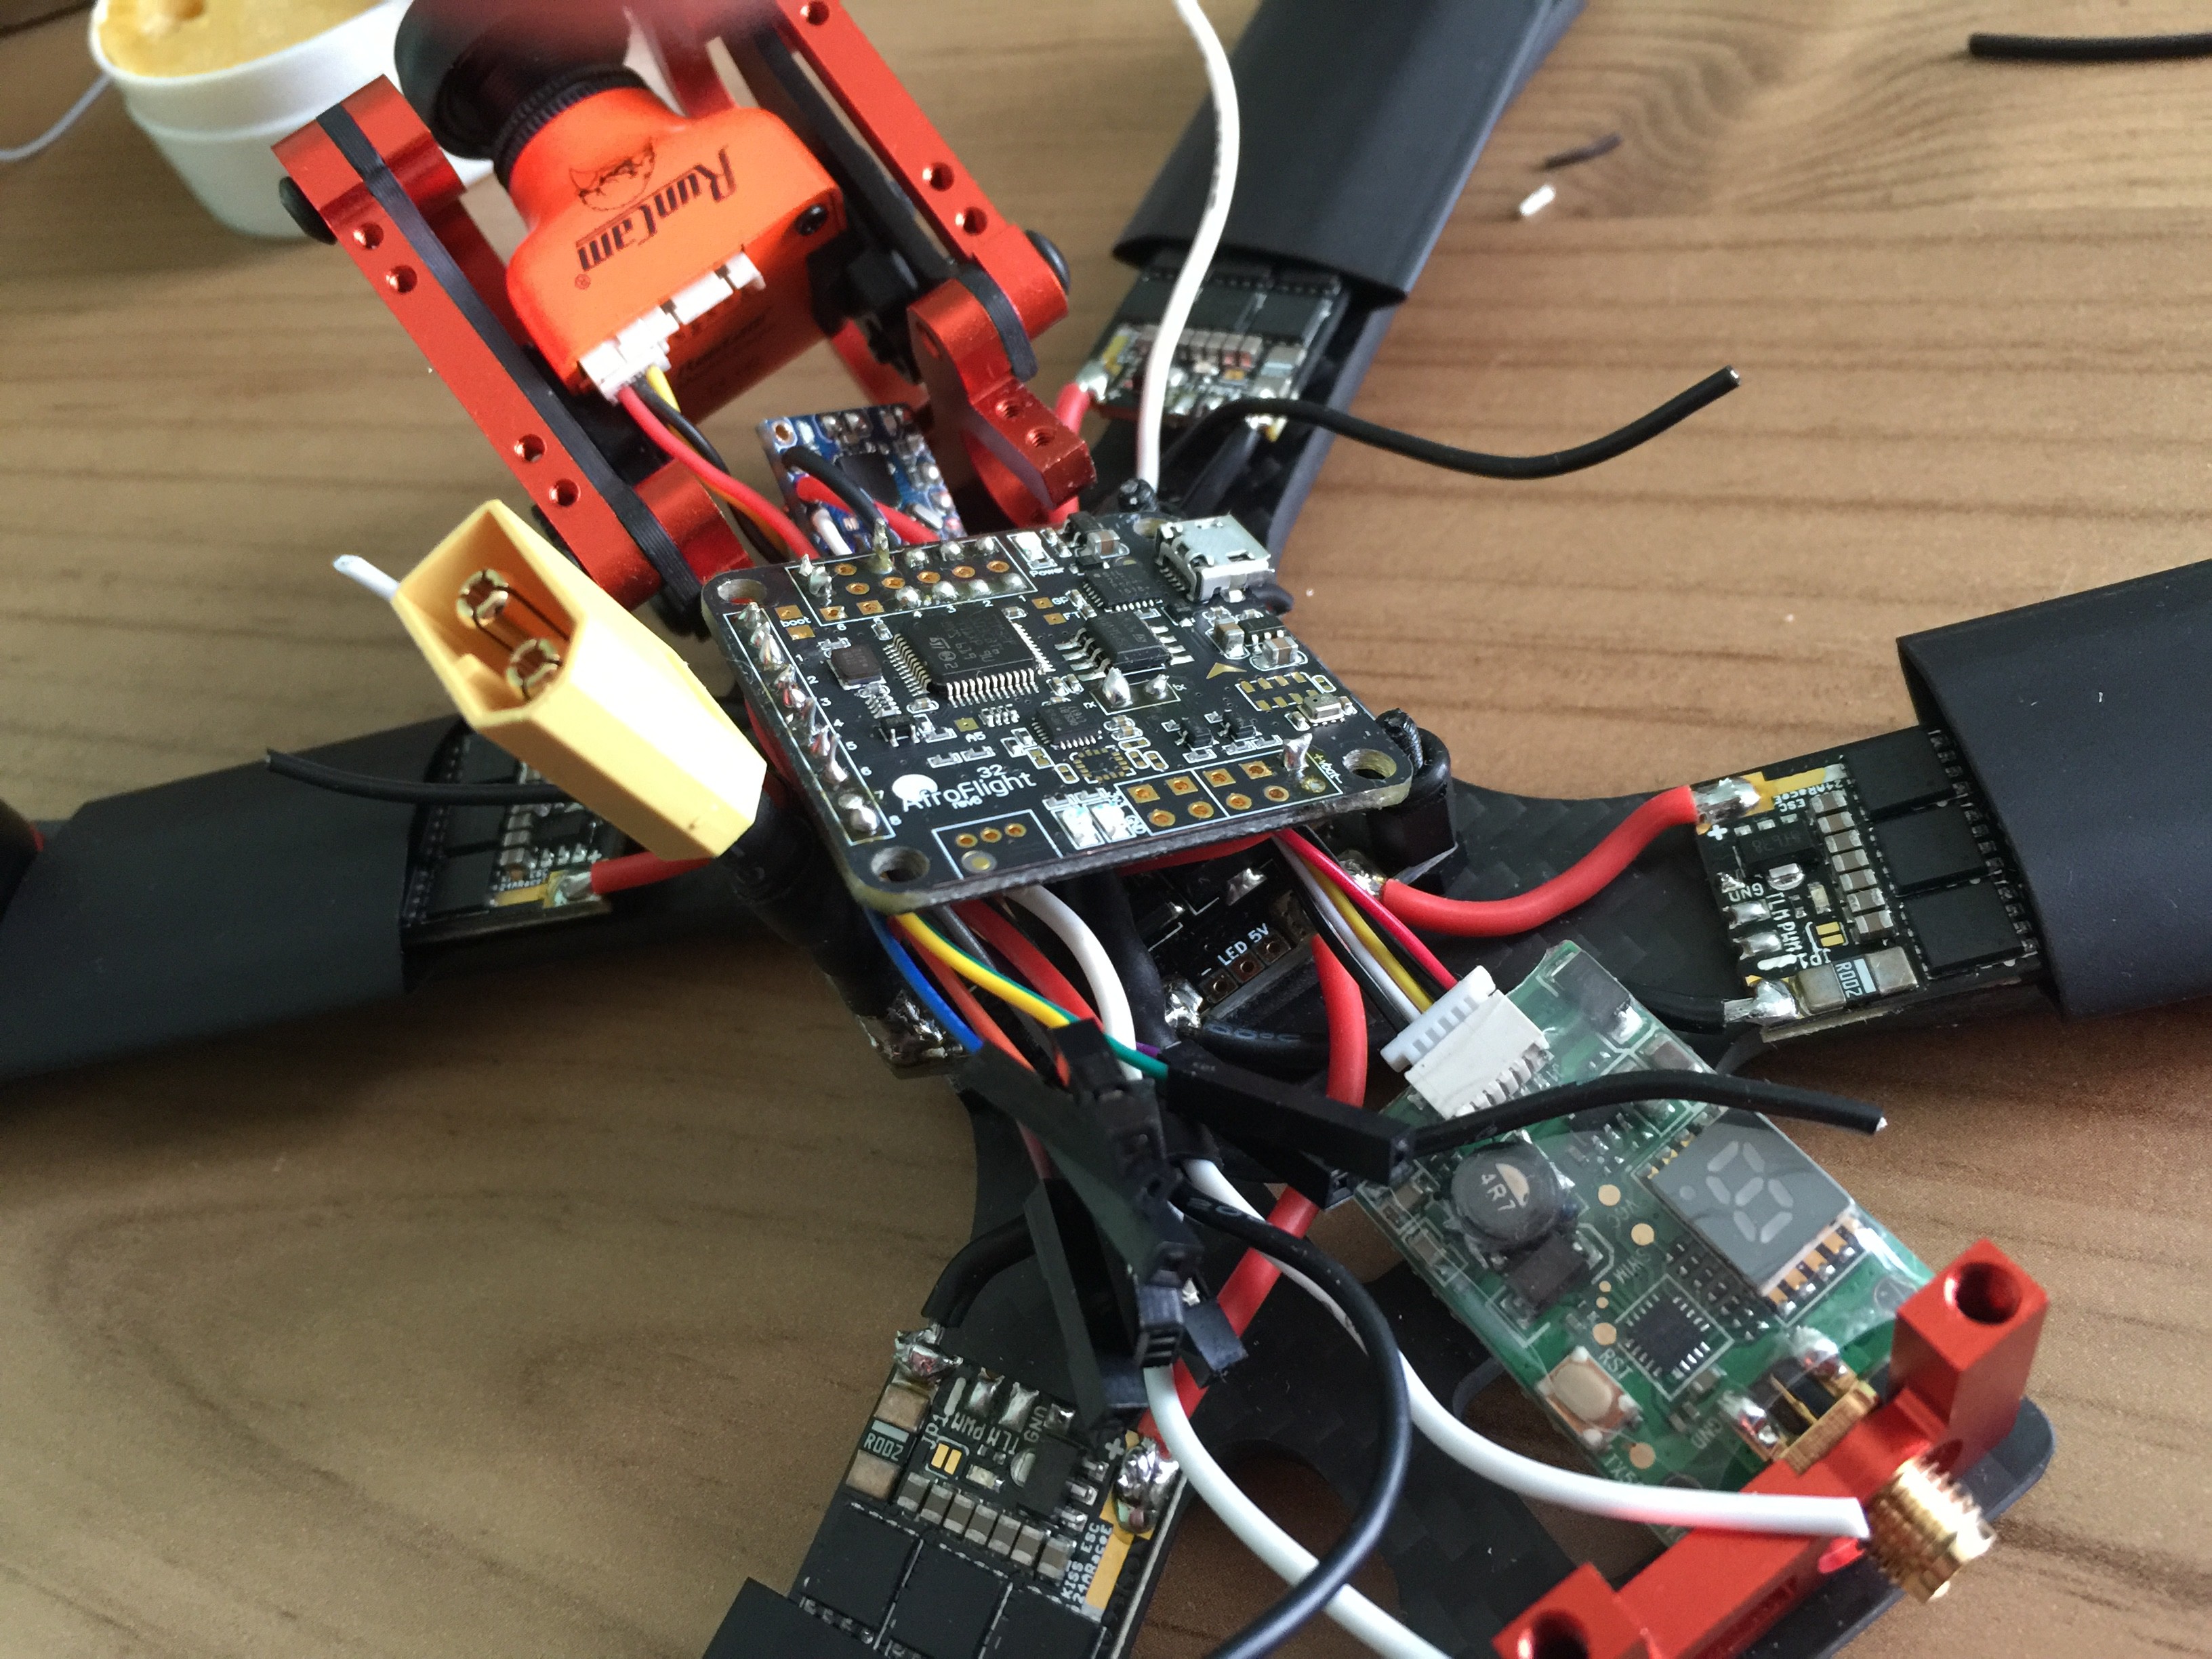
The next couple of pictures details how cramped this build will turn out and I end up not being able to mount the flight controller directly to the frame using the mounting holes.

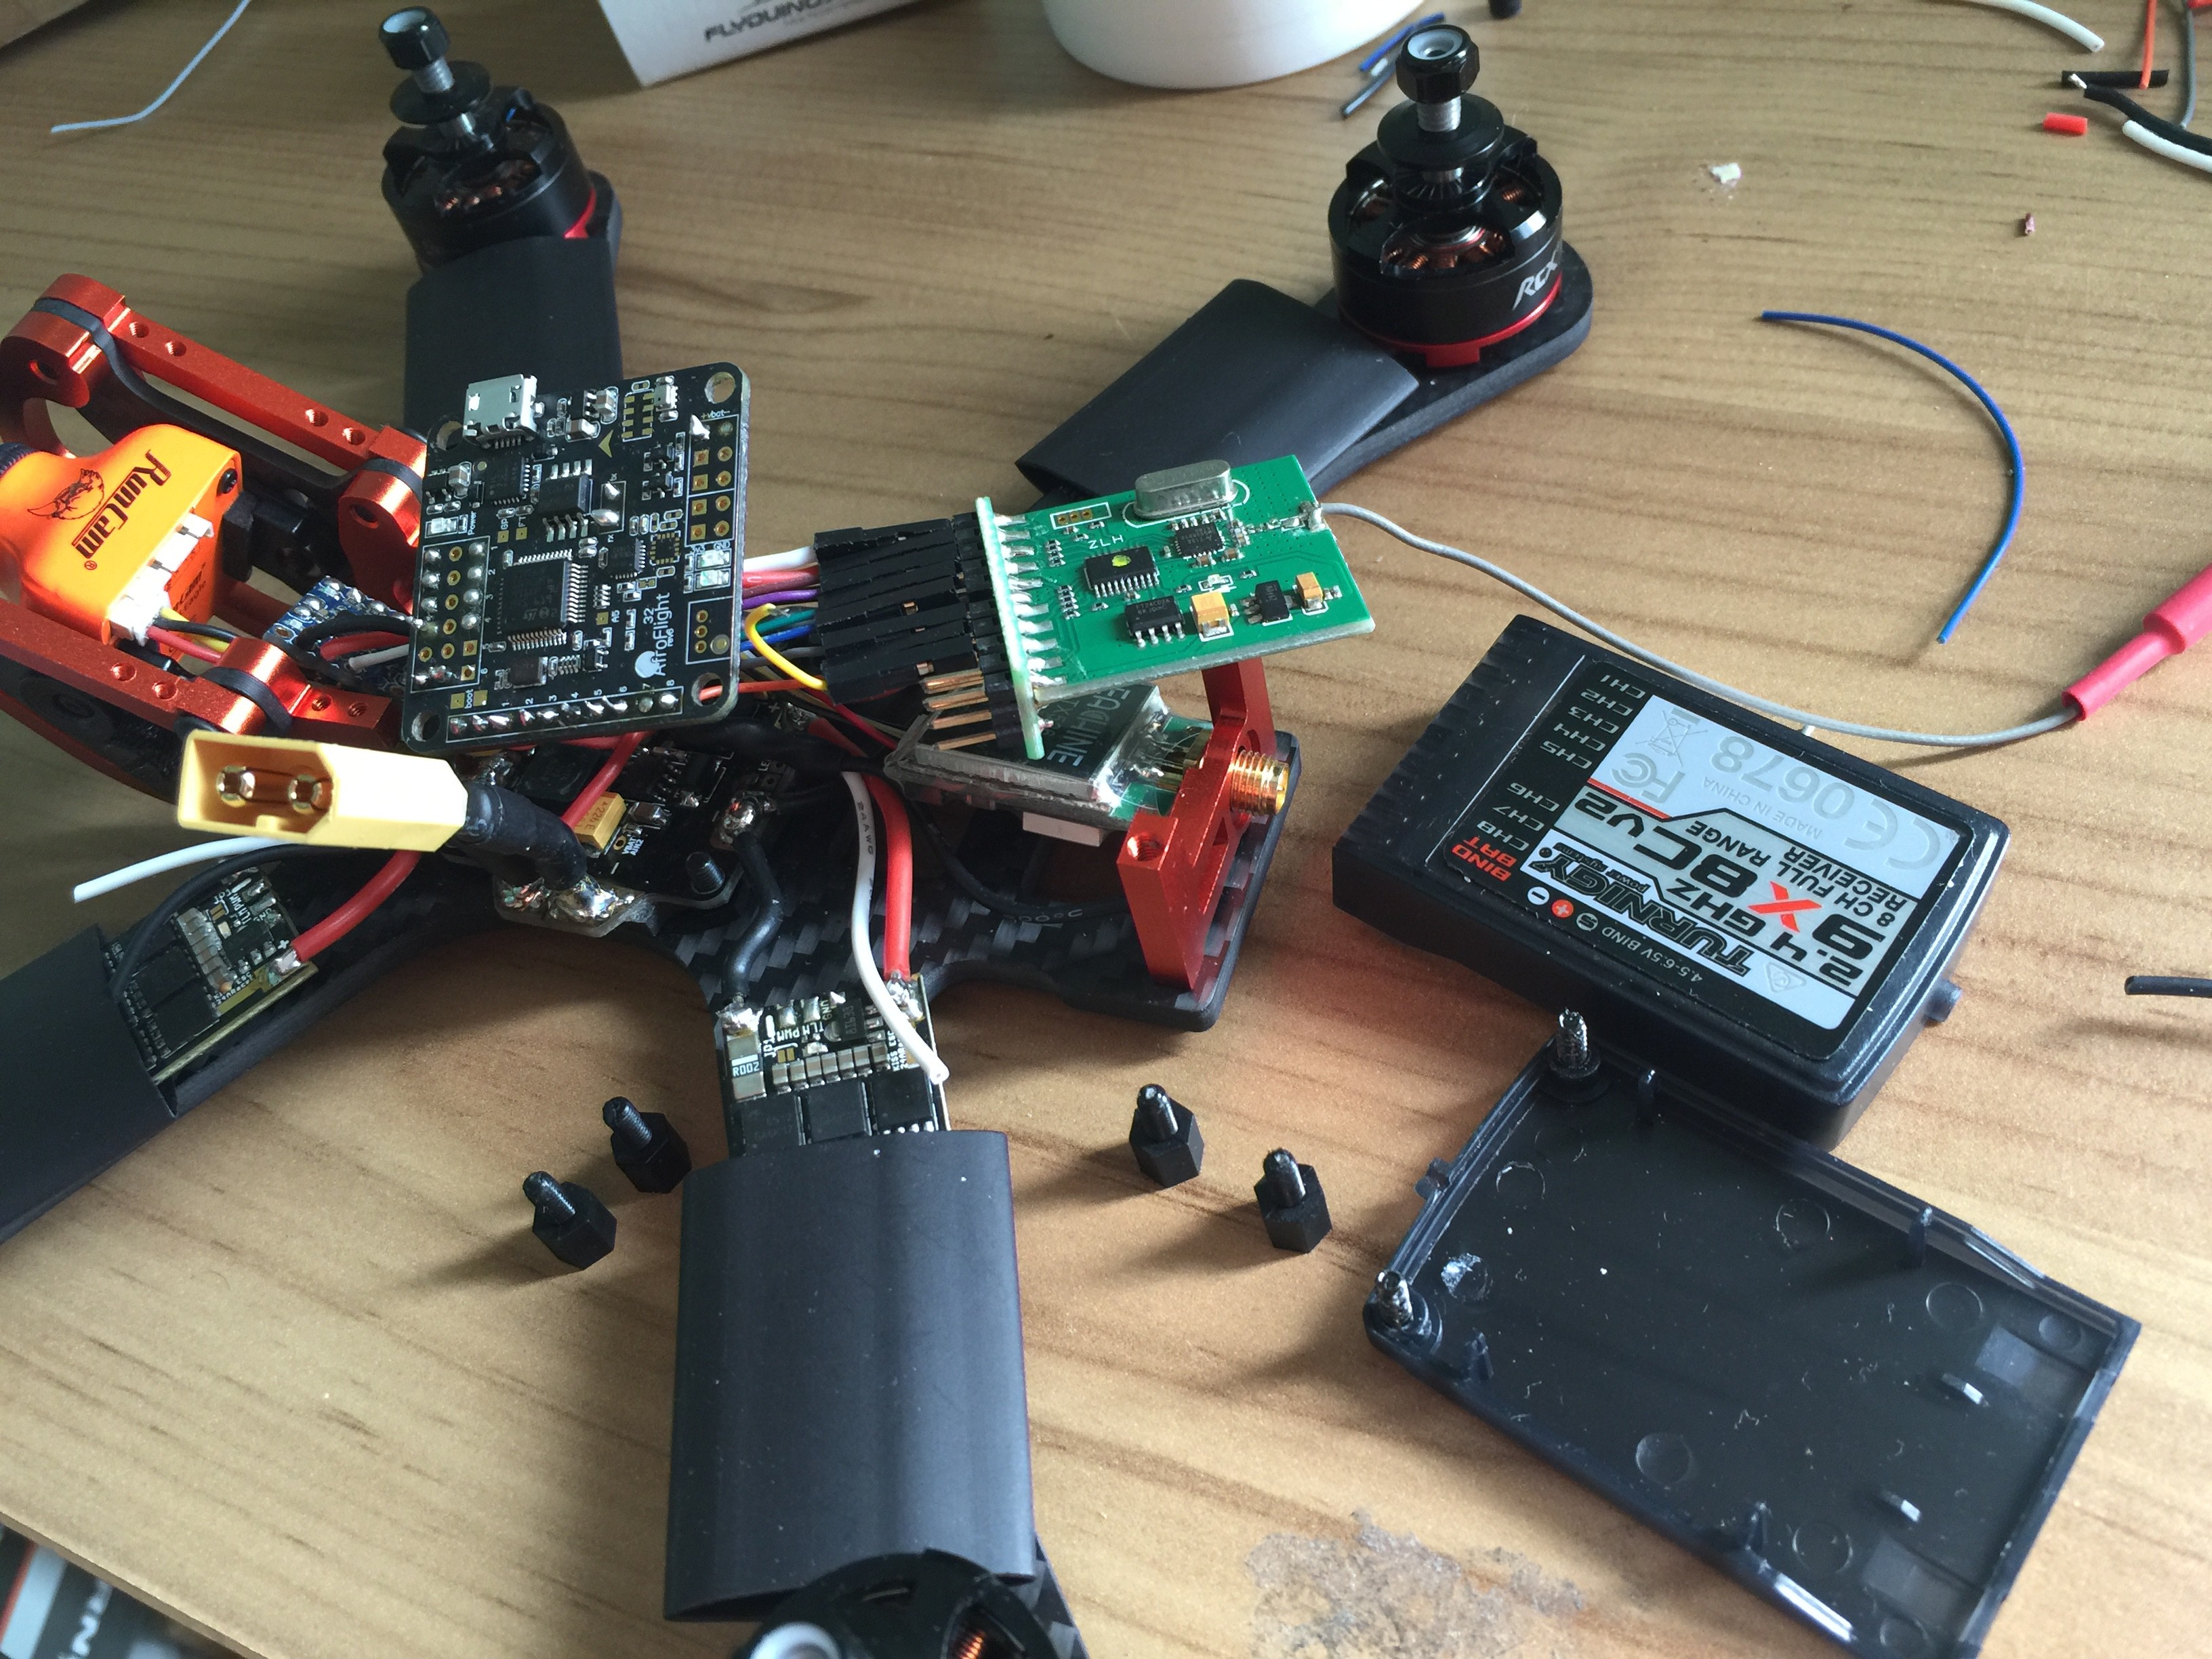
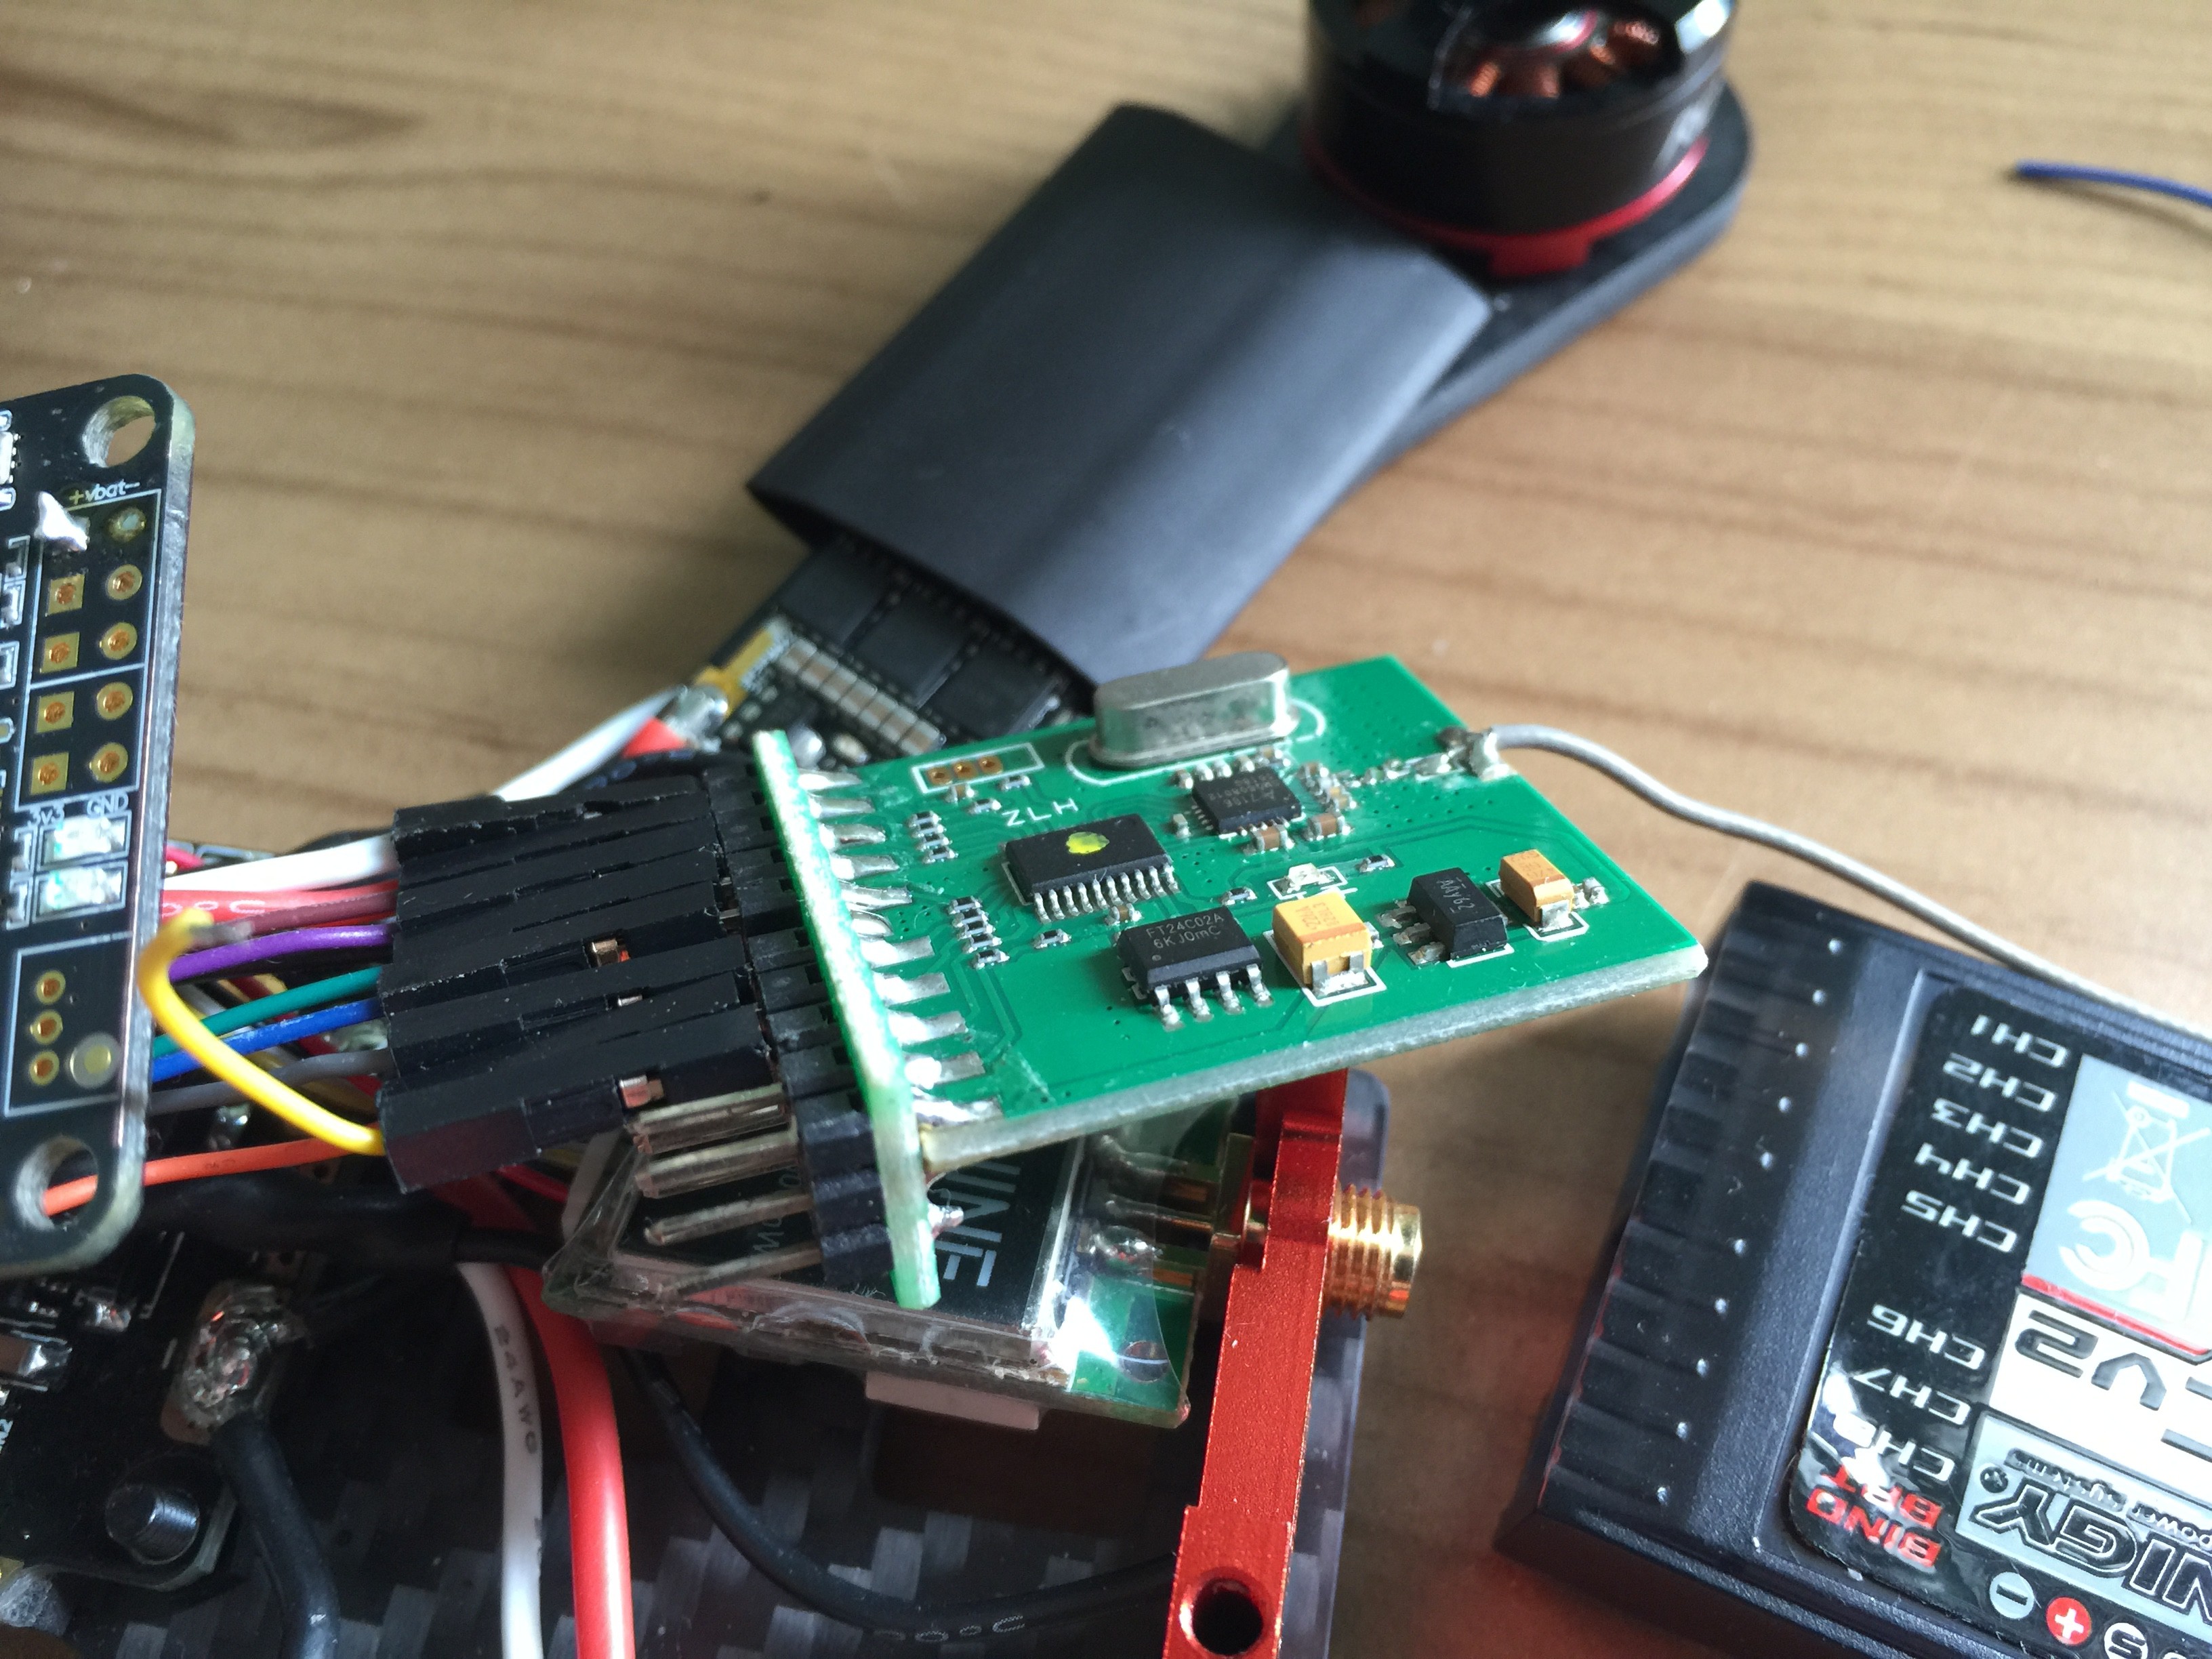
There was still one one major part which I needed to add and that was the radio receiver. The problem I faced was that the radio receiver was way too bulky with its plastic and shell and would not fit inside the frame along with all the other components. I overcame that issue by removing all the screws keeping the plastic shell in place and installed bare.
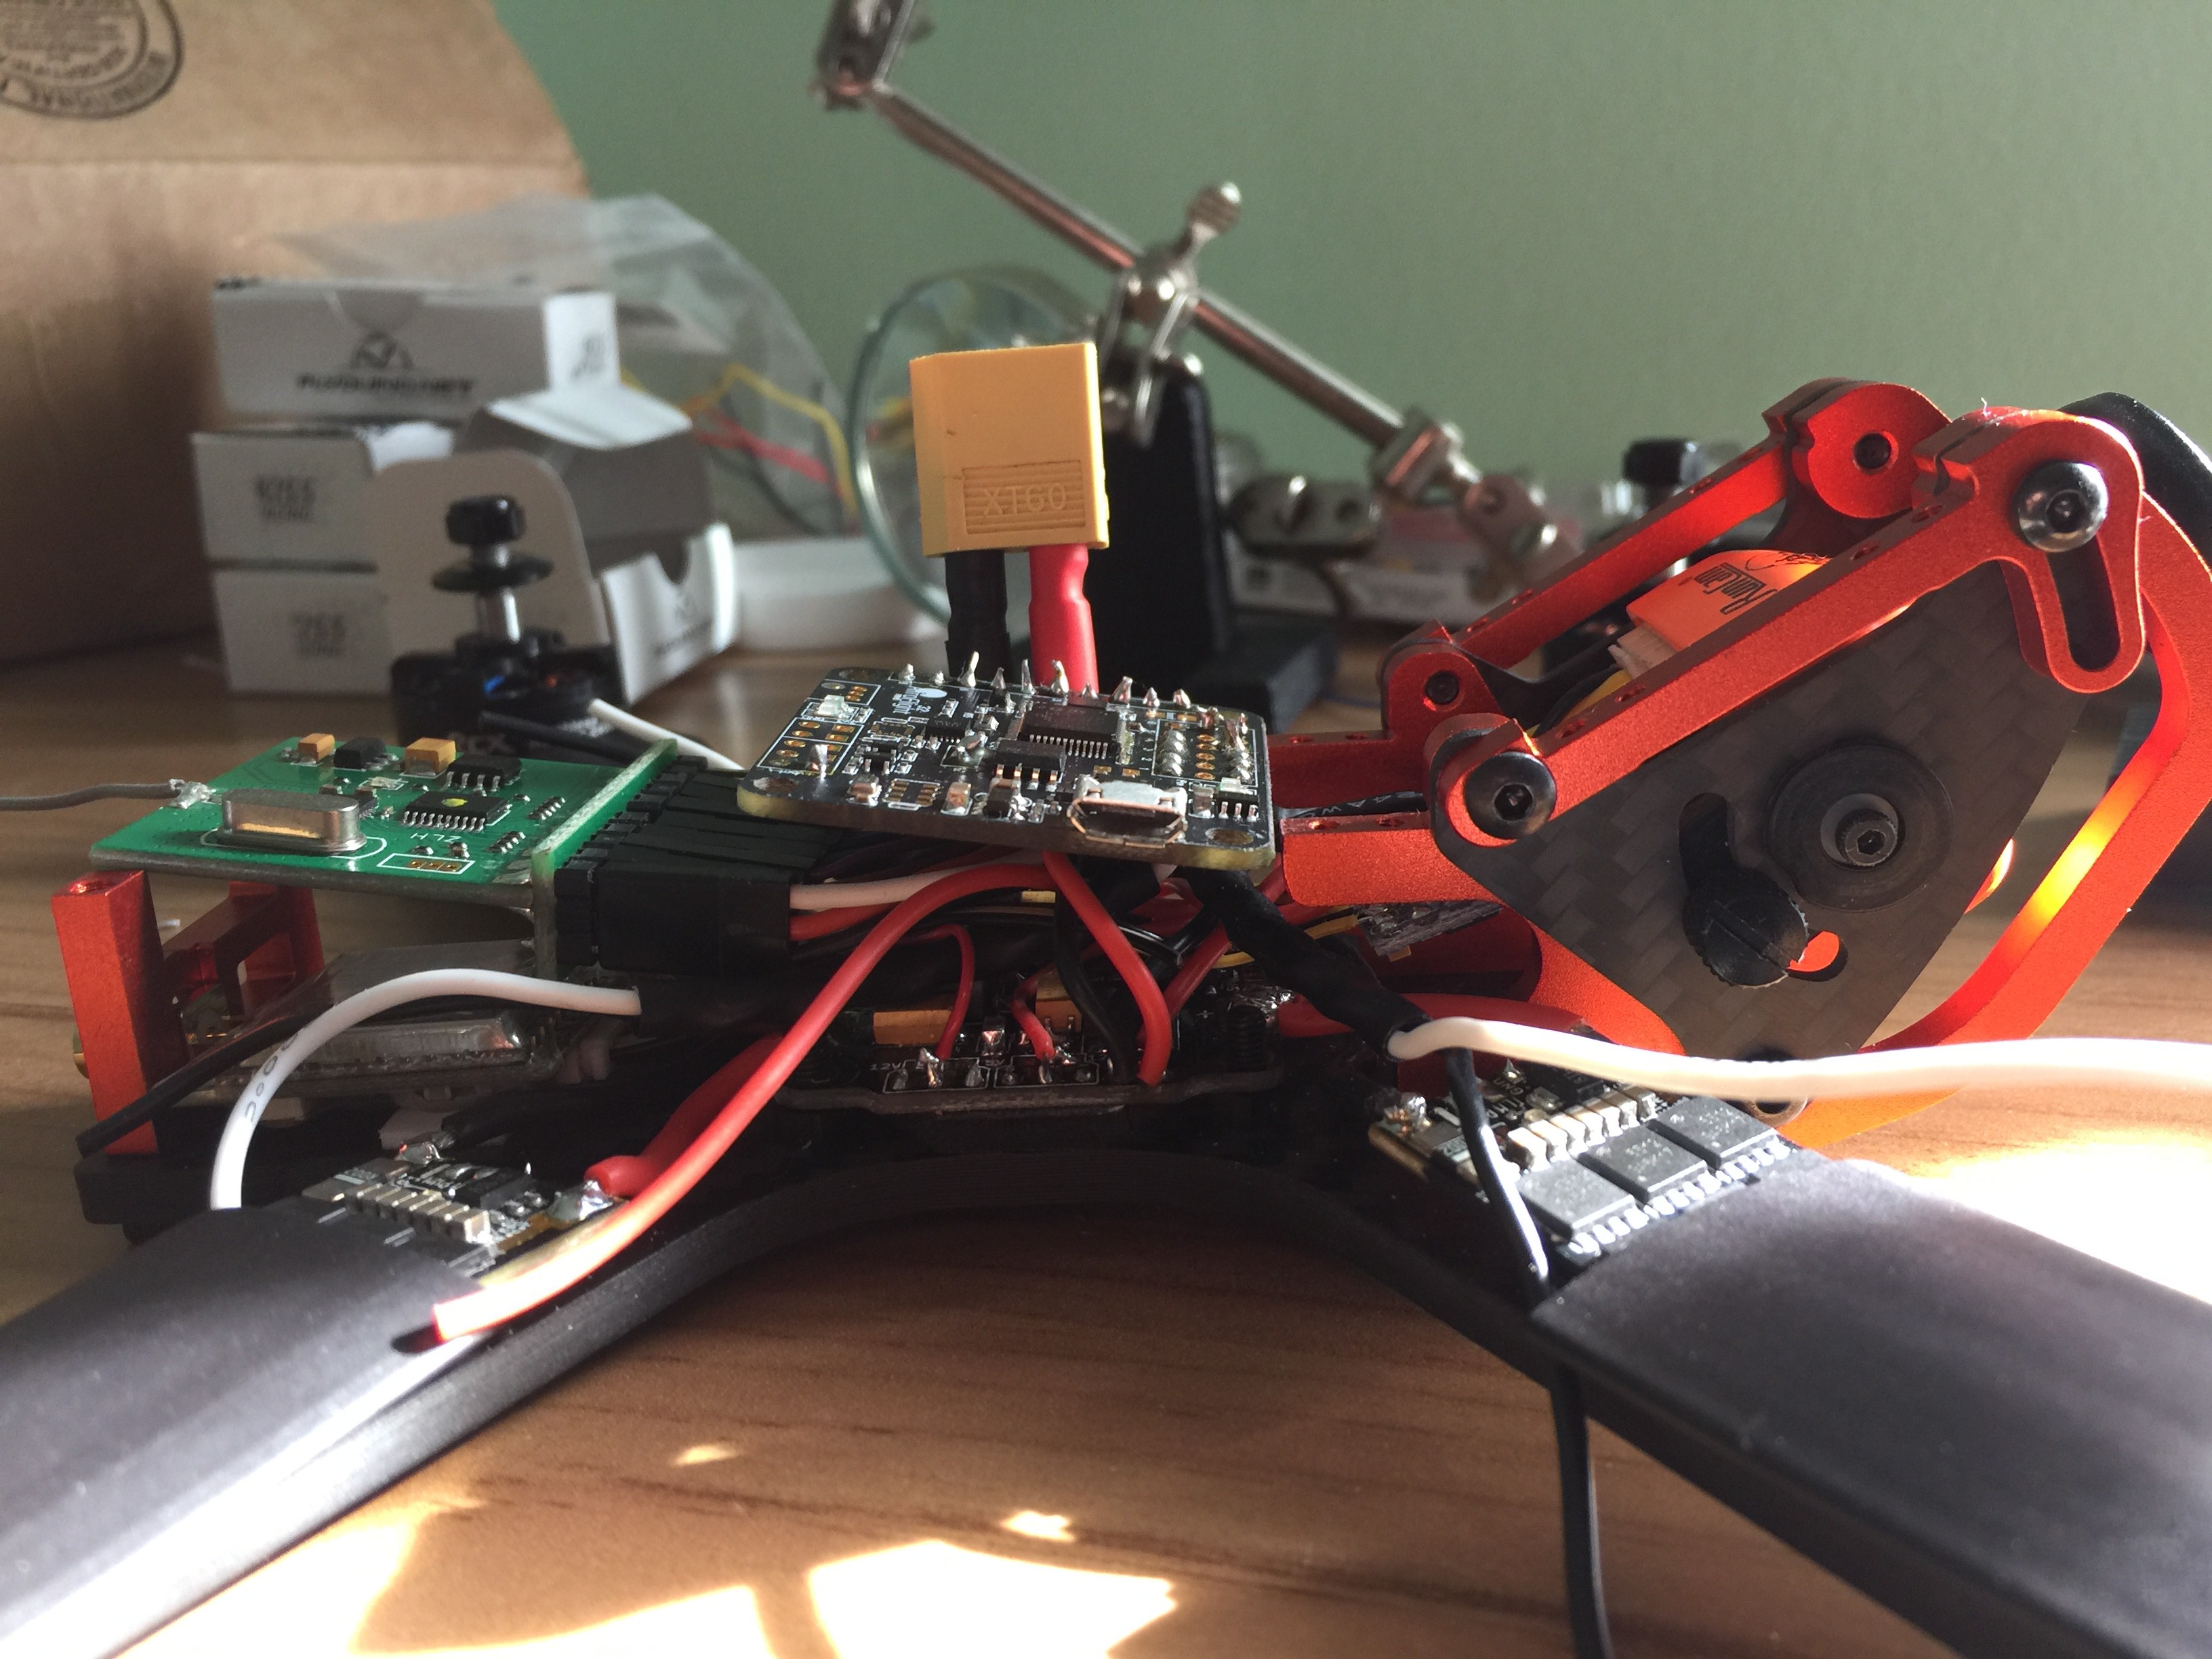
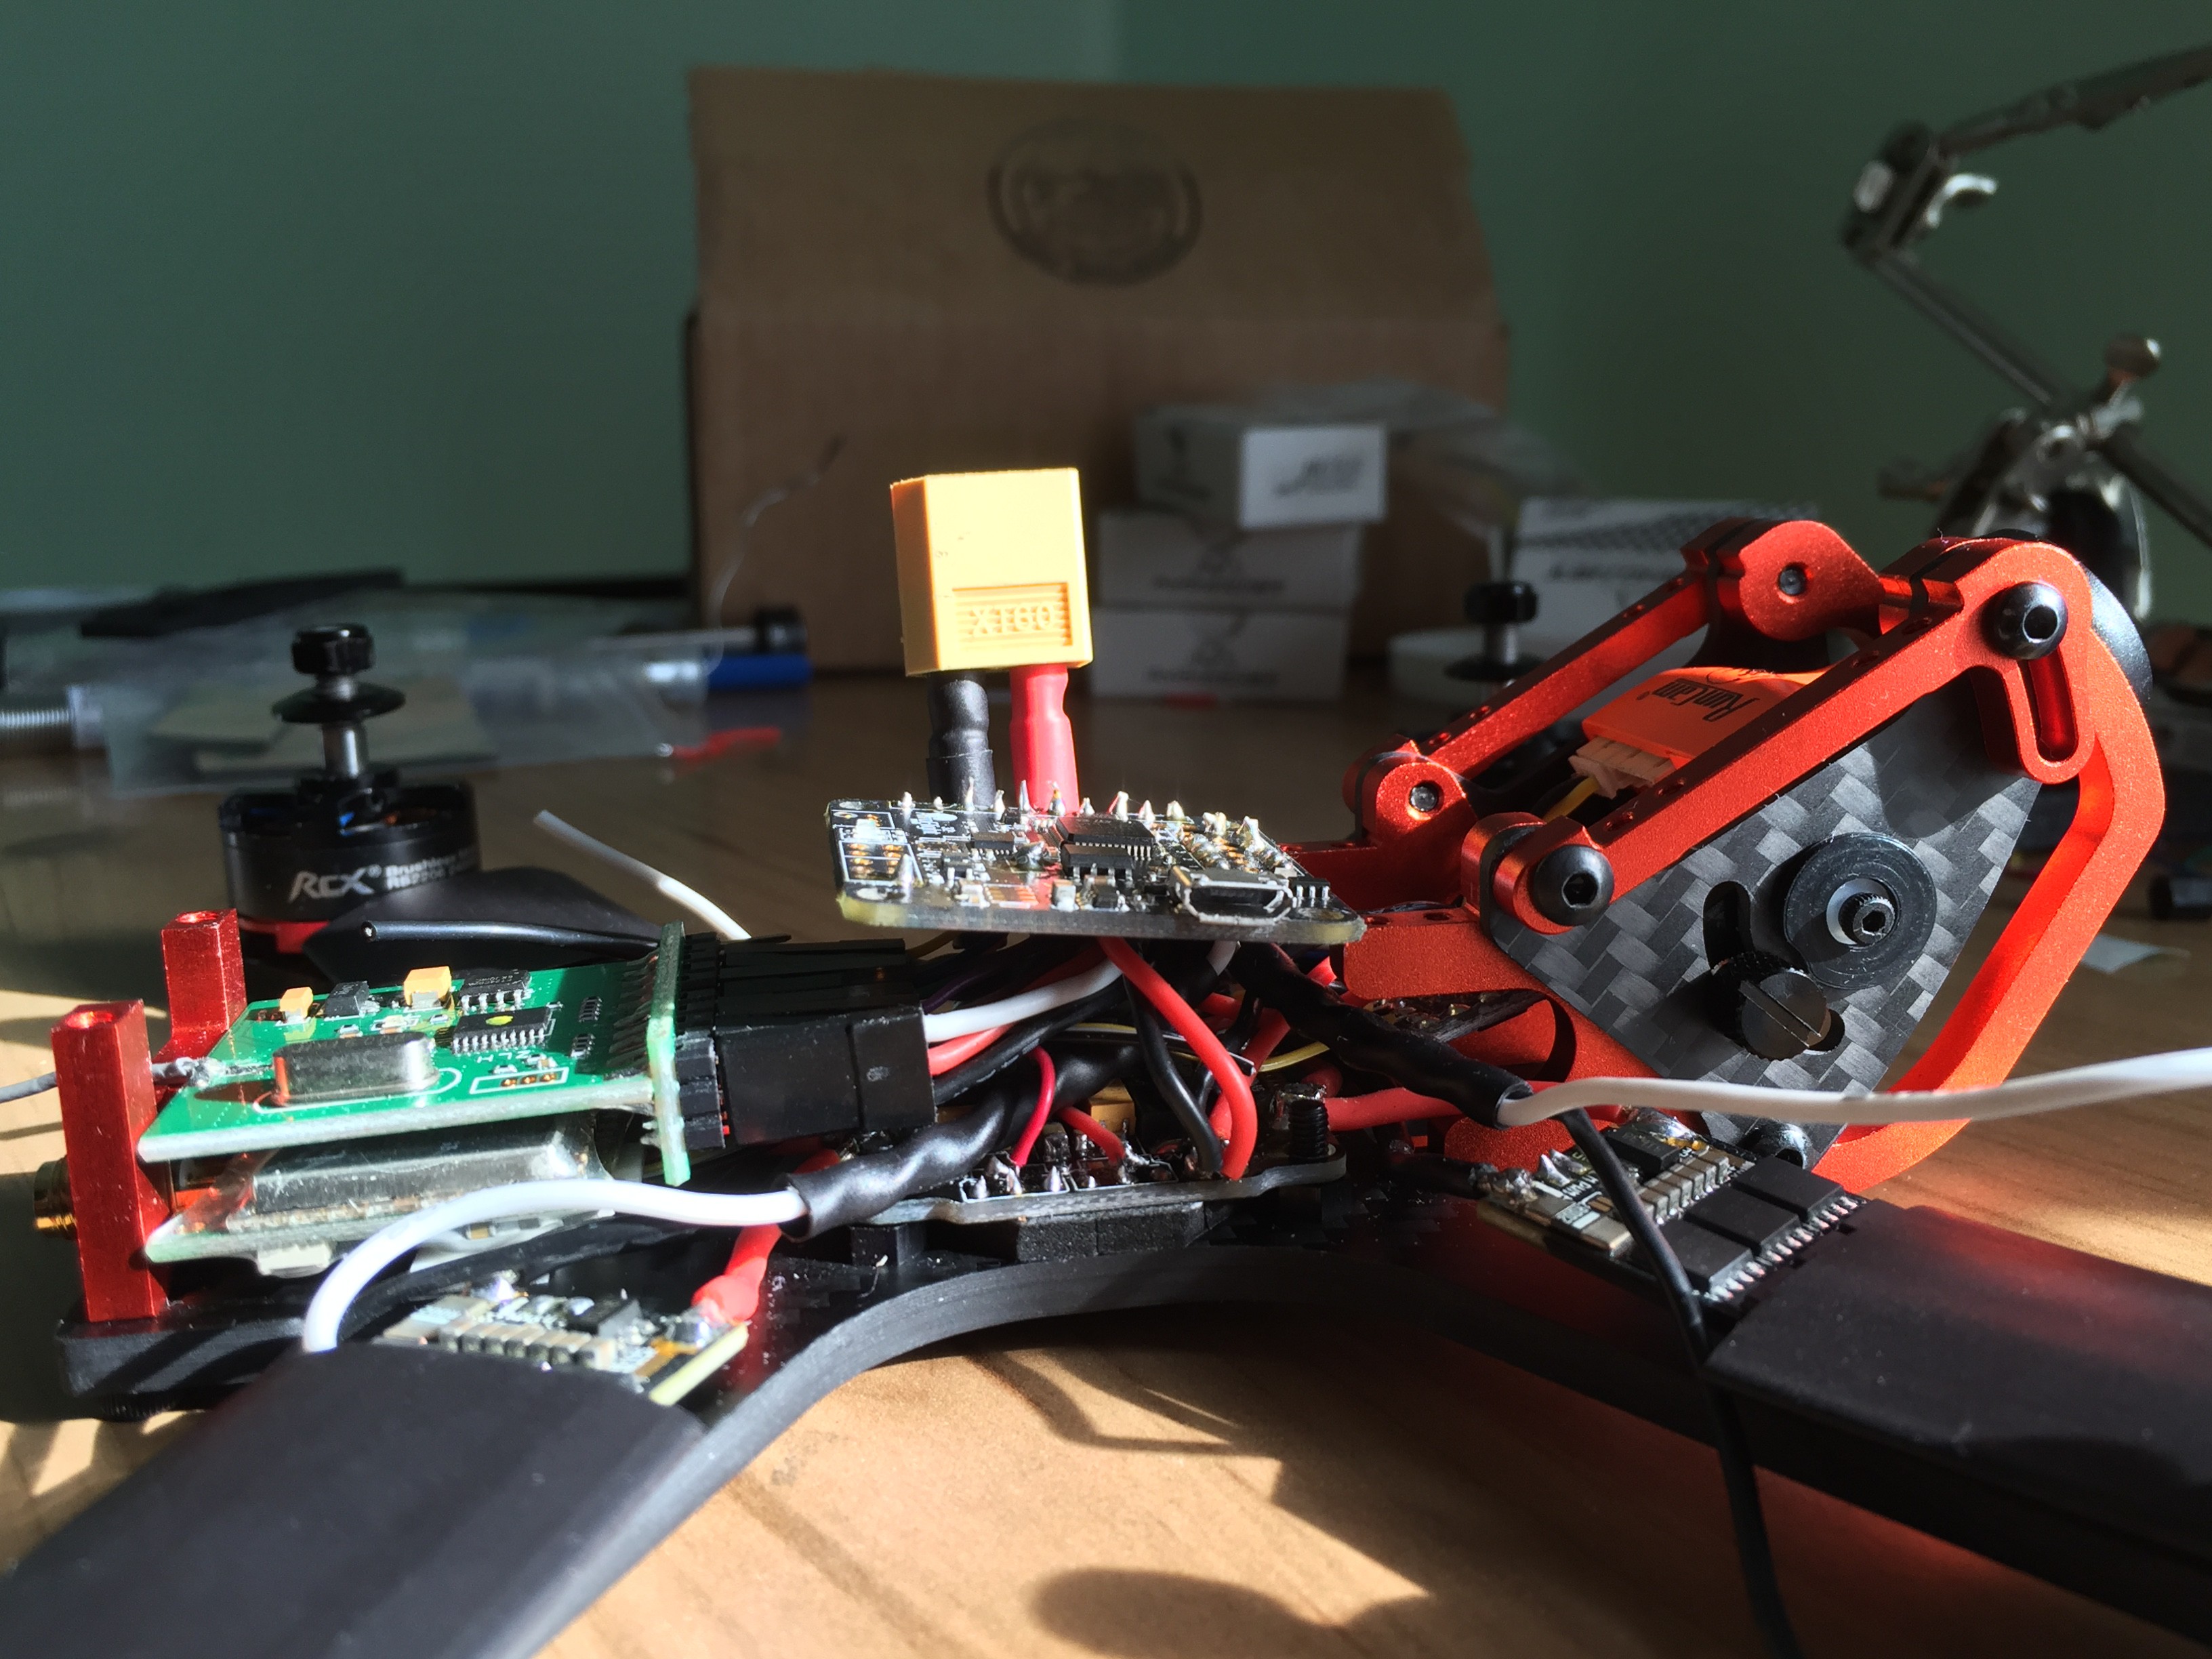
I eventually got everything to fit inside by putting double sided tape on top of the flight controller and sticking it to the top of the frame. The only thing is that the gyroscope attached to the flight controller might give measurements that include a lot of noise due to the vibrations from the motors. This can cause issues during stable level flight and although filtering at the software level can help you should really try to reduce vibrations as much as possible. So the best way to mount the flight controller would be to have it isolated from the rest of the system via soft mounting it to the frame using the 4 mounting holes. My issue was that since there is not enough space to soft mount it I had to mount it to the top of the frame with tape and I was worried that would cause issue with the gyroscope. To try and ease that worry I soft mounted all the motors using motor pads and used soft o-rings between the screws and frames to reduce vibrations. On top of that I...
Read more »
 Chris Low
 Robbo
Robbo
 Andrew Bills
 Jason Dorie