 Corey Benn
Since one 7 segment display is often not enough, this controller is designed to be chained together. The MCP23017 being used supports up to 8 i2c addresses, thus this is the limit of displays on a single i2c bus. Each 7 segment display will need its own controller board. Only one 12volt 500mA DC power supply is needed since the code flips one display at a time. The time to flip all segments on a single 4" display is 50 milliseconds, on the 6" to 12" displays it is 90 milliseconds. The boards are designed to allow chaining of standard DC 2.1mm x 5.5mm barrel jack for power and of the i2c bus. Power is only dawn for the displays while switching segments.
A second design of the board allows for an integrated Particle Photon micro-controller which will step down the 12 volt line and directly connect the i2c pins. This will allow for wireless control of all the displays. Only one of these Photon boards are required in the chain of displays. The remaining displays can use the non-Photon version of the controller.
This project is inspired by Andrew's work with Signalex displays using the MIC5801bn. I was unable to source these and hope to use easily accessible, low cost components with this project.
I test this with four Signalex 02L-4 displays, but should support the 6" to 12" displays as well (602L and others). This was originally constructed to be milled out on an Othermill, but the final design is not mill friendly given the number of vias and that some components would need to be flipped.

 daniel.bryand
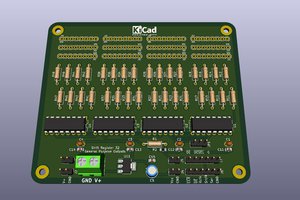
 Ken Yap
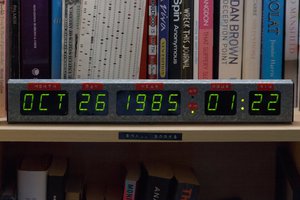
 Stephen Holdaway
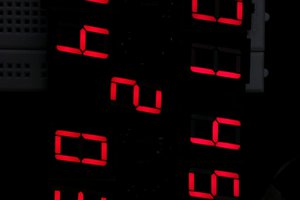
Do these solenoids not need flyback diodes? I feel like there might be back EMF but I am unsure.