0%
0%
3d Printing real-world keys
Creating copies of keys using a 3d printer and OpenSCAD
 Dave Pedu
Become a Hackaday.io member
Already have an account? Log in.
Just one more thing
To make the experience fit your profile, pick a username and tell us what interests you.
Pick an awesome username
hackaday.io/
Your profile's URL: hackaday.io/username. Max 25 alphanumeric characters.
Pick a few interests
Projects that share your interests
People that share your interests
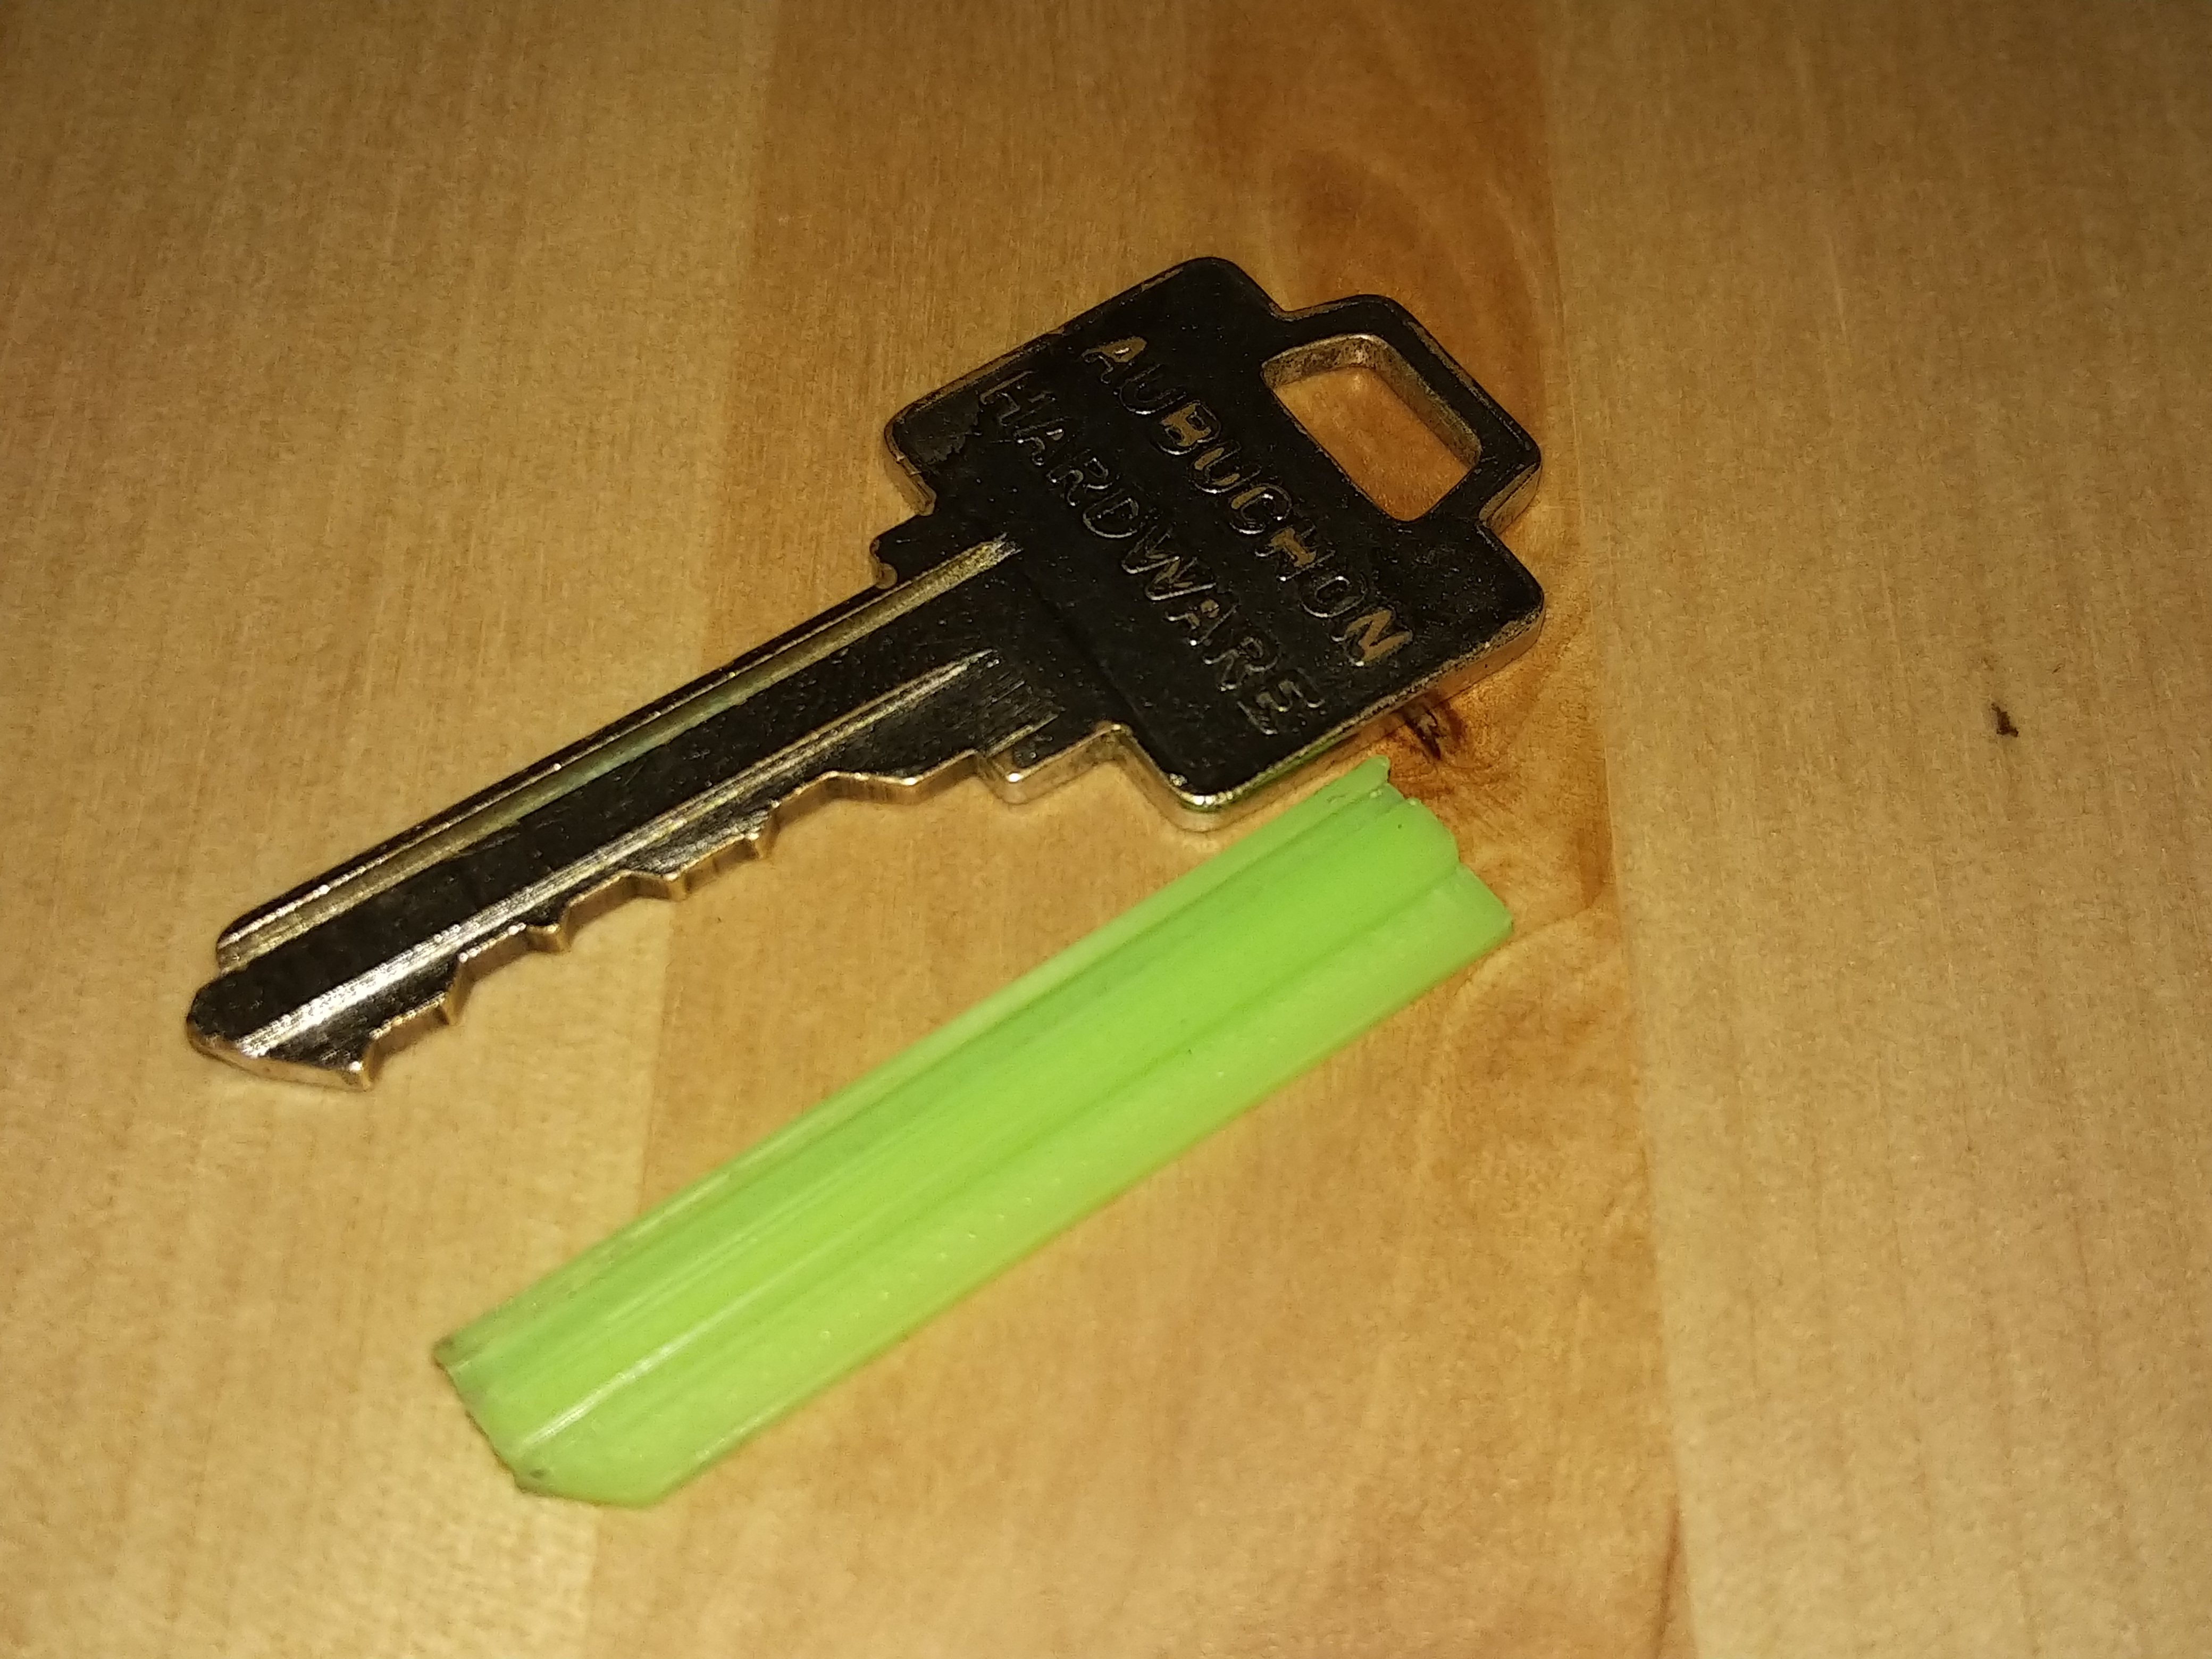
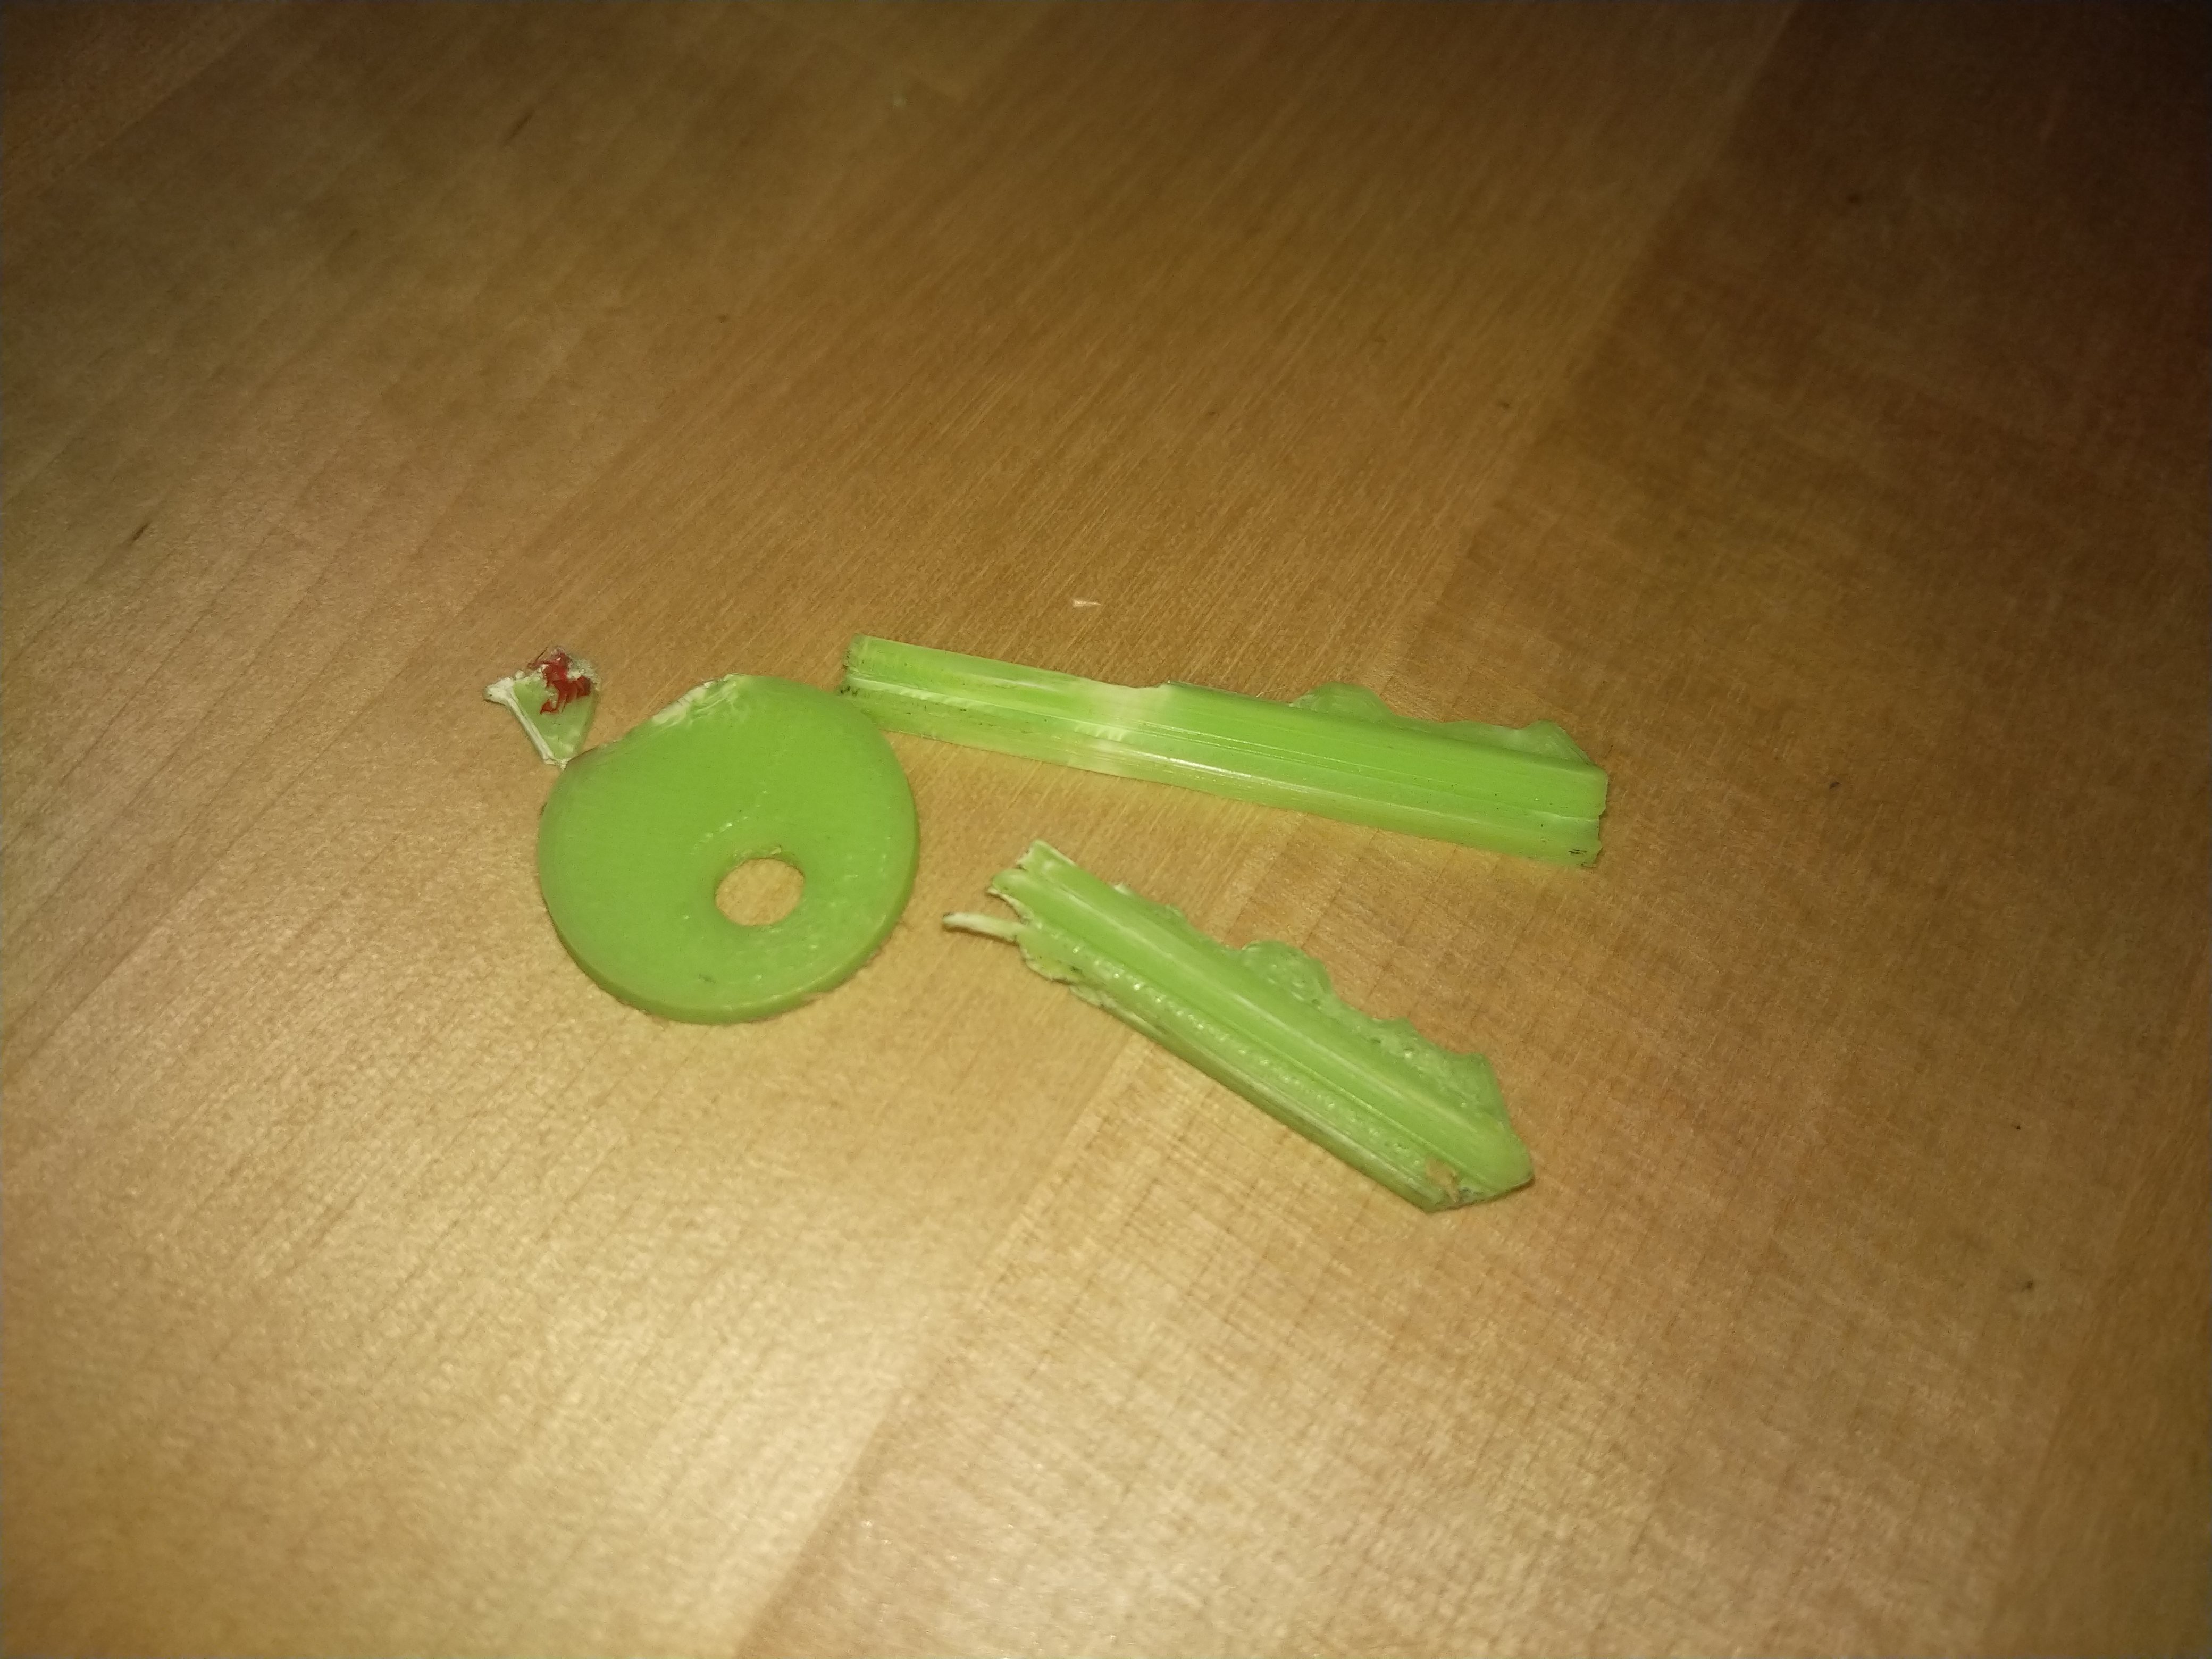
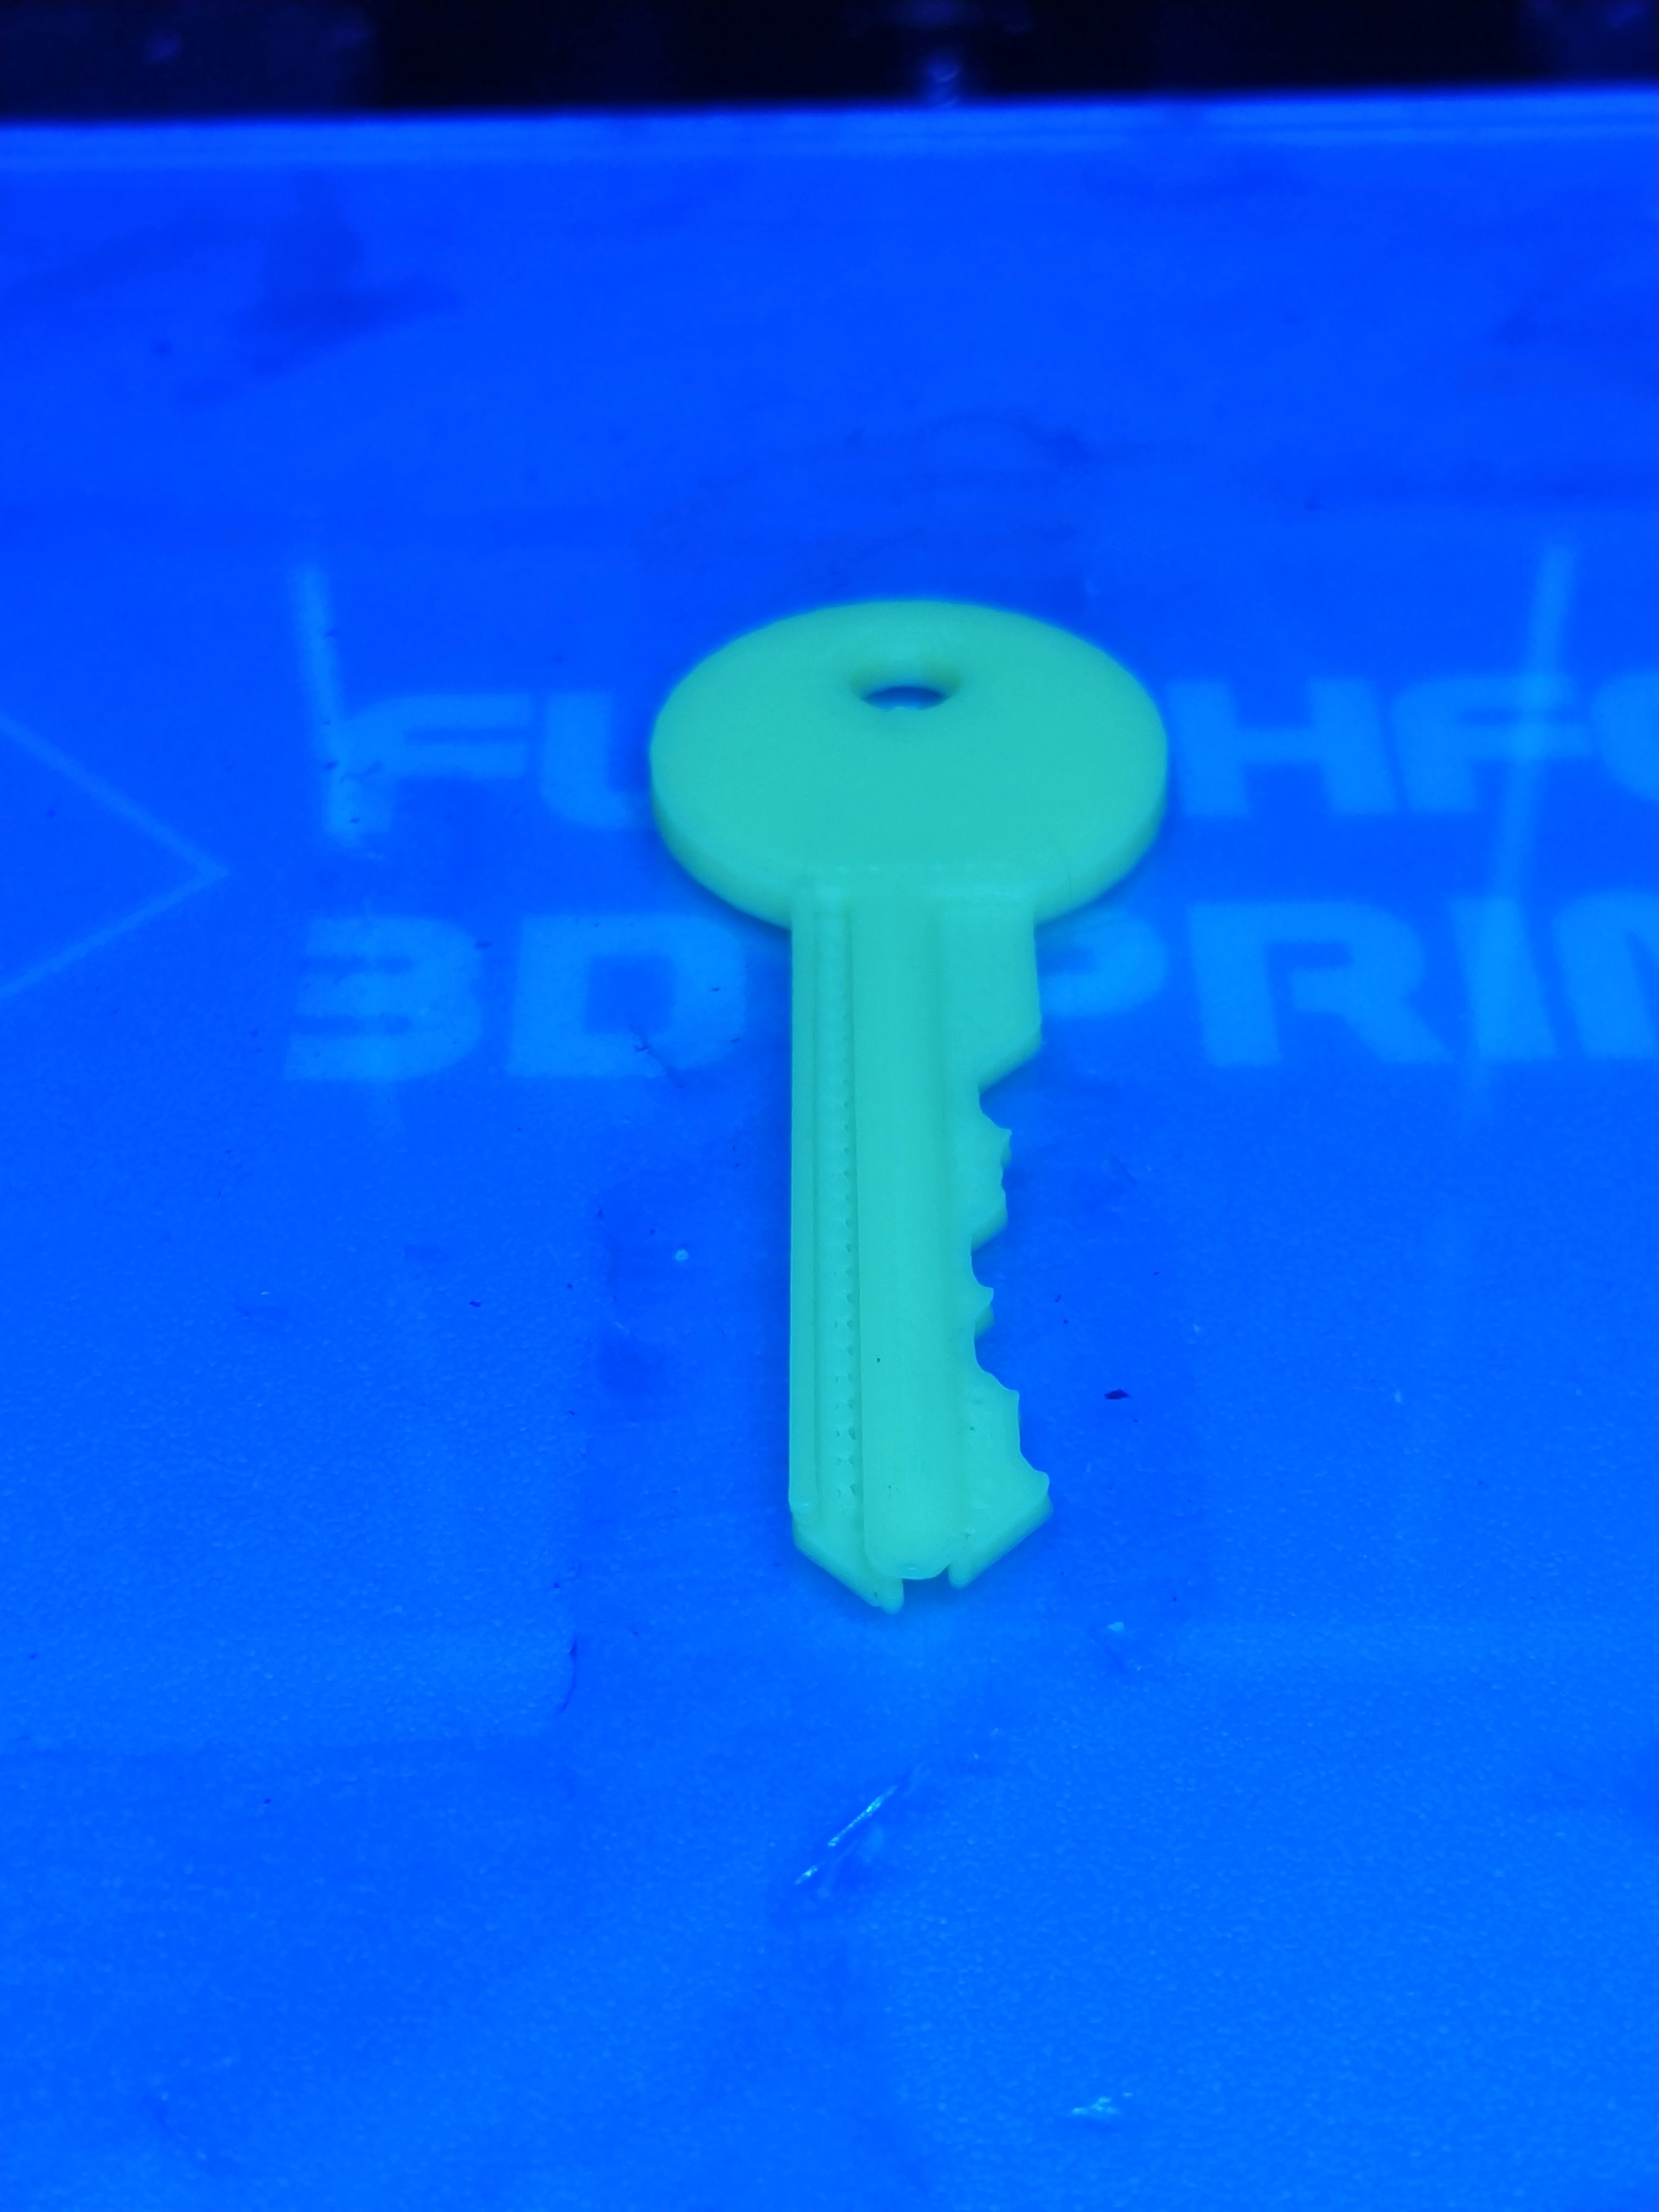 The key looks and feels really nice.
 Next to the real one, the dimensions look almost perfect! They're offset for comparison in the image, but they're really identical!
 David Boucher
 Timescale
 Keith Violette
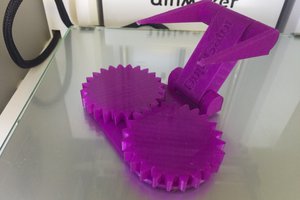
 Les Hall