
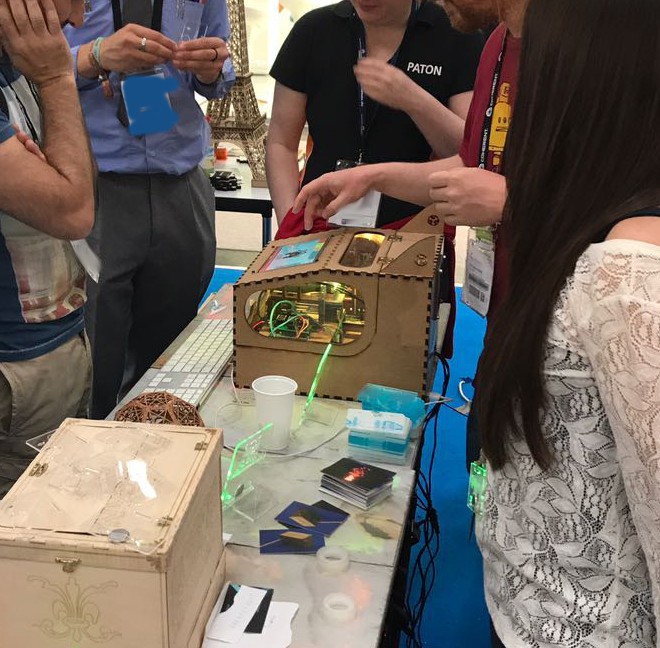
This project was part of my bachelor thesis and realized with the help of the tools and fabrication machines from the FabLab Aachen. The goal is to encourage people and especially children who are not familiar with personal fabrication yet, to get into touch with this great technology and learn the beneficial use of such devices.
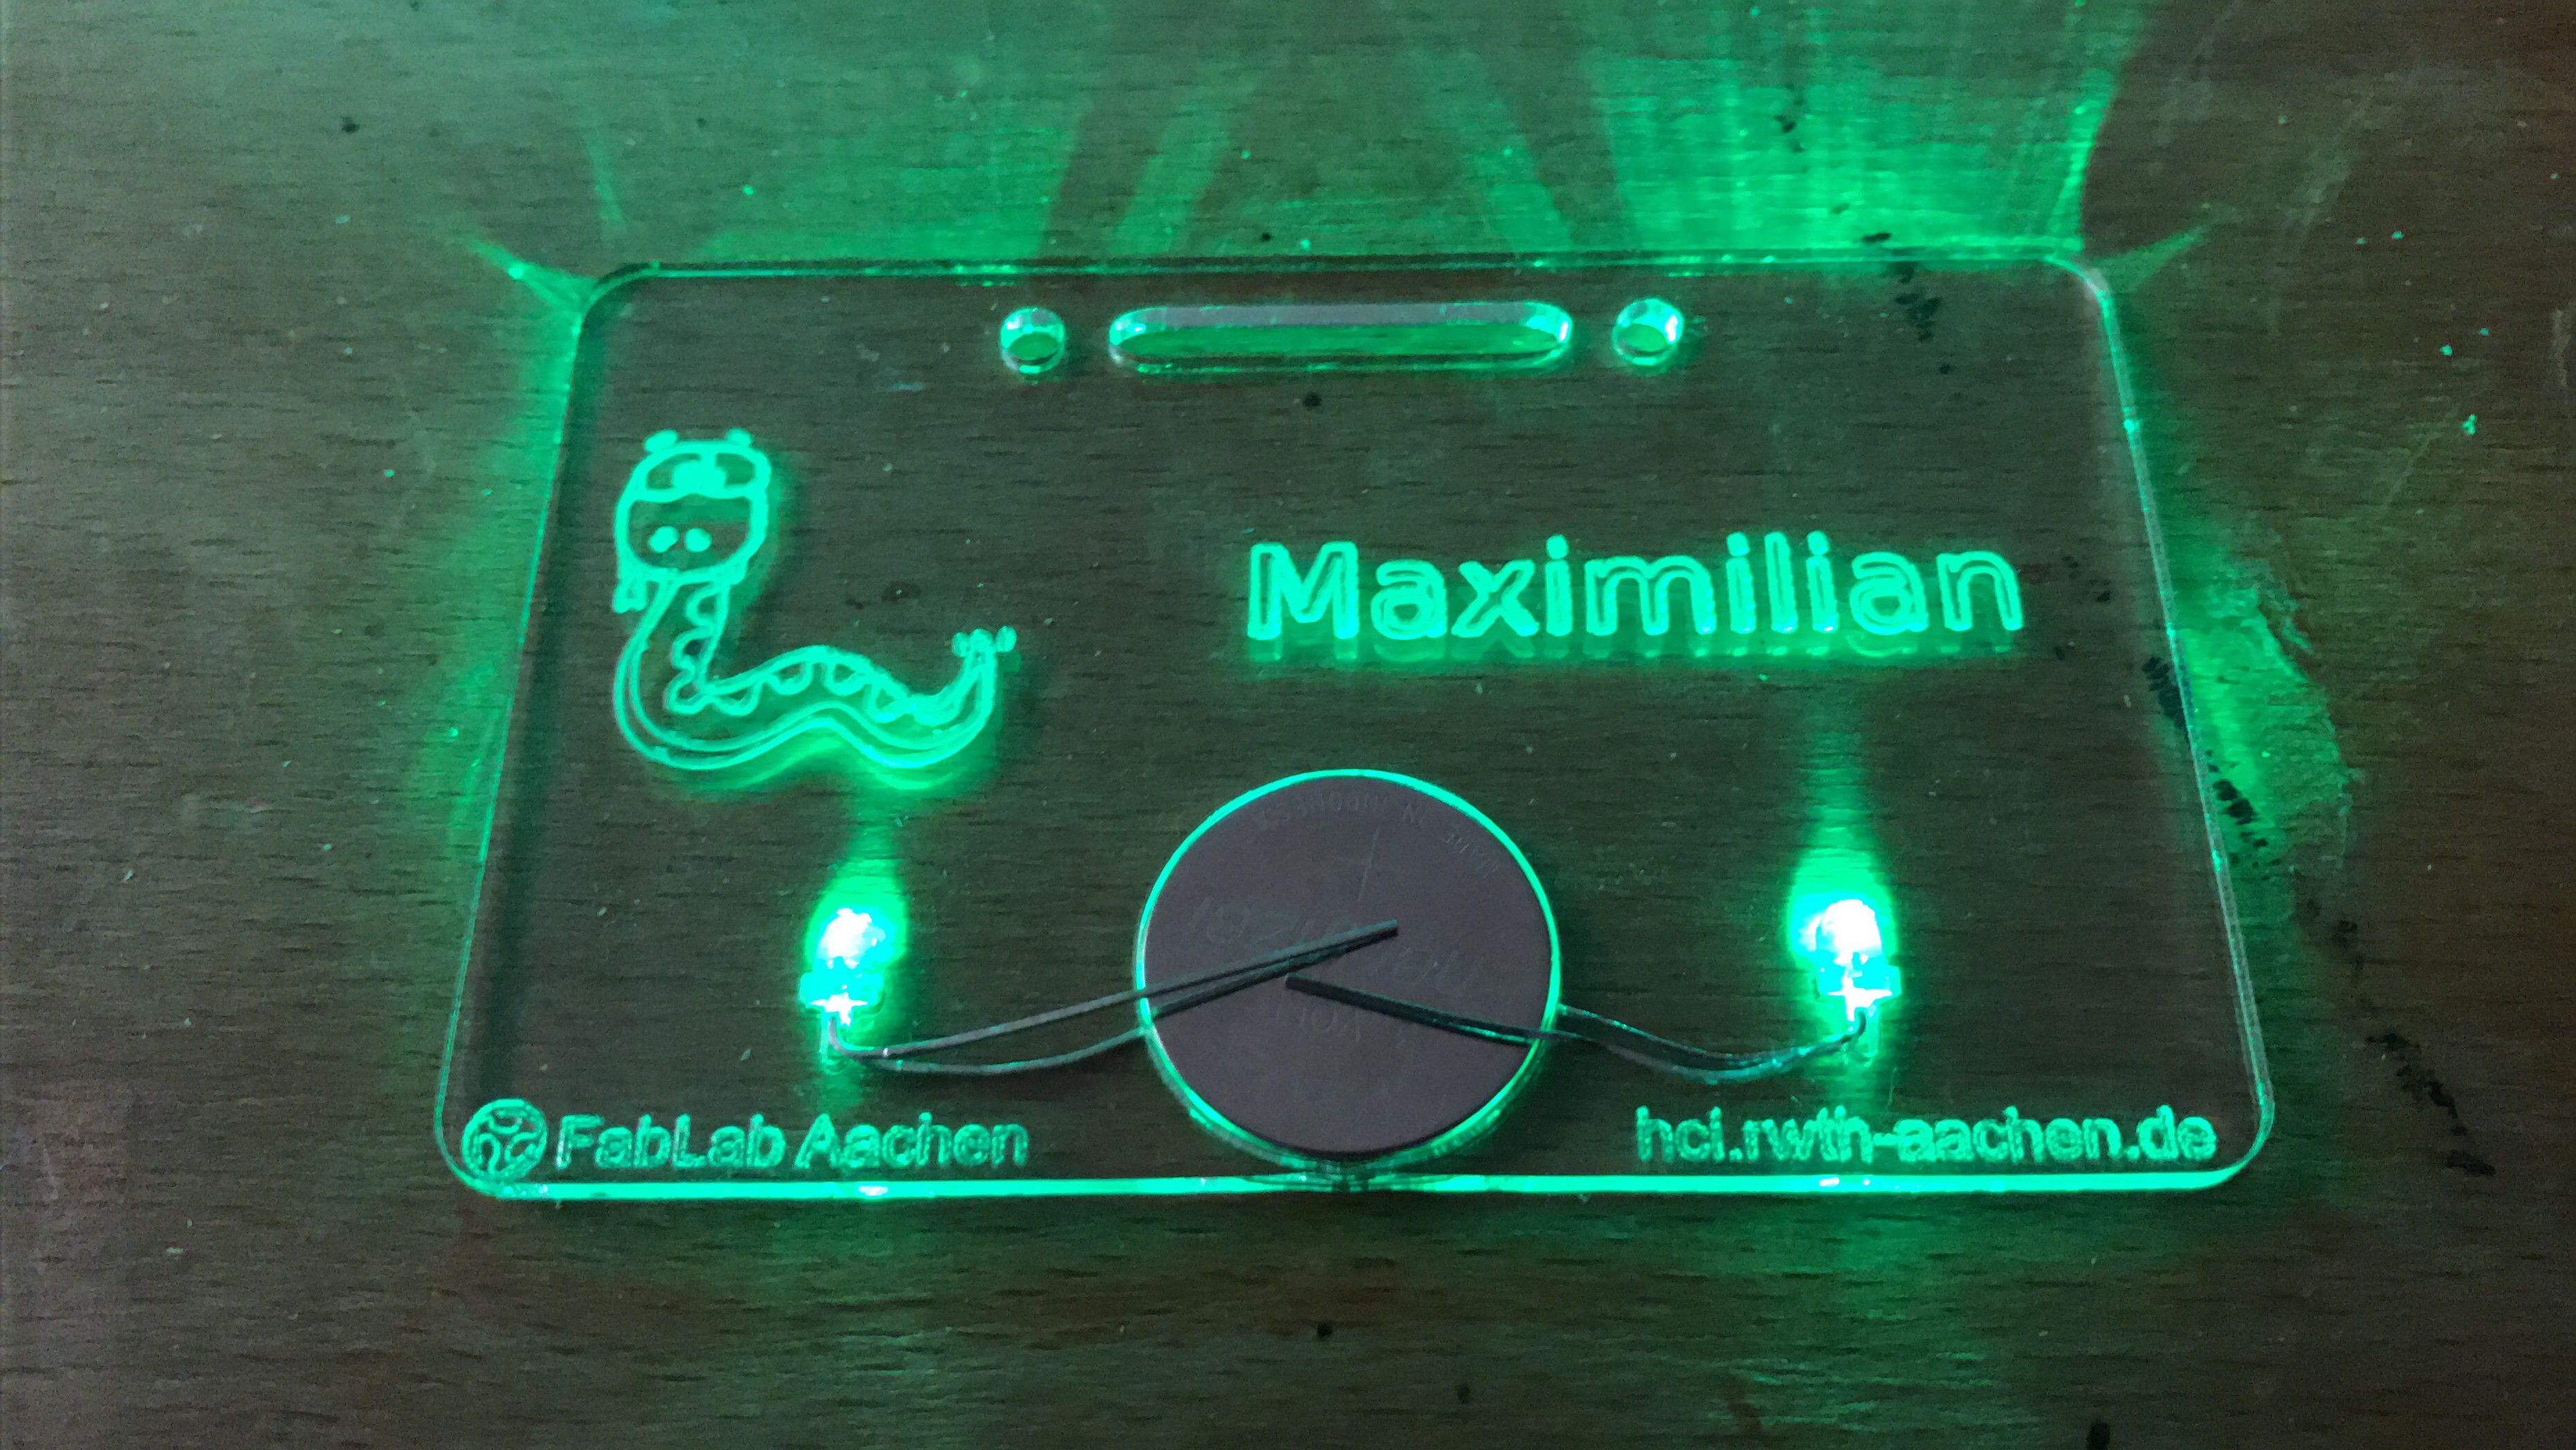
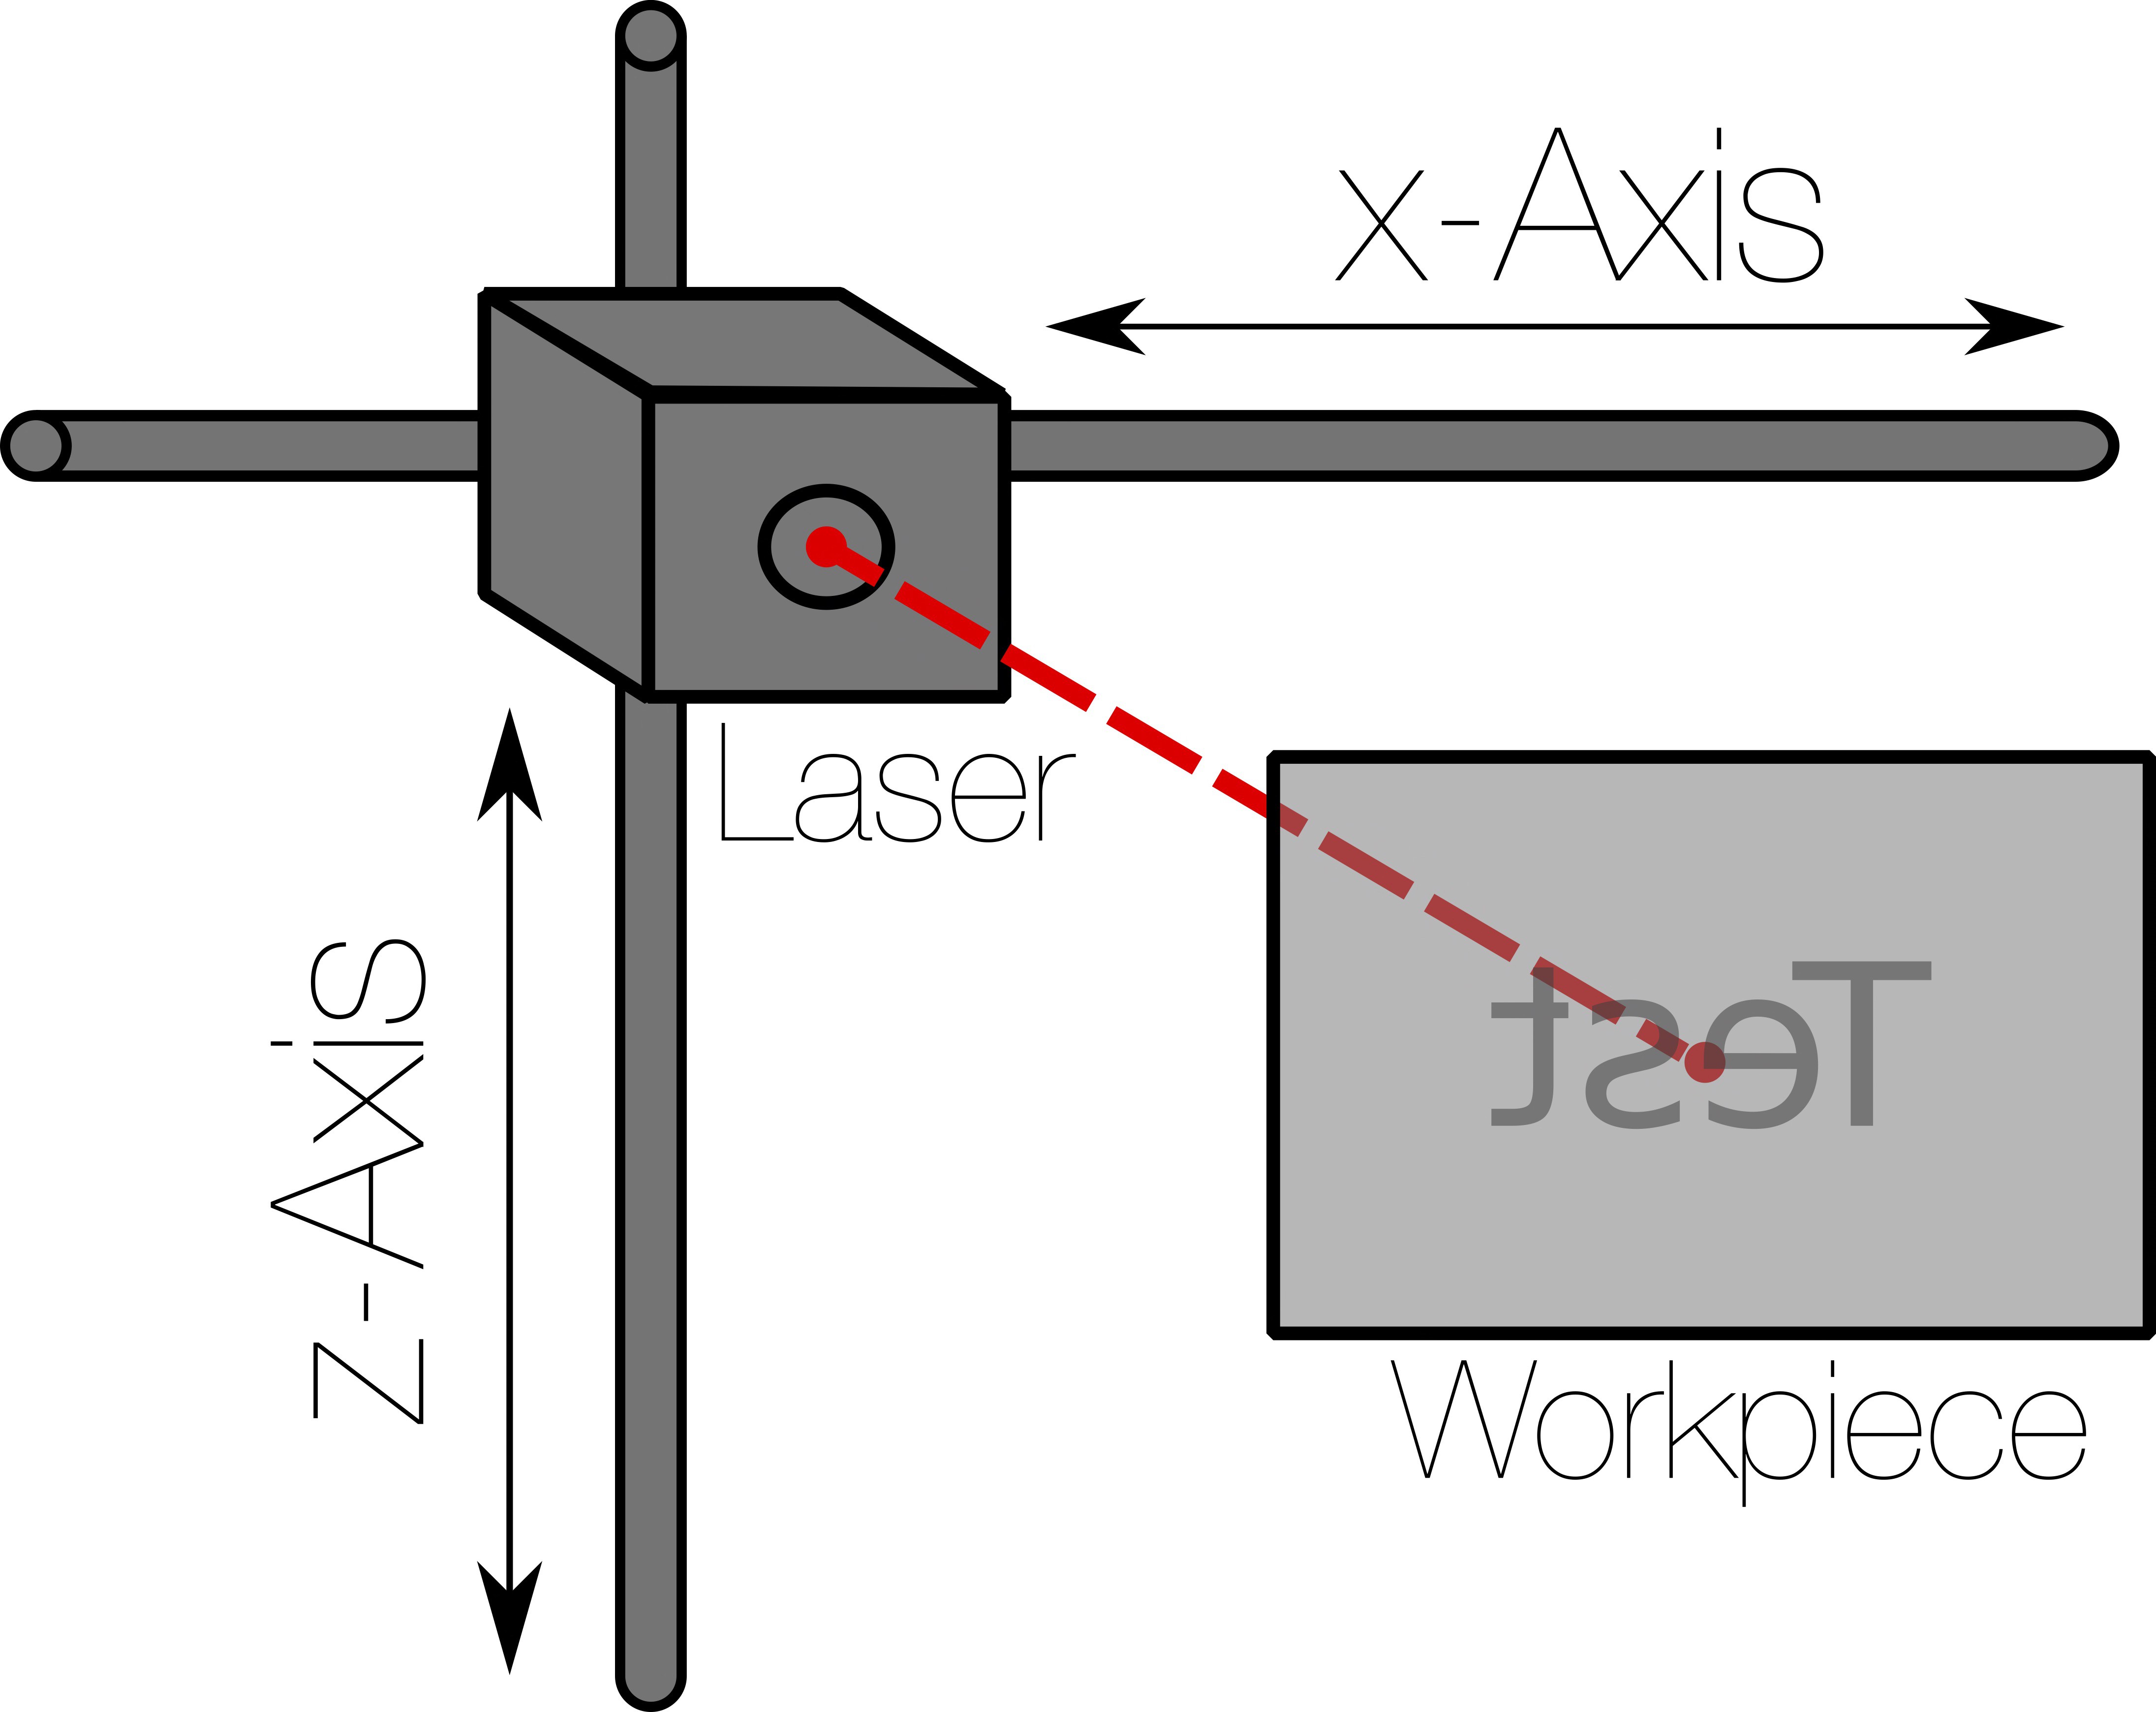
To break down the complex design and building process, the fabrication is reduced to a simple application of creating name tags. The name tags are manufactured by engraving the users name and an individual graphic onto a blank sheet of acrylic glass. A battery connected to two LEDs make the name tags glow at the engraved areas and turn them into an eye-catching accessory.
A user performs five simple steps to create his name tag:
- The user enters his/her name by using a usual keyboard.
- The user selects a graphic from a set of graphics (to simplify the graphic design process).
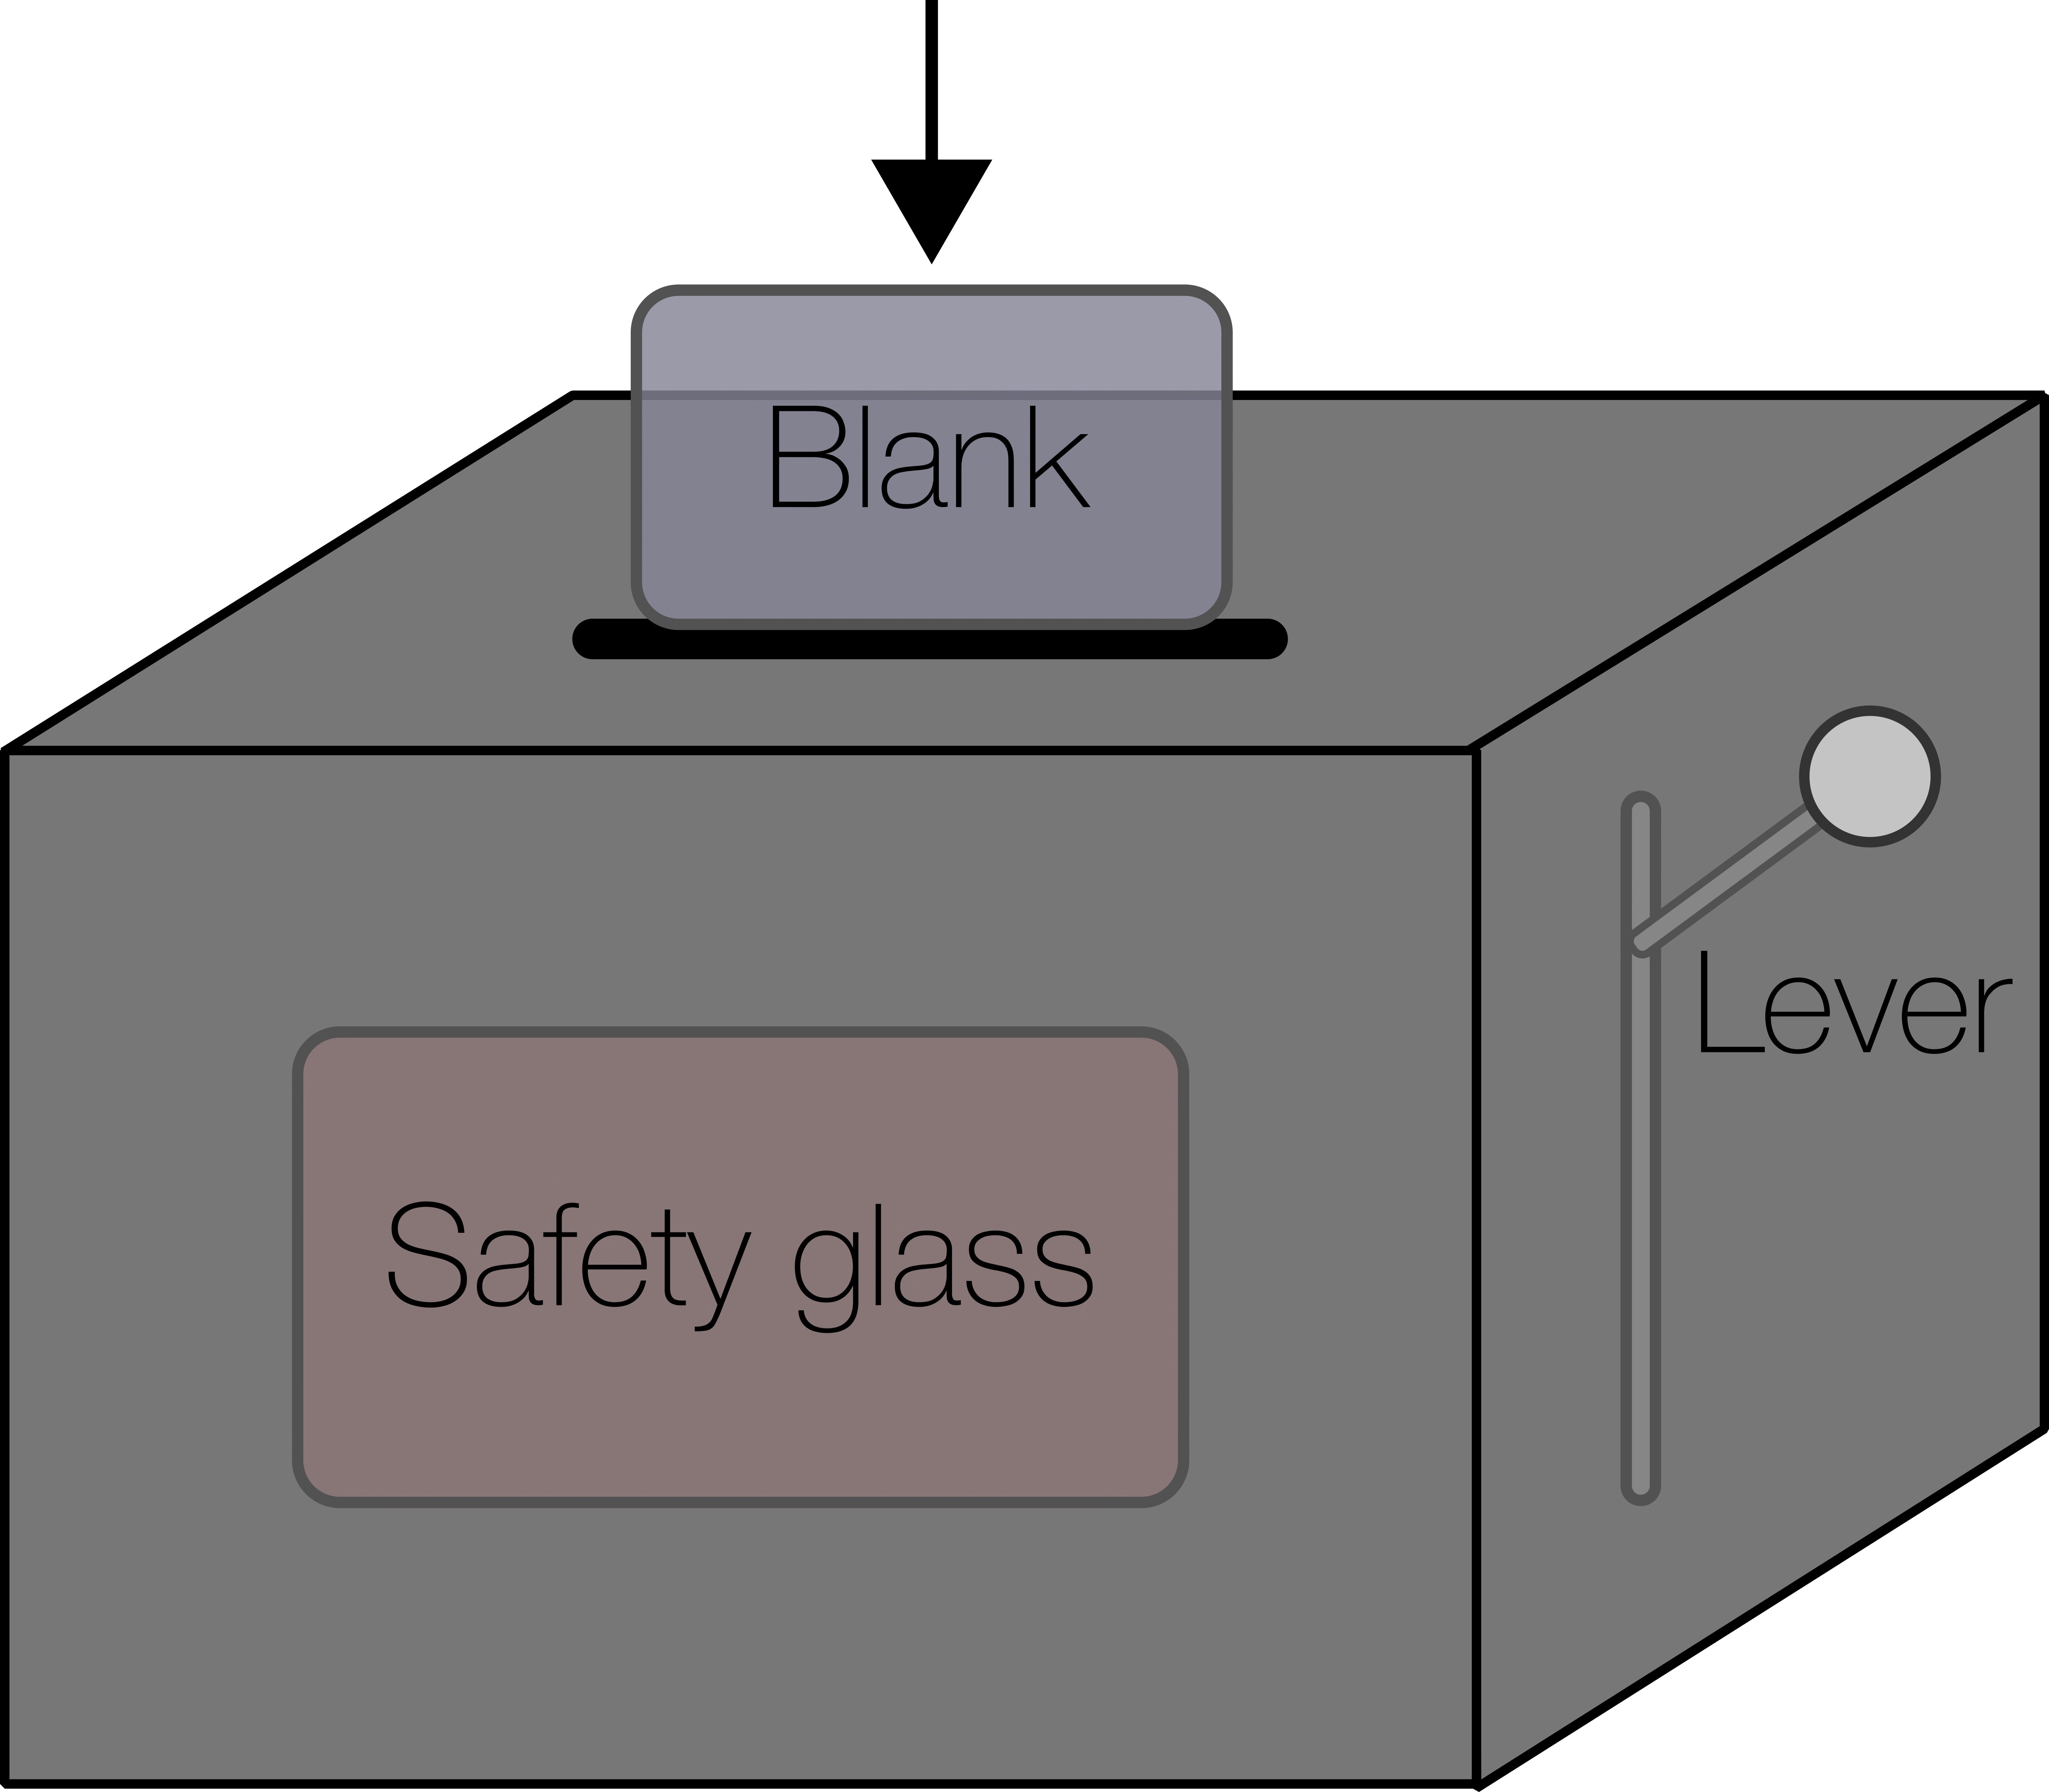
- The user inserts a blank into the machine which will be engraved.
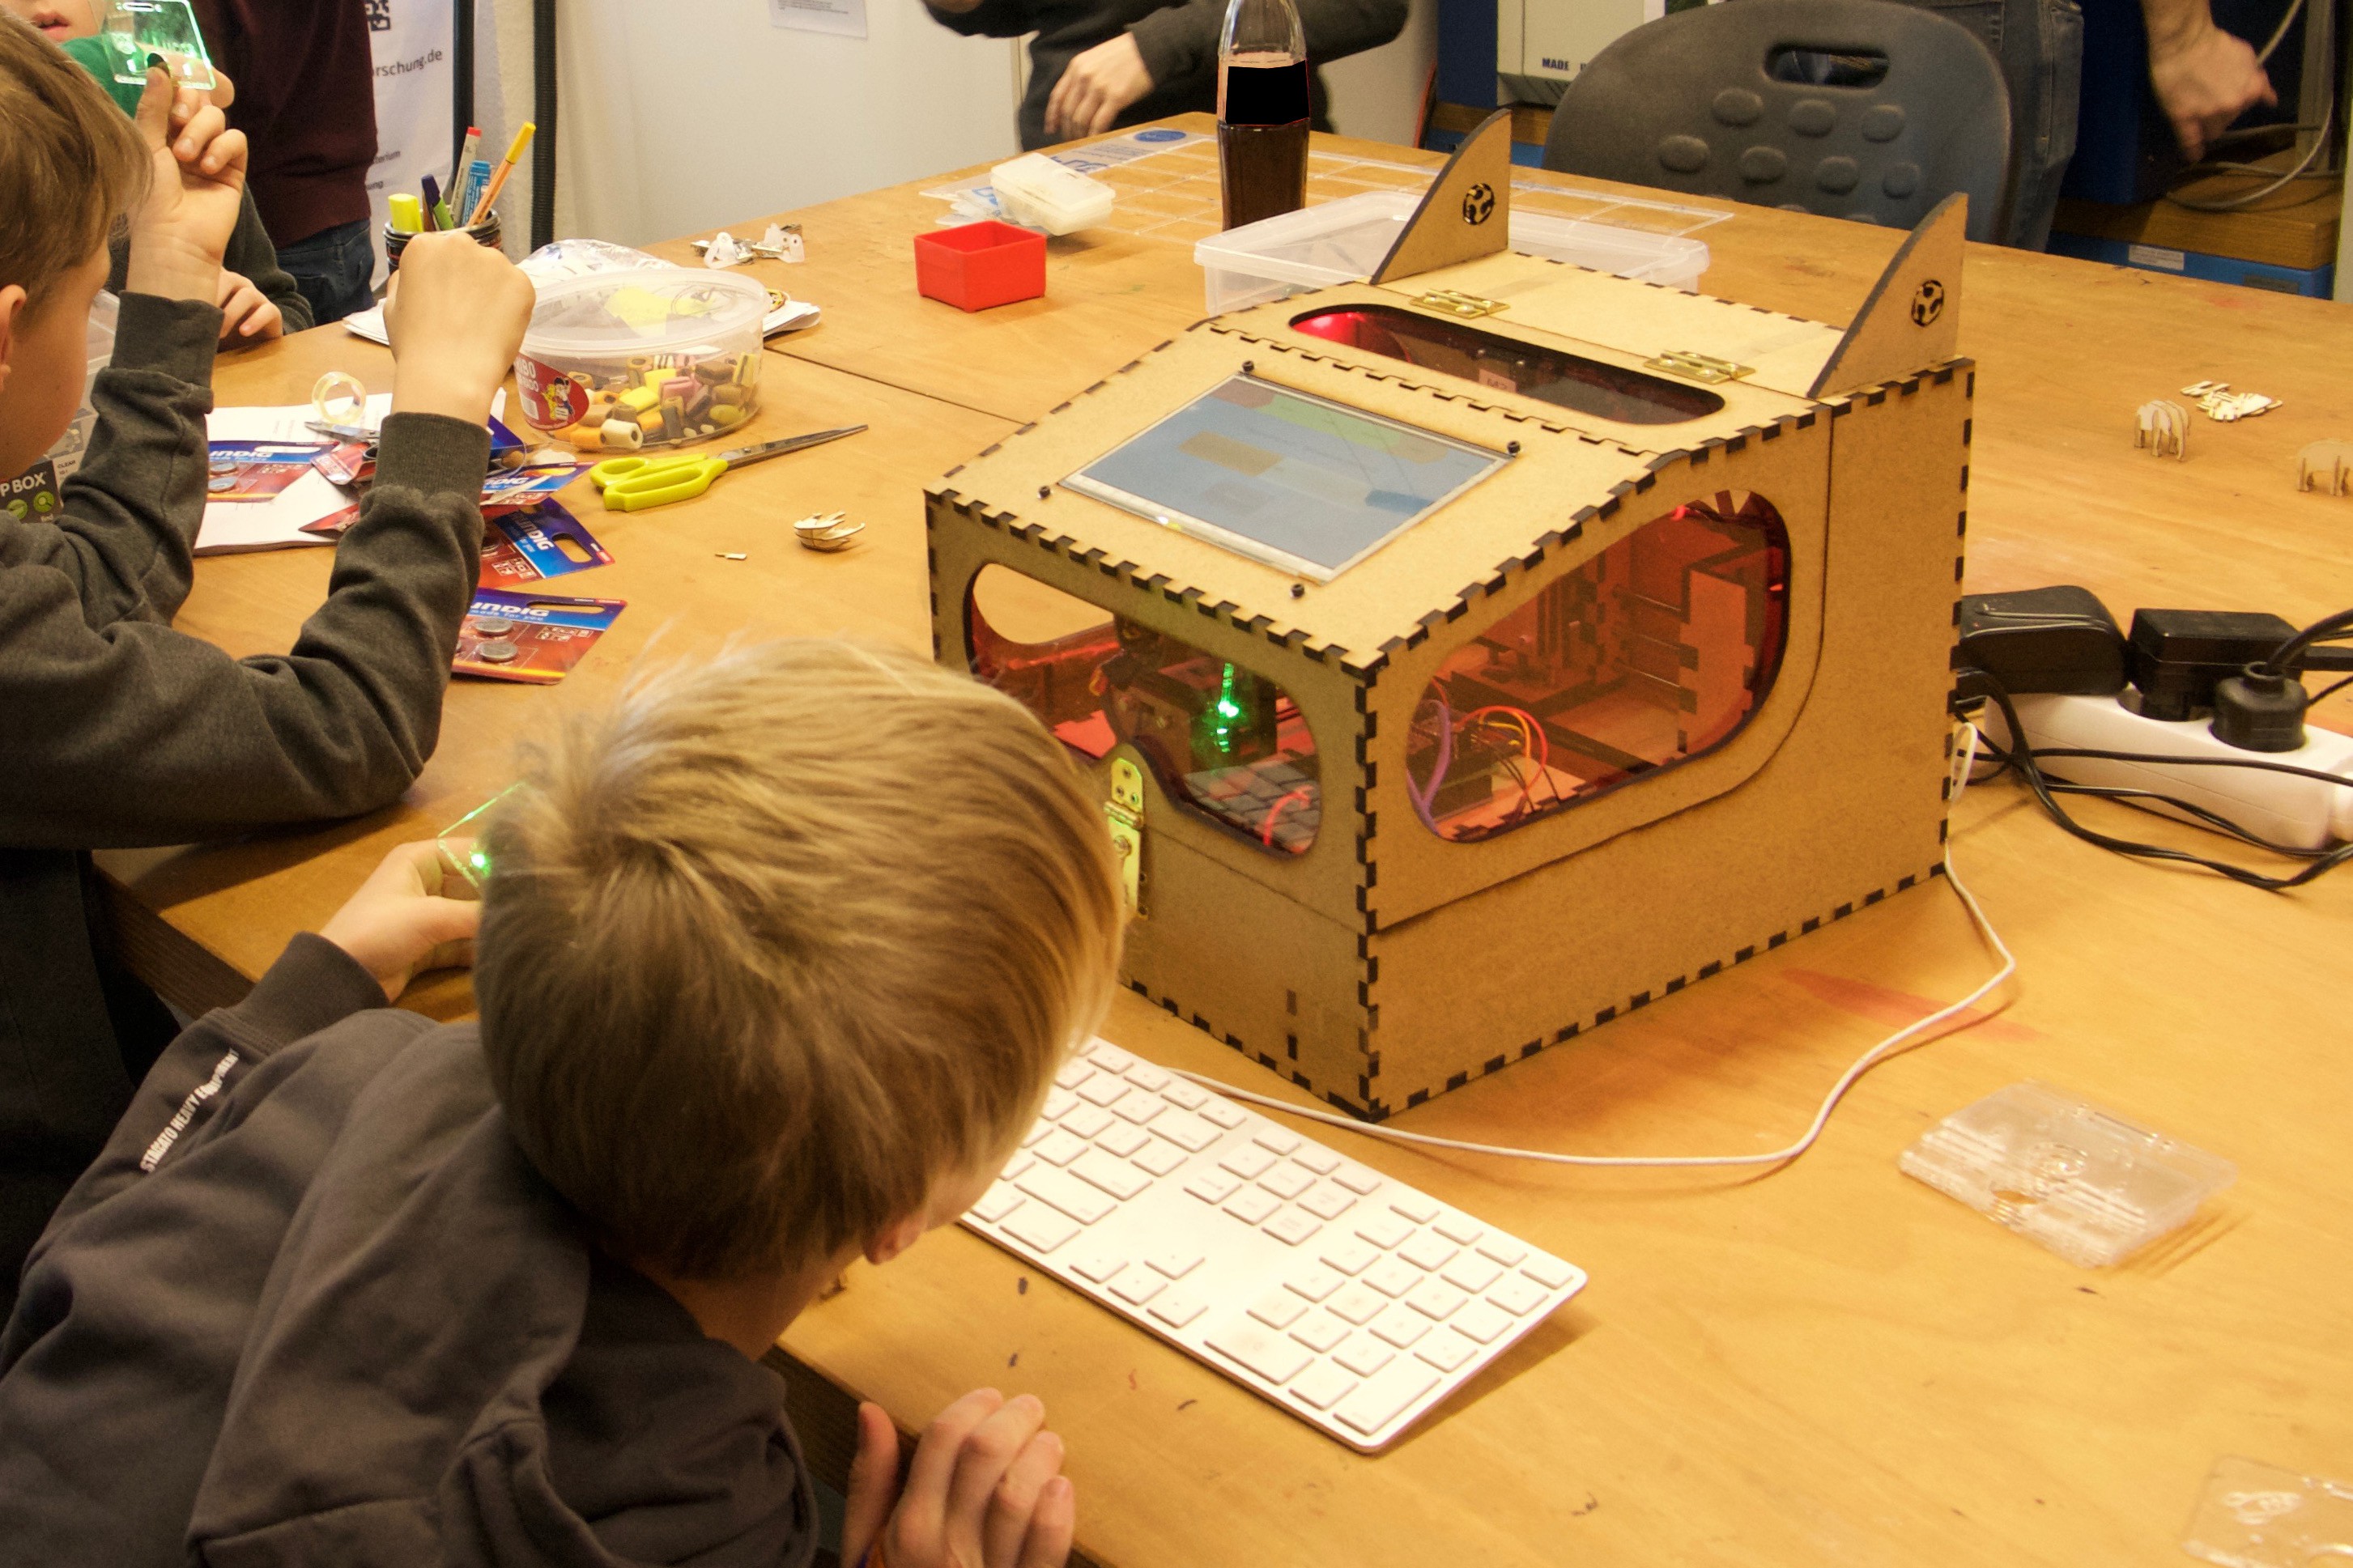
- During the building process one is able to watch how the workpiece is engraved and get an idea about how the mechanics might be working.
- Afterwards the user removes his/her name tag and may add the basic electrical circuit.
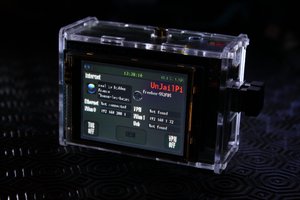
The user is guided through these steps by displaying a simple structured graphical user interface on a touchscreen and offering extensive feedback. Inner lighting and a beeper for example provide additional visual and audible feedback which indicate whether the workpiece was inserted or removed correctly. Safety mechanisms prevent the user from injuries while the mill is engraving the workpiece.
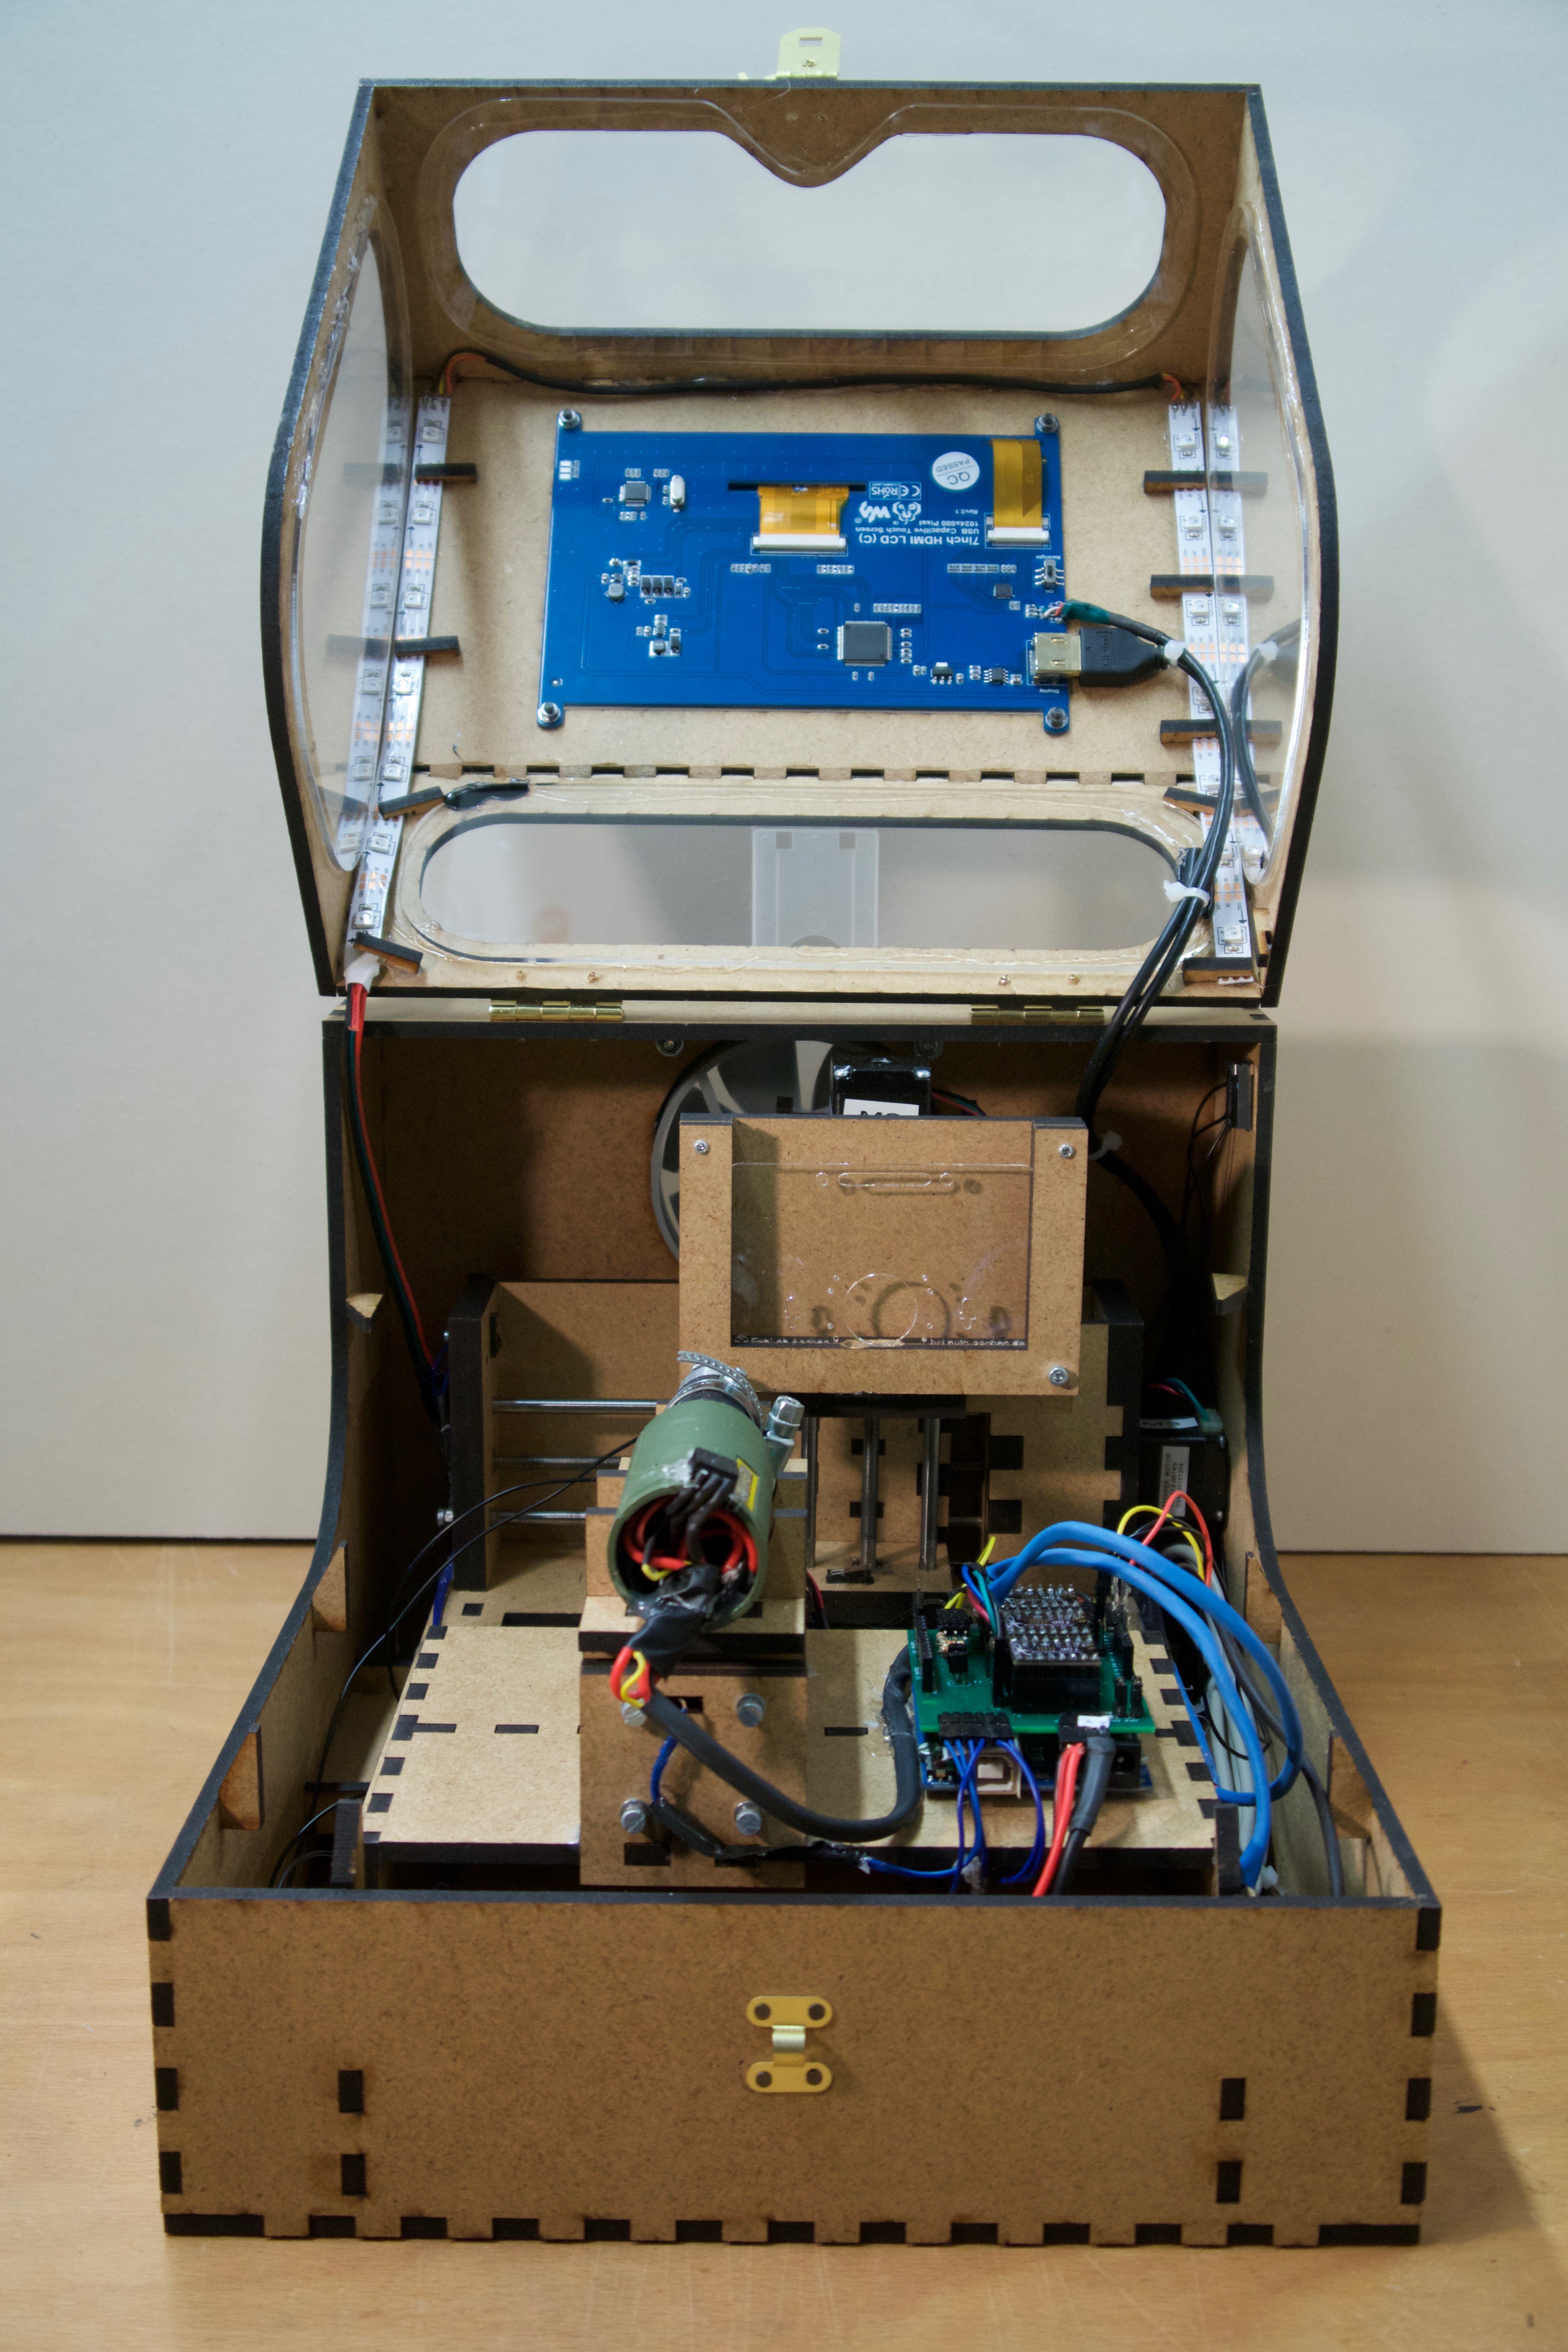
The whole construction is built out of MDF- and PLEXIGLAS-sheets. The linear motion system with the mill are encapsulated in a case which offers a safety-door to access the interior part.
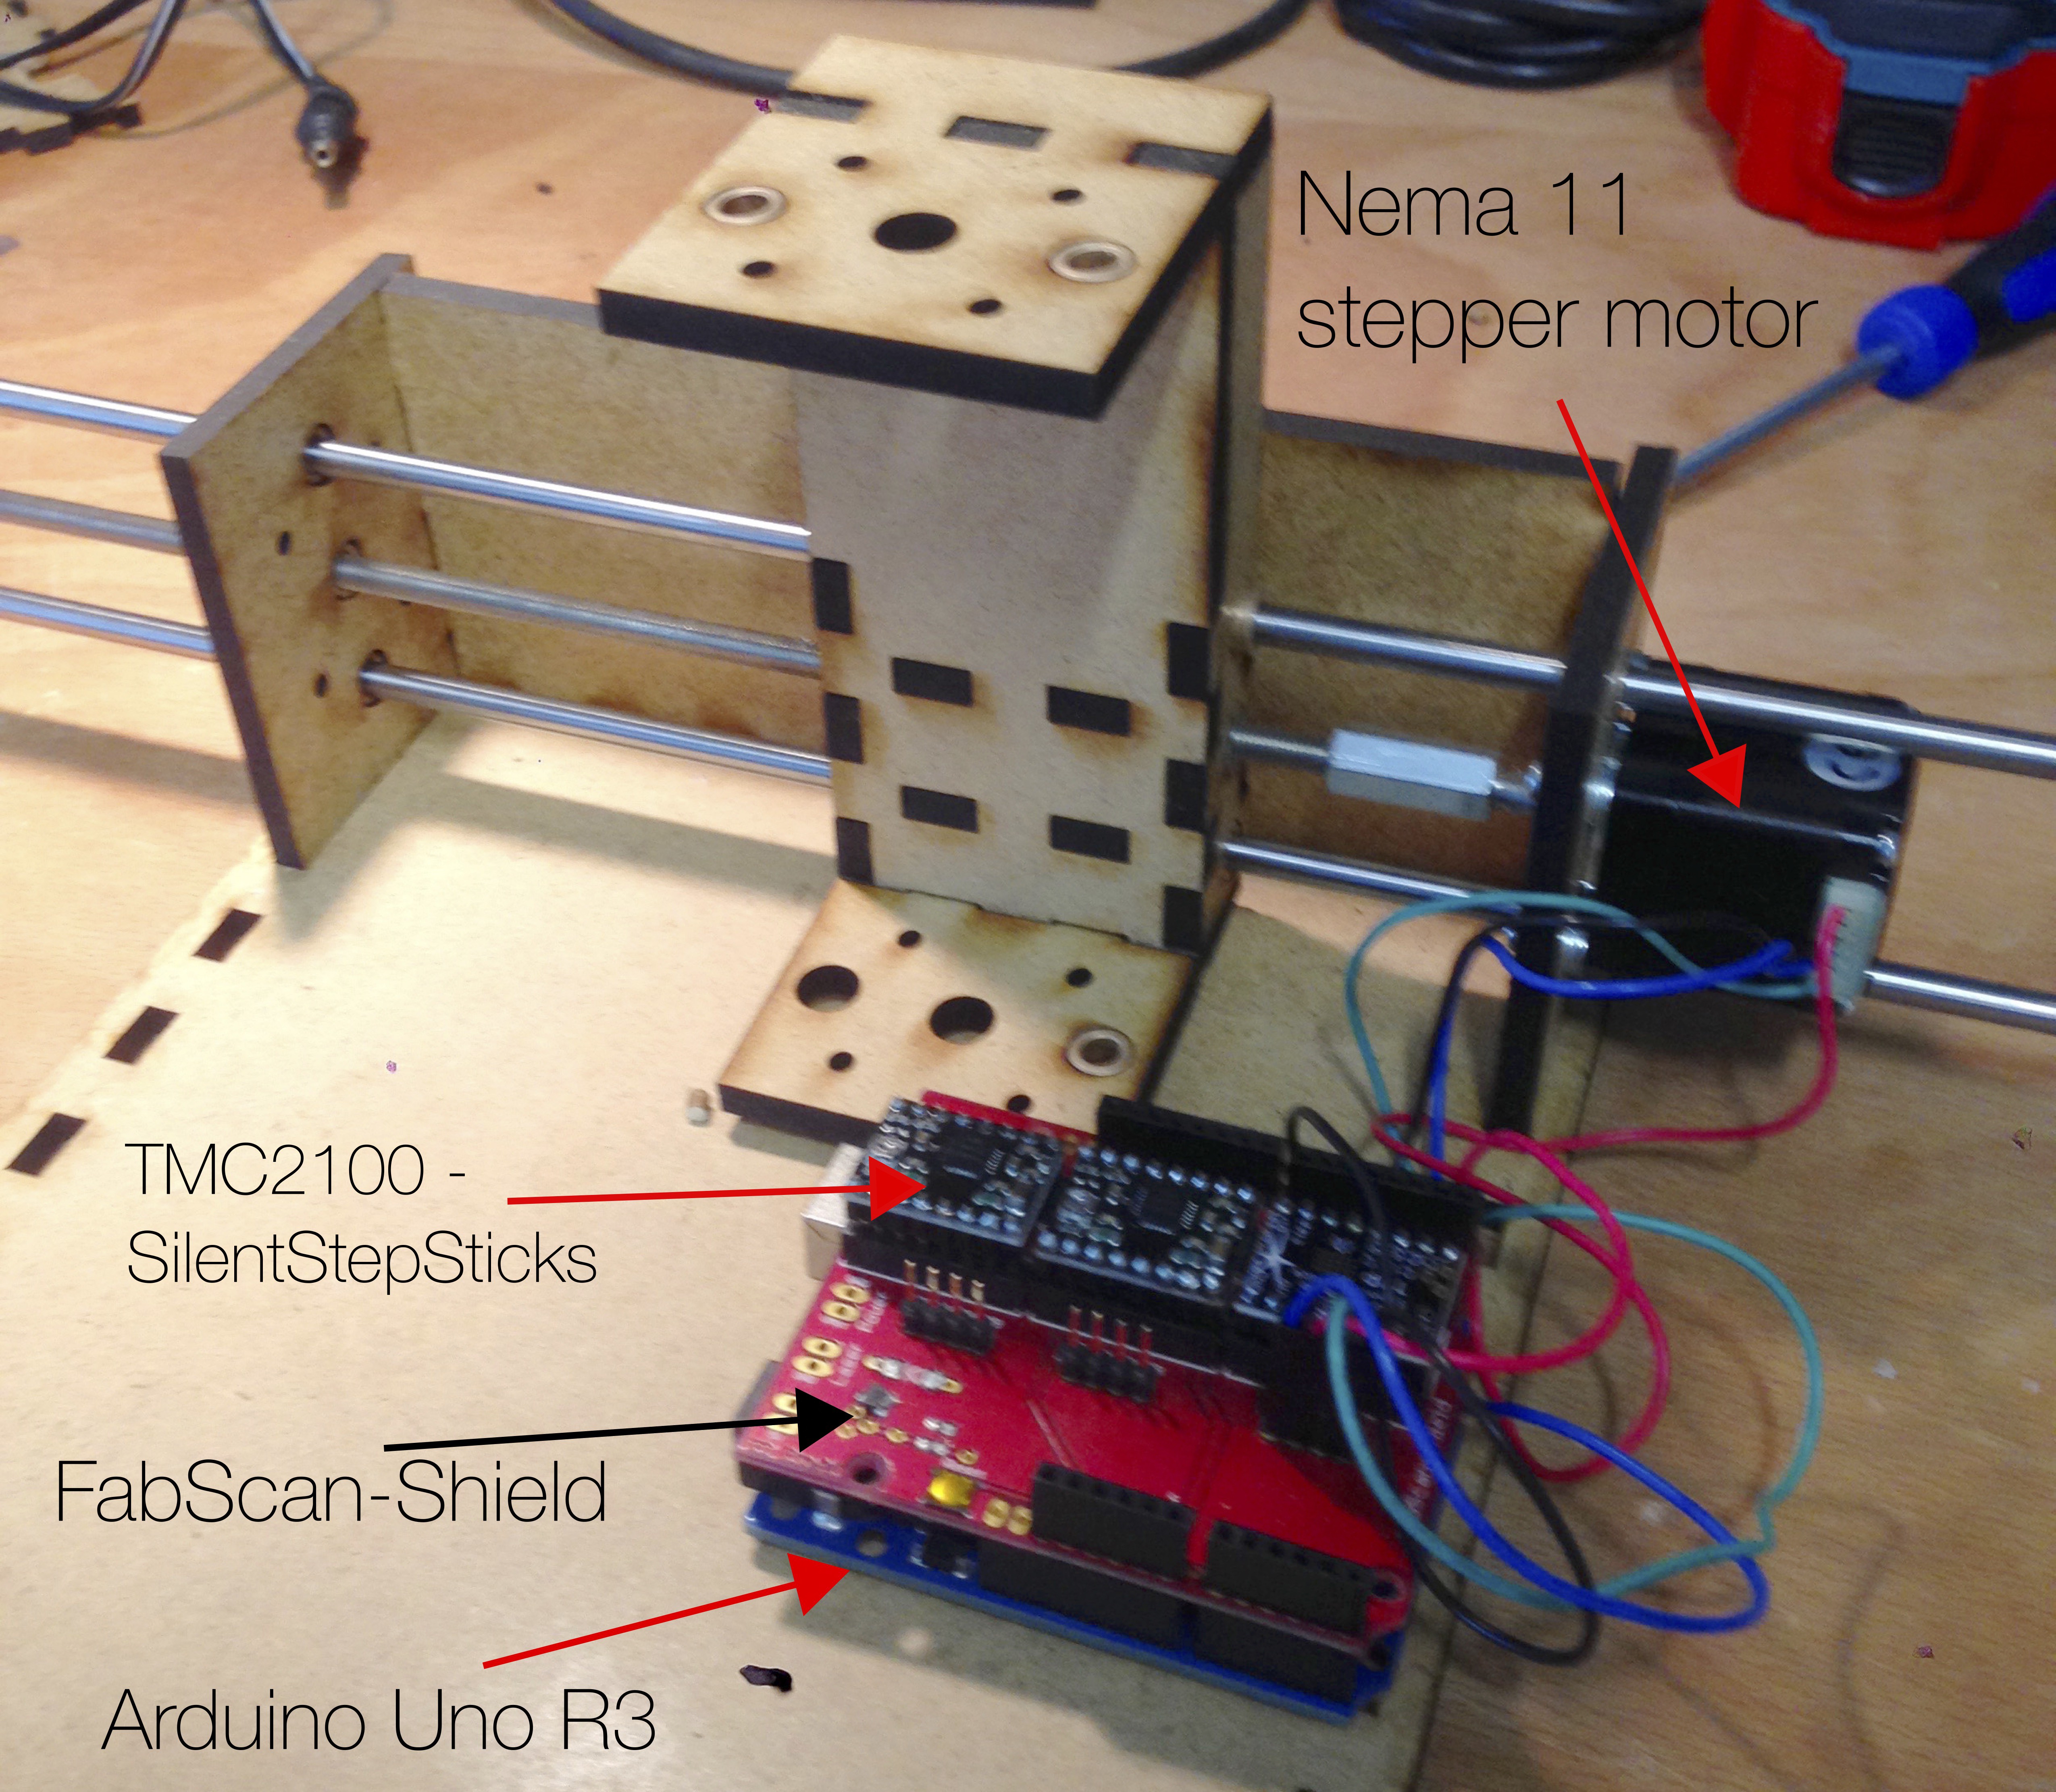
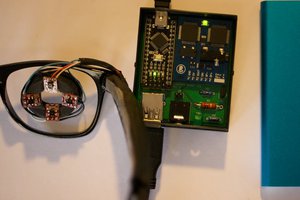
A Raspberry Pi 3 Model B is used for the front-end. It runs a java GUI-application which takes care about the user relevant input and output (interaction). For the touchscreen a Waveshare 7inch touchscreen is used. When a user confirms his input and starts the building process the raspberry pi merges the user's name and the selected graphic into one SVG image which is then converted to a dxf-file. After that, the dxf-file is converted to g-code using dxf2gcode (this is currently a workaround). The g-code job is then sent to an Arduino UNO R3 which serves as machine controller and forms the back-end.
The Arduino UNO runs the g-code interpreter grbl and controls the linear motion system, as well as the mill. Simple bearings, some nuts, leadscrews, aluminium rods, and three Nema 11 bipolar stepper motors build the core of the linear motion system. A cheap Proxxon MicroMot 50 is used to engrave the acrylic glass with the users name and his selected graphic. A custom made UNO shield is mounted on top of the Arduino which provides slots for three SilentStepStick drivers and a simple 3.3v <-> 5v level adjustment circuit for the serial communication between the Arduino UNO and the Raspberry Pi.

 Arcadia Labs
 Malte
Malte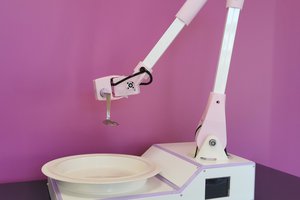
 Julien OUDIN