 Neil K. Sheridan
Bluefruit LE Client Apps and Libraries:
https://learn.adafruit.com/adafruit-feather-32u4-bluefruit-le/software-resources
EMG acquired using MyoWare Muscle sensor, if EMG corresponds to clenched fist, send message via Bluetooth from Feather to smart-phones
Already have an account? Log in.
To make the experience fit your profile, pick a username and tell us what interests you.
 charles.fayal
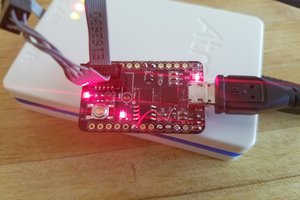
 Jeremy g.
 Guillermo Perez Guillen