Close
0%
0%

Misadventures of in-house prototyping

We've put the minions to work stencilling, pasting, populating and reflowing to turn a PCB into a PCBA.

Similar projects worth following
This is a quick run-through of the steps involved in building a double sided SMT in-house prototype. The boards are for a project we're working on called Protocol Squared. All components are surface mount all they way down to 0402.

I was a bit worried about posting this, don't want the labour board to find out I only pay these guys in smarties.


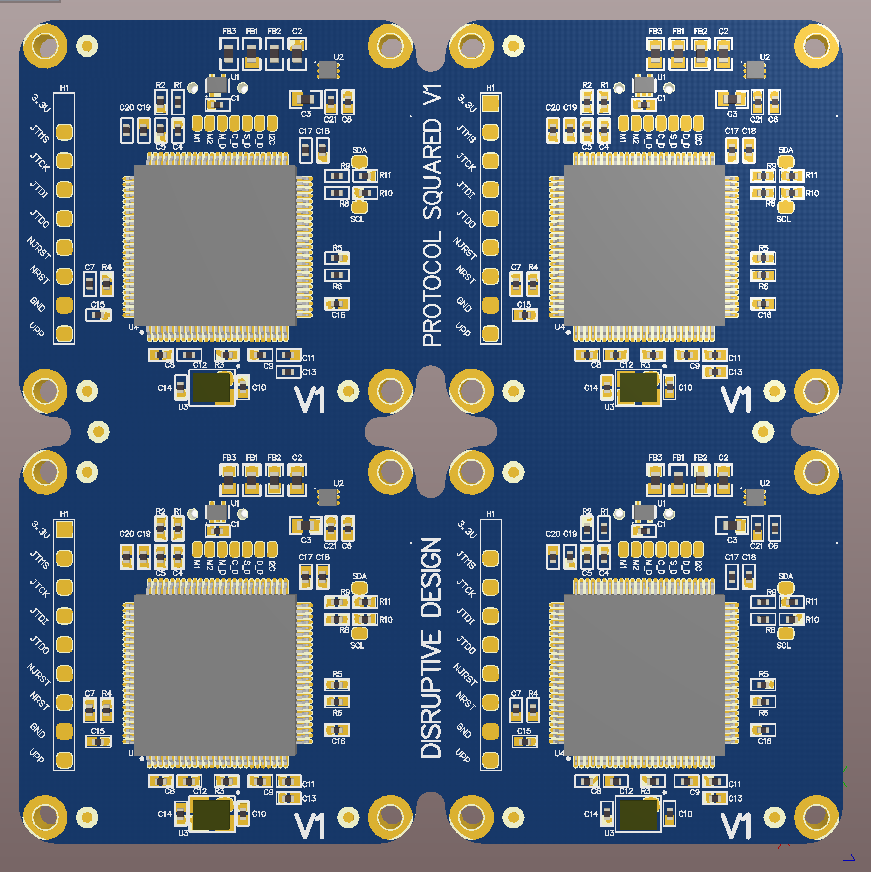
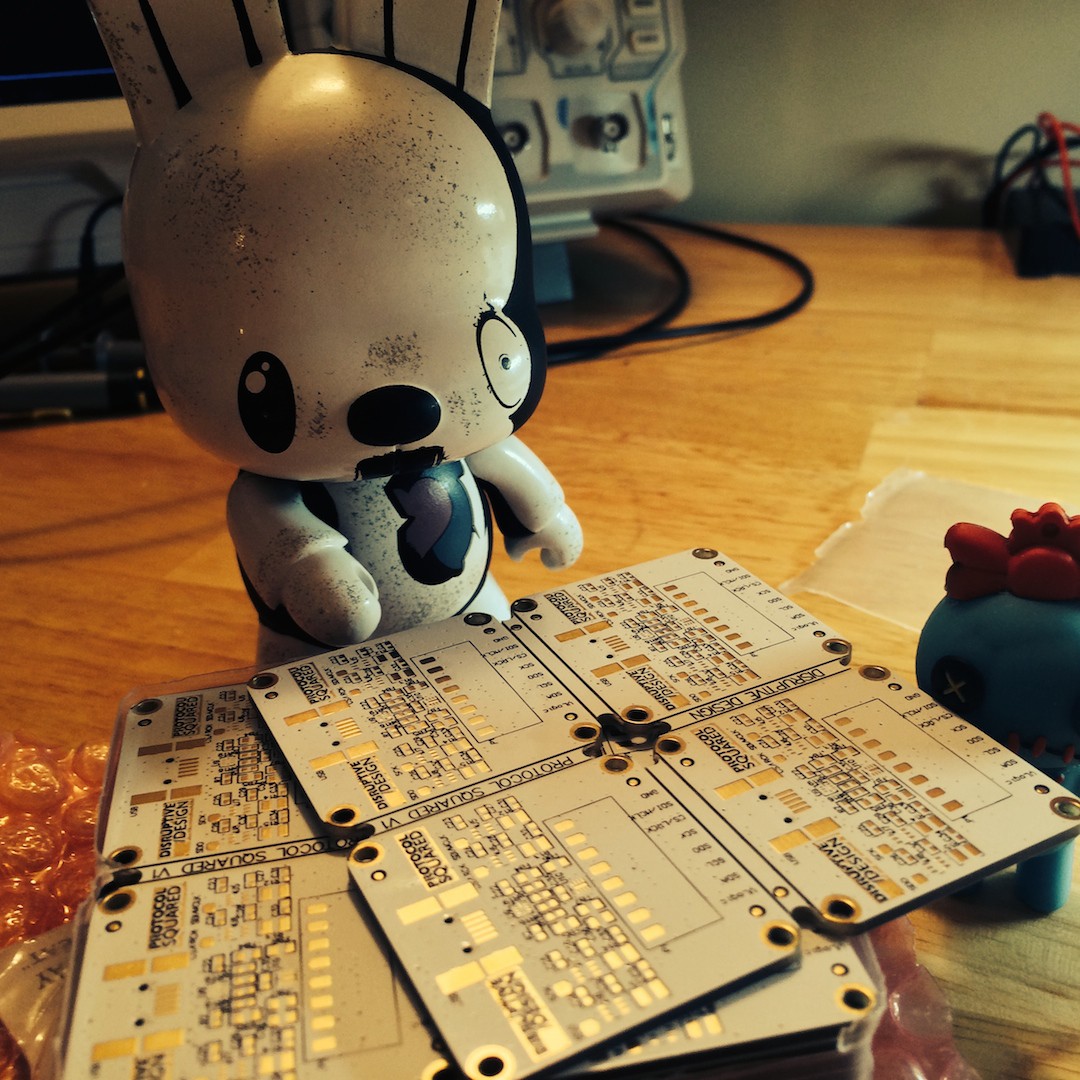
The prototype build is for a project we're working on called Protocol Squared.  You can check out our site here http://www.protocolsquared.com

We've taken the protocol analyzer, added a protocol generator, visually interactive software and a bunch of badass features. We're excited to tell you about it and get your feedback on it.  We'll have more write ups on the actual design from start to finish coming soon. Thanks for checking out our project!

  • 48 × 0402 sized components Capacitors & resistors
  • 10 × 0603 sized components Capacitors & Ferrites
  • 4 × 0805 sized components Resistors
  • 1 × TPD8E003DQDR - ESD chip ESD and TVS Suppressors / ESD and Transient Voltage Suppression (TVS) Diodes and ArraysFr
  • 1 × TPD2E001IDRLRQ1 - ESD chip ESD and TVS Suppressors / ESD and Transient Voltage Suppression (TVS) Diodes and ArraysFr

View all 13 components

  • 1
    Step 1

    WHAT WE'RE BUILDING

    We're building prototypes for our http://www.protocolsquared.com project. This board is the hardware platform for a next level protocol analysis and generation tool. It has an ARM chip, ESD protection, logic level converters, filtering, a USB port and a 0.1" surface mount header.

    We ordered these boards from https://www.pcbinternational.com. Their manufacturing capabilities are top notch and exactly what we needed to support a 5mil space / 5 mil trace 6 layer board. All components are surface mounted and we're gonna place them by hand.

    Hands down PCB internationals small volume boards completely whoop a majority of the PCBs i've had built onsite in Asia for high volume production. 

    Here's the top, with 4 board per panel and pre scored V-Cuts to make them easy to break apart.  It's way easier building small boards in panels, gives you more spots to hold on to when placing parts.

    Here's the bottom, I'm expecting we'll have to fix some solder bridges on the MCU pins because i'm not a robot and my caffeine finger placement is relatable to early stage parkinsons.

  • 2
    Step 2

    OPEN IT UP

    Lets put these critters to work. 

    Awe at your fresh PCBs. Lets get them cut out of the packaging.

  • 3
    Step 3

    PCB INSPECTION

    Inspect those bad boys. Sometimes the PCB manufacturer will screwup the silkscreen or solder mask. Their quality control should catch it, but it's always good to double check and start with a known good panel.

View all 22 instructions

Enjoy this project?

Share

Discussions

Similar Projects

Does this project spark your interest?

Become a member to follow this project and never miss any updates