Few steps and tiers here.
- Dont destroy it.
- Figure out its optimum operating power (concerned about this as I cannot find my Canoscan 500f itself just to take a reading off of it for voltage *tips on this would be helpful*. Want to do this right. Still working out just how to do that.)
- Attach a battery pack or run a line out to 14v Source.
- Reduce voltage if needed and regulate voltage to smooth out current. (seems like a good step ill be honest, no clue what im doing here we shall see)
- Make it run
- Measure output luminance and optimize.
- Will be measured at 50mm - 1/48 or 180 Shutter Angle - ISO100 - F2.8 (Ah, dont know tstops offhand XD)
- Make it change colors
- Make it independant or 14v powered.
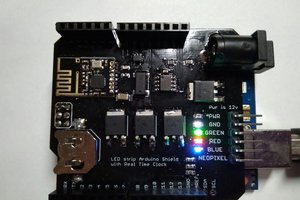
- Arduino for presets
- Modify outer enclosure or re-enclose it
- Add removable front holder for gels or simply for protecting the LED array
Keep in mind, I have one Arduino Uno... er ... so to speak. I dont know if I will do this or devote it to other projects but the skys the limit and it should all be possible and fairly easily.
- - Arduino Steps - -
- Make presets for different colors. Best ones to match indoor and outdoor lighting situtations
*i.e. Record and measure light for White Balance temperature and display on LCD*
- Auto adjusting based on lens presets
- Add the ability to program presets for different lenses.
- Add ability to record presets for iso
- auto beauty light
- Sense ambient light with arduino and compensate video light automatically for best exposure without blown out highlights on a subject based on distance
- Will need rangefinder as well (more complicated, also dont have an ultrasonic rangefinder)
A few obstacles...
- Understanding of capacitance. (im still working on this)
- Figuring out correct voltage
- Portable with its own battery or runs of DTap (I have 14v IDX batteries)
- Using a Joule Thief or running straight from battery depending on voltage needed.
- Use of capacitors for storing voltage if needed (may not need to do)
Already has housing and cables thats easy enough. Just gotta drill a hole and affix a standard 1/8" screw or Hotshoe mount.
- Add switch for on and off
- Add dimmer
- Add potentiometers for adjusting the color.
- Hook to an arduino for presets and control using an LCD screen. (eh a bit much but why not)
This project will also bridge a few other projects as well designed to target frugal or DIY filmmakers. I will have links to them soon.
 Rebelj12a

 Ben Lim
 brandon
 Javier Betancor