 bram
bram-
1Step 1
Wiring the buttons
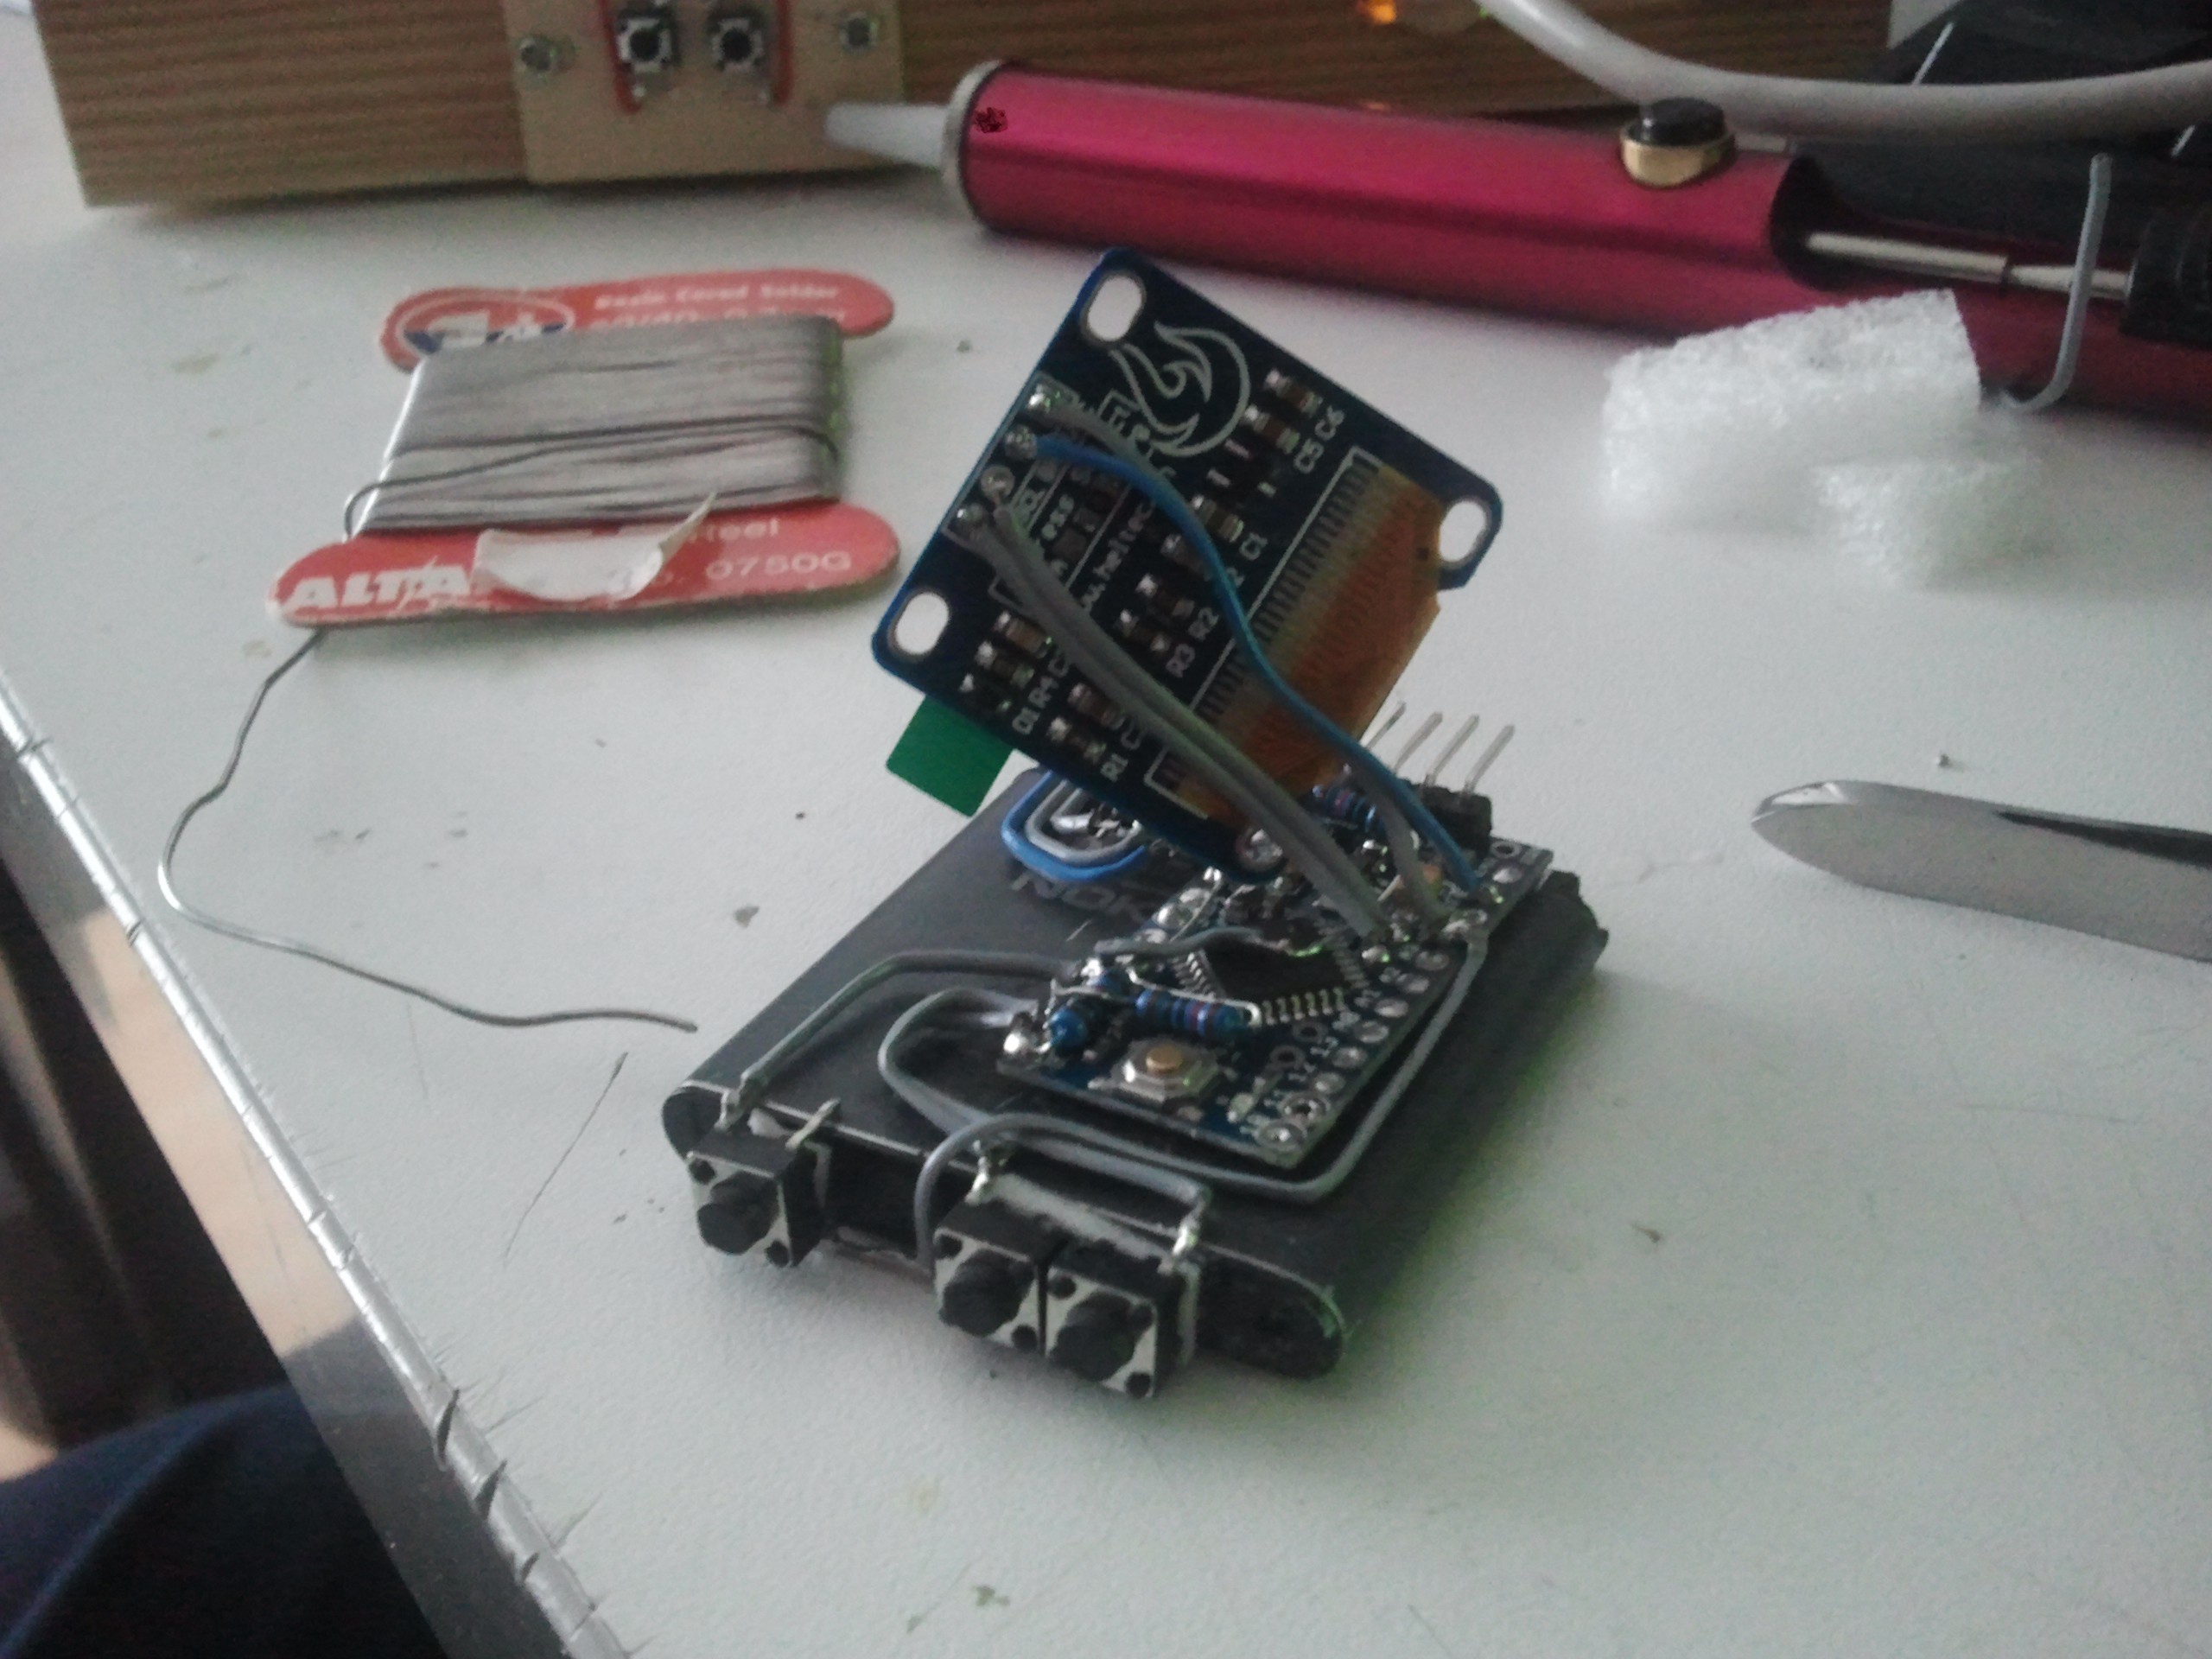
![]() First of all solder the up and down buttons with one side together and but them on the battery. And next you need to solder the select button to the just soldered together pins. This power rail needs to be soldered to the VCC labelled pin on the Arduino.
First of all solder the up and down buttons with one side together and but them on the battery. And next you need to solder the select button to the just soldered together pins. This power rail needs to be soldered to the VCC labelled pin on the Arduino.After these steps the connection should look something like this:
![]()
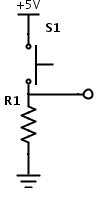
The input pins
You need to add a resistor(10KΩ) between all the input pins and the ground pin. alert! you need a resistor for all the pins. If you have done this wire all the buttons to the inputs you have just tight to ground. Sorry I don't have a picture of this part but it should be pretty simple.
-
2Step 2
Wiring the charging port
This step is very simple but you need to be carefully to not overheat your battery. I soldered wires directly to the pads of the battery and wired them to the connector I secured on the battery with some foam tape.
![]()
-
3Step 3
Wiring the display
To Wire the display you just need two wires for communication because it uses a I2C protocol and two for power so 4 in total. The two wires for the communication need to go to pin A4 and A5 and power to power. The wiring:
- A4 - SDA
- A5 - SCL
- vcc - vcc
- gnd - gnd
![]()
-
4Step 4
Done, Go hack it!
You are done with the electronic part! now you could make a nice case add more electronics or add a wrist band. And be creative make some thing cool with this simple device like a neck chain. Or write a cool game.
![]()
Simple digital watch
In this project I will provide a step by step instruction to build a cool hackable watch like device.
 First of all solder the up and down buttons with one side together and but them on the battery. And next you need to solder the select button to the just soldered together pins. This power rail needs to be soldered to the VCC labelled pin on the Arduino.


Discussions
Become a Hackaday.io Member
Create an account to leave a comment. Already have an account? Log In.
wheres the code?
Are you sure? yes | no