ken.do
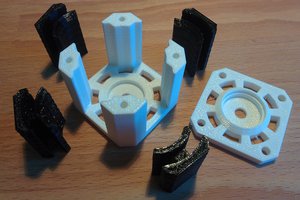
Printed in PLA from Filaments.ca, the brace from the tower to the vanes was easy enough to fix... but why just repair? I made it betterer.
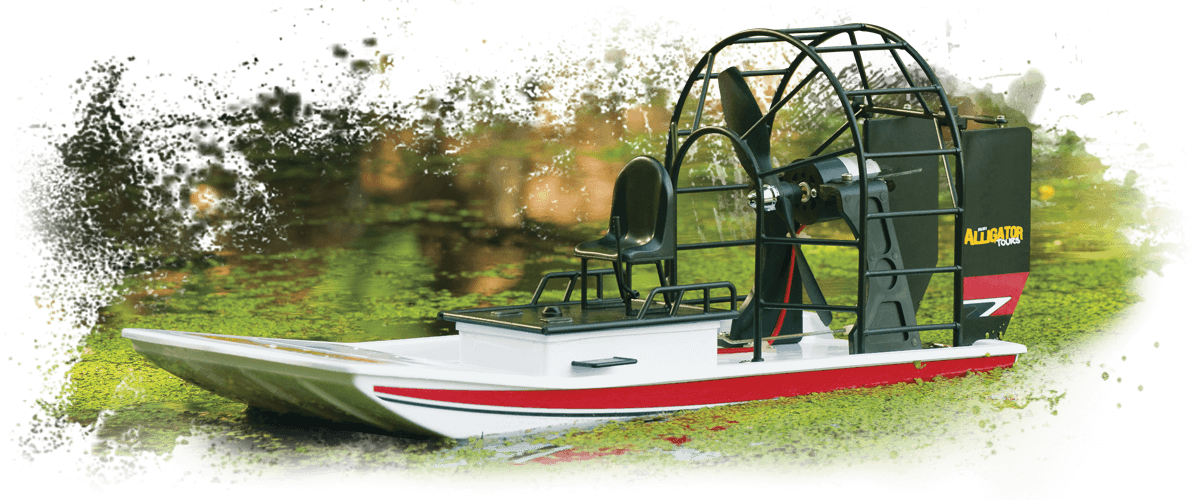
I also upgraded the stock BLDC to one about 20% more powerfuller (2212 2200kv) and put a triple blade (5x4) prop on it. The controller and radio were the suck, so they got upgraded too. The transmitter/receiver combo was the AX5S (still cheap, but better)
Let's just say that water is optional now.
I added a bit of steampunk flair to the brace design cause thats how I roll.
 with some built in attachment thingy...
 zakqwy
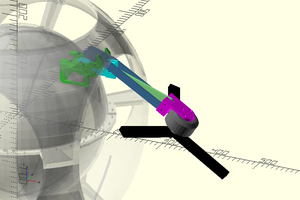
 DrYerzinia